Colony Flow Level 542 Walkthrough Solution & Guides | How to solve Colony Flow 542

Guide By Liam Stone
Updated on July 30, 2026
Some readers just want to watch. The video above covers Level 542 from start to finish.
Video doesn't match your screen?
Game updates frequently scramble layouts! Try our AI Screenshot Solver first to find your exact board instantly, or report broken guides to our team.
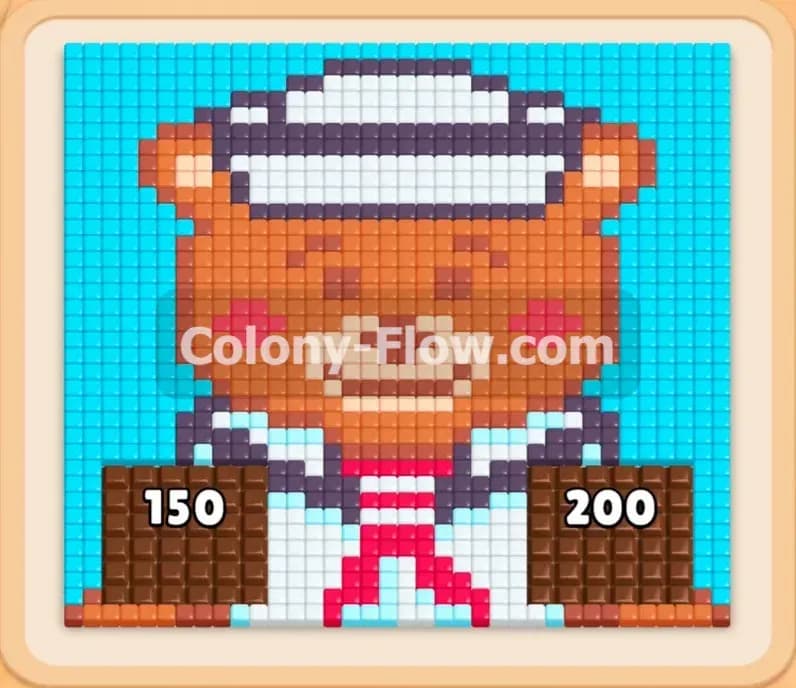
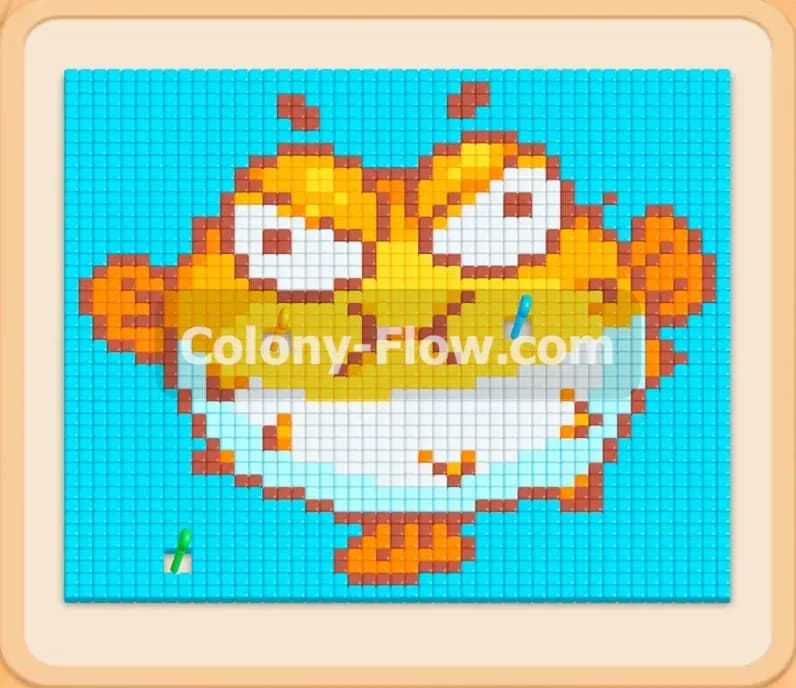
Colony Flow Level 542 gives you a fun and colorful pixel art picture of a pirate owl to clear. You face a large bird with a black eyepatch and a green leaf on its head set against a light blue background. The real challenge comes from two massive chocolate blocks sitting in the corners. I played this level myself to map out the exact sequence of moves to keep the ants flowing without filling the waiting slots.
Colony Flow Level 542 Overview
What You Are Working With
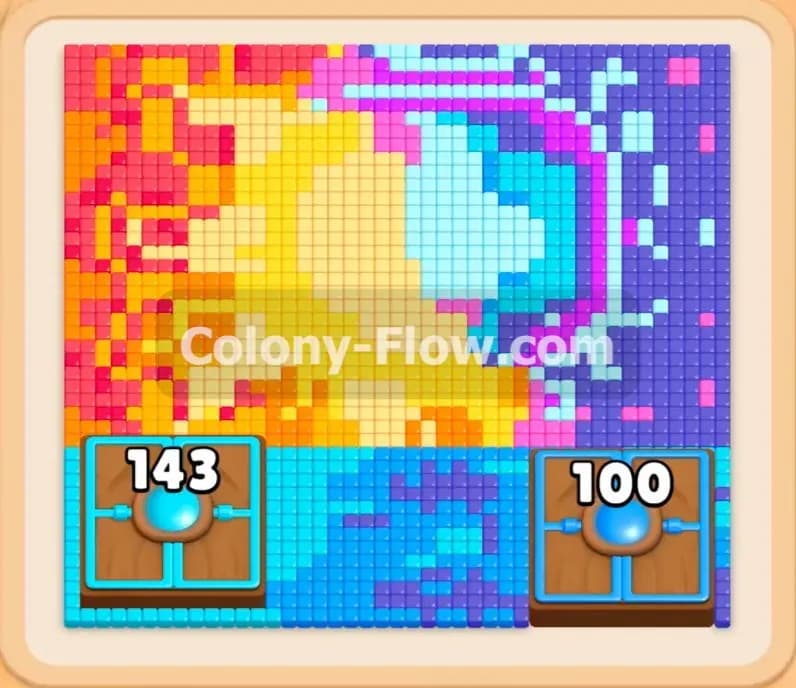
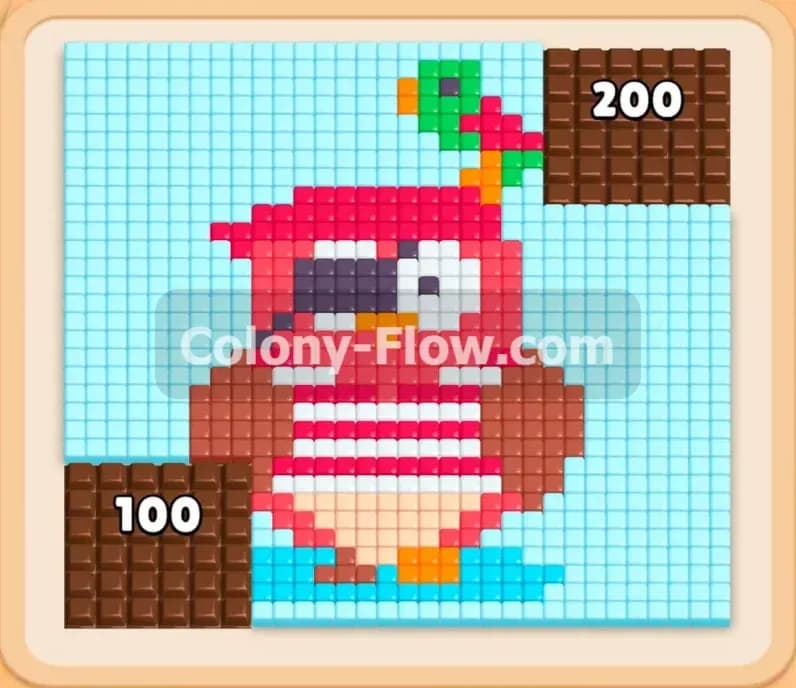
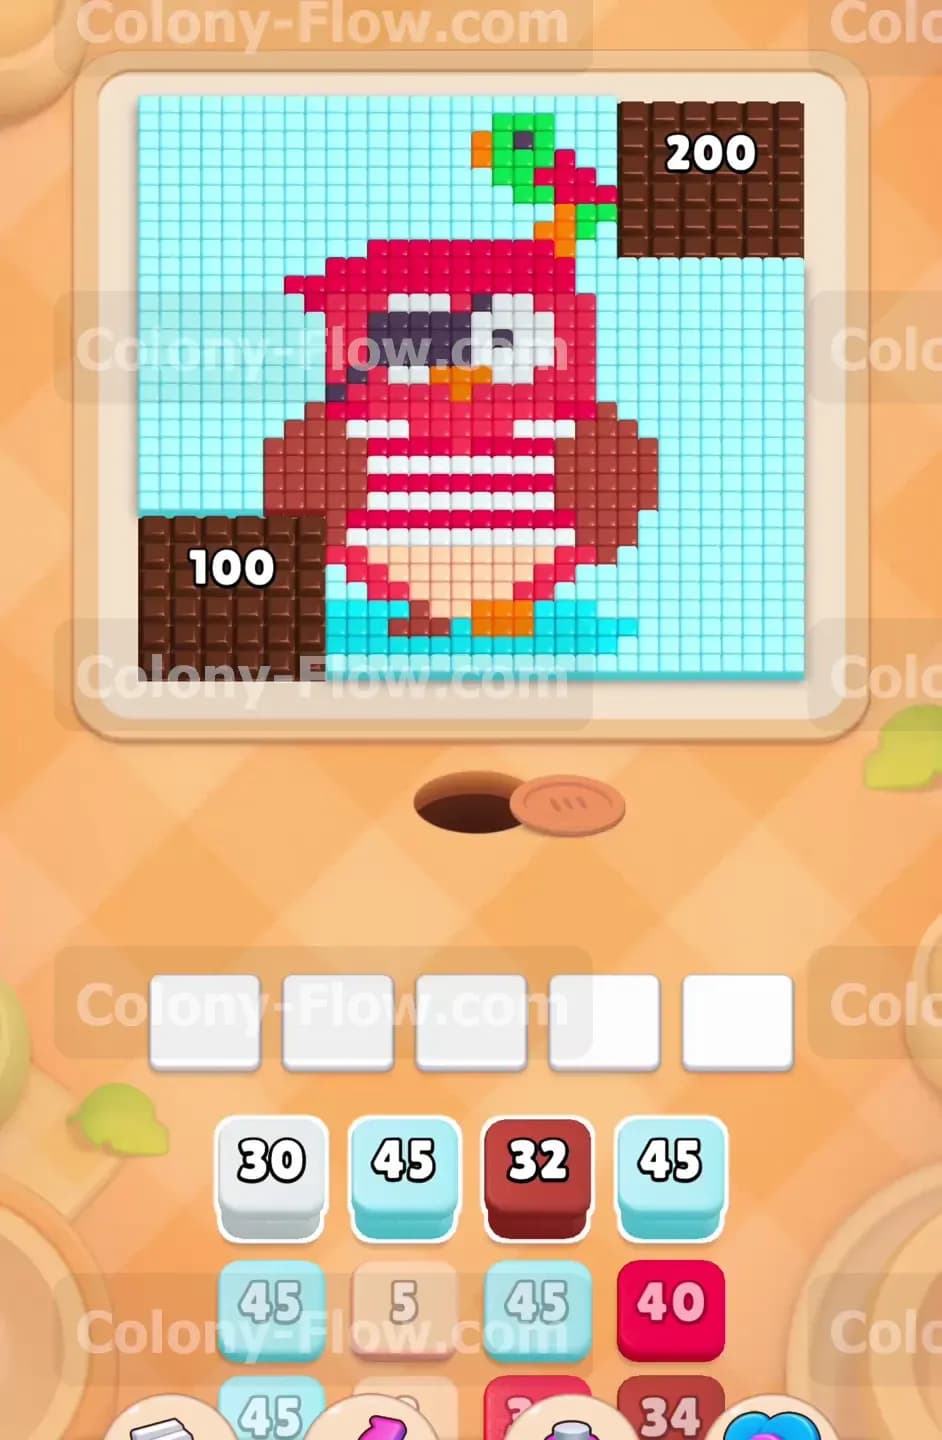
The board features a large owl with a red body and dark brown wings. The owl has a white and red striped belly along with orange feet and an orange beak. A black eyepatch covers one eye while the other eye is bright white. A small green and red leaf sits on the very top of the head. Light blue background tiles surround the entire bird. Two large chocolate blocks prevent your access to major parts of the board. A chocolate block numbered 100 sits in the bottom left corner. Another chocolate block numbered 200 sits in the top right corner. Chocolate covers and blocks the food tiles underneath until cleared. The tray at the bottom provides light blue blocks alongside red blocks and dark brown blocks to start your moves.
What It Takes to Clear Level 542 Board
You win the level when your ants eat every tile and the board is completely empty. You must match the colored numbered blocks in your tray to the corresponding tiles on the board. The number on each block determines how many ants spawn to eat tiles of that exact color. You pull blocks into the five waiting slots to send the ants out into the puzzle. If you fill all five waiting slots and no ants can reach a matching color on the board, you lose immediately. You have to keep at least one open path at all times so your ants never hit a dead end.
Colony Flow Level 542 Step by Step Solution
Step 1: You must start breaking down the massive chocolate blocks in the corners
Your immediate goal is to attack the two chocolate blocks before they ruin your space. You begin with a tray full of options including a light blue block numbered 30, a light blue block numbered 45, and a dark brown block numbered 32. You pull the light blue blocks into your active slots. The light blue ants stream out of the circular nest hole located right above your tray and head straight for the light blue background tiles touching the chocolate blocks. Chocolate blocks demand that you clear the tiles directly touching them to reduce their health numbers. The ants eat the adjacent light blue tiles and slowly chip away at both the 100 chocolate block and the 200 chocolate block. This early pressure is mandatory to keep your five waiting slots from jamming later in the match.
Step 2: You will clear the bottom left corner completely to open new paths
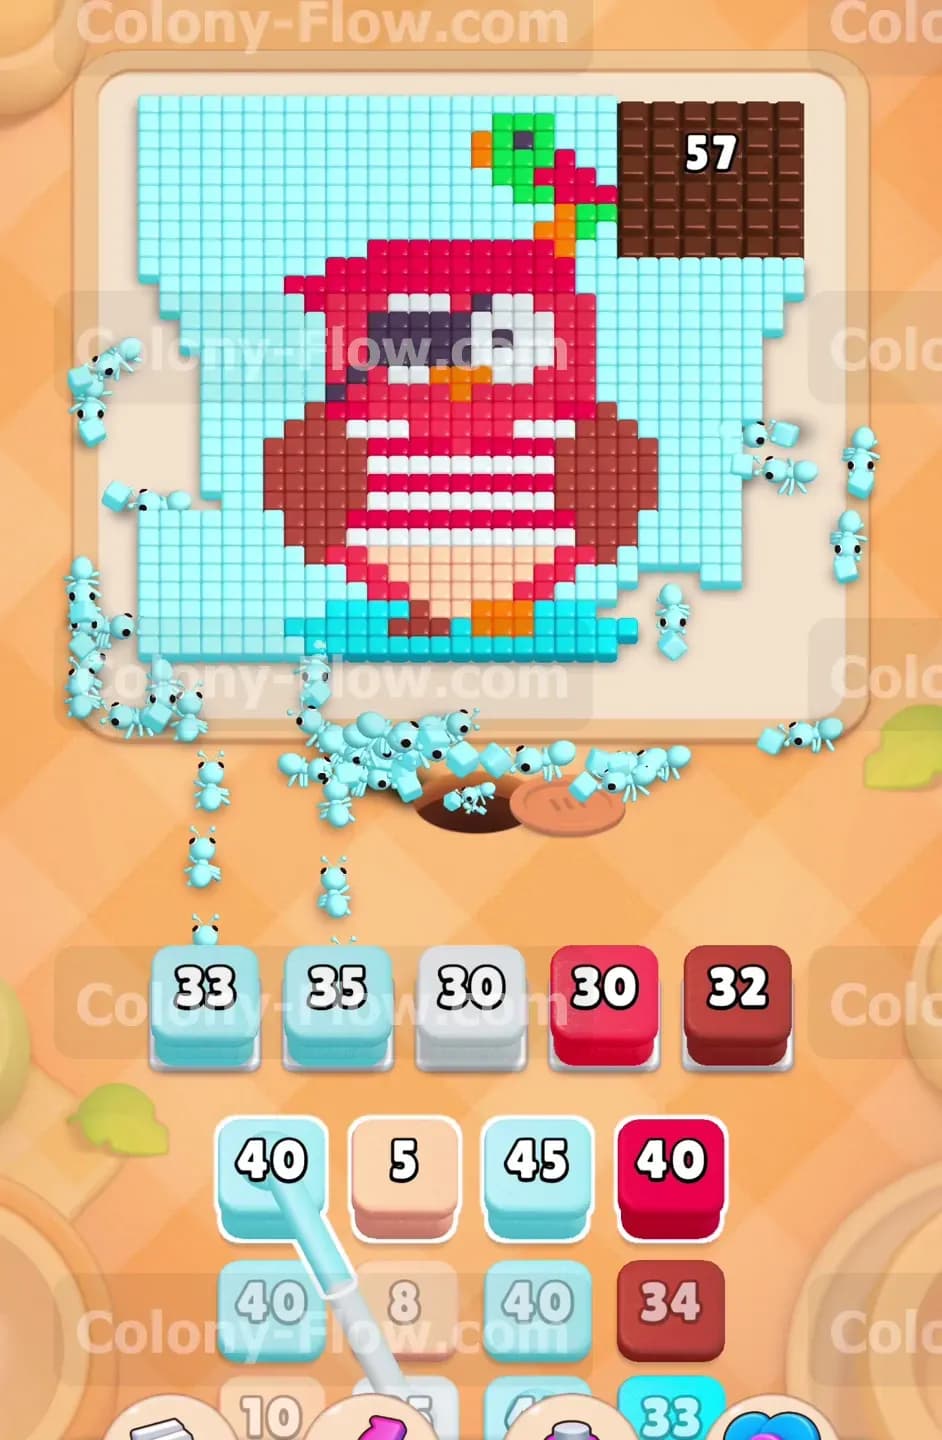
You need to focus on destroying the 100 chocolate block on the bottom left side first. You see multiple light blue blocks in your tray including a 33, a 35, and another 30. You pull these light blue blocks into your tray slots to summon a massive swarm. The light blue ants flood the bottom left side of the board and finish off the remaining health of that smaller chocolate block. The chocolate shell shatters completely to reveal the hidden background tiles underneath. This action creates a huge open path on the entire left side of the board. You keep your waiting slots mostly empty by letting these large swarms finish their meals before you pull any new colors.
Step 3: You send ants to attack the red body and dark brown wings
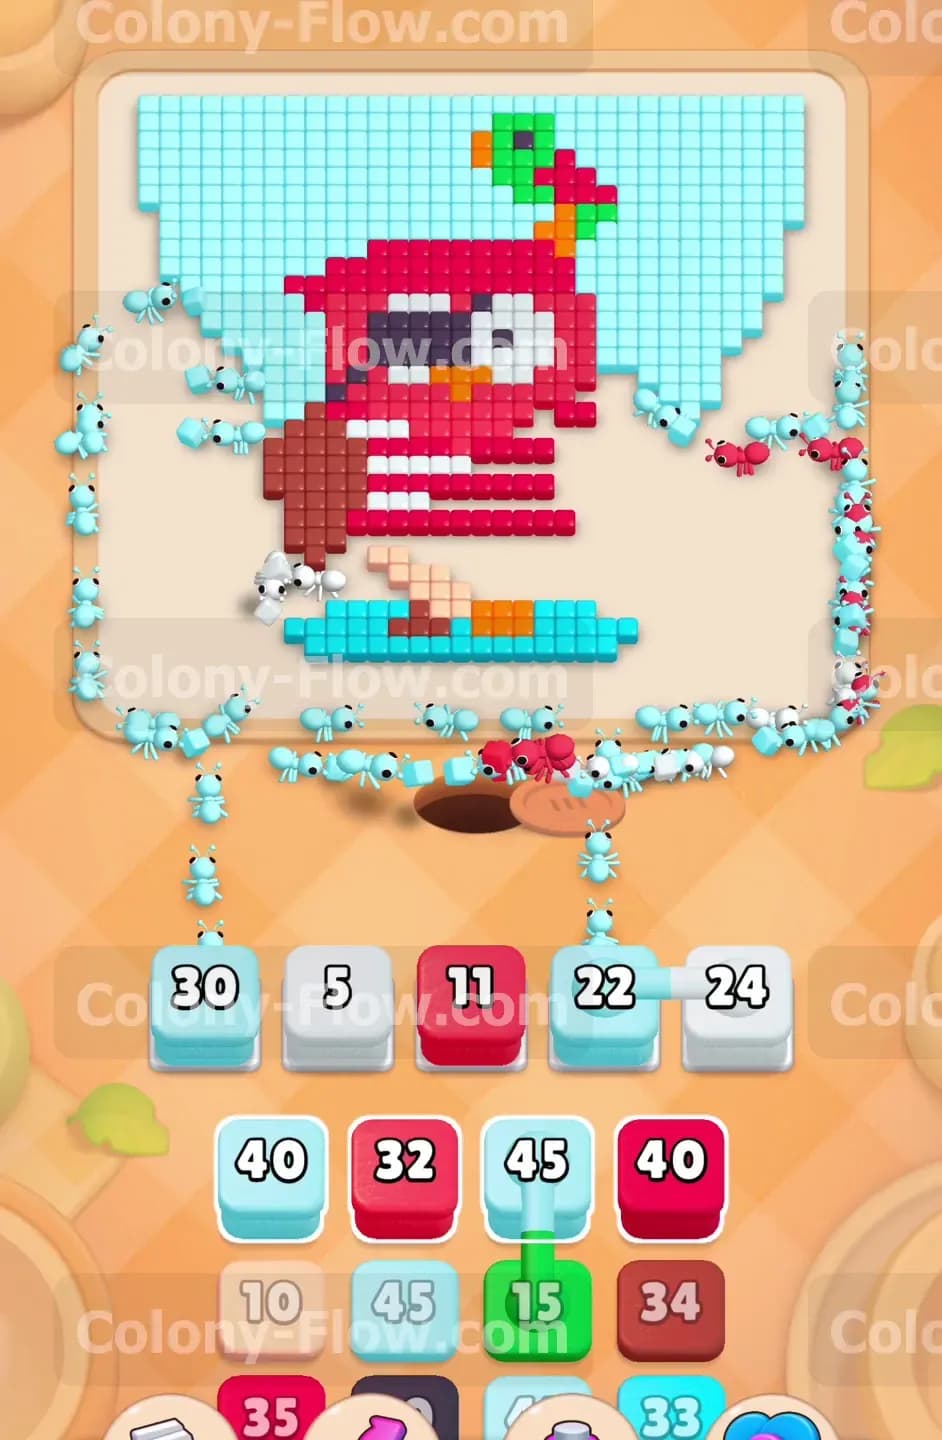
The broken chocolate block opens up perfect access to the lower half of the owl. The red body and dark brown wings form the core of the picture. You pull a red block numbered 30 and a dark brown block numbered 32 into your slots. The red ants march straight up the middle of the screen to start eating the bright red feathers on the chest. The dark brown ants move out to the left and right sides to start consuming the large dark brown wings spanning outward. This keeps your ants flowing across multiple open paths simultaneously. Your waiting slots remain clear because every single ant finds a valid route to its matching color tile.
Step 4: You continue chipping away at the top right chocolate block
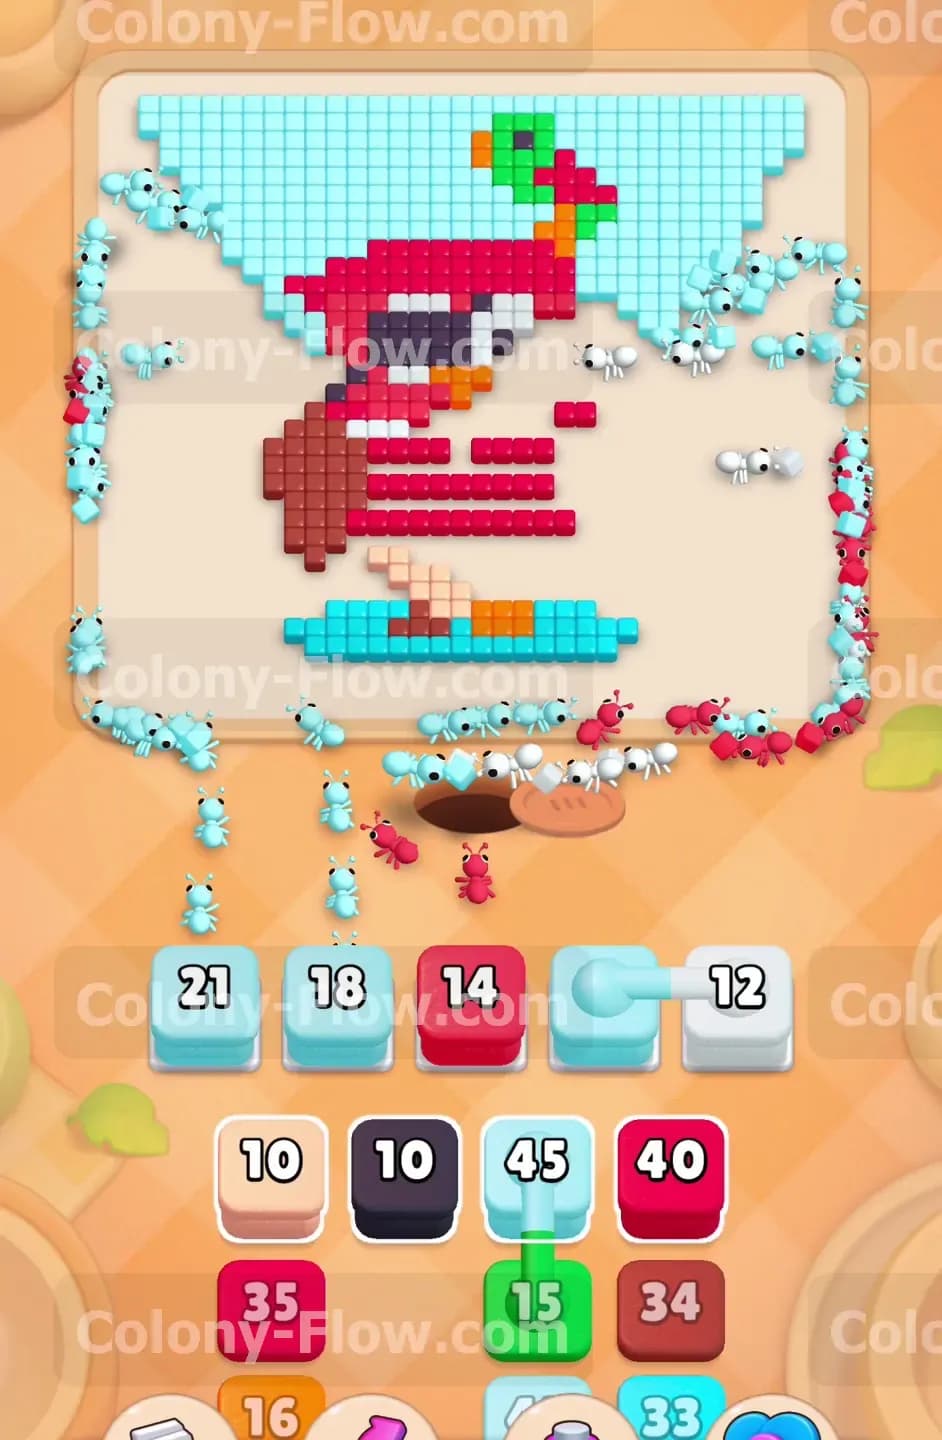
You must shift your attention back to the top right corner where the 200 chocolate block still sits. This massive block hides a huge portion of the sky background. You pull more light blue blocks from the tray to keep the pressure going. The light blue ants travel a long distance from the nest hole all the way up the right boundary to reach this corner. You will notice the number on the chocolate block dropping steadily as the ants eat the background tiles touching it. It falls to 57 and continues to drop. You never pull more blocks than absolutely necessary so your tray stays perfectly clear.
Step 5: You destroy the final chocolate block to flood the top right area
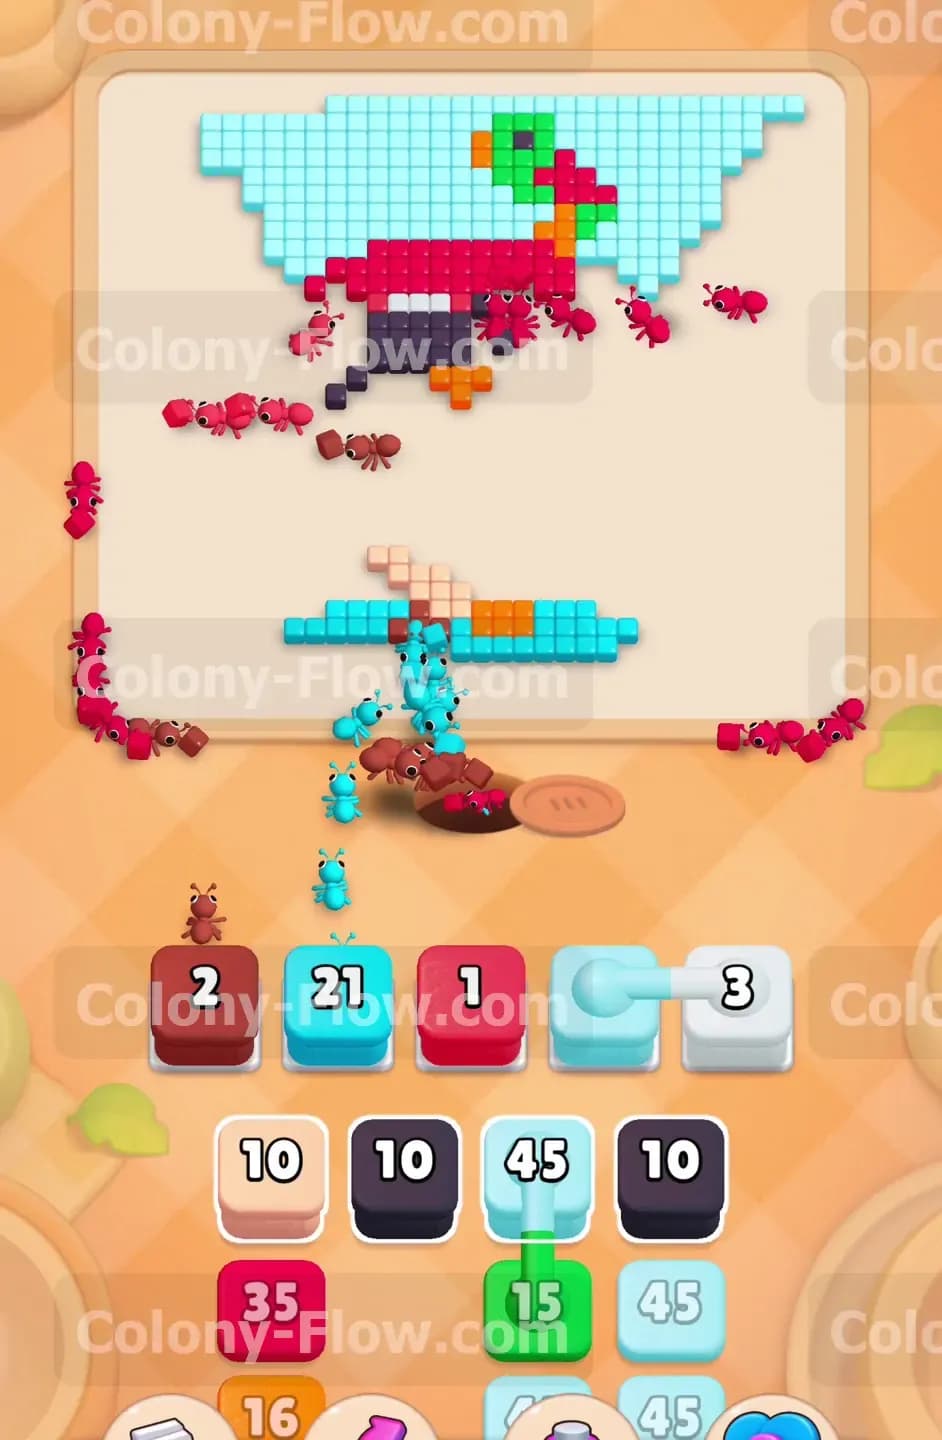
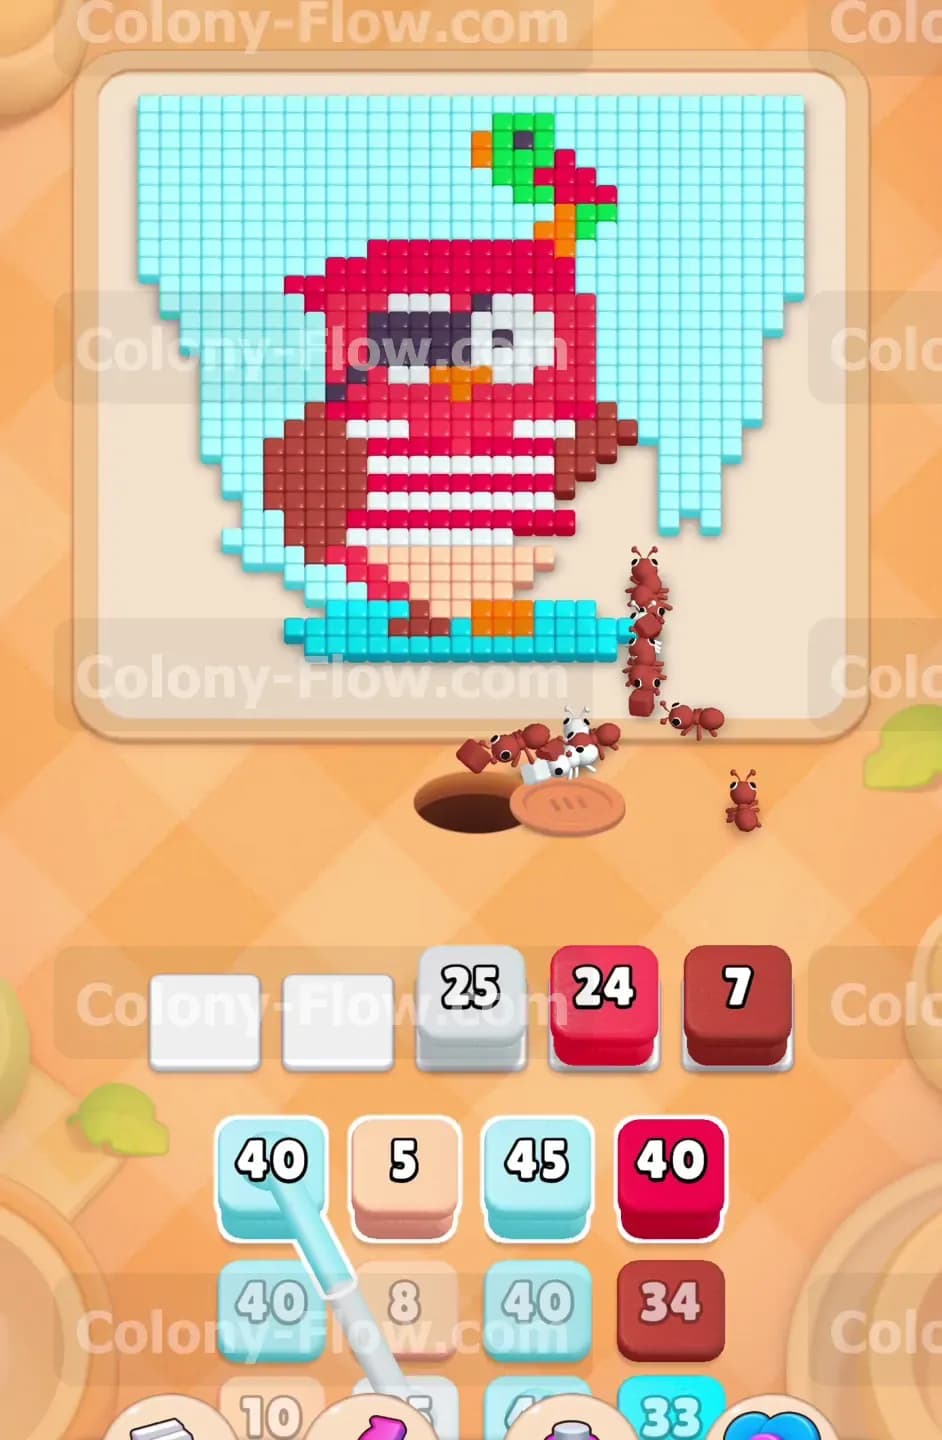
The 200 chocolate block takes a lot of effort to break down completely. You pull a light blue block numbered 22 and a light blue block numbered 24 to finish the job. The top right chocolate block finally shatters and disappears from the board entirely. This massive victory completely opens up the whole top right section of the sky. The light blue ants swarm into this newly opened area to eat the large cluster of background tiles. You now have full access to every part of the board without any artificial barriers blocking your routes. Your five slots remain totally safe.
Step 6: You clear the white belly stripes and the white eye
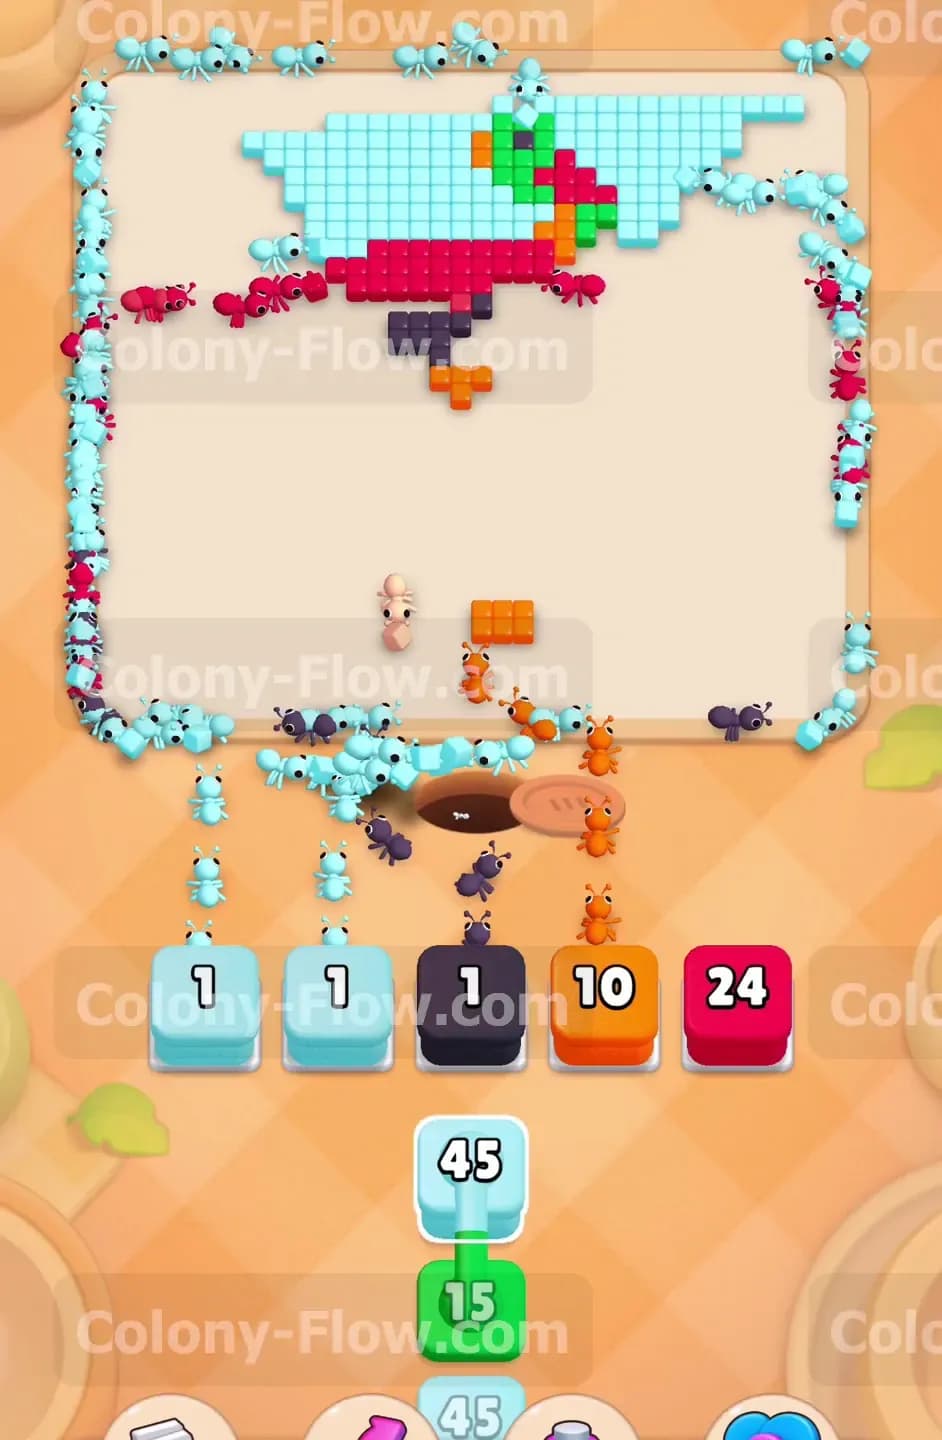
You can now focus on the smaller interior details of the owl body. The white stripes on the belly require precise timing so they do not trap other colors. You pull a white block numbered 5 and a white block numbered 24 from the tray. The white ants exit the nest and head straight for the center of the board to eat the white stripes. A separate stream of white ants travels up the left side of the body to eat the large white eye next to the eyepatch. The board starts to look much emptier now and your paths are incredibly wide open.
Step 7: You clear the black eyepatch and finish the red head feathers
The black eyepatch gives the owl its signature pirate look and sits right in the middle of the face. You pull a black block numbered 10 to deal with the eyepatch directly. The black ants rush up the middle of the board and consume the solid black tiles covering the left eye. You immediately pull a red block numbered 14 and a red block numbered 11. The red ants spread out to eat the remaining red tiles on the top of the head and the sides of the body. You maintain a steady rhythm of pulling blocks only when a perfectly clear path exists.
Step 8: You send ants to eat the orange beak and the tan feet
The bottom of the owl still has a few colorful details remaining that you must clear. The orange beak sits right in the middle of the face and the tan feet rest at the very bottom edge. You pull an orange block numbered 10 and a tan block numbered 10 into your slots. The orange ants head slightly up to eat the small orange beak. The tan ants march left and right just above the bottom edge to eat the tan feet. These small colored sections clear out very fast. You keep your tray managed safely by waiting for these smaller swarms to finish their work completely before moving on.
Step 9: You finish the green leaf on top of the owl head
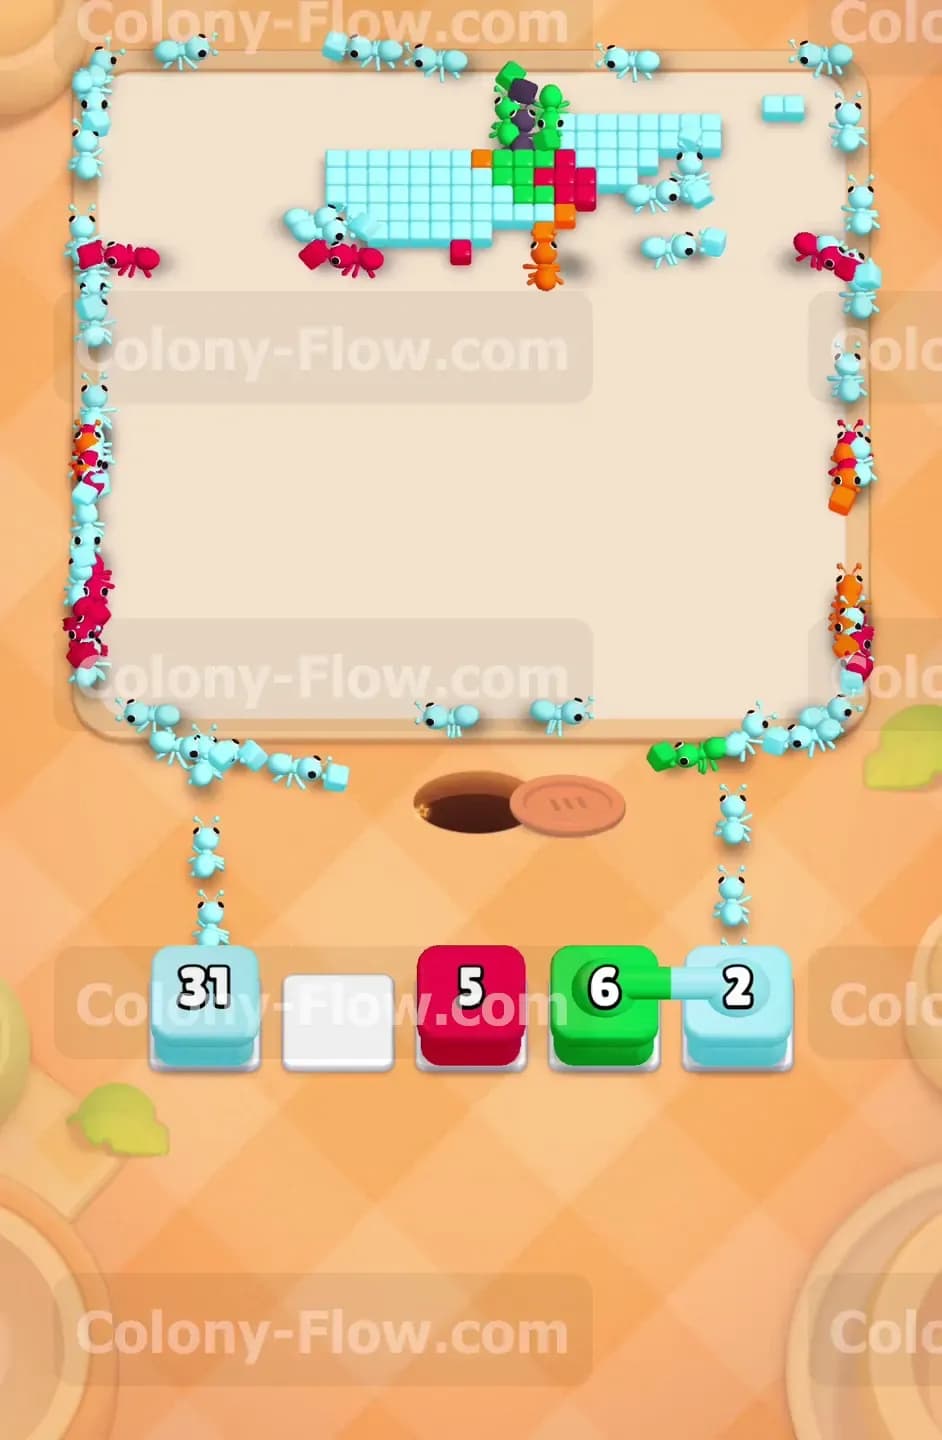
You are incredibly close to finishing the entire picture. The final prominent feature is the green leaf sticking out of the top of the owl head next to a small red stem. You pull a green block numbered 6 from the bottom tray. The green ants travel all the way up the empty center path to reach the very top of the board. They quickly eat the remaining green tiles making up the leaf. You also pull a red block numbered 5 to eat the final piece of the red stem. The picture is now mostly empty space with just a few stray background tiles scattered around the extreme edges.
Step 10: You sweep the remaining light blue background tiles to finish the level
You pull the final light blue blocks numbered 31 and 2 to clean up the remaining board elements. The light blue ants run around the extreme outer edges of the screen to catch any stray background tiles you missed during the earlier steps. You watch the ants consume the last few light blue squares on the top left and top right boundaries. The entire pixel art picture is completely gone and the board is perfectly clean. You win the level smoothly without ever filling your five waiting slots and triggering a loss.
Final Thought
Colony Flow Level 542 tests your ability to break down massive obstacles early in the match. You succeed by targeting the chocolate blocks first and keeping your paths open for the rest of the colors. I highly encourage you to watch the video above this article if any step is hard to follow in text. The visual guide will help you master the timing needed to keep your tray completely clear.