Colony Flow Level 168 Walkthrough Solution & Guides | How to solve Colony Flow 168

Guide By Liam Stone
Updated on July 12, 2026
Skip ahead to the video above if you want to see Level 168 solved without reading the full article.
Video doesn't match your screen?
Game updates frequently scramble layouts! Try our AI Screenshot Solver first to find your exact board instantly, or report broken guides to our team.
Playing Colony Flow Level 168 requires careful timing and excellent path management to succeed. You face a large pixel art picture of a bee hovering over a flower with a solid blue sky filling the background. The colors form large solid groups so you have to manage your waiting slots well to avoid getting trapped. I play every level myself and I will walk you through the exact moves I used to clear this board without getting stuck.
Colony Flow Level 168 Overview
What You Are Working With
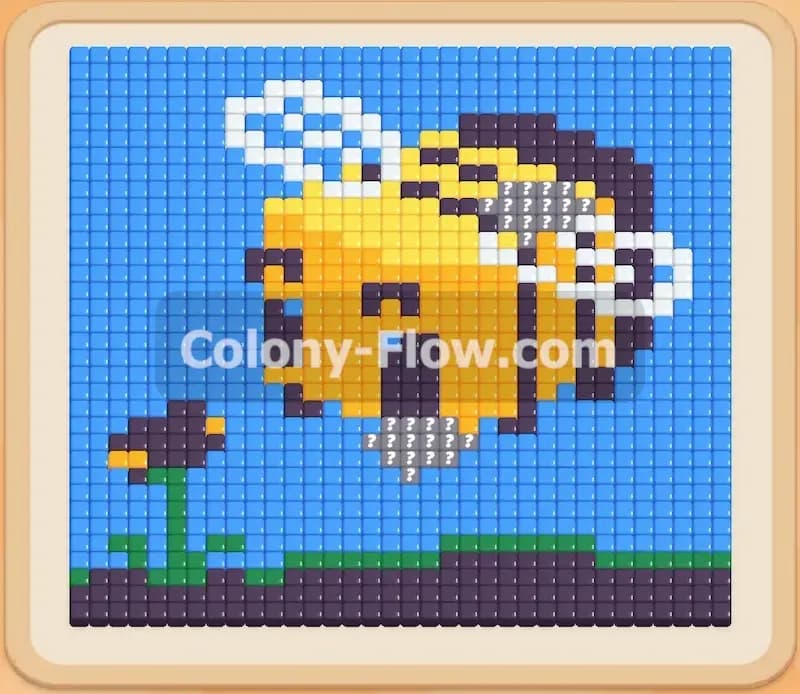
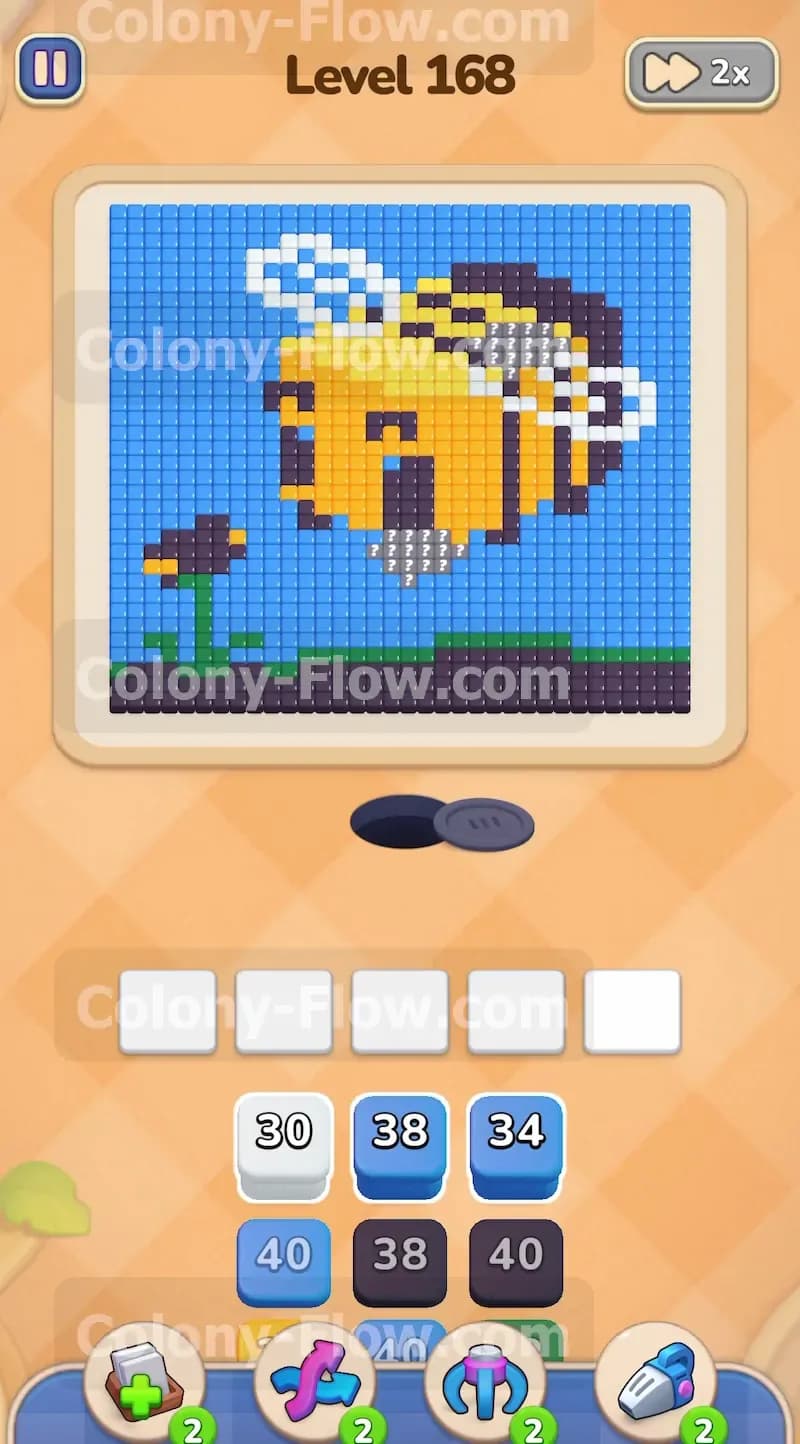
The picture at the top of your screen shows a bright yellow and black bee hovering in the air. The bee features white wings and an orange face. A solid blue sky fills the entire background behind the bee. Down below the bee you will see a flower with orange petals and a green stem growing out of a dark ground made of black tiles. The bottom part of the screen holds your tray of colored numbered blocks. You will see white, blue, black, green, orange, and yellow blocks stacked in this tray. Each block displays a number that tells you how many tiles it can clear. The board also features five waiting slots just above the block tray. Every colored block you tap moves up into these waiting slots before the ants can actually use it.
What It Takes to Clear Level 168 Board
You win the level when your ants consume every single tile that makes up the bee and the surrounding scene. The ants stream out from the dark nest hole and travel along open paths on the board to reach the matching color tiles. Your main challenge throughout the entire level revolves around the five waiting slots. If you fill all five slots with blocks that have no open paths to their matching tiles, the ants will stop moving entirely. When the ants stop moving and the slots sit full, you lose the level instantly. You must constantly watch the paths and make sure every block you pull has a clear route to the picture. You have to balance the big sections like the blue sky against the smaller sections like the green flower stem to keep the numbers counting down and the slots rotating.
Colony Flow Level 168 Step by Step Solution
Step 1: Open the bottom edge by clearing the green flower stem and the black ground.
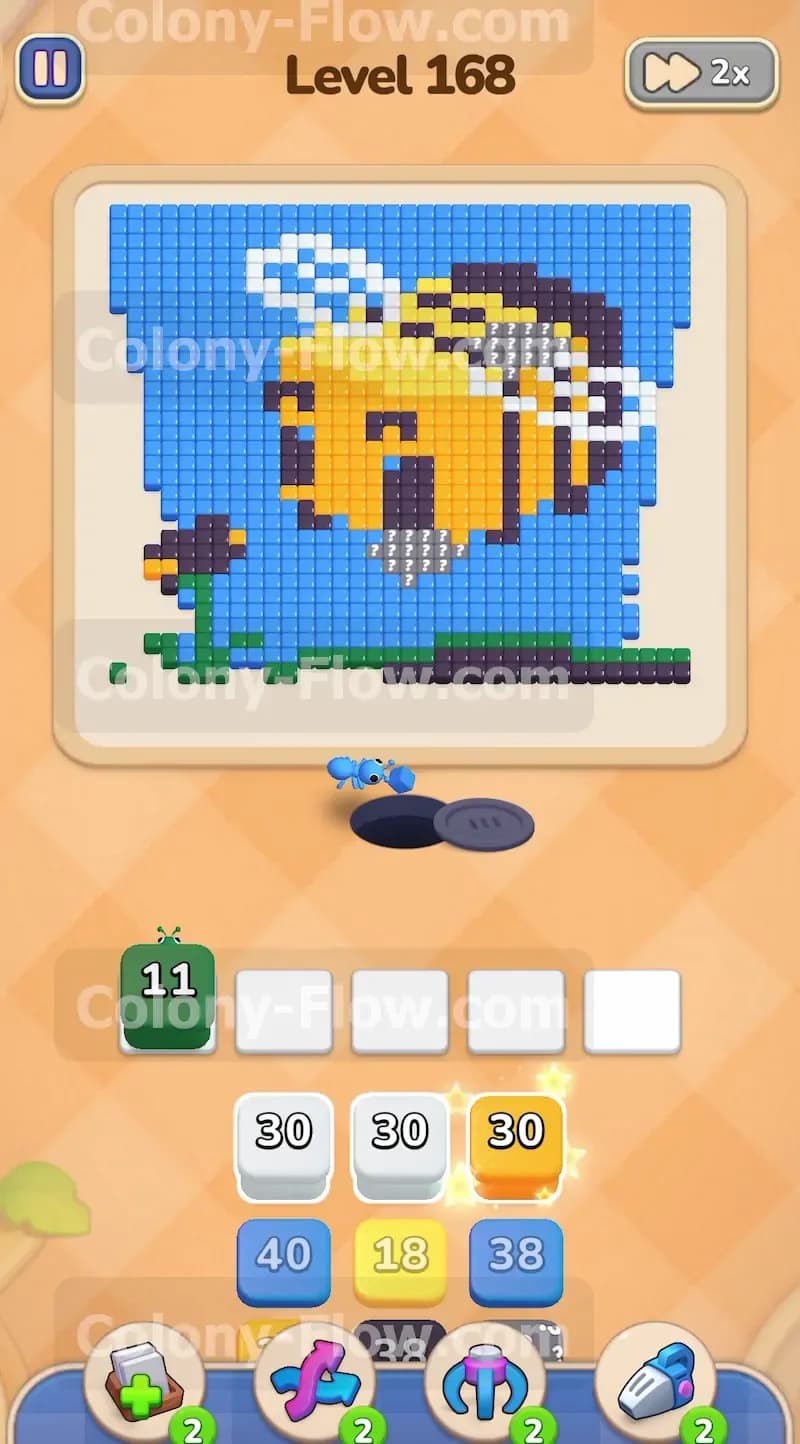
You want to start by creating a large area of empty space at the very bottom of the picture. Look at your tray and find a green block with an eleven on it. Tap this green block to move it up to the waiting slots. Green ants will immediately emerge from the nest hole and march toward the flower stem and leaves. The number on the green block will count down to zero as the ants consume the green tiles. Next you should tap a black block to target the dark ground tiles at the very bottom of the picture. Black ants will flow out of the hole and begin eating away the ground from left to right. This early action removes the lowest layer of the picture and creates a wide open buffer zone for your ants to reach the rest of the scene. You always want to work from the bottom up to guarantee your paths stay wide and clear.
Step 2: Attack the flower head and the bee face with an orange block.
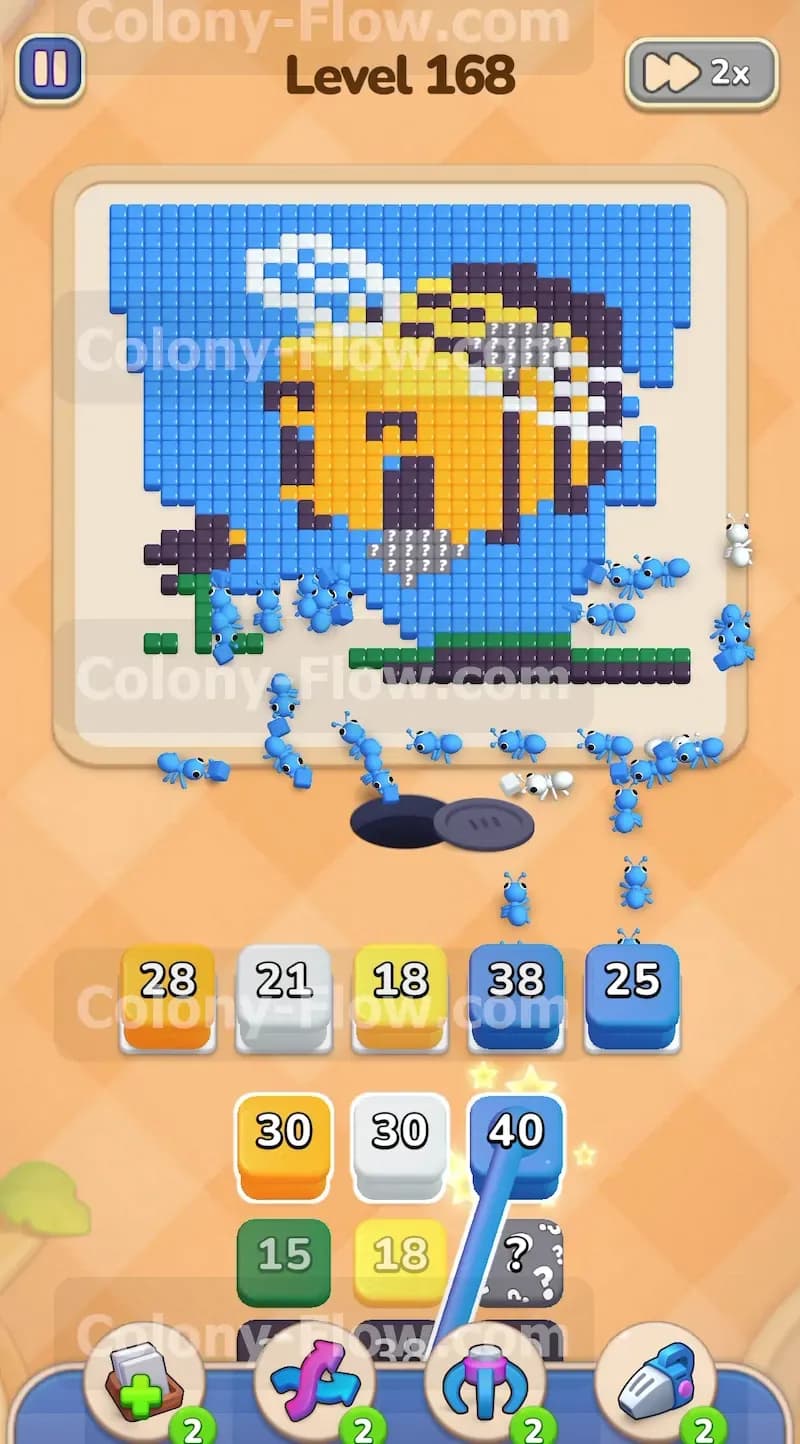
With the ground and the flower stem out of the way you now have a completely clear path to the orange sections of the picture. The flower head and the front of the bee face both consist of orange tiles. Bring an orange block from your tray up into the waiting slots. Orange ants will stream out of the nest and quickly split up to tackle both areas at the exact same time. You will see the orange block number drop rapidly because the ants have two active paths working at once. This clears out the left side of the bee and opens a path straight up the middle of the board. You can also bring up a white block with a thirty on it to start clearing the bee wings on the right side. White ants will crawl up the newly opened right edge of the board and begin eating the white wing tiles. Keeping multiple colors active like this prevents your slots from jamming.
Step 3: Begin clearing the blue sky background to free up the outer edges.
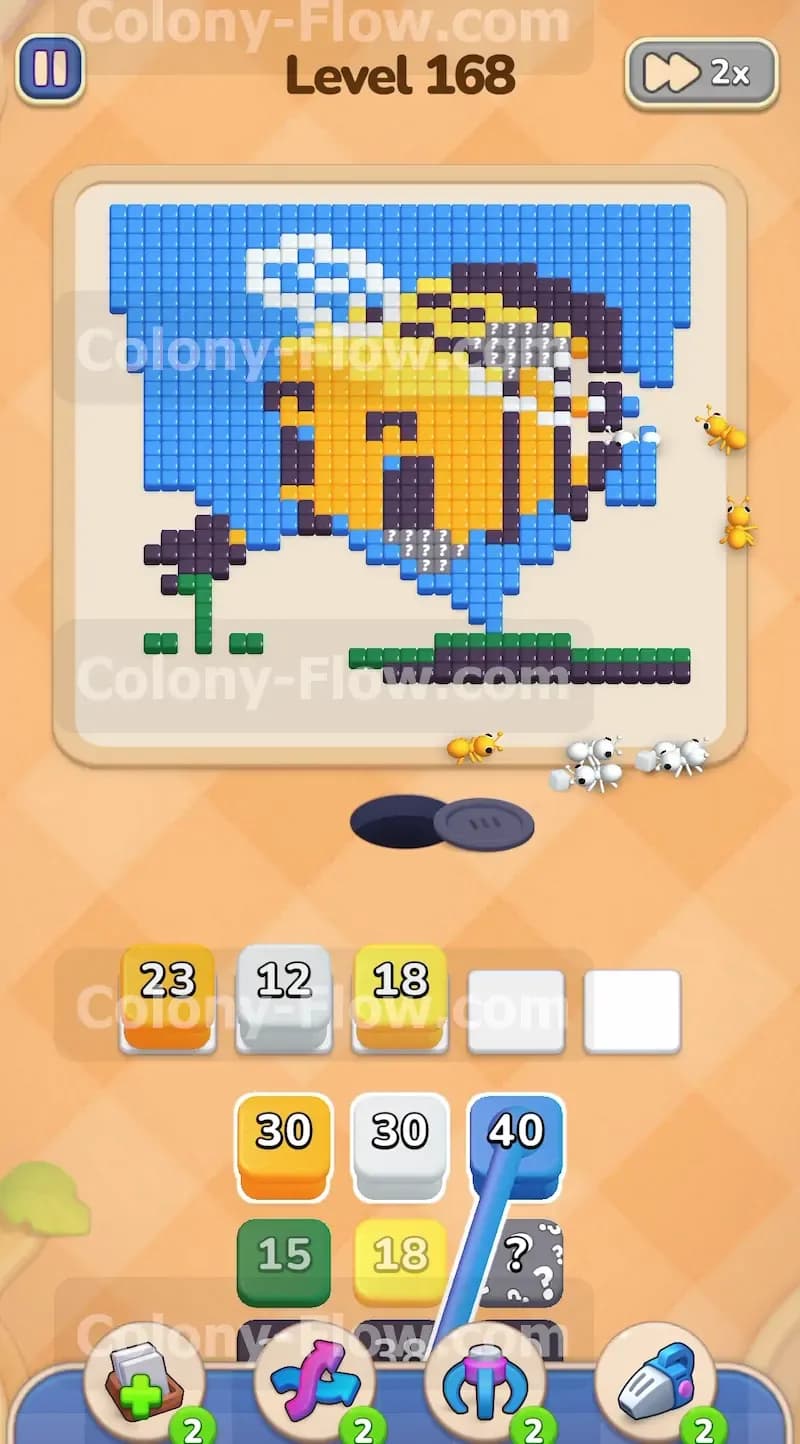
The blue sky takes up a massive portion of the board and wraps around the entire bee. You will need several large blue blocks to clear the sky entirely. Tap a blue block carrying a forty to send blue ants up the sides of the picture. They will start eating the sky tiles starting from the bottom corners and work their way up the left and right edges. Since the sky touches almost every single part of the bee this action will expose many new paths to the inner tiles. While the blue ants do their heavy lifting you can tap a yellow block to start working on the main bee body. The yellow stripes are thick and require a huge swarm of ants. Yellow ants will march straight up the middle channel where the flower used to sit and begin consuming the bottom edge of the yellow body.
Step 4: Manage the waiting slots while clearing the thick yellow bee body.
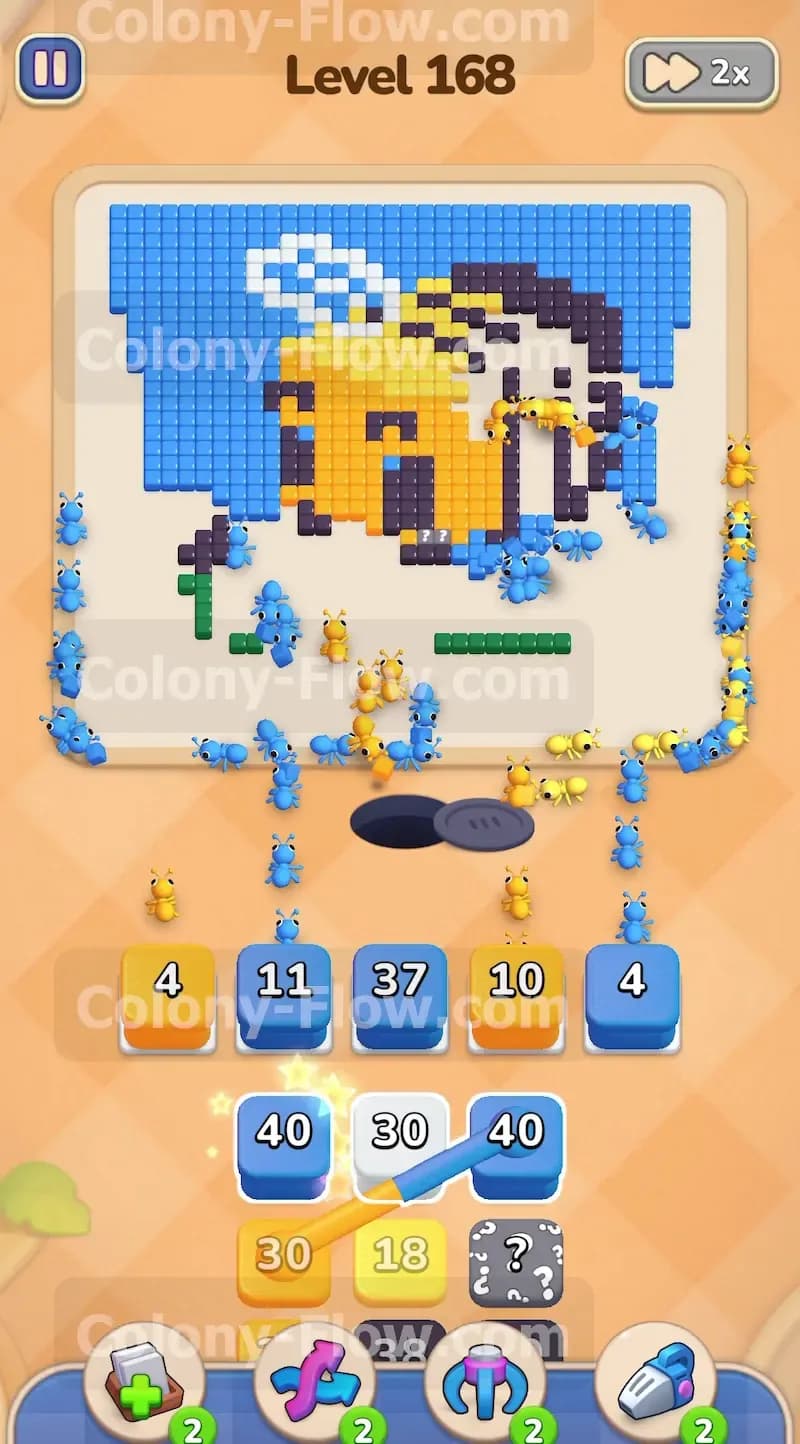
The yellow sections of the bee hold a massive amount of individual tiles. You will have to pull multiple yellow blocks throughout the level to finish the entire body. When you bring a yellow block up you must make sure the path remains wide enough for a steady stream of ants to flow. The number on the block will count down steadily as the yellow ants chew through the thick stripes. If you pull too many yellow blocks at once you risk filling all five waiting slots with colors that cannot move fast enough. You need to keep a close eye on the block numbers. If a blue block gets close to zero you can safely tap another blue block to take its place. Send another white block to finish off the remaining wing tiles while the yellow ants continue working on the body. The wings stick out deep into the sky so clearing them helps the blue ants reach the upper corners of the background.
Step 5: Focus on the black stripes and the remaining blue sky.
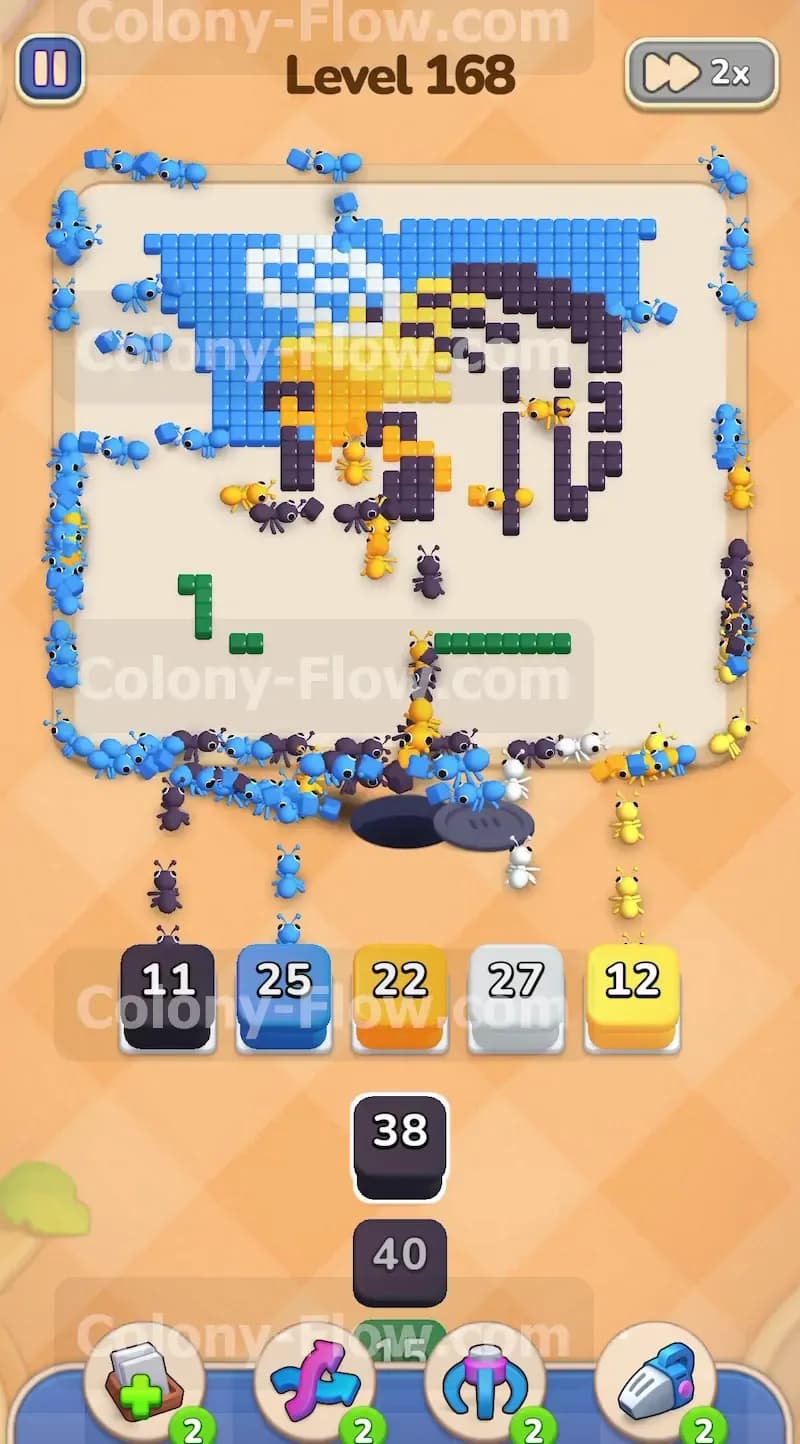
As the yellow body shrinks it will expose the black stripes running across the middle of the bee. You need to pull another black block from your tray to clear these dark stripes. The black ants will travel up the center path and start eating the thick black lines right away. At this point the blue sky will also be getting thin along the top edges. You will notice hidden boxes in your tray displaying question marks. A hidden box hides its color until it has a valid path to move. Once a path opens up the box reveals its true color and you can tap it to send more ants to the board. Tap another large blue block to keep the pressure on the sky background. The blue ants will swarm the top edge and clean up the remaining side sections. You have to keep your timing perfect here. Do not tap a block if the ants cannot reach that specific color yet. Always trace the route with your eyes before you make a move.
Step 6: Clear the final scattered tiles to finish the bee picture.
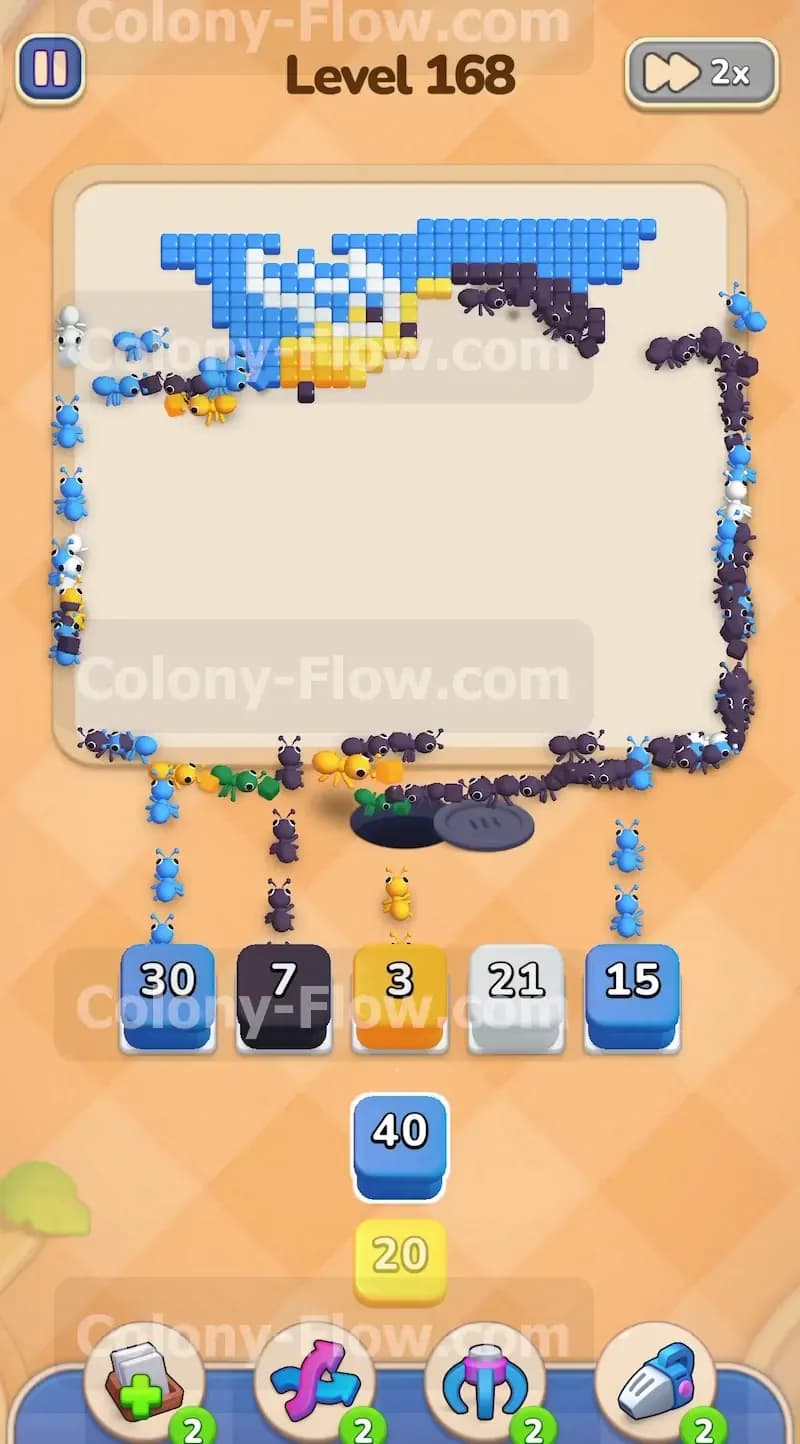
The board will look quite empty right near the end of the level. You will have a few stray black tiles from the top stripes and some leftover blue tiles at the very top edge of the sky. The yellow bee body will also have a few stubborn tiles hanging on. You just need to tap the exact blocks you need to clear these last pieces. Bring up a final blue block for the last sky tiles and a final yellow block for the top of the body. Watch the ants rush to the top of the board to clean up the remaining pixels. The numbers on your waiting blocks will hit zero exactly as the last tiles vanish from the screen. Once the board becomes completely empty the level ends and you win. You managed the paths perfectly and kept the waiting slots clear the entire time.
Final Thought
Level 168 demands strong attention to the open paths and the five waiting slots. You have to balance the massive blue sky with the thick yellow and black stripes of the central bee. Taking out the ground and the flower first sets you up for a very smooth victory. If you find yourself struggling to match the moves I described you can always watch the video above this article. The visual guide will help you understand the exact timing for each block pull and show you how to keep the ants flowing without a pause.