Colony Flow Level 258 Walkthrough Solution & Guides | How to solve Colony Flow 258

Guide By Liam Stone
Updated on July 14, 2026
The video above solves Level 258 in real time, so skip the article if watching works better for you.
Video doesn't match your screen?
Game updates frequently scramble layouts! Try our AI Screenshot Solver first to find your exact board instantly, or report broken guides to our team.
Welcome to Colony Flow Level 258. This level presents a tight pinwheel design with multiple bright colors locked behind thick red boundary walls. You have to carefully manage your tray slots because pulling the wrong color block too early will clog your waiting area and cost you the game entirely. I will walk you through exactly how to dismantle this board piece by piece so you can secure a win without any frustration.
Colony Flow Level 258 Overview
What You Are Working With
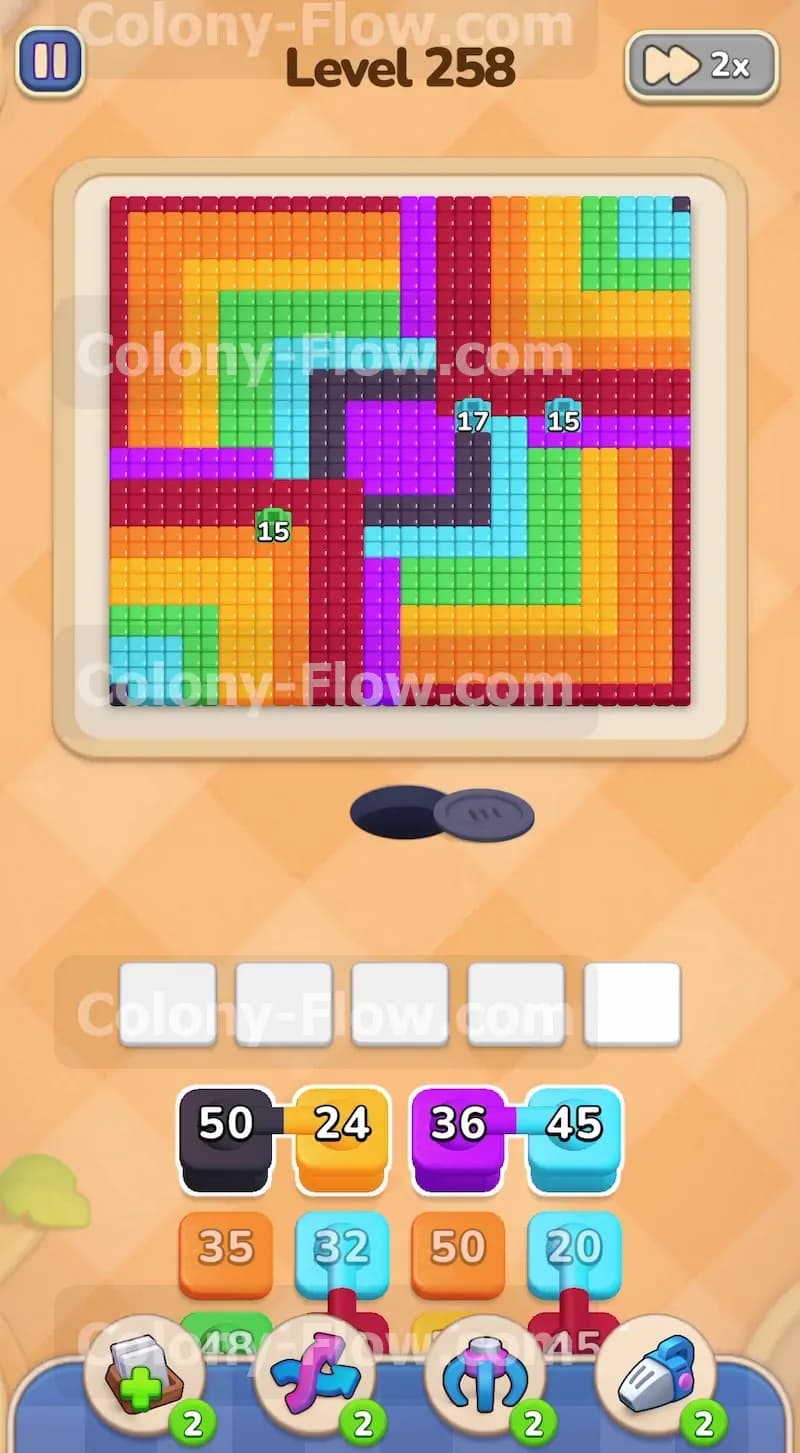
The board features a large square pinwheel pattern that takes up most of the screen. A thick red cross divides the entire board into four distinct quadrants. Inside these quadrants you will find dense layers of orange, yellow, green, light blue, and purple tiles arranged in an interlocking design. A solid black square sits right in the middle of the board and anchors the whole structure. The very outer edges of the pinwheel have small openings where you can easily access some green, orange, and light blue tiles. Down at the bottom of the screen you have your tray with five waiting slots for your numbered blocks. Some of the blocks in the tray are linked together with a thick purple cord. These connected boxes mean you must pull them in a specific sequence. If you pull a connected box too early it might drag another color with it and completely ruin your tray management. You also have layers of blocks stacked on top of each other in the lower section of the screen. You must uncover the buried blocks by playing the ones on top first.
What It Takes to Clear Level 258 Board
To beat this level you need to strip away the outer colored sections before you can break through the massive red boundary walls. Once the red walls open up you can send your ants into the deep inner layers and eventually reach the black square in the center. Your main goal throughout this entire puzzle is to always keep at least one active color on the board so your ants never stop moving. If you fill all five waiting slots with colors that have no open path the ants will stop coming out of the nest hole. When the ants stop moving the level ends in failure. You must constantly scan the board for open paths and only pull blocks that match the available colors. The connected boxes add an extra layer of difficulty because they force you to plan your moves ahead of time.
Colony Flow Level 258 Step by Step Solution
Step 1: Pull the initial corner colors to open the outer edges.
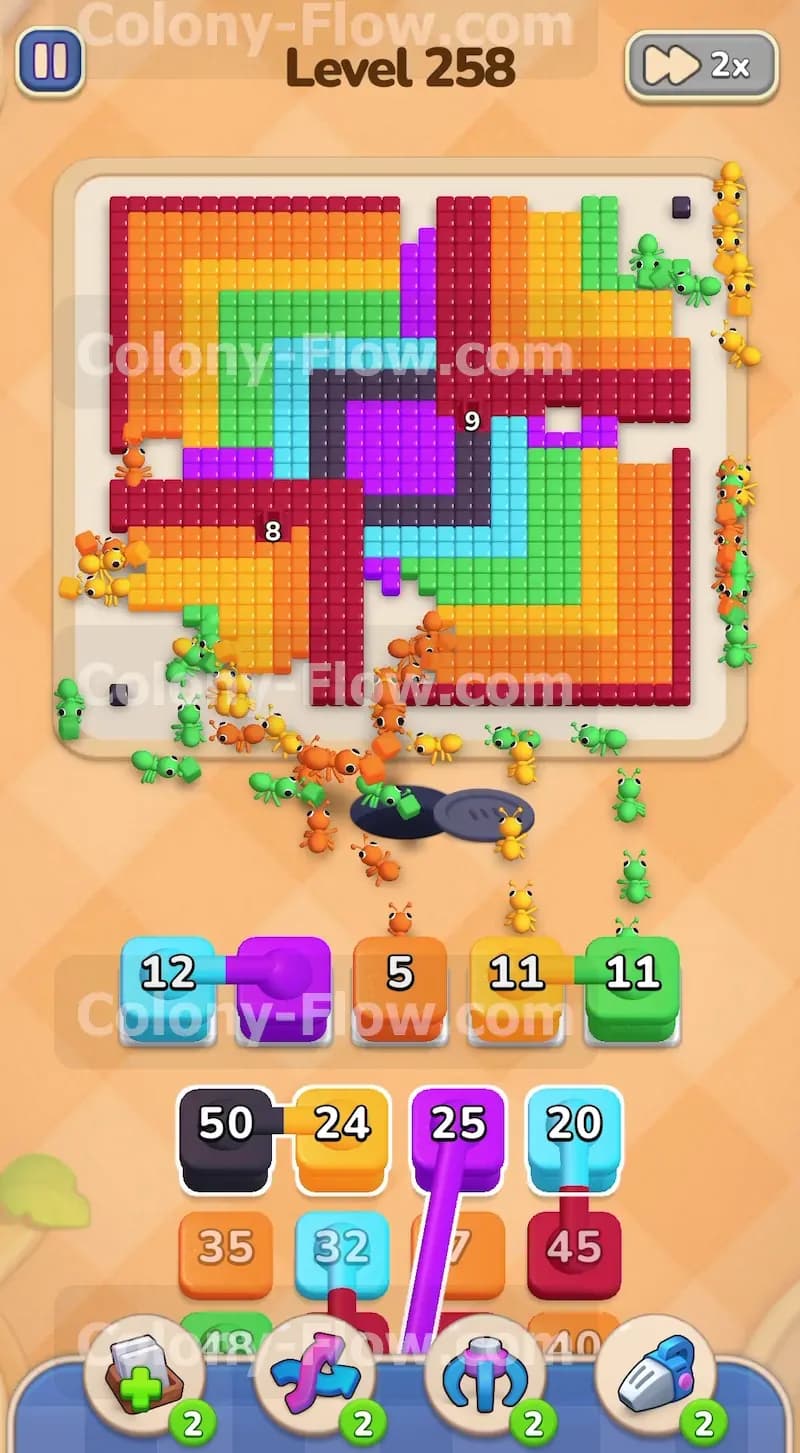
You start the level by targeting the exposed outer corners of the pinwheel shape. Look at the board and notice the small openings in the outer red wall. The bottom left has a cluster of green tiles exposed to the outside. The bottom right has a set of orange tiles ready to be eaten. The top right corner features a nice chunk of light blue tiles. Go to your tray and pull a light blue block, a purple block, an orange block, and a green block into your waiting slots. These blocks drop down and immediately send out thick streams of matching ants from the nest hole. The green ants march to the bottom left and start eating the green outer layer piece by piece. The orange ants head directly right to tackle their section. The light blue ants travel all the way up to the top right corner to chew on the blue tiles. Keeping four slots active right away gives your colony plenty of targets and ensures you do not waste any time at the start of the level.
Step 2: Clear the red boundary walls to access the inner sections.
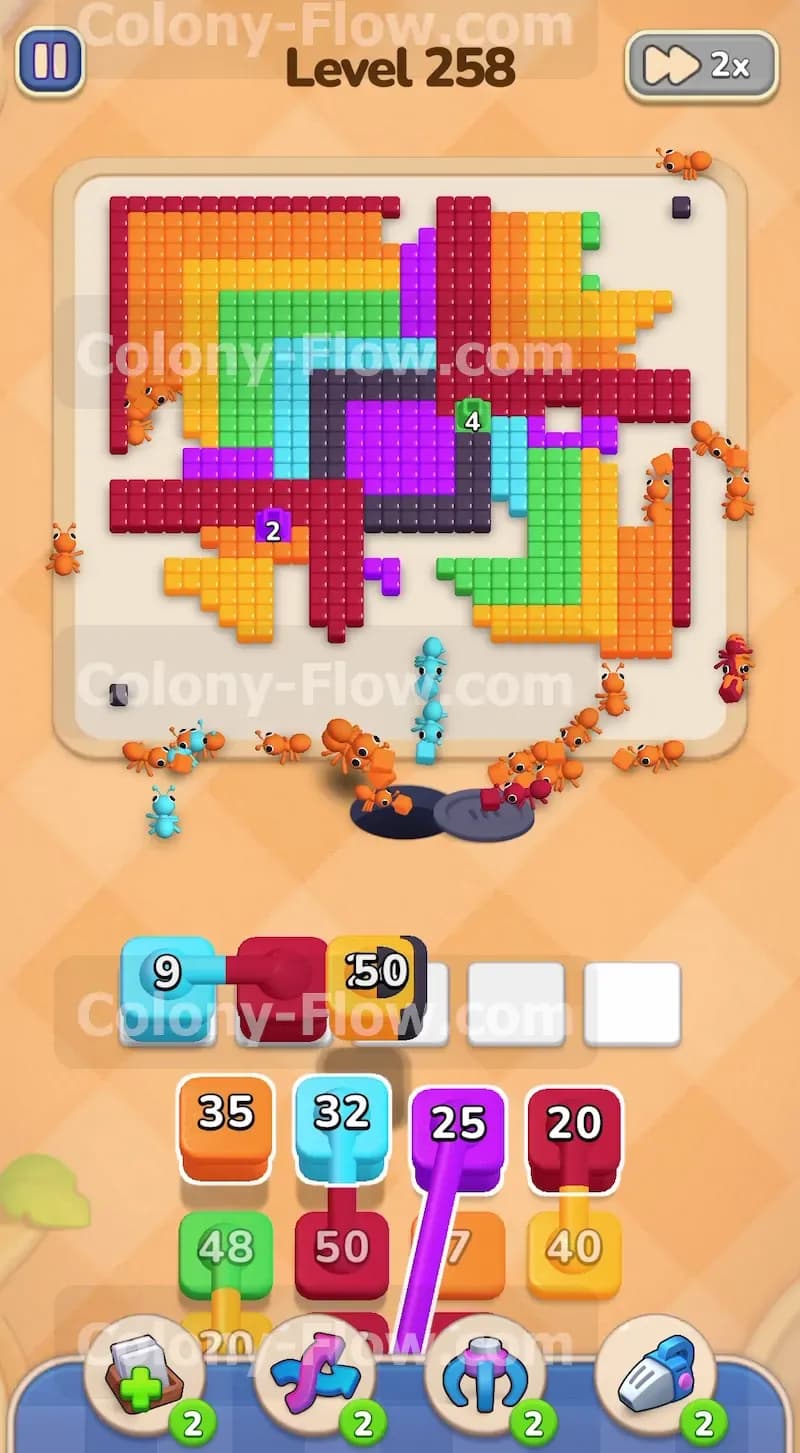
As the outer green and light blue sections disappear you will notice the red walls become completely exposed on several sides. Now is the perfect time to pull a red block from your tray. Drop a large red block into your waiting area. A massive swarm of red ants will stream out of the nest and attack the red cross structure that divides the board. The red ants will chew through the thick boundary lines and break the solid board into separate smaller chunks. This action is necessary because it opens up fresh paths to the deep inner layers of yellow and orange tiles that were previously blocked off. You must wait for the red ants to make significant progress and clear a good portion of the red cross before you pull any other colors into your tray. If you rush this part you risk jamming your slots.
Step 3: Attack the black center square and the new orange layers.
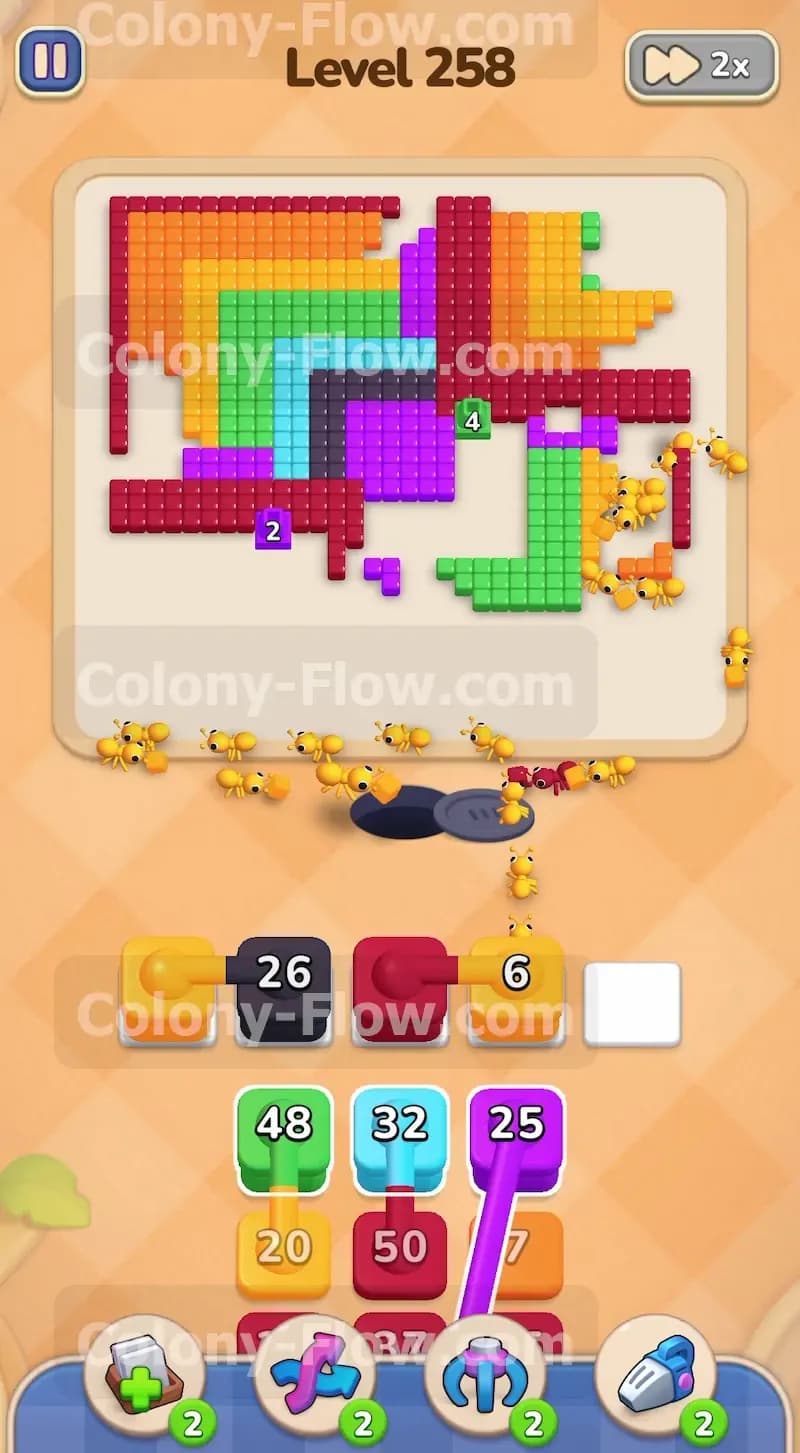
With the red walls mostly gone the black square in the very center of the board is now completely exposed and vulnerable. You will also see large sections of orange and yellow tiles opening up in the top left and bottom right areas. Pull a black block into your waiting slots so the black ants can get to work. Then pull another orange block to keep the colony moving. The black ants will charge straight up the middle of the screen and begin dismantling the dark core of the pinwheel. Meanwhile the orange ants will split up and attack the newly exposed orange layers on the right side of the board. Letting the black ants work early is a very smart move because that center square takes a lot of hits to clear completely. You still have open slots in your tray so you are safe from jamming at this stage.
Step 4: Send green and purple ants to clear the bottom left quadrant.
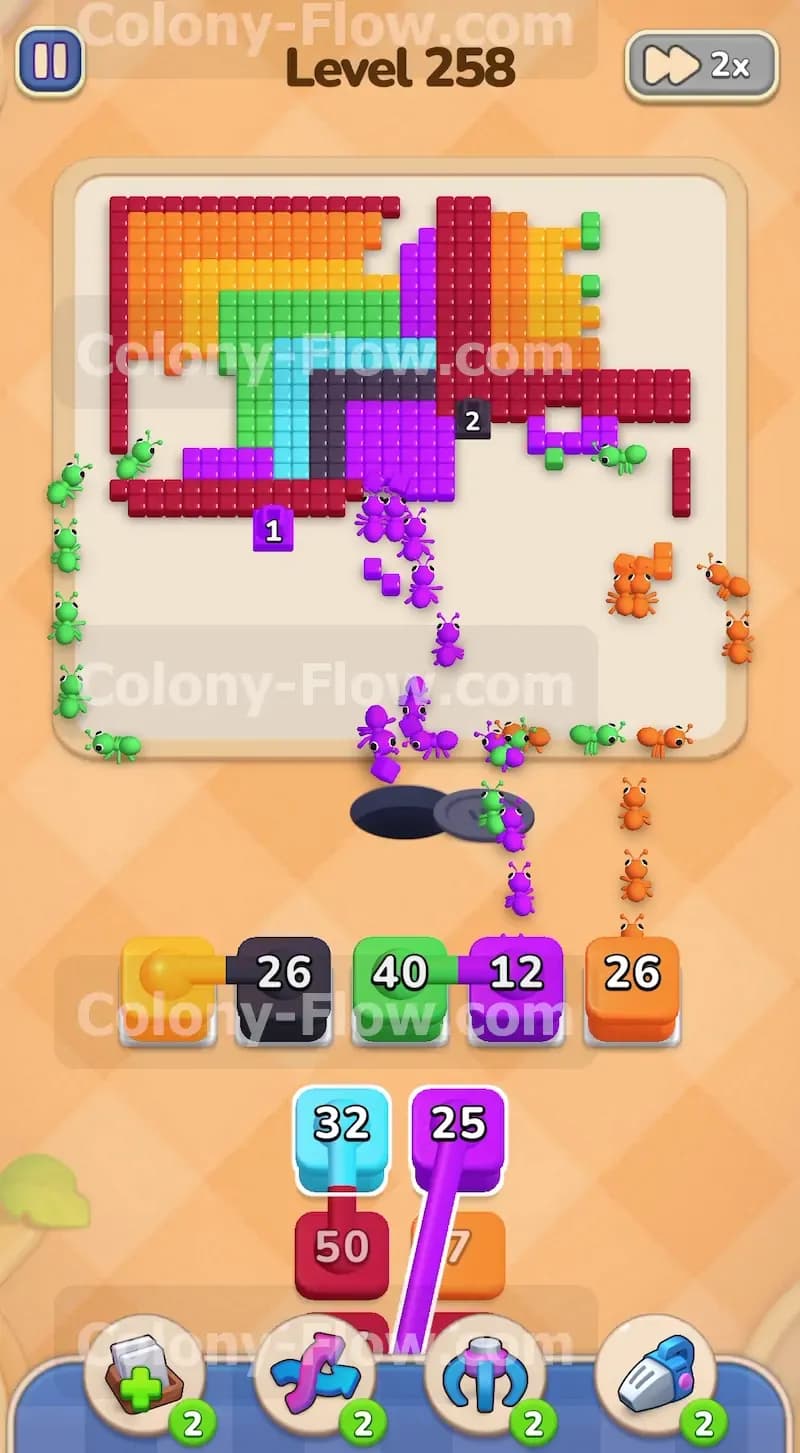
While the black and orange ants are busy eating the center and right side you can focus your attention on the bottom left side of the board. This specific quadrant holds a large dense cluster of purple and green tiles that need to be removed. Pull a green block and a purple block into your tray from the available stacks. The green ants will finish off the remaining green pieces on the far left edge of the pinwheel. The purple ants will flood into the bottom left corner and aggressively eat through the thick purple layers. The board is now starting to look very empty on the left side. Your tray is full at this point but since all four colors have active open paths the numbers on the blocks will drop steadily. You will not face a dead end here as long as you let these groups finish their meals without interference.
Step 5: Finish the black center and let the tray slots empty out.
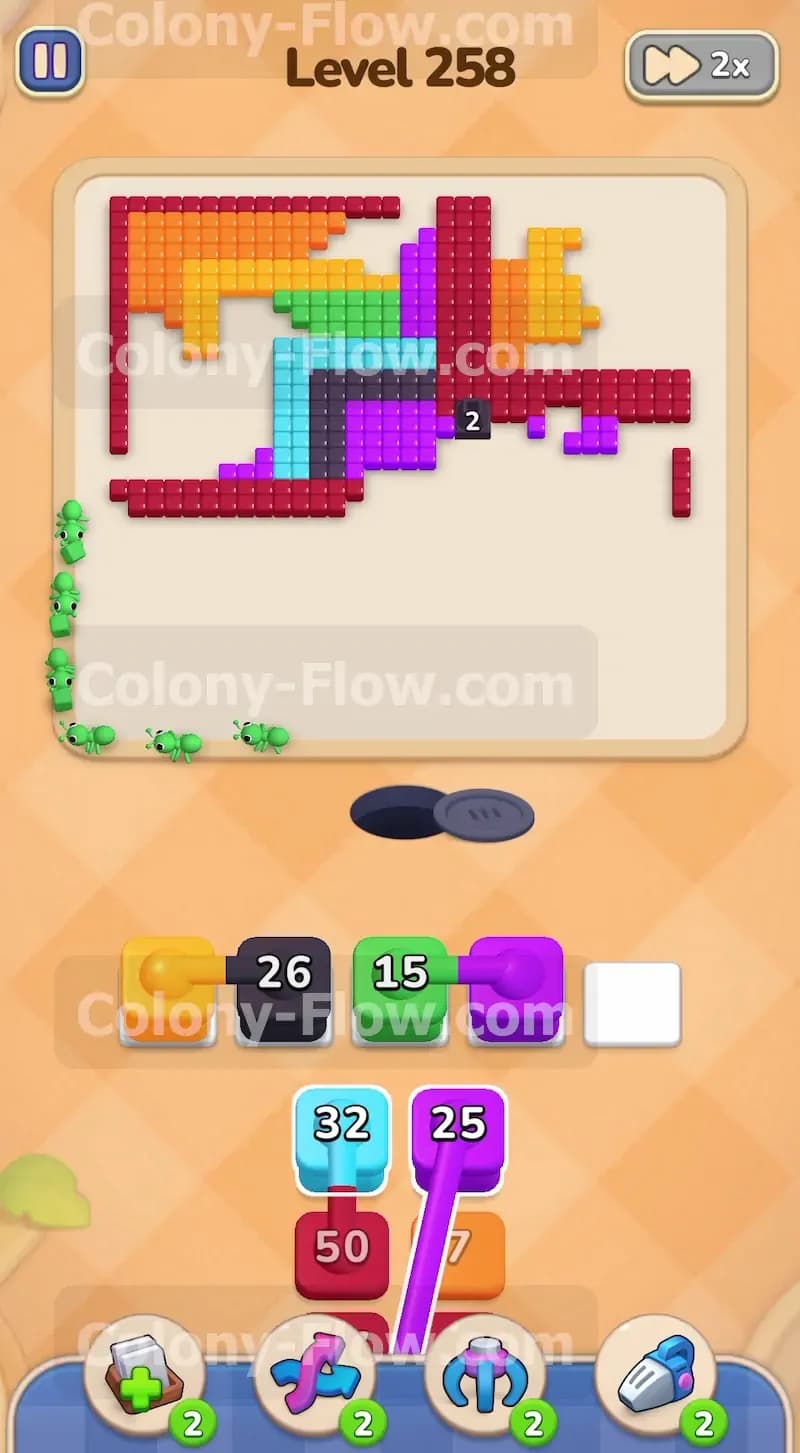
You need to be patient for a brief moment and let the current ants do their job on the board. The black ants will consume the last few tiles of the center square and the black block will vanish from your tray completely. The green block will also hit zero and disappear from the waiting area. This clears out your waiting slots and gives you the space you need for the final actions. The left side of the board is now completely clear of any tiles. Only the top right and bottom right sections remain intact. You still have orange ants working hard on the right side. Taking a brief pause here prevents you from overloading the tray with colors that might not have a clear path yet. Managing your empty slots is just as vital as playing the right colors.
Step 6: Deploy yellow and red ants to break the top right cluster.
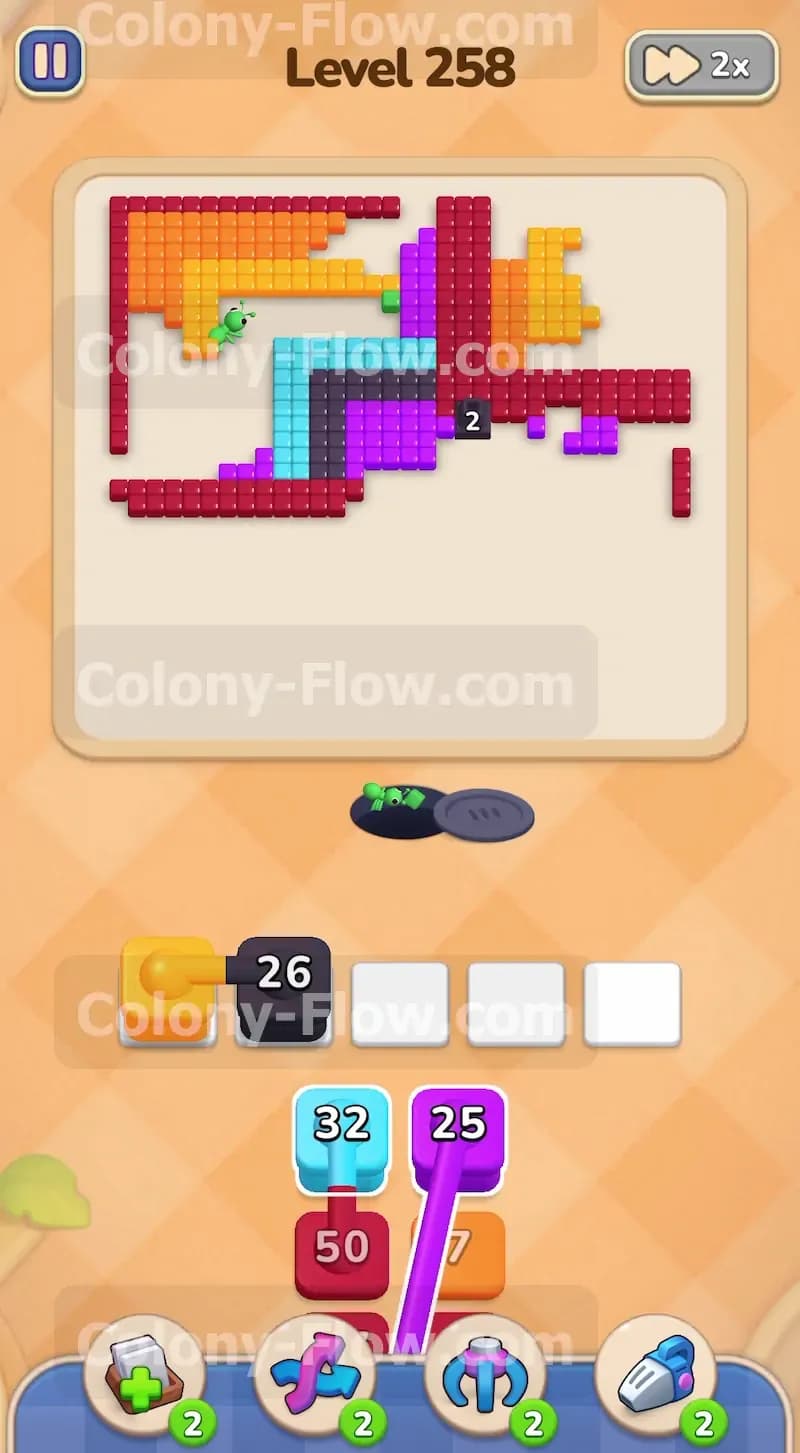
Now turn your attention to the top right quadrant of the board. This area is full of bright yellow tiles and a few leftover red boundary pieces that need to be cleaned up. Pull a yellow block and a small red block from your tray into the active slots. The yellow ants will march all the way up to the top right and begin clearing the thick yellow layers. The red ants will pick off the stubborn red pieces lingering near the outer edges. Opening up this yellow section will expose the final purple and orange tiles hidden deep behind them. Keep a close eye on your tray slots to make sure the numbers are counting down properly. The yellow block will take a little while to empty because there are many yellow tiles packed tightly together in that corner.
Step 7: Clear the final purple and orange tiles to finish the puzzle.
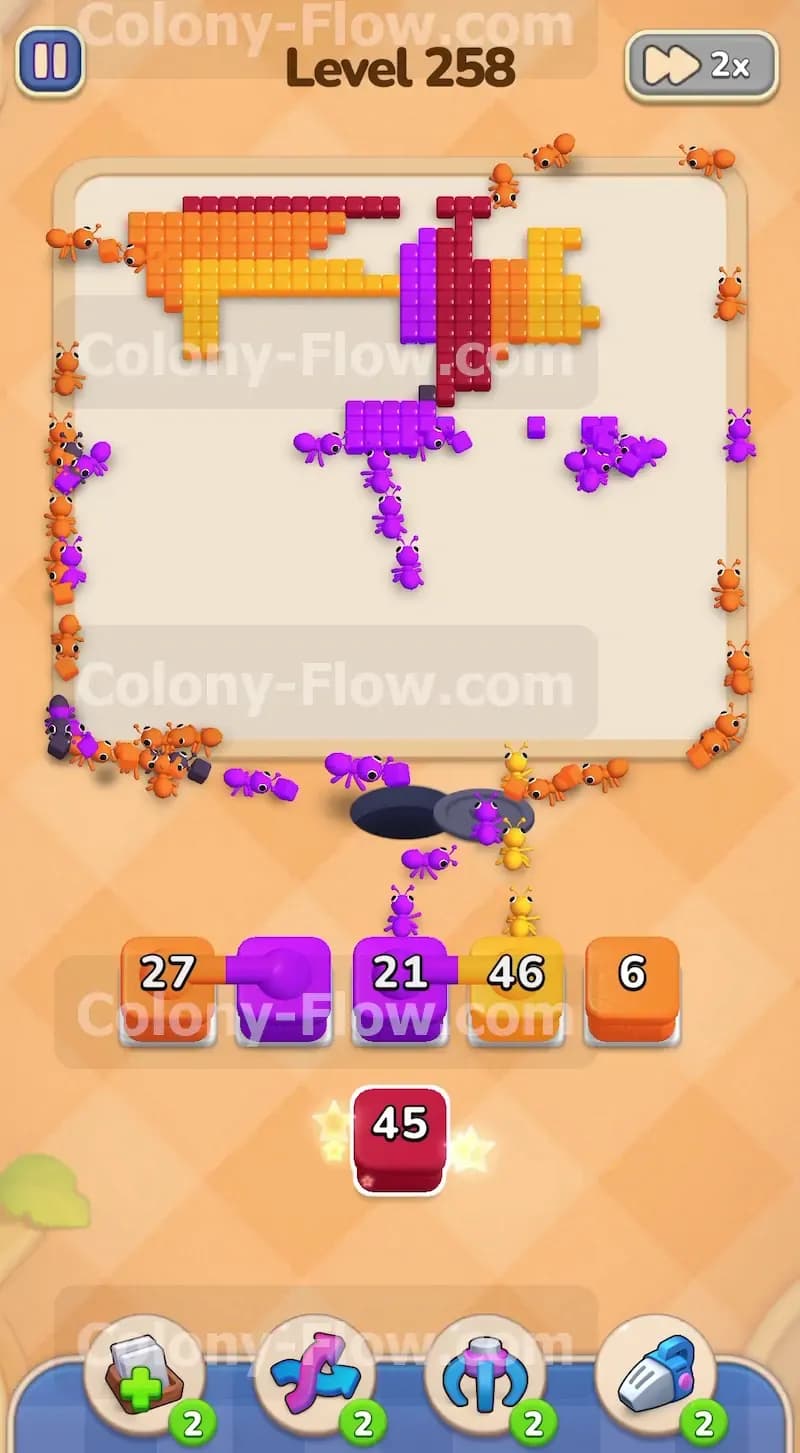
The board is now down to just a few scattered clusters on the right side of the screen. You will see some purple tiles in the middle right section and a long strip of orange tiles at the very top edge. Pull your remaining purple block and your final orange block into the tray. A huge wave of purple and orange ants will emerge from the nest and race toward the remaining tiles. The purple ants will quickly devour the middle right section and clear it out completely. The orange ants will sweep across the top edge and clean up the final orange pieces. Once these last blocks hit zero the board will be completely clear. You have successfully managed your tray slots and kept the colony flowing without a single jam.
Final Thought
This level teaches you exactly how to control the flow of ants by managing your tray slots carefully from start to finish. Breaking through the red boundary walls early is the true key to unlocking the rest of the board and keeping your paths open. Just remember to always check for an open path before you pull a block down into your waiting area. If you find any of these steps hard to follow in text I highly encourage you to watch the video above this article. Watch how the ants move and replicate that exact timing to secure your win.