Colony Flow Level 199 Walkthrough Solution & Guides | How to solve Colony Flow 199

Guide By Liam Stone
Updated on July 13, 2026
Not in the mood to read? The video above solves Level 199 for you from beginning to end.
Video doesn't match your screen?
Game updates frequently scramble layouts! Try our AI Screenshot Solver first to find your exact board instantly, or report broken guides to our team.
Welcome to Colony Flow Level 199. You face a beautiful landscape of vibrant colorful layers that you need to break down pixel by pixel. Playing this level requires careful planning because the large solid bands of color block your direct access to the upper sections of the board. You must plan your tray pulls perfectly to avoid a jam and keep the ants moving. Let us dive into the best way to solve this layout.
Colony Flow Level 199 Overview
What You Are Working With
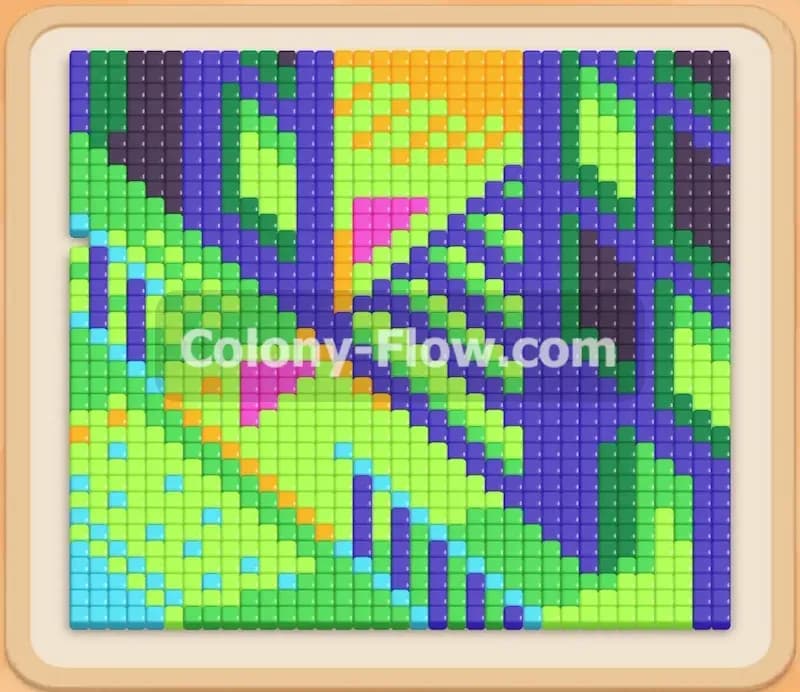
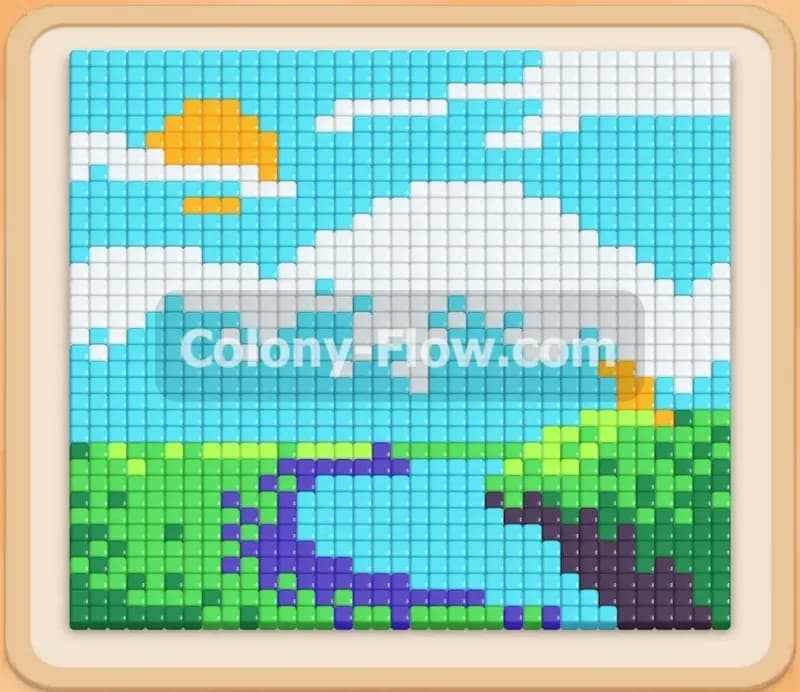
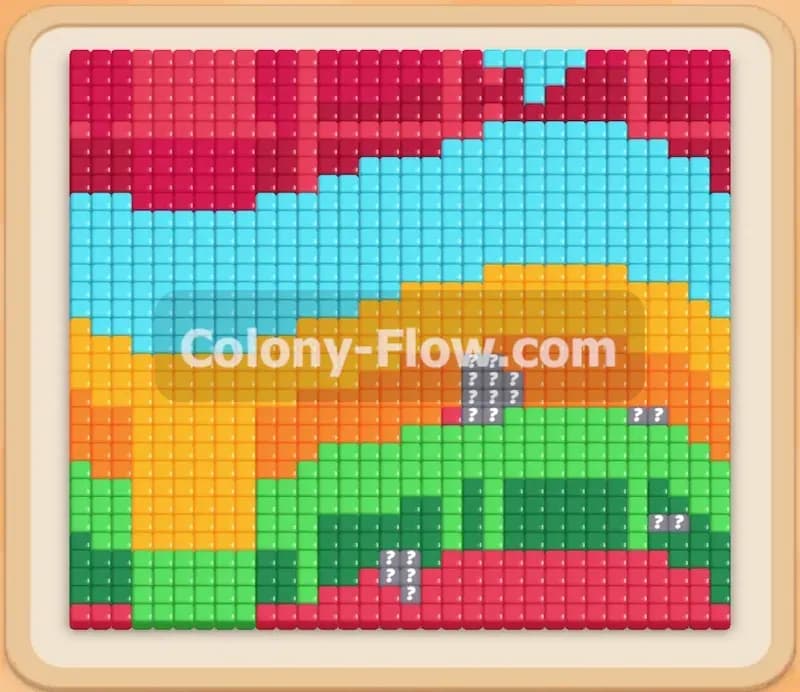
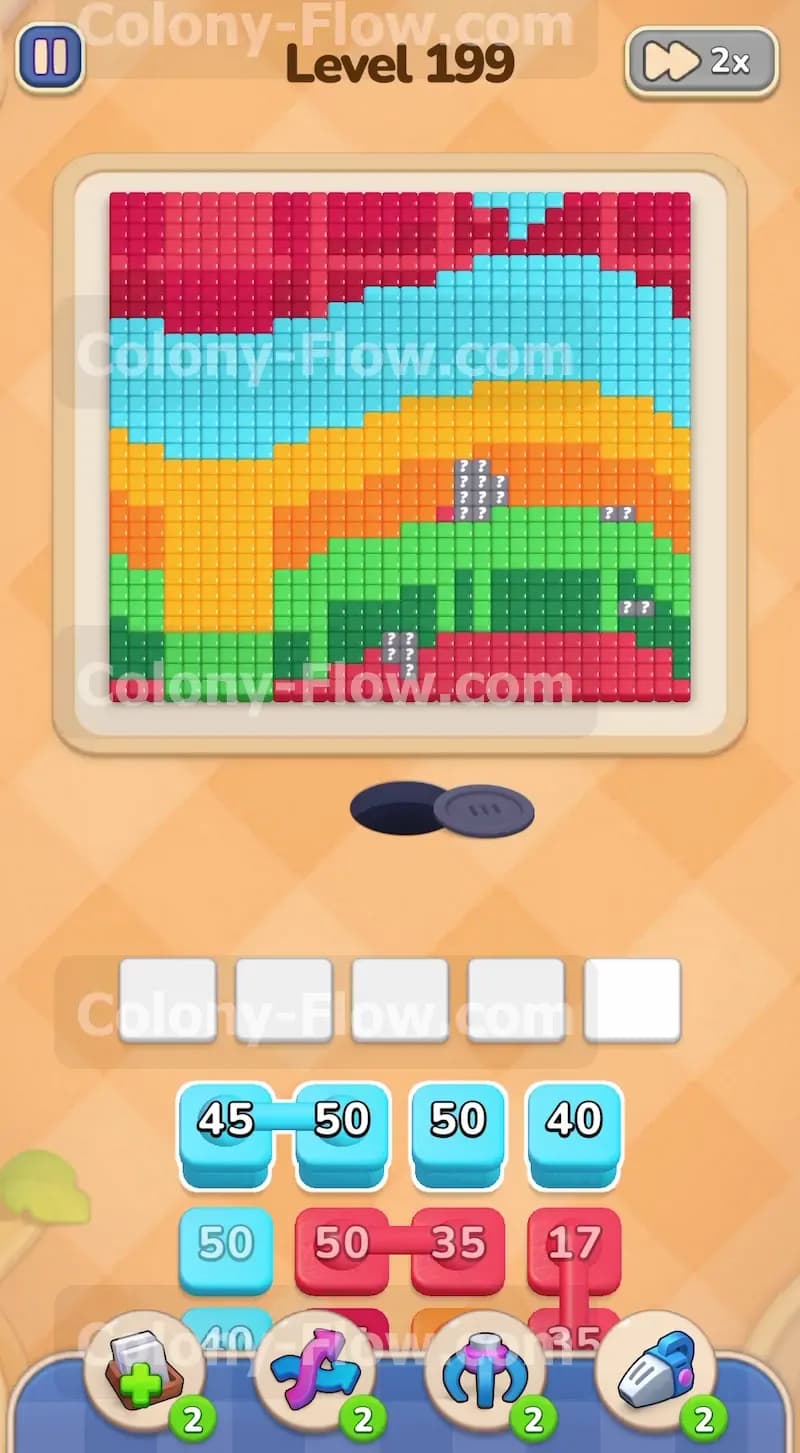
The board features five distinct wavy bands of color. A thick dark red layer sits at the very top of the picture spanning the entire width of the screen. Just below that dark red section is a light blue section that curves across the middle. Underneath the light blue you will see a bright orange band followed immediately by a thick green band. Finally a smaller dark red section rests at the very bottom right next to the nest hole. Your tray holds a mix of single blocks and connected boxes. These connected boxes link two numbers together. You have to pull them as a joint pair which immediately fills two of your waiting slots. This specific mechanic makes managing your tray space much more difficult than a standard board.
What It Takes to Clear Level 199 Board
To beat this board you need to strip away every single pixel tile until the screen is completely blank. Your ants start at the bottom nest hole and they require clear open paths to reach their matching colored food tiles. The five waiting slots at the bottom of the screen act as your biggest hazard. If you pull a block from the tray and the ants cannot reach the matching food your block sits completely frozen in the slot. Fill all five slots with blocked colors and the level ends in sudden defeat. You must always verify a clear walking route before you tap any block in the tray. Maintaining a steady flow of ants without blocking the intersections is the only way to succeed.
Colony Flow Level 199 Step by Step Solution
Step 1: Start by targeting the light blue section using the left side path
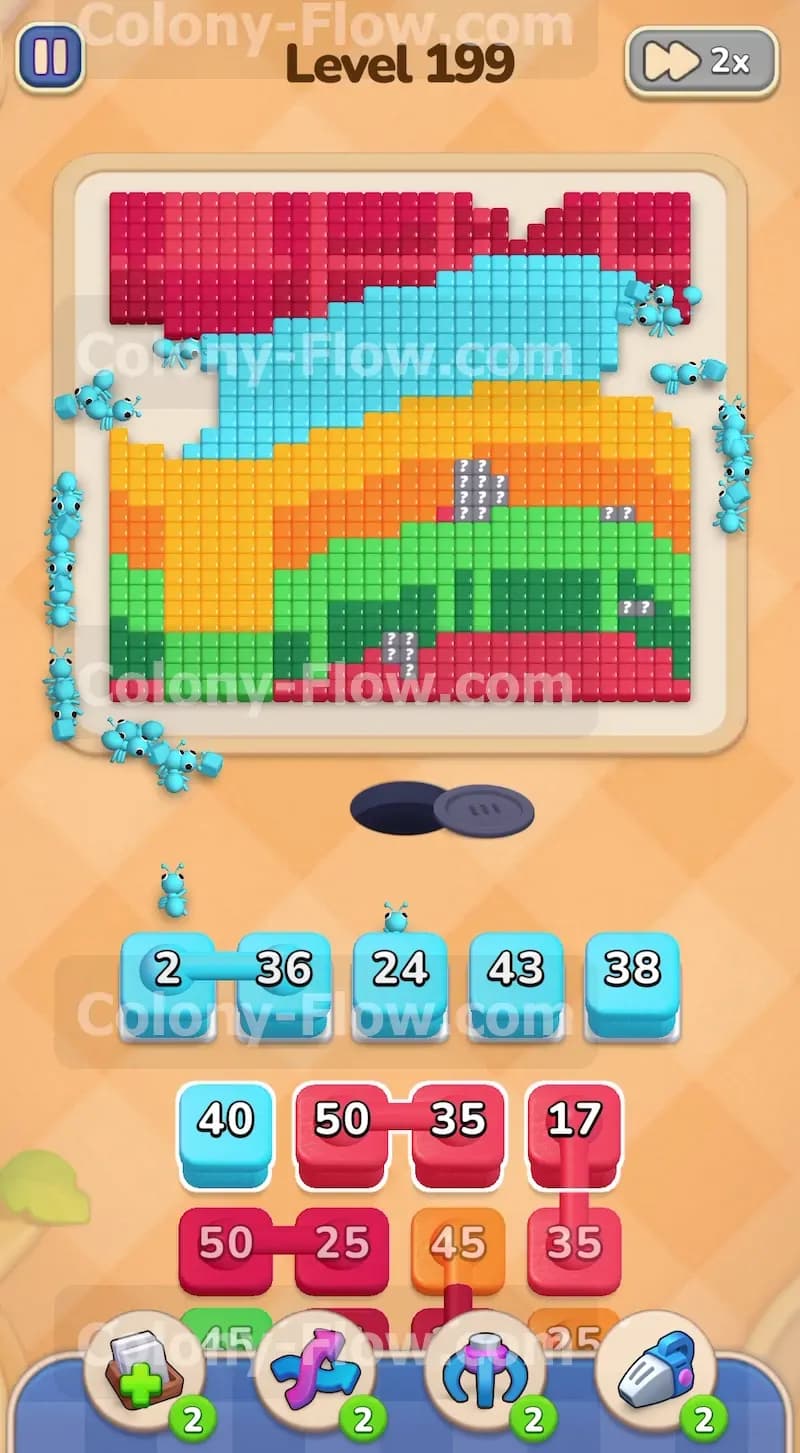
Your first move requires opening a travel lane for the ants to reach the upper sections of the pixel art. Pull the first connected blocks from the tray which contain a light blue 45 and a light blue 50. These two connected blocks give you massive clearing power early in the match but they instantly take up two of your five waiting slots. Because the bottom green layer and the bottom orange layer block direct upward access the light blue ants must crawl all the way up the far left edge of the screen. They squeeze past the bottom dark red tiles and wrap closely around the orange and green layers to finally hit the light blue band. This long walking path takes a few seconds to complete so you need to be extremely patient. Letting the ants establish this left side highway keeps your waiting slots moving smoothly and prevents an early trap that would end your game.
Step 2: Pull the next sequence of light blue numbers to sustain your momentum
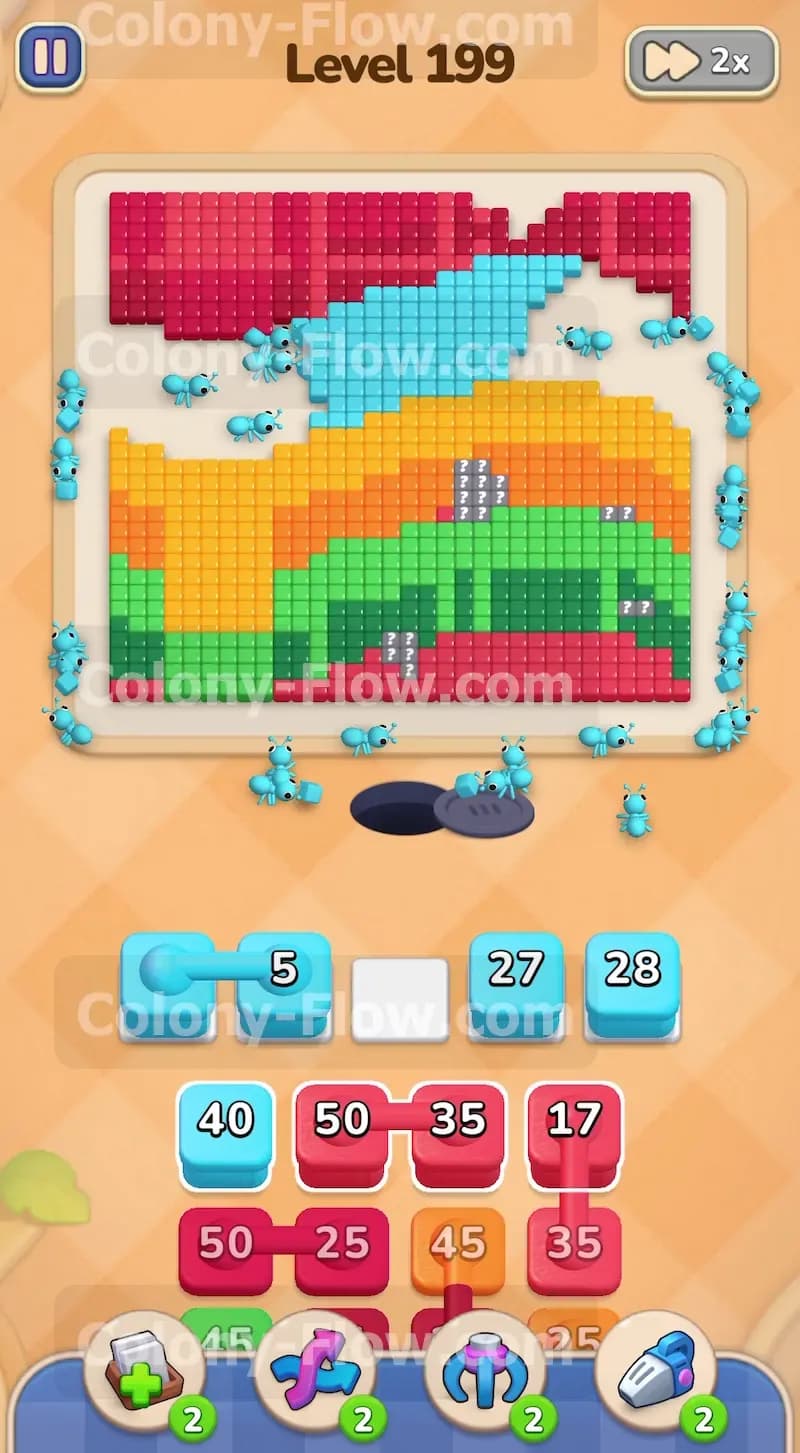
With the left side lane now fully active and bustling with ants you can safely pull the next batch of light blue numbers. Tap the light blue 36 and the light blue 24. Follow this sequence immediately by pulling the light blue 43 and the light blue 38. The ants now have a wide open superhighway running straight up the entire left edge of the board. The numbers on the light blue blocks in your waiting slots will count down rapidly as the ants devour the leftmost side of the light blue band. You must keep a close eye on the block tray during this critical phase and do not touch any red or orange blocks yet. Those specific colors do not have an open walking path available and pulling them would instantly jam your limited slots. Waiting for the blue layer to shrink is the only safe play.
Step 3: Clear the final light blue connected blocks to expose the top layer
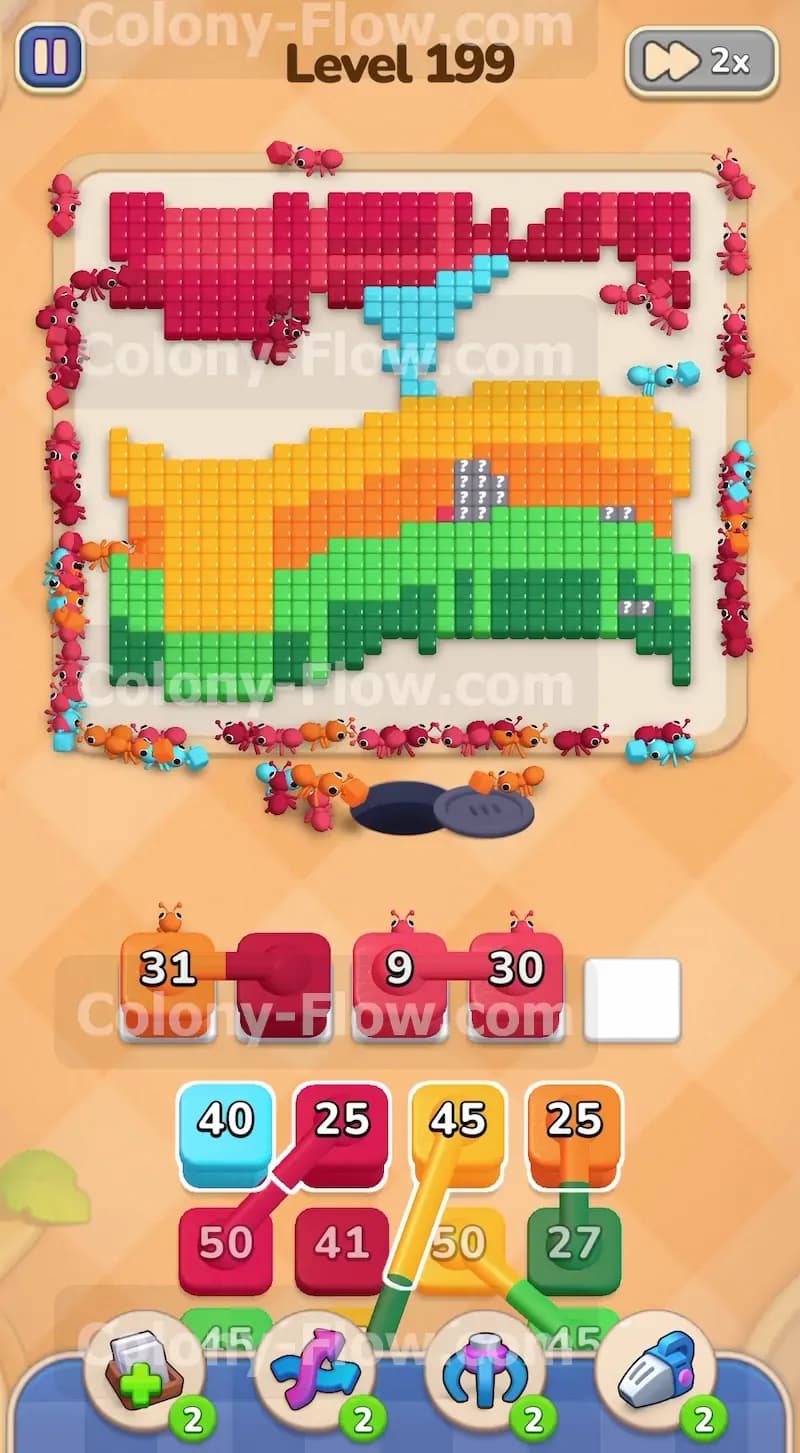
You will soon see a pair of connected light blue boxes featuring a 2 and a 5. Tap those connected boxes along with the single 27 and 28 blocks. The newest wave of ants swarms the remaining light blue tiles located in the center and right side of the picture. As these light blue tiles vanish from the screen the thick top dark red layer becomes completely exposed. The bottom foundation of the dark red section is now fully reachable from the left side corridor. This exact setup is precisely what you want because it prepares your board for the next major color push without risking a dreaded slot jam.
Step 4: Shift your focus entirely to the top dark red layer
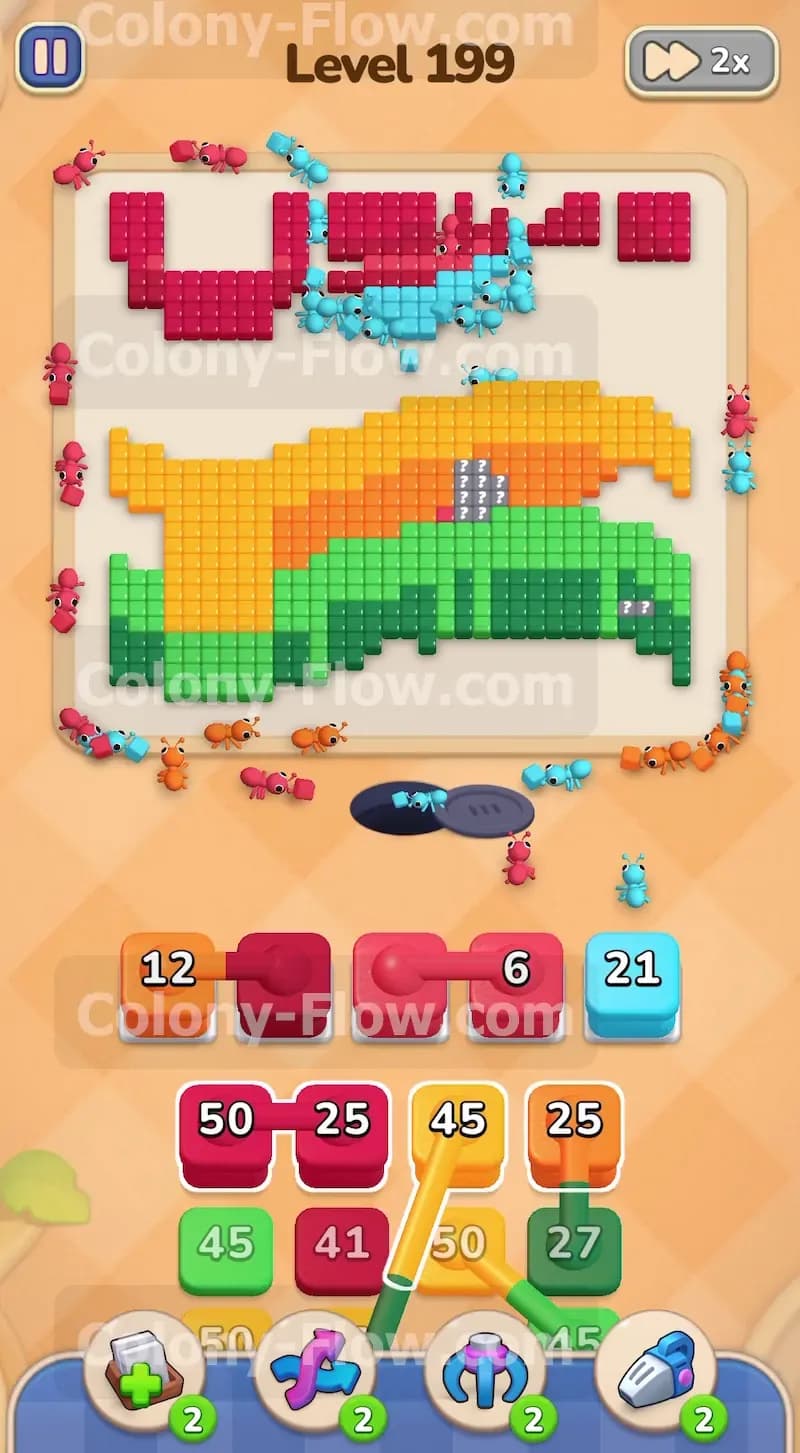
Now that the top layer is completely open from underneath you can safely begin pulling the dark red blocks. Tap the dark red 31 and the dark red 9. You can also grab the dark red 30 to keep the heavy pressure going. The dark red ants emerge from the nest hole and race up the exact same left side route you just carved out. They climb all the way to the top and begin devouring the dark red section from left to right. Your waiting slots remain perfectly clear because the red ants have immediate unrestricted access to their matching food source. The flow remains continuous and your board stays entirely safe from filling up.
Step 5: Bring out the first orange blocks to chip away at the middle section
As the top dark red layer thins out you can start mixing in some orange blocks to work on the middle of the board. Pull the orange 12 and the orange 31. The orange ants follow the same left side route but they stop early to eat the left edge of the bright orange band. You also have a small light blue 21 and a dark red 6 available to pull. Mixing these distinct colors works perfectly right now because both the orange and dark red walking paths are wide open. Your different colored ants flow smoothly around each other without ever jamming the five crucial tray slots.
Step 6: Finish off the top dark red layer with your heaviest numbered blocks
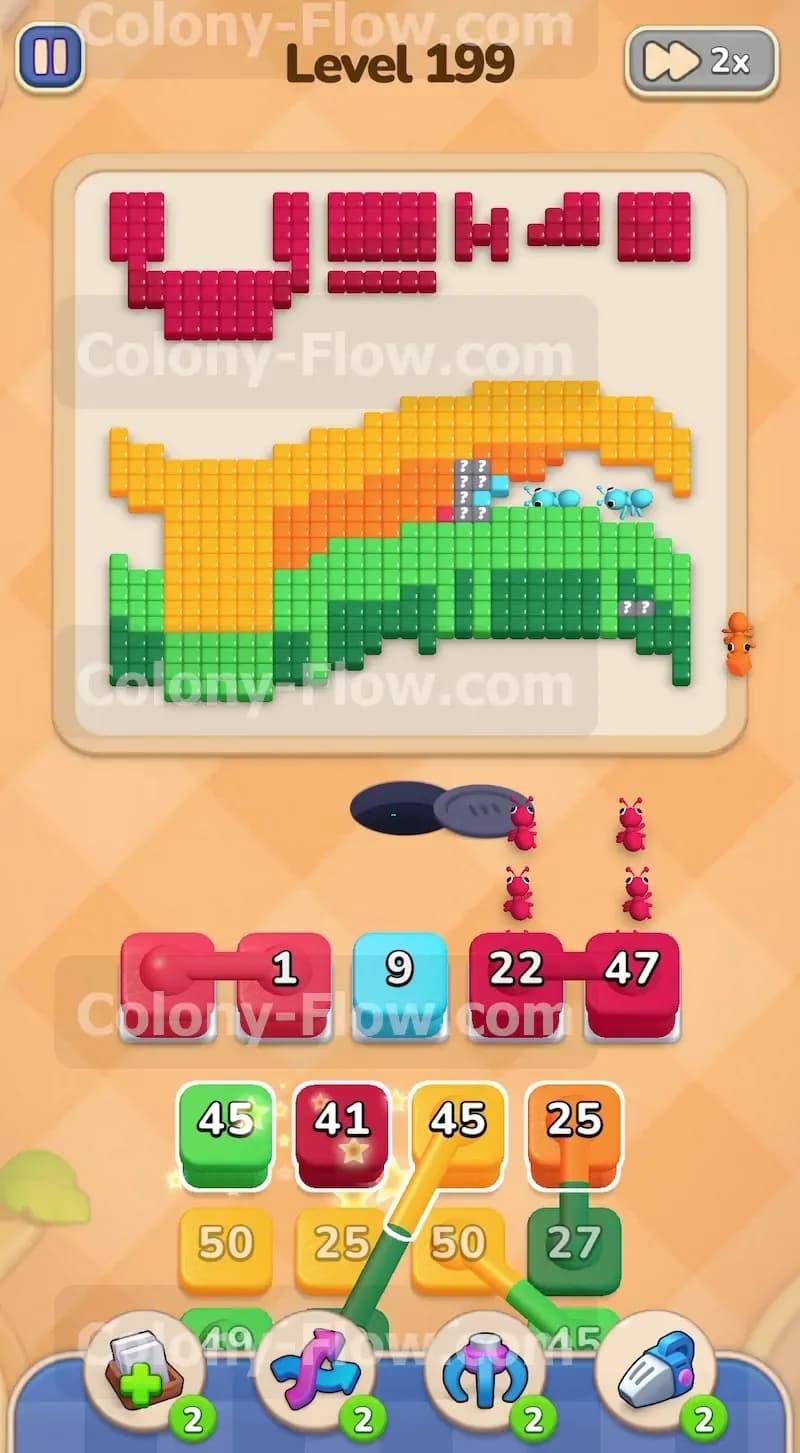
The top dark red section is almost completely gone but you need a massive swarm of ants to finish the job. Tap the dark red 1 and the dark red 22 along with the massive dark red 47 block. You might also have a stray light blue 9 sitting in the tray to clear out a tiny leftover piece of the blue band. The huge fresh swarm of dark red ants marches to the very top of the board and breaks the remaining dark red structure into tiny scattered fragments. The entire top half of the board turns into empty space which gives you a tremendous advantage for the final cleanup phase.
Step 7: Unleash the green and orange ants to destroy the lower layers
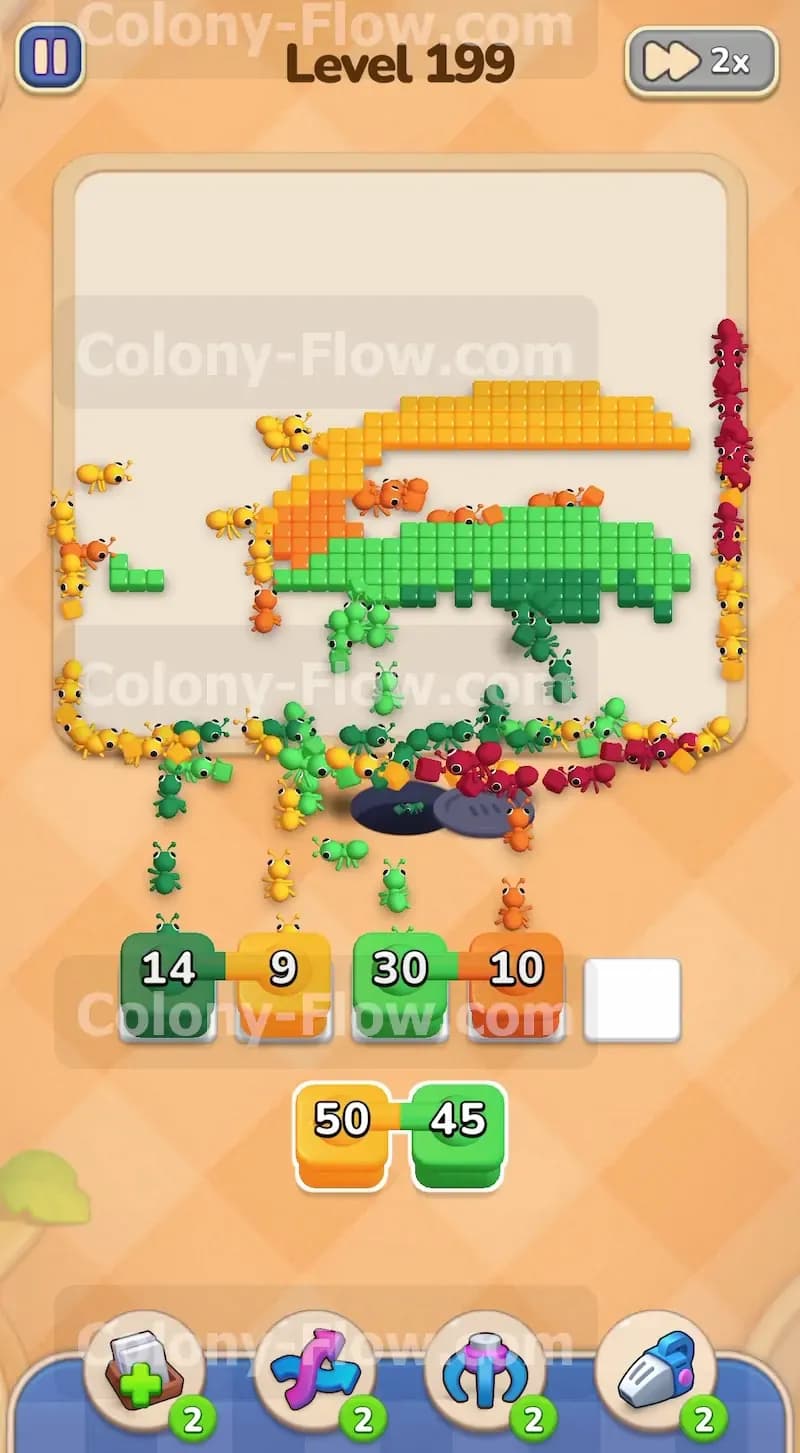
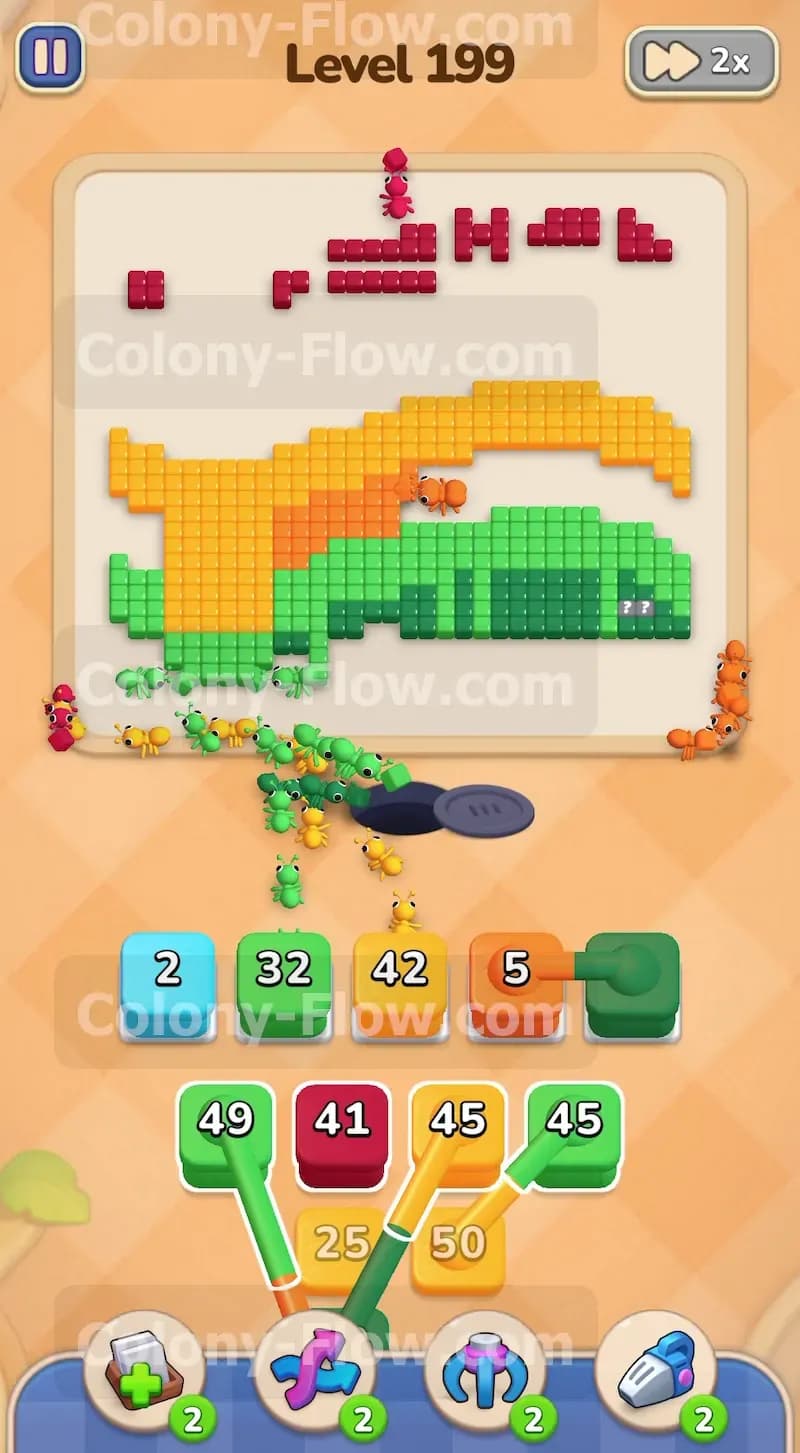
With the top half of the screen fully cleared you can finally focus all your attention on the bottom sections of the picture. Pull the green 32 and the orange 42. You also have a connected orange 5 block and a green block waiting in the tray. Tap them both to send the green and orange ants streaming directly into the center of the board. They attack the thick green and orange bands from the top down and from the left side inward. The walking paths are now incredibly short and direct so your waiting slots empty almost instantly upon pulling the blocks.
Step 8: Clean up the final fragments of orange and green to win the level
Only a few scattered pieces of the pixel art picture remain on the board at this point. Pull the orange 10 and the green 14 from the tray. Follow up with the final green 30 block. The last few waves of ants pour out of the bottom nest hole and sweep away the final remaining chunks of color. Since you carefully managed your walking paths from the very beginning your waiting slots never filled up with blocked colors. The board is now completely clear and you have successfully conquered this challenging layout.
Final Thought
Taking your time and carefully reading the layout of the board is the ultimate key to winning. Never rush your pulls and always verify the ant walking routes before you commit to a block in the tray. If any specific move gives you trouble or you cannot find the right path please watch the gameplay video above this written guide to see the exact timing in action.