Colony Flow Level 315 Walkthrough Solution & Guides | How to solve Colony Flow 315

Guide By Liam Stone
Updated on July 17, 2026
The video above shows you how to clear Level 315 without needing to read a single step below.
Video doesn't match your screen?
Game updates frequently scramble layouts! Try our AI Screenshot Solver first to find your exact board instantly, or report broken guides to our team.
Colony Flow Level 315 drops you into a massive pixel art puzzle shaped like a national flag. You have to carefully manage three giant vertical stripes of green white and red while slowly picking apart a highly detailed center emblem. The sheer volume of identical colors can quickly jam your five waiting slots if you pull blocks blindly. You must alternate your color choices to keep the ant paths flowing smoothly from start to finish.
Colony Flow Level 315 Overview
What You Are Working With
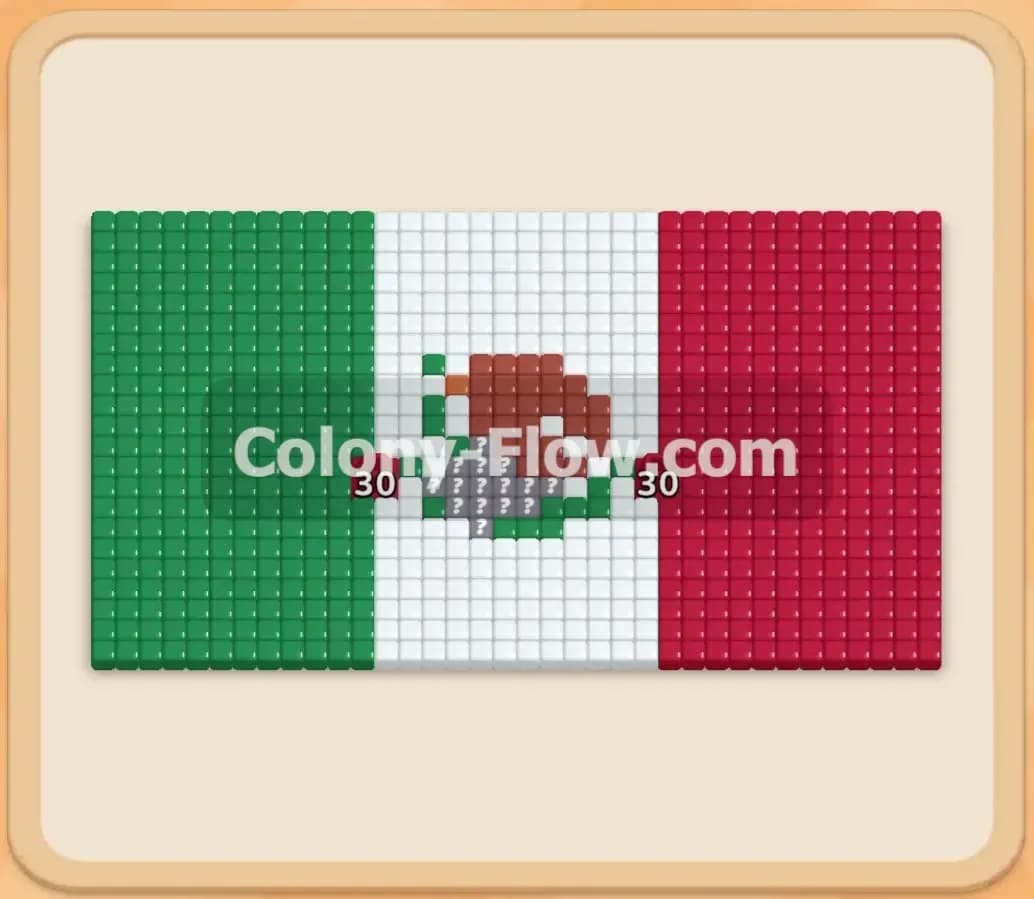
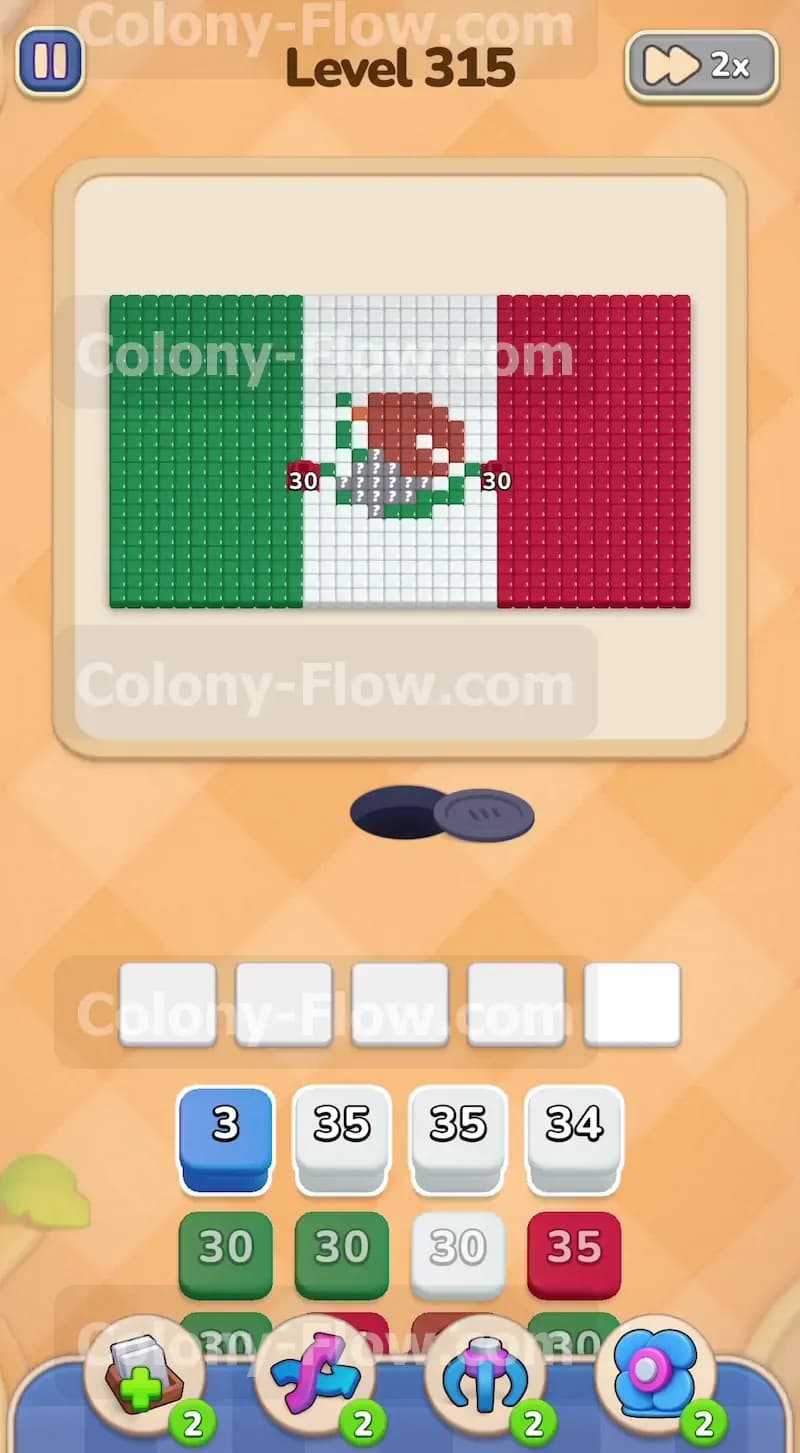
The board displays a large rectangular flag taking up most of the upper screen. The left side is a completely solid green stripe. The middle section is a solid white stripe. The right side is a solid red stripe. Right in the middle of the white stripe sits a complex emblem made of tiny brown white green and red tiles. Your tray at the bottom contains a deep stack of numbered blocks matching these exact colors. The nest hole sits directly below the center of the flag. Ants must travel out of this hole and walk around the solid blocks of color to reach their targets. The structure of this level forces your ants to take very long walking routes around the outside of the picture.
What It Takes to Clear Level 315 Board
Winning this level means eating every single colored tile on the board until the screen is completely blank. You accomplish this by matching colored blocks from your tray to the exposed edges of the flag. You clear the level when your tray is empty and the final ant carries the last piece of food back into the nest hole. Your primary goal is to ensure you never fill all five waiting slots with colors that have no open path to travel. If you pull five blocks that cannot reach their matching food tiles your board will jam and you will lose the level.
Colony Flow Level 315 Step by Step Solution
Step 1: Start by deploying white blocks to tackle the central stripe outer edges
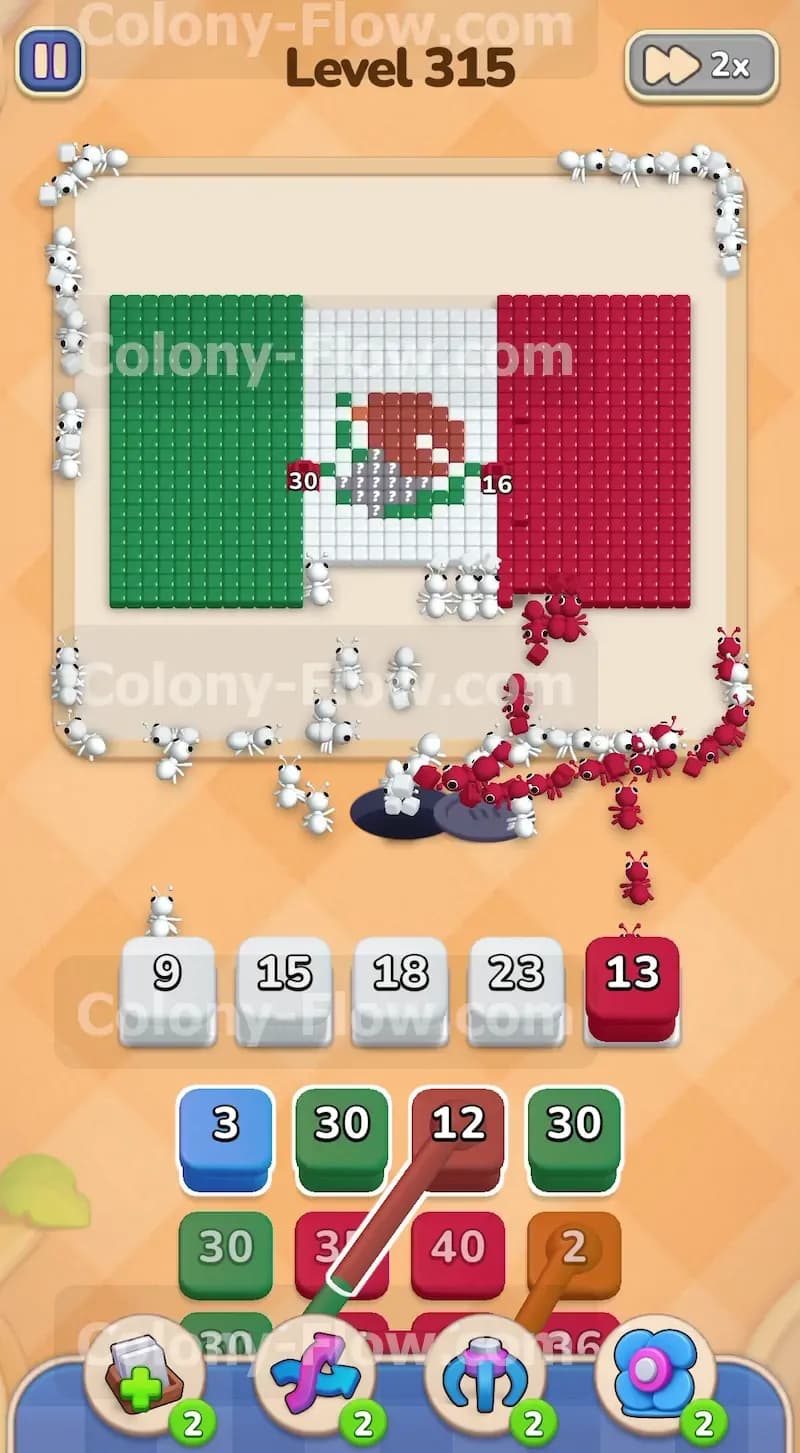
Begin your attack by pulling multiple large white blocks from your tray. The central white stripe is exposed on the top and bottom borders. When you pull these white blocks the white ants stream out of the central nest hole and split into two groups. One group attacks the bottom edge of the white stripe directly above the hole. The other group takes a long walk all the way around the outside perimeter of the entire flag to reach the top edge of the white stripe. Watch the numbers on your waiting blocks tick down as the ants consume the food. Keep pulling white blocks until your ants carve a noticeable dent into the white section. Do not fill all five slots with white blocks because the long travel time to the top of the board will cause your slots to back up.
Step 2: Introduce red blocks to carve away the inner boundary of the right stripe
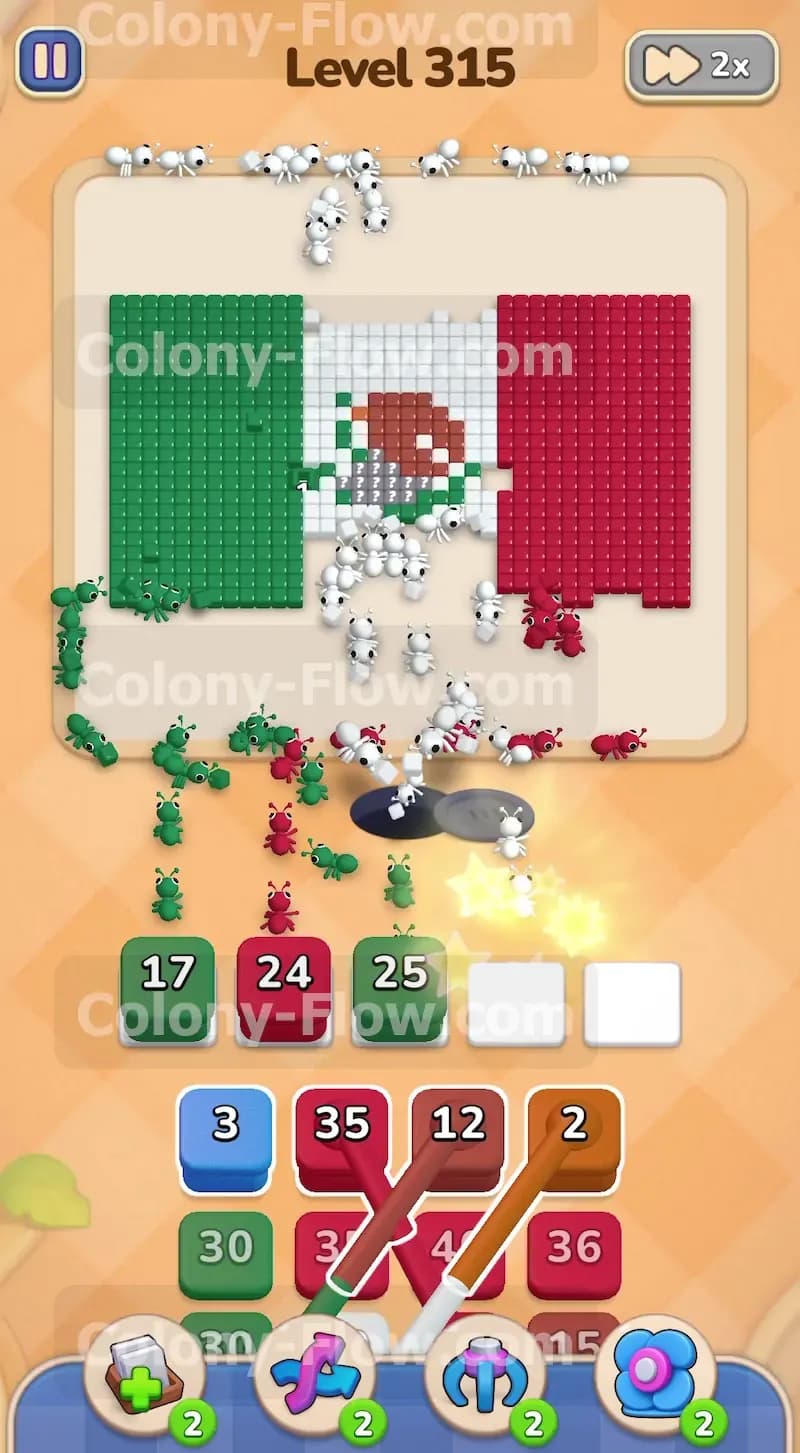
While your white ants take the long journey around the outside you need to activate a different path to keep your waiting slots open. Pull a large red block from the tray. The red ants will march straight out of the hole and attack the exposed inner left edge of the massive red stripe. This path is very short and direct. The red block will count down to zero very quickly and vanish from your waiting slot. This move allows you to constantly cycle fresh blocks into your active area without dead ending your board. Continue feeding red blocks to carve a deep vertical chunk out of the red stripe.
Step 3: Pull green blocks to begin eroding the bottom of the left stripe
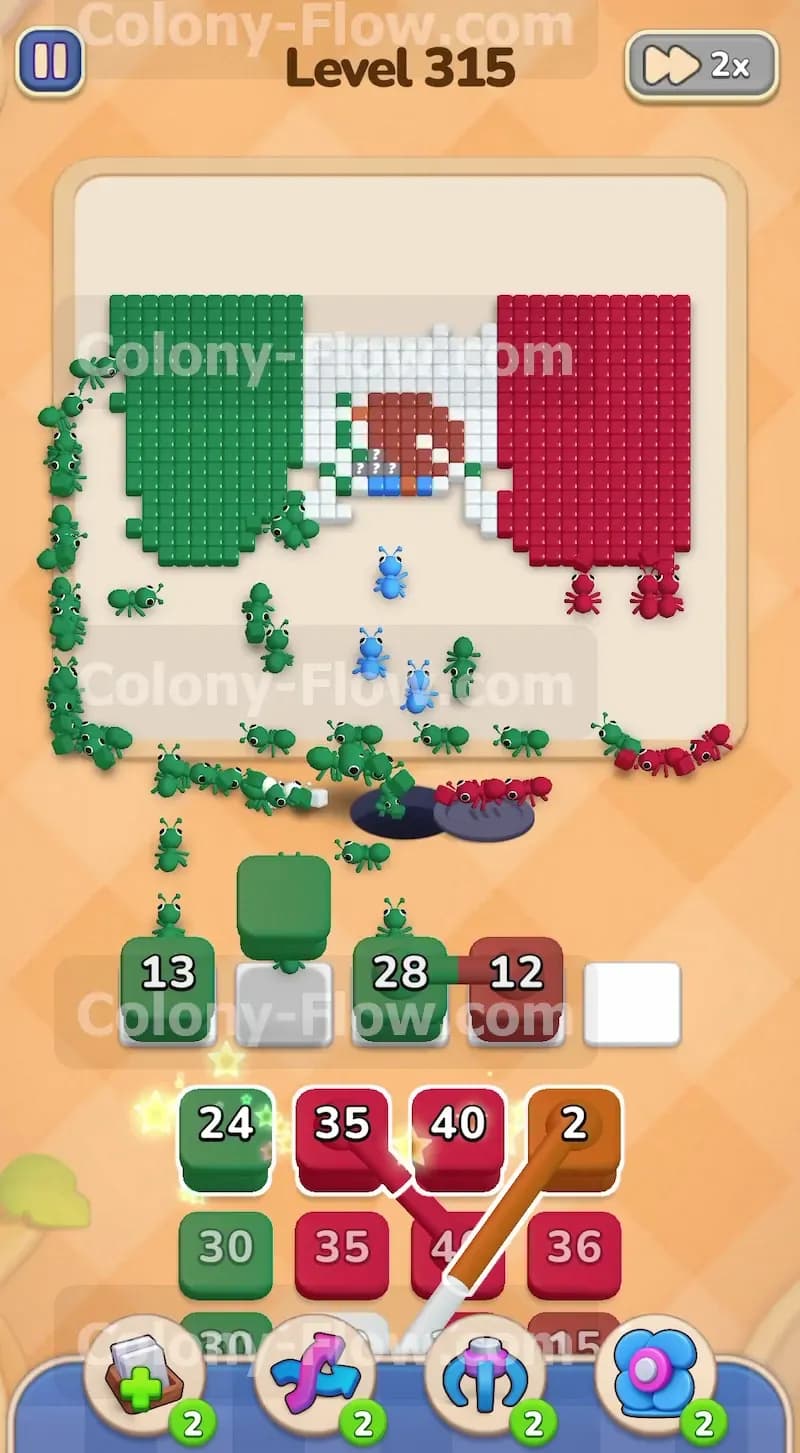
Now you need to balance the board by shifting your attention to the left side. Pull a green block into your waiting area. The green ants will emerge and target the bottom right corner of the green stripe. Similar to the red ants these green ants have a very short walking distance. They chew through the green tiles rapidly and clear the green block from your tray in seconds. You are now actively eating away at all three major sections of the flag simultaneously. The flag shape will start looking jagged and uneven across the bottom edge.
Step 4: Shift focus back to the red stripe to maintain balance across the board
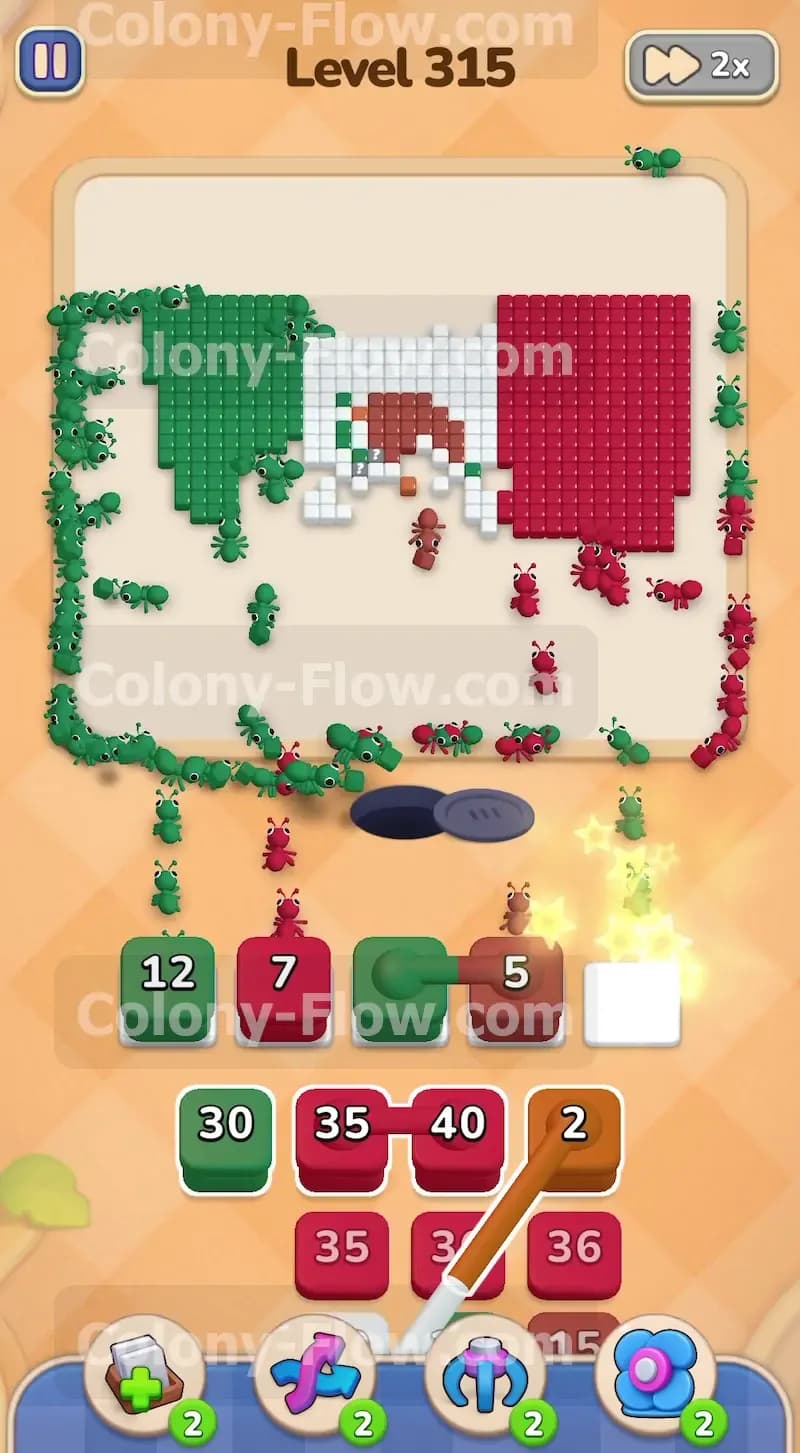
You must constantly rotate through your available colors to prevent any single color from blocking your tray. Pull another heavy red block to send a fresh wave of ants into the red stripe. The ants will now push deeper into the middle of the red section. At the same time you can pull another green block to continue destroying the green section on the left. By alternating green and red you keep the ants flowing constantly. Your waiting slots will fill up temporarily but they will empty out just as fast because the ants always have a valid open path to their targets.
Step 5: Send brown ants to clear the central emblem details
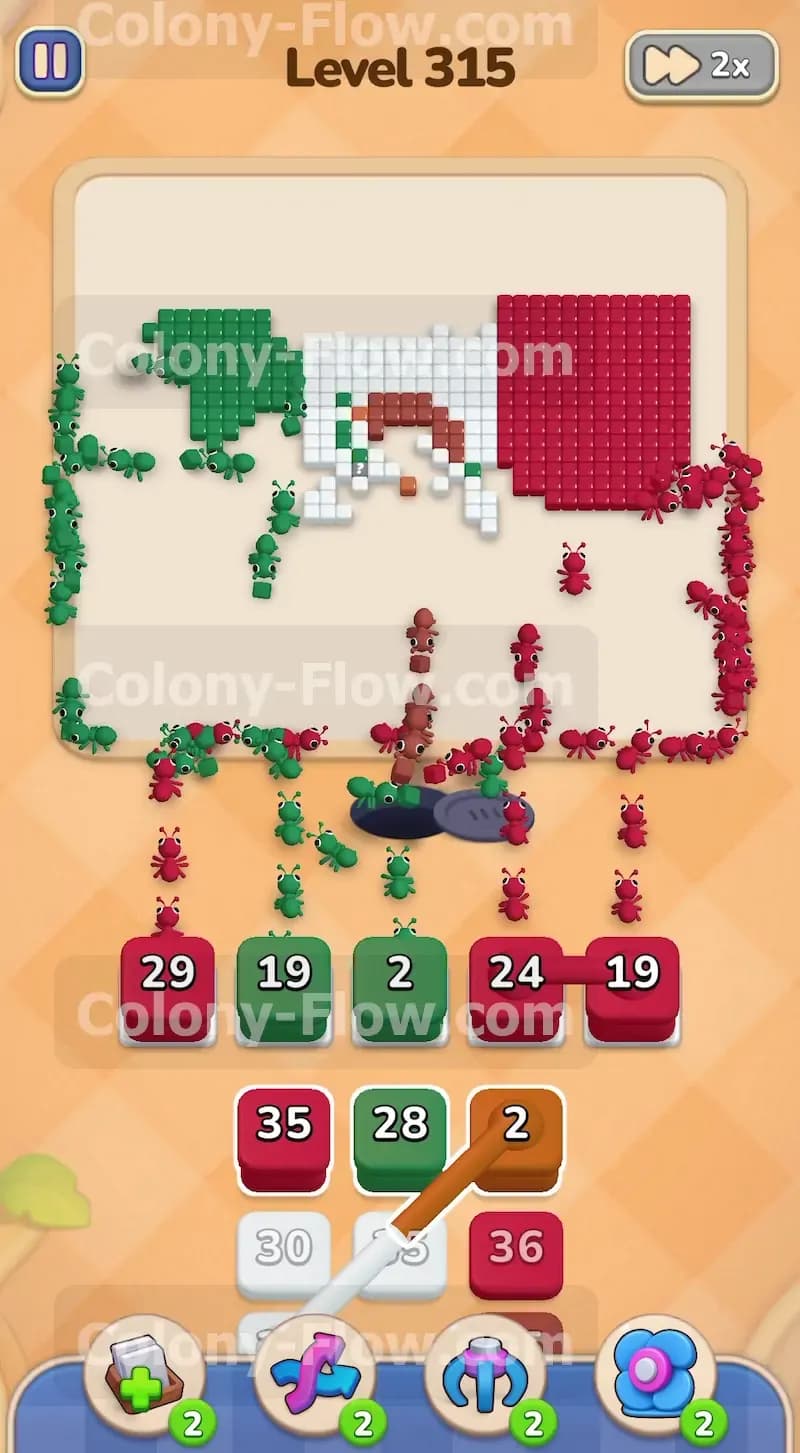
As you chew away the large white central stripe you will fully expose the highly detailed emblem in the middle of the board. Look at your tray and find a brown block. Pull this brown block into a waiting slot. The brown ants will immediately march into the center gap you created and start eating the brown tiles that make up the eagle design. These small details require precision. The numbers on your brown blocks are much smaller than the massive numbers used for the outer stripes. Let the brown ants finish their meal completely before pulling another brown block. This prevents unnecessary clutter in your waiting area.
Step 6: Clear the top sections of the green stripe while managing leftover red tiles
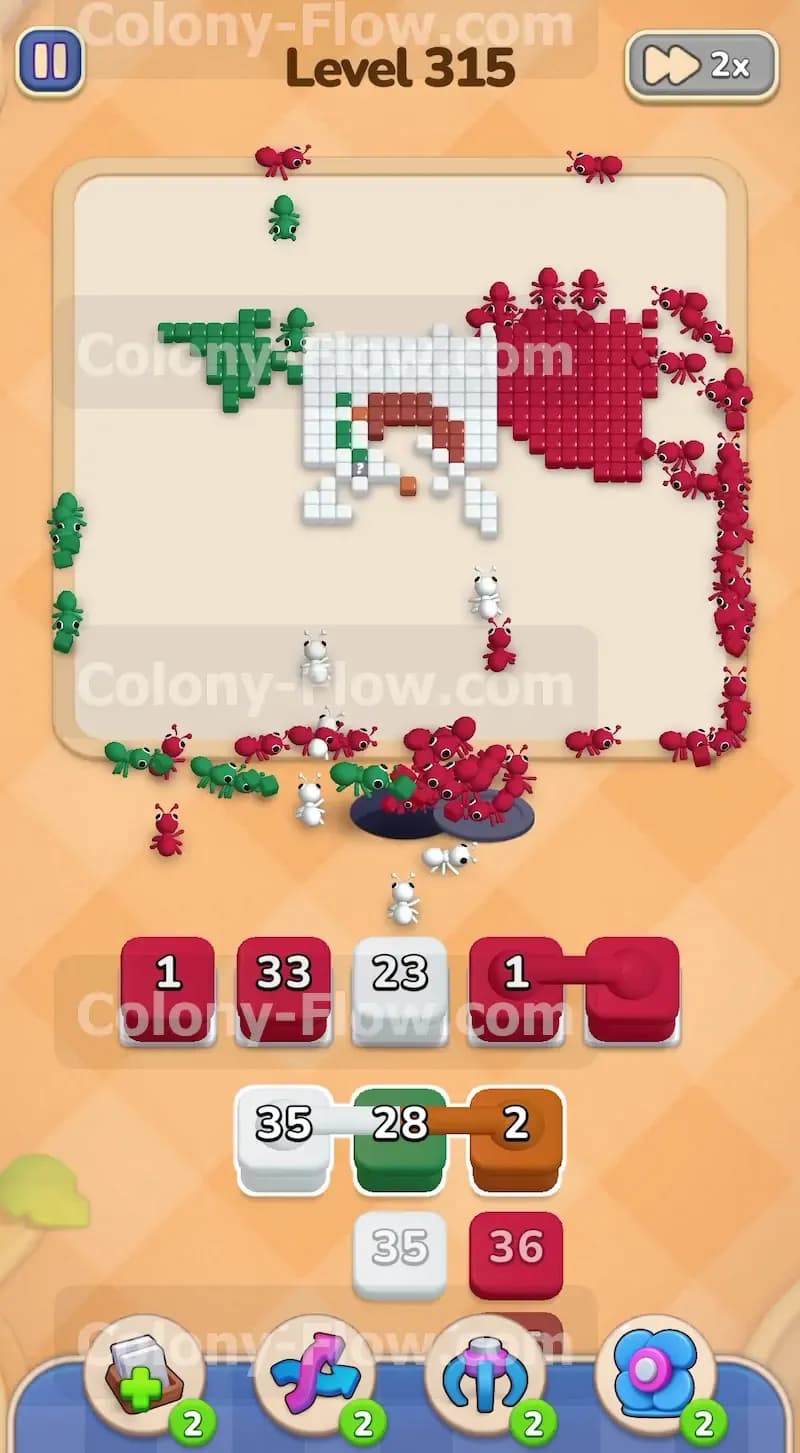
Your board is now broken into several smaller islands of color. The bottom half of the flag is mostly gone. Pull a green block to send ants toward the remaining upper left section of the green stripe. Because the bottom tiles are gone these green ants must walk further up the screen to reach their food. Anticipate this longer travel time and do not pull too many green blocks at once. Balance this action by pulling a smaller red block to clean up the straggling red tiles on the inner edge of the right side. Keeping multiple short paths active guarantees that your ants never stall.
Step 7: Launch a massive wave of red ants to devour the outer right edge
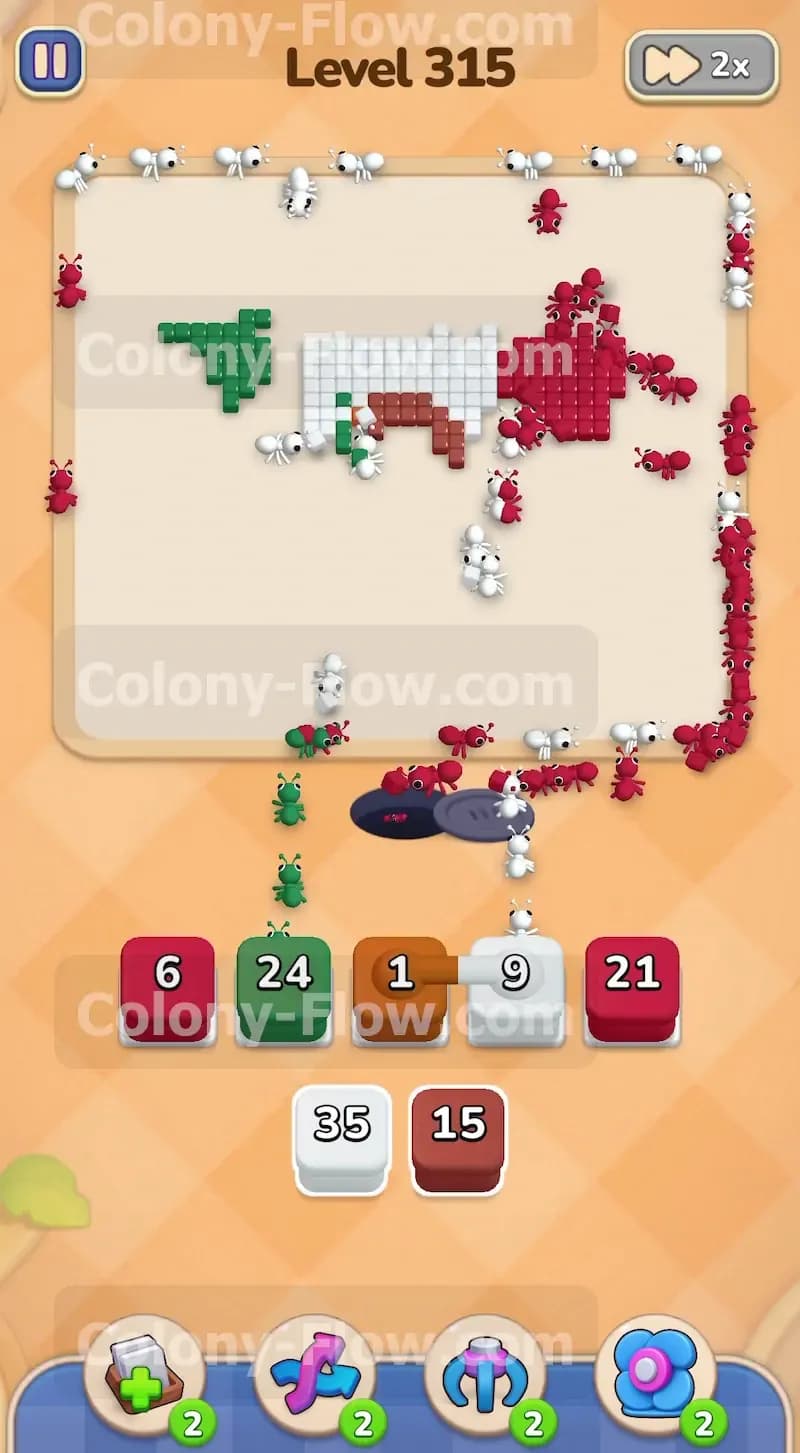
You will eventually expose the far right outer edge of the red stripe. Look at your tray and pull the massive red blocks waiting there. The red ants now have to replicate the very first move of the game. They will stream out of the hole and walk all the way around the outside right edge of the board to reach the back side of the red stripe. This is a very long walk. You must leave at least two waiting slots open during this massive red migration. If you panic and fill all five slots while the red ants are walking you will jam the board and lose. Exercise patience and let the red numbers slowly drop.
Step 8: Deploy final white and mixed blocks to clean up the remaining center pixels
The board now contains only a few floating fragments of the original picture. You will see scattered pieces of white green red and brown hovering in the center. Carefully look at the exposed edges of these remaining tiles. Pull exactly the color you need to match the most accessible tile. Pull a small white block to clear the white specks. Pull a small red block to clear the red specks. The ants will quickly rush these final isolated targets. Continue pulling the exact matching colors from your tray until the final block reaches zero. The screen will clear completely and you will secure the win.
Final Thought
Level 315 tests your ability to handle massive blocks of solid color without clogging your tray. The trick is simply understanding how long it takes an ant to walk to the far side of the screen and planning your block pulls around that travel time. If you struggle to visualize the ant paths or need to see exactly how the center emblem breaks apart I encourage you to watch the video above this article. Seeing the board flow in real time will help you master the exact rhythm required to keep your slots empty.