Colony Flow Level 203 Walkthrough Solution & Guides | How to solve Colony Flow 203

Guide By Liam Stone
Updated on July 13, 2026
Watch the video above for the quick version of the Level 203 walkthrough.
Video doesn't match your screen?
Game updates frequently scramble layouts! Try our AI Screenshot Solver first to find your exact board instantly, or report broken guides to our team.
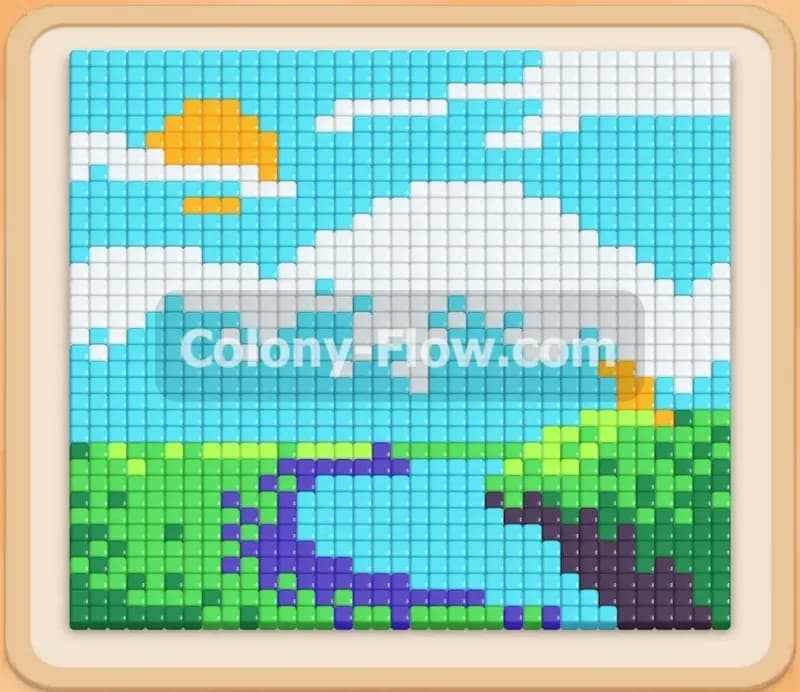
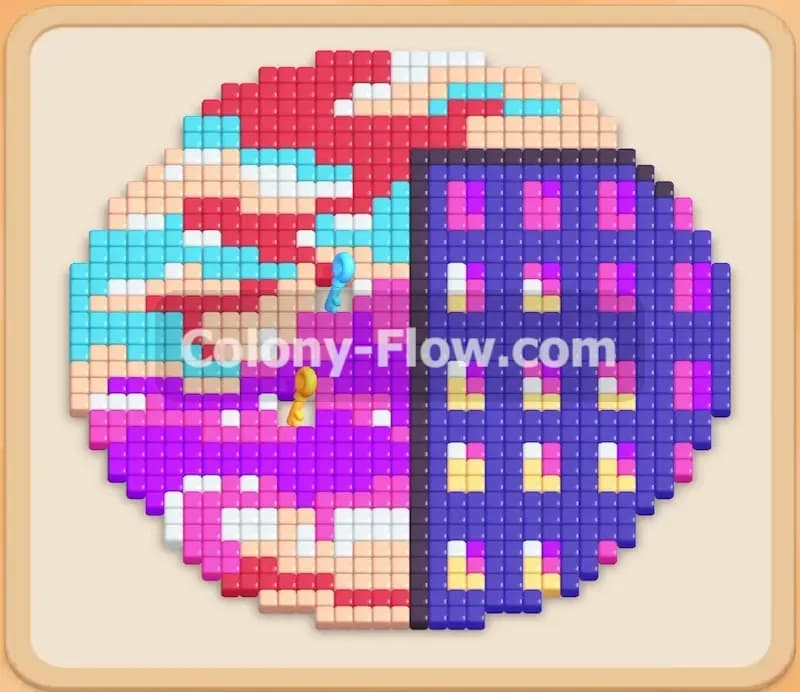
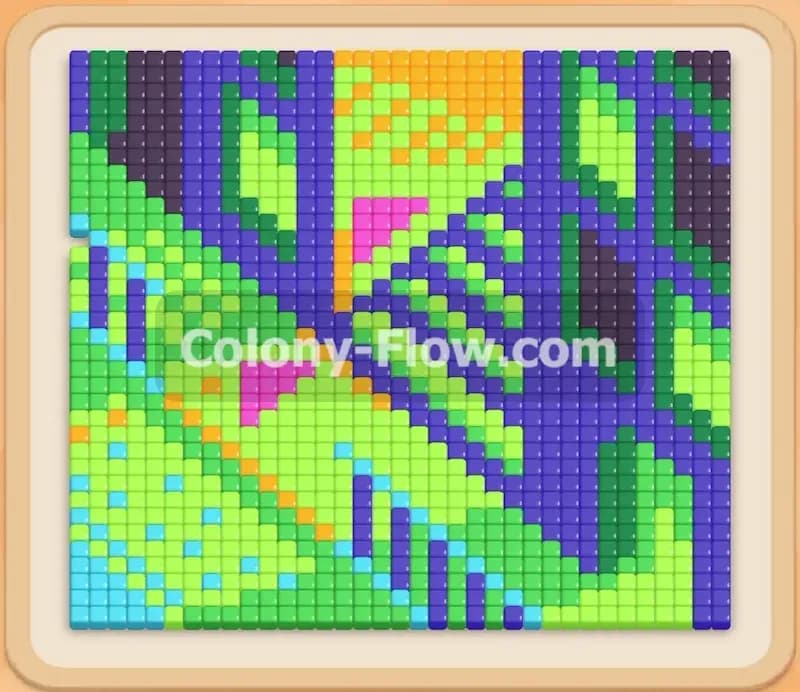
Colony Flow Level 203 throws you into a vibrant maze of geometric shapes and sharp diagonal lines. You face a large board heavily packed with light green background tiles interrupted by thick dark blue and dark green stripes. The tight corners make it incredibly easy to fill your five waiting slots and fail the stage if you pull the wrong colors early. You must carefully peel away the outer layers to give your ants room to maneuver into the center of the picture.
Colony Flow Level 203 Overview
What You Are Working With
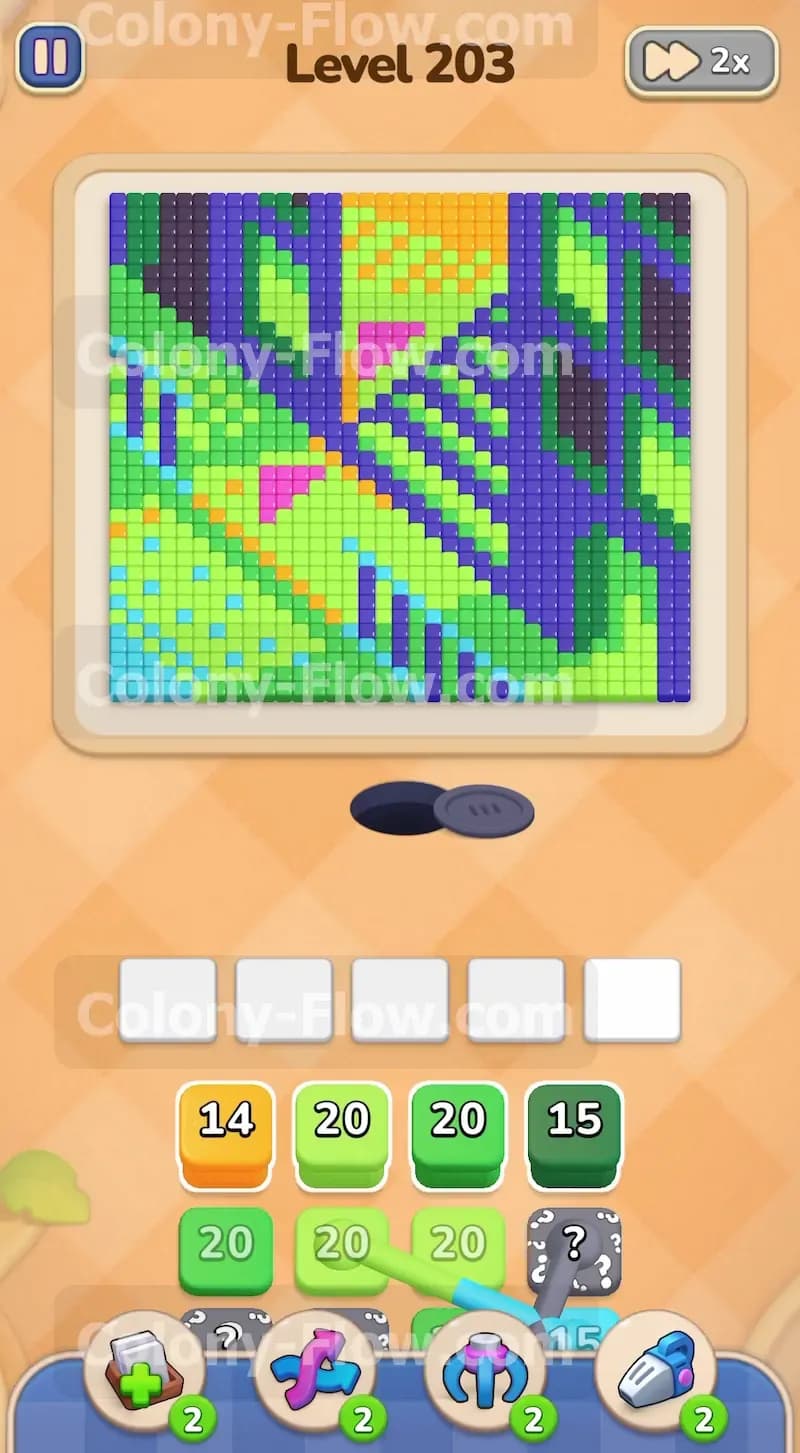
The picture at the top of your screen looks like a colorful abstract painting. You see large triangles of light green cut by rigid pathways of dark blue and black tiles. Bright pink and orange shapes sit trapped near the top and middle sections of the board. Down in your tray you start with a mix of light green and dark green numbered blocks along with a black hidden box. As you dig deeper into the tray you will encounter connected boxes that link dark blue and light blue blocks together. You have to manage these linked pieces carefully so they do not clog up your limited waiting area.
What It Takes to Clear Level 203 Board
Winning this level means taking the board apart from the outside edges inward. You need to clear the large light green sections first to create long open paths for your ants. Opening these paths allows you to reach the isolated orange and dark green stripes scattered across the board. You constantly balance pulling enough blocks to keep your ants busy without ever filling all five slots at once. Every move must expose new color tiles that match the next block waiting in your tray.
Colony Flow Level 203 Step by Step Solution
Step 1: Clear the massive light green background sections early on.
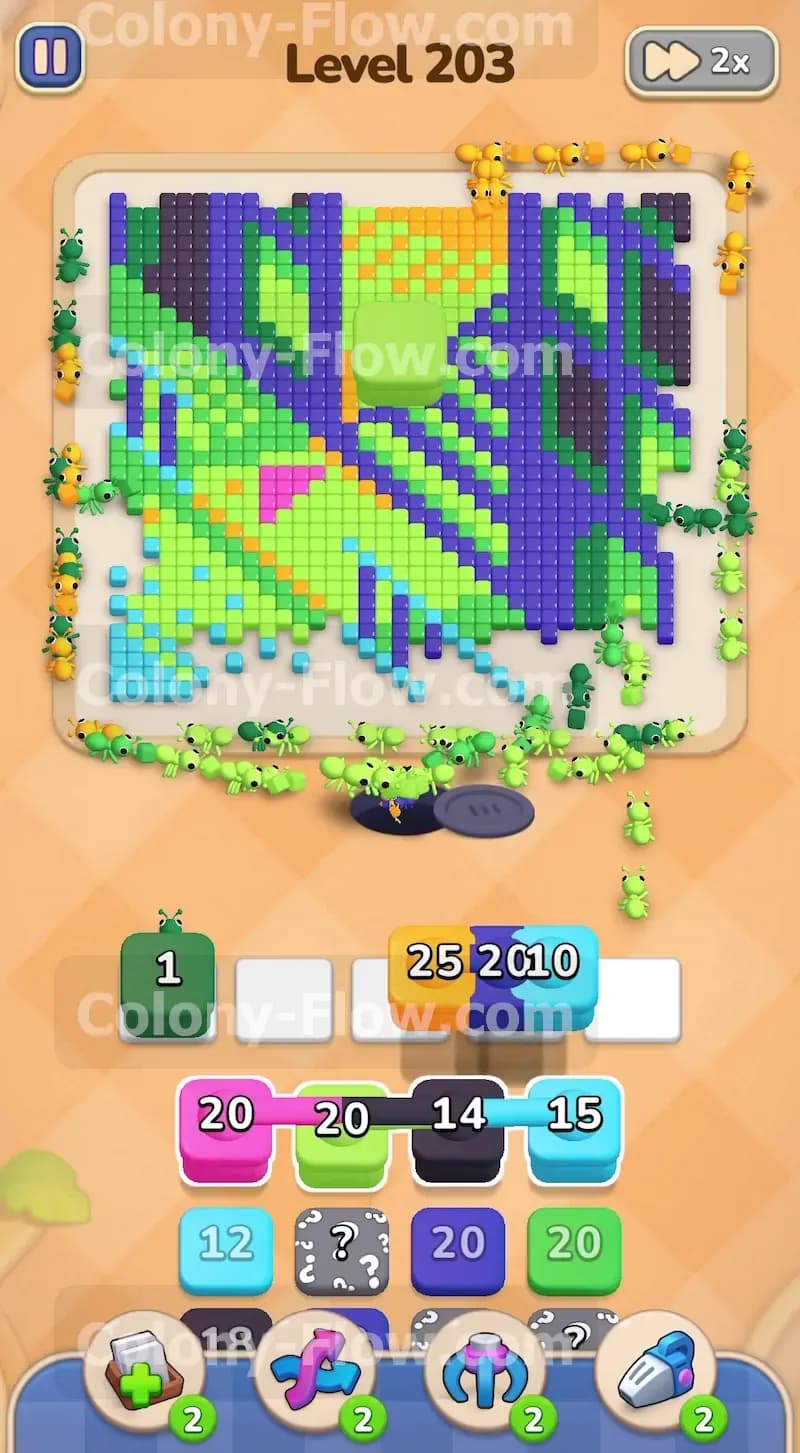
Your very first move dictates the pace of the entire level. Grab the light green twenty block from the bottom tray and drop it into your first waiting slot. The ants pour out of their dark circular nest hole at the bottom center of the screen and immediately swarm the bottom left corner of the geometric pattern. This move eats away a large chunk of the outer border. By clearing this corner you expose the tips of the dark green and light blue stripes. Watch the ants chew through the light green tiles until the twenty block disappears completely from your slot. This keeps your waiting area empty and prepares you for the next aggressive phase.
Step 2: Attack the newly exposed dark green vertical stripes.
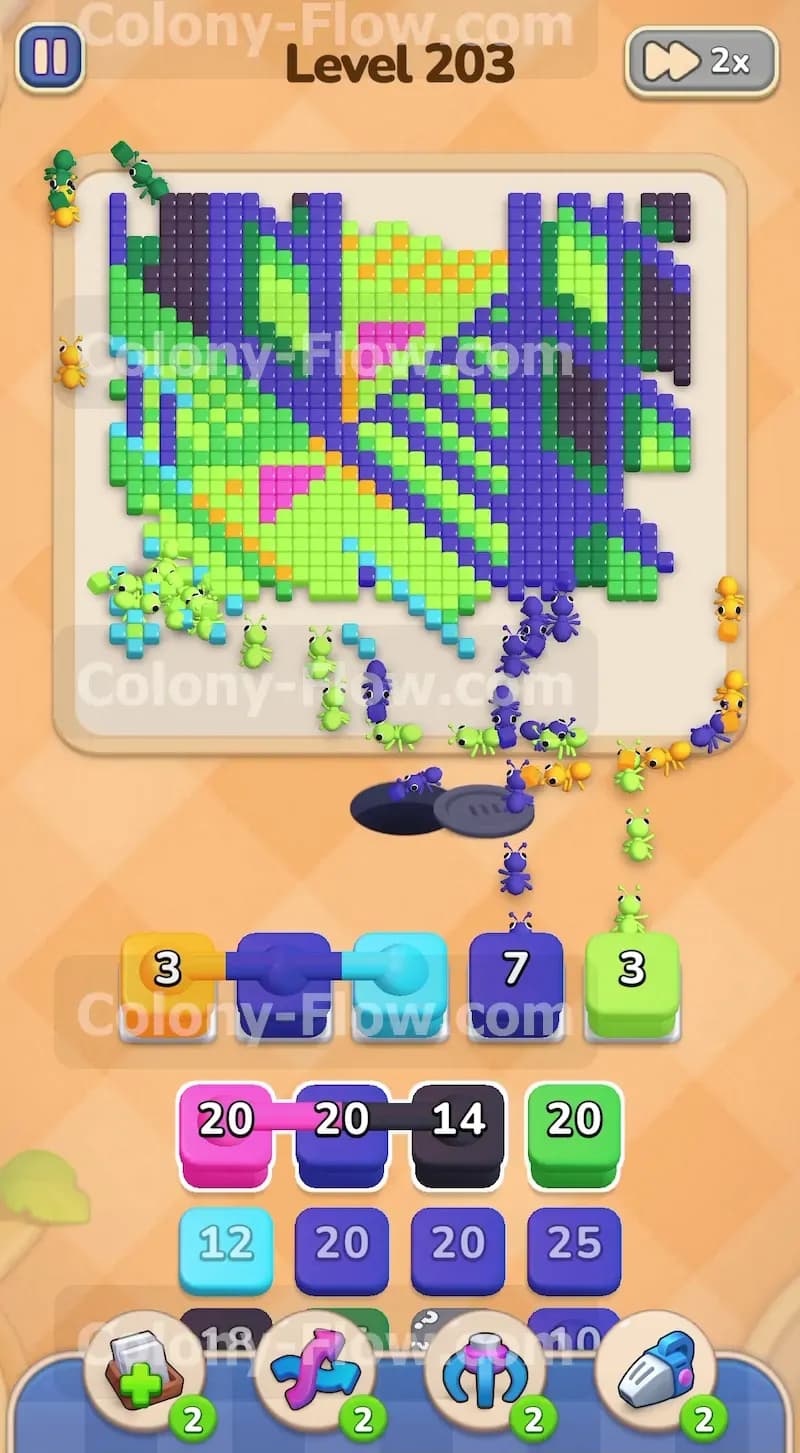
With the bottom left corner open you now have a direct path to the dark green lines. Pull the dark green twenty block and the dark green fifteen block into your slots. The ants will march up the newly opened channels and start tearing down the heavy vertical columns on the left side of the picture. You also want to pull the orange fourteen block to send a stream of ants toward the top right corner. The orange tiles sit far away from the nest. Getting ants moving toward them early saves you from stalling out later in the game. The dark green blocks will count down quickly as the ants dismantle the vertical barriers and free up your slots again.
Step 3: Deploy the connected light blue and dark blue blocks safely.
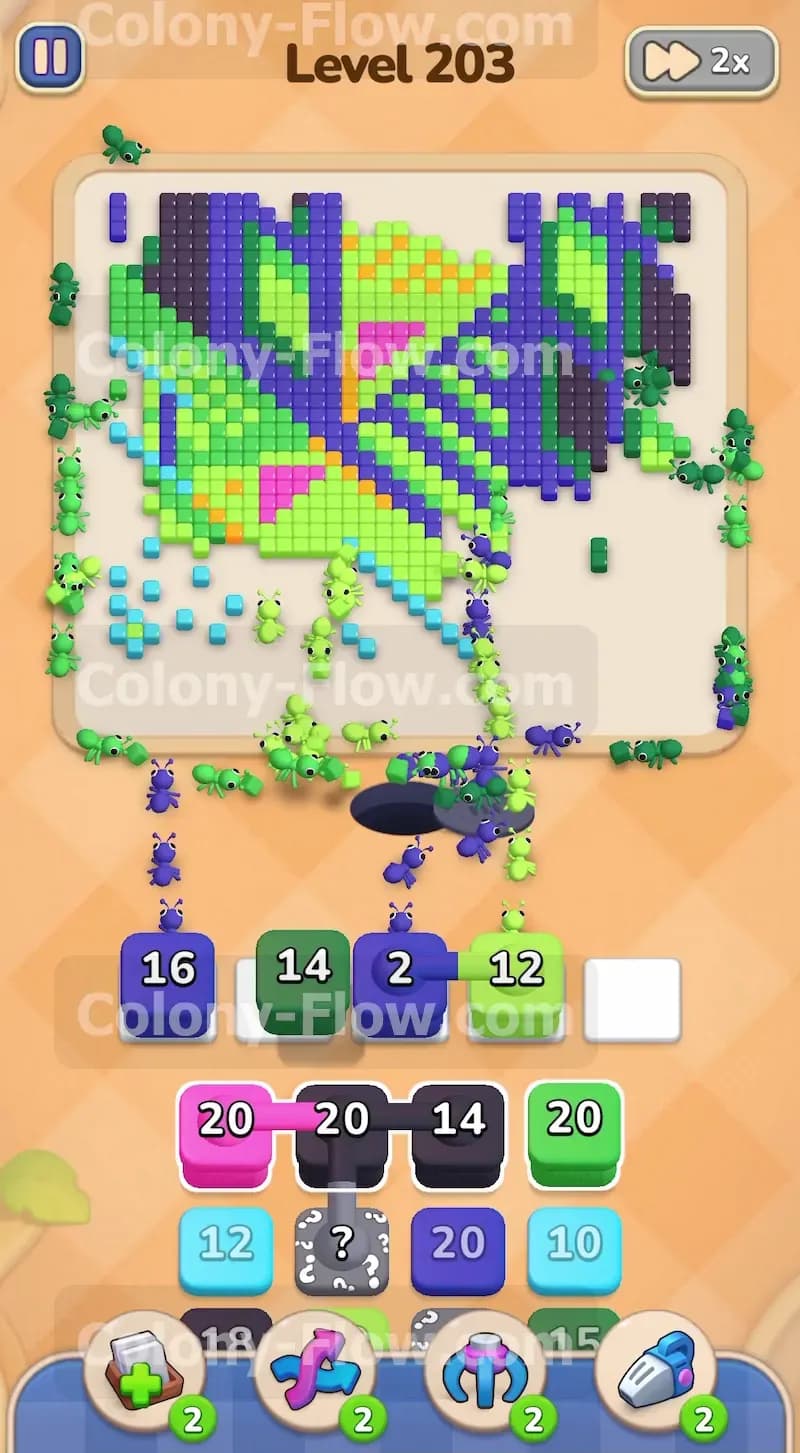
As you pull blocks from the tray you will uncover a pair of connected boxes. One box is dark blue and the other is light blue. Drag this connected pair up into your waiting slots. You must ensure you have paths open for both colors before making this move. Fortunately your earlier work cleared enough space for the ants to reach the inner diagonal lines. The ants will split up to tackle the dark blue structural beams and the lighter blue accents at the same time. The numbers on both connected blocks will drop as the ants feed. Once both reach zero the connected pair vanishes and frees up two vital spots in your waiting area.
Step 4: Activate the hidden black boxes once the paths open.
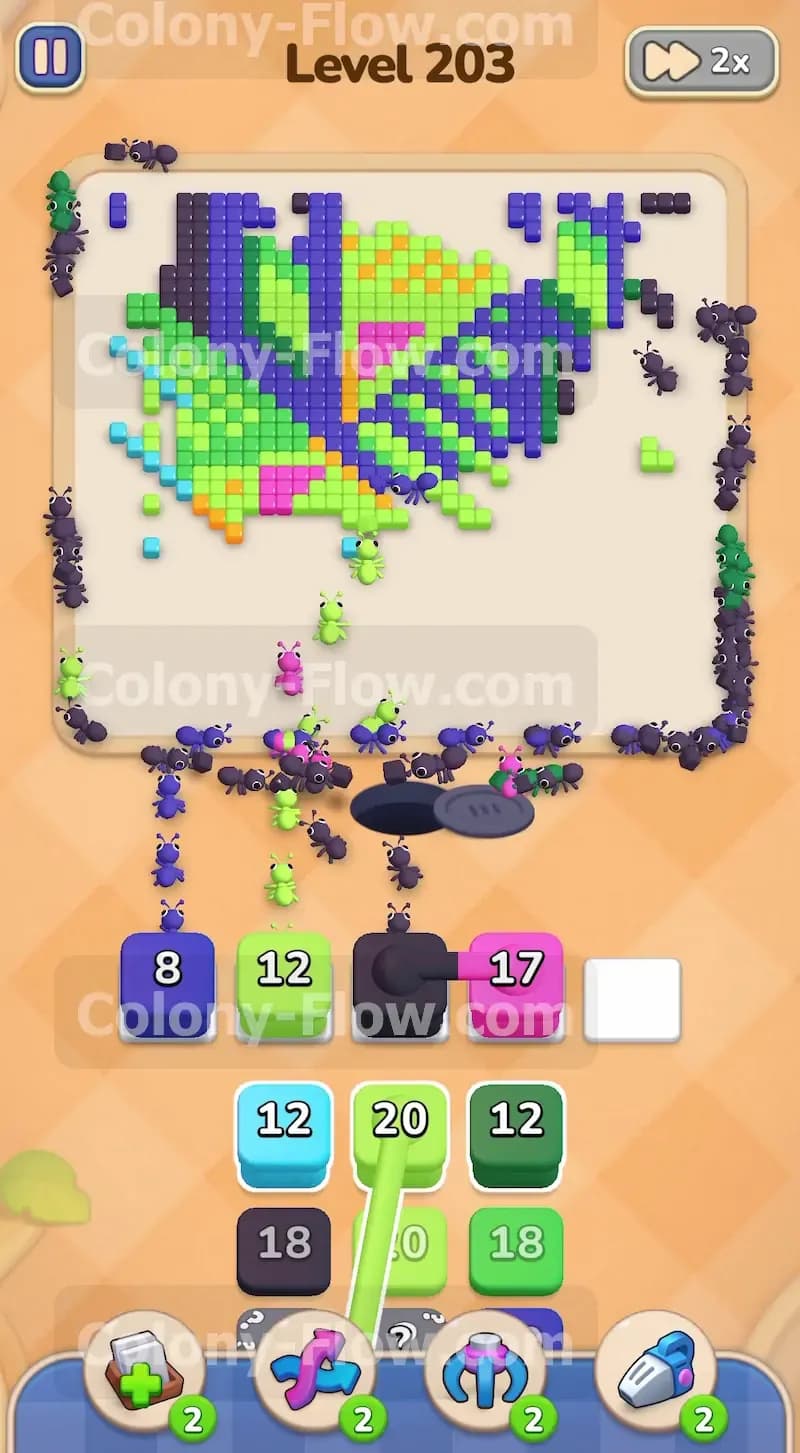
Deep in your tray sits a black hidden box with a question mark on it. You can only play this box when the black tiles on the board become accessible. The ants finishing the dark blue diagonals finally expose the thick black lines cutting through the bottom right section. Move the hidden black block up into an open slot. The question mark disappears and reveals its true number. A fresh wave of ants rushes out of the hole to consume the dark black geometric shapes. This action breaks the board wide open and destroys the last solid barrier protecting the bright pink center tiles.
Step 5: Chain the remaining light green blocks together to clear the right side.
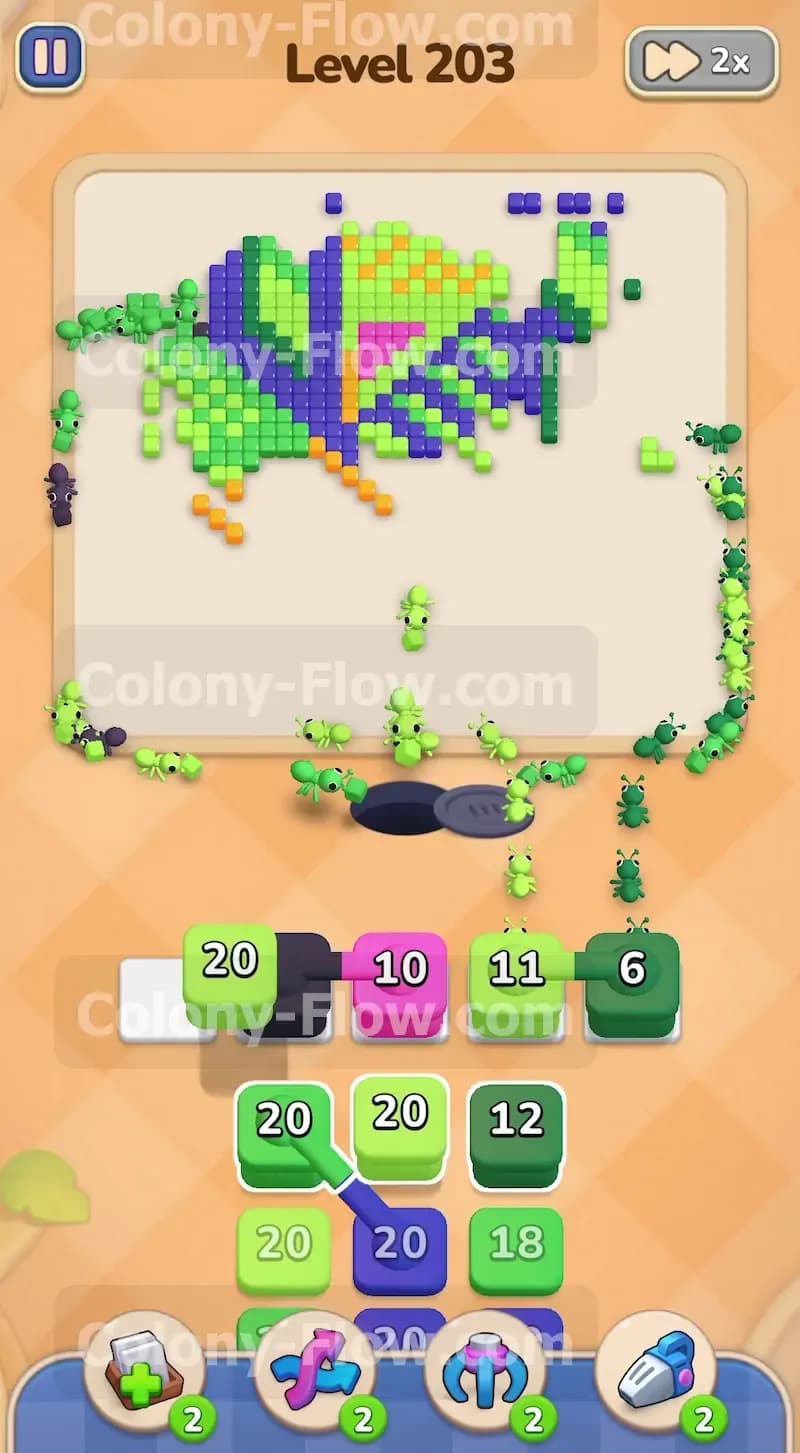
You will notice a large pile of light green blocks stacked in your tray including a twenty block and a ten block. The bottom right corner of the picture still holds a massive triangle of light green tiles. Pull both light green blocks into your waiting slots at the same time. The ants flood the right side of the screen and eat their way through the massive green triangle. Watching the swarm completely devour the lower section gives you a massive advantage. You now have almost the entire bottom half of the screen completely empty. Your ants can now travel straight up the middle without navigating tight corners.
Step 6: Erase the bright pink central triangles trapped in the middle.
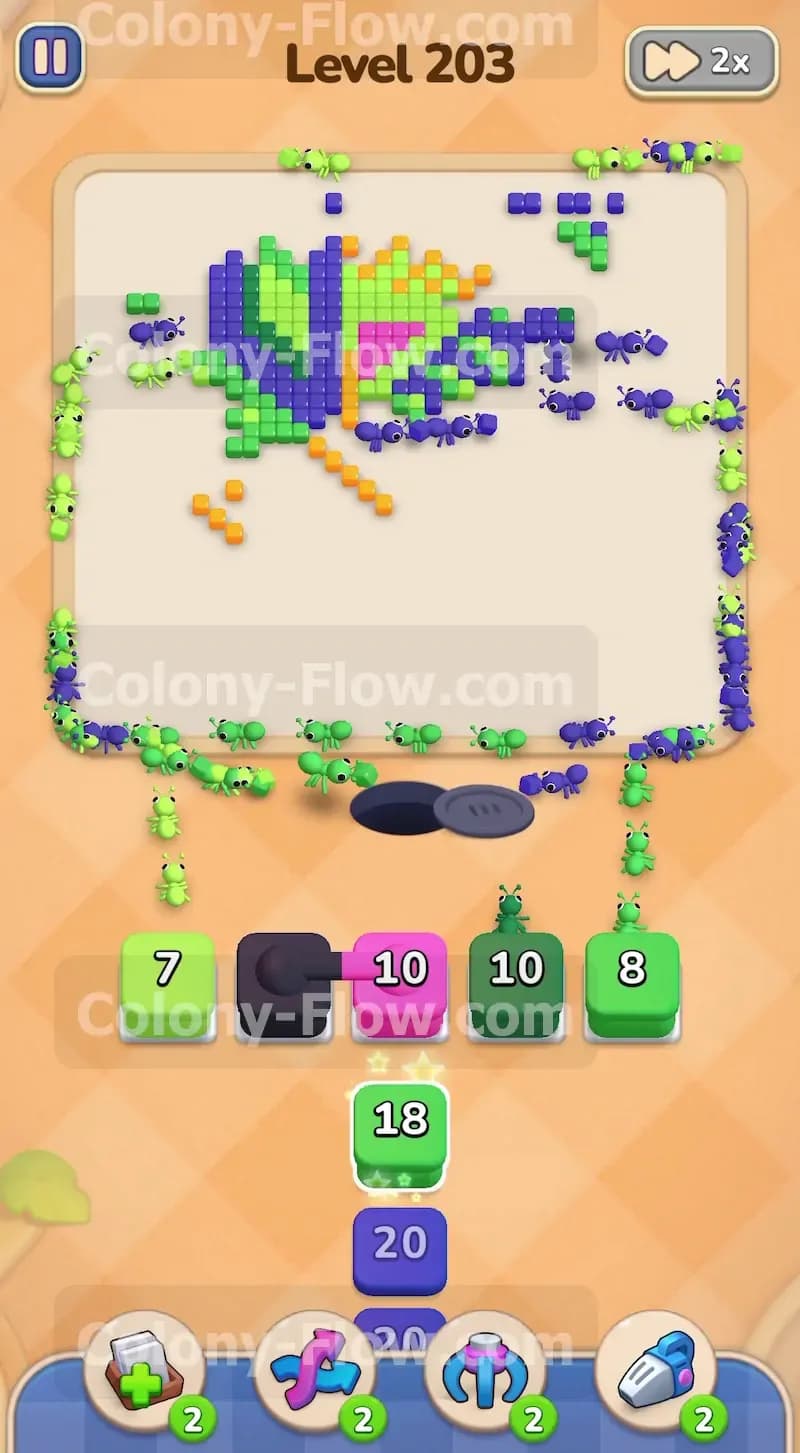
Only the core geometric shapes remain at the top of the board at this point. You have two pink twenty blocks sitting in your tray waiting for a clean path. Now that the black and light green barriers are entirely gone you have a direct shot at the pink center. Move both pink blocks into your active slots. The ants rush up the middle empty space and attack the bright pink triangles trapped between the dark blue lines. The pink tiles disappear rapidly as the numbers on your blocks count down. This clears out the core of the picture and leaves only a few scattered fragments of dark blue and dark green along the top edge.
Step 7: Manage the final connected dark green and dark blue blocks.
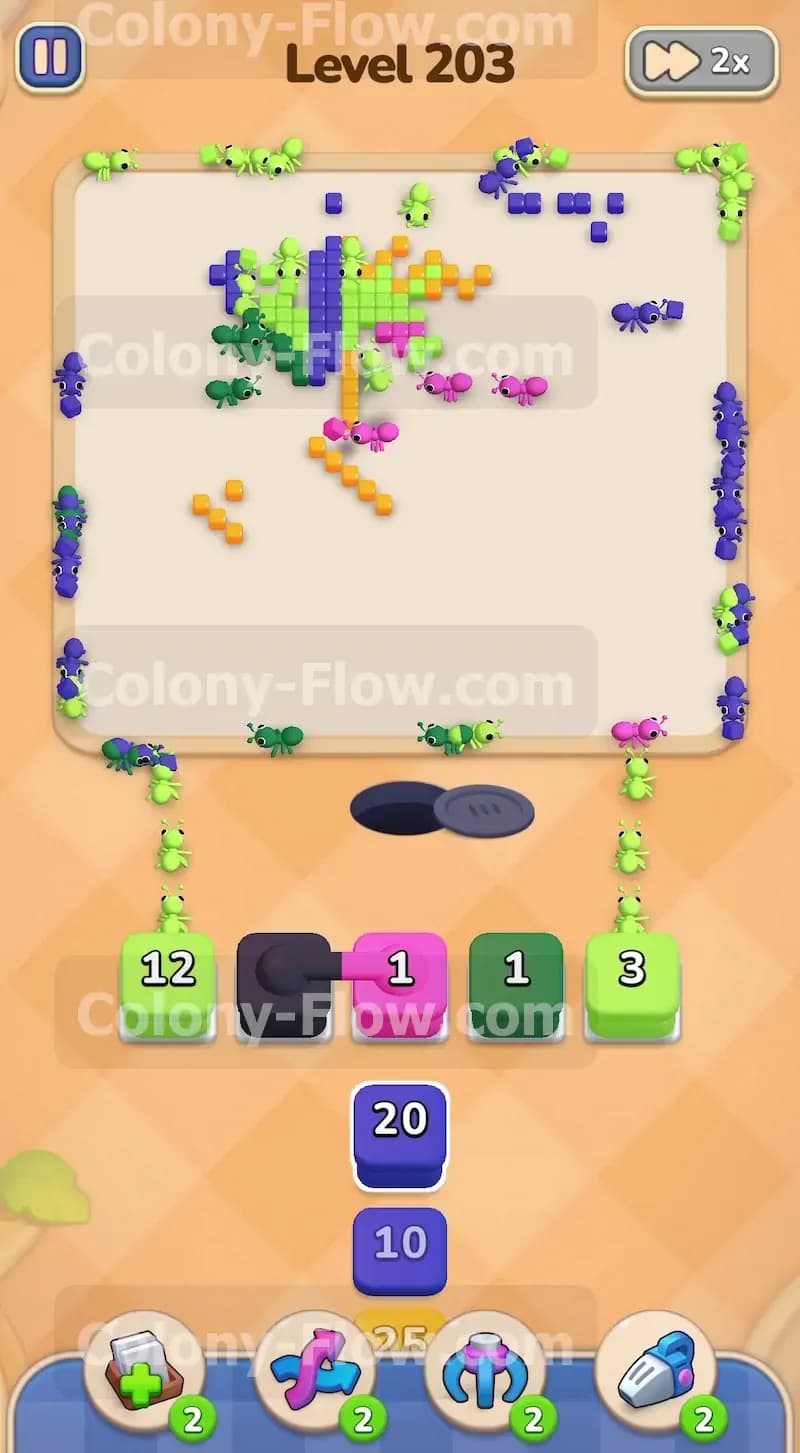
Another set of connected blocks appears near the end of your tray. This time it links a dark green block and a dark blue block together. Because you cleared the pink center the ants have full access to the scattered blue and green pixels at the very top of the screen. Pull this connected pair into your slots. The travel time is quite long now because the ants must walk from the bottom nest all the way to the top border. Be patient and watch your slots. Do not pull any unnecessary blocks while waiting for these ants to finish their long journey.
Step 8: Clean up the final fragments to finish the picture.
Your board is now mostly empty space with just a few stray pixels hanging near the top border. Look at your tray and pull the final dark blue blocks and the last dark green block. The remaining ants stream out and take long walks to the very top edges of the screen. They systematically hunt down the last remaining dark blue and dark green tiles. Keep a close eye on your slots here to make sure they do not jam at the last second. The ants will finish eating the last few tiles and the final blocks will vanish from your active area. The complete abstract picture is now gone and you win the stage.
Final Thought
Colony Flow requires a healthy mix of patience and spatial awareness to beat consistently. You just need to focus on carving open long paths early on so your waiting slots never back up and cause a sudden loss. If you find yourself getting stuck on any specific section of this geometric puzzle please watch the video above this article. Seeing the ants clear the exact paths in motion makes the timing much easier to understand.