Colony Flow Level 289 Walkthrough Solution & Guides | How to solve Colony Flow 289

Guide By Liam Stone
Updated on July 16, 2026
Watch the video above first if you want to see Level 289 solved before reading the written steps.
Video doesn't match your screen?
Game updates frequently scramble layouts! Try our AI Screenshot Solver first to find your exact board instantly, or report broken guides to our team.
Playing Colony Flow Level 289 brings a really fun pixel art puzzle to your screen. You face a large picture of a pig wearing a crown and a royal cape. The board is wide open around the outer edges but gets extremely crowded as you dig into the center of the character. You need to manage your tray blocks carefully to keep the ants moving and avoid clogging the waiting area. The satisfaction of watching the pixel art dissolve tile by tile makes this stage very rewarding. I will walk you through exactly how I beat this board so you can do the same.
Colony Flow Level 289 Overview
What You Are Working With
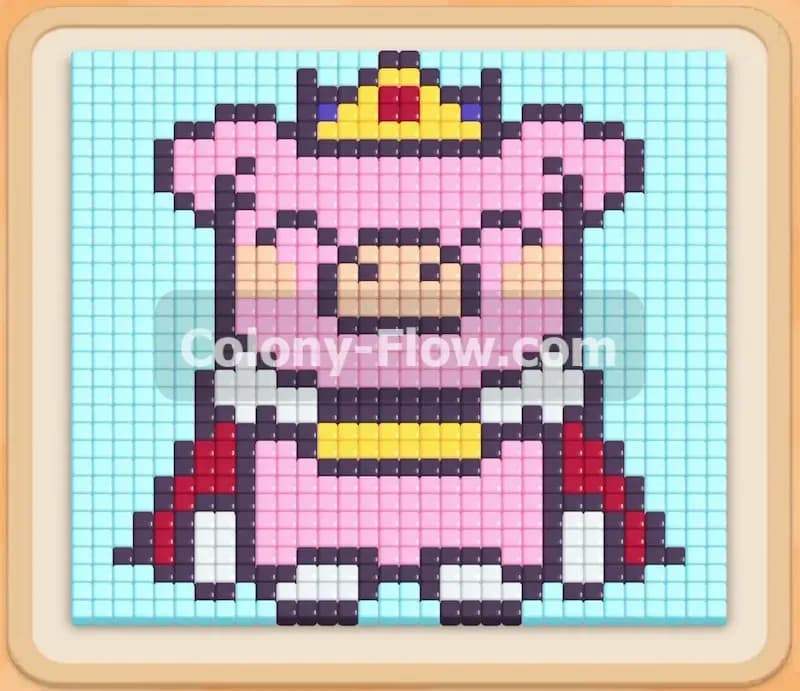
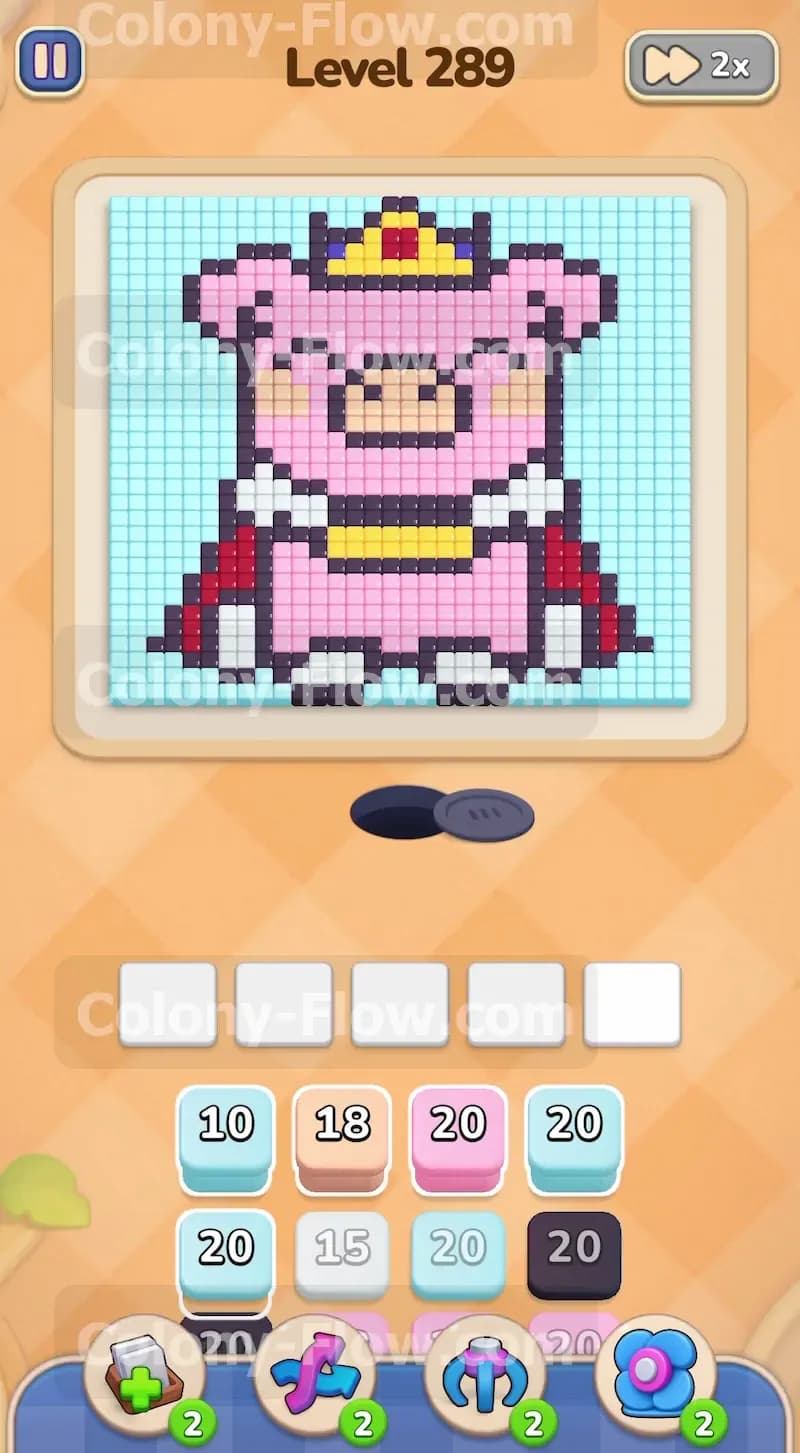
The picture on the board is a detailed pig king pixel art design. You see a huge light blue background surrounding the main character on three sides. The pig itself features pink tiles for the main body and the large head. The character wears a dark red cape draping down both sides and a bright yellow crown and belt. A thick black outline separates all the different color sections to give the picture its distinct shape. You also find white tiles serving as the feet and the cape trim along with a beige area forming the snout in the middle of the face.
The tray at the bottom of the screen provides the blocks in matching colors organized into rows. These blocks carry numbers like ten or twenty or eighteen. The numbers represent the exact amount of tiles that specific block can clear from the board. The game provides exactly enough numbered blocks to match the total tile count. The waiting area right above the tray features five empty square slots arranged in a horizontal line. The ants stream out of a dark circular nest hole located right below the picture and above the waiting slots. The color of the ants leaving the nest will always match the color of the block you pull.
What It Takes to Clear Level 289 Board
Clearing the level means feeding every single colored tile to your ant colony. You win when the entire pig picture is completely gone and no tiles remain on the board. You lose the level if you pull too many blocks into the five waiting slots without giving the ants an open path to reach the matching tiles on the board.
When all five slots fill up and no ants can move you jam the board and fail the level immediately. The blocks just sit there taking up space. A dead end happens when you pull a block but its matching color on the board is entirely surrounded by other tiles. The ants cannot teleport through solid walls of other colors. They must have a clear walking path from the nest hole directly to the target tile. If the path is blocked the ants stay inside the nest and the block stays in the slot. The main strategy requires working from the outside in. You must clear the light blue background first to expose the outer edges of the character. Then you systematically dismantle the pig from the bottom up to maintain a steady flow of ants.
Colony Flow Level 289 Step by Step Solution
Step 1: Clear the light blue background to open the board.
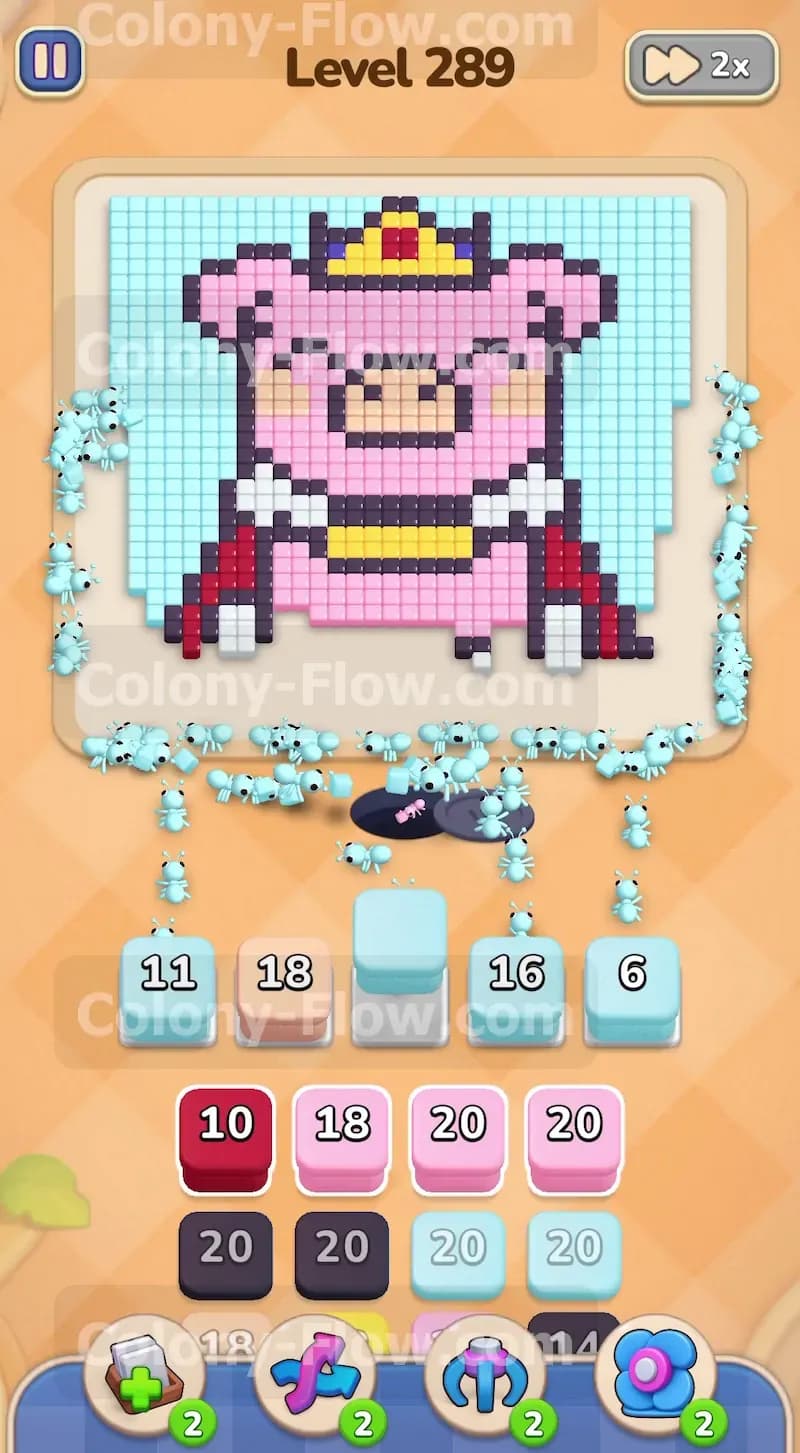
You start the level by focusing entirely on the large outer area. The light blue tiles wrap all the way around the top and the sides of the pig. Pull the light blue blocks from the top row of your tray into your waiting slots. The light blue ants stream out of the nest hole and begin marching toward the outer edges of the picture. The light blue blocks carry numbers like ten and sixteen and twenty. The numbers slowly tick down as the ants eat the background tiles one by one. Pulling these blocks clears away the sky and exposes the outer boundary of the pig. You must do this step first because the inner colors are completely blocked by the background. Leaving the light blue tiles alone would trap your other colors and cause a permanent slot jam.
Step 2: Clear the feet and the lower cape sections.
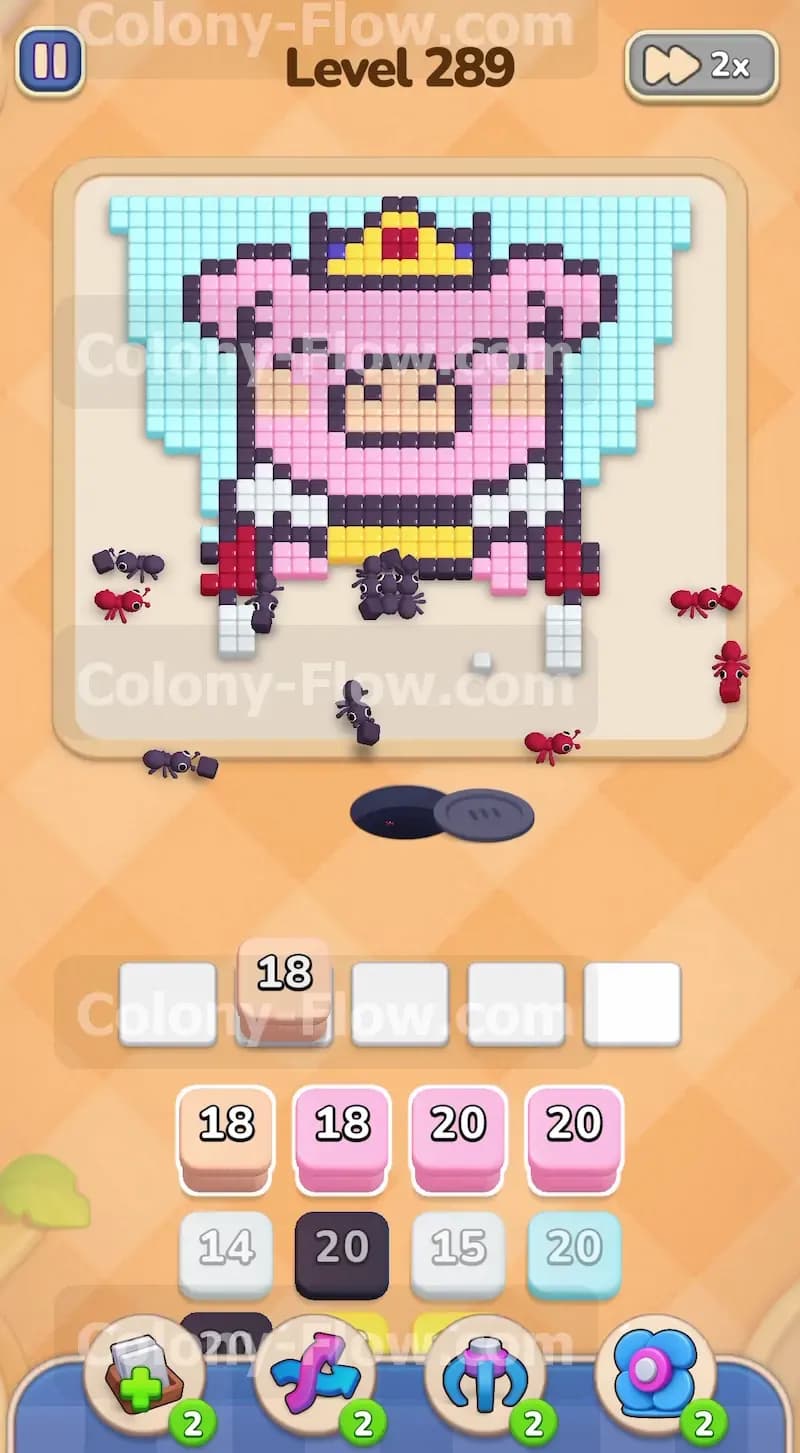
Once the light blue background is mostly gone you can access the bottom edge of the character. Pull the dark red blocks and the white blocks into your waiting slots. The white blocks send white ants to eat the feet at the very bottom of the picture. The dark red blocks target the thick cape pieces hanging down both the left and right sides. The dark red ants split into two groups to tackle both sides at the same time. You see the numbers on your blocks drop as the ants quickly chew through these lower sections. This action opens up the lower black outline and exposes the bottom edge of the pink body. Keep a very close eye on your five slots during this phase. Only pull the white and dark red blocks when you see a clear open path to those specific tiles.
Step 3: Break through the lower black outline and yellow belt.
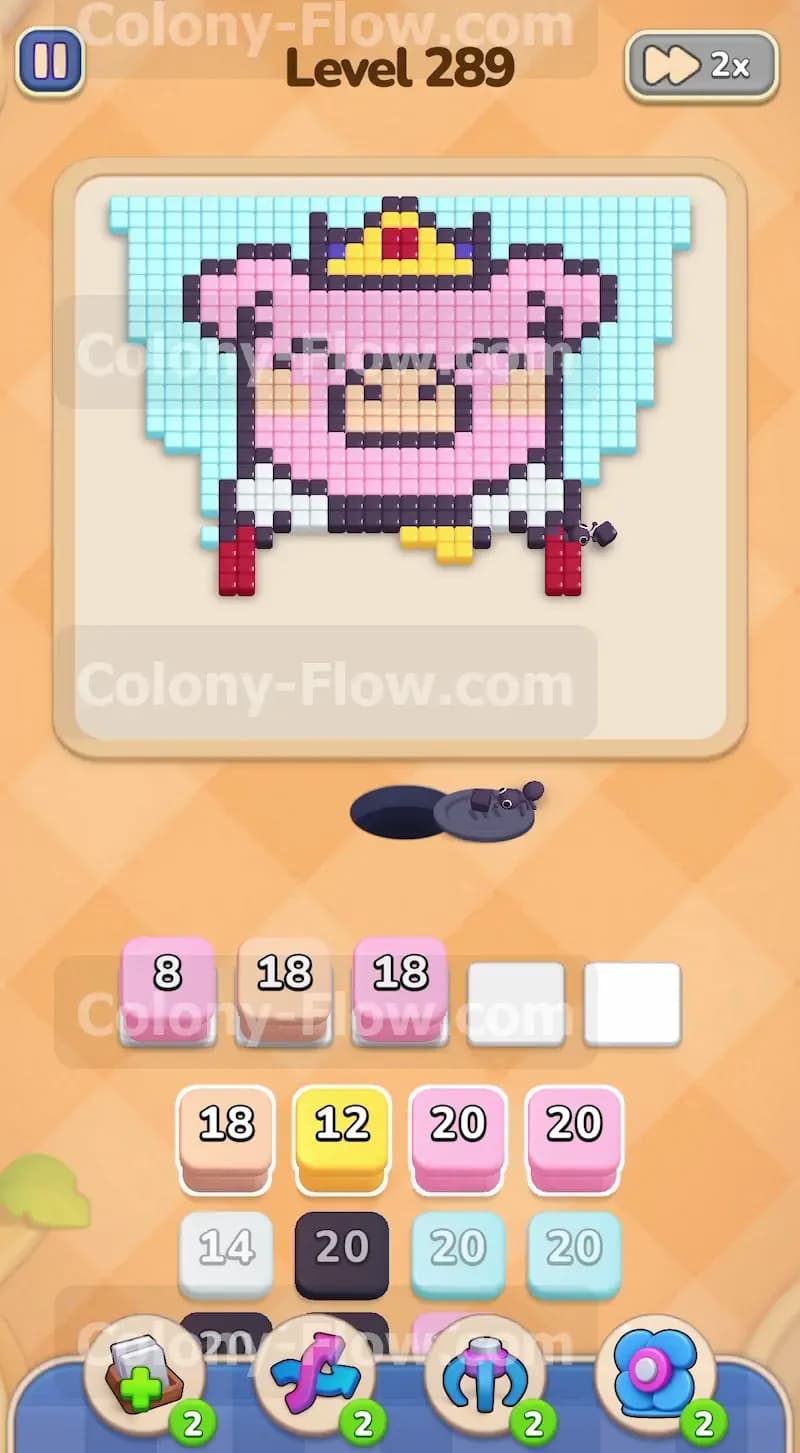
Now you have a direct physical path to the bottom boundary of the pig body. Pull a black block into the waiting area to send black ants after the dark outline. The black tiles form a solid barrier wrapped around the yellow belt and the pink torso. As the ants consume the black tiles you open new paths leading further inward. Next you pull the yellow blocks to clear the belt. The yellow tiles sit directly above the lower black outline. Clearing the yellow belt completely splits the pig in half and gives your colony multiple entry points into the main body. Never pull the yellow block before the black block finishes its job. Doing so will waste a valuable slot while the yellow ants wait around for the path to open up.
Step 4: Consume the pink body and the beige snout.
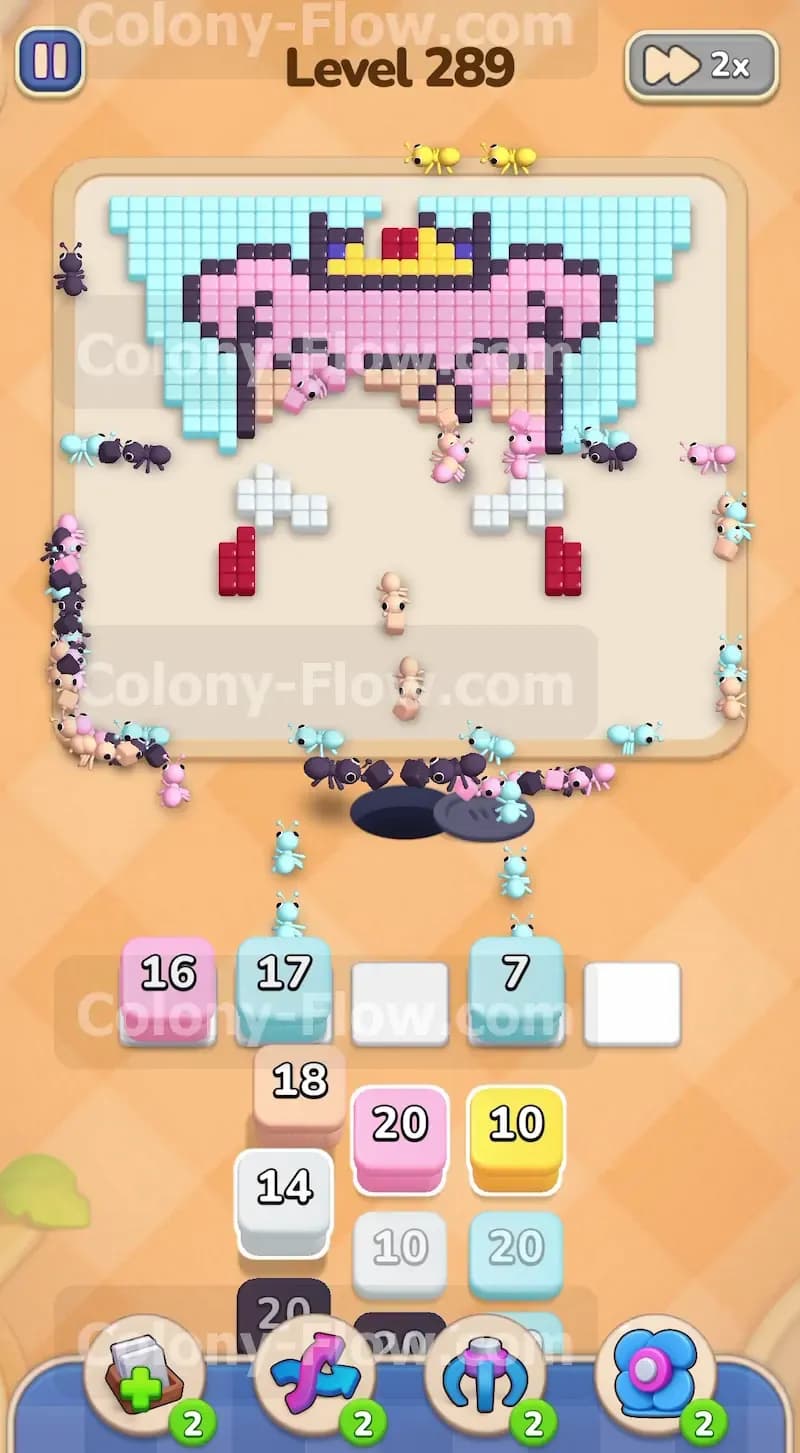
With the bottom barrier completely gone your ants can finally flood into the main pink torso. Pull the pink blocks and the beige blocks from your tray. The pink blocks hold very high numbers like twenty because the body makes up the largest part of the entire picture. The beige blocks target the snout located right in the middle of the face. Pulling these blocks together creates a massive swarm of ants moving directly up the center of the board. The body dissolves rapidly as the ants chew away the pink tiles. Watch the waiting slots closely here because you will need multiple pink blocks to get through the thickest part of the character. Make sure the beige snout is fully exposed from the bottom before pulling the beige block to prevent any delays in the slots.
Step 5: Target the upper cape and the sides of the head.
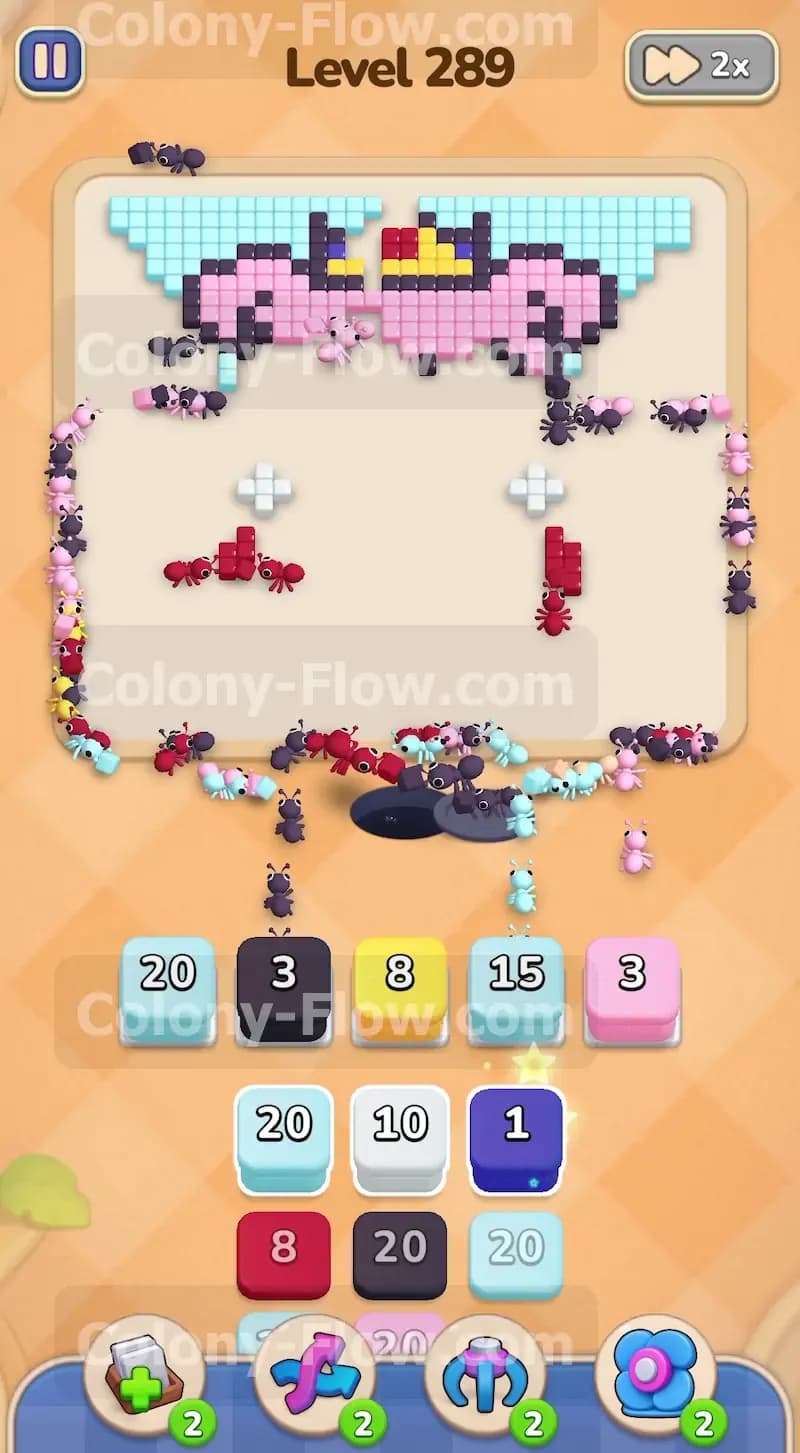
The middle of the board is now mostly empty and you are left with the top half of the picture. Pull more dark red blocks to finish off the upper shoulders of the cape on both sides. Pull additional pink blocks to clear the ears and the upper sections of the head. The ants split into groups again and march up the far left and right sides of the screen. Because you cleared the light blue background earlier the ants have plenty of room to navigate around the remaining tiles. This wave clears out everything except the very top edge of the character. You are keeping the flow continuous and your slots remain perfectly clear. Managing this steady upward progression ensures you never dead end the board and lose the level.
Step 6: Finish the top black outline and the yellow crown.
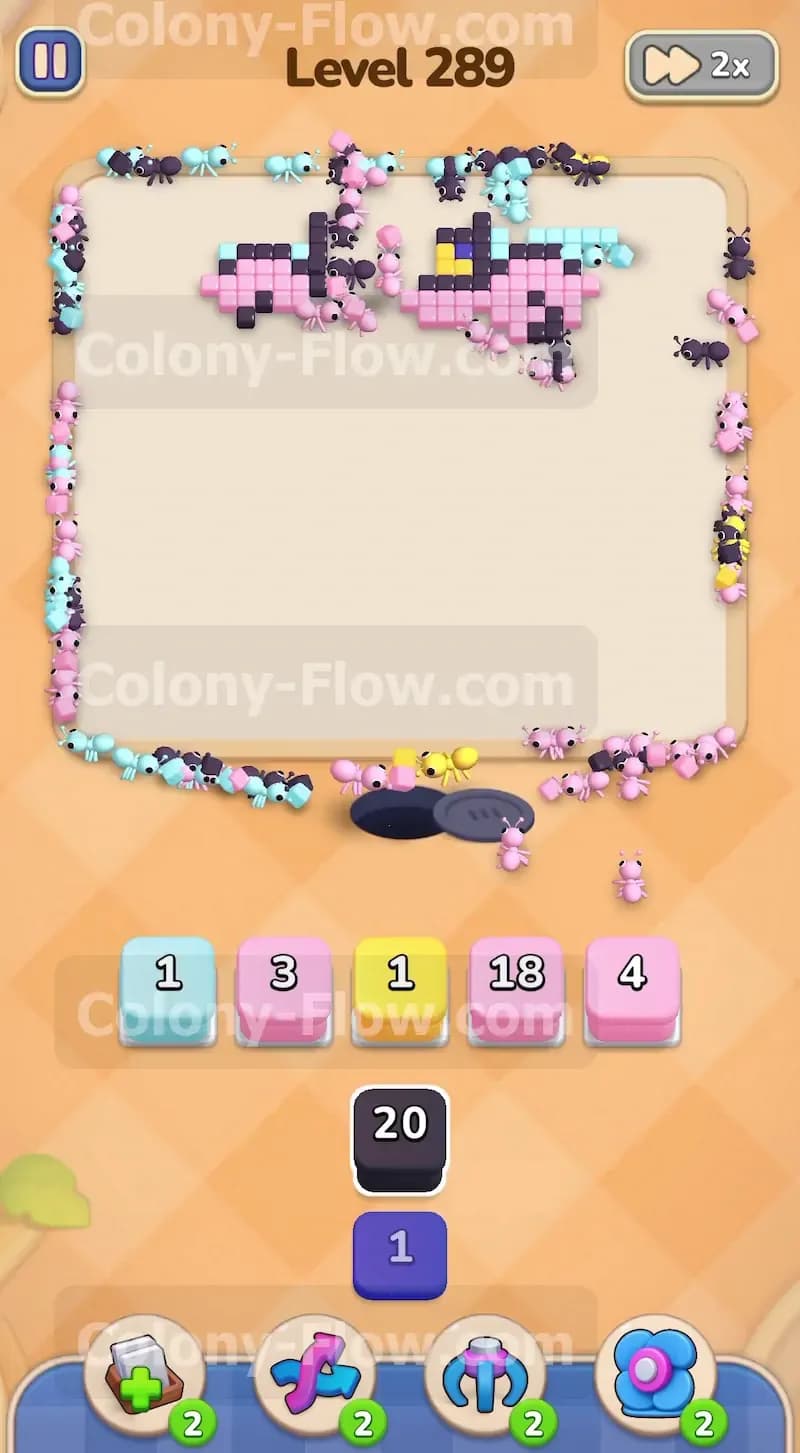
You are now on the final stretch of the level. Only the bright yellow crown and the very top black outline remain on the board. Pull your final yellow blocks and black blocks into the waiting area. The ants march all the way to the top of the screen to eat the yellow crown tiles. A few stray pink and black tiles might linger around the edges of the crown depending on how the ants navigate. Pull any remaining matching blocks from the tray to clean up these leftovers. The numbers on your final blocks hit zero and the last few tiles disappear into the colony. The board becomes entirely empty and your ants return to the nest. You win the level.
Final Thought
Beating this board requires careful timing and steady tray management. Always prioritize clearing the outer layers before moving your ants inward to keep your slots clear. I encourage you to watch the video above this article if any step is hard to follow in text. Seeing the ants move in real time makes the strategy perfectly clear and helps you master the flow mechanics.