Colony Flow Level 475 Walkthrough Solution & Guides | How to solve Colony Flow 475

Guide By Liam Stone
Updated on July 29, 2026
The video above walks through Level 475 in full, so feel free to skip the written steps below.
Video doesn't match your screen?
Game updates frequently scramble layouts! Try our AI Screenshot Solver first to find your exact board instantly, or report broken guides to our team.
Welcome to Colony Flow Level 475. This board presents a fun pixel art picture of an animal holding a large heart, but the center is completely blocked by a massive obstacle. You will need to carefully manage your ant paths to unlock your block tray and reveal the hidden sections of the picture. The strategy here relies on steady progression and strict tray management so you do not run out of waiting slots. Every move you make must serve a purpose, whether it is clearing space, grabbing keys, or breaking down the center door. I have played through this board multiple times to map out the exact sequence you need to follow. If you stick to the plan and prioritize the right colors at the right moments, you will pass this stage easily.
Colony Flow Level 475 Overview
What You Are Working With
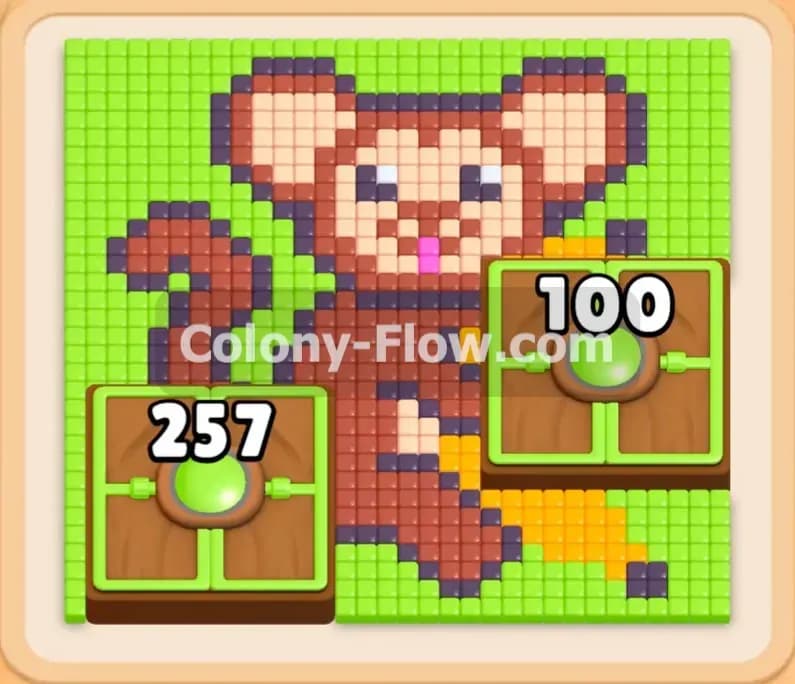
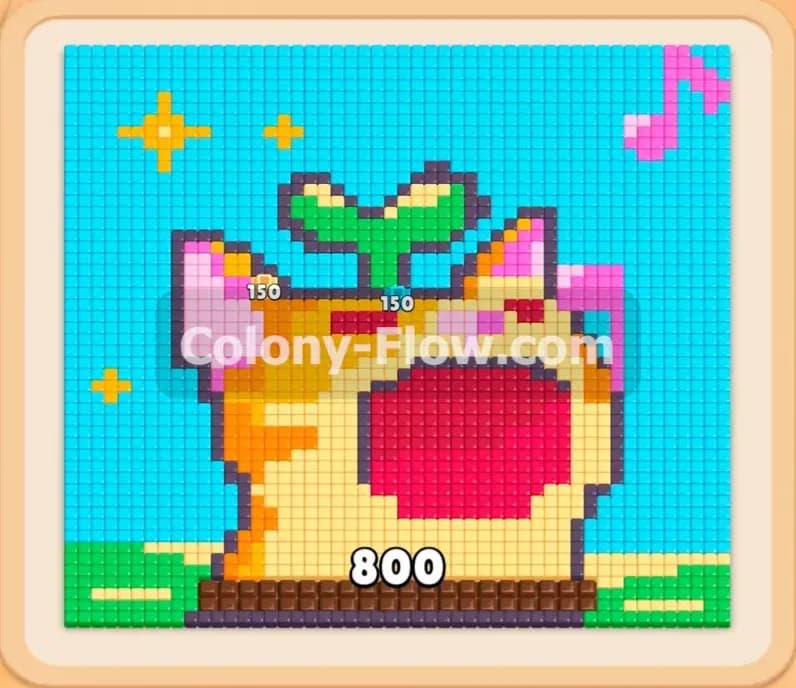
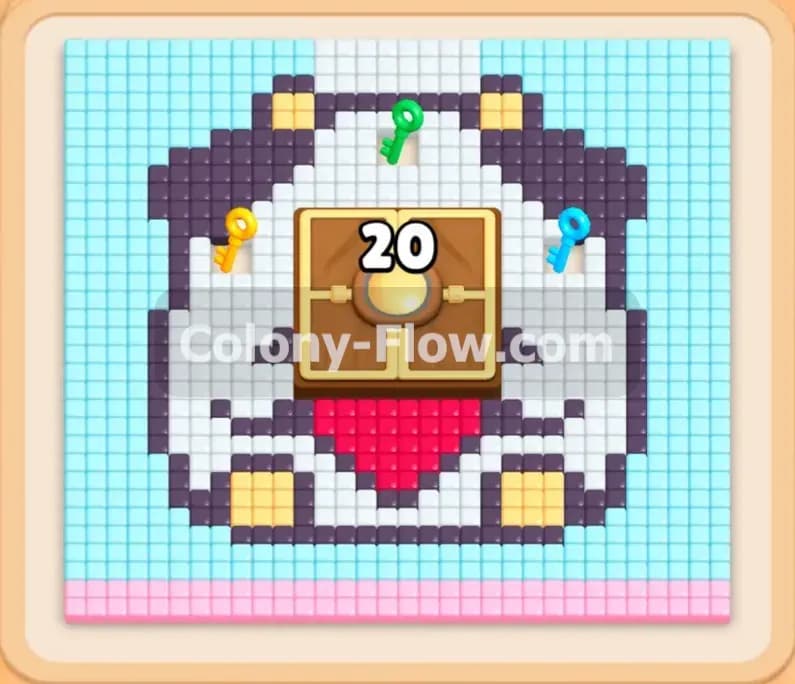
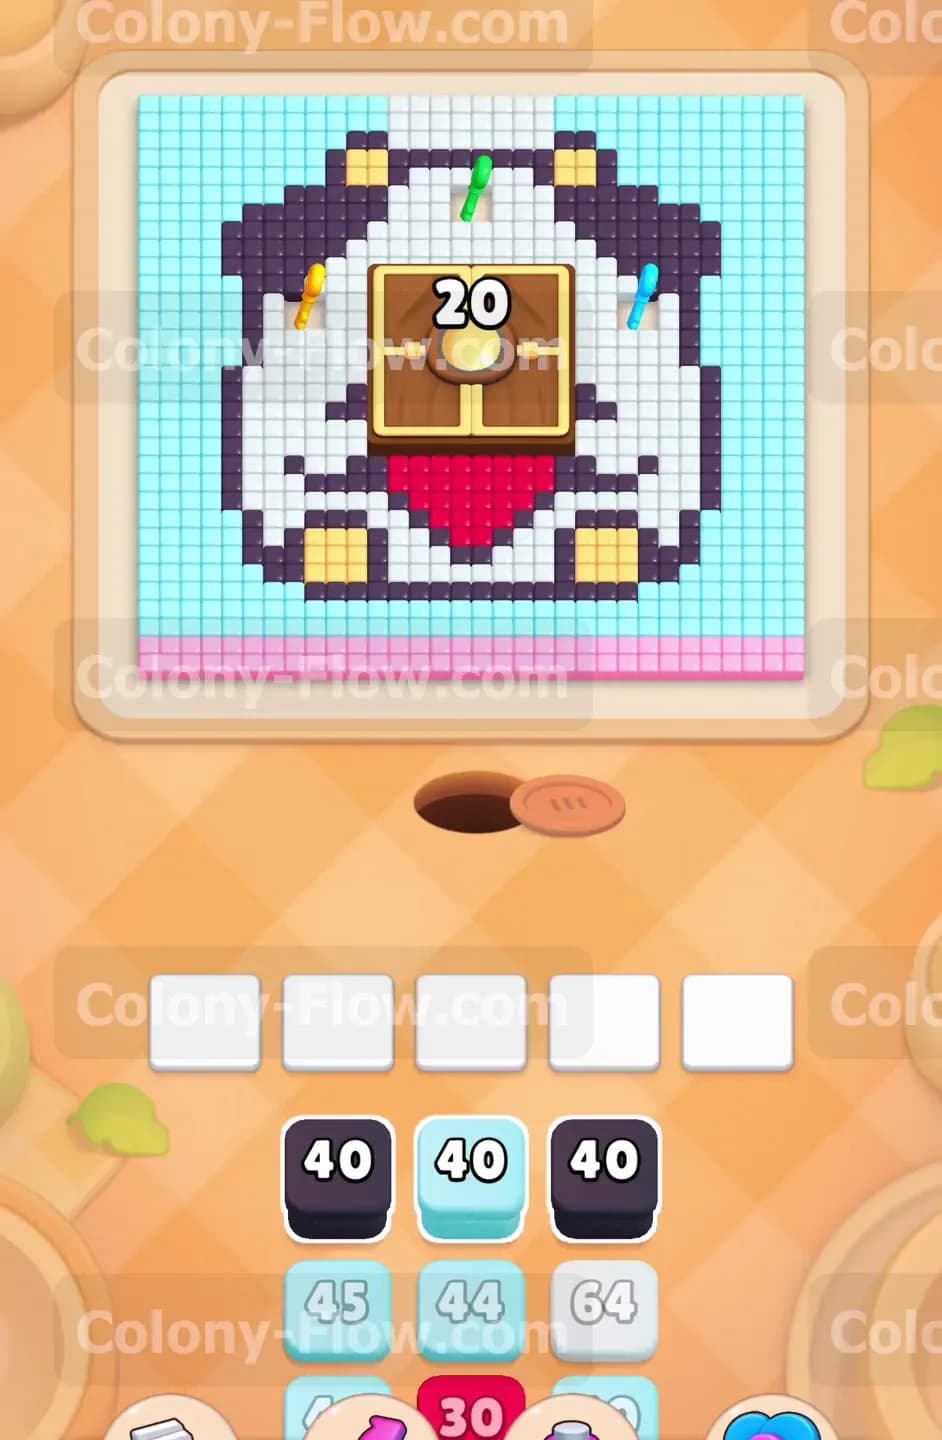
The picture at the top of the screen features a cute white animal with black ears and yellow feet. A solid pink border runs along the entire bottom edge of the board. The background surrounding the animal consists of hundreds of light blue tiles. Right in the middle of the animal sits a large Hungry Door displaying the number twenty. This door completely covers the center of the face and the large red heart the animal is holding.
This level also features a Lock and Key mechanic that dictates the entire flow of the board. If you look closely at the picture, you will spot three colored keys embedded in the tiles. There is a yellow key on the left side, a cyan key on the right side, and a green key at the very top center. Down in your block tray, you will see matching cyan, yellow, and green locks covering some of your stacked blocks. You cannot use those locked blocks until your ants physically collect the corresponding keys from the board. This creates a strict order of operations because you must clear the outer parts of the picture to get the keys before you can finish the inner parts.
What It Takes to Clear Level 475 Board
To beat this board, you have to work from the outside edges inward. The Hungry Door blocks all access to the center tiles, so you must start by clearing the background, the ears, and the outer body. As your ants clear the white body, they will automatically pick up the keys and unlock your tray. At the same time, they will chip away at the Hungry Door. Once the door shatters, the hidden red heart and face details are exposed, allowing you to send in the final waves of red and pink ants. Through all this action, your primary goal is to never fill all five waiting slots in your tray with blocks that have no open path. If you pull a block that cannot reach its matching color, it sits there forever. If you make that mistake five times, the board jams and you lose the level instantly.
Colony Flow Level 475 Step by Step Solution
Step 1: Clear the background and outer ear sections to open up the board.
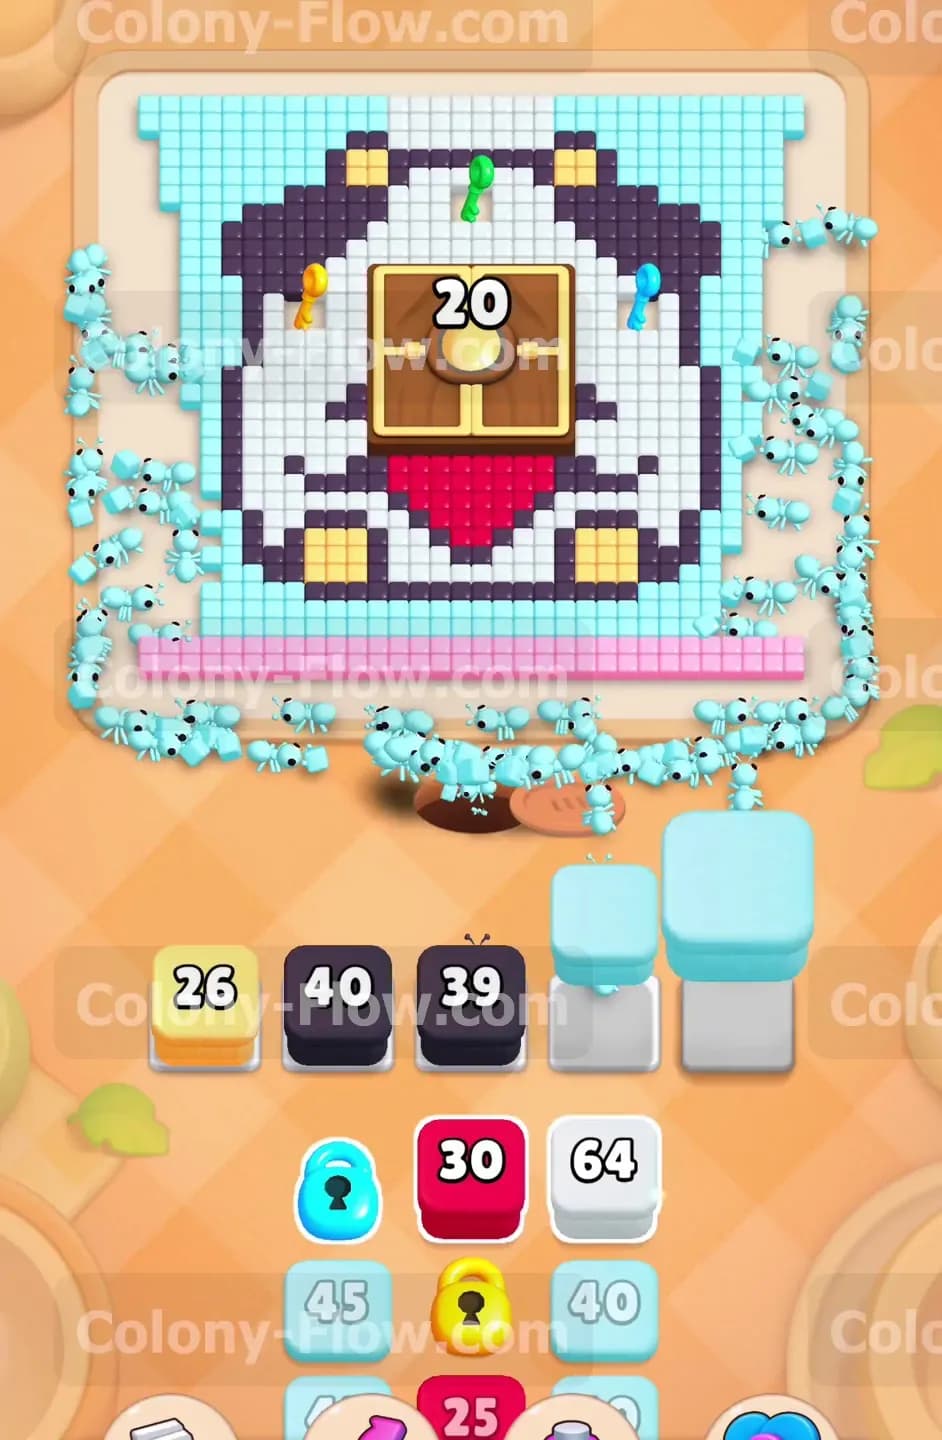
You want to start by opening up as much space as possible. The light blue background makes up a huge portion of the board, so that is your primary target. Pull the light blue blocks from your tray to send light blue ants out to the large background area. These ants will split up and wrap around the outer edges of the picture, clearing a massive amount of tiles. While the light blue ants are working on the background, you should pull the black blocks to target the black ears on the left and right sides. You can also safely pull the yellow blocks to send yellow ants to the yellow feet at the bottom of the picture. Getting these outer colors out of your tray early prevents your five waiting slots from jamming and gives you plenty of open paths to work with.
Step 2: Deploy white ants to attack the body and chip away at the door.
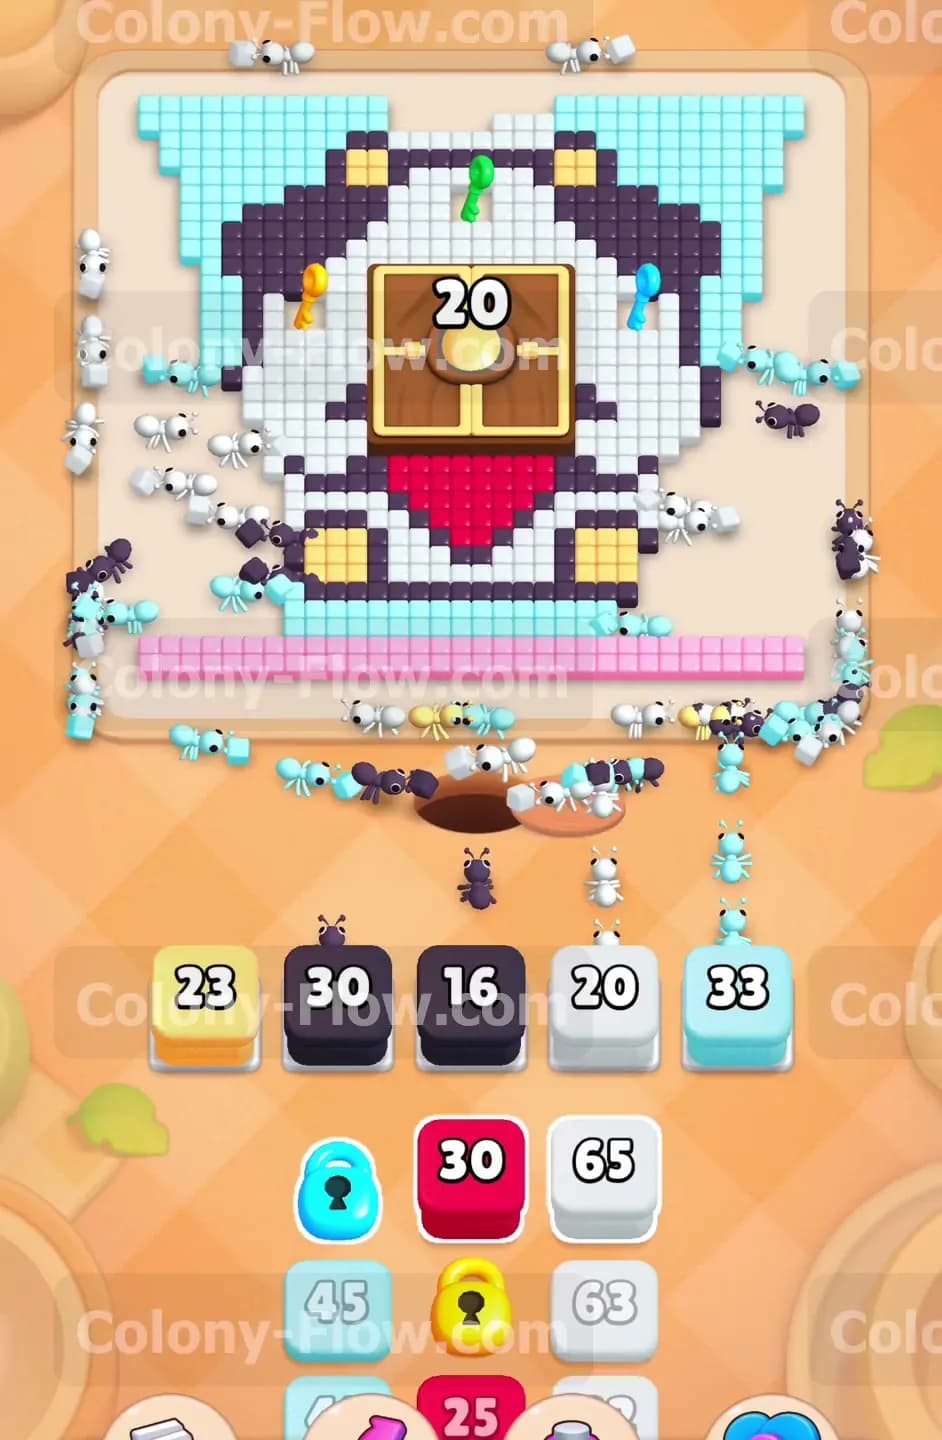
Once you have some breathing room and the outer edges are receding, bring up the white blocks. The white ants are absolutely crucial for this phase of the level. They will march straight up from the nest and begin eating the white tiles that make up the main body of the animal. More importantly, they will start hitting the Hungry Door in the center of the board. Every single white ant that bumps into the Hungry Door reduces its counter by one. You need exactly twenty hits to break it open. Keep feeding white blocks into your active slots to maintain a steady stream of ants hitting that door. Do not pull any red or pink blocks yet, because the door is still blocking the red heart and pink snout.
Step 3: Collect the cyan and yellow keys to unlock the lower tray.
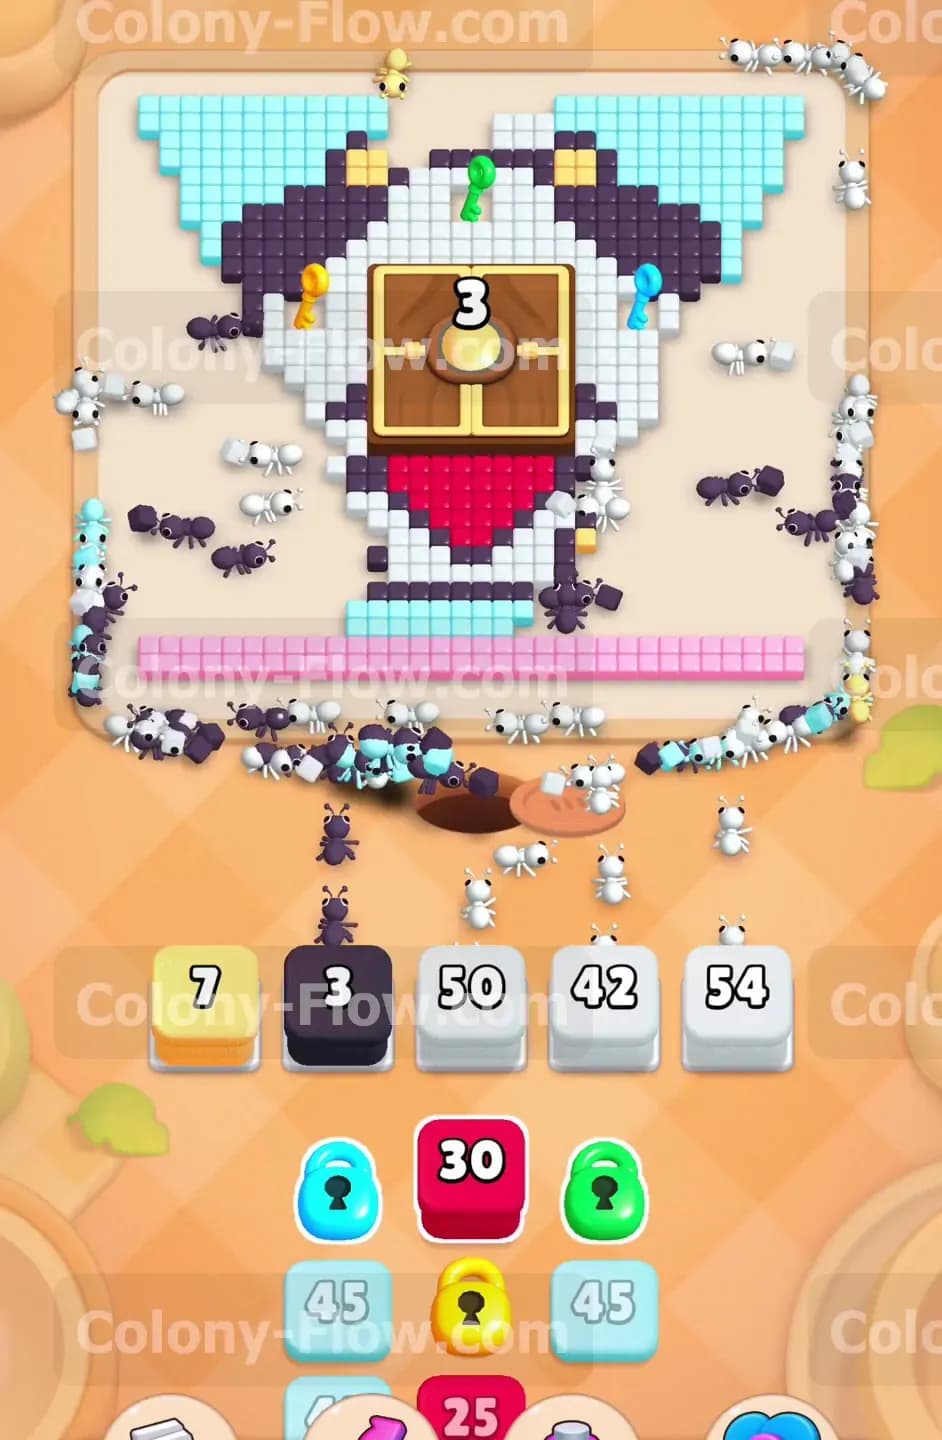
As your white ants chew through the left and right sides of the animal body, they will naturally run into the cyan key on the right and the yellow key on the left. You do not need to do anything special to collect them. The white ants will simply pick them up as they clear the adjacent white tiles. Collecting these two keys is a major milestone for the level because it pops open the cyan and yellow locks down in your block tray. This action frees up trapped blocks and gives you access to the deeper layers of your tray. Always keep an eye on your five waiting slots during this transition. You want to make sure you only pull blocks that have a clear path to their matching tiles.
Step 4: Collect the green key to shatter the center obstacle completely.
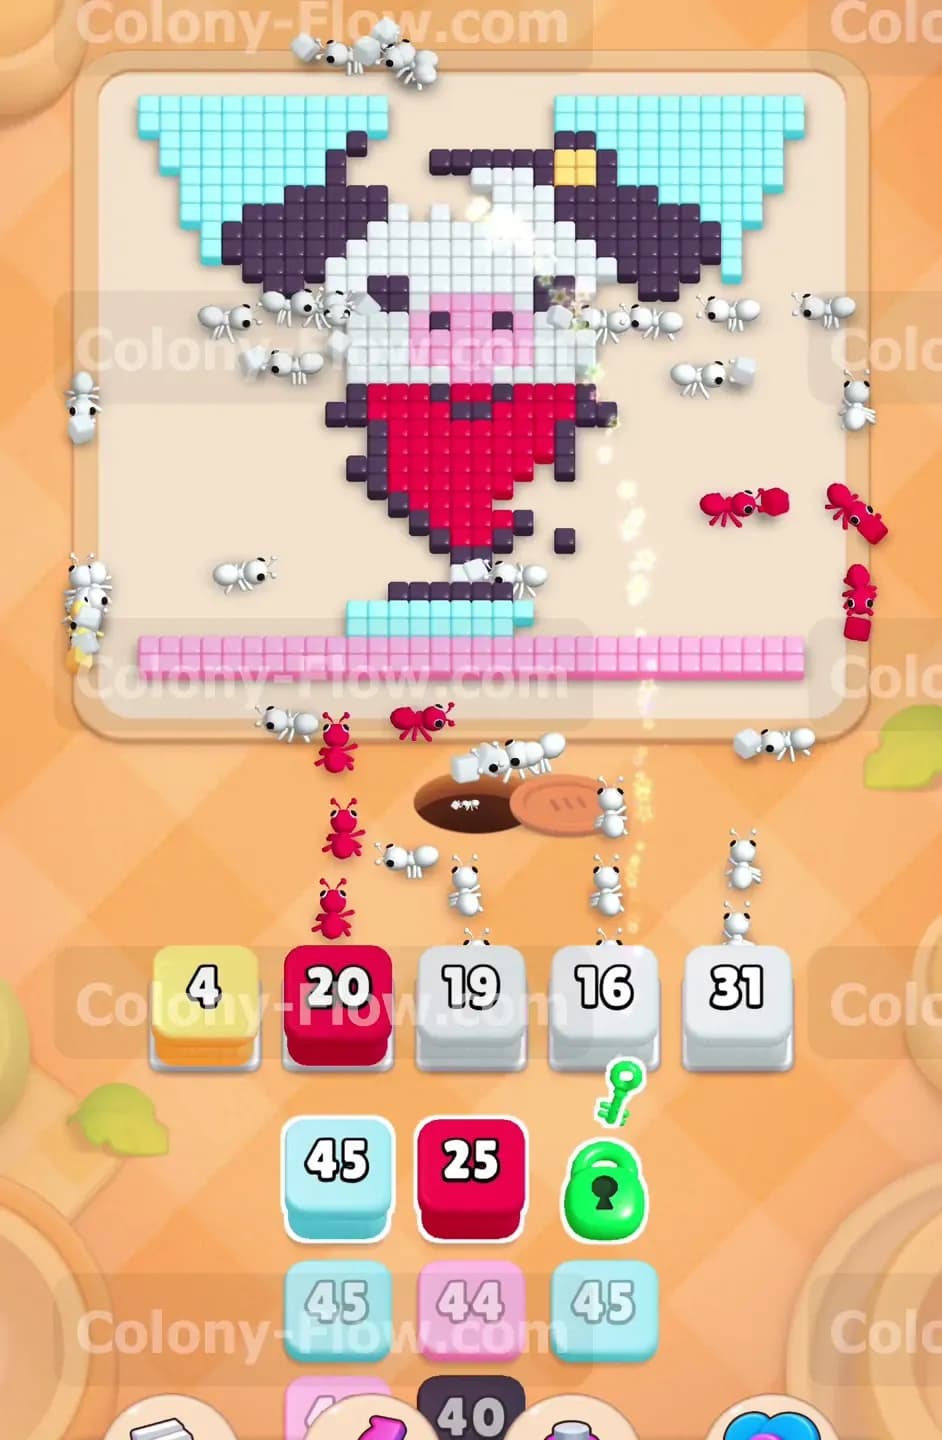
Your white ants will continue pushing upward toward the top of the head. When they reach the very top center of the white tiles, they will collect the green key. Just like the others, this key flies down to your tray and unlocks the green lock. Right around the exact same time, your white ants will deliver their final hits to the Hungry Door. You will see the counter drop from three, to two, to one, and then the large wooden box will shatter and disappear from the board entirely. This dramatic moment exposes the huge red heart in the center of the board, along with the black eyes and pink snout of the animal. You now have full access to the rest of the picture.
Step 5: Flood the center with red ants to clear the massive heart.
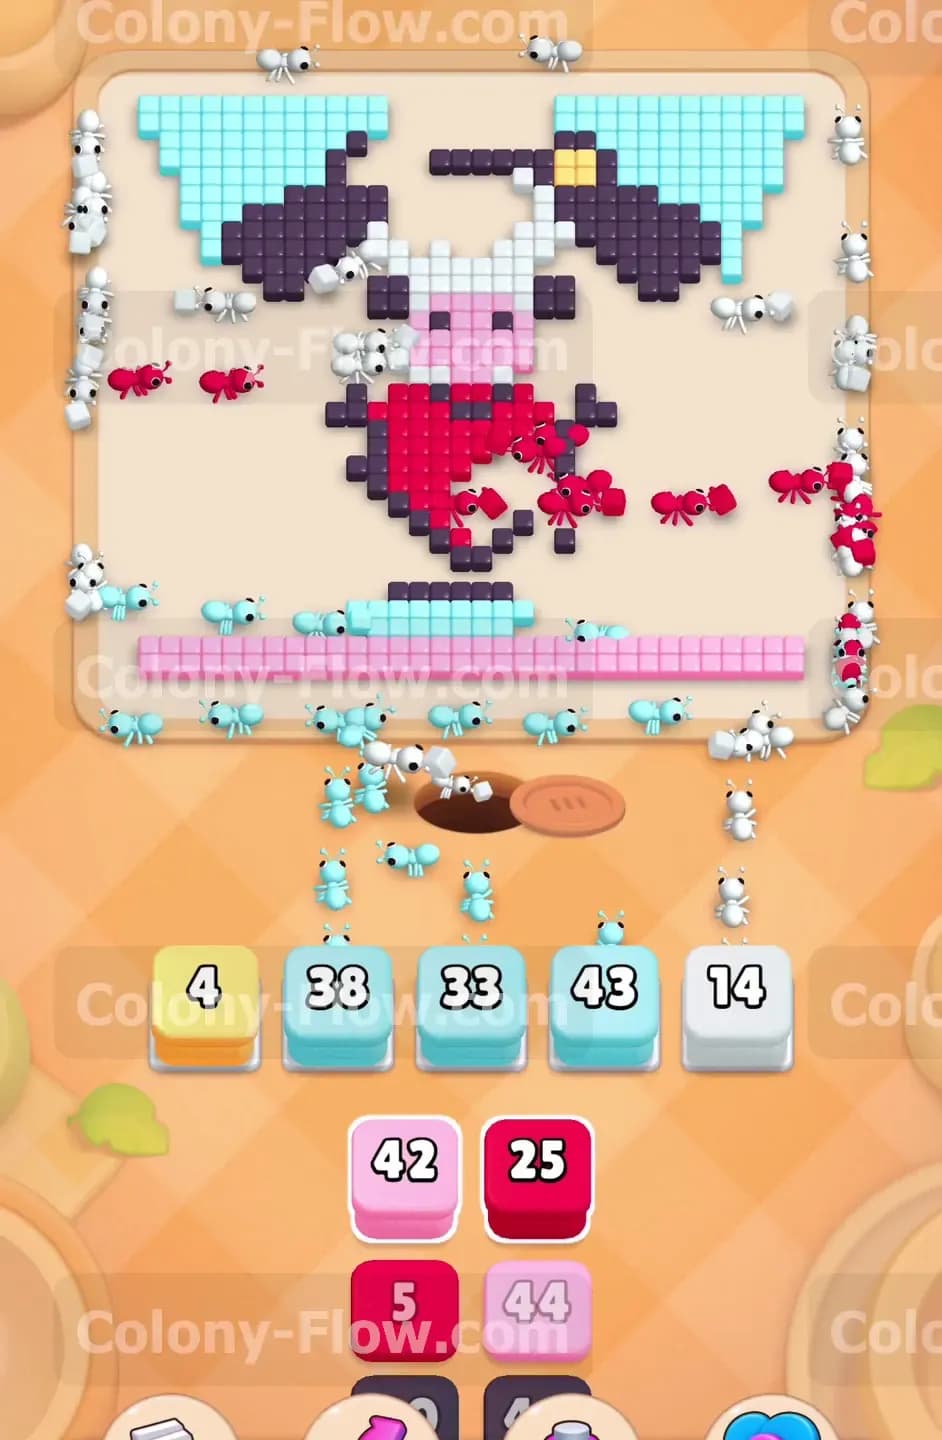
With the Hungry Door completely gone, the red tiles are finally exposed and have an open path to the nest. Now is the perfect time to pull the red blocks from your unlocked tray. Red ants will pour out of the hole and swarm the giant red heart. Since the heart takes up a huge portion of the center board, you will need multiple red blocks to clear it completely. Keep an eye on your waiting slots and only pull a red block if you know the red ants can reach the heart without getting stuck. Let the red ants do their heavy lifting while you prepare for the final cleanup phase.
Step 6: Clear the bottom border and finish the remaining background tiles.
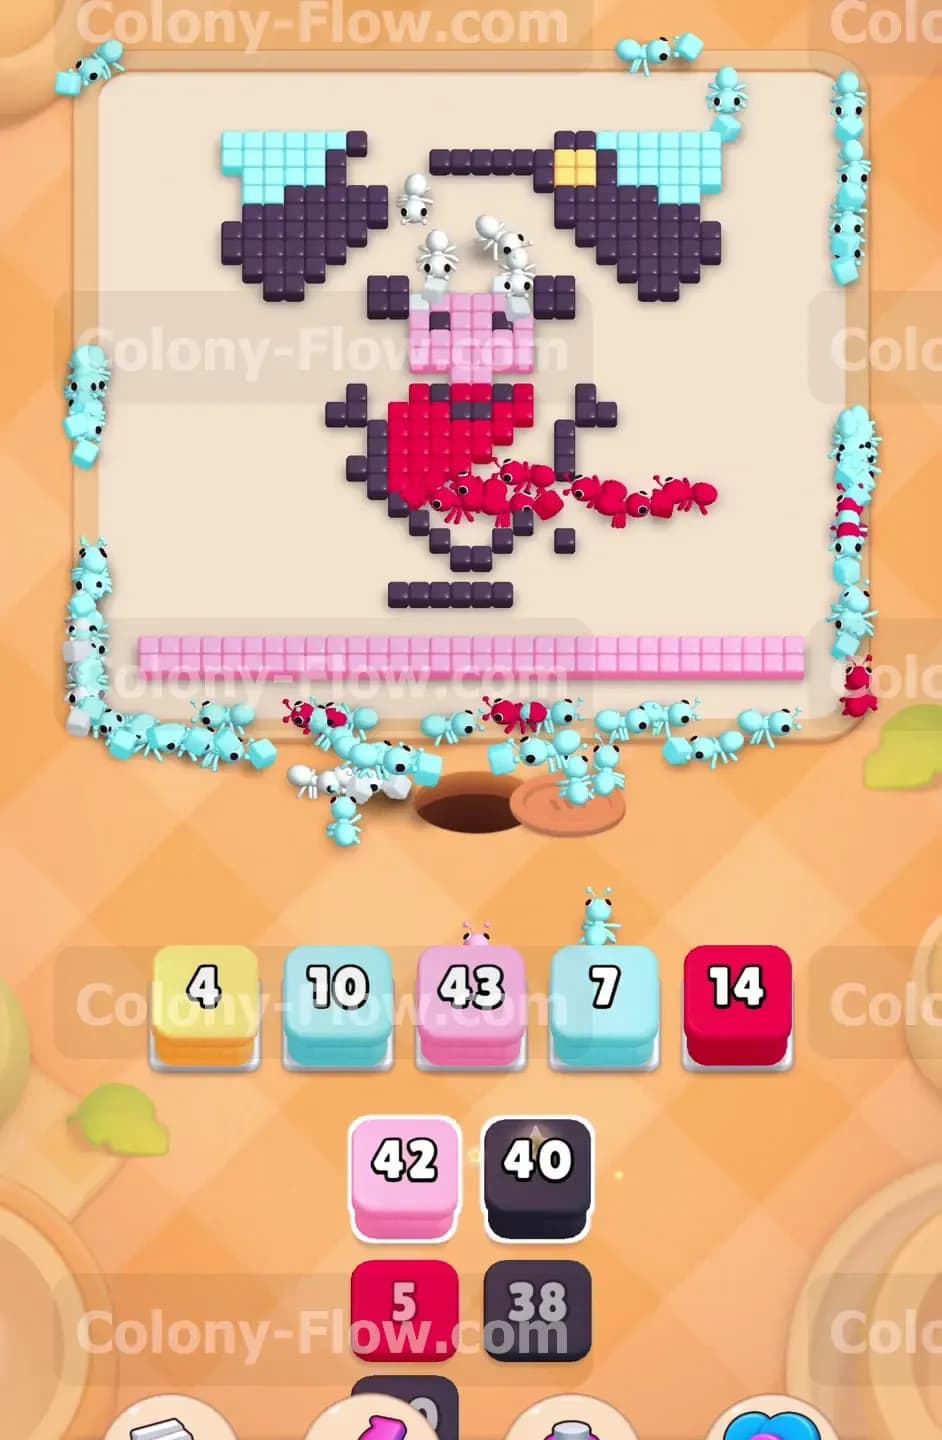
While the red ants are busy devouring the heart, turn your attention to the solid pink border running across the very bottom of the picture. Pull the large pink blocks from your tray to send pink ants along this bottom line. They will march from side to side, clearing the entire row very quickly. At this point, you will have a few light blue blocks left over in your tray. Pull them to clean up any remaining pockets of the light blue background in the upper corners. Balancing the pink blocks and light blue blocks keeps your tray empty and your ants moving efficiently.
Step 7: Clean up the final face details to complete the board.
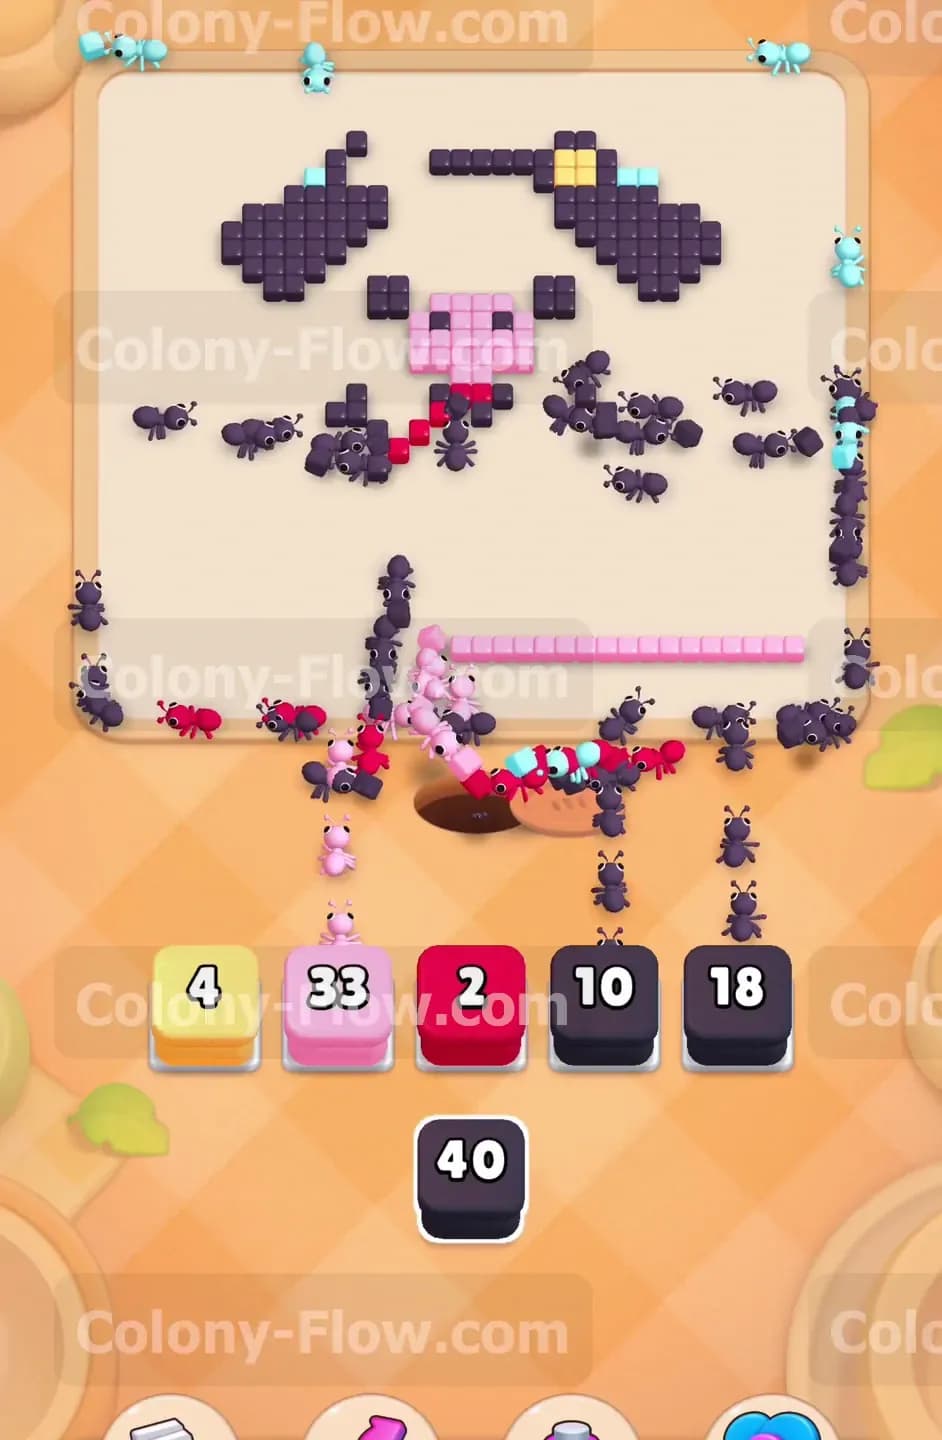
The only tiles left on the board will be the tiny details of the face and ears. You will see the black eyes, the pink snout, and a few stray black pixels on the outer edges of the ears. Pull your final black blocks and small pink blocks to send small squads of ants to handle these last few spots. Be very careful not to pull the wrong color here. If you pull a color that has no matching tiles left on the board, that block will sit in your waiting slot forever. Take your time and match the final blocks to the remaining pixels. Once the last black and pink ants clear the face, the board is entirely empty, and you win the level.
Final Thought
This level is all about patience and trusting the process. You have to let the white ants do their job on the Hungry Door and the keys before you can even think about touching the center of the board. Proper tray management is the only way to survive the early stages while you wait for those locks to open. Rushing to pull colors that are trapped behind the door will only lead to a jammed tray and a failed level. If you find yourself getting stuck on the lock sequence or want to see exactly how the keys are collected in action, I encourage you to watch the video above this article. Seeing the ants clear the paths visually can make the strategy click into place perfectly. Good luck and keep those ants flowing safely.