Colony Flow Level 189 Walkthrough Solution & Guides | How to solve Colony Flow 189

Guide By Liam Stone
Updated on July 13, 2026
You'll find the complete Level 189 walkthrough in the video above if reading isn't what you're after.
Video doesn't match your screen?
Game updates frequently scramble layouts! Try our AI Screenshot Solver first to find your exact board instantly, or report broken guides to our team.
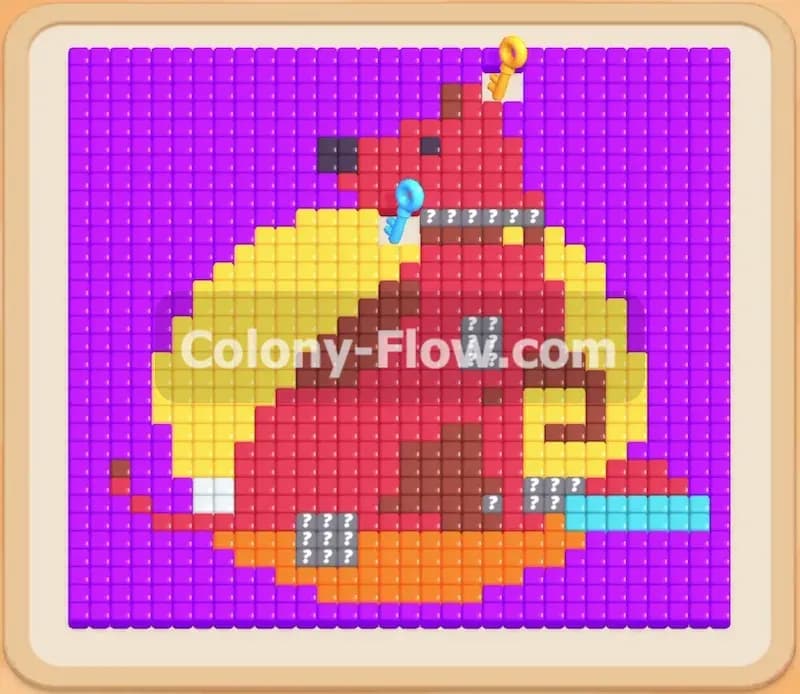
Welcome to Colony Flow Level 189. This board gives you a cute pixel art picture of a dog sitting on a moon but do not let the charming scene fool you. The massive background and locked tray blocks require careful slot management so you do not jam your waiting area. I played through this level to figure out exactly how to route the colony and unlock every color safely without causing a dead end.
Colony Flow Level 189 Overview
What You Are Working With
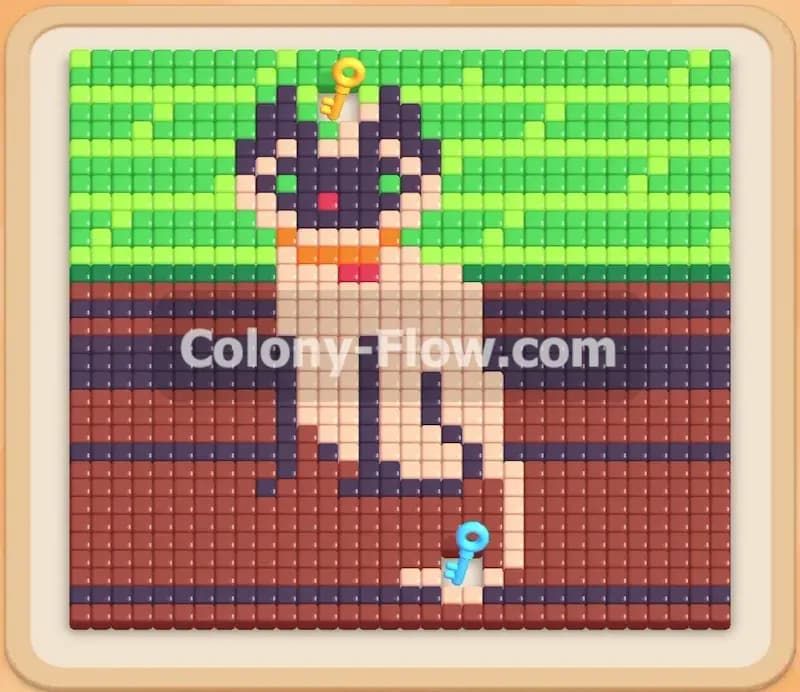
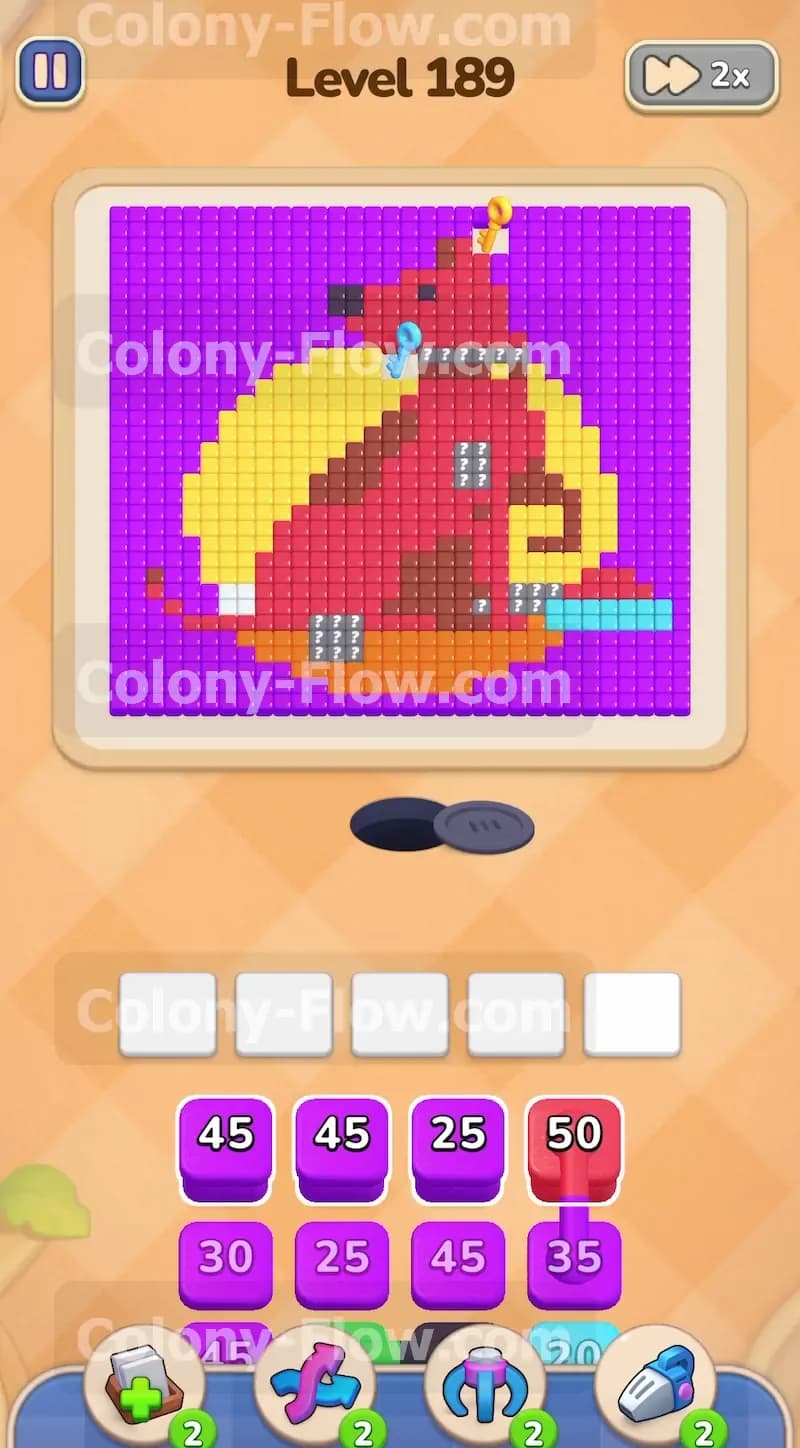
The picture shows a red dog with brown spots wearing a blue collar tag. The dog sits on an orange crescent moon with a large yellow circle right behind it. A giant purple background surrounds the entire image. You will also spot a yellow key near the top right of the dog and a blue key near the collar. The tray at the bottom holds a mix of standard color blocks and some special items. You will face connected blocks where a green block and a black block are linked together. The tray also contains locked blocks that require you to collect the keys on the board before you can use them.
What It Takes to Clear Level 189 Board
To win you must clear every single colored tile from the picture. Your main goal is to manage the five waiting slots at the bottom of the screen. If you fill all five slots with blocks that have no open path to their matching colors you will fail the level instantly. You have to strip away the giant purple background early to reveal the keys. Collecting those keys unlocks the restricted colors in your tray. You keep the slots flowing by mixing big color clears with smaller detail clears.
Colony Flow Level 189 Step by Step Solution
Step 1: Start by clearing the massive purple background to open up the board.
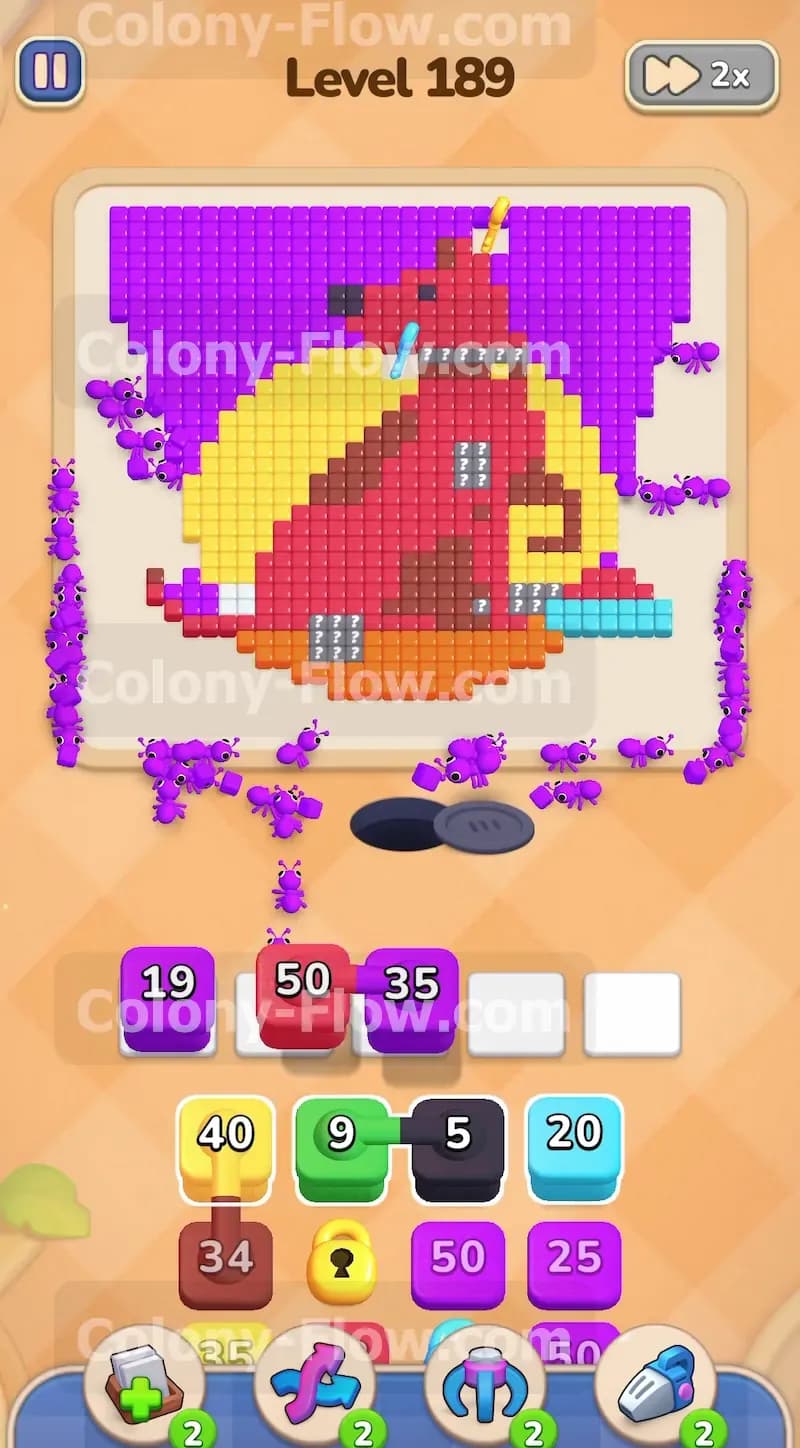
The very first thing you notice on this board is the sheer amount of purple tiles making up the night sky background. You need to pull the purple blocks from your tray to get your colony working on this massive area right away. The top layer of your tray holds several high number purple blocks waiting to be used. Tap them to move them into your open waiting slots. The purple ants will immediately stream out of the nest hole and begin eating away at the outer edges of the picture. Getting rid of the background is your top priority because it blocks access to the outer boundaries of the dog and moon shapes. Leaving the purple tiles untouched would trap your ants and limit your pathing options later in the level. Watch the numbers on the purple blocks count down as the ants clear the tiles. The background is large enough that you can safely pull multiple purple blocks without risking a jam.
Step 2: Bring up the first red block to work on the main dog body.
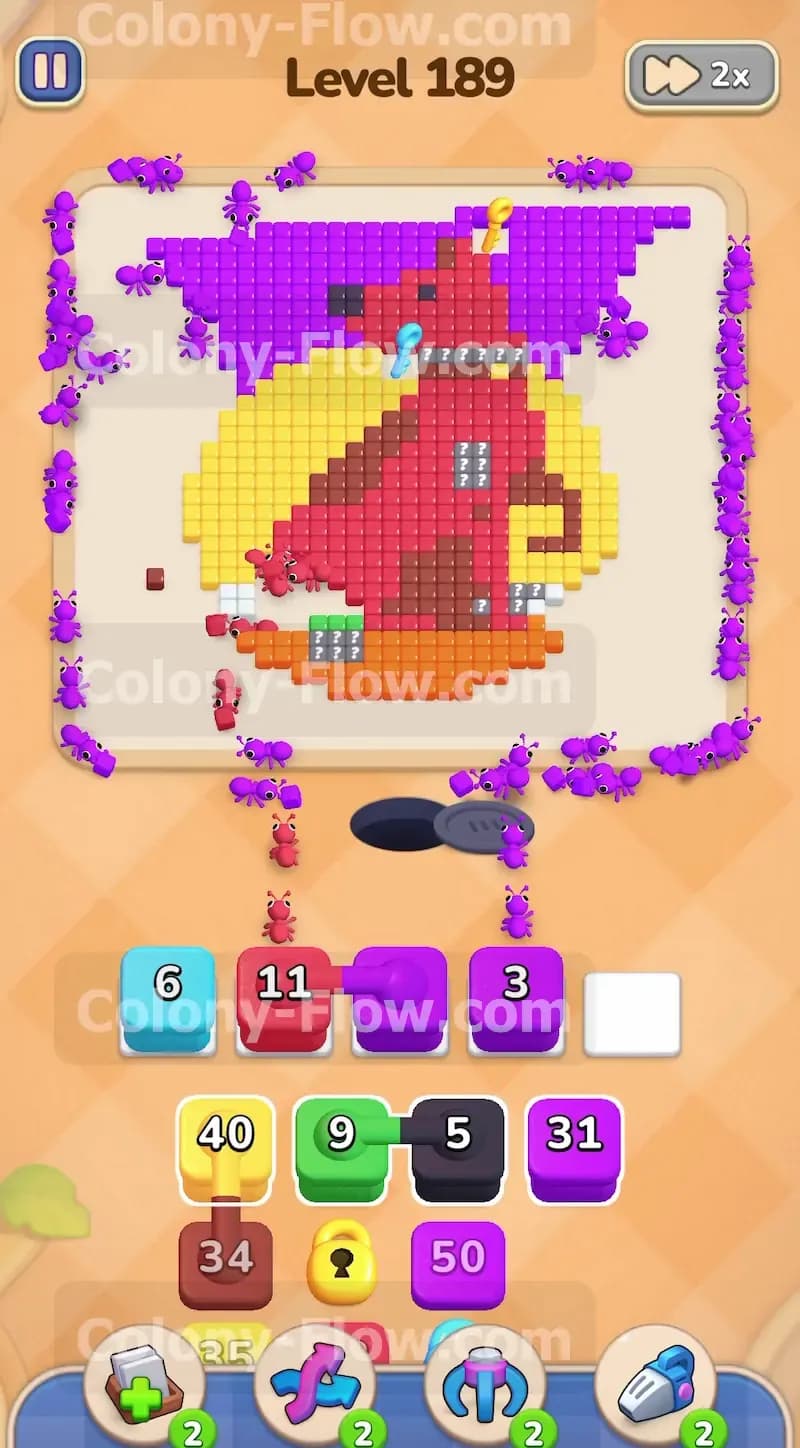
While the purple ants are busy clearing the huge background you need to keep your other waiting slots active and diverse. If you only pull purple blocks you risk filling all five slots and causing a permanent jam if the paths suddenly choke. To prevent a dead end you should pull the first available red block into an empty slot. The red block targets the large body of the dog sitting in the center of the board. The red tiles are completely exposed right from the start so the ants have a wide open path to begin eating immediately. Mixing a red block into your active slots ensures a steady flow of ants leaving the nest. This simple move keeps your waiting area clear and prevents any unexpected bottleneck while the background slowly vanishes.
Step 3: Pull the light blue block to clear the collar tag and collect the blue key.
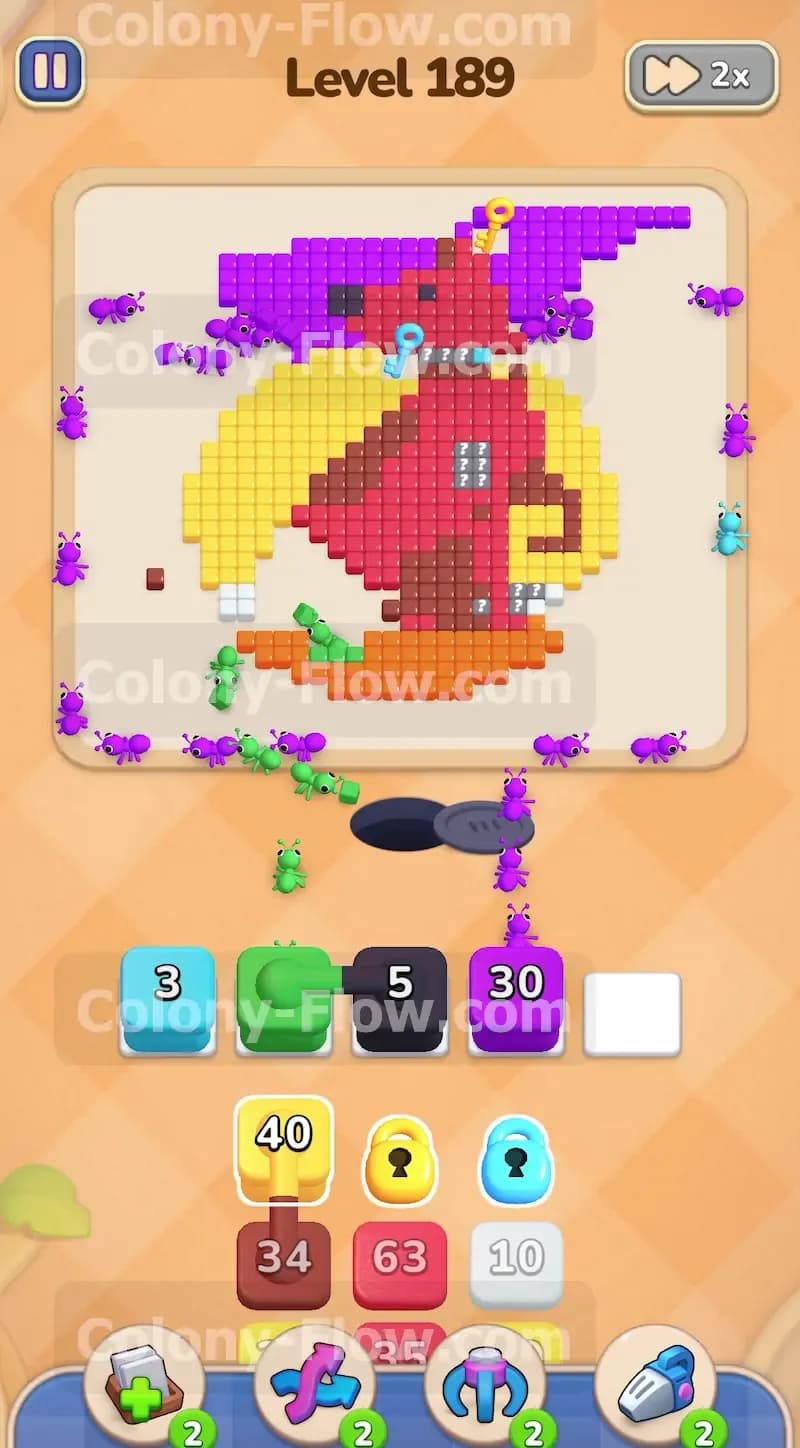
Your next major goal is to collect the blue key located right next to the dog collar. Look closely at your tray and find the light blue block. Pull this light blue block up into one of your open waiting slots. A stream of light blue ants will head straight for the small collar tag on the dog neck. As they eat away the light blue tiles they will reach the very edge and collect the blue key. Getting this key is completely mandatory because it unlocks the corresponding colored locks sitting down in your deeper tray layers. Without this key you would eventually run out of usable blocks and fail the entire level. Keep an eye on the slots to make sure the light blue block empties out completely and frees up its space.
Step 4: Move the connected green and black blocks into the waiting slots.
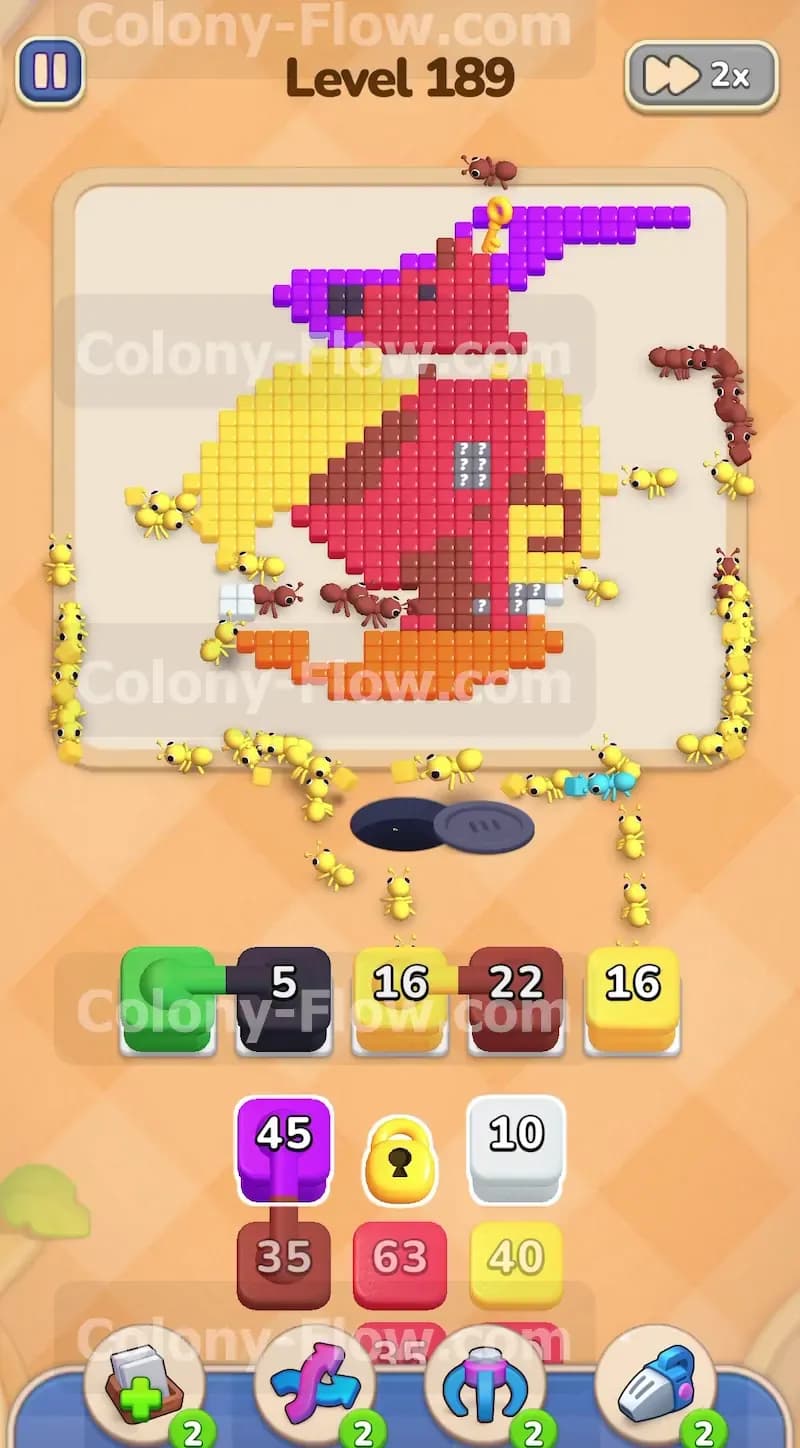
Now you have to deal with the connected blocks resting in your tray. You will see a green block and a black block physically linked together by a thick line. When you tap one both blocks move into your waiting slots and take up two spaces at the exact same time. This is a very dangerous moment for your slot management. You must ensure you have exactly two empty slots available before you pull them up. The green ants will head toward the small green patch near the bottom of the picture. The black ants will target the small black details on the dog face and body. Make sure the paths to both the green and black tiles are fully open before you make this move. If one color lacks a valid path the entire connected pair will sit in your slots and permanently block your progress.
Step 5: Send purple ants to the top right corner to grab the yellow key.
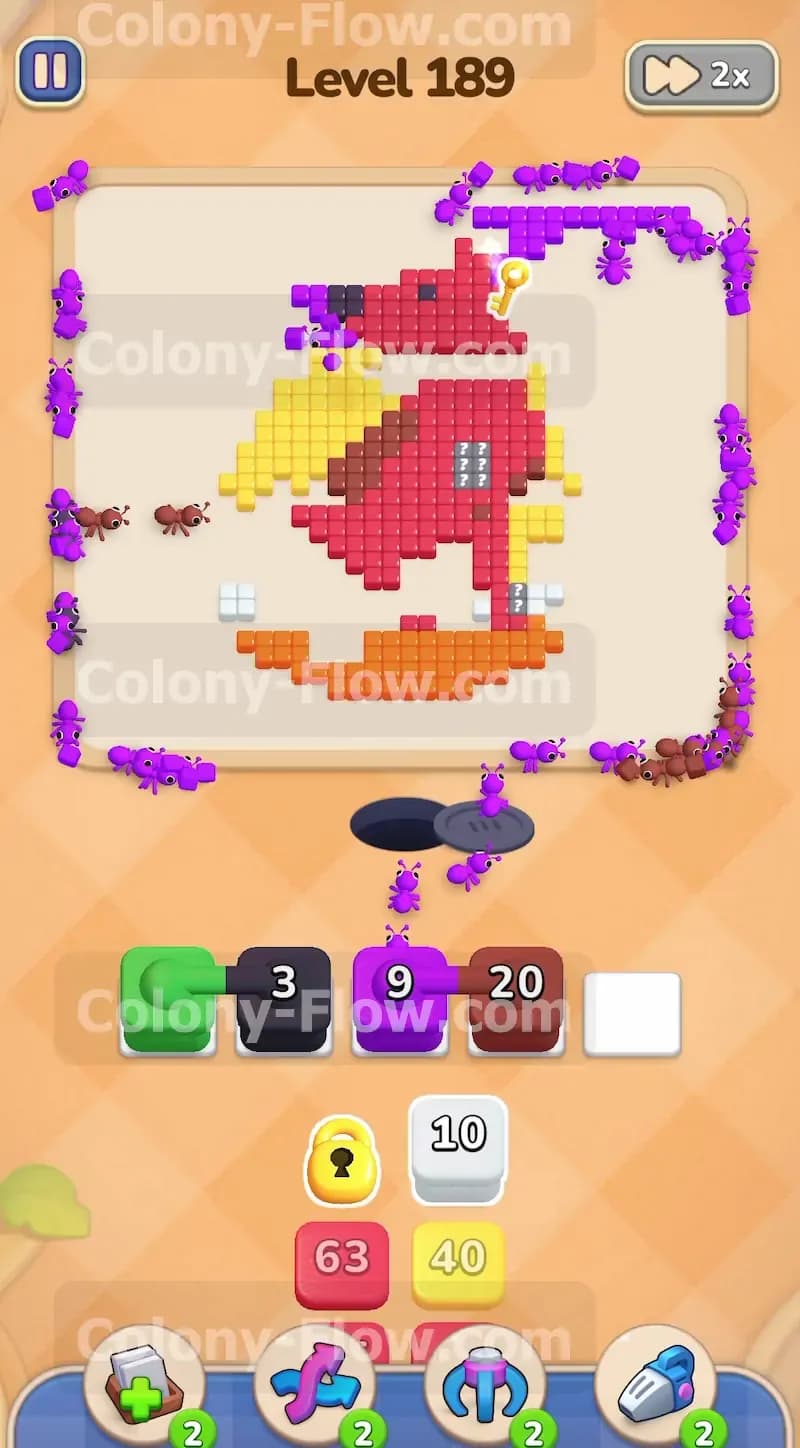
By this time your purple ants are making fantastic progress on the large background. You need to continue feeding them purple blocks until they reach the top right corner of the board. A yellow key sits waiting in that exact corner completely surrounded by purple tiles. Pull another large purple block to keep the colony moving directly toward that direction. As the ants clear the final top sections of the background they will grab the yellow key. You will see the yellow lock on your tray pop open right after the key is collected. This unlocks the bright yellow blocks you desperately need to handle the large moon behind the dog. Never lose track of your open paths while you wait for the ants to travel all the way across the wide board.
Step 6: Use the yellow blocks to start clearing the large round moon.
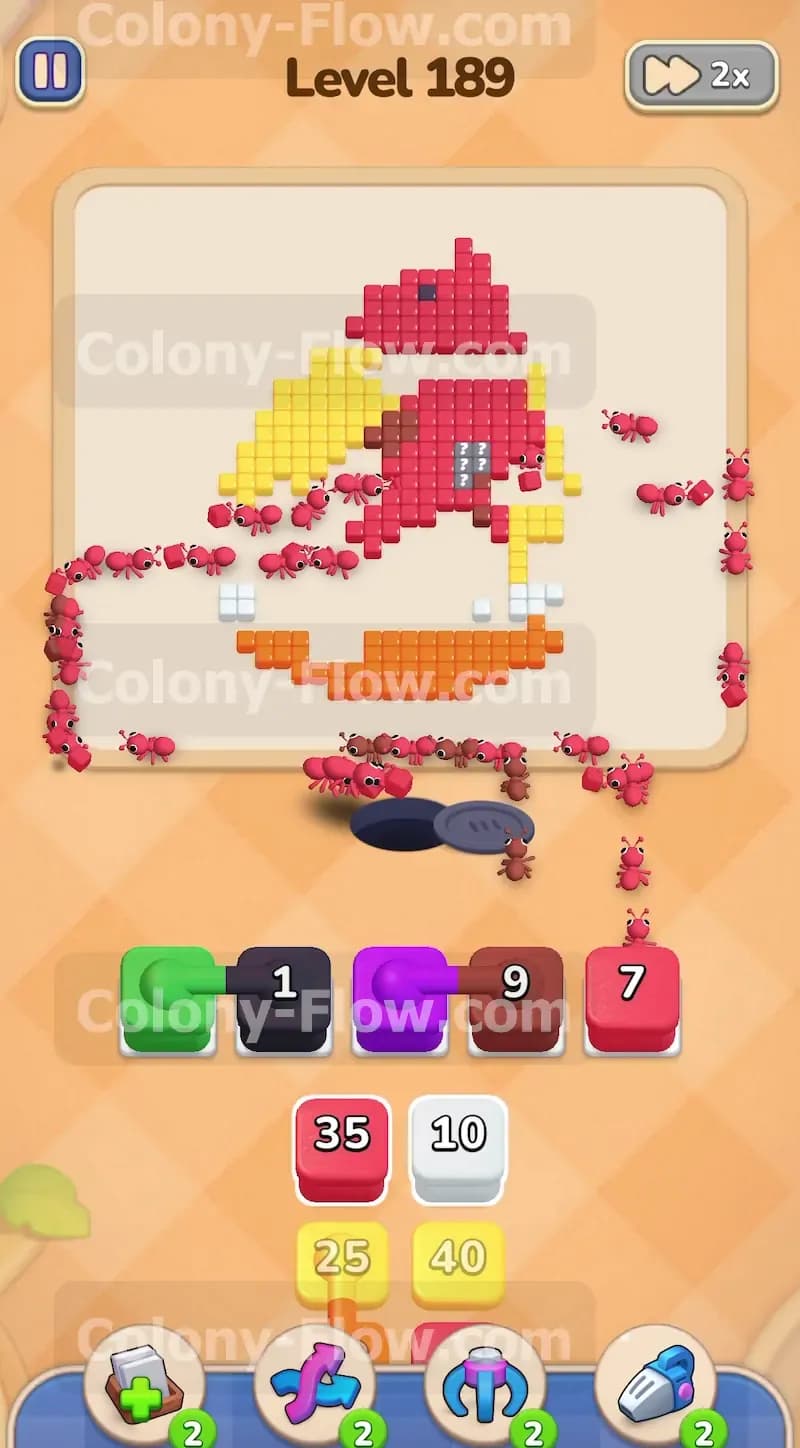
With the yellow lock completely removed you can finally start clearing the large circular moon. Pull a yellow block from the tray into an open slot at the bottom of your screen. The yellow ants will pour out and begin munching on the left side of the moon shape. The yellow section is quite large and thick so it will take multiple blocks to clear it completely. Keep alternating between yellow blocks and other available colors to maintain a healthy and continuous flow. You want the yellow ants to continuously eat the moon tiles without taking up too many of your five slots at once. Balancing the yellow blocks with other required colors prevents the waiting area from filling up completely and ruining your run.
Step 7: Clear the brown spots on the dog to free up space quickly.
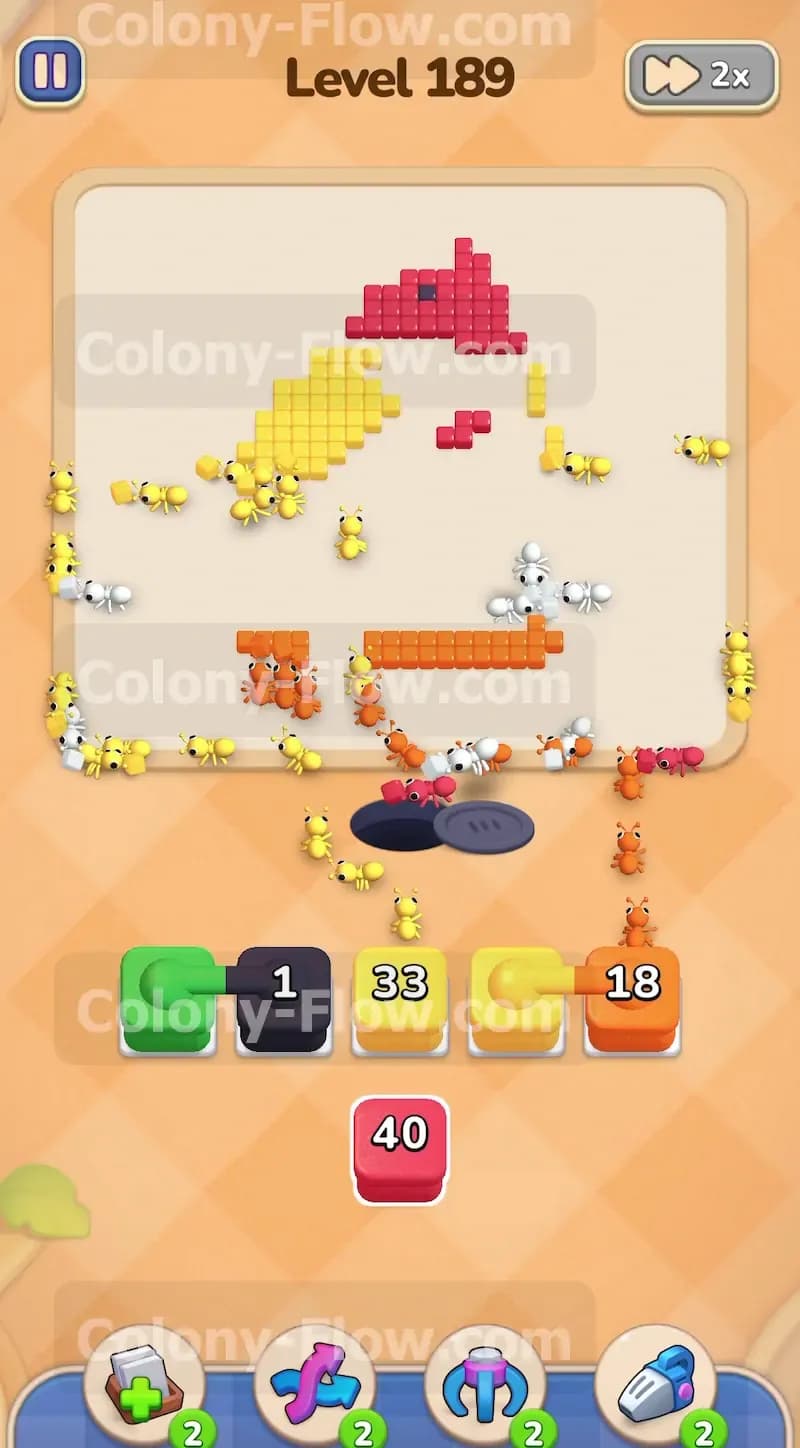
While the yellow and purple ants are working hard you should focus your attention on the brown spots covering the dog. The brown tiles are scattered randomly across the red body and they block some of the red tiles directly underneath them. Pull a brown block into your waiting area to send out a squad of brown ants. They will quickly clear the spots and open up the rest of the red dog body for future moves. Clearing these small detail sections is a fantastic way to free up a slot very quickly. The brown blocks usually carry much smaller numbers so they enter and leave the waiting slots very fast. This rapid turnover is exactly what you need to keep your board from jamming up during the late game stages.
Step 8: Pull the unlocked red blocks to finish the main body of the dog.
Now that the brown spots are completely out of the way you can focus entirely on finishing the dog. You will find several high number red blocks now unlocked and ready in your lower tray. Pull these red blocks up to send a massive swarm of ants to eat the remaining red tiles. The dog head and lower body require a huge amount of ants to completely clear away. Make sure your other slots have active colors working so you do not accidentally fill the entire tray with red blocks that cannot reach their final target. The red ants will chew through the dog shape rapidly now that all the blocking brown tiles are completely gone. Keep pulling red blocks until the main body disappears.
Step 9: Use the white blocks to clear the small details on the face.
Before you can celebrate clearing the main shapes you need to handle the tiny details left on the board. Look for the white blocks in your tray and pull one up into an open slot. The white ants will target the small white sections like the teeth and eye details on the face of the dog. These tiny clusters of tiles are incredibly easy to forget but they will hold up your level completion if you ignore them for too long. The white blocks have very low numbers so they will clear out of your waiting slots in just a few short seconds. Do this action as soon as the red tiles around the face are gone to ensure the paths remain fully open.
Step 10: Finish the level by clearing the orange crescent moon at the bottom.
The very last section of the picture is the orange crescent moon at the very bottom of the screen. You should now have plenty of open slots since most of the board is completely clear of tiles. Pull the orange blocks from your tray to send the final waves of ants out of the nest. They will sweep across the bottom path and eat up the entire orange base from left to right. Pull any remaining yellow blocks to clean up the last few stray pieces of the round moon located behind the dog. Once the final orange and yellow tiles disappear the board will be completely clear. You have successfully managed your limited slots and guided your hungry colony to a total victory.
Final Thought
This level is an excellent test of your patience and tray management skills. You really have to trust the process of clearing out the purple background before you can dig deep into the main picture. Go ahead and watch the video above this article if any step gets confusing in text form so you can see exactly how the ants move. Keep your slots rotating and you will clear the board with ease.