Colony Flow Level 1017 Walkthrough Solution & Guides | How to solve Colony Flow 1017

Guide By Liam Stone
Updated on August 8, 2026
Watching beats reading for some players. The video above has the entire Level 1017 walkthrough ready to go.
Video doesn't match your screen?
Game updates frequently scramble layouts! Try our AI Screenshot Solver first to find your exact board instantly, or report broken guides to our team.
Welcome to Colony Flow Level 1017. I recently played through this exact puzzle to figure out the safest way to clear the board. This level throws a massive amount of solid background tiles at you and follows up with some very complex connected blocks in your tray. You need to keep a close eye on your available open paths so you never trap your ants and fill your waiting slots. Follow my moves below to keep your ants moving and beat the level without getting stuck.
Colony Flow Level 1017 Overview
What You Are Working With
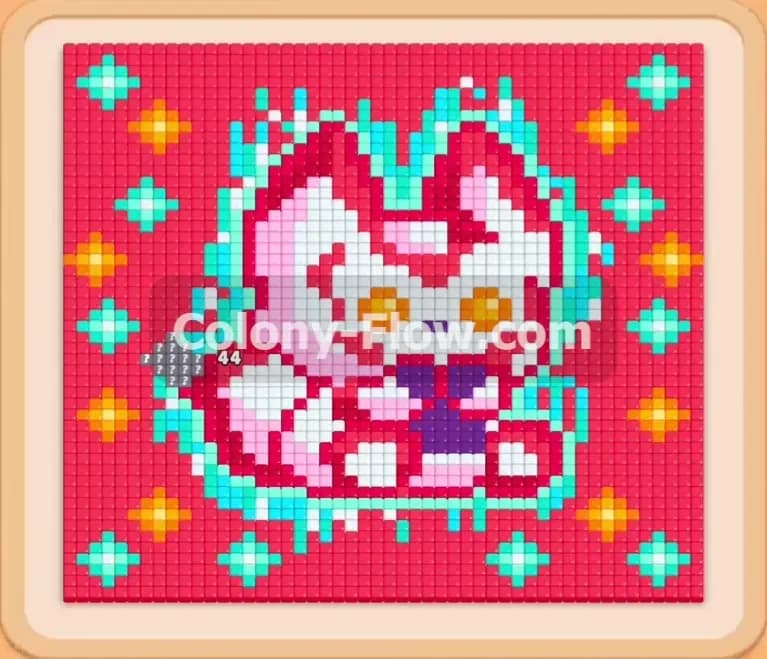
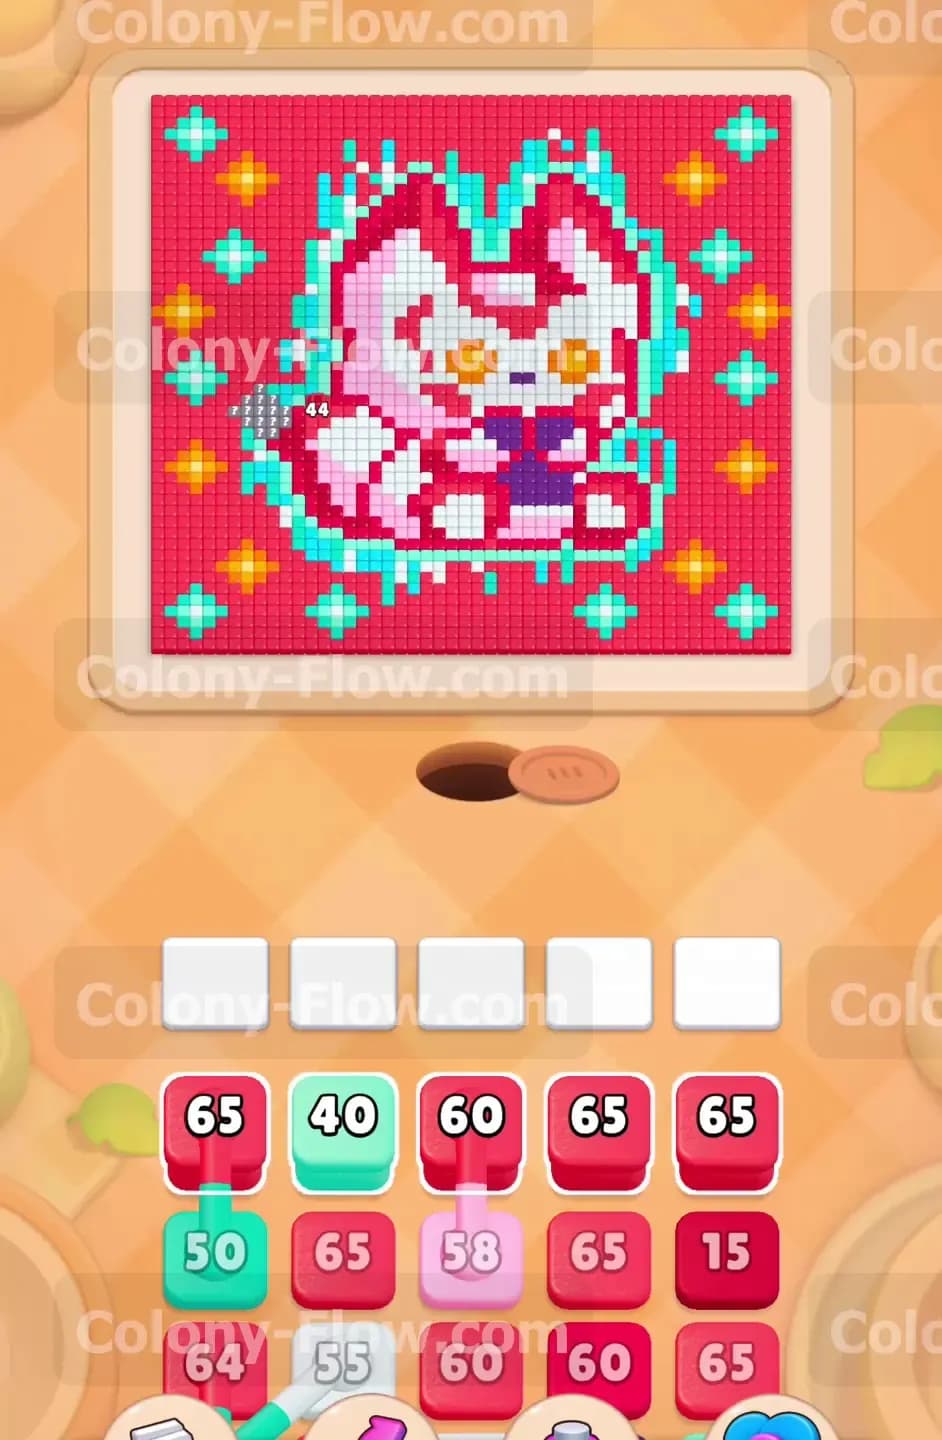
The puzzle picture shows a white cat with bright pink borders and dark purple chest details. A light cyan aura surrounds the entire cat shape. The background is a solid wall of deep red tiles dotted with tiny yellow and cyan diamond shaped stars. Your tray holds very high numbers right from the start. You will see several red 65 blocks alongside cyan 40 and dark purple 15 blocks. The main special tile mechanic you must deal with here is the Connected Boxes. The tray is absolutely loaded with long chains of connected blocks. You will see chains of two blocks and even chains of three or four blocks linked together. You must pull these linked chains into your waiting slots as a single large group.
What It Takes to Clear Level 1017 Board
Clearing this level requires patience and very careful slot management. You must chip away at the huge red background first because it blocks access to the blue aura and the white cat body. Once you break through the red border at the bottom of the screen, you can start feeding your ants the cyan and white blocks. The real challenge comes when the tray forces you to pull the connected boxes. Because connected boxes take up multiple waiting slots at once, pulling them without an open path on the board will instantly ruin your run. If your five waiting slots fill up completely and the ants have no open colors to eat, you lose the level. You win the game when you dismantle the picture from the outside in and clear the final star shapes at the very top corners.
Colony Flow Level 1017 Step by Step Solution
Step 1: Clear the bottom red background tiles to expose the cat paws.
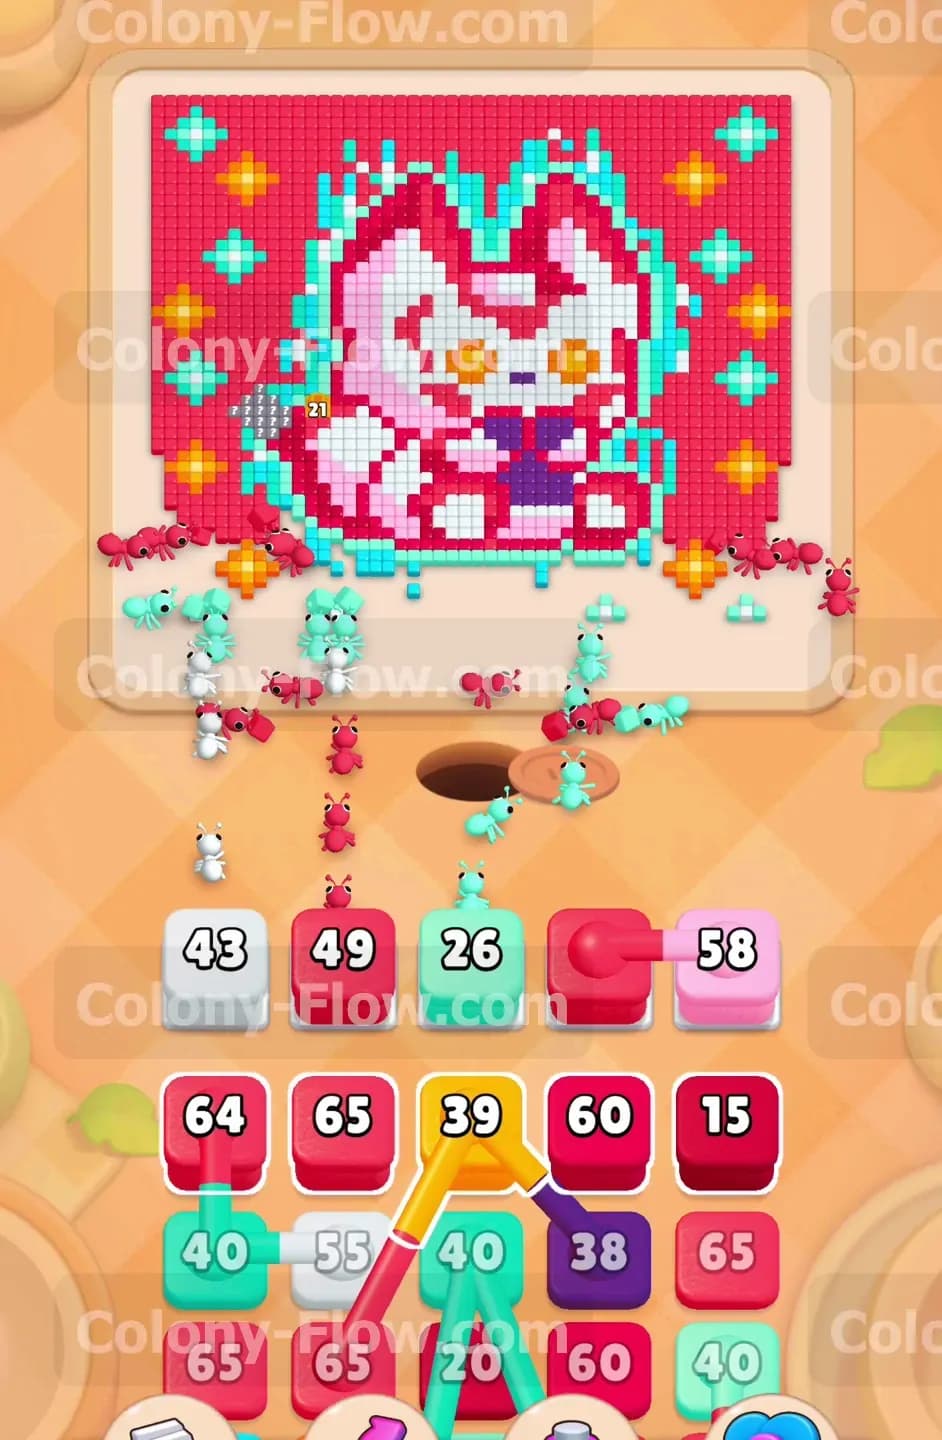
The level starts with the dark red background completely surrounding the central picture. You only have access to the bottom edges of the red section. Look at your tray and pull one of the red 65 blocks into your waiting slots. The ants will stream out of the nest hole located at the bottom center of the screen. They will travel to the lower right and lower left corners of the red background and start eating. You have plenty of red tiles exposed right now so your ants will stay incredibly busy. Do not pull any other colors yet because the red wall completely blocks the cyan aura and the white cat body.
Step 2: Bring out the pink and cyan blocks as new paths open up.
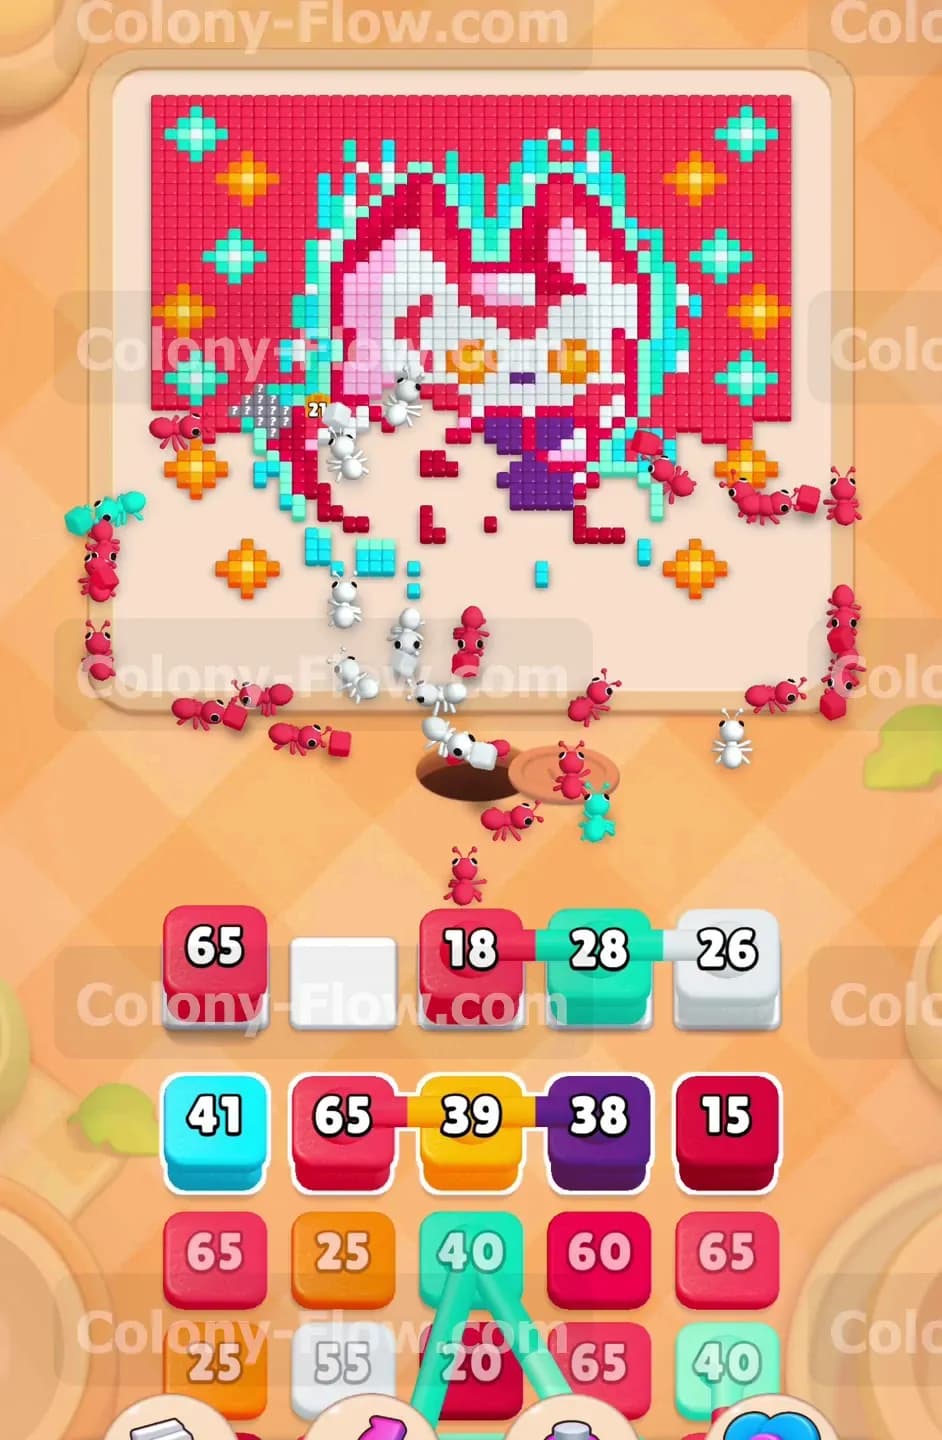
Once the first red block counts down, the ants will expose the bottom edges of the pink outline and the cyan aura. Now you can safely pull a cyan 40 block and the pink 58 block from your tray. The ants will divide their attention between the blue aura around the base of the cat and the pink paws. Keeping two different colors active at the same time is a great way to clear the board evenly and avoid traffic jams near the nest hole. Check your tray for another single red block and pull a red 60 to keep pushing back the red background on the left side of the board.
Step 3: Manage your first set of connected boxes very carefully.
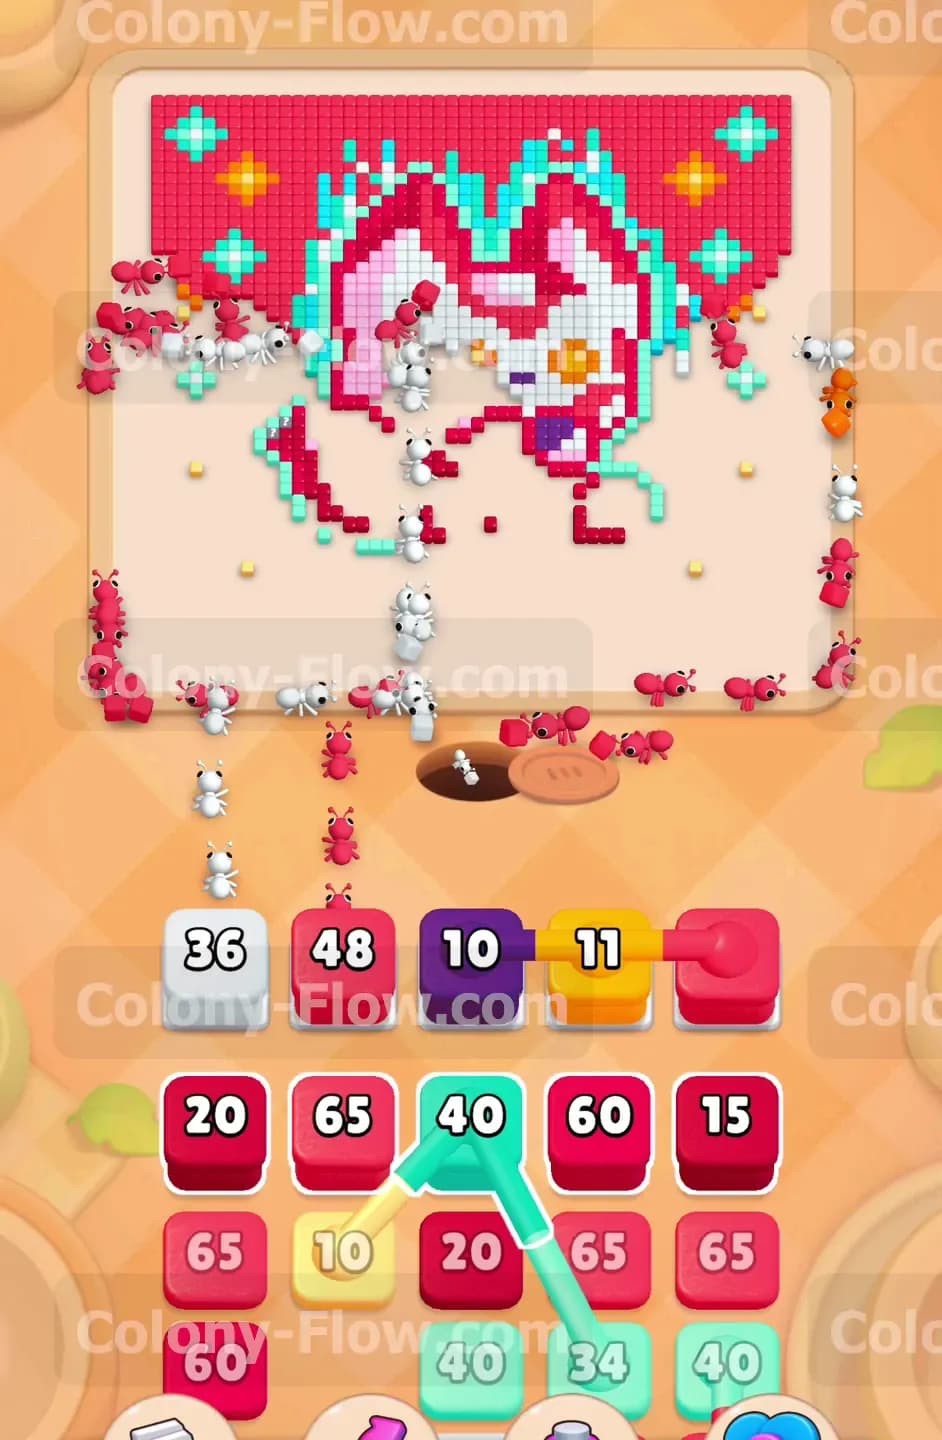
Your bottom tray row reveals a cyan 50 block connected directly to a red 65 block. This is a dangerous moment. You must look at the board and verify that both the cyan tiles and the red tiles have open edges. The ants are currently working on the lower red background and the bottom cyan aura. Since both of these colors are wide open, you can safely pull this connected pair into your waiting slots. The ants will clear the cyan numbers first and then immediately transition to the red numbers. This clears out two huge chunks of the bottom picture and makes fresh room in your tray.
Step 4: Attack the dark purple details and the white body.
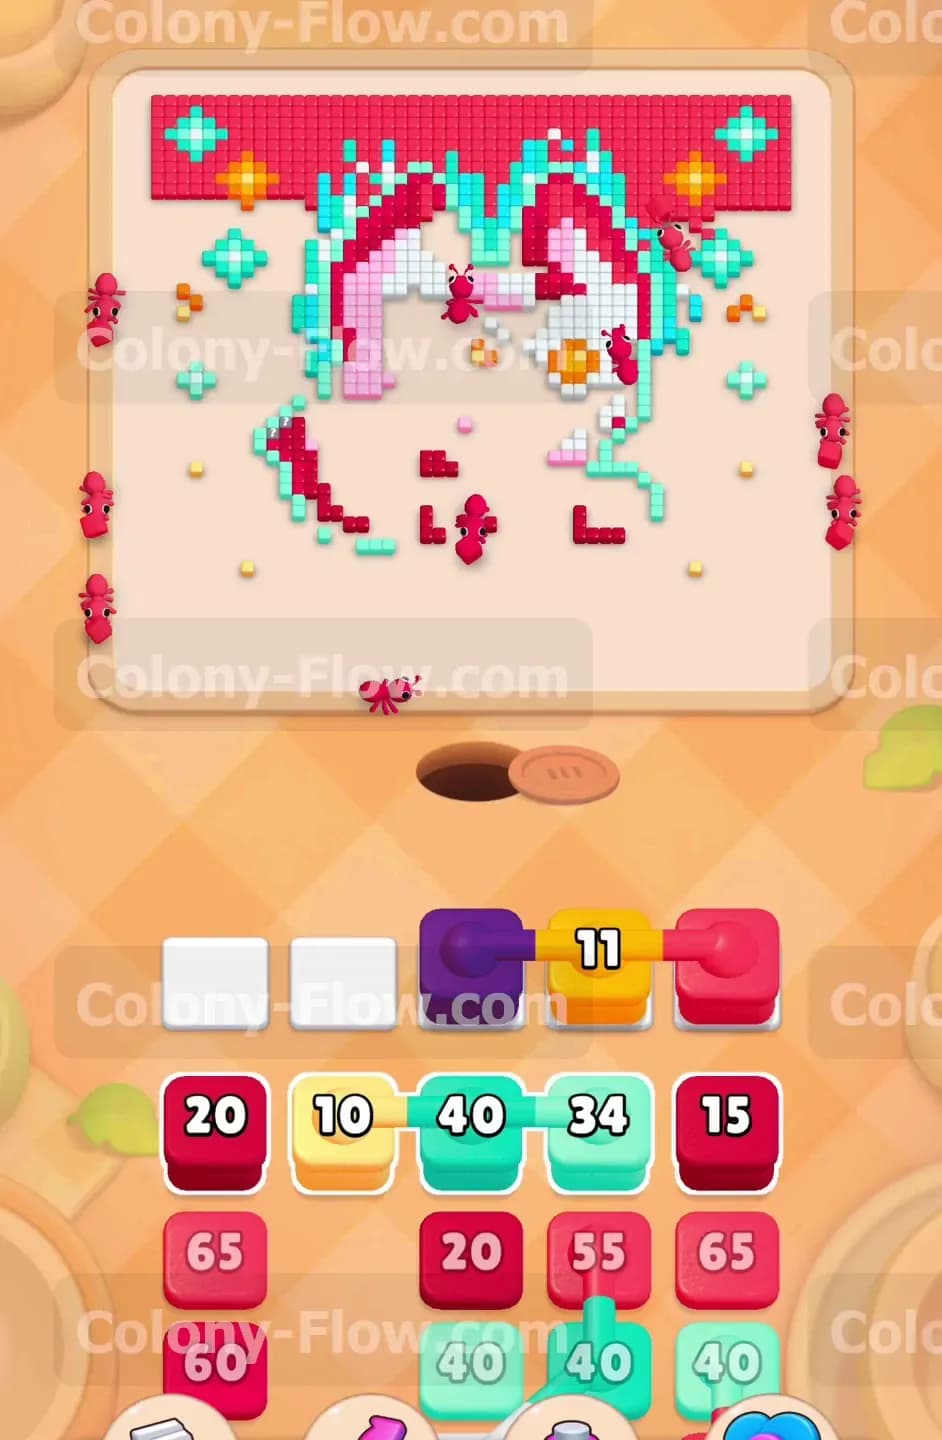
The lower half of the cat is now mostly exposed. The ants have eaten enough of the pink outline to reach the white body tiles and the dark purple chest tiles. Pull the white 43 block and the dark purple 15 block from your tray. The dark purple block has a low number so the ants will finish it very quickly. Pulling the white block allows a massive swarm of ants to start hollowing out the inside of the cat. You want the ants working on the inner white tiles while other ants continue eating the outer red tiles. This prevents your board from dead ending.
Step 5: Handle the massive three piece connected chain in the tray.
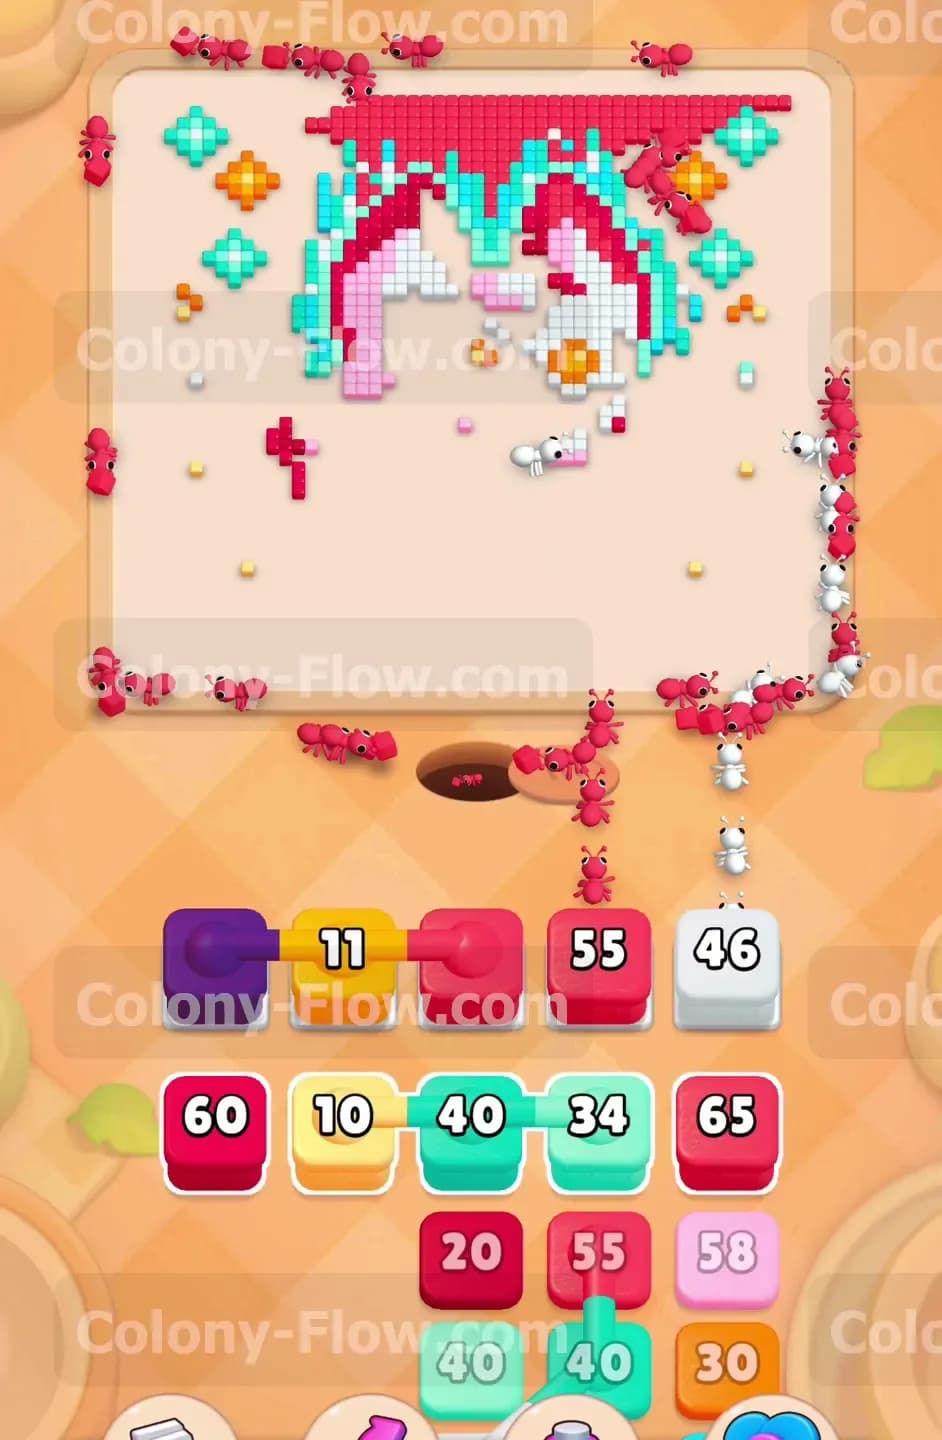
You will spot a very intimidating connected chain in your tray consisting of a red 65 block linked to a yellow 39 block linked to a dark purple 38 block. If you pull this chain too early, it will fill three of your five waiting slots instantly and likely cost you the game. Wait until the ants uncover the yellow stars on the left and right sides of the board. The red background is still plentiful and the dark purple details on the cat face are now fully exposed. Since all three colors have a valid path, pull the long chain. Your ants will chew through the red background, grab the yellow star pixels, and finish off the purple face details smoothly.
Step 6: Clear the upper white cat face and the remaining dark purple blocks.
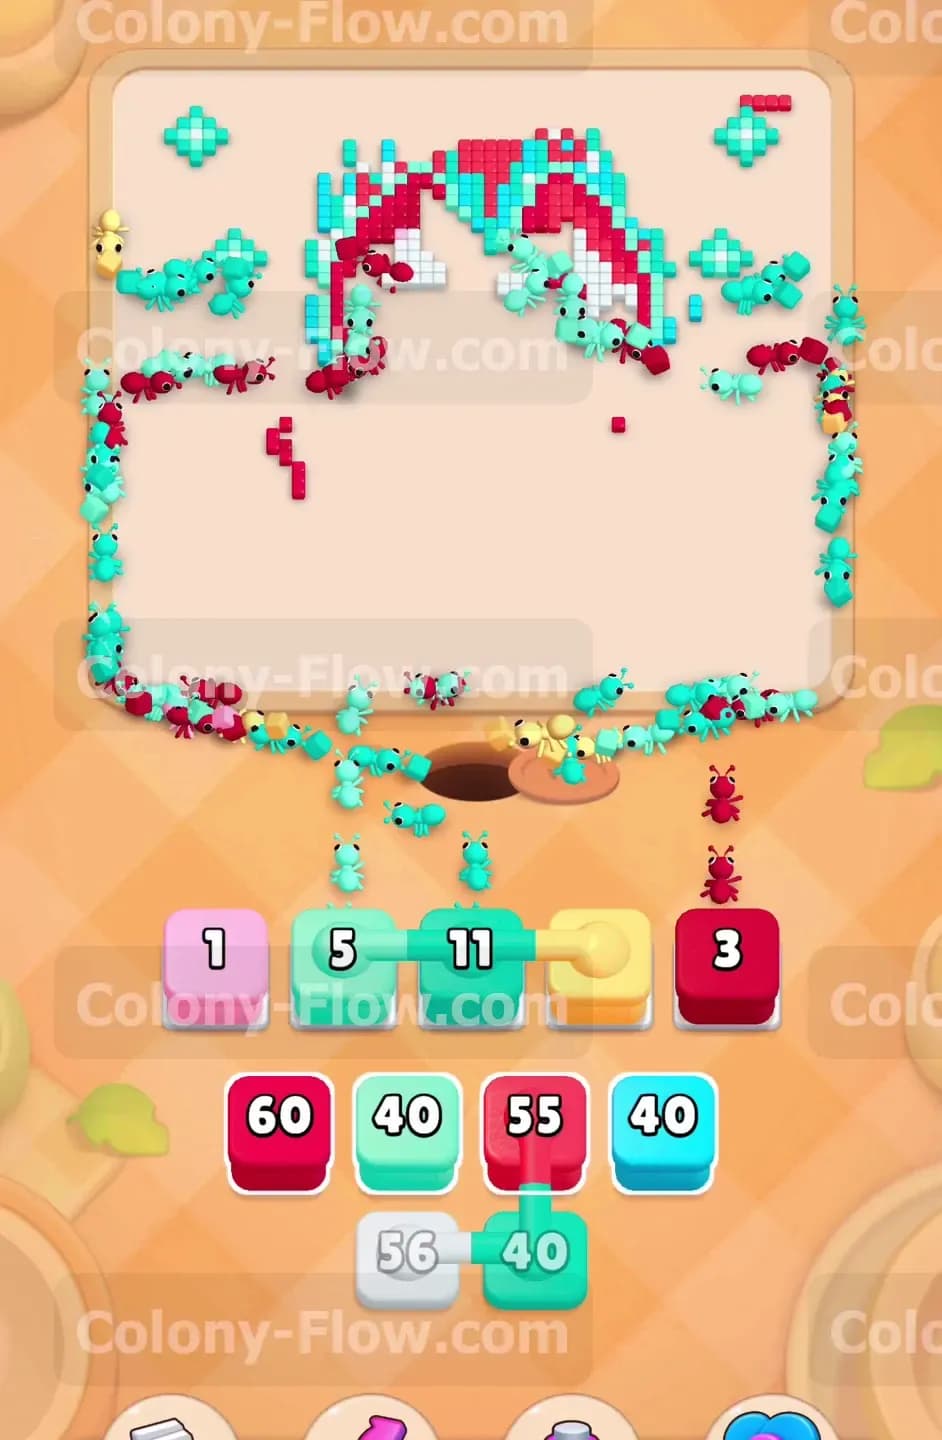
The bottom half of the board is completely empty now. Your ants have to travel much further up the screen to reach their food. Pull the white 36 block to target the top half of the cat head. You also have a dark purple 18 block and a dark purple 10 block waiting in your tray. Pull both of these to clear out the inner ear details and the final dark purple pixels on the face. Keep a close eye on your five waiting slots during this phase. Let the ants finish the dark purple blocks completely before you pull any more heavy blocks from the tray.
Step 7: Push through the thick cyan aura around the top of the cat.
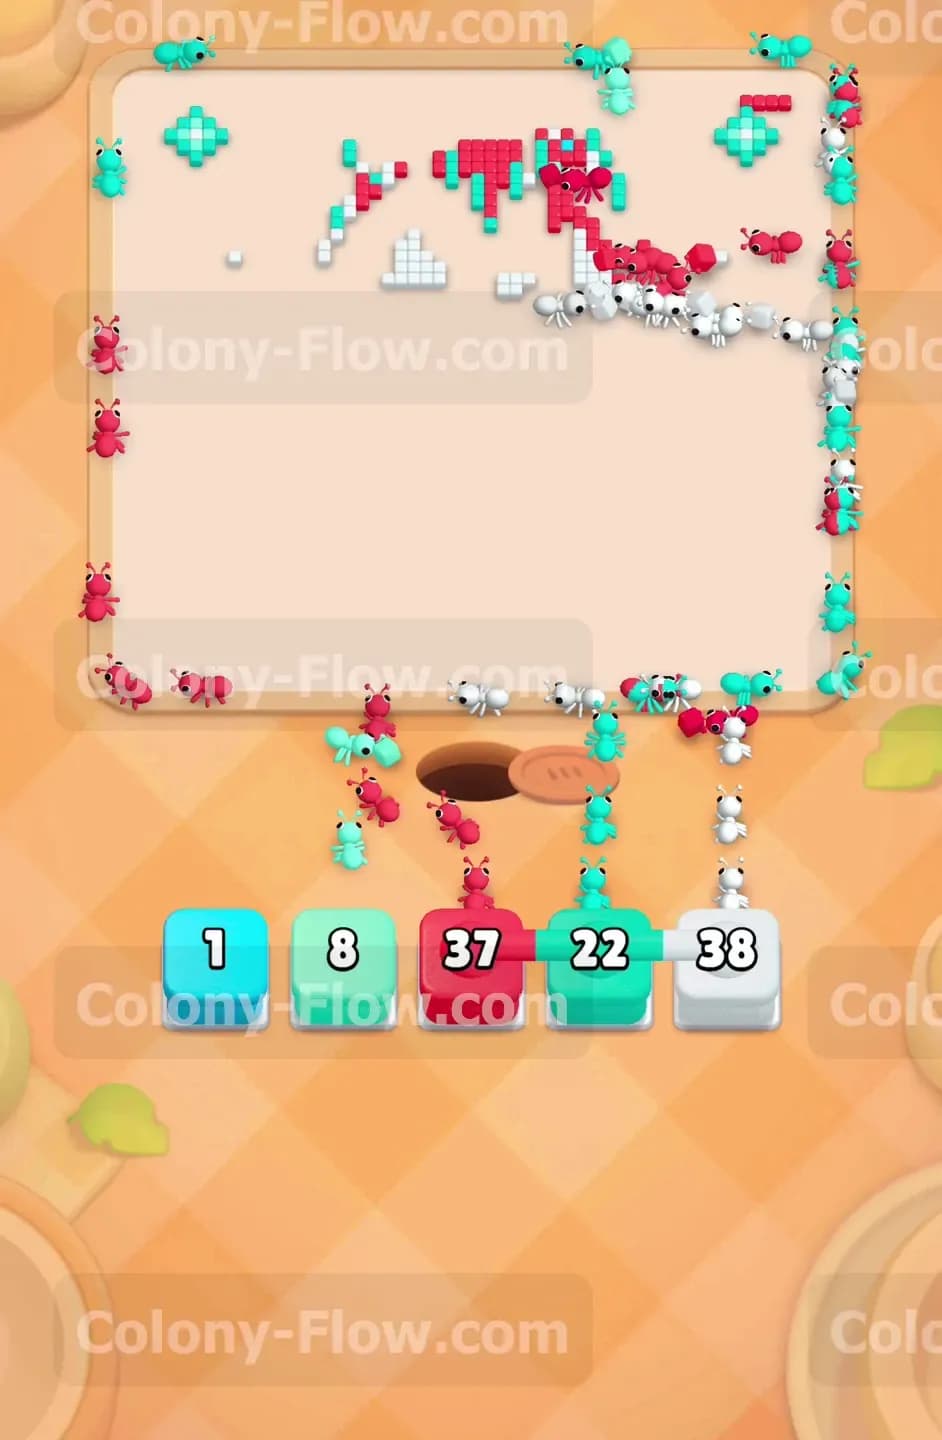
The white body and the dark purple details are mostly gone. The main obstacles left on the board are the bright blue aura and the upper pink ear outlines. Pull a cyan 40 block and watch the ants rush up the middle of the board to eat the blue tiles. You can also pull the remaining pink blocks to dismantle the ear borders. You will see a pink 1 block and a few small pink pieces left over. Let the ants sweep through the top center of the picture. The paths are very wide open here so you have zero risk of blocking your slots.
Step 8: Execute a long chain pull to clear the upper right side.
Your tray will spawn another massive chain featuring a yellow 10 block connected to a cyan 40 block connected to a cyan 34 block connected to a red 65 block. This looks terrifying but the board state is perfect for it. The upper right corner has a large cluster of yellow stars, cyan aura pieces, and red background tiles perfectly exposed. Pull this entire chain into your slots. The ants will take a long walk up the right side and systematically devour every single color in that specific corner. You just sit back and let the long chain resolve itself.
Step 9: Break down the final connected chain for the left corner.
You only have a few scattered tiles remaining on the far left side and the very top edge. The tray gives you one last massive linked group. You will see a red 37 block connected to a cyan 22 block connected to a white 38 block. The only tiles left on the board perfectly match these exact colors in that exact order. Pull this final connected group into your waiting slots. The ants will march up the left side and eat the last red background corner. Then they will transition to the cyan pieces and finally clean up the last white pixels near the top border.
Step 10: Clean up the final stray pixels to complete the board.
Sometimes a few tiny pieces get left behind after a big chain pull. Look at your tray and you will find very small single blocks waiting for you. You might see a cyan one block or a cyan eight block. Pull whatever small single blocks remain in your tray to target those final stragglers. The ants will rush up to the very top edge and eat the last few blue pixels. Once the final pixel disappears from the screen, the ants will run off the board and you will win the level.
Final Thought
Managing the connected boxes is the absolute key to surviving this puzzle. You must constantly scan the board to ensure every single color in a chain has an open path before you pull it down into your tray slots. Take your time and let the ants clear the outer red walls before you rush into the detailed inner colors. If any of my written steps feel confusing or hard to picture, I highly encourage you to watch the video above this article. Seeing the ants move in real time will help you understand exactly when to pull those massive chains safely.