Colony Flow Level 56 Walkthrough Solution & Guides | How to solve Colony Flow 56

Guide By Liam Stone
Updated on July 11, 2026
The article below goes step by step through Level 56, but the video above shows the same thing faster.
Video doesn't match your screen?
Game updates frequently scramble layouts! Try our AI Screenshot Solver first to find your exact board instantly, or report broken guides to our team.
Colony Flow Level 56 presents a fun pixel art frog that you need to clear away to win. You face a board filled with bright colors and a tray packed with overlapping blocks. I play every level to figure out the best strategies so you do not have to struggle. Let me show you how to beat this board without getting stuck.
Colony Flow Level 56 Overview
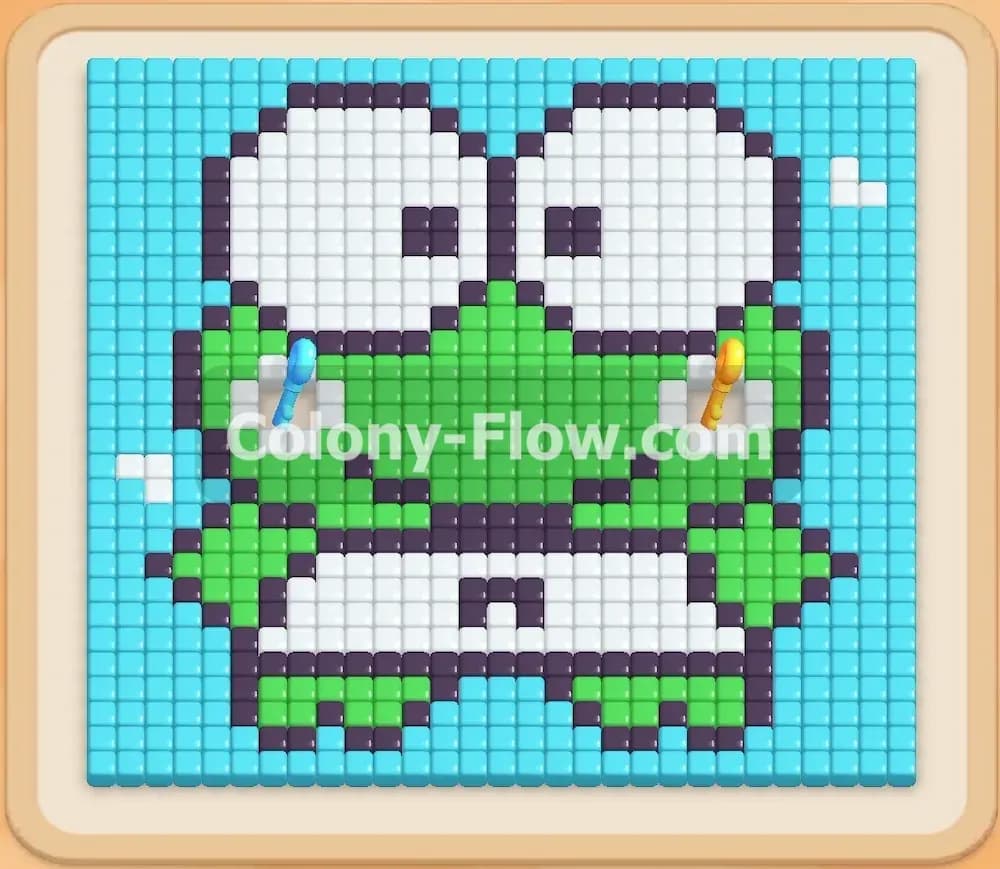
What You Are Working With
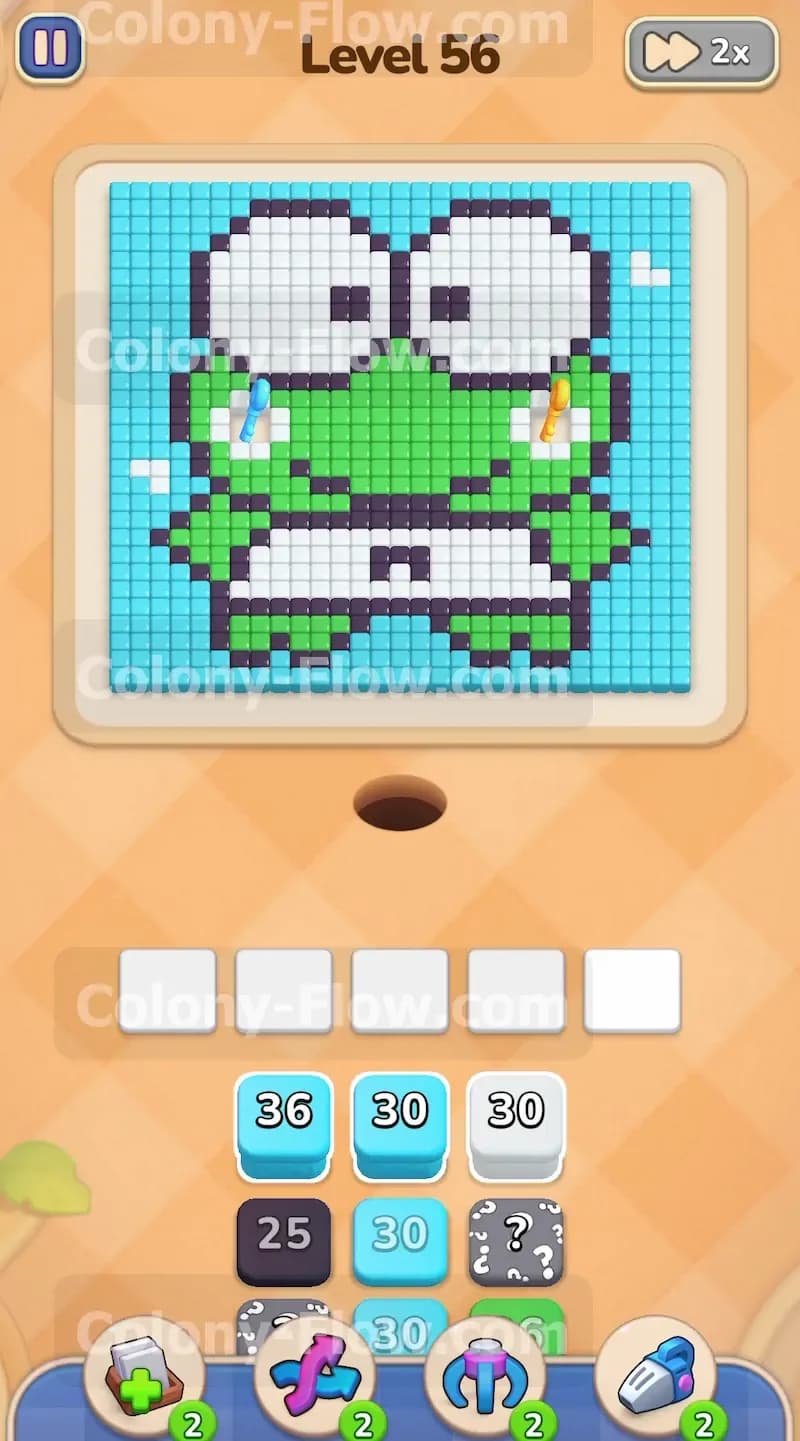
The main picture shows a green frog character with massive white eyes wearing a white shirt and sitting against a light blue background. Two keys sit right on the frog cheeks. Down in your tray you have light blue blocks white blocks black blocks and green blocks. You also see a locked block at the bottom left and several hidden boxes marked with question marks in the middle. The locked block stays completely frozen until your ants climb up and grab the two keys on the board. The hidden boxes will reveal their colors only after you clear the top layer of blocks blocking their way. You have five empty waiting slots at the bottom of the screen.
What It Takes to Clear Level 56 Board
You win this level by breaking down the entire picture before your five waiting slots fill up with unusable blocks. You must peel away the outer light blue background first to give your ants access to the black outline and the lower white shirt. Once the ants eat their way into the green face they will pick up the two keys. Gathering those keys unlocks the rest of your tray and allows you to finish off the massive white eyes. You must manage your tray pulls carefully to ensure the ants always have an open path to the colors sitting in your waiting slots.
Colony Flow Level 56 Step by Step Solution
Step 1: Clear the bottom blue background corners to open the board
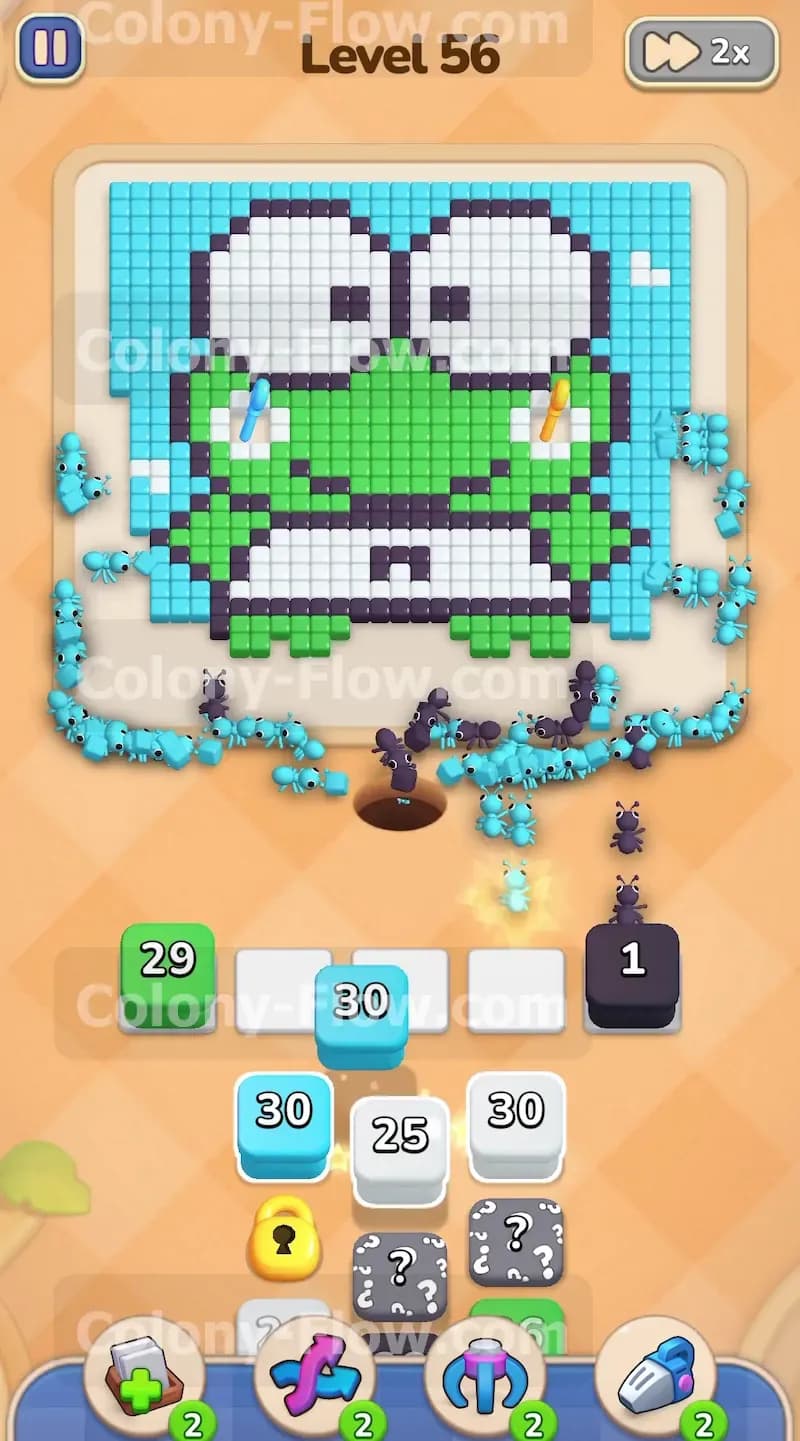
You need to start by giving your ants room to work along the bottom edges. Pull the light blue block with thirty six and the light blue block with thirty into your waiting slots. The ants will stream out of the nest hole and split left and right to eat the bottom corners of the light blue background. This move clears the way for the ants to reach the main body of the frog. Watch the numbers on your blocks drop as the ants carry the blue pieces away. You keep your slots from jamming by making sure these first blue blocks have completely clear paths to the outer edges of the picture.
Step 2: Remove the bottom black outline and the white shirt
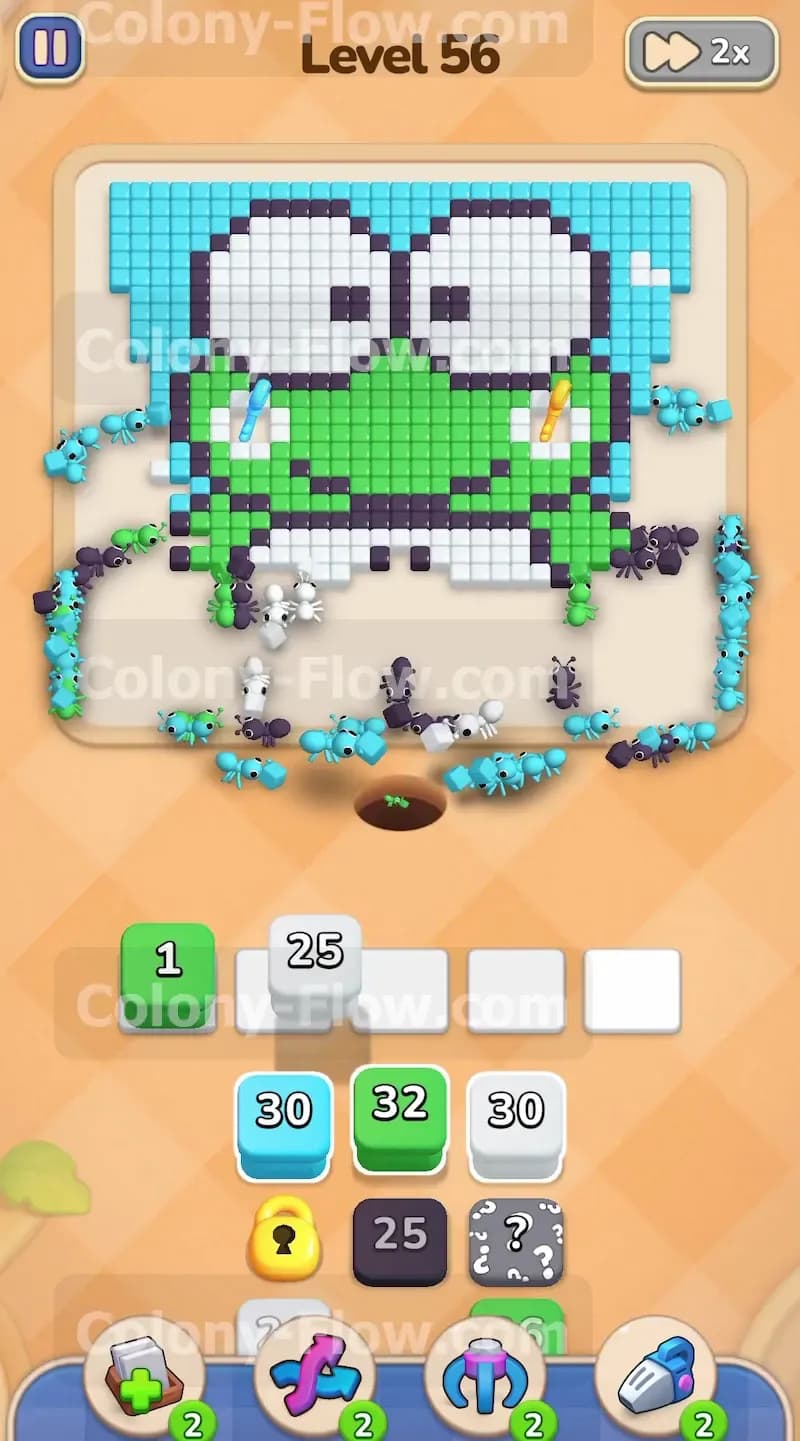
With the bottom corners gone you can now reach the lower half of the character. Pull a black block with twenty five and a white block with thirty into the active slots. The ants will immediately target the black border outlining the feet and the bottom of the white shirt. This action opens up the very bottom center of the board. The white block will drain quickly because the shirt section is wide open to the ants. You never want to pull black or white until that outer blue layer is gone. Doing things in this order ensures your ants never stop moving and your waiting slots stay clear for the next sequence.
Step 3: Start clearing the green face and collect the keys
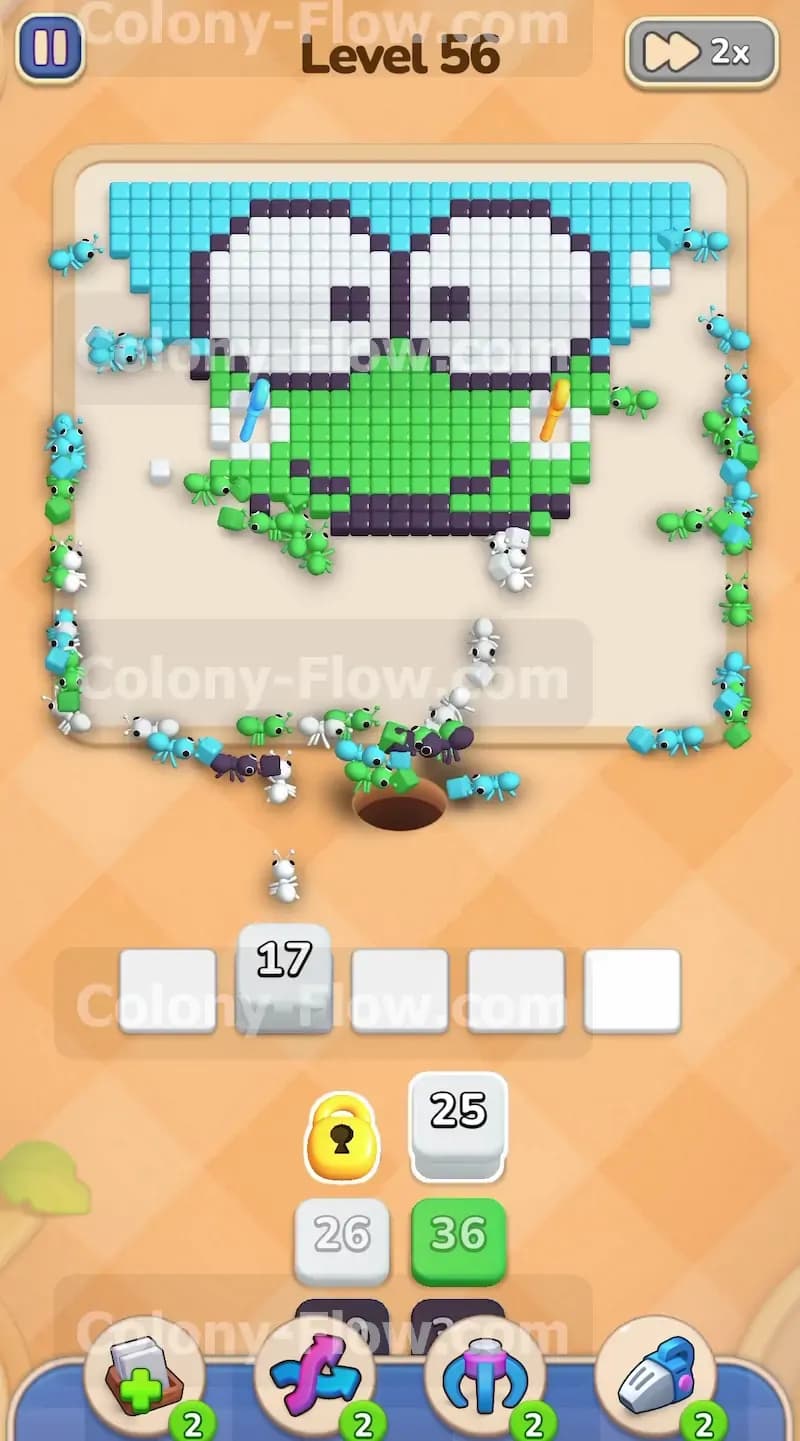
Now you have a direct path to the green skin of the frog and the two keys sitting on the cheeks. Pull a green block into your slot and watch the ants march upward into the face. As the ants consume the green tiles making up the bottom of the head they will bump right into the keys. The ants collect the keys automatically. Gathering both keys removes the lock from the yellow padlock block sitting down in your tray. This move is a major progression point for the level because it frees up the bottom half of your block pile. Always wait until you see an exposed green edge before pulling a green block to keep your slots flowing perfectly.
Step 4: Reveal hidden boxes and manage the middle tray layers
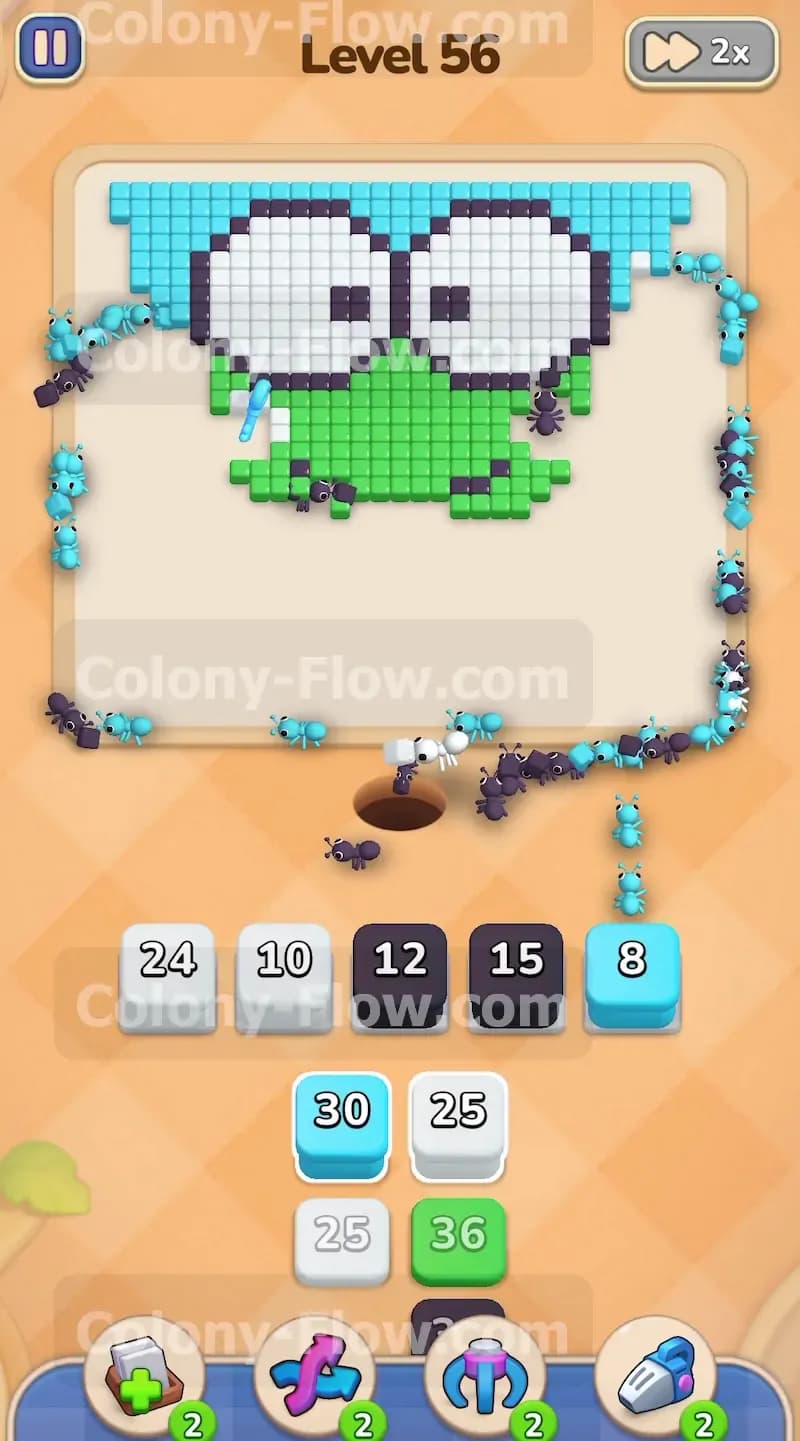
Clearing the first few blocks from your tray uncovers the hidden boxes beneath them. The question marks vanish and reveal new white and green blocks for you to use. Pull another light blue block and a newly revealed white block into your active slots. The ants will chew away more of the blue sky on the left side and start biting into the bottom of the giant white eyes. The numbers on your active blocks will drop rapidly as the ants flood into the eye area. By alternating between the blue background and the white eyes you ensure the ants spread out and never clog the single path leading out of the nest.
Step 5: Tackle the top blue background border
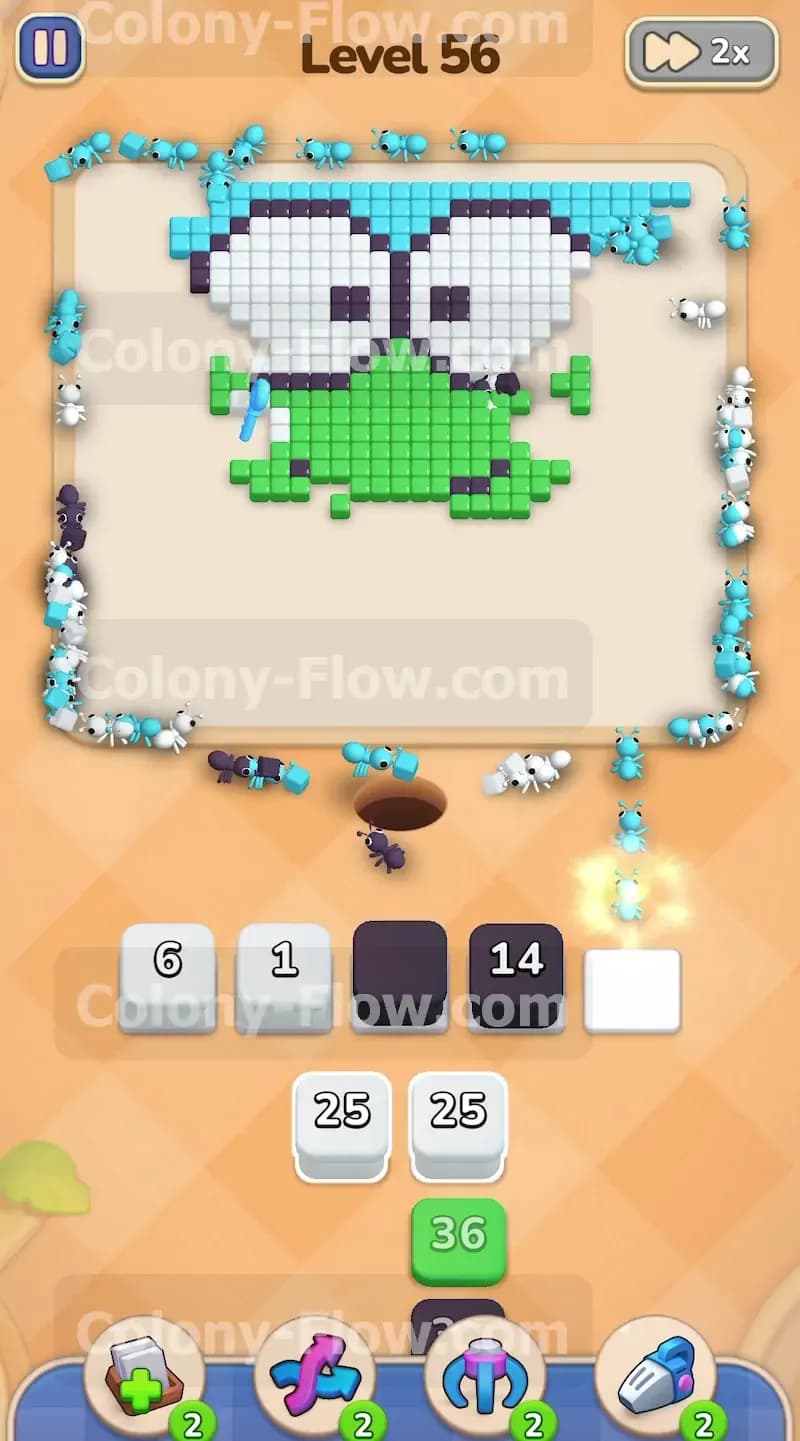
The top part of the blue background is thick and requires a lot of ants to clear out. Pull the remaining light blue blocks from the top layer of your tray. The ants will march up the left and right sides of the frog to reach the top blue tiles. You must clear this top border before you finish the frog head otherwise you will block your ants from reaching the corners later. Sending ants to the top blue area right now keeps them busy for a long time. This gives you a great opportunity to queue up other colors in the remaining empty slots without worrying about a sudden jam.
Step 6: Load up the slots for a massive eye clearing run
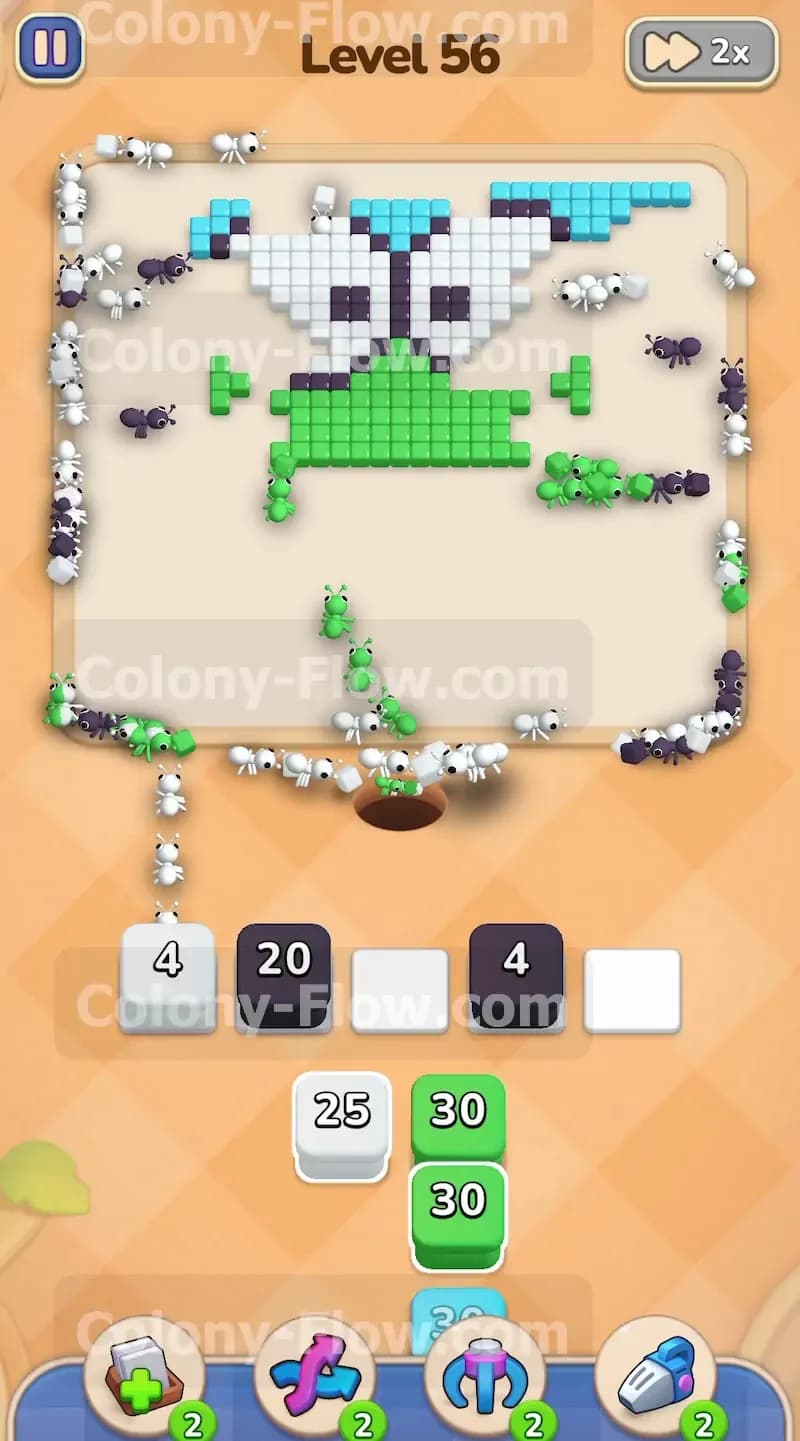
The massive white eyes and thick black outlines require heavy block investment. At this point you can safely fill all five of your waiting slots because you have exposed huge sections of black and white tiles. Pull your available white blocks and black blocks until your slots are full. You will see blocks with numbers like twenty four ten fifteen and twelve sitting together at the bottom. Because you opened the top and sides of the eyes earlier the ants have dozens of valid targets. They will swarm the eyes and the thick black outlines simultaneously. The numbers on all five blocks will drain at the same time. This looks dangerous but it perfectly executes the strategy of keeping active paths open for every block you pull.
Step 7: Finish the remaining green head tiles
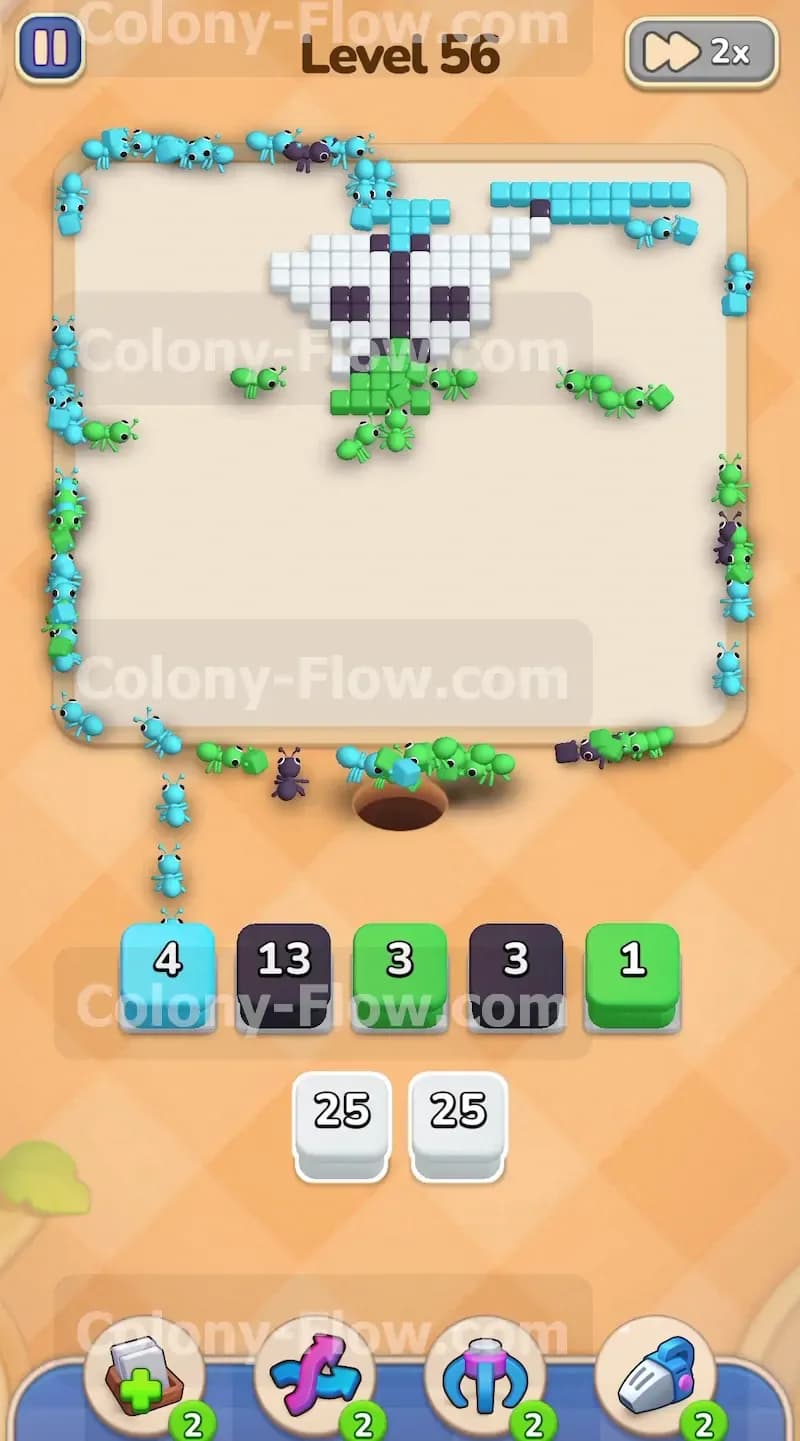
The picture is now mostly gone except for the center of the face and some lingering eye pieces. Pull your highest number green block and your last white blocks into the tray. The ants will clean up the remaining green skin between the eyes and polish off the last white pixels. You will notice your tray only has a few blocks left. Keep your eyes on the board and only pull a block if you see its matching color still sitting in the picture. The ants will make quick work of these central tiles because the distance from the nest hole is very short.
Step 8: Clean up the final scattered pieces
You are at the very end of the level now. You might have a random blue tile in a top corner or a single black tile near the middle. Look at your remaining tray blocks and pull exactly what matches the straggler tiles on the board. The numbers on these final blocks will be very low like three or four. The last wave of ants will run out to grab these remaining pieces. Once the final pixel disappears the level ends in a victory. You survived by never pulling a block that lacked a clear path to its matching color.
Final Thought
Beating this board comes down to managing the outer blue shell before rushing into the center of the frog face. You keep your slots from filling up with dead blocks by opening wide paths for your ants early on. If you find any of these moves hard to visualize please watch the video above this article. Seeing the ants move in real time makes the block sequence much easier to understand and copy.