Colony Flow Level 947 Walkthrough Solution & Guides | How to solve Colony Flow 947

Guide By Liam Stone
Updated on August 8, 2026
The video above has the full walkthrough for Level 947, so use it if you'd rather skip the article.
Video doesn't match your screen?
Game updates frequently scramble layouts! Try our AI Screenshot Solver first to find your exact board instantly, or report broken guides to our team.
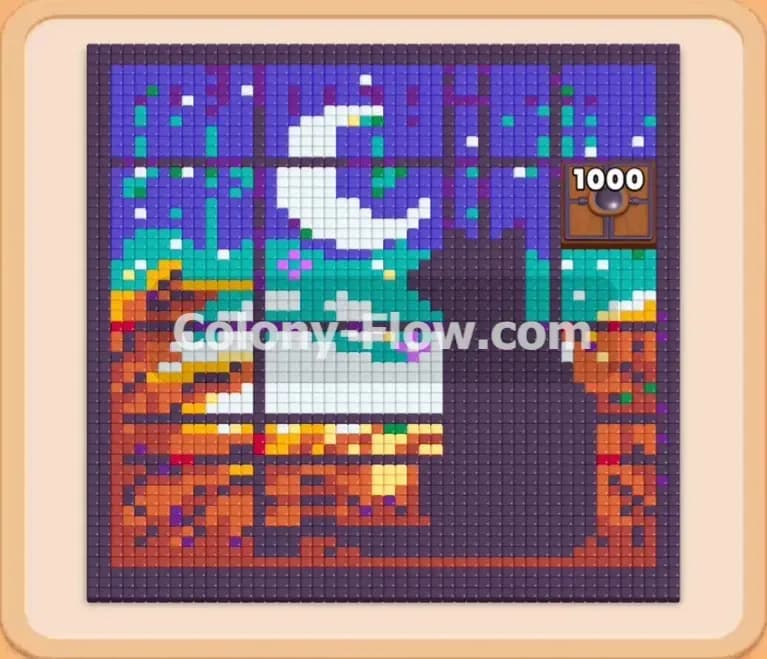
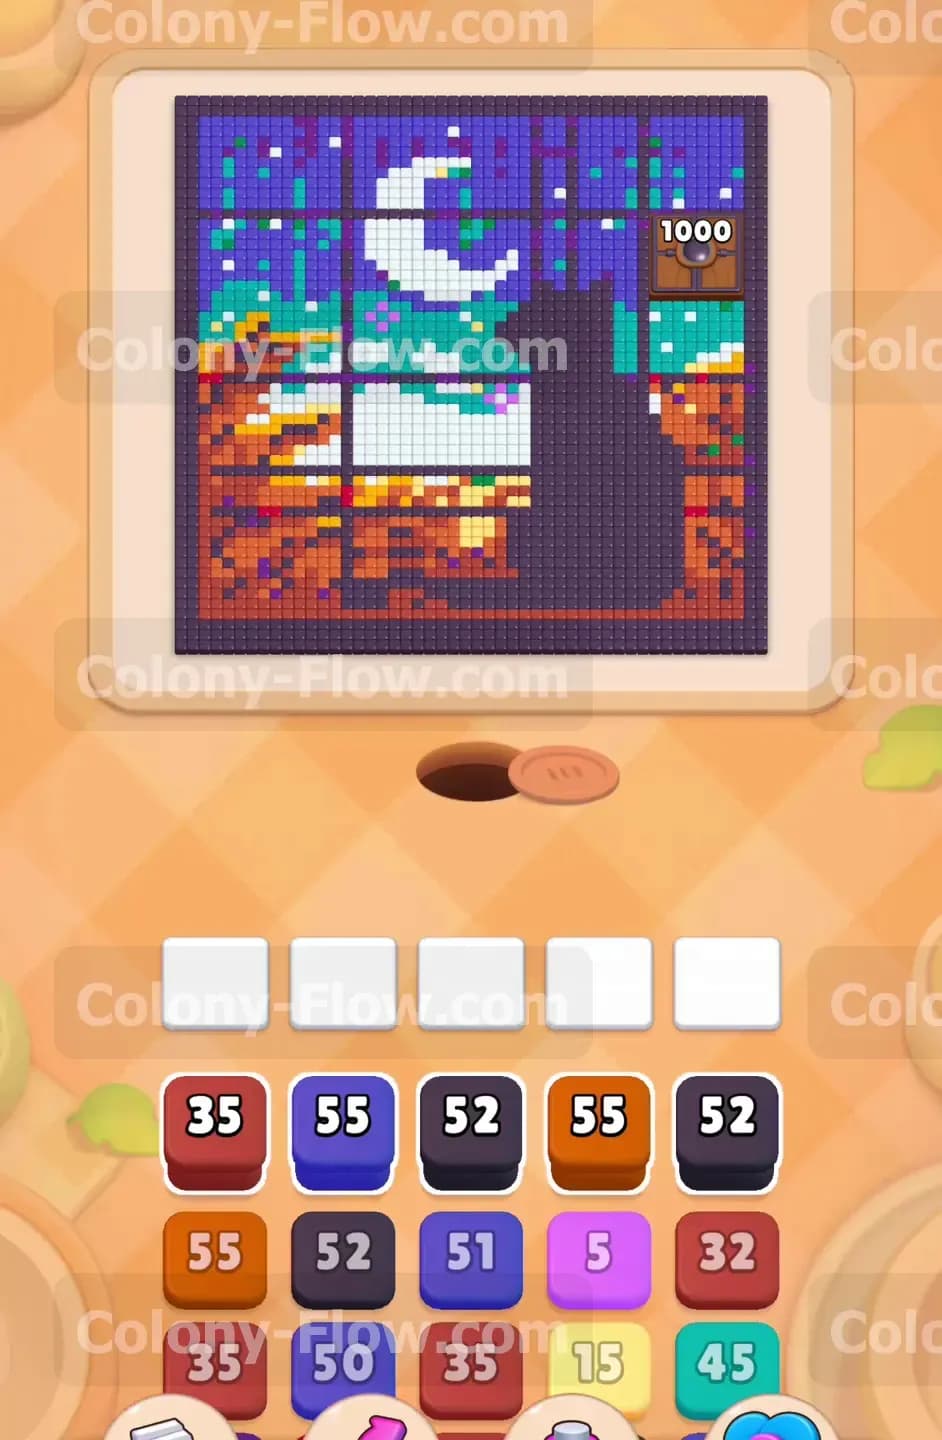
Colony Flow Level 947 presents you with a beautiful pixel art puzzle to solve. You see a black cat silhouette sitting at a window looking out at a bright crescent moon in a dark night sky. You must direct your ant colony to eat away this picture piece by piece until the entire board is empty. I will walk you through exactly how I beat this board from start to finish.
Colony Flow Level 947 Overview
What You Are Working With
The board features a large square picture made up of hundreds of tiny colored tiles. You have distinct color zones to deal with including a massive dark blue night sky a white moon a black cat and brown window frames. In the top right corner sits a Hungry Door starting with a massive requirement of one thousand tiles. The tray at the bottom of your screen holds stacks of numbered colored blocks. You also have five waiting slots for your active blocks just above the tray.
What It Takes to Clear Level 947 Board
Clearing this board means feeding every single colored pixel of the cat picture to your ants and satisfying the Hungry Door completely. You achieve this by tapping block colors from the tray that perfectly match the exposed picture tiles on the board. The ants stream out of the nest and follow open paths to those matching colors. You win when the picture disappears entirely and the ants finish their designated routes. The ultimate challenge is managing your five waiting slots because filling them all with colors that have no open path will instantly end your run. You must never let the board reach a dead end.
Colony Flow Level 947 Step by Step Solution
Step 1: Open the bottom left corner to create your first path.
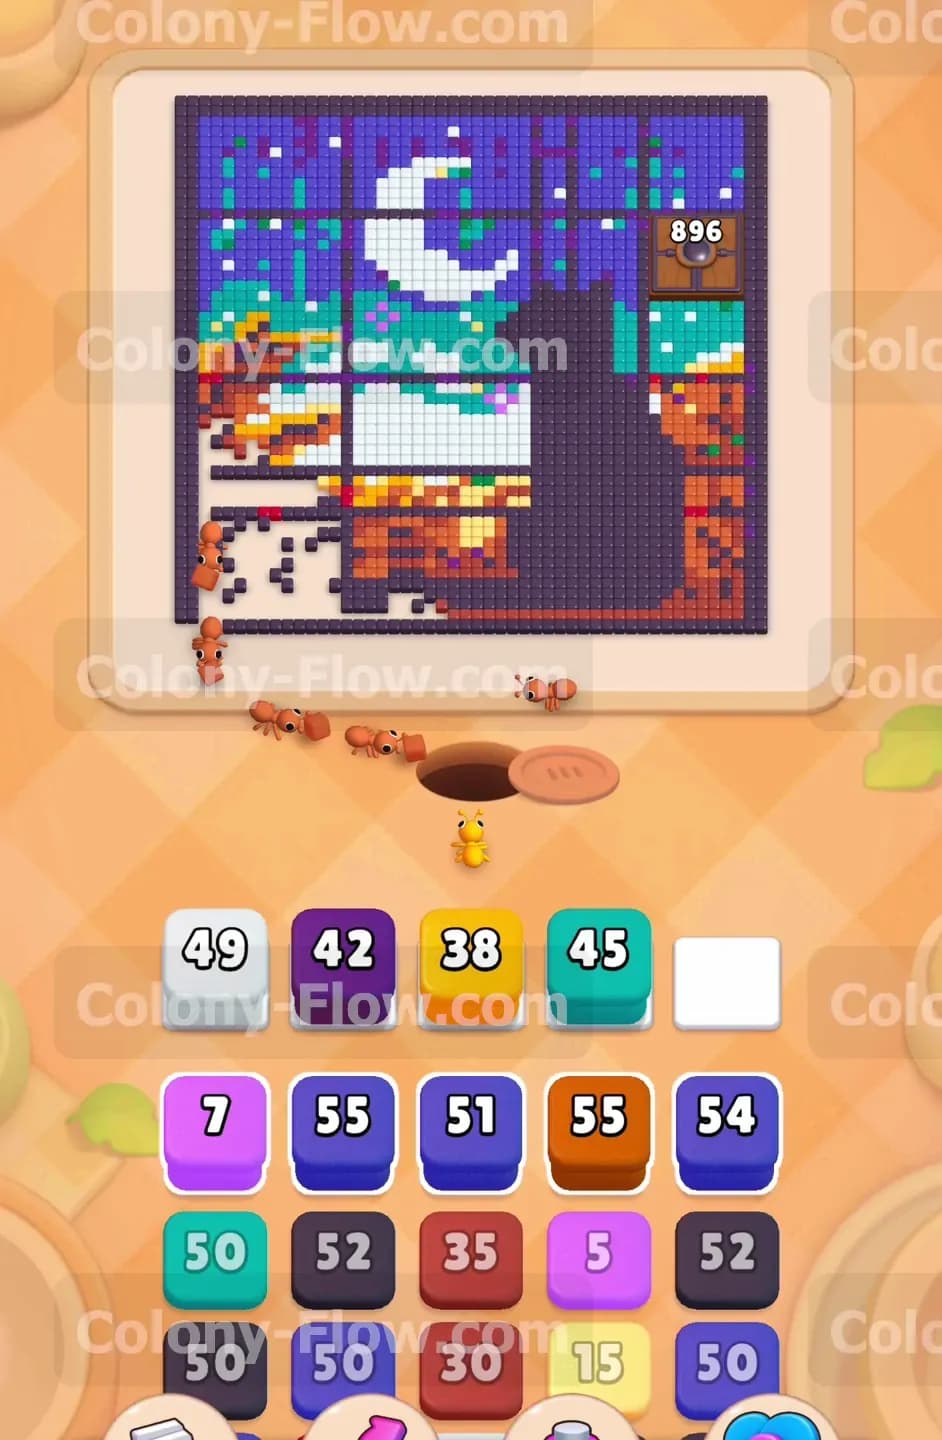
The game begins with only the very bottom left corner accessible to your ants. You need to pull an orange block and a brown block into your active waiting slots to get things moving. The ants will crawl out of their nest hole and immediately march toward these exposed colors on the bottom window sill. This initial move is incredibly crucial because it carves out a wider entry point for the rest of the swarm to follow. Watch the numbers on your tray blocks drop as the ants consume the tiles one by one. Make sure you do not pull any dark blue or white blocks right now because those colors are trapped deep inside the picture and will completely jam your waiting slots.
Step 2: Send teal ants up the left window edge.
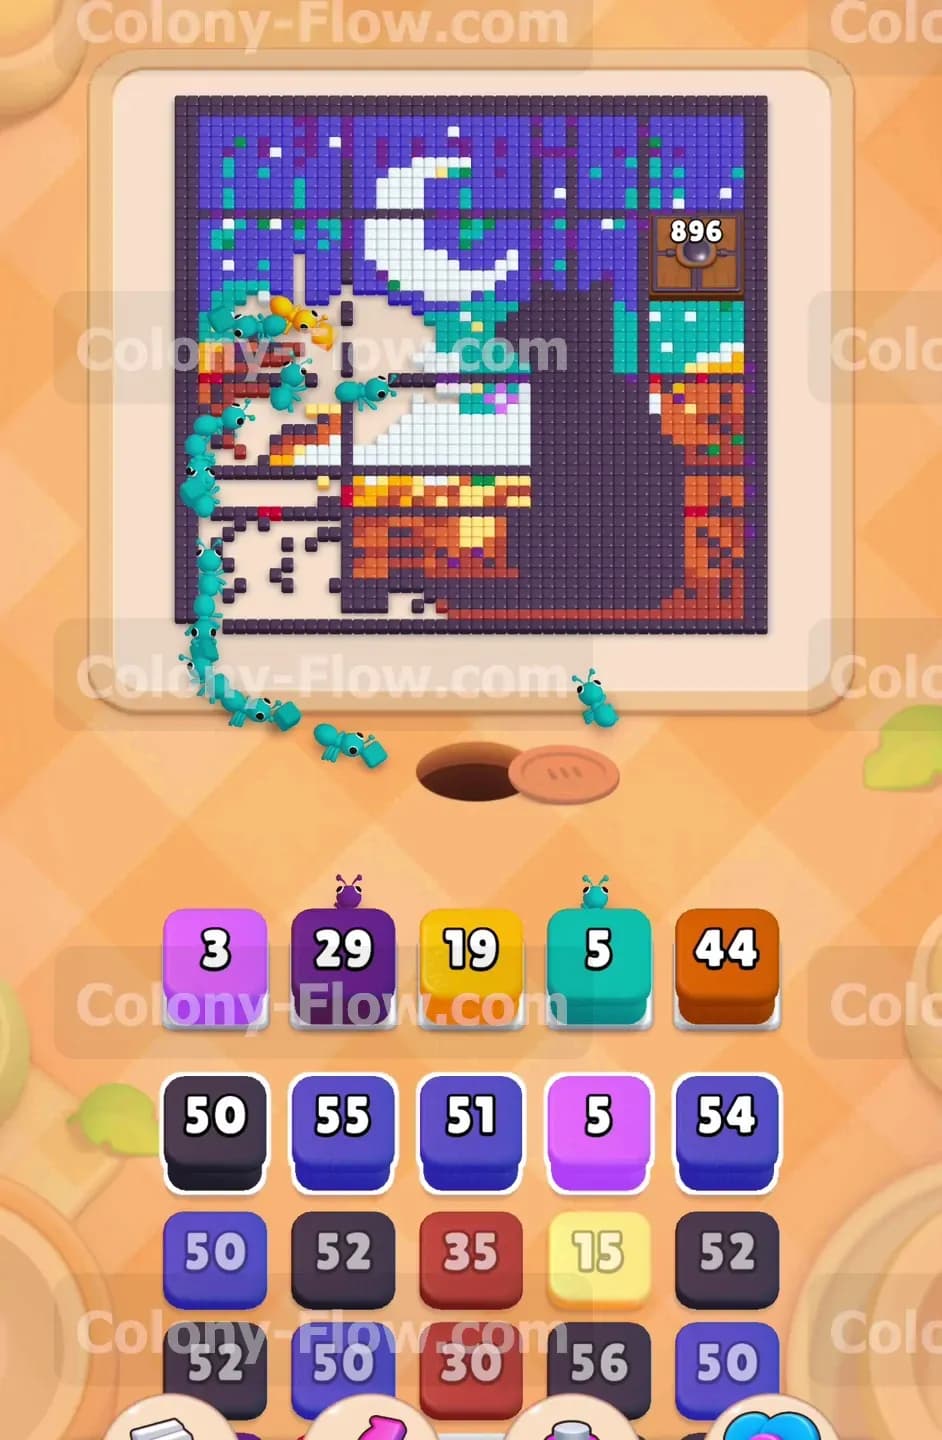
Once the bottom corner is slightly clear you will see a vertical path open up along the left side of the window pane. Pull a teal block into the slots to activate this new route. A fresh line of teal ants will stream out and head straight up the left window edge. This clears a long vertical line and exposes the darker blue sky tiles sitting right next to it. Keeping your slots moving safely is easy here as long as you wait for the teal block to fully empty before pulling another unrelated color. You want to steadily expand your open perimeter without overcrowding the tray or risking a board lock.
Step 3: Attack the dark blue night sky on the left side.
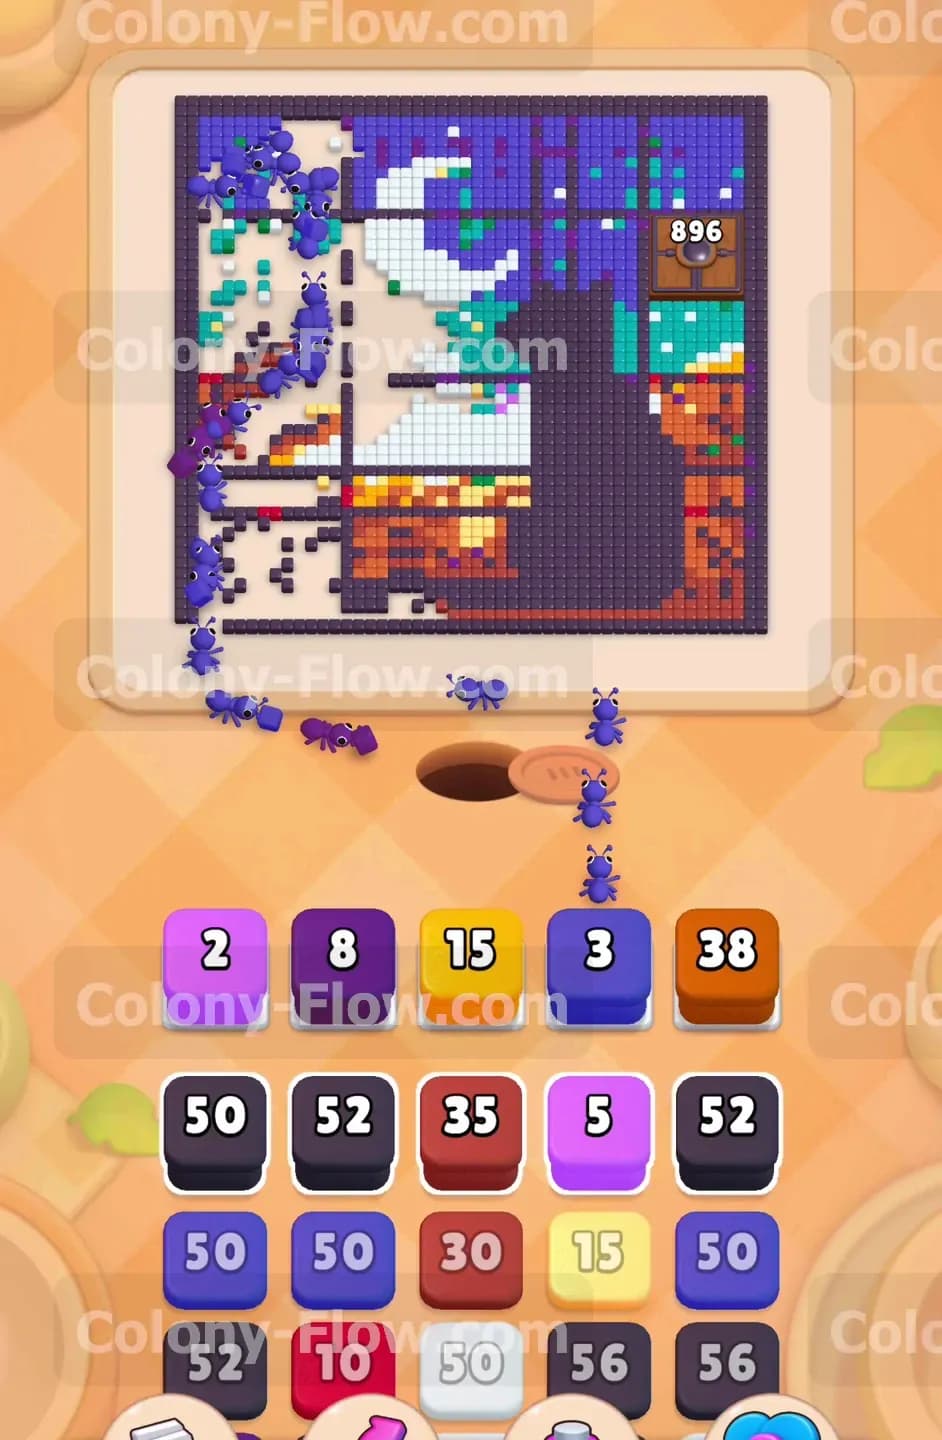
With the teal window border gone the dark blue night sky becomes fully exposed on the far left side. Bring a dark blue block into your active slots right away. The ants will flood into the upper left area and start eating the sky around the white crescent moon. This section holds a massive amount of tiles so pulling a high number dark blue block here keeps your ants busy for a good while. This move significantly lowers the total tile count on the board and gives you breathing room. Keep a close eye on the five slots and make sure you leave room for the next color you will inevitably need.
Step 4: Clear the horizontal window sill beneath the cat.
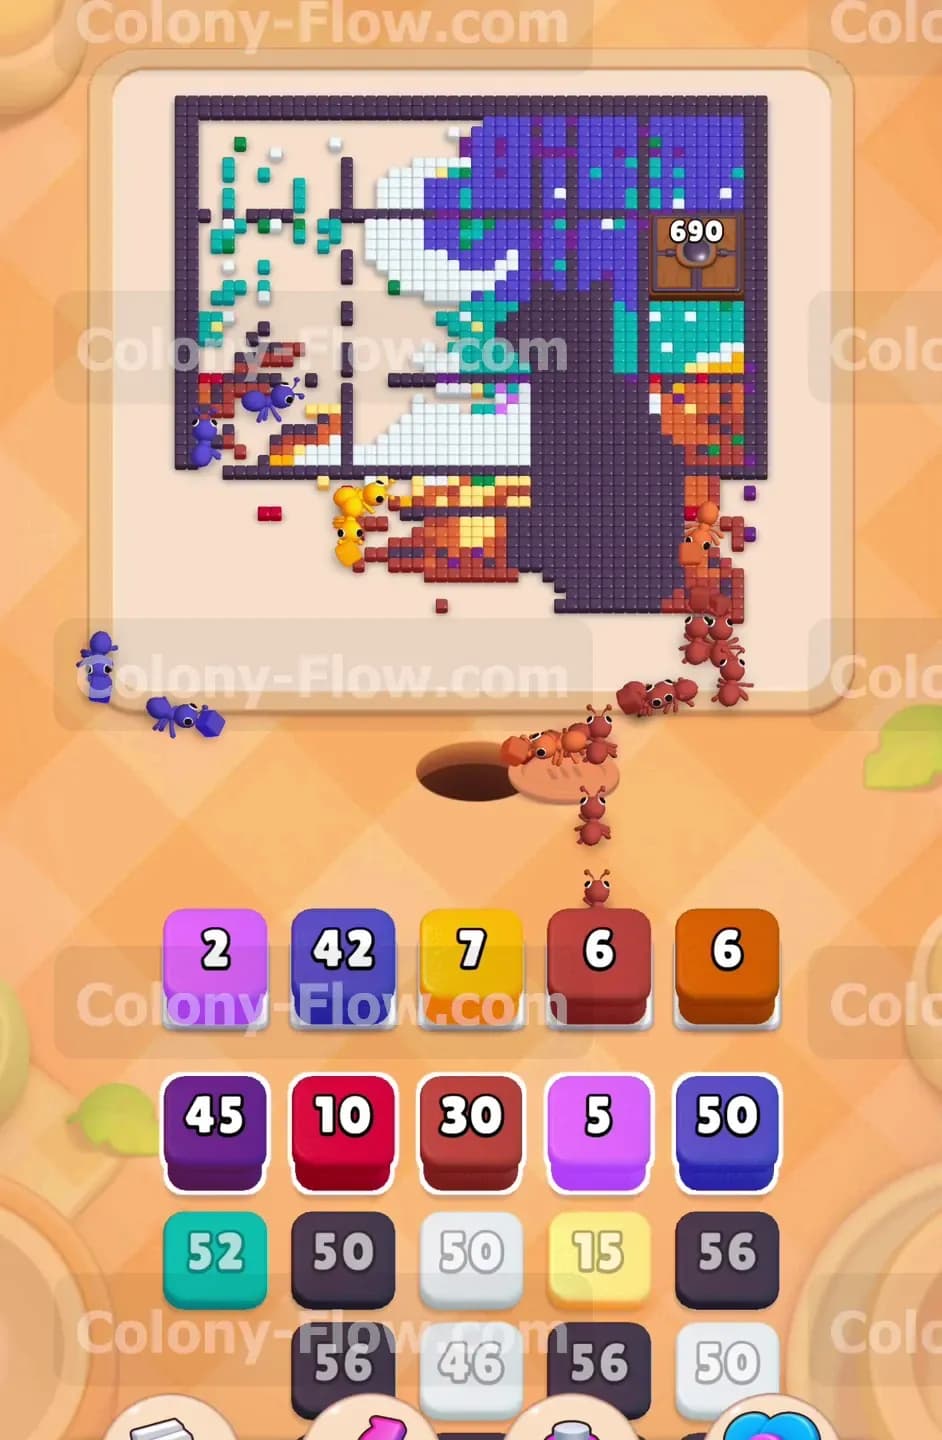
Shift your attention back down to the very bottom of the board where the brown and orange tiles make up the lower window sill. Pull another round of orange and yellow blocks into your active tray. The ants will chew through the horizontal base of the picture and begin working their way toward the right side. This horizontal path serves a major purpose because it completely exposes the bottom edge of the black cat figure. Always ensure your waiting slots have at least one completely empty space before you pull these new colors. Never fill all five slots at once if you are remotely unsure of the open paths.
Step 5: Tackle the black cat figure in the center of the room.
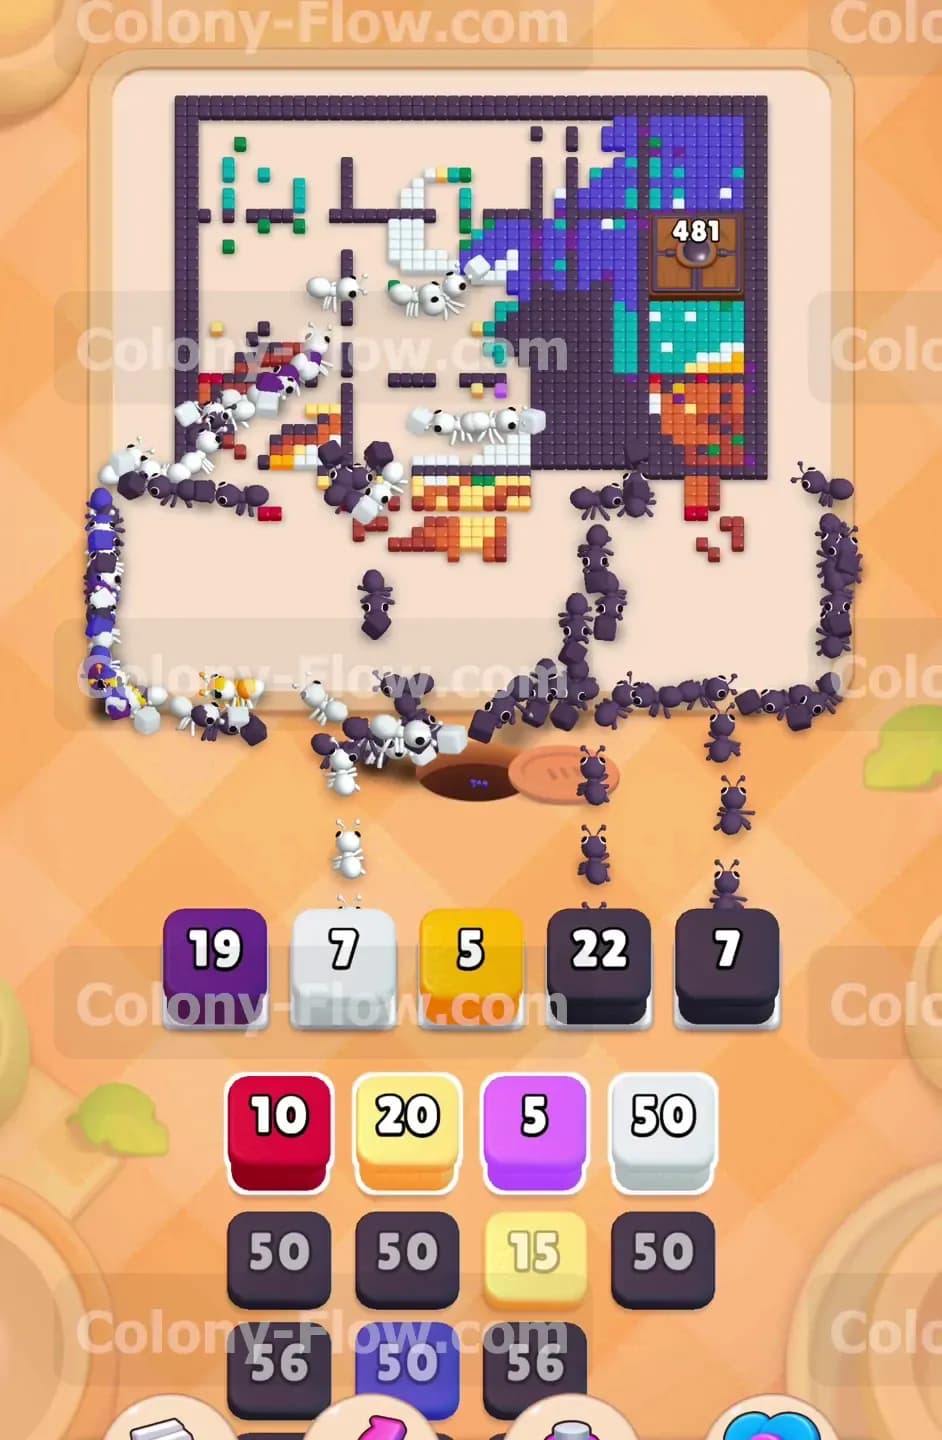
Now that the base is wide open the black cat silhouette in the middle of the board is completely vulnerable. Pull a black block or dark gray block from your bottom tray. A massive swarm of ants will rush the center and begin dismantling the cat shape starting from the bottom up. The cat takes up a very large portion of the picture so this move drains your active block numbers incredibly fast. The rapid clearing of the cat shape opens up much needed access to the right side of the window frame and the remaining right side sky. Your board will look much emptier after this massive wave finishes its job.
Step 6: Eat away the white moon and window reflections.
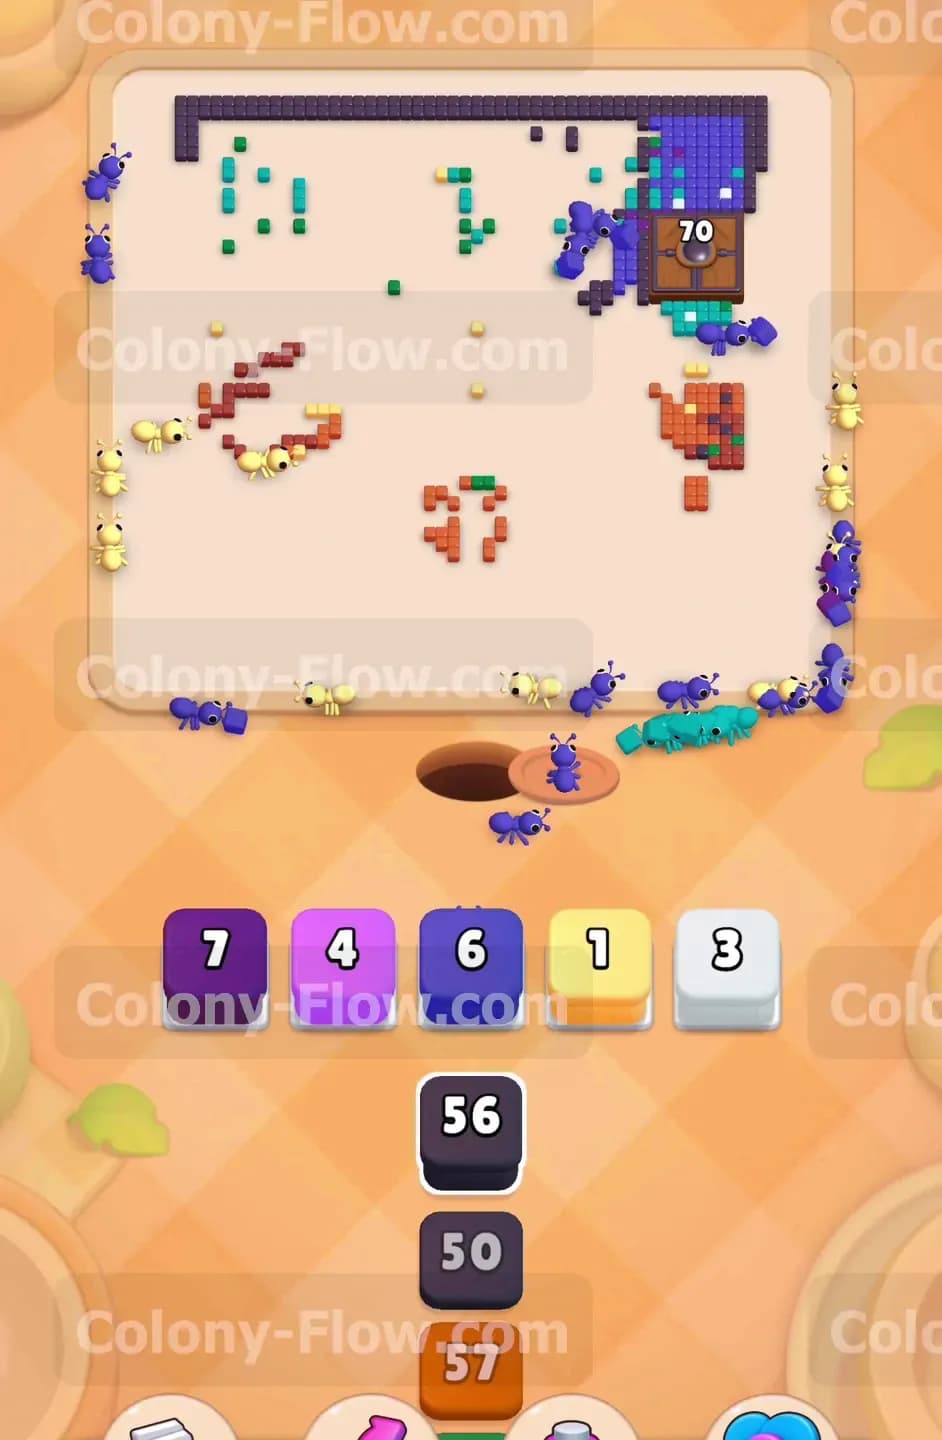
Look back at the upper left section where the bright white moon and the white window glare sit. Pull a white block into your active slots to send ants traveling up to this specific area. They will navigate through the empty spaces left by the dark blue sky and eat all the remaining white pixels. The moon forms a dense cluster so a high number white block works perfectly here. By clearing the moon you open up the entire top border of the board for future moves. You will notice the Hungry Door requirement drops significantly as you remove these large chunks of the picture from play.
Step 7: Navigate the purple background sections safely.
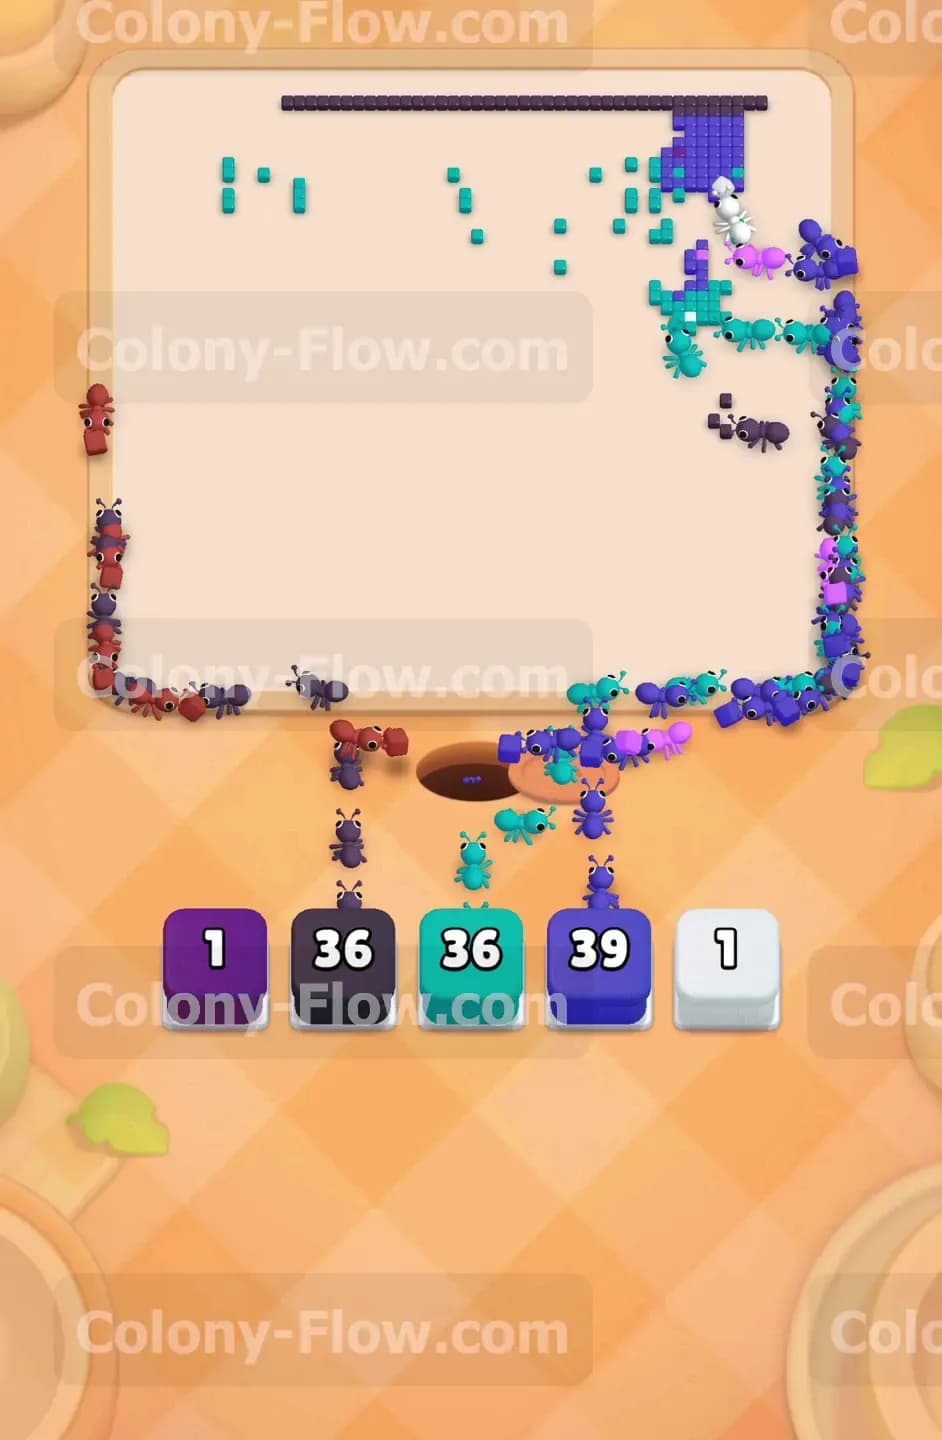
You will notice several purple tiles mixed into the night sky and the window framing. Bring a purple block into play to let the ants clear these scattered spots. Sometimes these purple pixels form small annoying barriers blocking your access to the right side of the board. Clearing them ensures your ants have a smooth and uninterrupted journey across the top and middle paths later on. Always double check that the purple tiles have an open adjacent side before you pull the block. If you miscalculate and the purple tiles remain surrounded by another color your block will sit completely dead in the slot.
Step 8: Bring down the Hungry Door requirement on the right edge.
The Hungry Door sits isolated in the top right corner and demands a large number of tiles to open. As you clear the left and center portions of the board you naturally feed into this massive requirement. Now you must actively target the colors directly adjacent to the door itself. Pull the red and dark brown blocks to clear the right side window frame. The ants will wrap all the way around the bottom and climb straight up the right edge. Every tile they eat chips away at the Hungry Door number. You must keep this progression steady to eventually unlock that restricted corner.
Step 9: Sweep the top border and remaining night sky tiles.
The top border of the picture consists mostly of dark blue and purple tiles hugging the ceiling. Pull the corresponding blocks to send a very long line of ants wrapping all the way around the top edge. This path stretches across the entire length of the board so it takes a little longer for the ants to actually reach their destination. Be patient and do not pull extra unrelated blocks while they travel. Let the dark blue block sit in your slot and simply watch the numbers tick down. Keeping your tray organized during these long travel times stands as the absolute key to surviving the late stage of this puzzle.
Step 10: Clear the final right side pieces near the door.
You are now left with a small cluster of pixels surrounding the Hungry Door and the upper right corner. Pull the remaining teal and white blocks to clear the final window frame pieces clinging to that area. The board should look mostly empty right now with just a few scattered colors left around the edges. Make sure you pull exactly what you see on the screen. If you pull a color that is nowhere to be found you will waste a waiting slot permanently and risk failing right at the end. The ants will quickly swarm these last few pieces and prepare the board for the final clearing sequence.
Step 11: Satisfy the Hungry Door completely to finish the level.
The Hungry Door is now at a very low number and surrounded by only its final required colors. Pull the very last block needed to feed the door its remaining tiles. The ants will march up the right side wall and consume the very last purple and dark blue pixels. Once the requirement hits absolute zero the Hungry Door completely opens and clears out. The board is now one hundred percent empty. The ants will finish their final movement animations and disappear smoothly into the ground. You have successfully navigated the entire picture without ever dead ending your five critical waiting slots.
Final Thought
Beating this puzzle requires strict tray discipline and a good eye for opening fresh pathways. Always prioritize carving out edges before you attack the center. If any step is hard to follow in text please watch the video above this article for a clear visual guide. Good luck with your ant colony and enjoy clearing the next board.