Colony Flow Level 325 Walkthrough Solution & Guides | How to solve Colony Flow 325

Guide By Liam Stone
Updated on July 17, 2026
The Level 325 walkthrough video above shows every step, so feel free to skip the article and watch instead.
Video doesn't match your screen?
Game updates frequently scramble layouts! Try our AI Screenshot Solver first to find your exact board instantly, or report broken guides to our team.
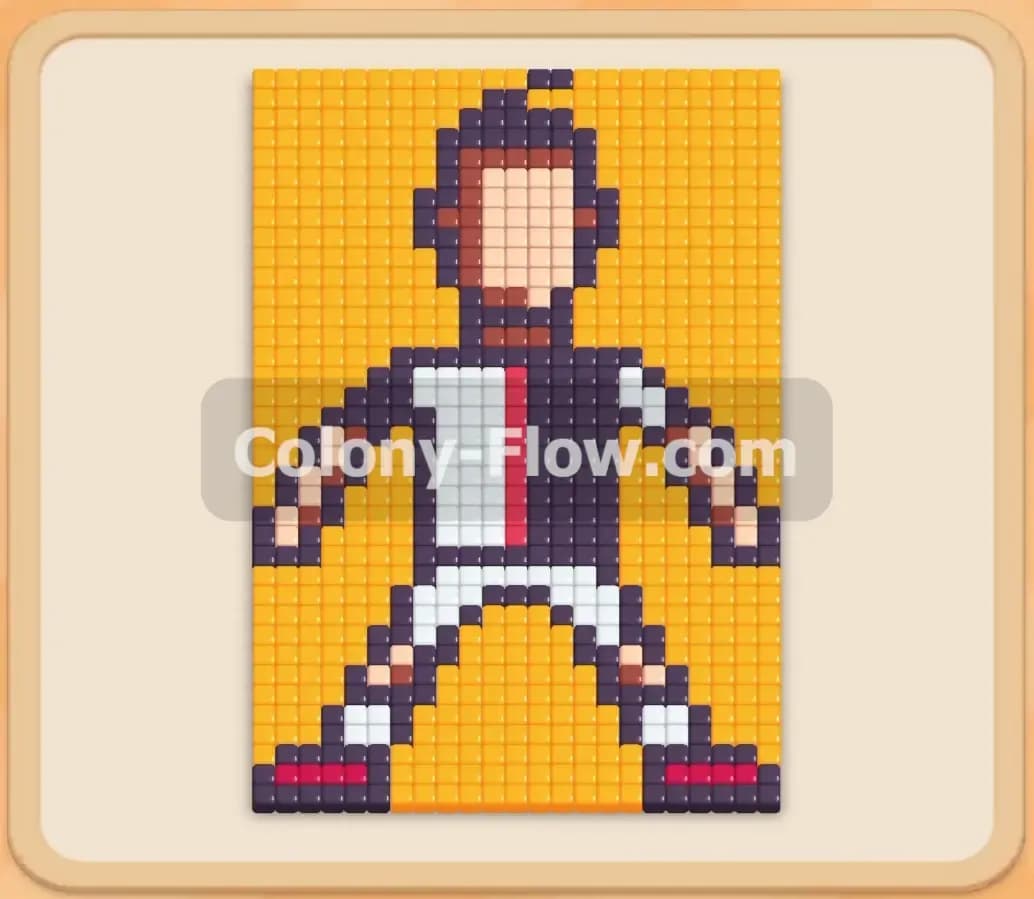
Playing Colony Flow Level 325 tests your ability to manage a crowded board without filling your limited waiting slots. You face a large pixel art figure of a suited man surrounded by a massive solid red background. The sheer volume of red tiles means you have to balance clearing the borders while picking apart the figure inside. You need steady deliberate progress from the bottom up to succeed on this board. I played this level multiple times to find the safest path through the tricky tray layers.
Colony Flow Level 325 Overview
What You Are Working With
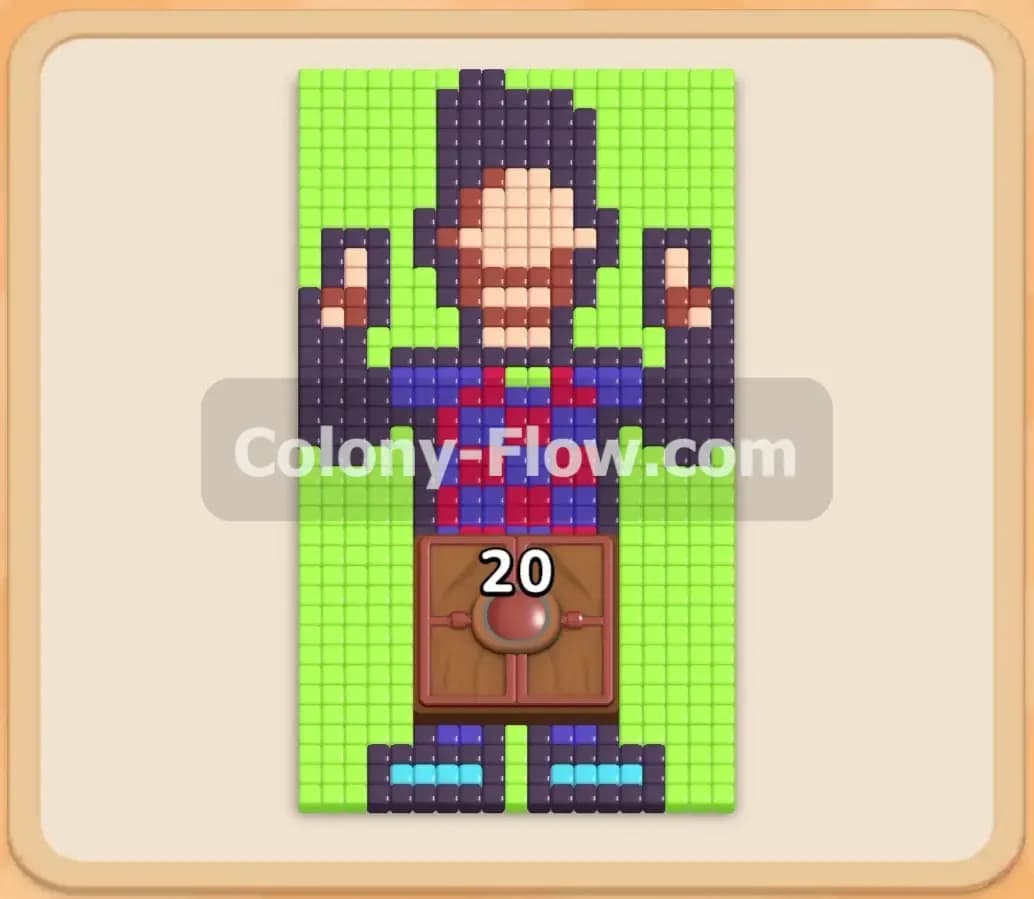
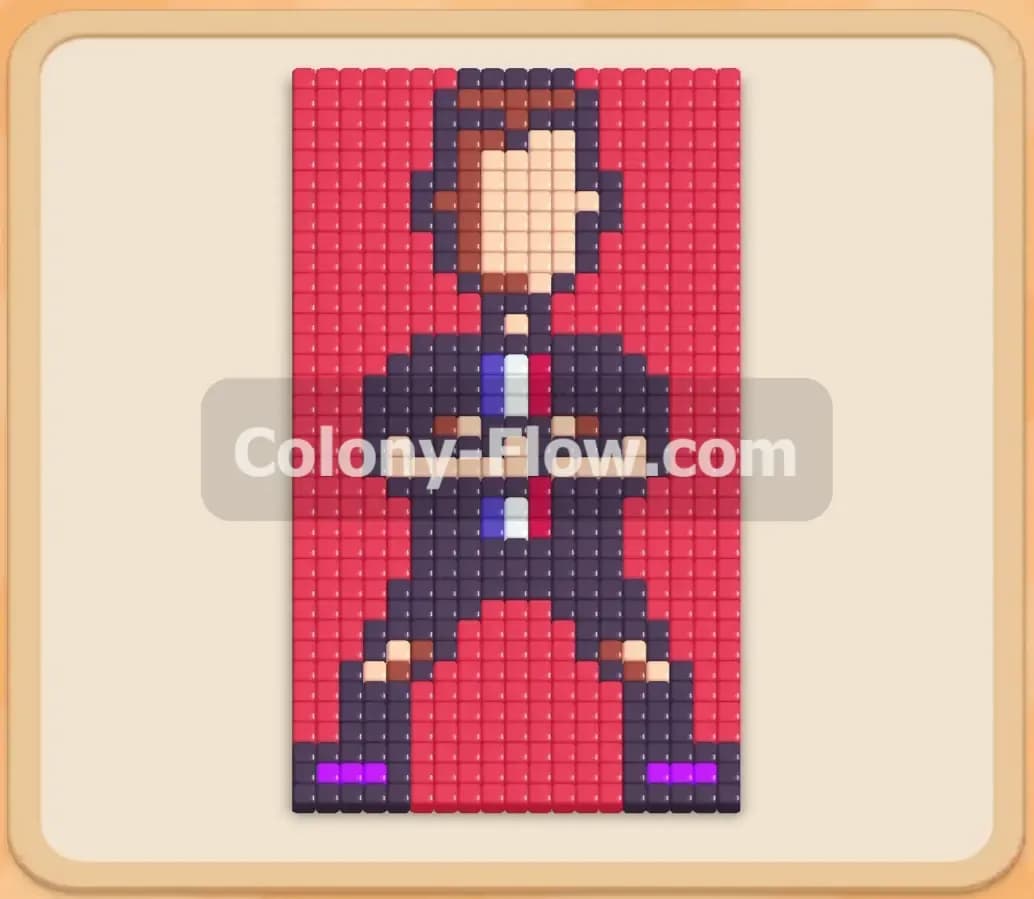
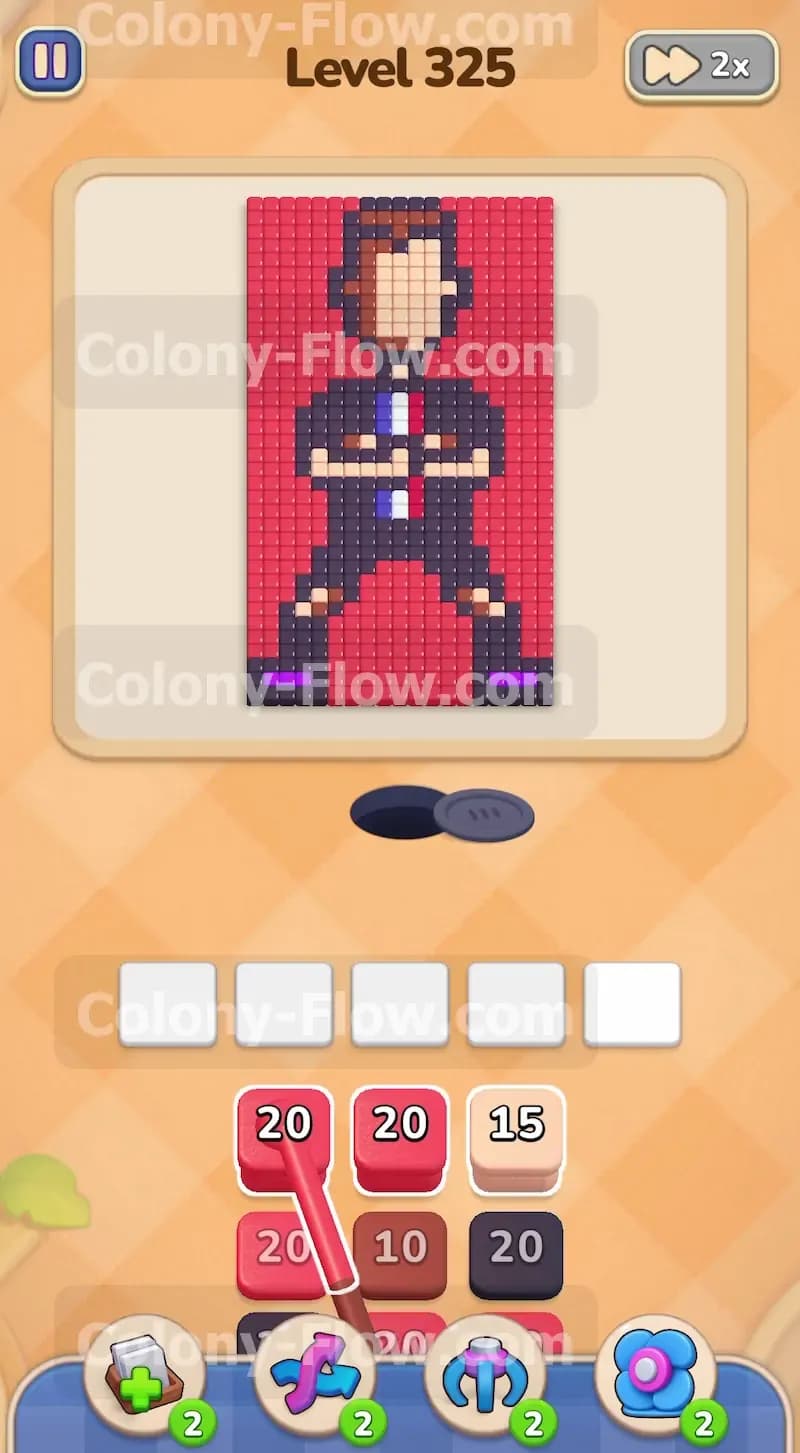
The board presents a pixel art man wearing a black suit with a white shirt and a blue tie. He has brown hair and beige skin. The entire background behind him is made of bright red tiles. Small purple details sit on his black shoes at the very bottom. The tray at the bottom holds a massive pile of colored numbered blocks. You see heavy stacks of red twenty blocks along with black brown beige and white blocks. A hidden box sits deep in the right side of the tray. This special hidden box hides its color completely until you clear the blocks resting on top of it and give it a valid open path.
What It Takes to Clear Level 325 Board
Winning requires you to dismantle the picture perfectly from the bottom to the top. The ants enter from the round nest hole and fan out to the lowest available open tiles. You clear the level by feeding the ants the exact colors they can reach at any given moment. You must constantly alternate between sending red blocks for the huge background and other colors for the clothing details. Your five waiting slots dictate whether you win or lose. If you send too many blocks that the ants cannot reach the slots will jam up completely. When all five slots fill and the ants stop moving you fail the level.
Colony Flow Level 325 Step by Step Solution
Step 1: Focus on the bottom red background and the black shoes
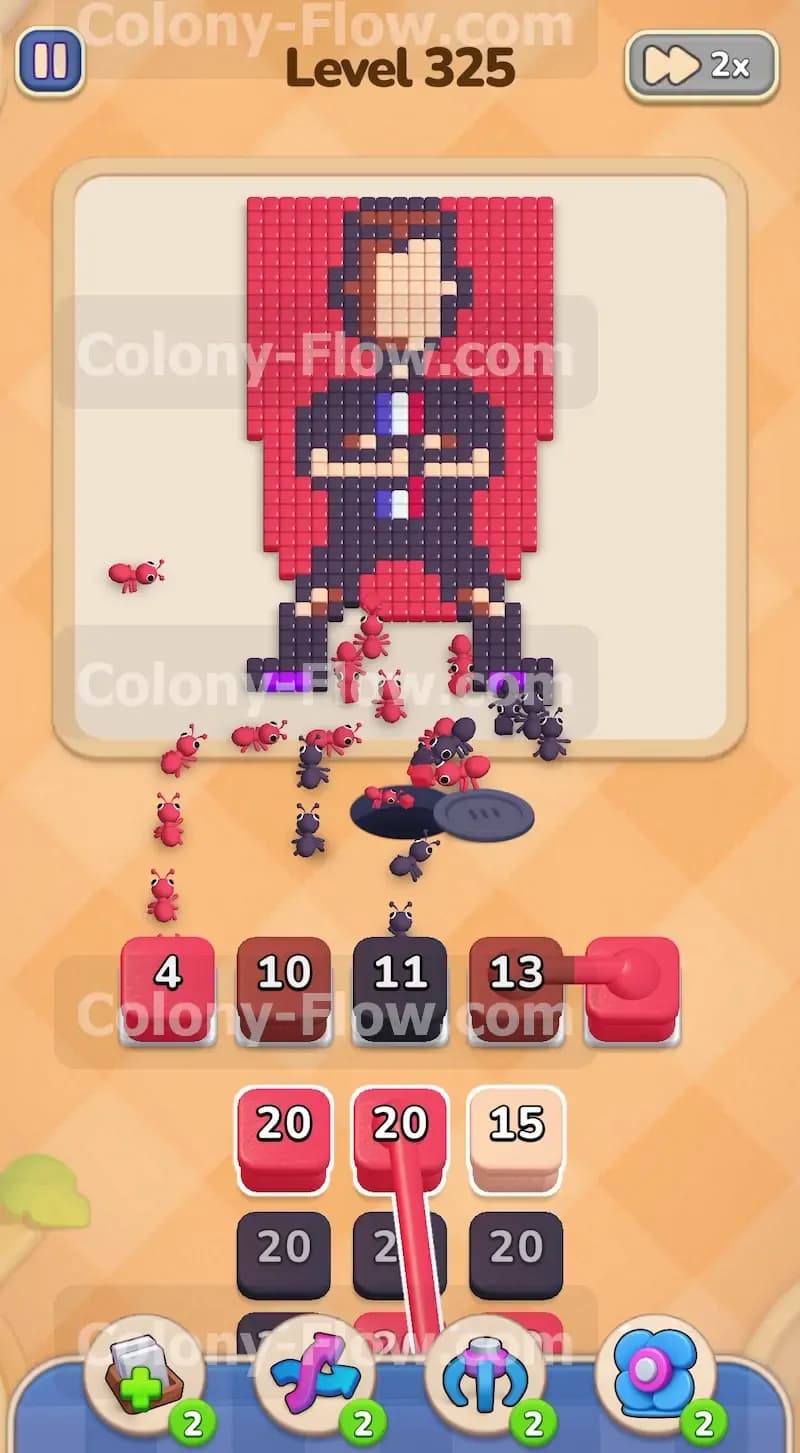
Start the level by moving a red twenty block and a black twenty block into the waiting slots. The red block immediately calls the ants to the bottom corners of the background. The black block targets the outer edges of the shoes and the lowest parts of the suit pants. Keeping both a background color and a foreground color active prevents your waiting slots from clogging up early on. As the numbers count down you see the bottom edge of the picture begin to vanish. This clears the way for the ants to move higher into the pixel art. Never send more than two red blocks at a time during this early phase. The background is huge but you desperately need room in your tray to reach the other colored blocks buried underneath.
Step 2: Bring in the brown block to clear the shoe edges
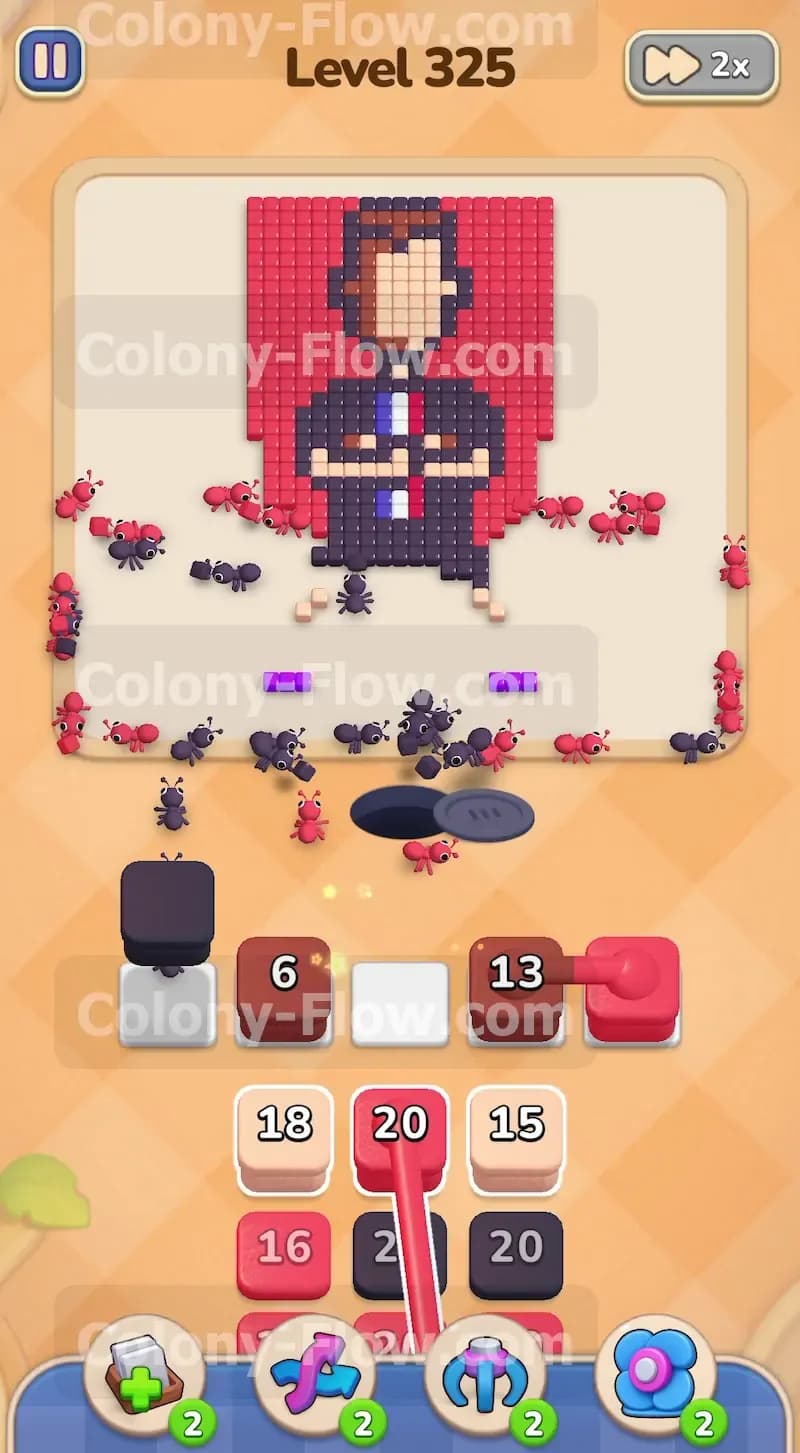
With the lowest red and black tiles gone the brown outline parts of the shoes become accessible. Tap a brown ten block from the tray to move it into a waiting slot. The ants stream toward the brown tiles at the very bottom of the feet. This action opens up the inner layers of the character design. You want to make sure the red blocks are still working on the background while the brown block does its job. This dual action keeps the ants moving outward and keeps your slots open. The brown block finishes quickly because there are only a small handful of brown tiles on the shoes. Once the brown block empties the tray opens up slightly more.
Step 3: Clear the purple shoe details and lower suit pants
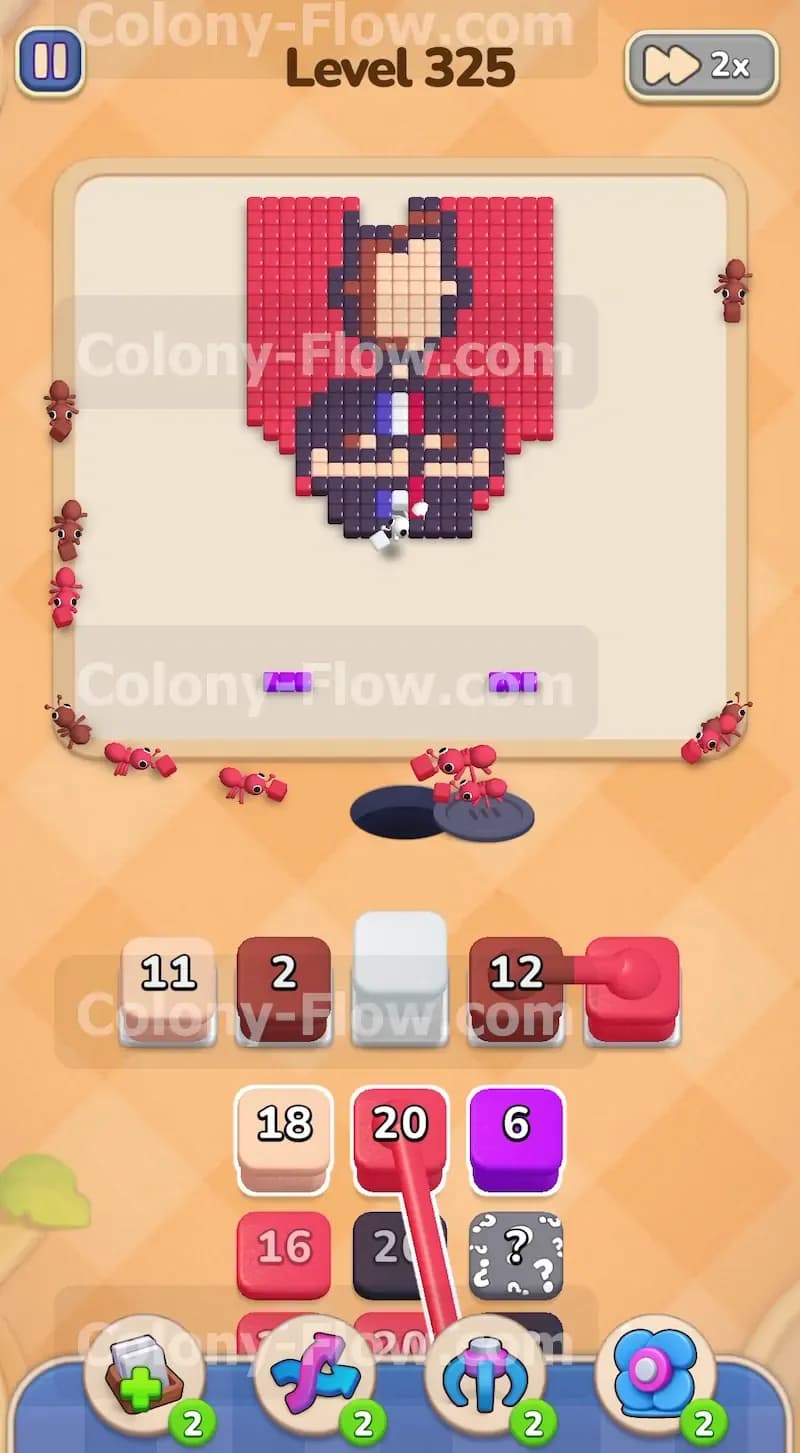
A small purple section exists on the top of each shoe. Once the brown tiles vanish these purple tiles open up to the ants. Find the purple six block in the upper tray layers and tap it. The ants rush in to eat these specific six purple tiles. At the exact same time you should send another black block to continue eating the suit pants. The pants make up a large portion of the lower half of the character. The ants strip away the black tiles and eventually expose the bottom edge of the white shirt and the beige hands. Always watch the paths the ants take to ensure they do not get stuck waiting behind uncleared tiles.
Step 4: Target the beige hands and the white shirt
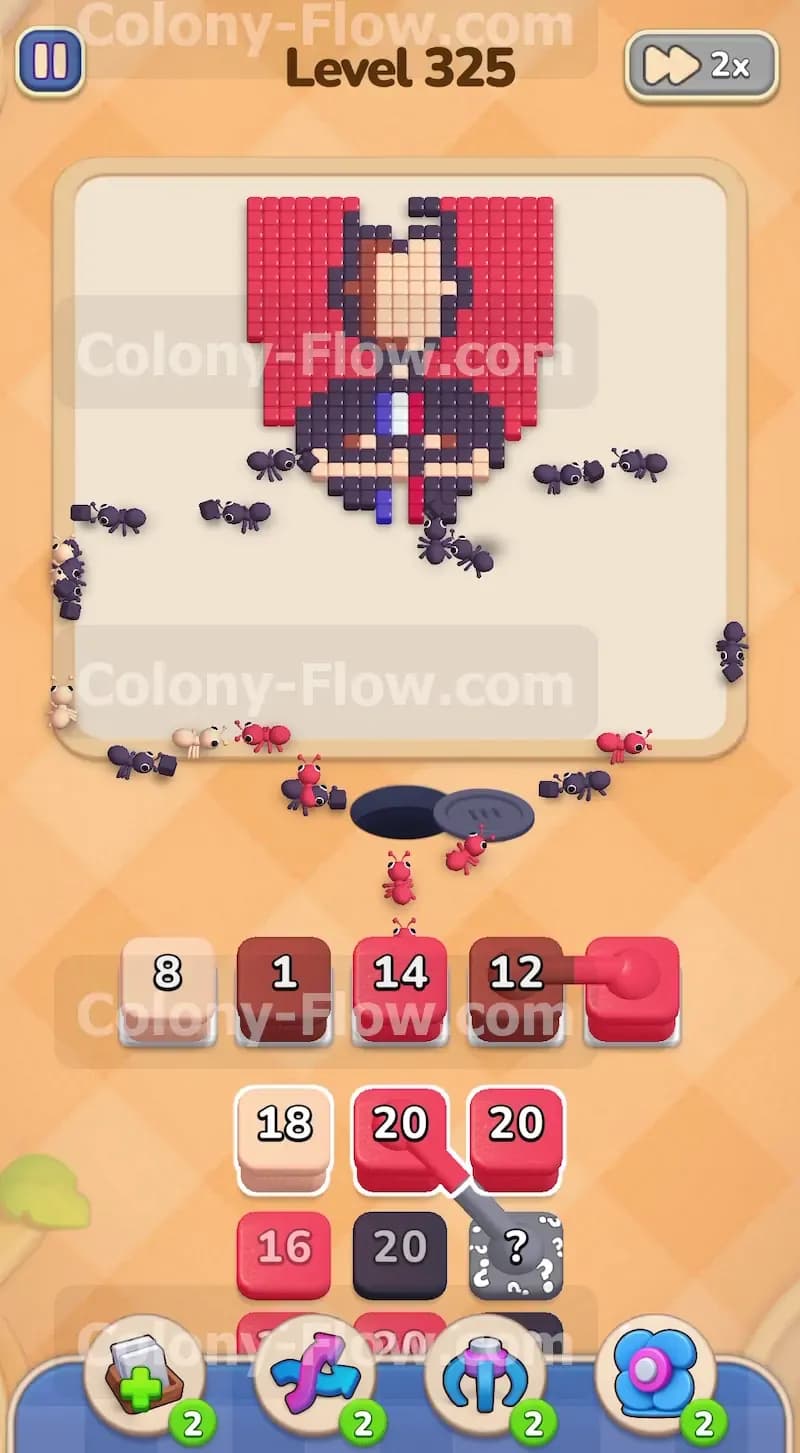
Now the walking paths lead directly to the beige hands resting on the front of the suit jacket. Send up a beige fifteen block from the tray. The ants split up and attack both hands simultaneously. You also need to move a white block into a waiting slot to start clearing the shirt. The white shirt sits right in the middle of the chest. The ants eat the white tiles and carve a hole straight into the center of the figure. Your waiting slots should currently hold a healthy mix of beige white black and red. This variety guarantees that the ants always have a valid target and your board never dead ends.
Step 5: Peel away the main black suit jacket
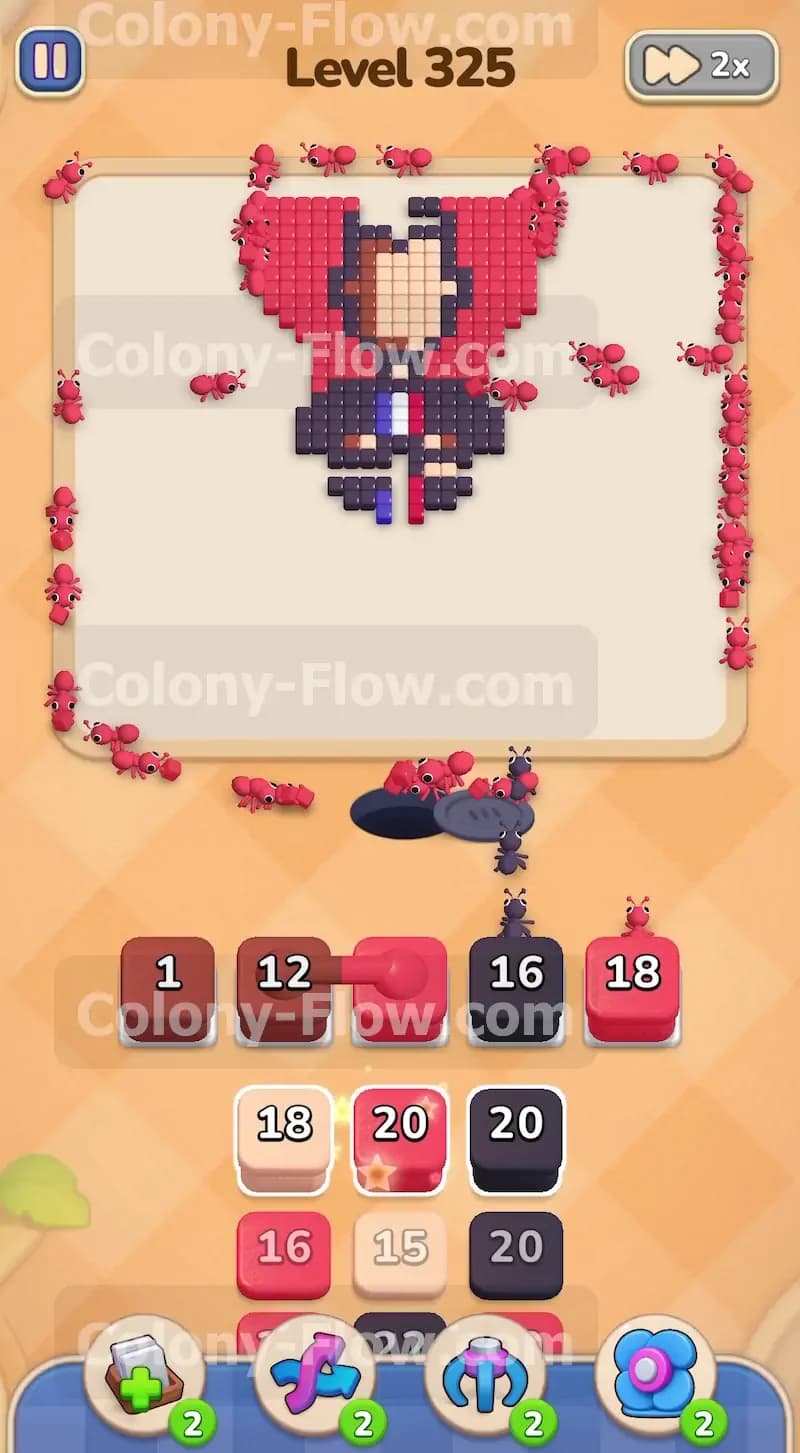
The hands and lower shirt are gone by this point. The black suit jacket is now completely exposed on all sides. Tap another black twenty block from the tray to keep the momentum going. The ants swarm the outer sides of the jacket and the inner lapels near the shirt. You will notice the red background receding higher up the screen as your red blocks continue their slow steady work. Keep feeding red blocks into the slots whenever an old one finishes. You must balance the rapid clearing of the black jacket with the continuous drain of the heavy red background. If you neglect the red tiles for too long they will block the upper sections of the head later and cause you to lose.
Step 6: Reveal and play the hidden box in the tray
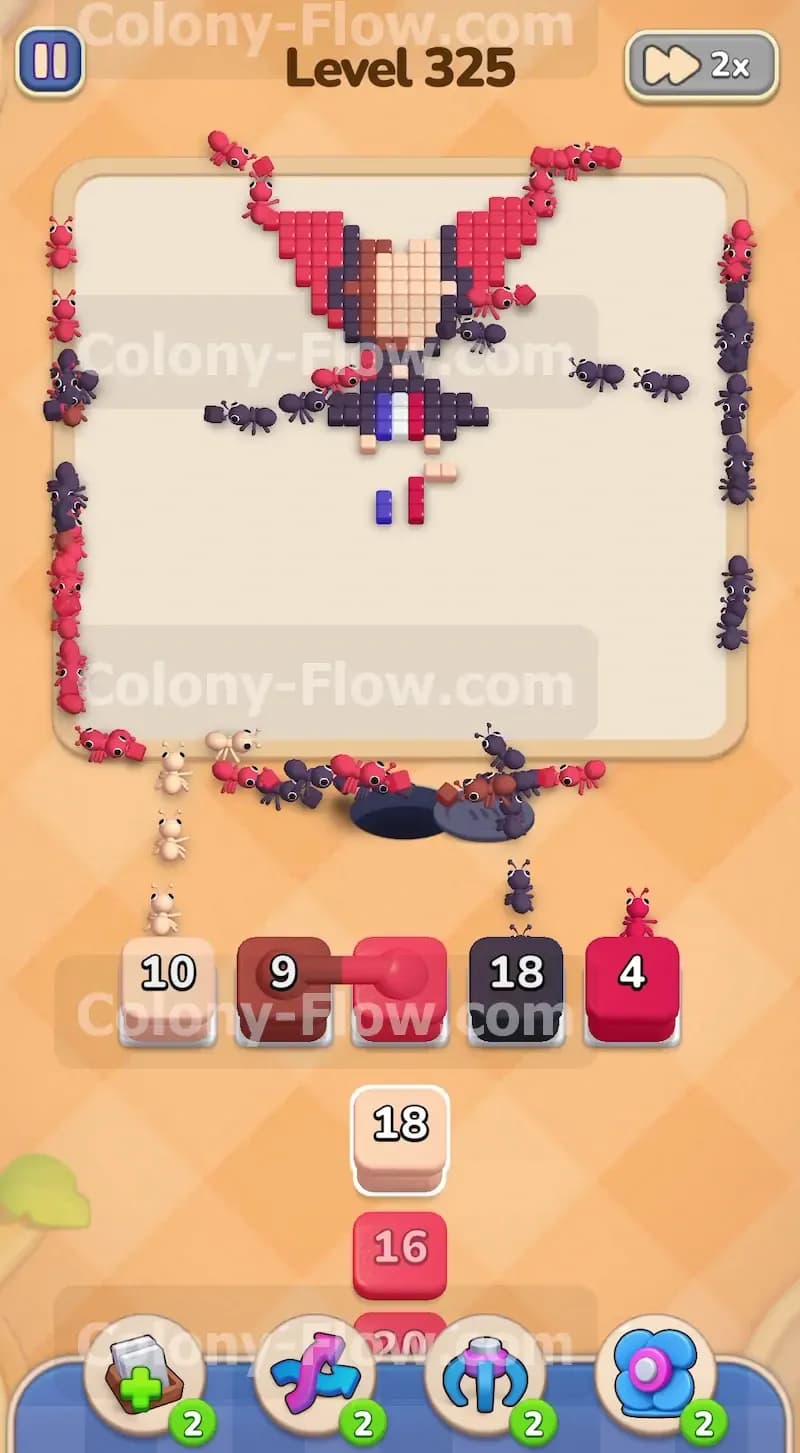
As you pull blocks from the right side of the tray you finally uncover the hidden box. This box has question marks on it and will not reveal its true color until it has a clear open path to be played. Continue removing the beige and red blocks covering the right side to free it. Once the hidden box opens it reveals a black block you need to continue your progress. Send it into the waiting slots immediately so it does not block the tray. The ants will use it to clear another chunk of the suit shoulders. Managing the tray depth is just as critical as watching the board above. You have to dig deep to find the specific colors the ants need to reach the head.
Step 7: Strip away the upper red background and the brown hair
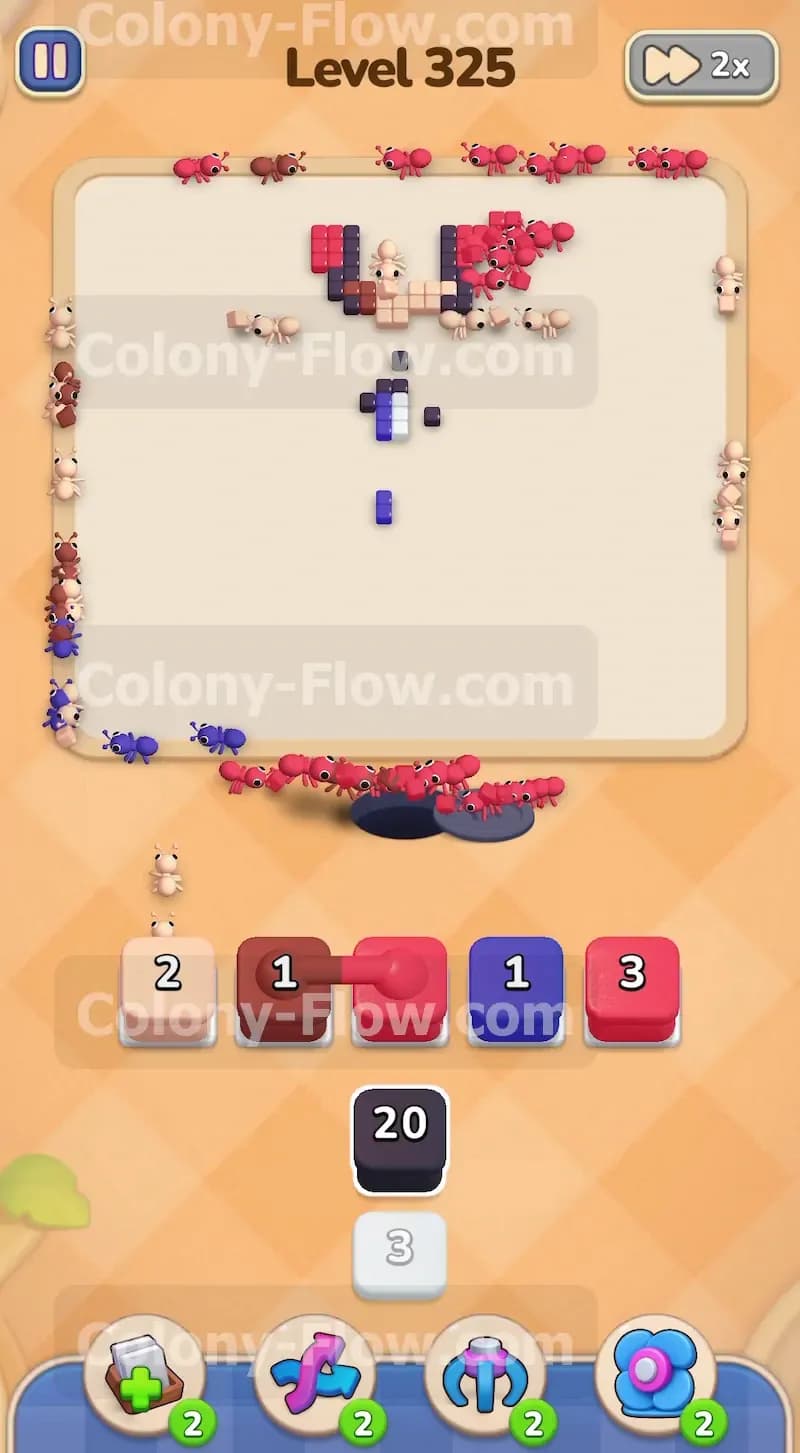
The body is mostly clear now and the board looks much emptier. The ants now march all the way up to the head and the top corners of the red background. Bring up a brown block to tackle the thick brown hair. The hair contains many tiles so a large brown block is perfect here. Simultaneously push more red blocks into the waiting slots. The top sections of the background require a massive number of ants. The walking paths are very long now. It takes the ants significantly more time to walk all the way from the nest hole to the very top edge of the board. Be patient and do not panic fill your slots while the ants are making this long walk. Let them reach their destination and eat the tiles at their own pace.
Step 8: Clear the face and final small details
The hair and background are shrinking rapidly. You now have full access to the beige face. Send up a beige block to let the ants eat the facial features. The board looks very sparse at this stage. Only tiny scattered pieces remain visible. You will see the blue tie sitting completely alone in the center of the chest area. Tap the blue block from the very bottom of your tray. A tiny focused stream of ants will walk straight up and eat the blue tiles. Send the final red and black blocks to clean up the last few stray tiles at the exact top edge. The remaining ants finish their meals and run off the screen. The board goes completely blank and you win the level.
Final Thought
Colony Flow requires careful timing and a steady rhythm to keep the board moving smoothly. You have to balance the massive red background with the precise tiny details of the character to succeed. Managing your five waiting slots is the absolute only way to survive the huge block stacks waiting in the tray. Taking your time to watch the ant paths prevents you from making careless mistakes. If any step gives you trouble please watch the gameplay video above this article. The video shows the exact sequence of moves to keep your paths open and claim your victory.