Colony Flow Level 174 Walkthrough Solution & Guides | How to solve Colony Flow 174

Guide By Liam Stone
Updated on July 12, 2026
You can follow along with the video above for the complete Level 174 solution instead of reading below.
Video doesn't match your screen?
Game updates frequently scramble layouts! Try our AI Screenshot Solver first to find your exact board instantly, or report broken guides to our team.
Welcome to Colony Flow Level 174. This board presents a bright pixel art house scene with a small blue key resting in the yellow base trim. You will guide your ant colony to clear out large patches of light blue sky while navigating connected boxes in your tray. I play every level to find the best route and I am here to help you get through this one without jamming your slots.
Colony Flow Level 174 Overview
What You Are Working With
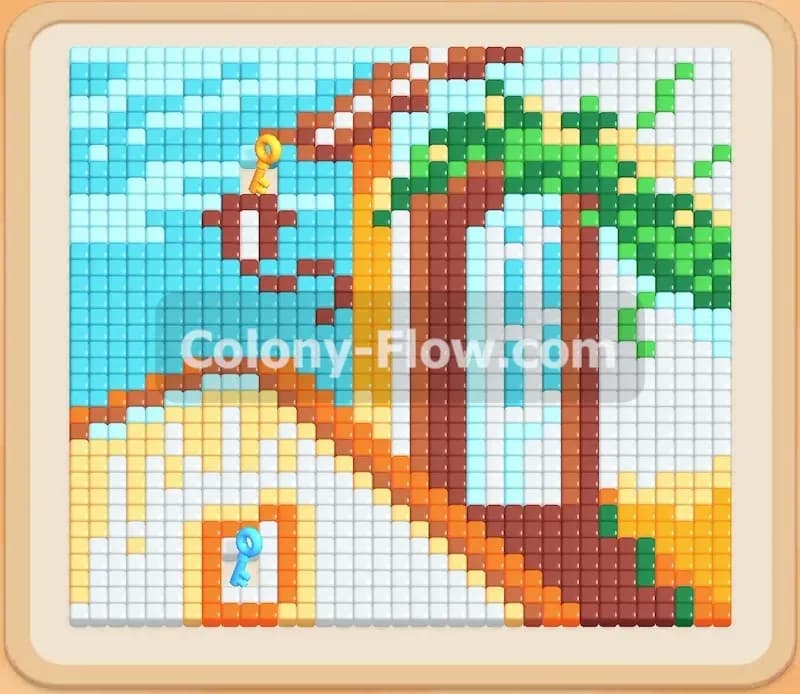
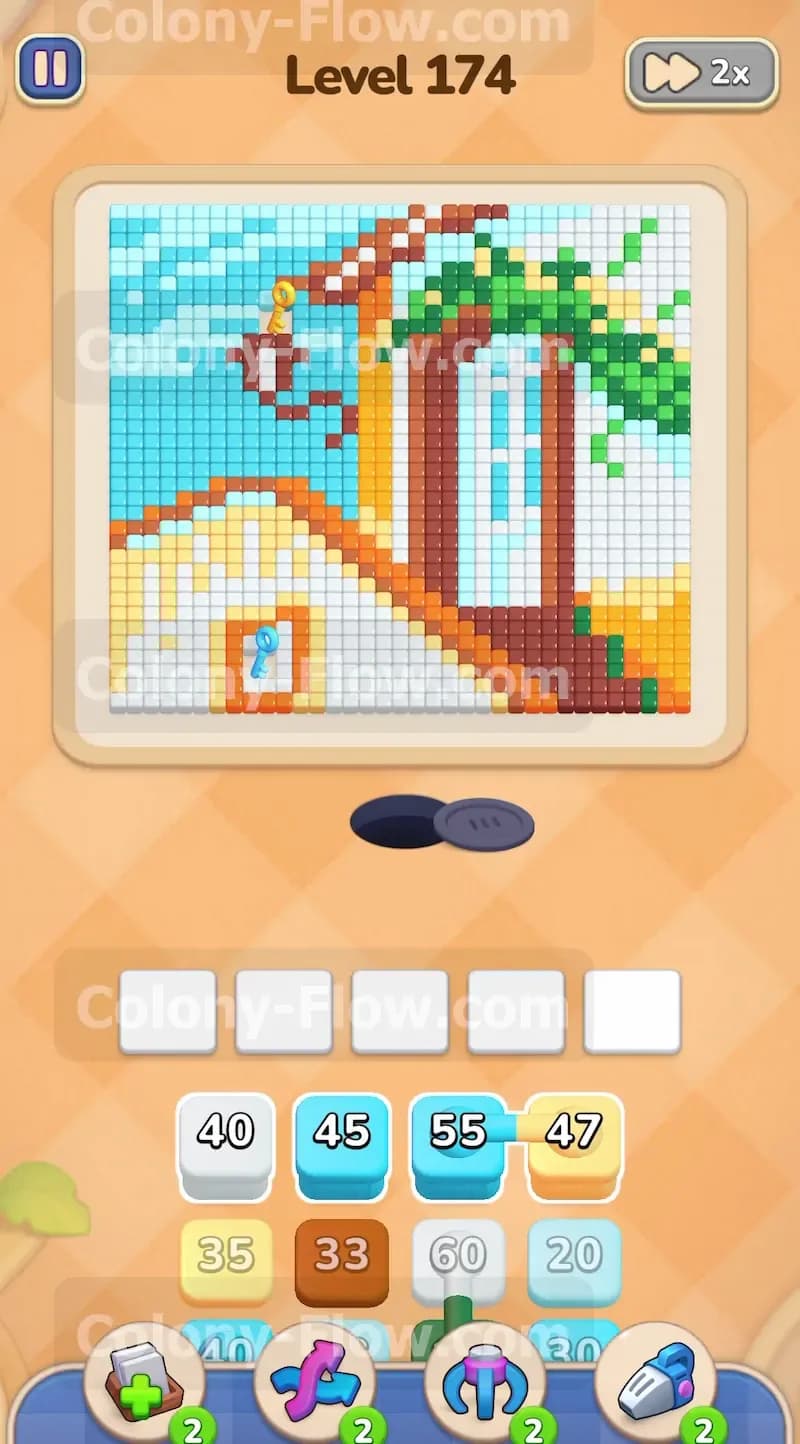
The picture displays a sunny day at a pleasant little house. You see a large section of light blue sky filling the upper left corner and wrapping completely around the building. The house itself features a prominent dark reddish brown roof structure with bright white walls. Vibrant orange lines border the roof and the walls to give the house shape. Bright green leaves decorate the right side like a climbing vine. A yellow trim runs along the bottom foundation of the house. A small blue key sits securely on the yellow tiles near the bottom left corner.
Down in the tray you face several complex layers of numbered blocks. You start with a solitary white forty block and a light blue forty five block on the left side. Right next to them you see a light blue fifty five block physically connected to an orange forty seven block. Further down the tray holds yellow brown white and more light blue blocks. Deep in the tray sits a locked block showing a keyhole icon. You absolutely need to collect the blue key from the picture to open this locked tray slot.
What It Takes to Clear Level 174 Board
To win you must clear every colored tile from the picture without filling all five waiting slots in your tray. Your ants stream from the dark nest hole at the bottom of the screen. They need an unobstructed open path to reach their matching colored tiles. Since the tray contains connected boxes you must manage your available slots carefully. Pulling connected boxes takes up multiple waiting slots at once and limits your flexibility. You also have to dig through the outer layers of the picture to reach the blue key. Grabbing that key unlocks a hidden yellow block in the tray. Success means feeding the correct colors at the exact right moment to keep the board flowing smoothly. You must constantly monitor your active slots and the available exposed colors on the board.
Colony Flow Level 174 Step by Step Solution
Step 1: Start clearing the large sky area and the lower yellow section.
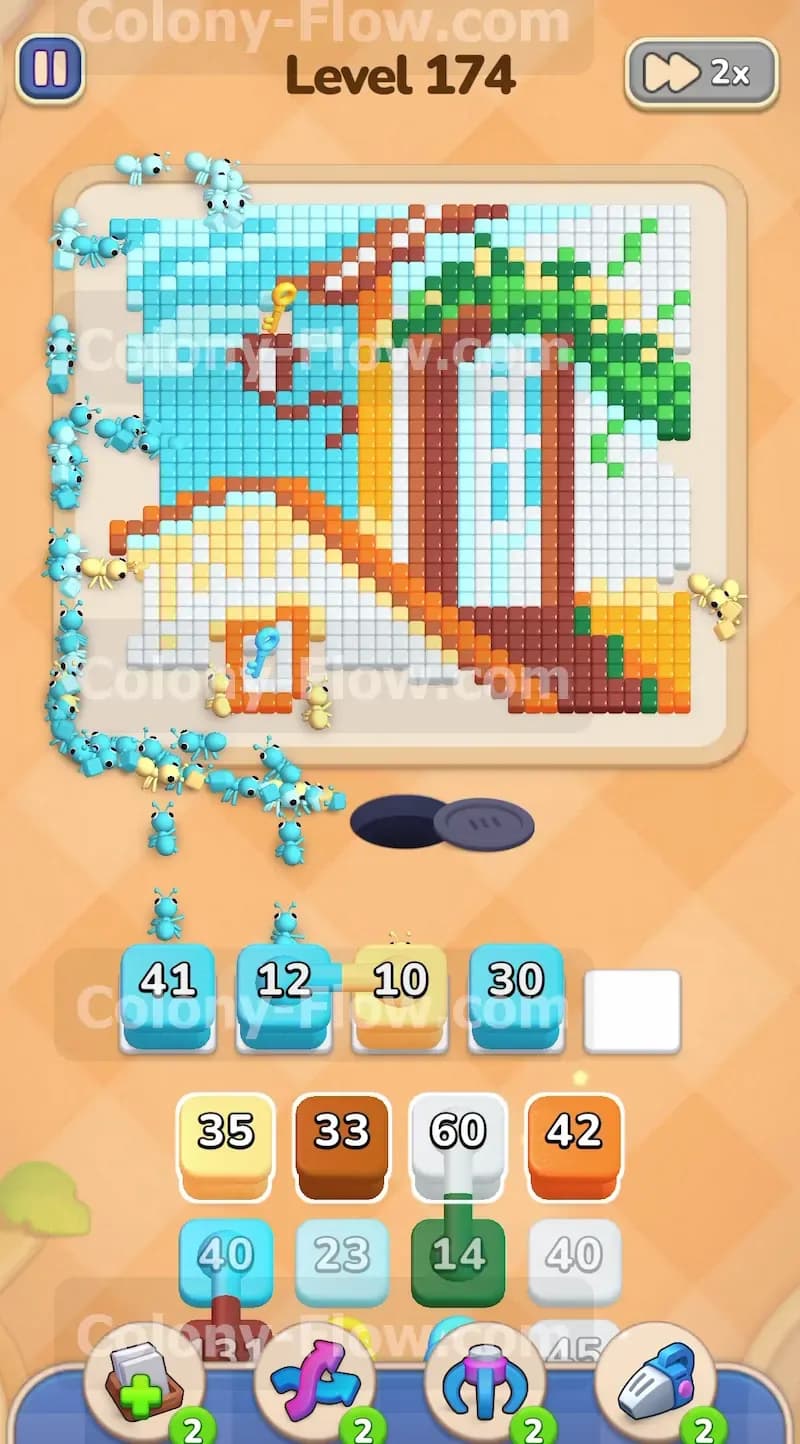
You begin by tapping the light blue forty five block from the top row of the tray. This immediately sends light blue ants rushing up the left side of the board to eat away the large sky area. You then tap the yellow thirty five block from the second row down. Yellow ants move out to target the yellow trim at the bottom left corner. You need to clear this yellow section early because it blocks your only access to the blue key. To keep the sky clearing process moving you also pull the light blue fifty five block. Because it connects directly to an orange forty seven block both colors move into your waiting slots at the same time. This action leaves you with four filled slots. You still have one completely open slot to prevent a fatal game jam. The light blue forty five block drops to zero and clears from the tray as the ants eat the sky. The yellow thirty five block counts down to a lower number as the ants eat the trim.
Step 2: Bring out more light blue to finish the outer sky.
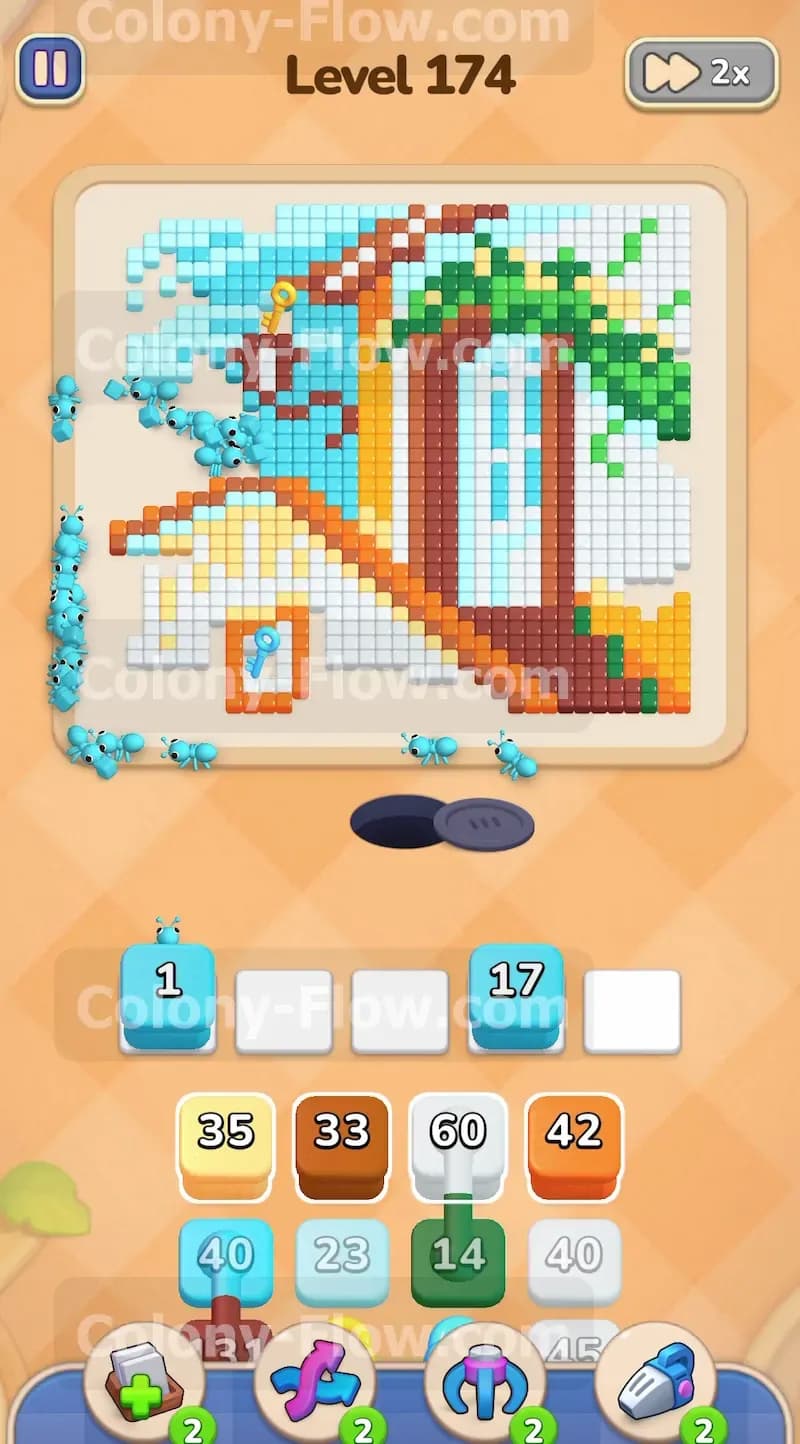
As the first round of light blue blocks hits zero you free up space in your waiting tray. The ants continue to chew through the massive block of sky on the left edge. You tap the light blue forty block from the third row to keep the momentum going. This block drops in number as the new ants join the effort on the upper left side. Your tray now holds several low number light blue blocks that cycle through quickly to zero. The yellow block also counts down further as ants clear more of the yellow base foundation. The path to the blue key slowly opens up as the yellow tiles vanish. You must wait for the ants to finish eating the current colors before pulling new unrelated colors from the tray. The orange block waits patiently in the tray because its corresponding tiles are trapped behind other colors on the board.
Step 3: Introduce white and brown to the board.
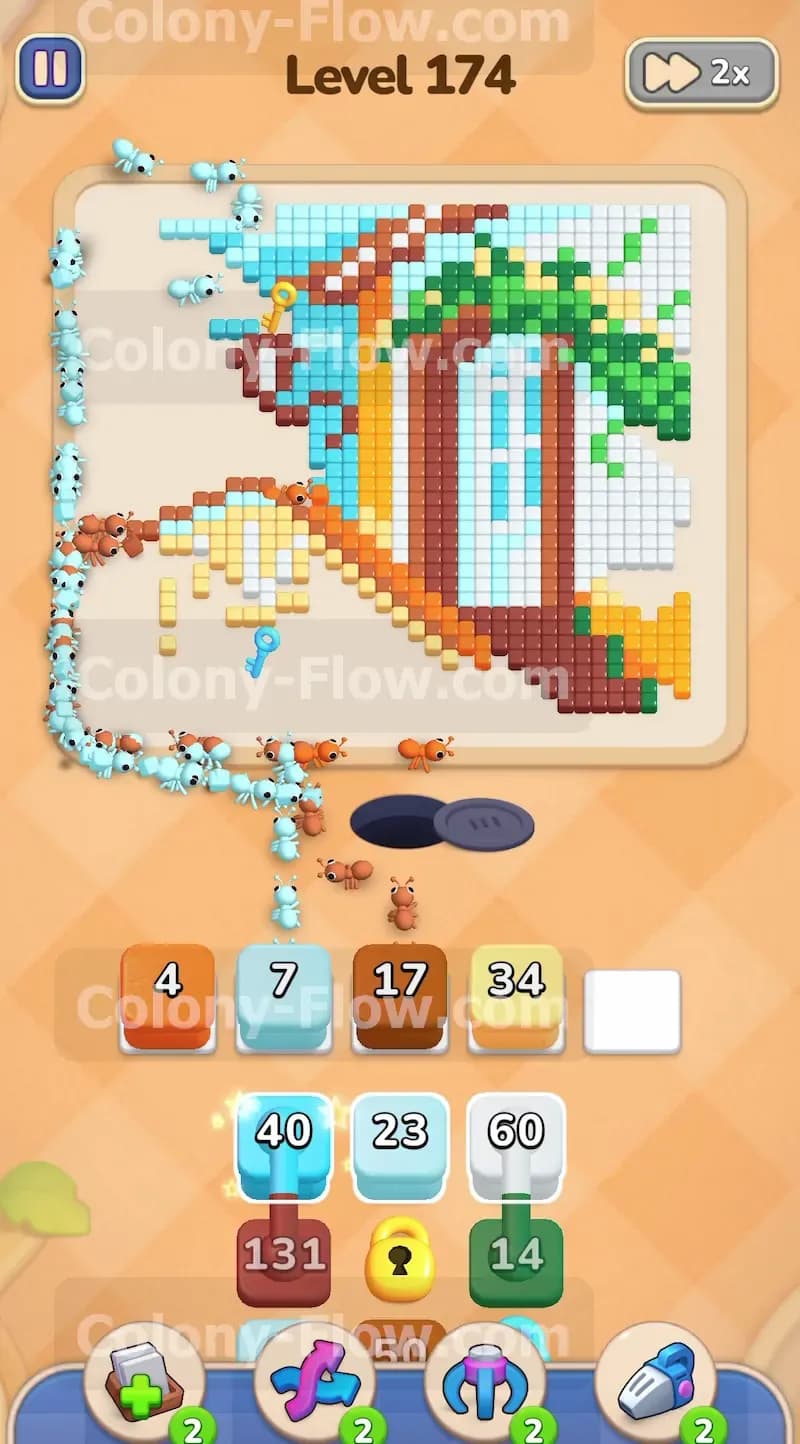
With the outer sky largely cleared the white walls and brown roof become accessible to your colony. You tap the white forty block from the top row to begin the next phase. White ants march out to consume the wall sections on the left side of the house. You also pull the brown thirty three block to attack the roof. The brown block begins to count down as the ants reach their target along the outer edges of the roof structure. The remaining early light blue blocks finish their countdowns reaching zero and vanish from the tray completely. This frees up crucial waiting slots for your upcoming moves. Your yellow ants finally reach the blue key resting on the trim. The exact moment they eat the tile holding the key the locked box in the tray opens up. This reveals a yellow block that you will definitely need to finish the bottom trim.
Step 4: Launch a massive red block to tackle the roof.
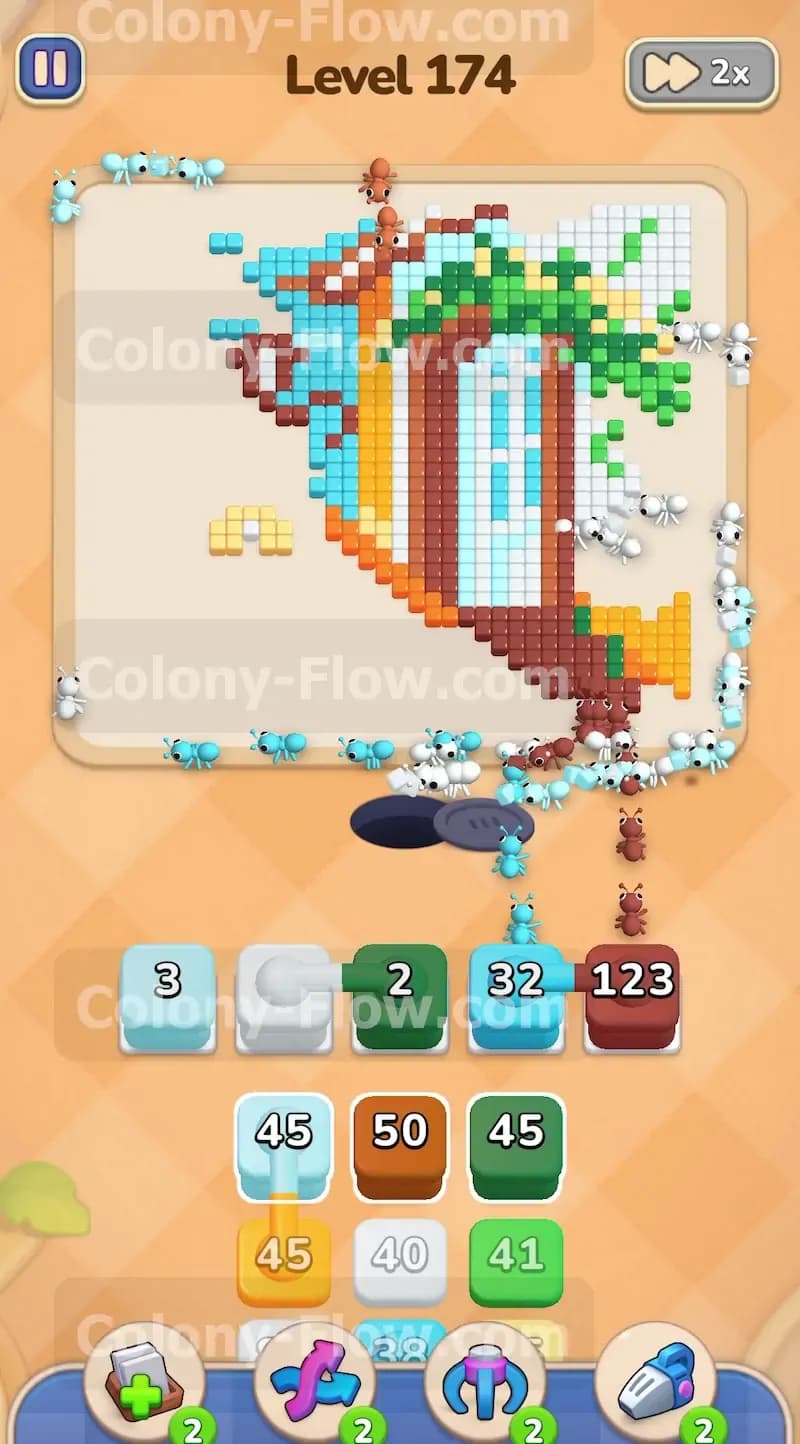
The intricate roof requires a massive number of ants to clear. You reach down and pull the red one hundred thirty one block. This massive block fills a waiting slot and sends a huge swarm of red ants to devour the dark reddish brown roof tiles. The game treats these dark roof sections as red tiles for this specific puzzle. The red ants swarm the entire upper section of the structure and the number drops rapidly from one hundred thirty one down to the double digits. You also pull the dark green fourteen block to start clearing the climbing leaves on the right side. The connected orange block finally begins to count down from forty seven as orange borders become exposed around the walls. You maintain excellent tray management by ensuring one slot always remains open.
Step 5: Pull the white and light blue blocks to clear the windows.
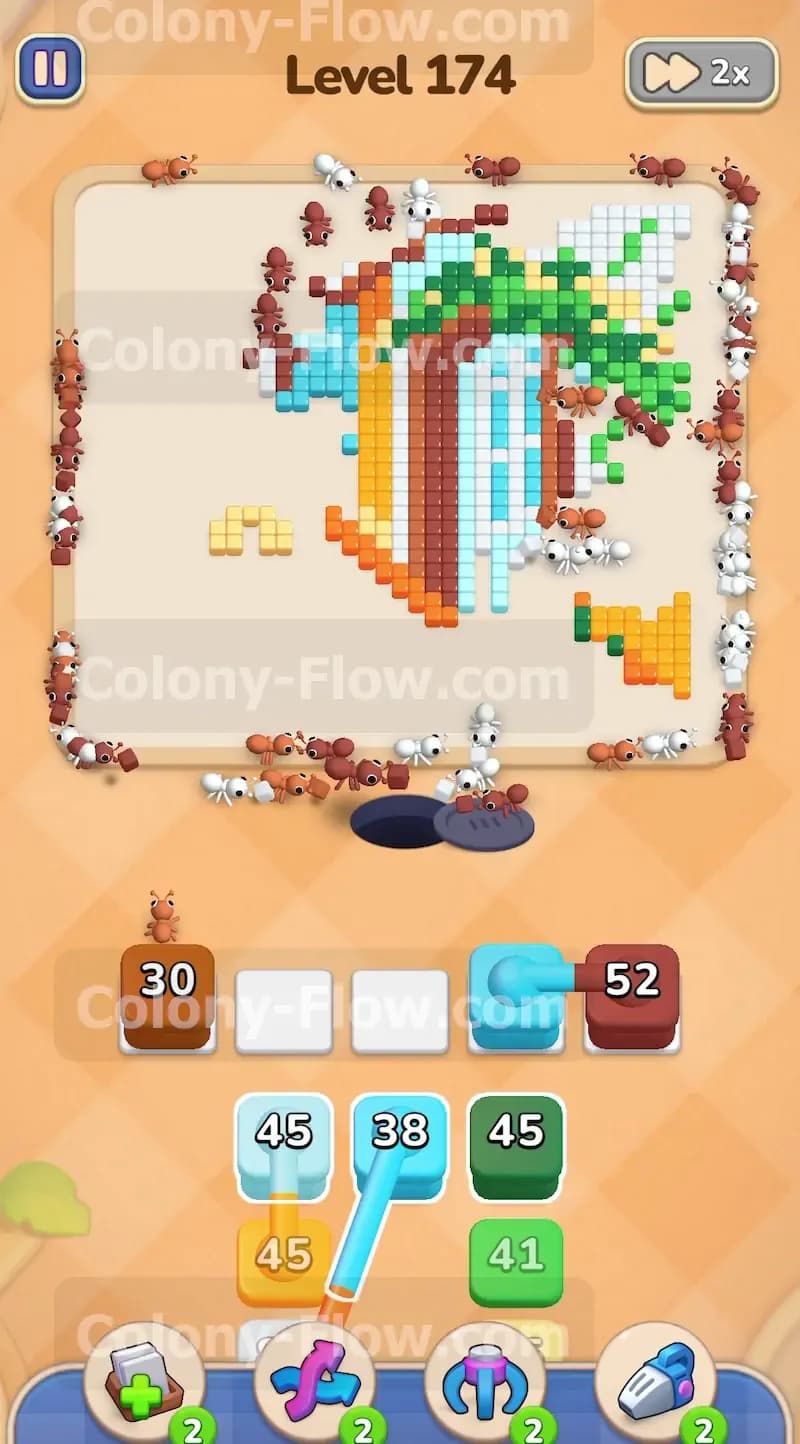
The house features detailed windows that use light blue and white tiles. You tap the white sixty block and the light blue twenty three block to address these sections. The white block drops steadily as ants clear the remaining wall sections and the outer window frames. The light blue block quickly hits zero as ants target the inner window panes. The tray slots cycle through efficiently because you opened multiple paths across the entire board. The massive red block continues to count down from its huge starting number reaching below fifty but it never blocks your progress. You pull another brown block to handle the distinct brown sections of the roof framing. Keeping the ants moving across different sections of the house prevents any single color from jamming the tray.
Step 6: Deploy the unlocked yellow block to clean up the trim.
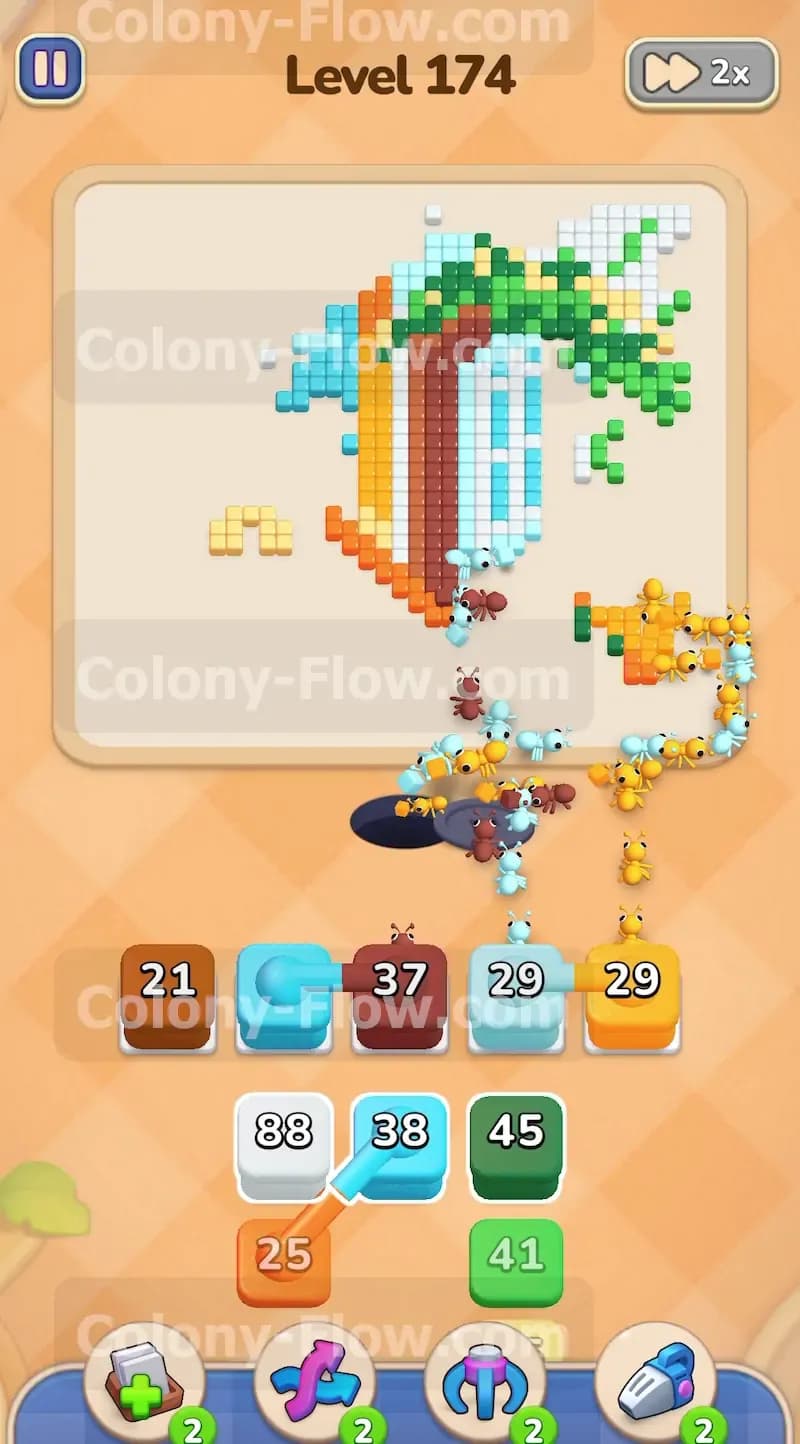
Now that the key previously opened the locked tray slot you can tap the newly revealed yellow fifty block. This block was completely hidden behind the keyhole icon earlier in the game. The yellow block counts down quickly as ants swarm the remaining yellow trim on the right side of the foundation. You also pull a light blue forty block to finish the last scattered bits of the sky on the upper right causing its number to drop. The board now looks much emptier and the final picture comes into focus. The red ants are finishing their exceptionally long meal on the top roof structure. The white ants wrap up the right side exterior walls. You maintain a steady flow of ants by constantly matching the remaining tray blocks to the exposed colors on the board.
Step 7: Clear the final green leaves and remaining borders.
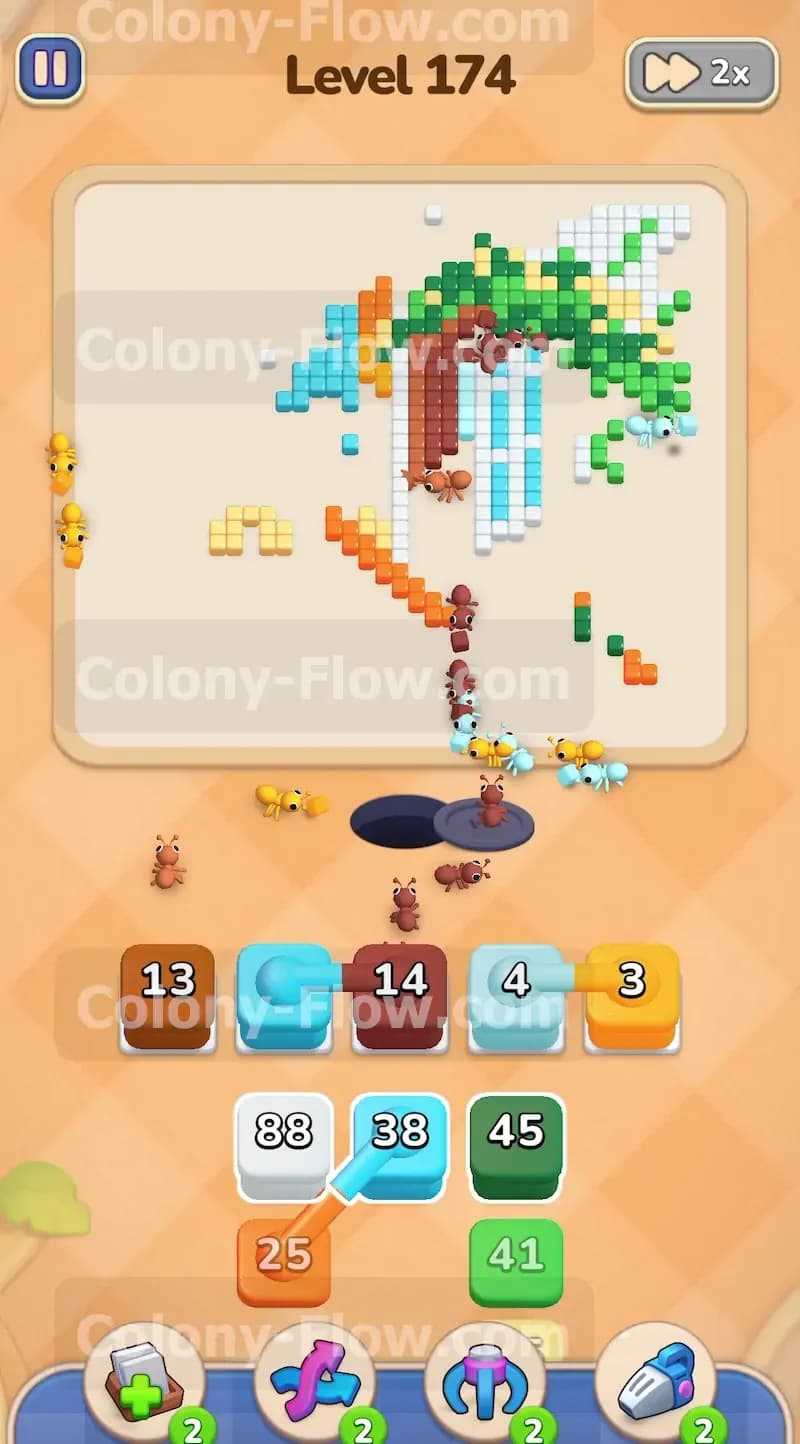
Only small isolated patches of tiles remain scattered across the board. You pull the final dark green forty one block to clear the remaining leaves on the far right edge and watch its number decrease. You tap the orange forty two block to clean up the orange borders near the lower windows. A white forty five block goes into the tray to finish the final wall tiles on the right side dropping its number to zero. The massive red block finally hits zero and vanishes from the waiting slot entirely. You only have a few blocks left in the bottom of your tray. The ants easily navigate the empty board space to reach their respective colors without any delays.
Step 8: Empty the tray and finish the puzzle.
You pull the final light blue thirty eight block to clear the very last window pane. The remaining brown and orange blocks count down to zero as they easily find their matching tiles on the mostly empty board. The ants stream out and finish every single pixel leaving nothing behind. The screen clears completely and you win the level. Your waiting tray never jammed because you systematically opened paths from the outside in. You expertly managed the connected boxes and successfully retrieved the key to unlock the necessary yellow block.
Final Thought
Level 174 requires immense patience as you chew through massive blocks of color while managing extremely limited tray space. Dealing with the connected orange and light blue blocks early allows you to slowly chip away at the board without causing a jam. Grabbing the blue key is absolutely vital for your progress so prioritize the yellow trim. Take your time and make sure you always have an open path for your ants to travel. If you struggle to visualize the exact sequence or find yourself getting stuck please watch the video above this article for a complete visual guide.