Colony Flow Level 265 Walkthrough Solution & Guides | How to solve Colony Flow 265

Guide By Liam Stone
Updated on August 1, 2026
Watch the video above for a faster look at how Level 265 gets solved.
Video doesn't match your screen?
Game updates frequently scramble layouts! Try our AI Screenshot Solver first to find your exact board instantly, or report broken guides to our team.
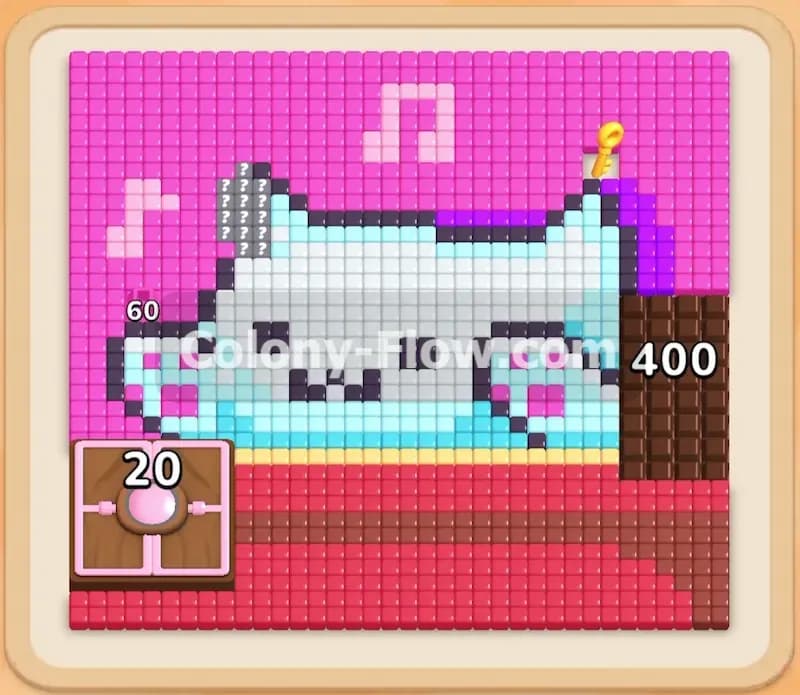
Welcome back to another puzzle guide. Colony Flow Level 265 brings us a highly detailed feline face completely enclosed by a thick leafy border. This particular board demands excellent tray management because the inner colors are entirely blocked off at the very beginning of the level. I play every single level to figure out the safest routes and I will walk you through exactly how I clear this board from start to finish.
Colony Flow Level 265 Overview
What You Are Working With
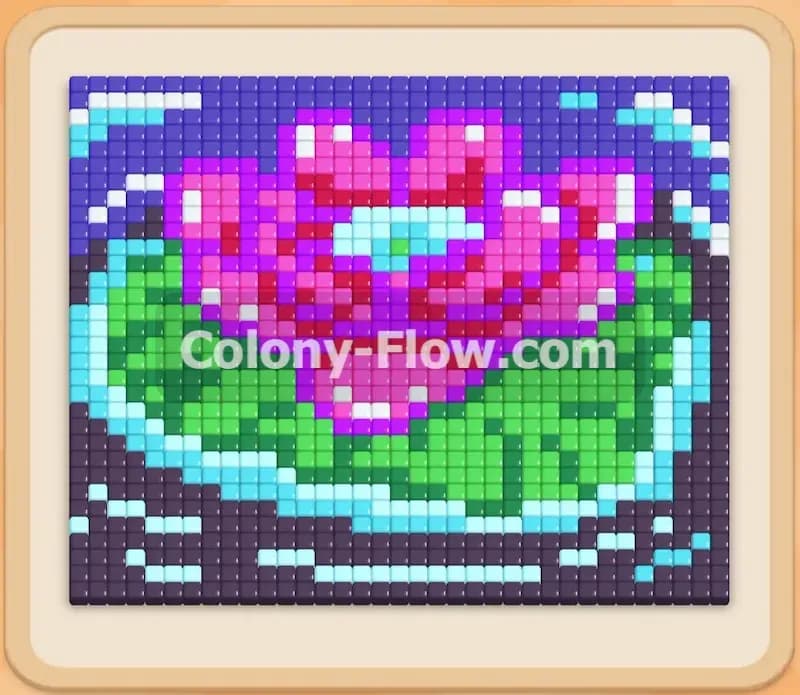
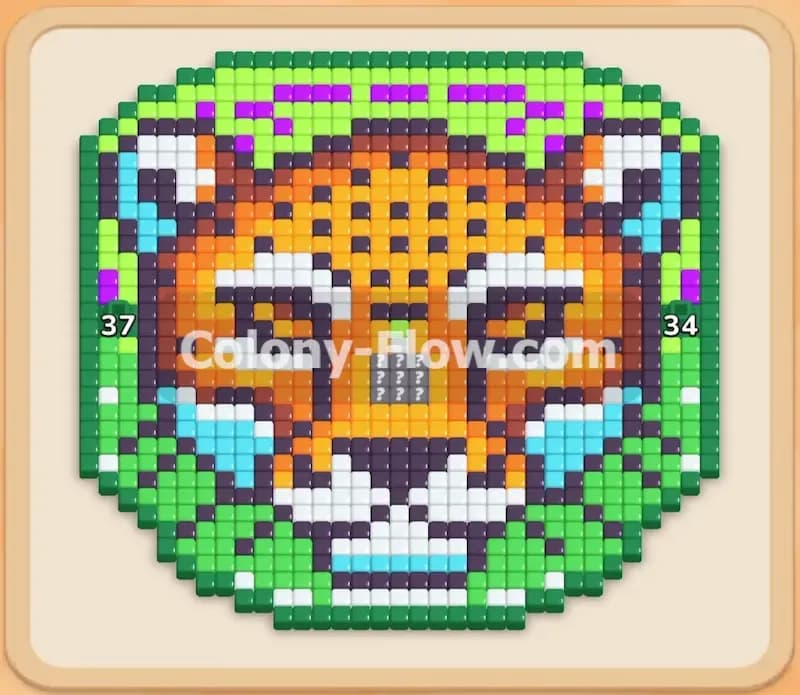
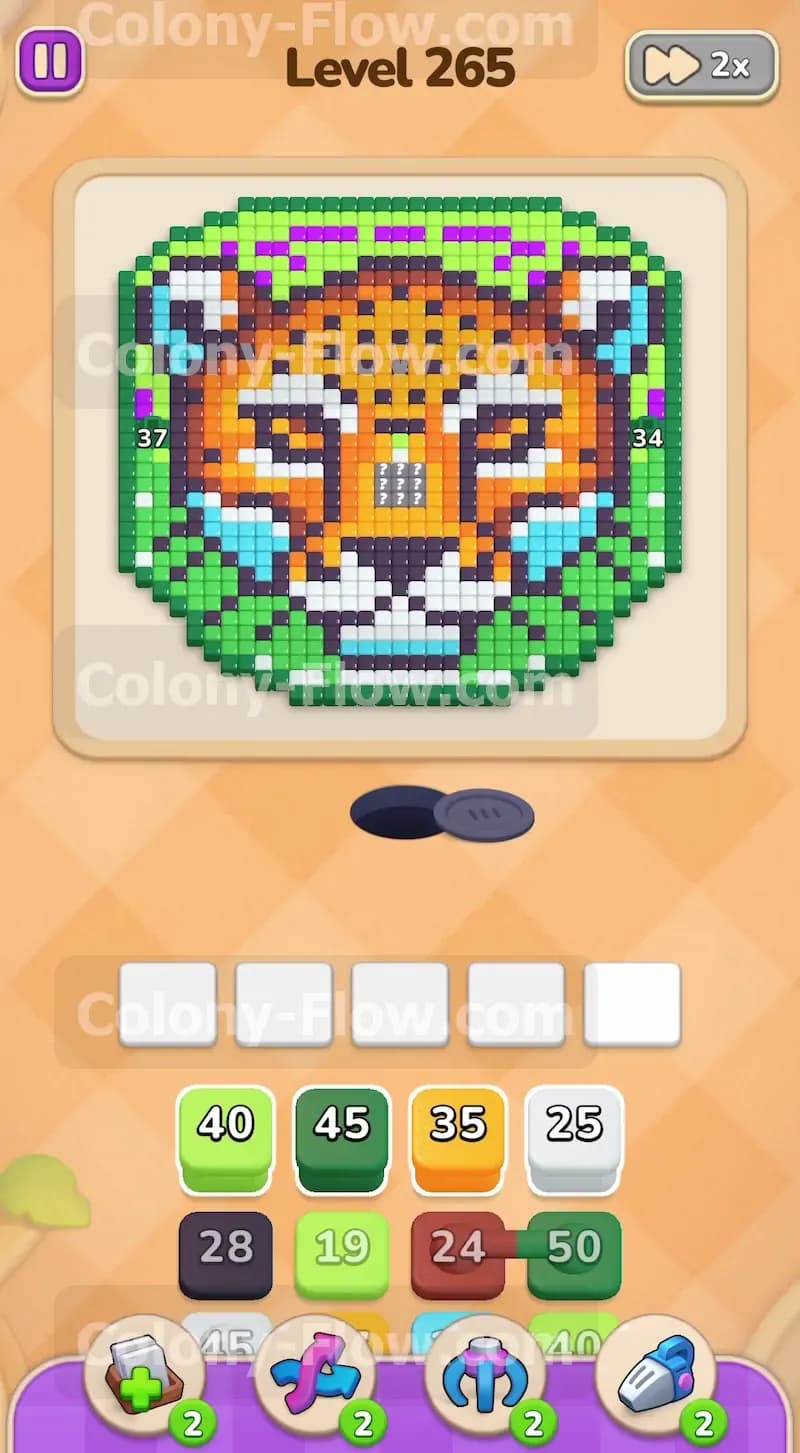
The pixel art picture at the top of your screen looks like a tiger or leopard face staring straight ahead. It features bright orange fur mixed with a white muzzle and dark black stripes and spots. There are also vivid light blue and purple accents around the eyes and cheeks. A heavy dense border of light green and dark green tiles surrounds the entire animal head. Down in your tray you have a tall stack of numbered blocks including greens oranges whites blacks browns purples and light blues. You also have a hidden box buried deep in the tray stack. This grey block keeps its true color completely hidden until you clear an open path for it to move.
What It Takes to Clear Level 265 Board
To beat this level you need to feed every single colored tile on the board to your ant colony. You pull numbered blocks from the bottom tray to match the tile colors in the picture above. The ants stream out of their nest hole and carry the food away causing the numbers on your blocks to count down. Your primary obstacle is the row of five waiting slots at the bottom of the screen. If you fill all five slots with blocks that have no open path to their matching food you lose the level instantly. You clear this board by methodically chewing through the outer green border first to expose the animal face inside and then dismantling the face color by color.
Colony Flow Level 265 Step by Step Solution
Step 1: Start by attacking the thick green outer border
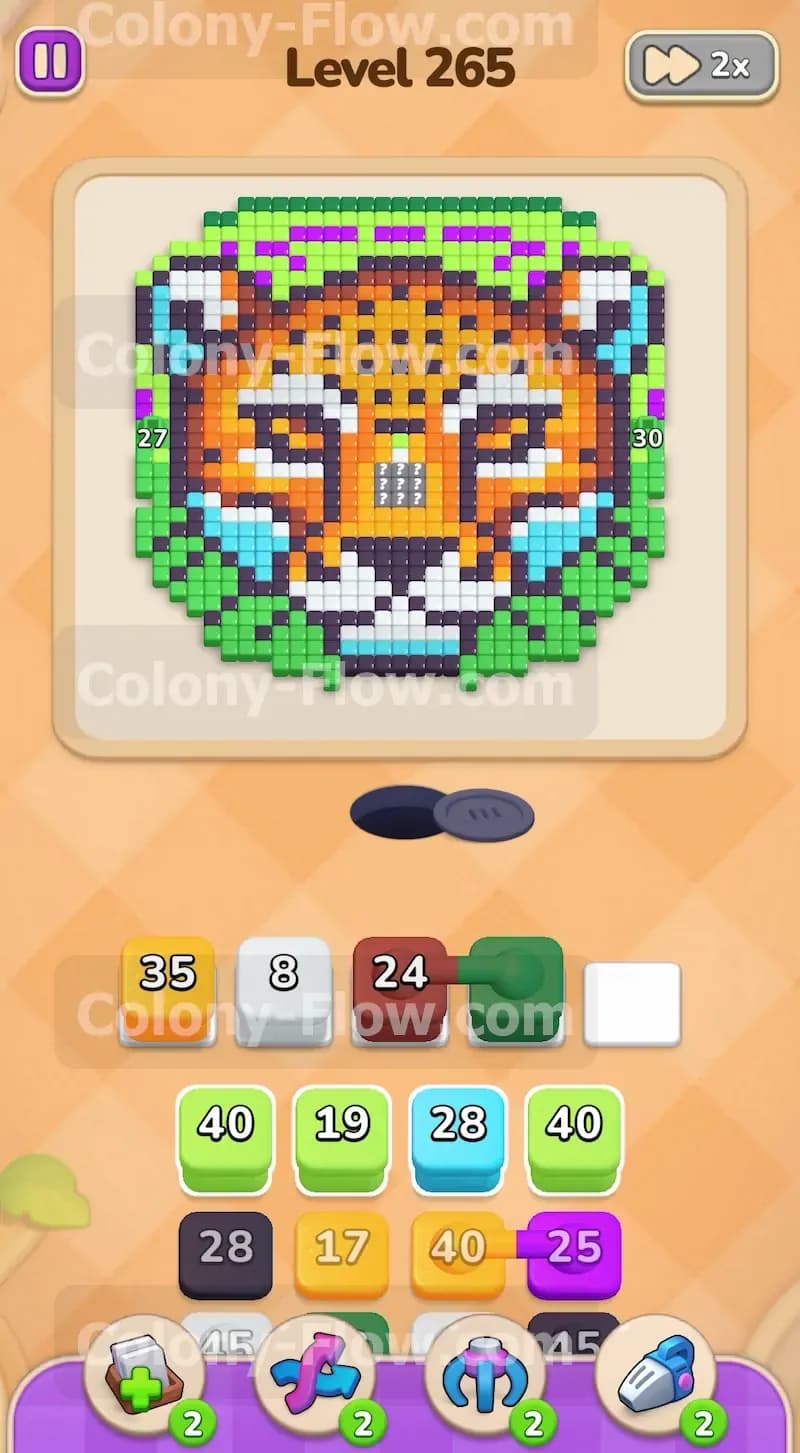
The very first obstacle blocking your progress is the solid ring of green tiles protecting the animal face. You absolutely cannot reach the orange white or black tiles until you clear a wide path through this outer foliage. Look at the top of your tray stack and find the large green numbers. You need to pull the dark green block and the light green block into your waiting slots immediately. Sending these ants out first opens up the outer edges of the board. The green ants will stream out of the nest hole and start eating away the leafy border from the bottom up. This creates the essential pathways you need to reach the inner picture without causing a premature traffic jam.
Step 2: Pull the early orange and white blocks into the waiting slots
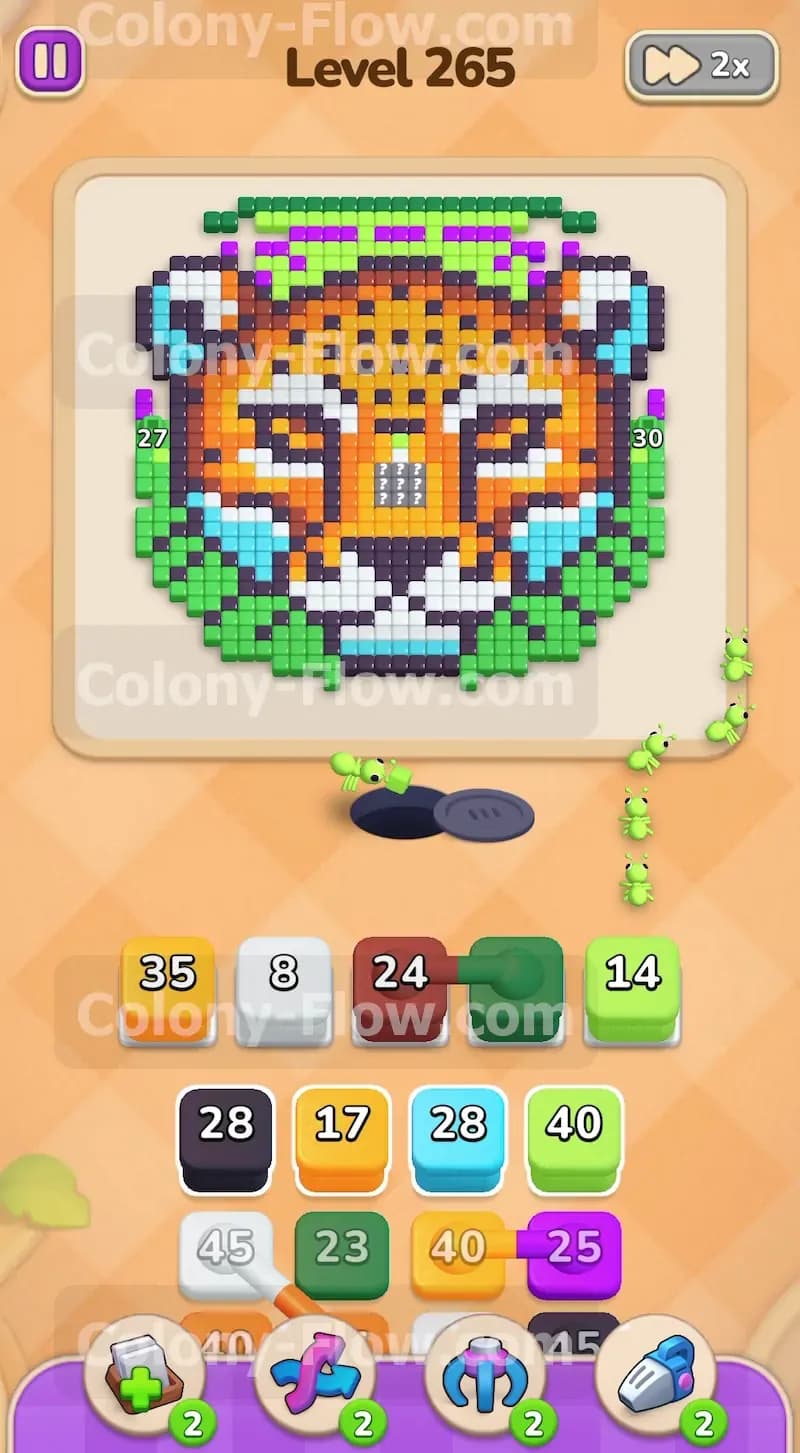
While the green ants are busy chewing through the outer border you need to start managing the rest of your tray. You will see an orange block and a white block near the top of the stack. You can pull these into the waiting slots safely right now. They will not block you completely because the green ants are actively moving and keeping the slots active. This is a calculated setup move. As soon as the green border breaks apart enough to expose the inner layers the white and orange ants will rush straight in to start eating the white muzzle and the orange fur. Keeping these blocks ready ensures your ants never stop moving and your blocks continuously drain.
Step 3: Introduce the brown blocks to clear the top sections
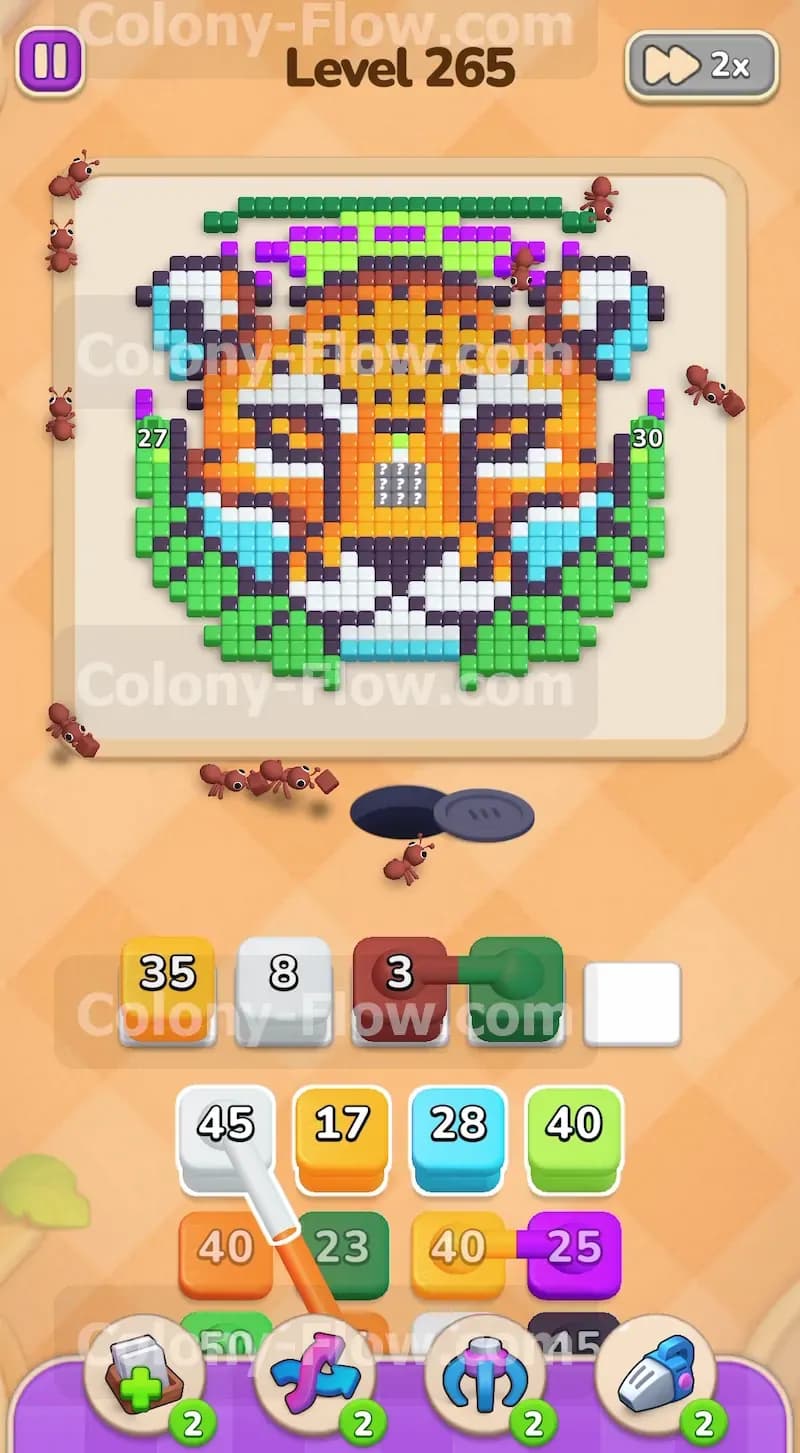
As the outer green border thins out along the sides you will spot dark brown tiles near the top corners of the animal head. You have a brown block in your tray that needs to be deployed. Move this brown block up into your waiting slots as soon as you see a clear path up the sides of the picture. The brown ants will immediately march up the newly opened paths along the left and right edges of the board. They will swarm the top left and top right corners to clear those dark accents. Making this move early is crucial because it prevents the brown block from clogging your tray later and allows you to access the deeper layers beneath the top corners.
Step 4: Release the black blocks to handle the facial details
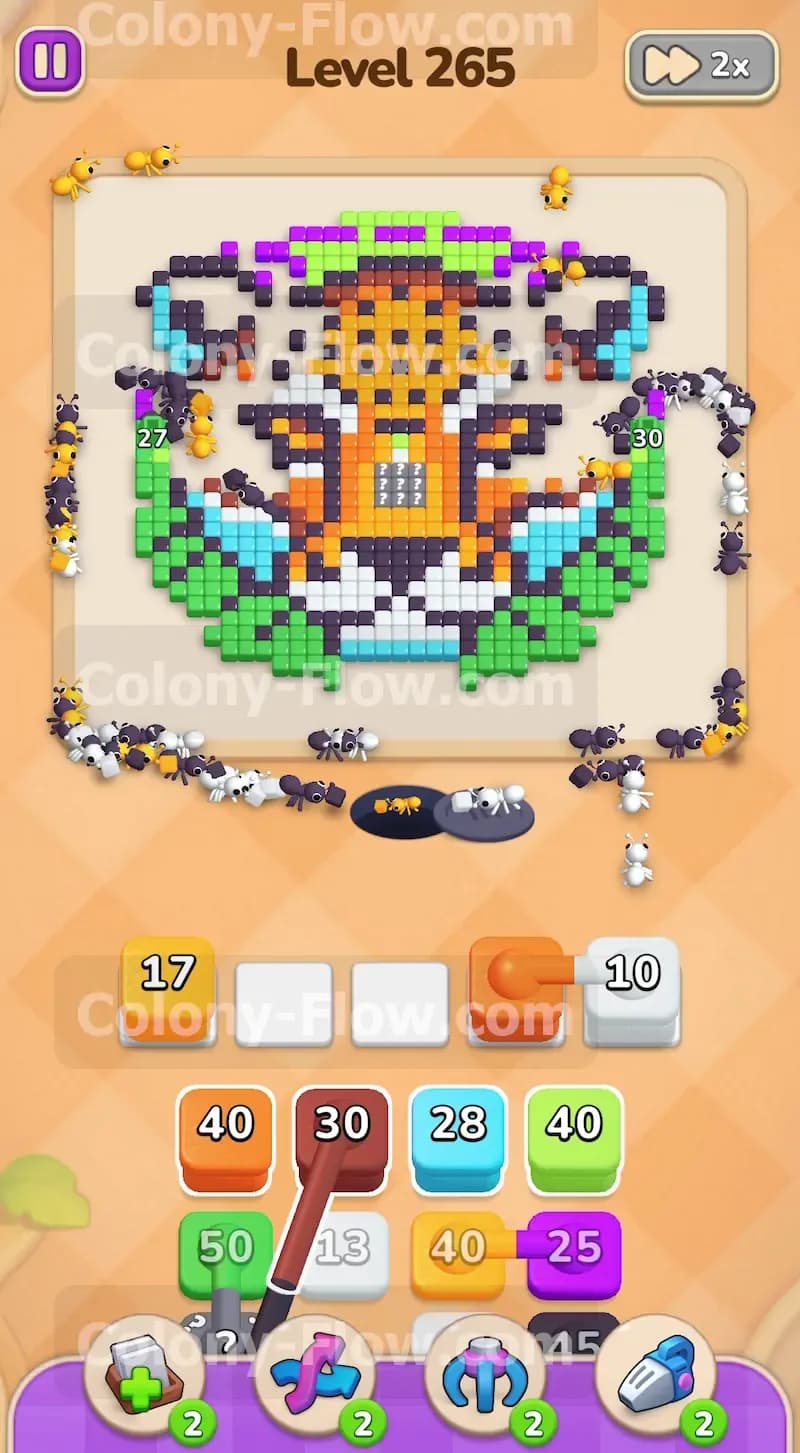
With the top corners and the outer border mostly gone the inner facial features become completely exposed to your colony. The tiger face has distinctive black stripes and spots scattered across the forehead cheeks and nose. Find the black block in your tray and pull it into an available waiting slot. The black ants will weave their way through the open gaps and dismantle these dark markings piece by piece. Letting the black ants work at this specific stage is perfect because it breaks up the solid mass of the face into smaller separate islands of orange and white. This makes the rest of the face much easier to digest in the following steps.
Step 5: Deploy the large orange blocks to consume the main fur
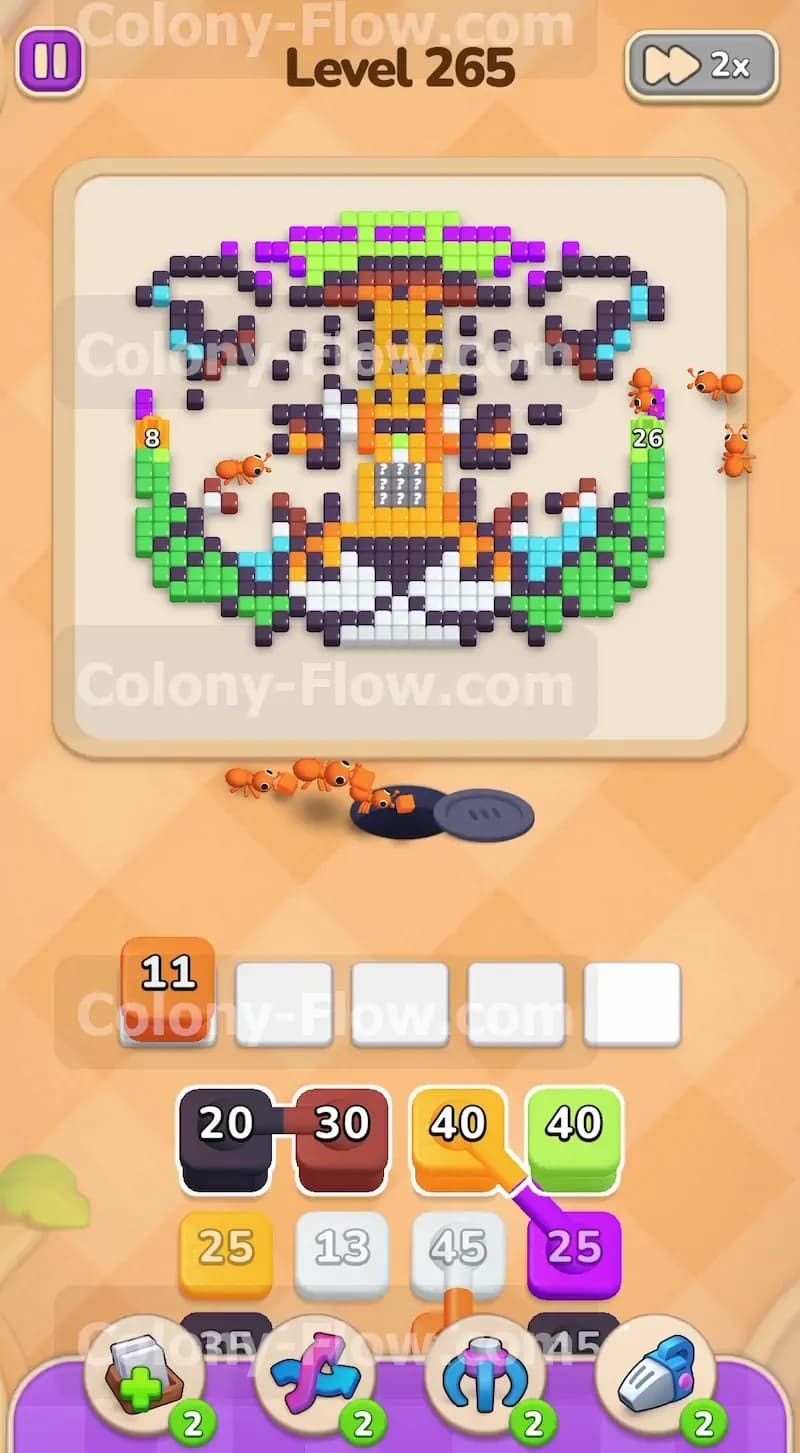
The bulk of the remaining picture consists of bright orange tiles making up the main face of the feline. You have several large orange blocks in your tray carrying heavy numbers. Now that the black details and the thick green borders are out of the way you have wide open unobstructed paths straight to these orange sections. Pull these heavy orange blocks into the waiting slots. A massive swarm of orange ants will flood the board from multiple angles. They will rapidly eat away the cheeks forehead and chin of the tiger. Watch as the central mass of the picture shrinks dramatically and the heavy numbers on your blocks quickly count down to zero.
Step 6: Send out the light blue and purple ants for the accents
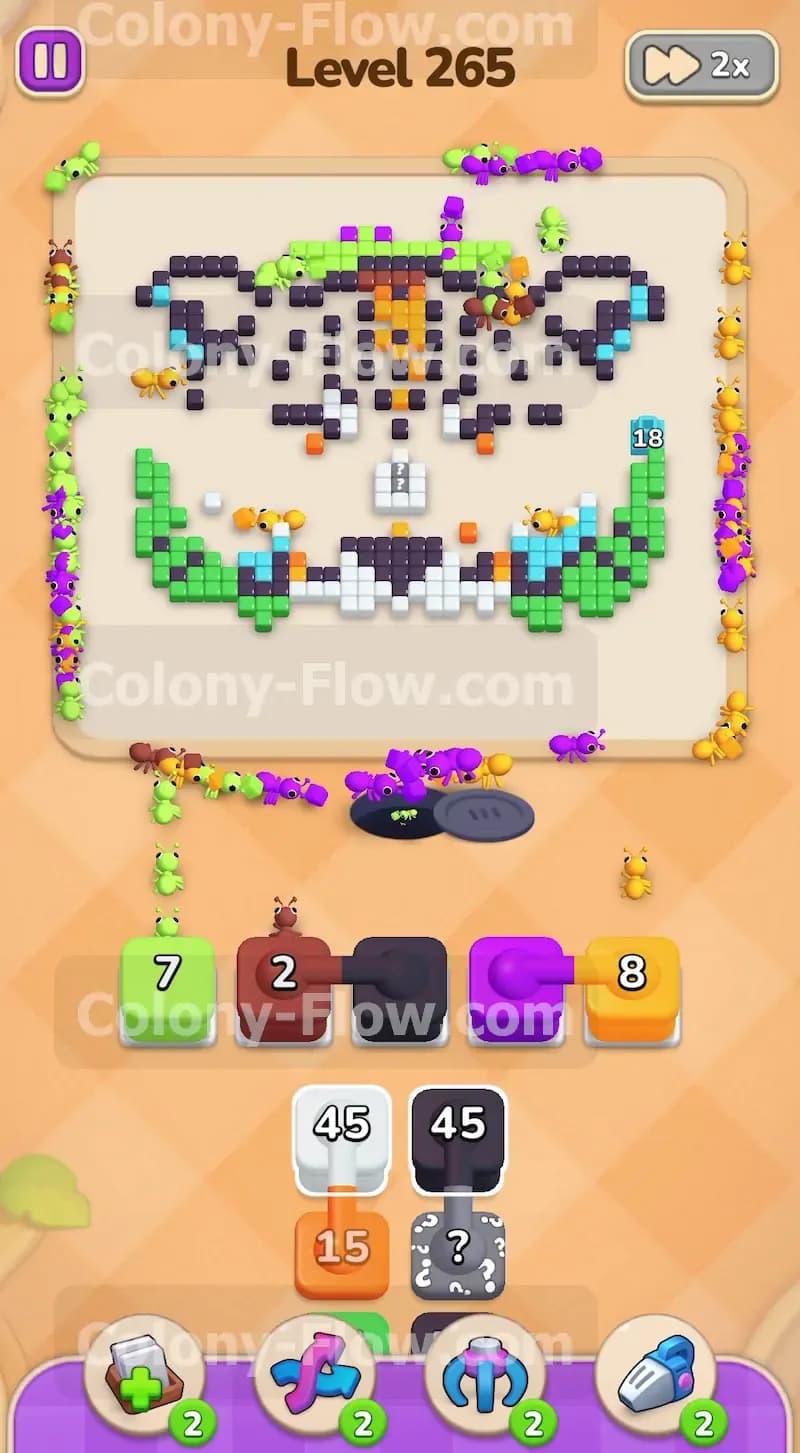
Scattered among the orange fur and white markings are small isolated sections of light blue and purple tiles. You have a light blue block and a purple block waiting in the lower half of your tray stack. Since the orange ants have hollowed out the center of the face these bright accent colors are now completely exposed and easy to reach. Pull the light blue and purple blocks into the slots. These ants will quickly run in and clean up the glowing accents around the eyes and the lower cheeks. Clearing these colors right now prevents them from becoming stranded later and keeps your tray moving smoothly.
Step 7: Reveal and utilize the hidden box in the tray
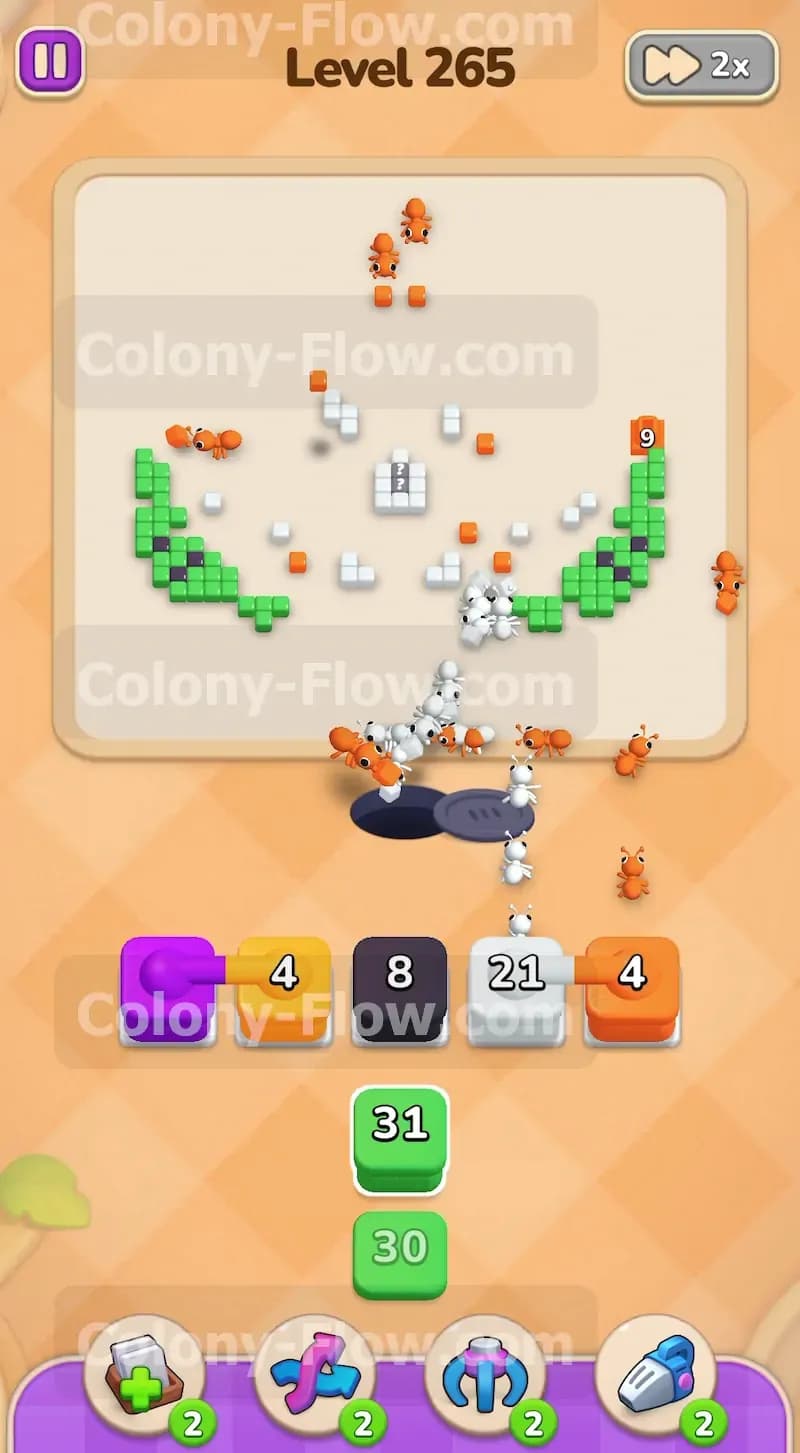
Deep down in your tray stack you will finally encounter a grey block with a question mark printed on it. This is the hidden box and it keeps its true color a complete secret until you have cleared enough space for it to move on the board. By this late point in the level you have successfully opened up paths to almost every remaining tile on the screen. Pull the hidden box into an empty waiting slot. It will instantly reveal its color based on what food is left on the board. You might find it turns into a white block or an orange block depending on exactly which tiles your previous ants ate first. Because the board is wide open the newly revealed block will immediately find a path and start draining.
Step 8: Clean up the final scattered tiles with remaining blocks
The board is now mostly empty with only a handful of scattered stray tiles left behind. You might see a few lingering green tiles from the very edges of the original border or some random white tiles near the center. Your tray will have smaller blocks left over to match these stragglers. Pull these final blocks into your slots one by one. Make absolutely sure you match them to the few remaining colors you see on the board. The last few ants will rush out of the nest and carry away the final pieces of food. The picture will vanish completely and you will successfully beat the level.
Final Thought
This board looks intimidating at first glance because of that massive leafy border but taking it apart from the outside in makes it very manageable. Always prioritize keeping at least one active color draining from your waiting slots so you never trigger the lose condition. If you find any specific sequence hard to picture just scroll up and watch the video above this article to see exactly how I executed these moves. Keep your slots flowing and you will conquer this level easily.