Colony Flow Level 230 Walkthrough Solution & Guides | How to solve Colony Flow 230

Guide By Liam Stone
Updated on August 1, 2026
If you want to skip straight to the solution, watch the video above covering Level 230.
Video doesn't match your screen?
Game updates frequently scramble layouts! Try our AI Screenshot Solver first to find your exact board instantly, or report broken guides to our team.
Colony Flow Level 230 presents a bright pixel art sunflower surrounded by a clear blue sky. You need careful tray management to navigate the specific lock and key mechanics hidden throughout this beautiful picture. I played through this entire board to map out the safest route for your colony. Follow my exact moves to keep your ants moving and clear the board without jamming your tray.
Colony Flow Level 230 Overview
What You Are Working With
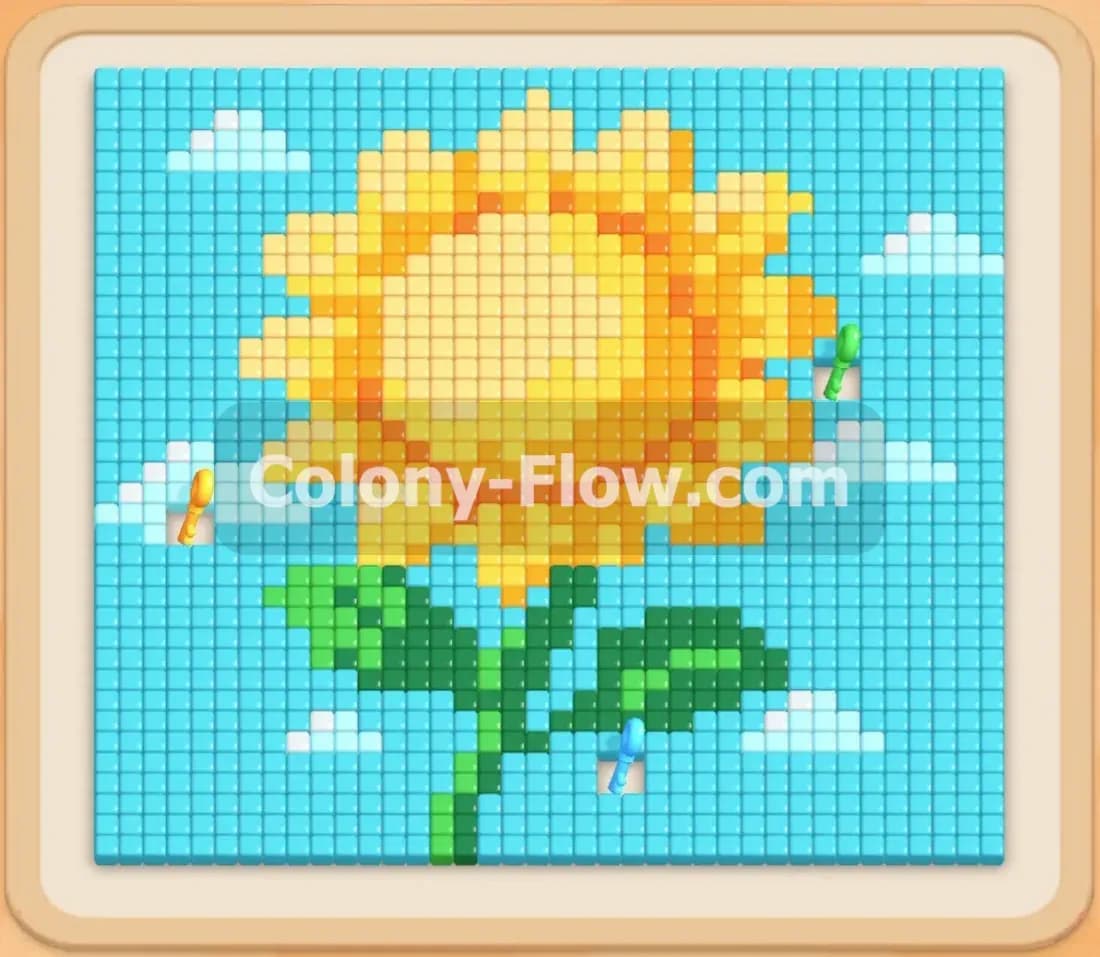
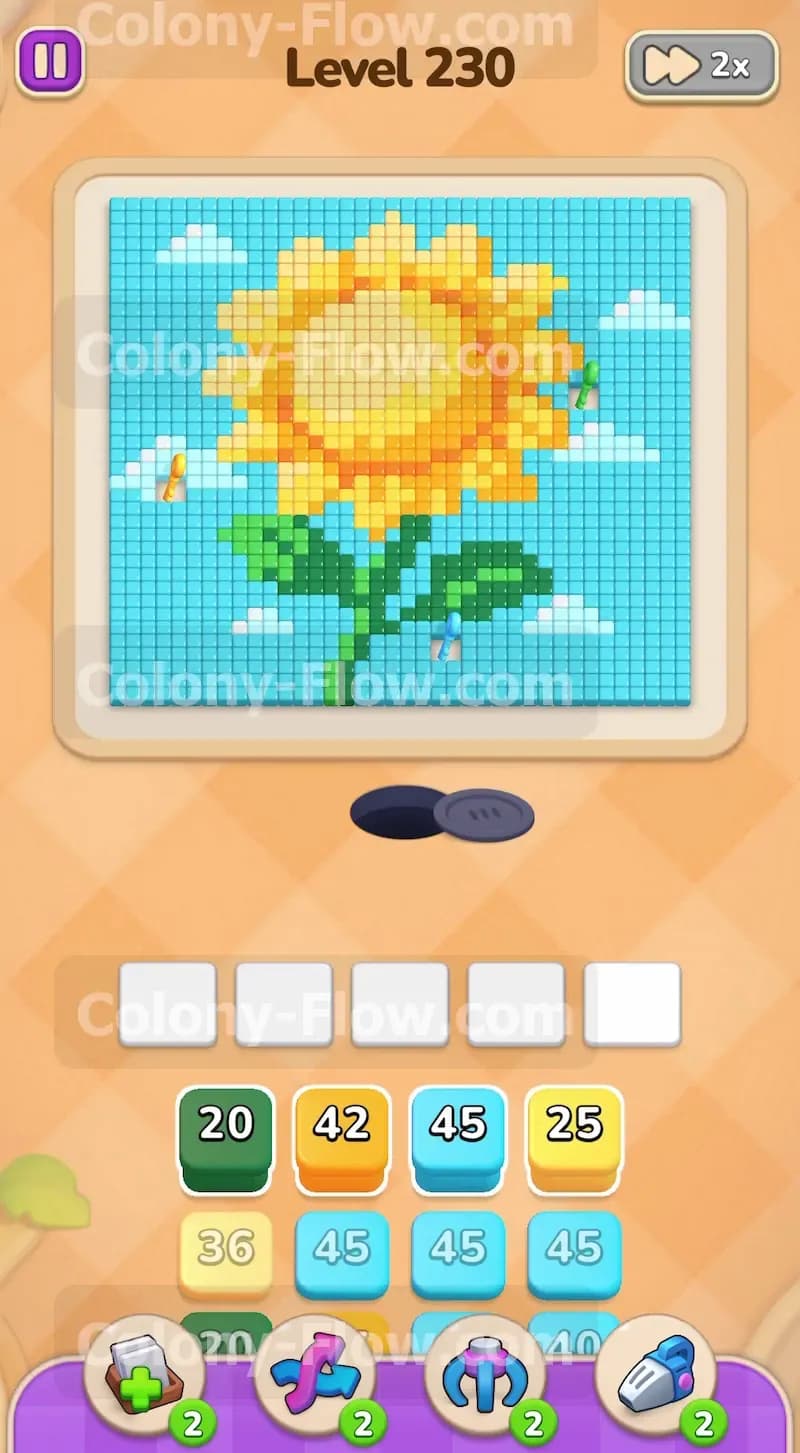
The board features a massive pixel art sunflower taking up most of the central space. Bright yellow petals wrap completely around a solid orange circular core. A dark green stem drops down to the very bottom edge and includes two large green leaves on the sides. A light blue sky fills the remaining background space around the flower.
This level also introduces the lock and key mechanic to restrict your moves. You will notice three specific blocks in your tray have heavy padlocks on them. A yellow lock restricts a large yellow block. A blue lock restricts a large blue block. A green lock heavily restricts a green block. To free these tray blocks you must find and consume the matching colored keys resting on the board itself. A yellow key sits directly on a left side yellow petal. A blue key rests in the lower right section of the sky. A green key is located on the right side green leaf.
What It Takes to Clear Level 230 Board
You win the level when your ants eat every last colored tile of the sunflower and the surrounding sky. The five waiting slots at the bottom of your screen dictate your survival. If you pull blocks that fill all five waiting slots and no ants can reach their matching colors on the board, those slots jam up and you instantly lose the level.
You must carve a continuous path from the bottom edge upward to prevent a dead end. You will clear the lower sky and the stem first to expose the upper sections of the flower. You must collect the keys in a specific order to unlock the required colors in your tray exactly when you need them. You must always maintain an open route for the active ants so the waiting slots continuously drain their numbers.
Colony Flow Level 230 Step by Step Solution
Step 1: Clear the bottom blue sky to open your initial paths
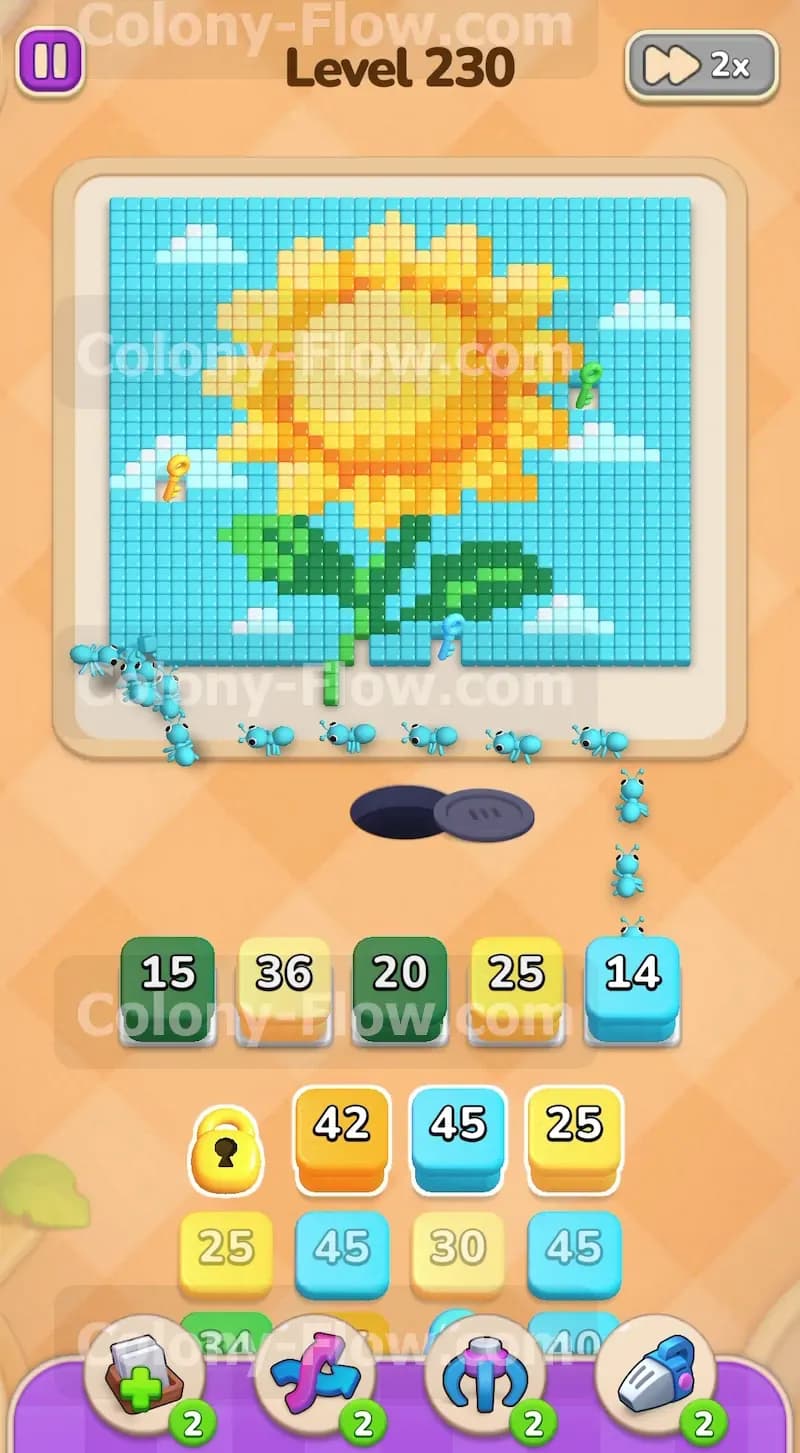
The ants start at the very bottom edge of the board where the nest hole opens up. The entire bottom row consists of light blue sky tiles and a tiny cluster of dark green stem tiles right in the middle. You need to open a wide path immediately to prevent early traffic jams in your waiting slots. Pull a light blue block with a high number from your tray and place it into your first waiting slot. A massive stream of blue ants will rush out of the nest and split up to eat the bottom left and bottom right sky sections. This action clears the immediate border and creates a huge open canvas for your next moves. The light blue number in your tray will drain down quickly as the ants consume these corner pieces. Keep a close eye on the waiting slots so you do not pull too many blocks at once while the blue ants finish their meal.
Step 2: Feed the green stem to reach the inner flower core
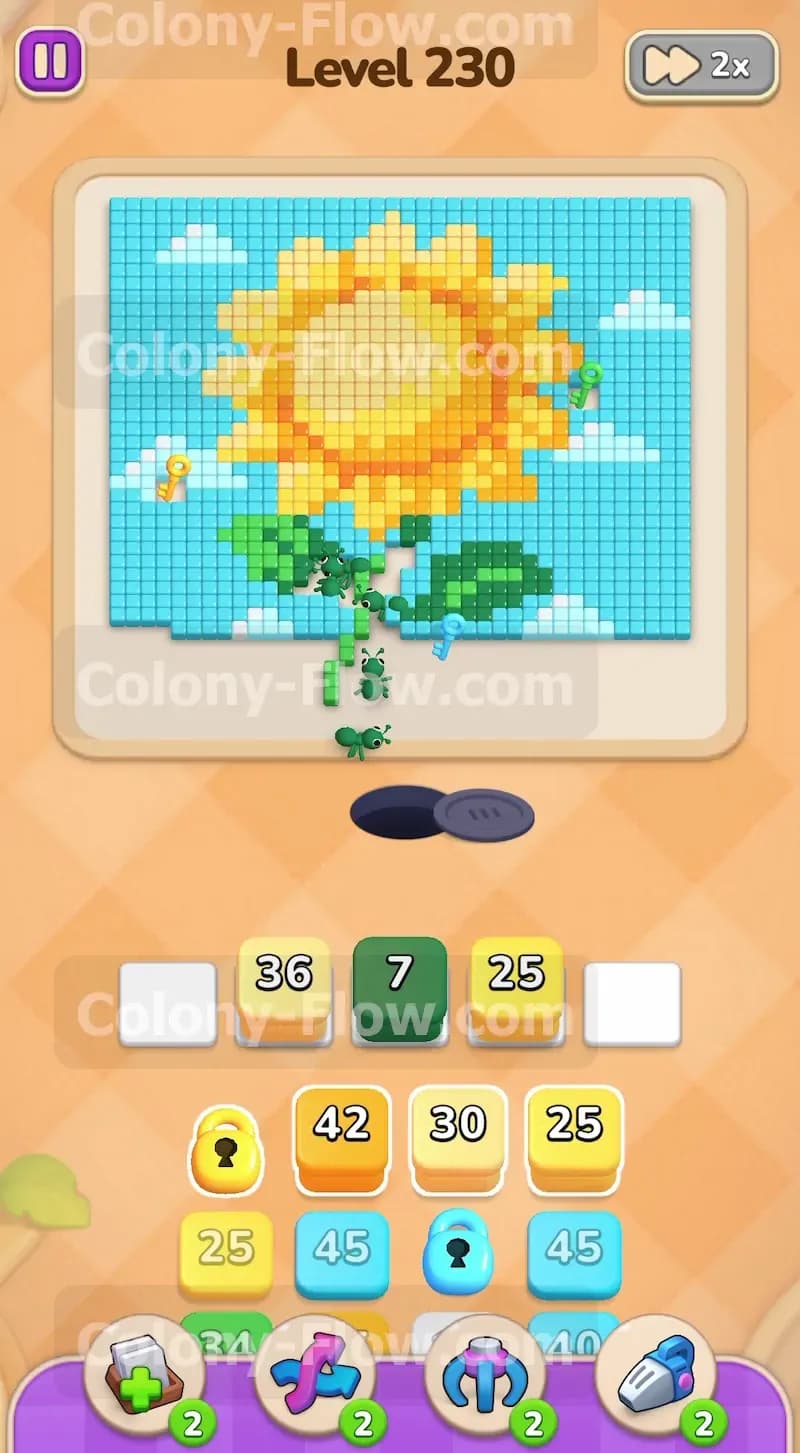
With the bottom sky partially gone you now have full access to the dark green stem. Pull a dark green block into your open waiting slot. Green ants will march straight up the center to eat away the thick stalk of the sunflower. This stalk blocks your access to the lower yellow petals and the inner orange center. You want the ants to hollow out the middle of the board first to create a vertical highway. The green block will count down steadily as the ants climb higher toward the base of the flower. Allow the green ants to finish their job before you crowd the waiting slots with new colors. Clearing the stem completely splits the board into two separate halves and gives you direct access to the bright orange core and the lower petals.
Step 3: Attack the orange center and lower yellow petals
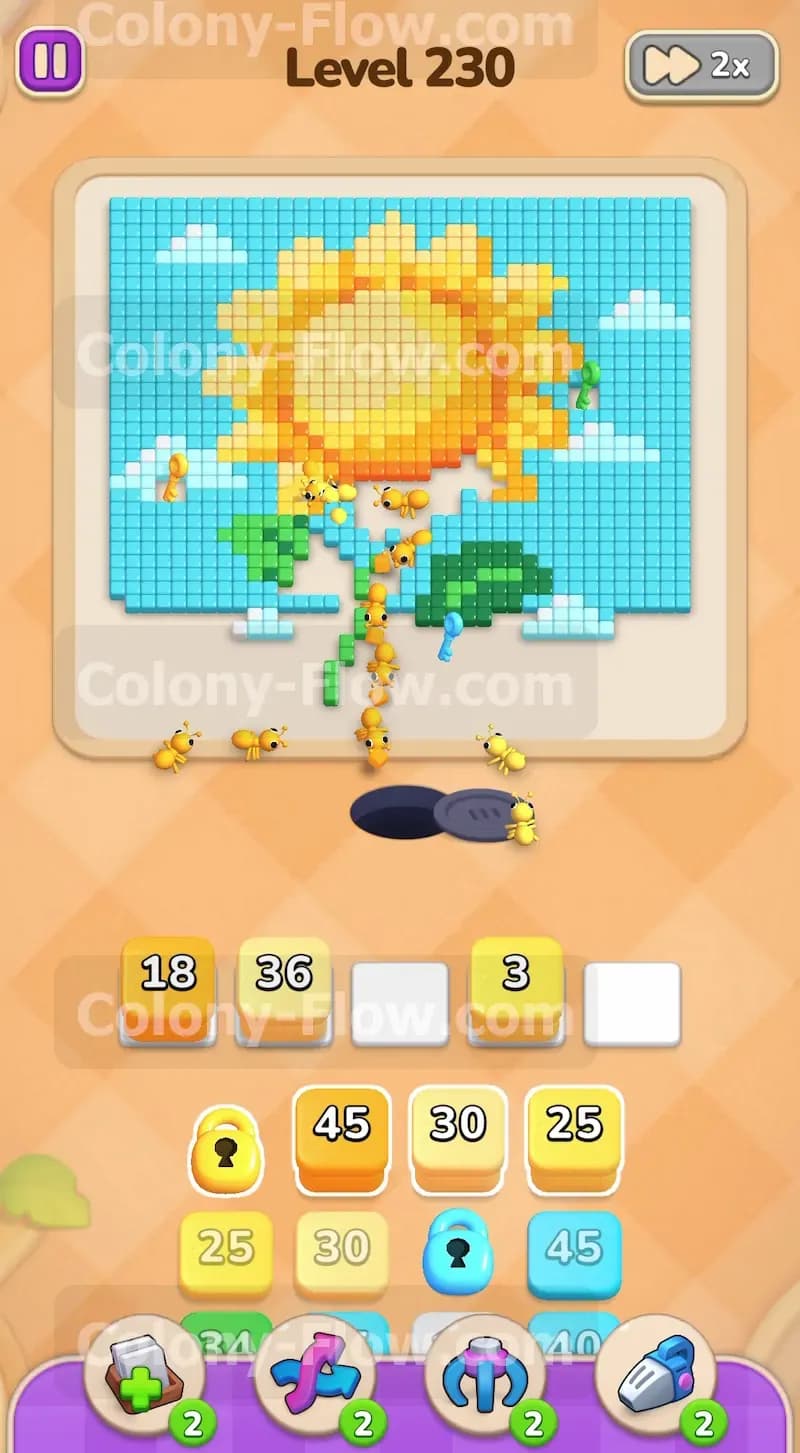
The core of the sunflower is now completely open and waiting for your colony. Pull an orange block to send ants straight into the middle of the flower. The orange tiles form a large solid circle and require a significant number of ants to clear completely. At the exact same time you should pull a yellow block to start working on the massive ring of petals. The yellow ants will spread out along the lower edge of the petals and begin eating upward. You need to clear these lower petals early because the yellow key is resting just above them on the left side of the flower. Letting the yellow and orange ants work simultaneously helps drain the blocks in your waiting slots extremely fast. This strategy keeps your slots empty and ready for the critical next phase.
Step 4: Collect the yellow key to unlock your tray
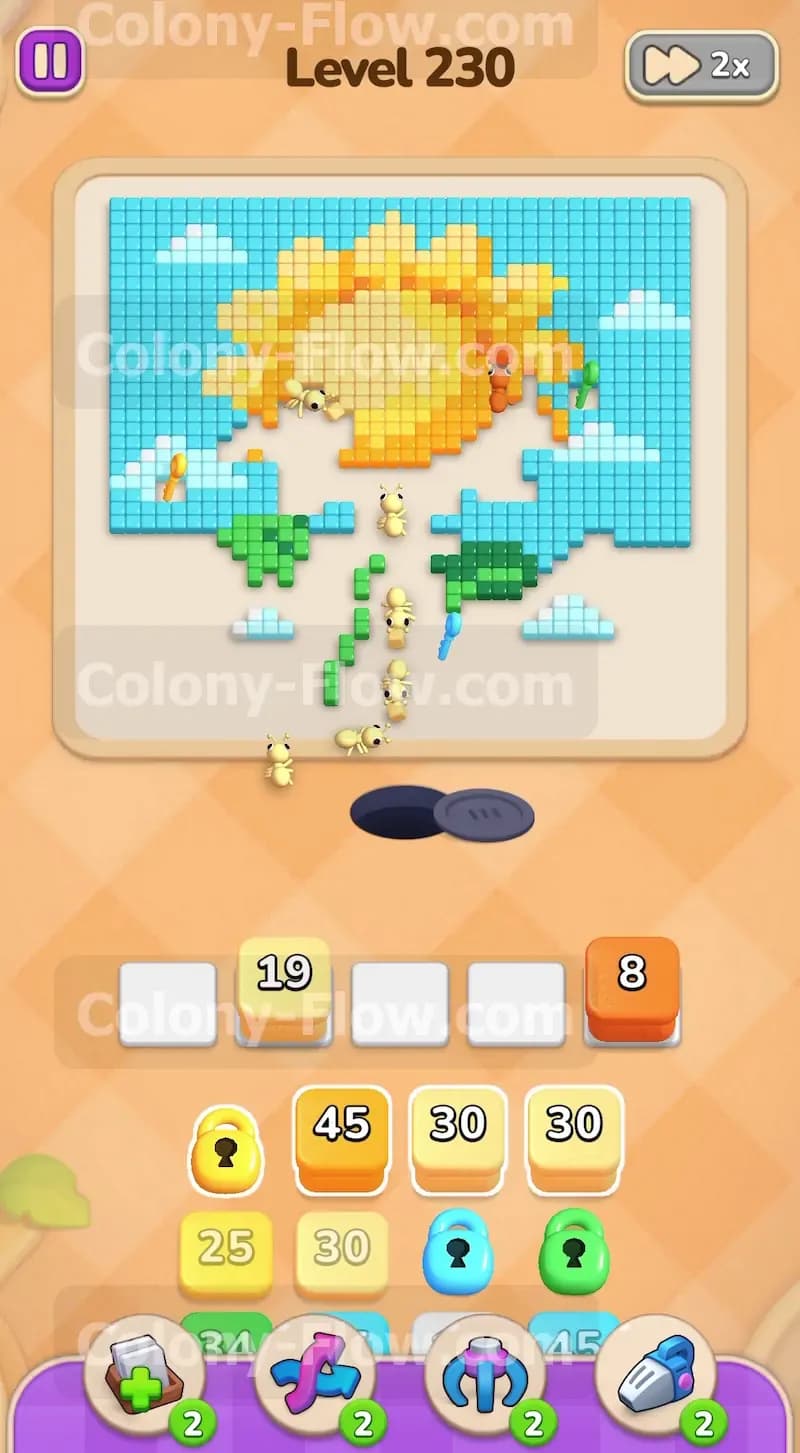
As the yellow ants chew through the left side of the petals they will eventually reach the yellow key. Once an ant eats the exact tile directly underneath the key the key will fly down to your tray. This action breaks the yellow padlock and frees a brand new yellow block for you to use. You absolutely need this unlocked block because the top half of the sunflower has dozens of yellow tiles left to clear. Without that extra block you would run out of yellow ants and fail the board. Pull the newly unlocked yellow block into your slots to keep the swarm moving steadily upward through the remaining petals.
Step 5: Clear the right side sky to grab the blue key
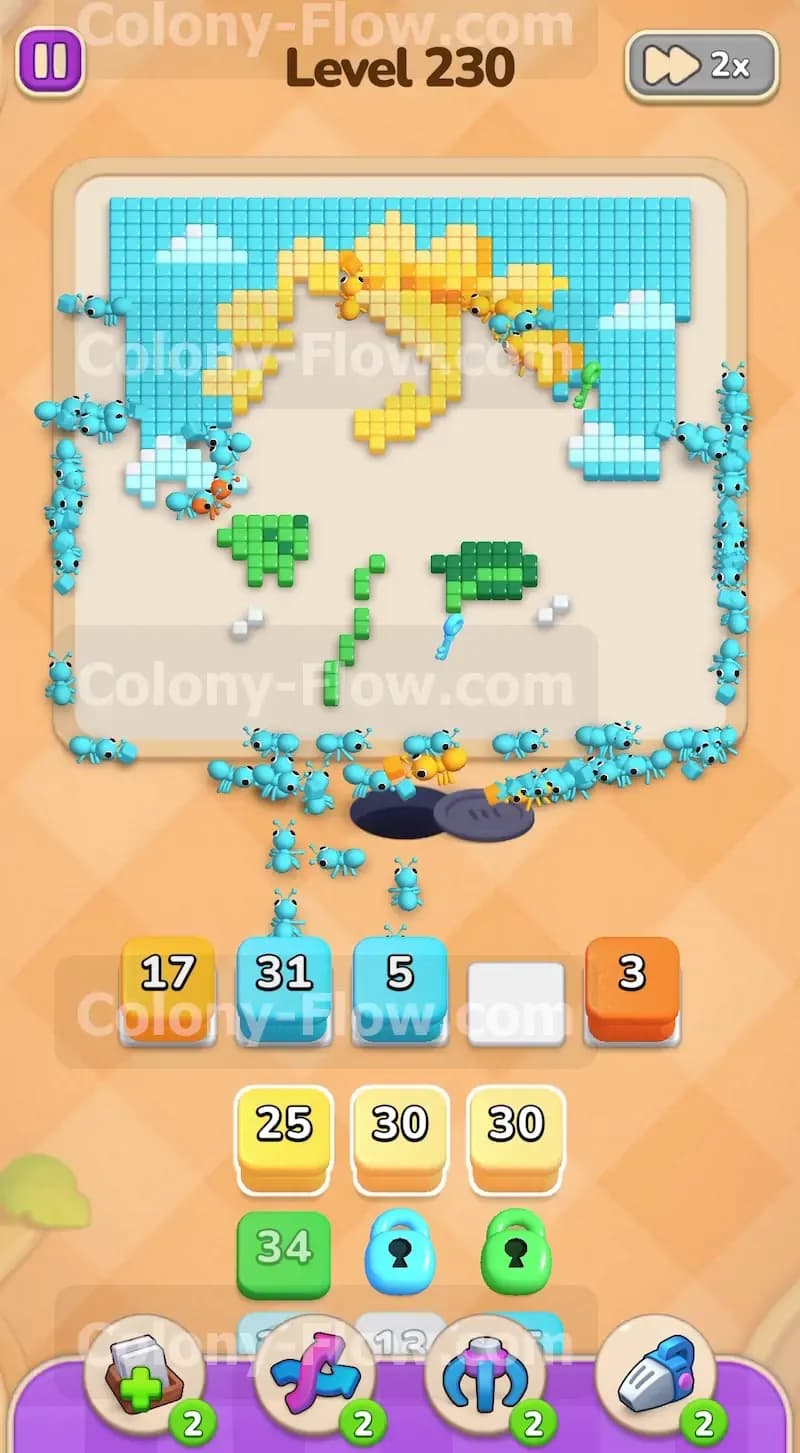
The right side of the board still holds a large chunk of light blue sky blocking the right green leaf. The blue key is floating right in the middle of this sky section. Pull another light blue block from your tray into a waiting slot. The blue ants will target the right side and quickly consume the sky tiles surrounding the key. Collecting the blue key immediately unlocks the locked blue block down in your tray. You need this specific blue block to finish the top corners of the sky later on in the level. Do not pull too many blue blocks at once or you risk filling all five waiting slots with blue ants that have nowhere left to go.
Step 6: Consume the right leaf and collect the green key
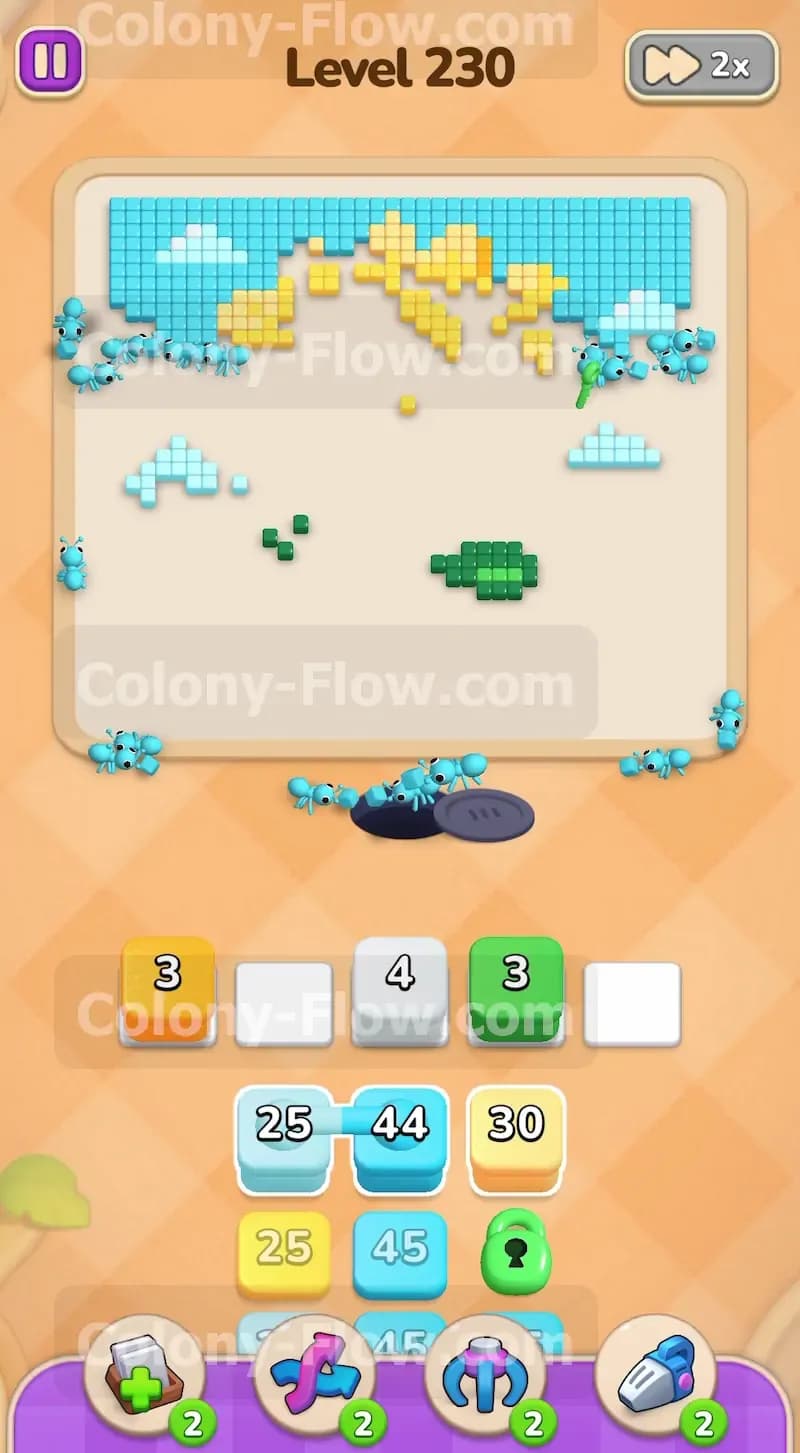
The right green leaf is finally exposed after the blue sky clears out of the way. The green key is resting right on top of this thick leaf. Pull a dark green block into your waiting slots to send the colony over. The green ants will stream over to the right side and eat the entire leaf section. Grabbing the green key breaks the final green padlock in your tray. You now have full access to every single block you need to finish the puzzle. The board is mostly empty now except for the top arch of yellow petals and the top border of blue sky. You have managed your slots perfectly up to this crucial point.
Step 7: Finish the top petals and remaining sky sections
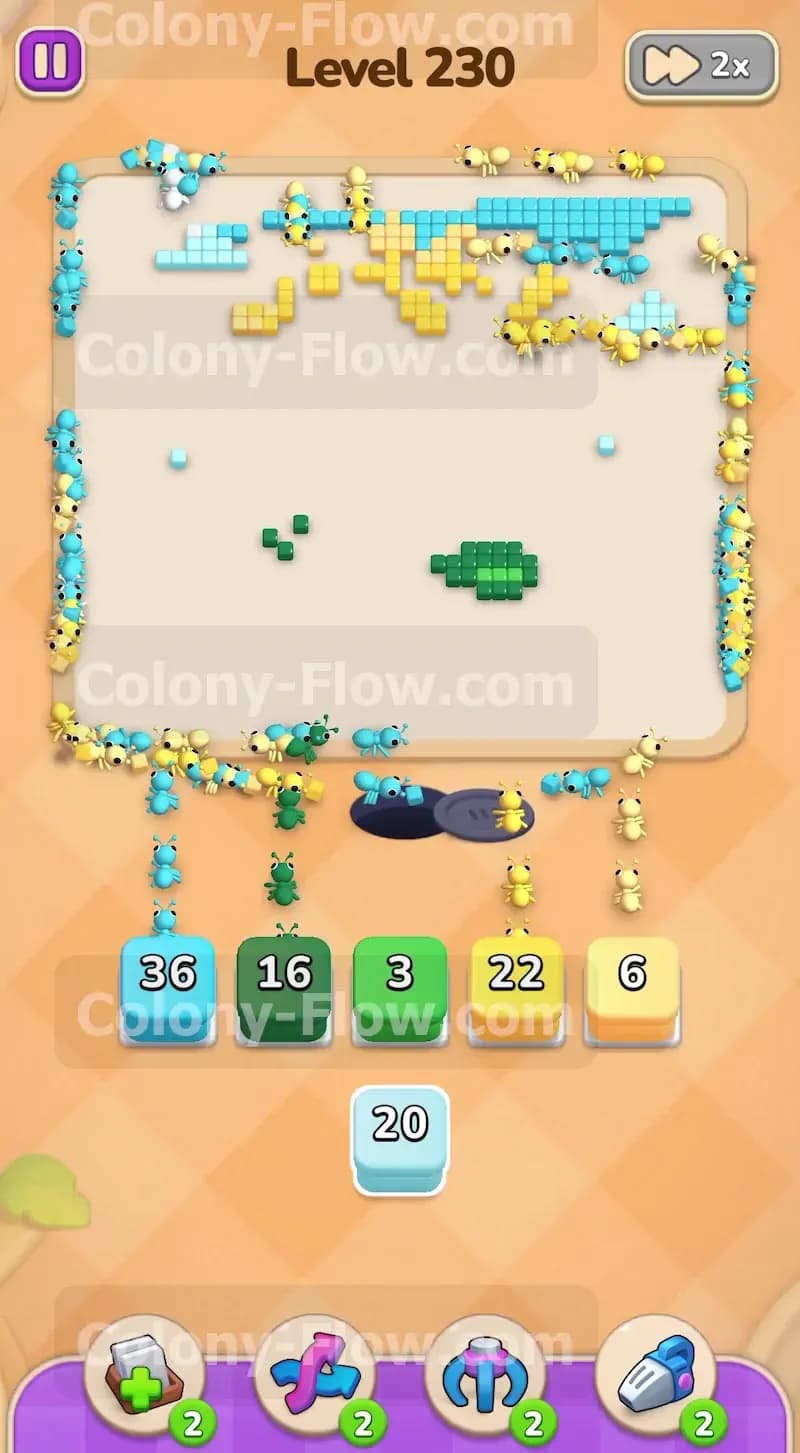
The only remaining tiles are located at the very top edge of the board. You have a few yellow petals pointing upward and a thick layer of light blue sky stretching across the ceiling. Pull your remaining yellow blocks and blue blocks into the open waiting slots. The ants will march all the way up the empty canvas to reach these final distant pieces. The numbers on your blocks will count down precisely to zero as the final tiles vanish from the screen. Ensure you just let the ants do their work and do not pull any extra blocks that might jam a slot at the very end. Once the last blue sky tile disappears the board is completely clear and you win the level.
Final Thought
Level 230 requires patience and a strict focus on grabbing those keys in the correct order. You must balance clearing the sky with eating the flower itself to prevent your waiting slots from ever jamming up. Please watch the video above this article if you struggle to visualize the ant paths or need help with any specific step.