Colony Flow Level 143 Walkthrough Solution & Guides | How to solve Colony Flow 143

Guide By Liam Stone
Updated on July 11, 2026
The video above covers the entire Level 143 solution. Watch it if you want to skip the article and jump straight to the answer.
Video doesn't match your screen?
Game updates frequently scramble layouts! Try our AI Screenshot Solver first to find your exact board instantly, or report broken guides to our team.
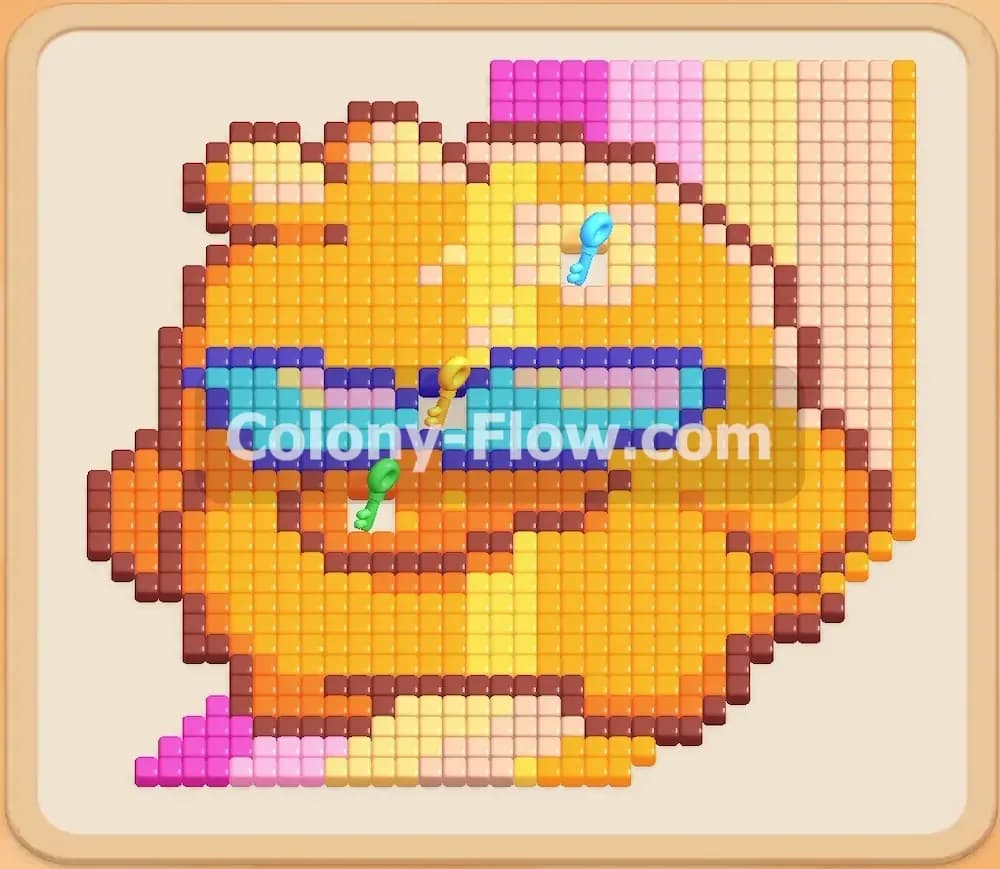
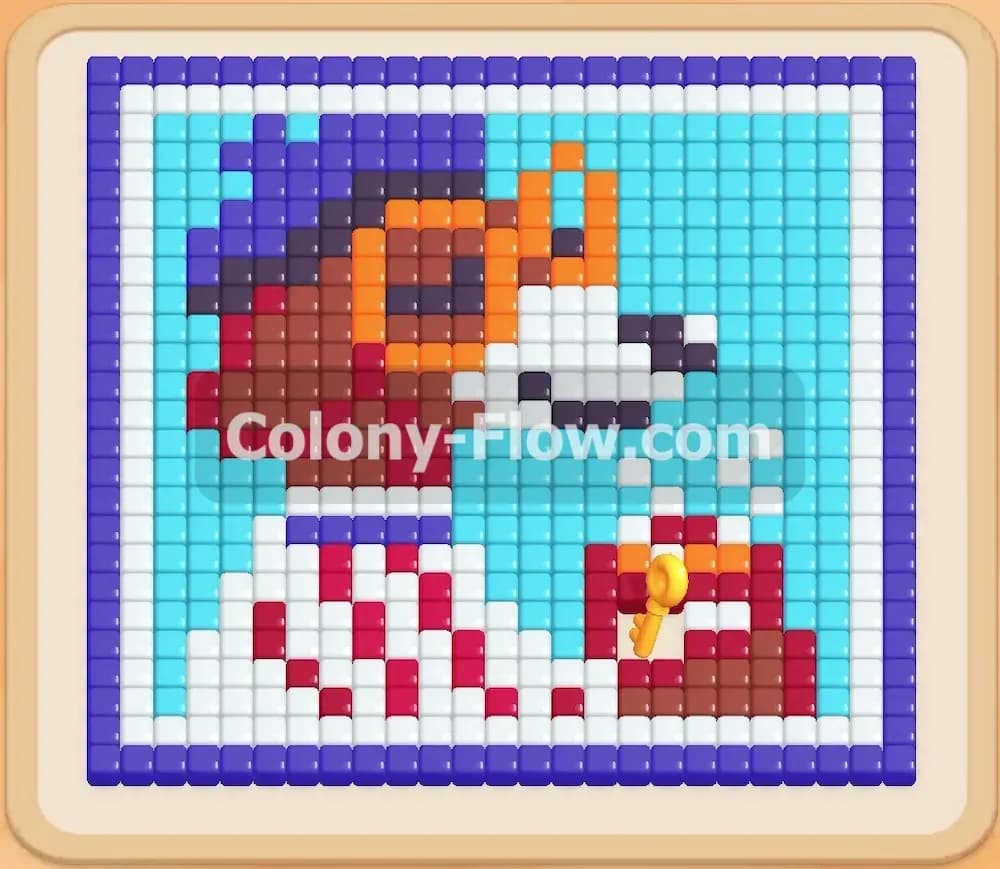
Colony Flow Level 143 presents a dense and colorful puzzle that will test your sequencing skills from the very first move. You are faced with a pixel art picture of a dog wearing bright orange glasses and a striped shirt. The picture sits tightly within a solid dark blue border. You have to feed your ant colony by matching numbered blocks to these colored tiles without ever clogging up your tray. Every single move requires you to think ahead to ensure your ants always have an open path to travel.
Colony Flow Level 143 Overview
What You Are Working With
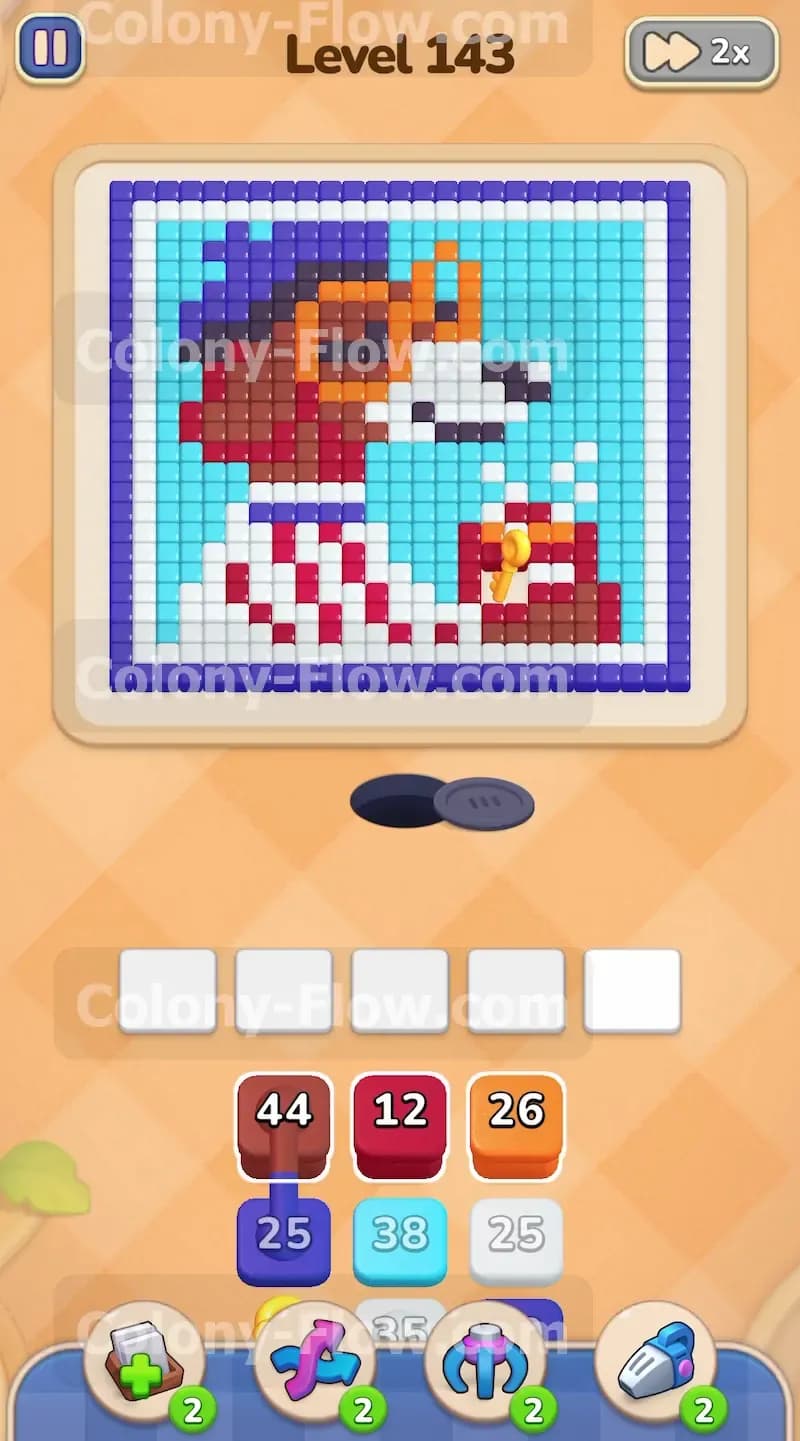
The picture takes up the top half of your screen. The central focus is a dog featuring a brown head with black details around the nose. The dog wears thick orange glasses and a shirt made of alternating red and white stripes. The background directly behind the dog consists of dozens of light blue tiles. A solid dark blue border wraps around the entire image like a picture frame. Your tray at the bottom holds the numbered blocks you need to clear these tiles. You have blocks in brown, orange, dark blue, light blue, white, red, and black. This level includes two special block types in your tray. You will encounter connected boxes as you play. These are two blocks physically linked together by a thick dark line. You also have a hidden box sitting in the lower rows. This block displays a question mark and completely hides its true color until you clear the blocks resting on top of it.
What It Takes to Clear Level 143 Board
You win the level when the board is completely empty and your entire colony of ants returns to the nest hole. The core challenge revolves around the five waiting slots located just above your tray. When you tap a block from the tray, it moves up into one of these waiting slots. The ants then spawn from the nest hole and travel along the open paths to eat the matching colored tiles. As the ants consume the tiles, the number on your waiting block counts down to zero. If you pull a block but its matching tiles are totally blocked by other colors, the block stays stuck in the slot. If you fill all five slots with stuck blocks, you lose the level immediately. You must carefully peel back the outer layers of the picture first. This strategy ensures your ants always have an open road to travel and your slots never jam.
Colony Flow Level 143 Step by Step Solution
Step 1: Open the dark blue border to create multiple entry points for your colony.
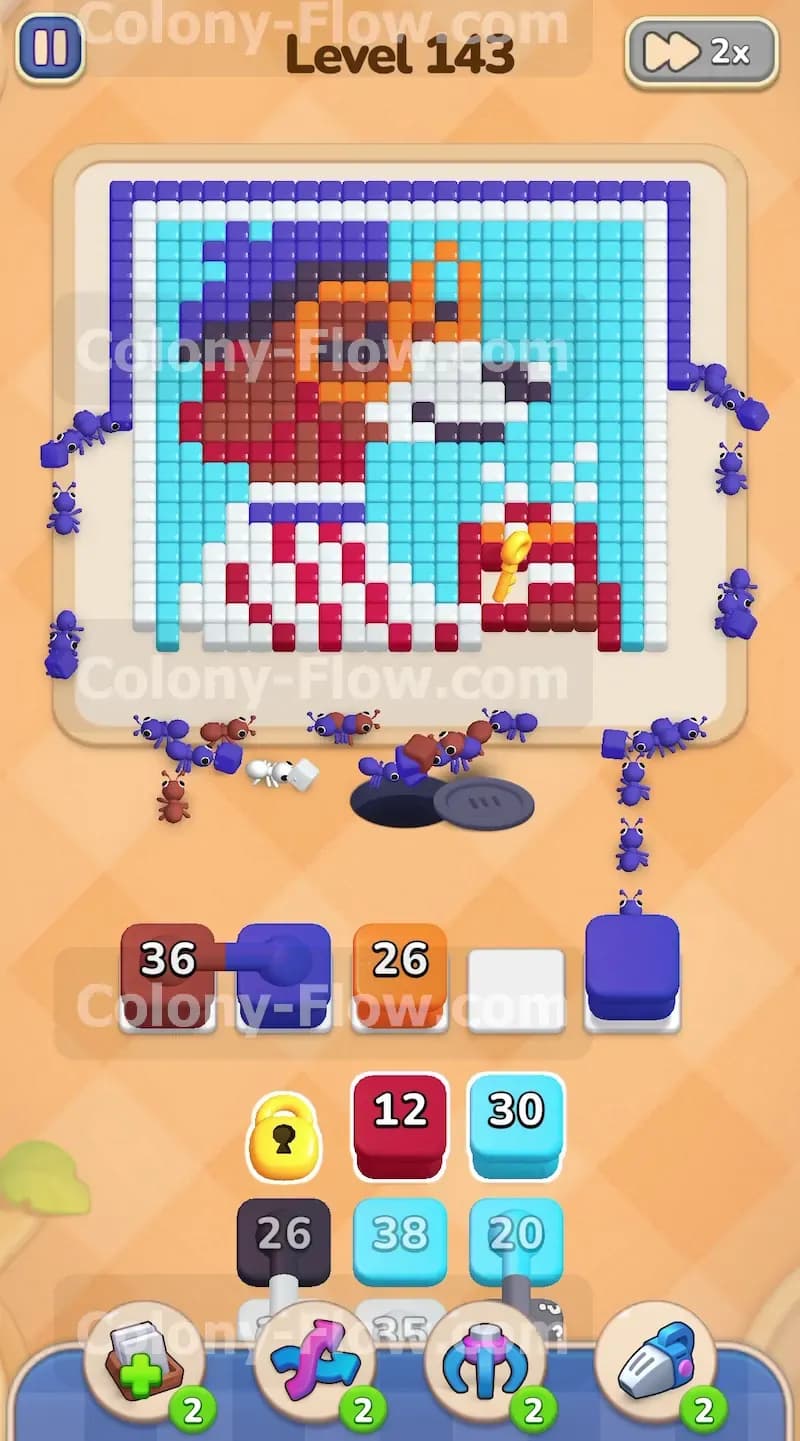
The outer edge of the puzzle is a solid square of dark blue tiles. This border blocks all access to the light blue background and the edges of the dog. You must start by tapping the dark blue block in your tray. The dark blue block slides into your first waiting slot. A steady stream of dark blue ants pours out of the nest hole and marches straight for the border. They begin eating the bottom edge of the frame first. You watch the number on your dark blue block count down rapidly. You need to let these ants work for a moment. Opening the bottom of this border is the only way to expose the inner picture. Do not touch any other colors yet. If you pull a brown or white block right now, it will sit dead in your slot because those colors are trapped inside the unbroken border. Wait until the dark blue ants clear the bottom corners of the frame.
Step 2: Send brown and orange ants to the top of the dog to keep the slots flowing.
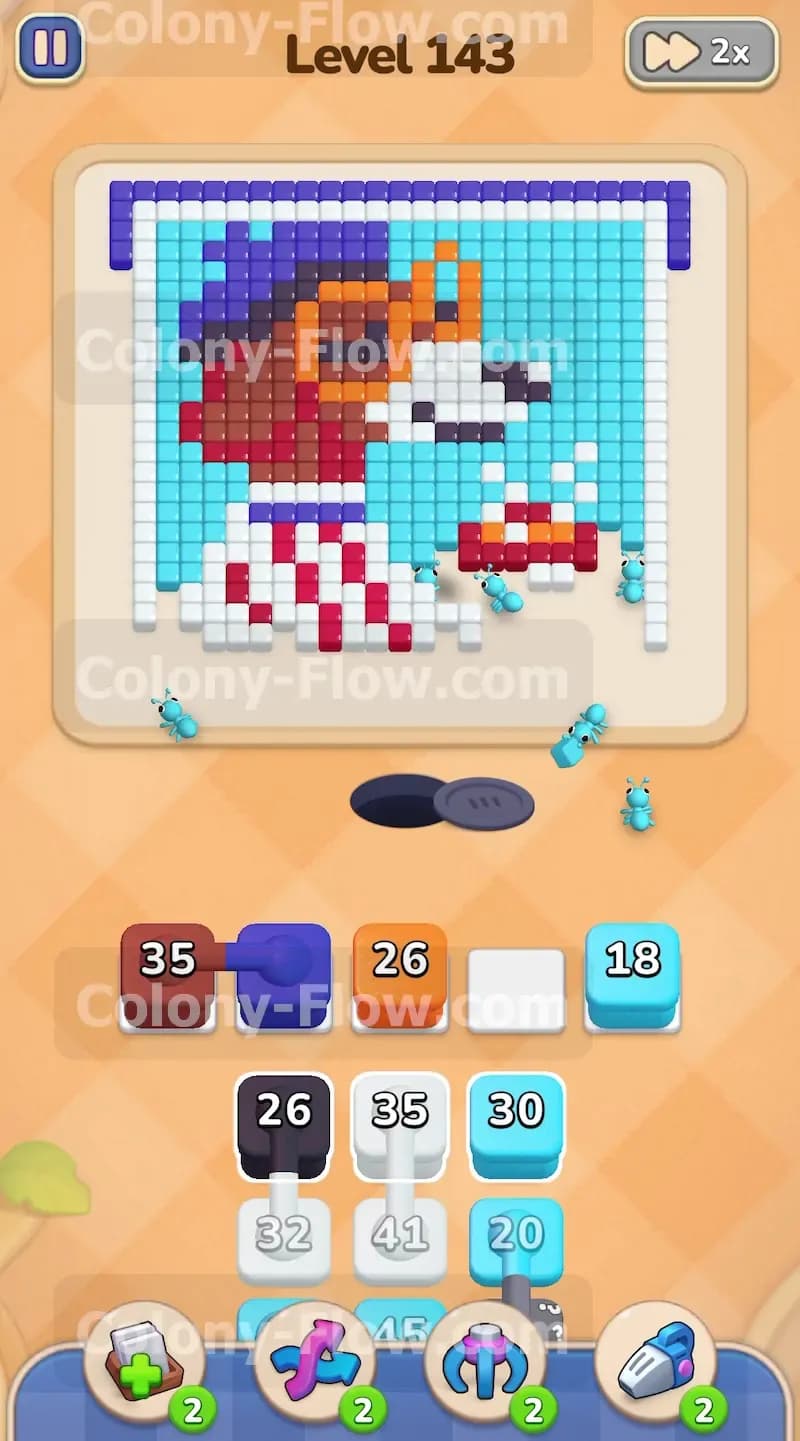
Once the bottom edge of the dark blue border disappears, the lower sections of the dog become available. However, you want to clear the top sections first to give the bottom paths more room later. You tap a large brown block and an orange block from your tray. The brown block moves to your second slot and sends ants to the top of the dog head. The orange block moves to your third slot and deploys ants to the thick frames of the glasses. Because the dark blue border is clearing out of the way, the brown and orange ants have a clear wide path up the sides of the board. They wrap around the remaining tiles and attack the top of the picture. This is a very safe set of moves. The numbers on your brown and orange blocks will drop steadily to zero. Your slots will empty out quickly. You maintain total control over your tray space by sending ants to the fully exposed top sections.
Step 3: Deploy light blue blocks to carve out the background and open the sides completely.
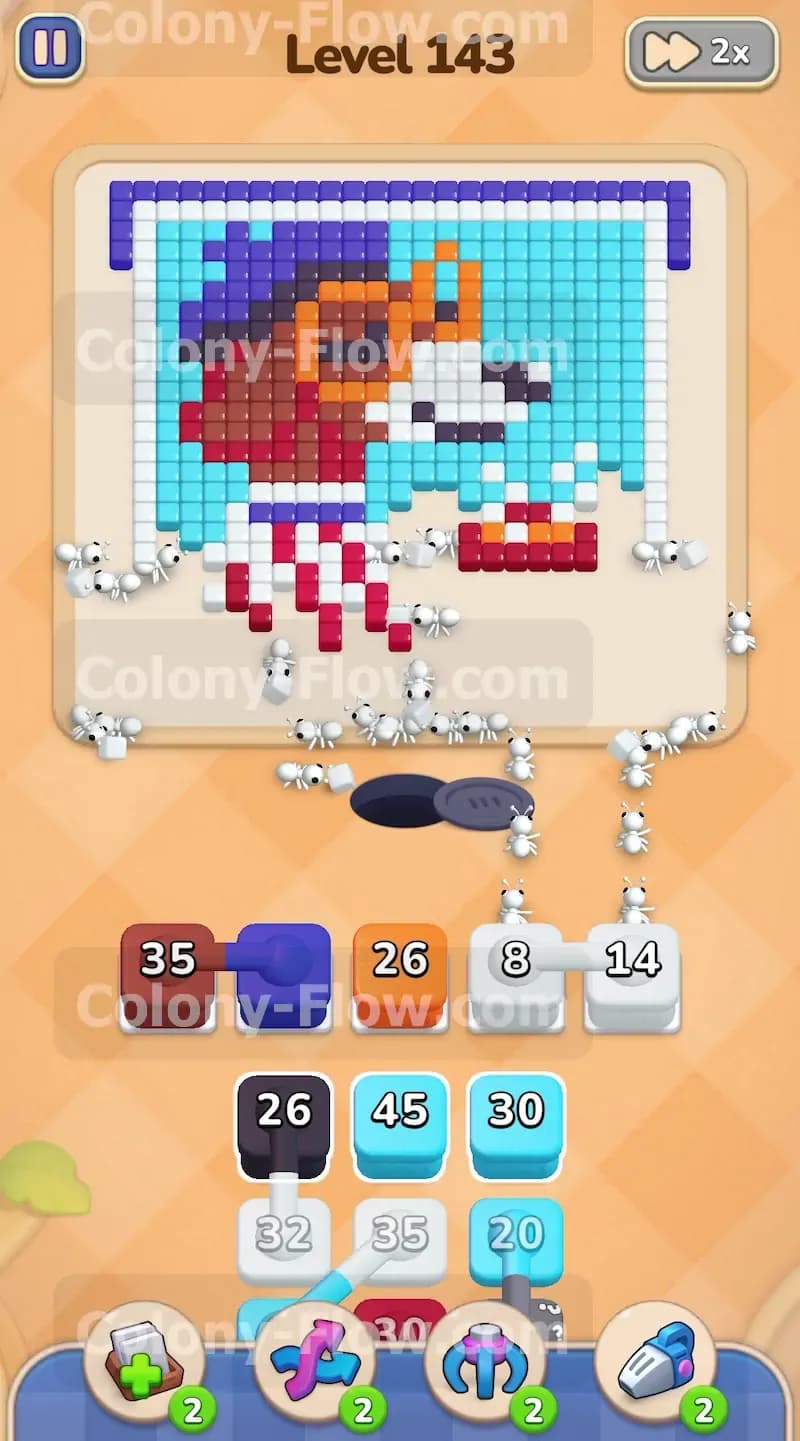
The background of the picture consists of a massive amount of light blue tiles. These tiles surround the dog and touch the inner edges of the dark blue border. With the border mostly gone and the top of the head clearing, you have huge open paths to this background. You pull a large light blue block into your waiting slots. A swarm of light blue ants floods the board. They split up and head toward the upper left and upper right corners. Clearing this background is mandatory before you can safely tackle the complex striped shirt. The light blue tiles act like a wall pressing against the sides of the dog. As your light blue ants eat away this wall, the white and red parts of the shirt become fully exposed on the left and right edges. Your slots remain clear because the light blue ants never run out of open paths to travel.
Step 4: Pull the connected boxes into the slots to clear the white parts of the shirt.
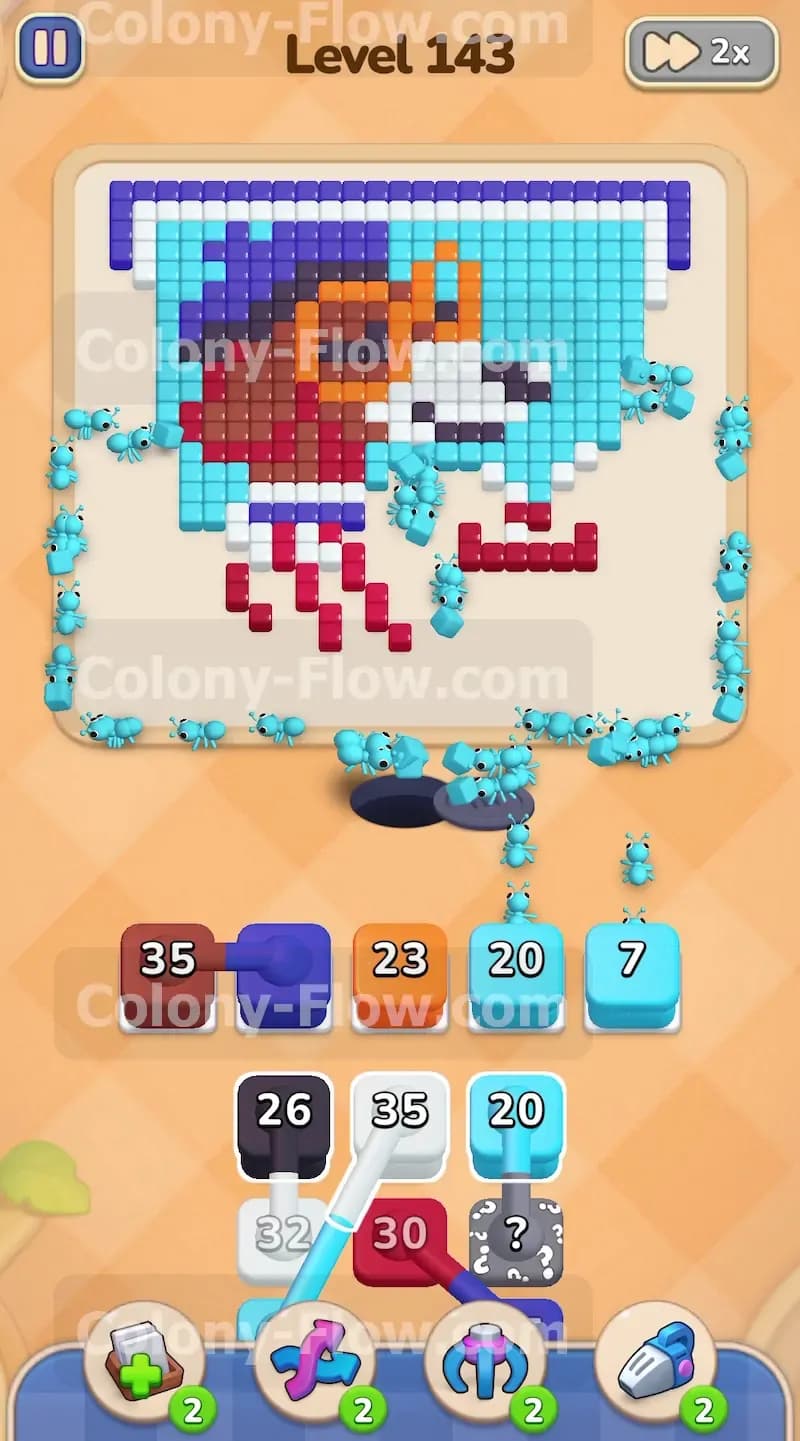
You now reach the connected boxes in your tray. You will see two blocks joined together by a solid horizontal line. When you tap either of these blocks, both of them snap into your waiting slots at the exact same time. This action takes up two precious slots instantly. You must be certain that both colors have an open path before you pull them. One of these connected pairs contains a white block and a light blue block. You just opened up the sides of the white shirt in the previous step. The remaining light blue background is also wide open. You pull the connected pair into your slots. The white ants swarm the bottom left side of the dog shirt. The light blue ants rush to finish off the rest of the background. Because you prepared the board properly, both blocks count down simultaneously. They empty out of your slots without causing any traffic jams.
Step 5: Release the red blocks to dissolve the shirt stripes and the red object.
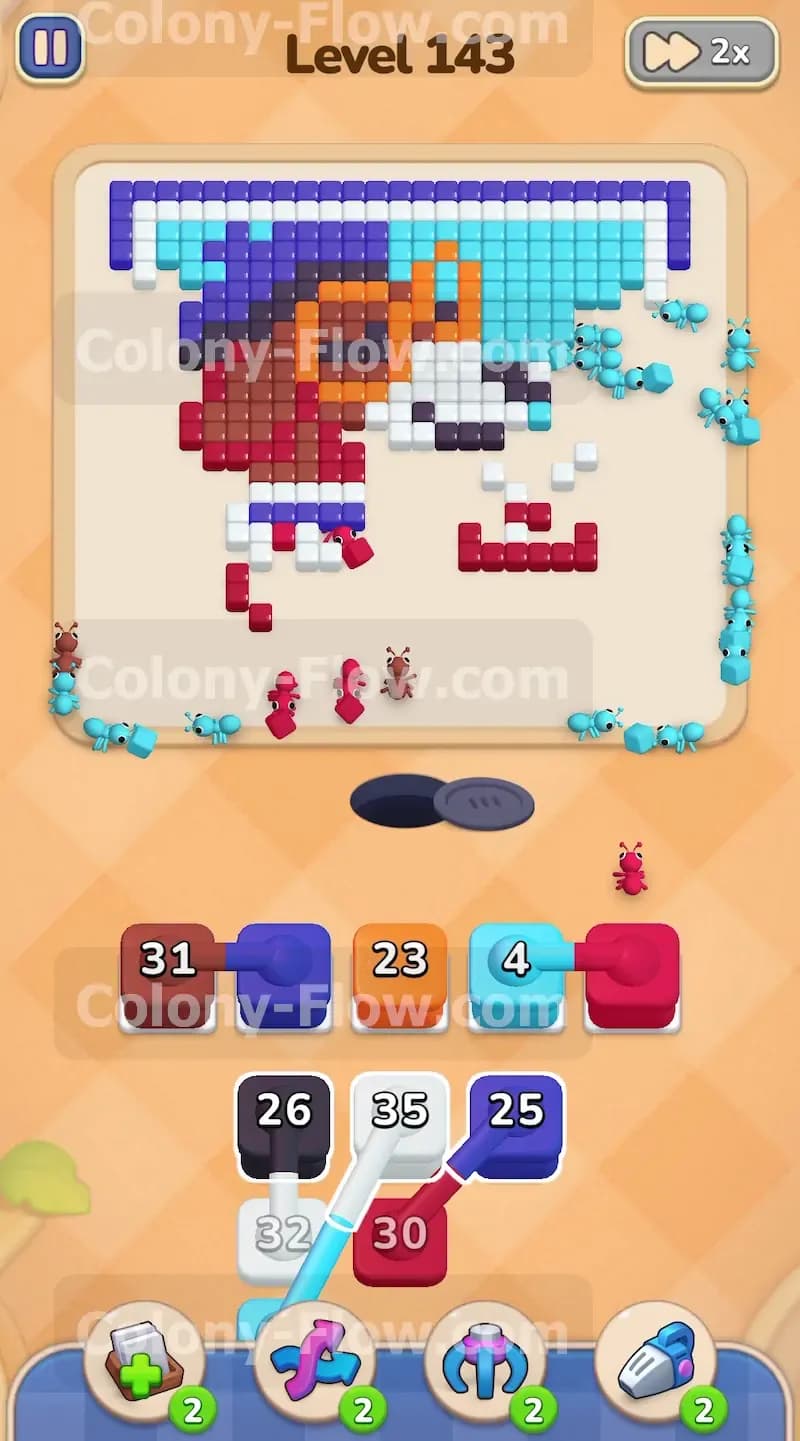
The white stripes are completely gone now. This progress leaves the red stripes of the shirt and the large red object the dog is holding. These red tiles sit right near the bottom of the picture. You pull a red block into your tray. The red ants have a very short trip from the nest hole to these bottom tiles. They start eating the red stripes and the solid red object at the same time. The number on your red block drops extremely fast due to the short travel distance. This rapid clearing opens up the center of the board completely. You now have total access to the dog nose and the inner dark details. You maintain a perfectly clear tray because the red ants finish their job in seconds.
Step 6: Reveal the hidden box and deploy the black blocks to finish the facial details.
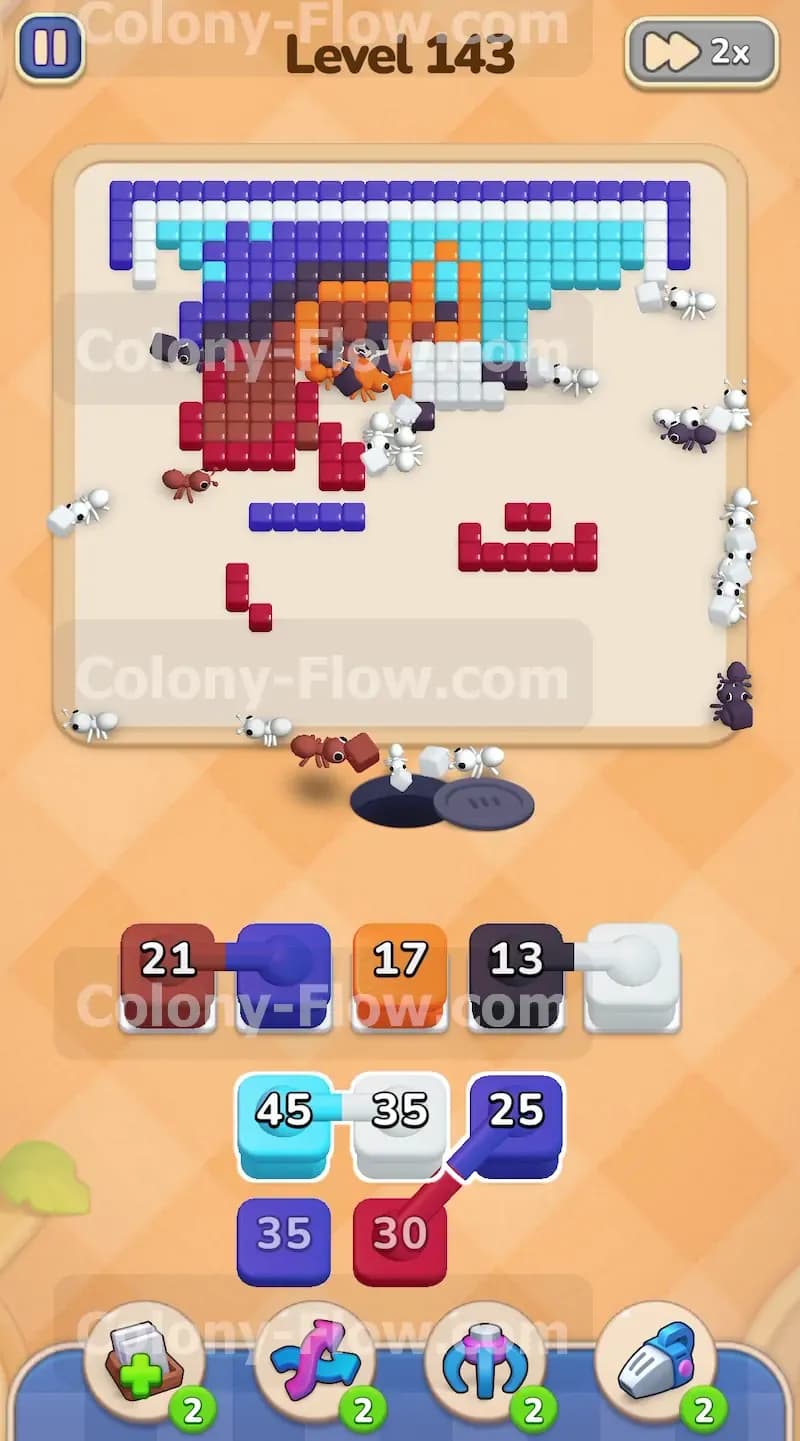
You finally uncover the hidden box in the bottom rows of your tray. This block has a gray surface with a question mark printed on it. It hides its true color until you clear the blocks resting directly on top of it. Once you pull the last few light blue and red blocks out of the way, the hidden box flips over. It reveals itself as a black block. The black tiles on the board form the dog nose, the inner dots of the eyes, and the thin outlines around the red object. You tap the black block to send it into a slot. The black ants march straight up the middle of the completely empty board. They reach the nose and the eye details without bumping into any obstacles. You also pull another black block from the tray to ensure all the dark outlines receive ants. The board is now mostly empty space.
Step 7: Clean up the final scattered tiles to empty the board and finish the level.
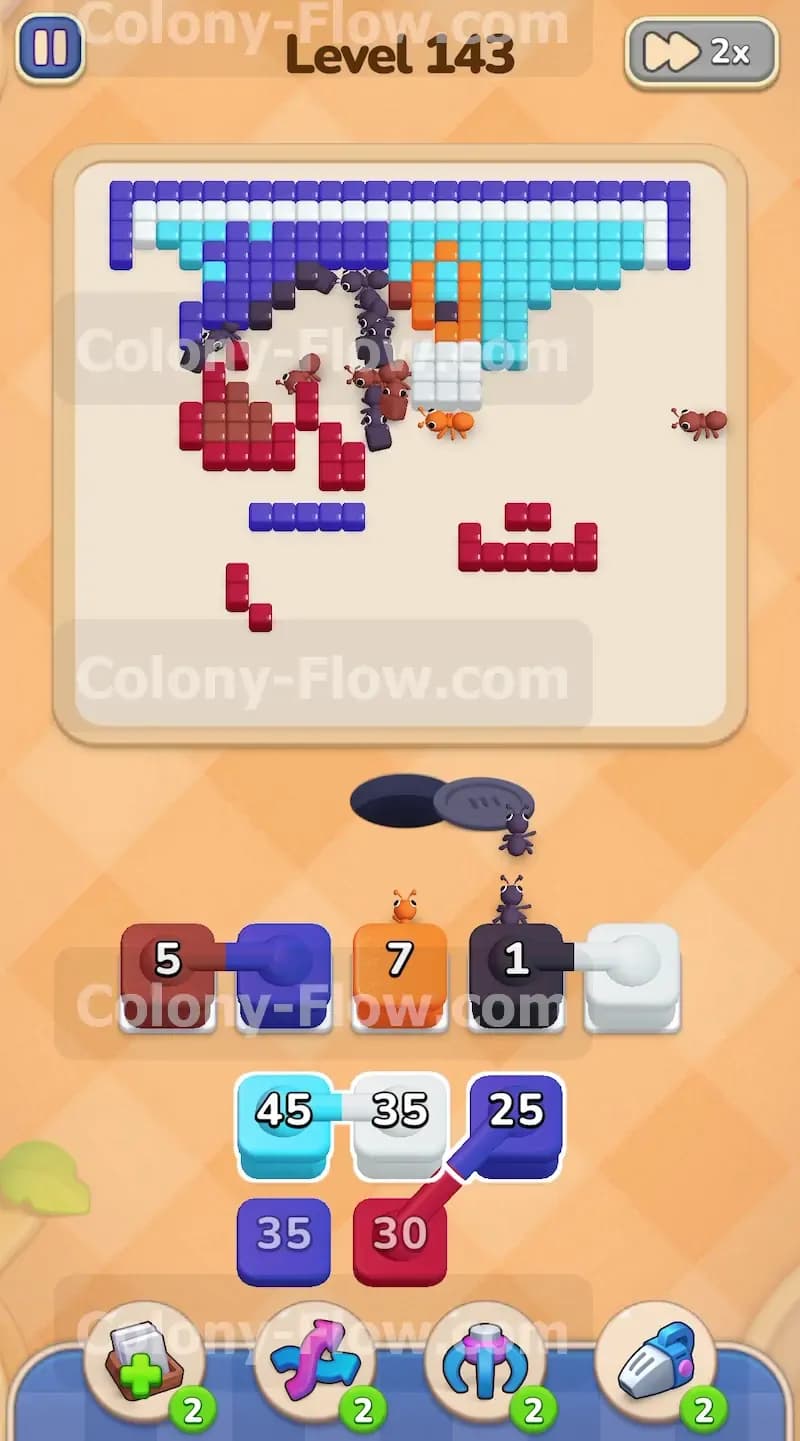
Only a handful of stray tiles remain on the screen. You will see two or three brown tiles near the ear, a single orange tile on the glasses, and a tiny cluster of red at the bottom. You look at your tray and find the small remaining blocks that match these exact colors. You pull the last brown block, the final orange block, and the last red block. Your slots fill up briefly, but the danger of losing is completely gone. The paths are massively wide open. The ants sprint directly from the nest to their specific targets. The numbers on the blocks drop to zero almost the moment they enter the slots. The very last ant eats the very last tile. The picture completely disappears from the screen. Your tray empties out, and you win the level.
Final Thought
Patience is your absolute best tool when managing a dense board like this one. You must always wait for your active ants to carve out a physical path before you pull the next color into your tray. Keep a close eye on those connected boxes so you never accidentally trap two blocks in your slots at once. If any part of this written guide is hard to visualize, I highly encourage you to watch the video above this article to see the exact timing of every single move.