Colony Flow Level 427 Walkthrough Solution & Guides | How to solve Colony Flow 427

Guide By Liam Stone
Updated on August 1, 2026
Watch the video above for a faster look at how Level 427 gets solved.
Video doesn't match your screen?
Game updates frequently scramble layouts! Try our AI Screenshot Solver first to find your exact board instantly, or report broken guides to our team.
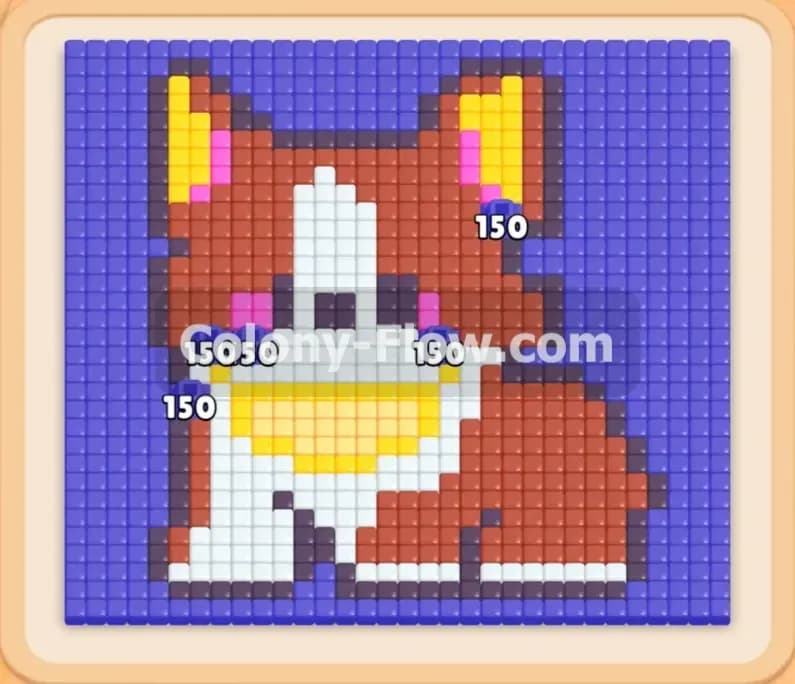
Welcome to Colony Flow Level 427. This level presents a really fun and slightly tricky challenge featuring a pixel art corgi dog surrounded by a solid blue background. You have to chip away at that heavy background border before you can make any real progress on the dog itself. The tray comes packed with very high number blocks and a few connected boxes that require careful timing to manage. I play every single level myself and I am going to walk you through my exact strategy for breaking down the border and clearing the entire picture. If you follow this guide you will keep your paths open and easily beat the level.
Colony Flow Level 427 Overview
What You Are Working With
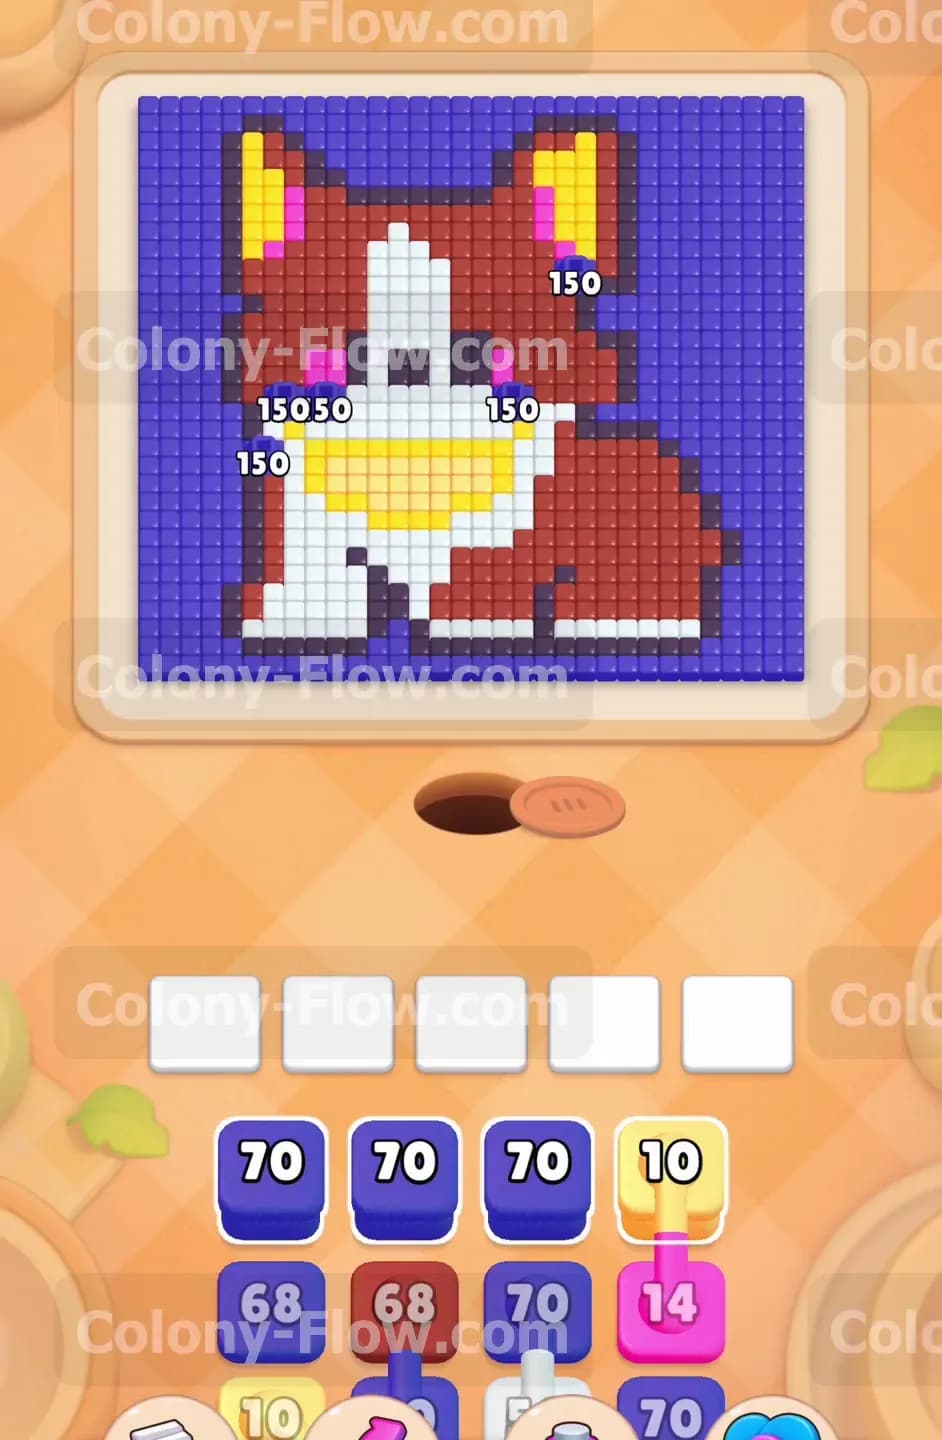
The puzzle board displays a very cute corgi dog made of brown white yellow and pink tiles. A thick solid frame of blue background tiles completely surrounds the dog on all sides. The ants enter the board from the round nest hole at the very bottom center of the screen. They need a completely clear path to reach the different colored sections of the picture. Your starting tray holds a heavy mix of blue brown yellow and white blocks. Many of these starting blocks hold massive numbers like seventy or sixty eight which means they will take a long time to empty out. Later in the tray you will encounter connected boxes. These are two blocks linked together by a thick line. When you tap one you pull both of them at the exact same time. This action requires two empty waiting slots instead of just one. You have to look ahead and plan your pulls so you always have enough room for these linked blocks.
What It Takes to Clear Level 427 Board
Winning this level means clearing every single colored tile from both the corgi picture and the blue background. You achieve this goal by matching the colored numbered blocks in your tray to the exposed accessible tiles on the board. The main rule you always have to respect is the five slot limit. The board has five waiting slots located just above the tray. When you tap a block it moves up into a slot and waits for an open path. If you pull too many blocks and fill all five waiting slots without an open path for the ants to travel you will instantly jam the board and lose the level. Your core strategy must revolve around working from the outside of the picture towards the inside. You must start by clearing the blue background to open physical paths to the white paws and brown legs. Only then can you start carving through the dog body and eventually finish the puzzle.
Colony Flow Level 427 Step by Step Solution
Step 1: Focus entirely on the bottom left blue background first.
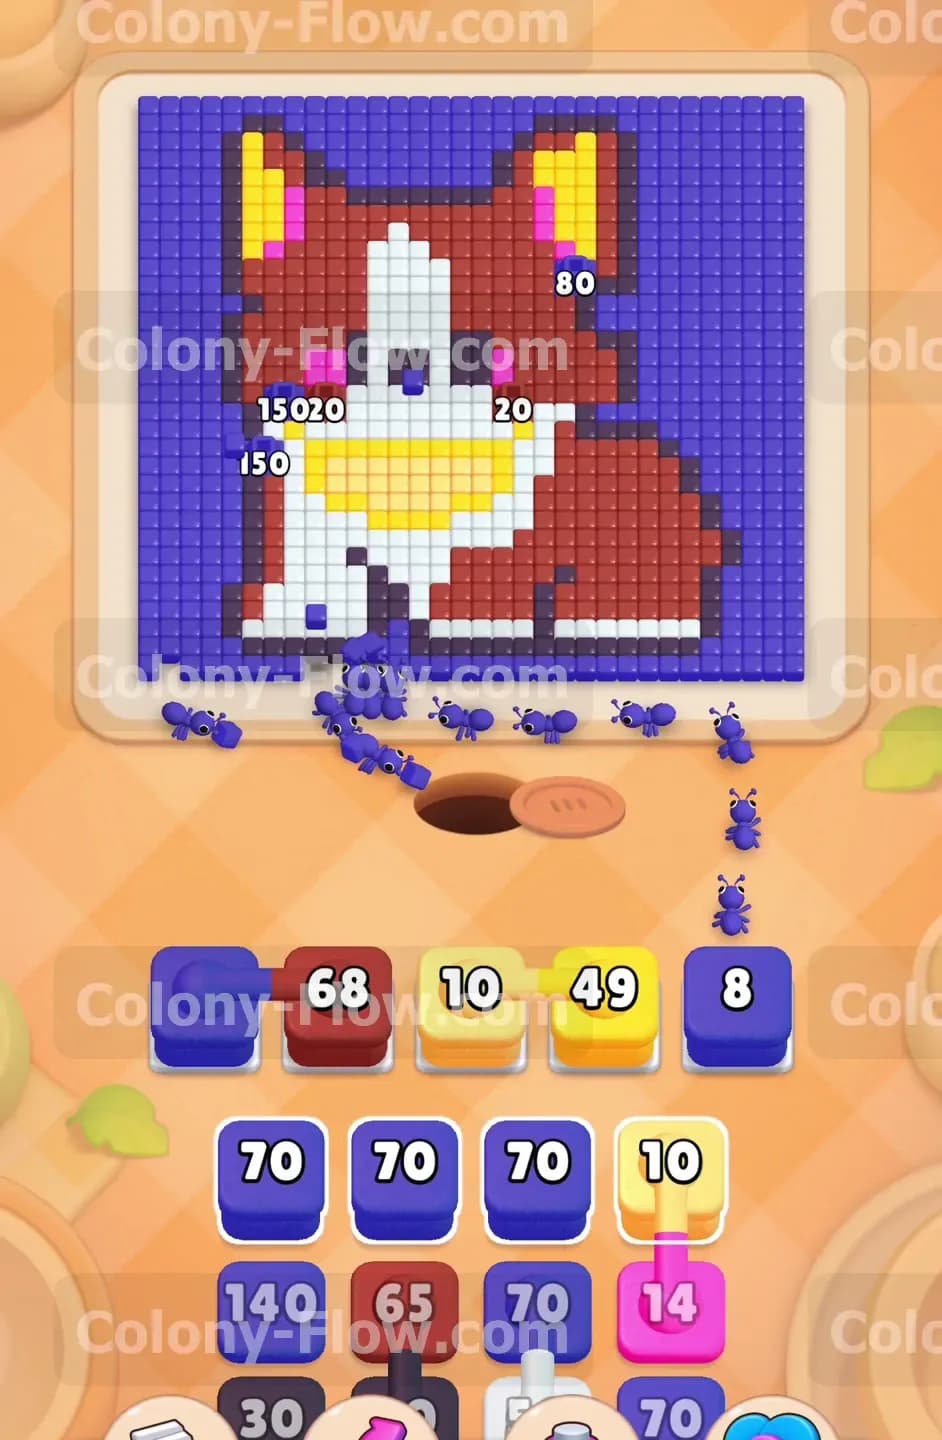
You begin the level by pulling a massive seventy count blue block from the tray. The ants stream out of the nest hole and head straight for the bottom left corner of the thick blue border. This solid border completely blocks all access to the dog picture so you absolutely must clear a huge chunk of it right away. You can safely pull a sixty eight count brown block and a ten count white block into your waiting slots to prepare for the next phase. Just make sure you always leave at least two slots completely open at all times. The blue ants will steadily eat away the border tiles and the number on your active blue block will count down toward zero. Keep your eyes on the remaining blue tiles in that corner as the ants do their heavy lifting.
Step 2: Maintain the strong flow of blue ants along the bottom edge.
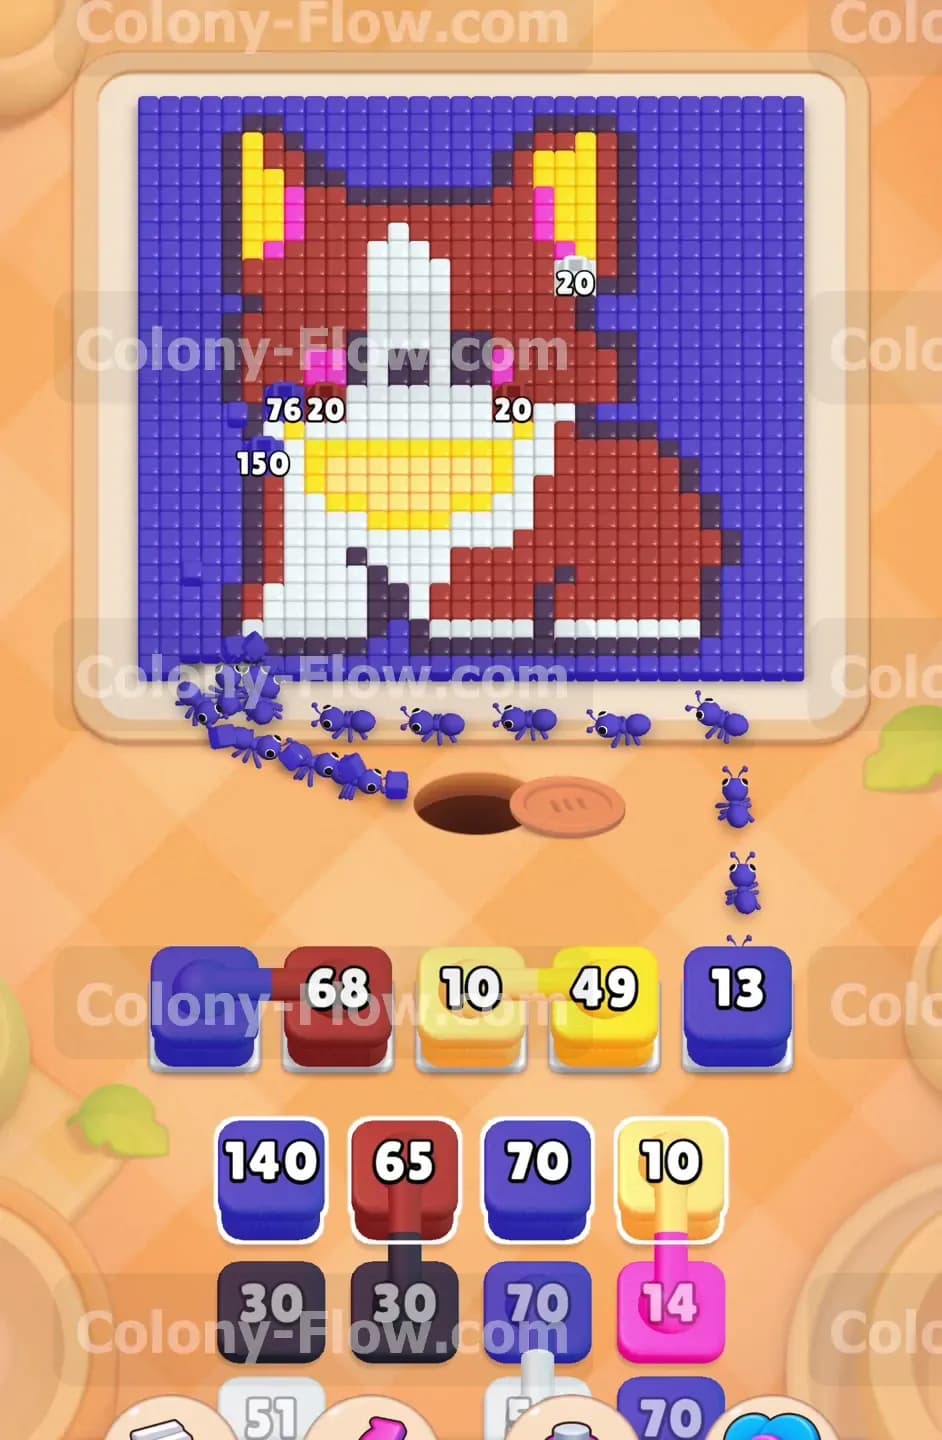
As your first blue block finally runs out you need to bring up another one to keep the forward momentum going. Pull the next high capacity blue block from your tray into the waiting area. The blue ants will continue marching out and clearing the bottom row of background tiles. This specific action slowly exposes the white tiles that make up the little paws of the corgi. You still have your brown and white blocks waiting patiently in the slots. Do not give in to the temptation to pull any more blocks just yet. You must wait until the white tiles are fully accessible before you try to change colors. Patience is absolutely necessary during this early stage to avoid a catastrophic slot jam.
Step 3: Activate the white blocks to clear the bottom paws completely.
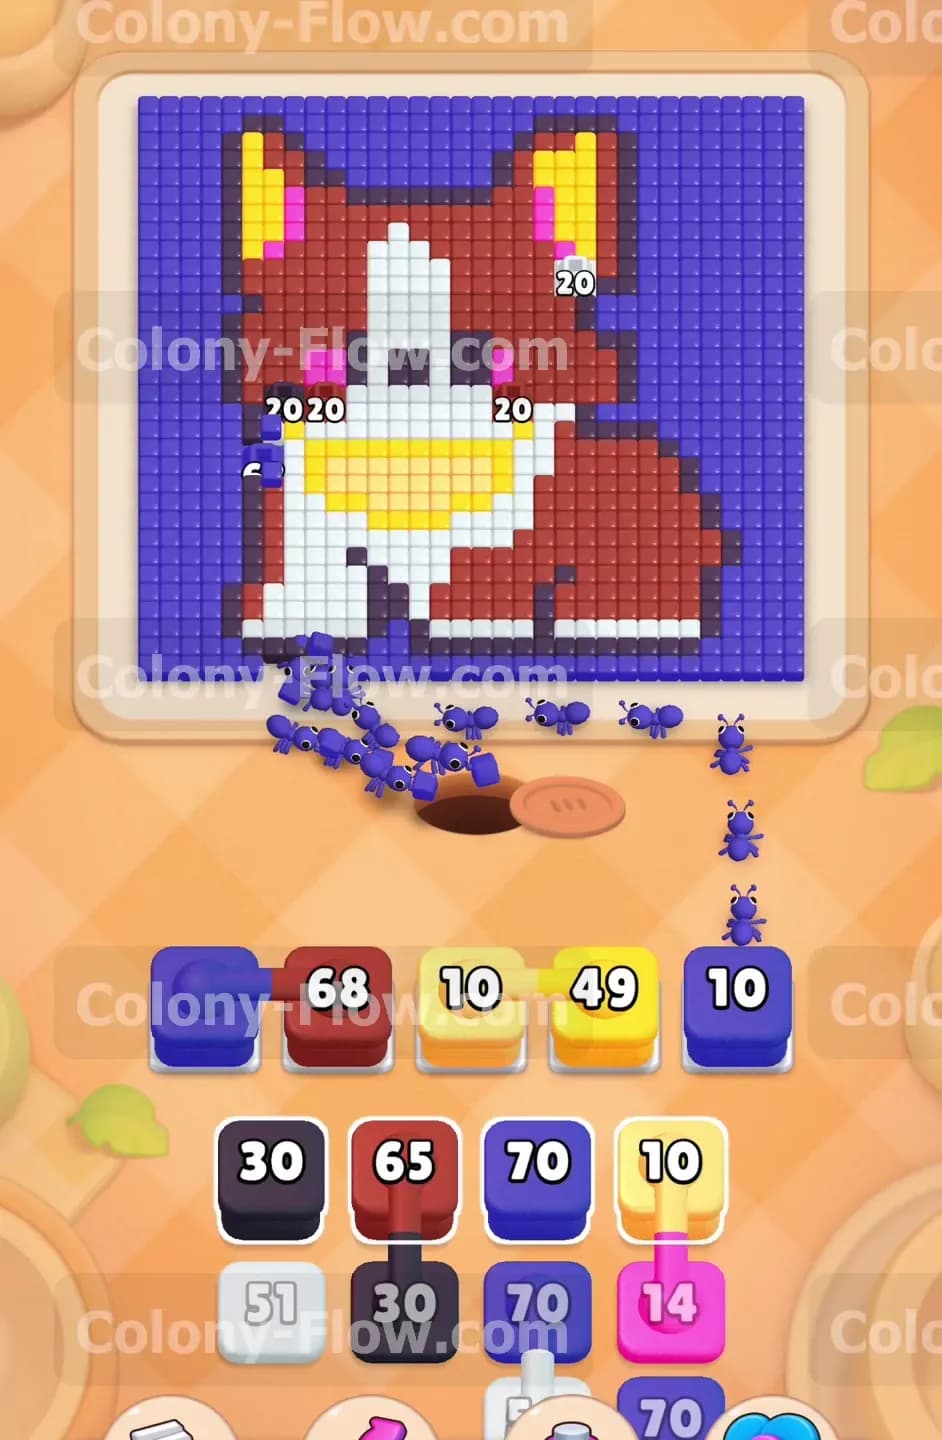
Once the blue ants open a wide clear path to the bottom edge of the dog you can pull another white block from the tray. The white ants will quickly rush out of the nest and start devouring the paw tiles. This moment is a major turning point in the level because it finally breaks your colony into the main picture area. The lower white section has a fairly high tile count so it will take a moment for the ants to finish the job. As the white paws disappear the brown tiles of the lower legs and the yellow tiles of the belly suddenly become reachable. Your waiting brown block is finally ready to activate and do its work.
Step 4: Deploy the brown and yellow ants simultaneously to clear the body.
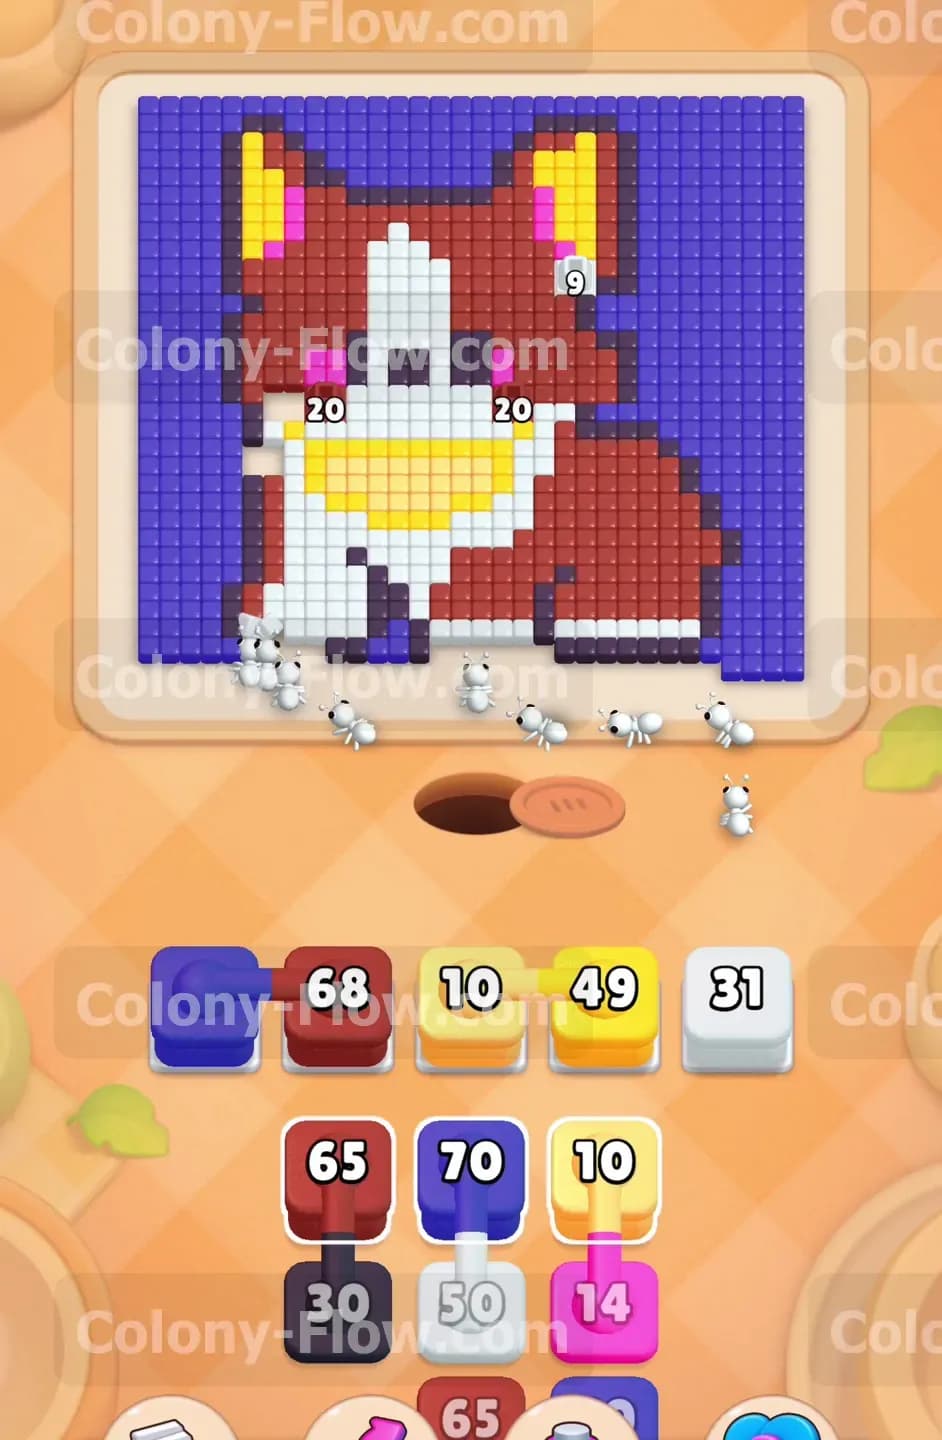
The puzzle board is now open enough to support multiple ant streams traveling at the same time. Your sixty eight count brown block becomes active and a swarm of brown ants begins chewing through the massive lower legs. You then pull a yellow block into the slots to send a stream of yellow ants straight to the center belly area. This simultaneous clearing action rapidly reduces the size of the dog body. Because these blocks are now actively working and leaving the waiting area your slots open up again. This gives you the essential breathing room you need to check the tray for your next moves. You will start to see more white and blue blocks moving into the top row of the tray ready for action.
Step 5: Manage the connected boxes carefully as they appear in the tray.
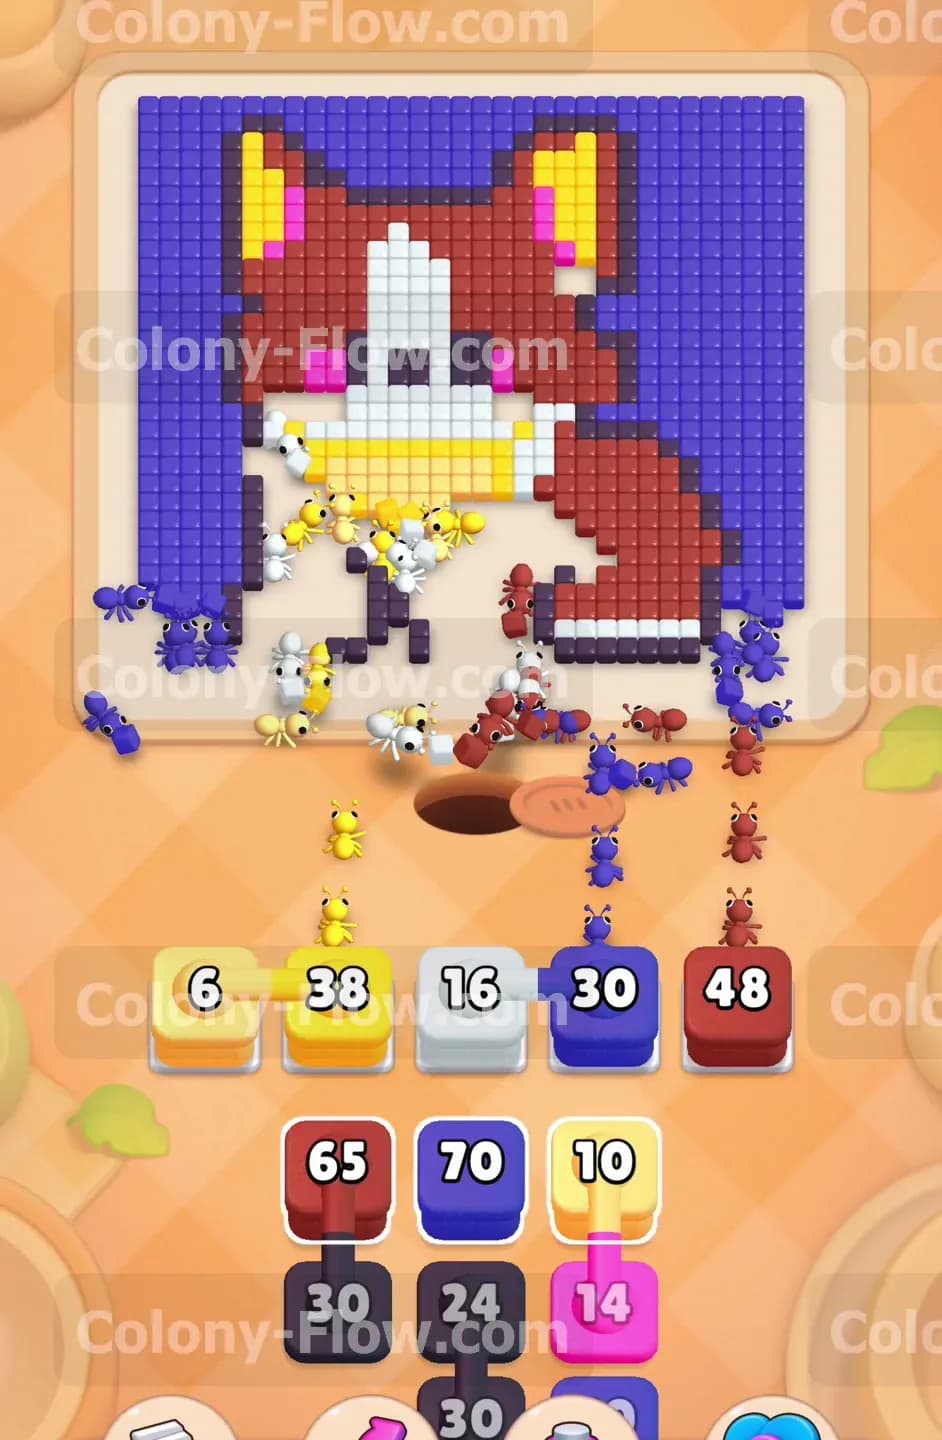
As you progress into the middle of the game you will notice some connected boxes moving up the tray. Two colored blocks linked together by a thick line require two completely empty waiting slots to pull. You must wait until your current active blocks finish their work and disappear from the slots. Once you confirm you have the proper space pull the connected boxes. This brings both colors into the queue at the exact same time. The ants will immediately target any matching exposed tiles. This involves sending a new wave of yellow ants to the upper chest and a wave of pink ants to the cute cheek spots on the dog face. Managing these dual pulls without clogging your remaining slots is the main trick to beating the middle part of this level.
Step 6: Clear the upper face and the yellow inner ears.
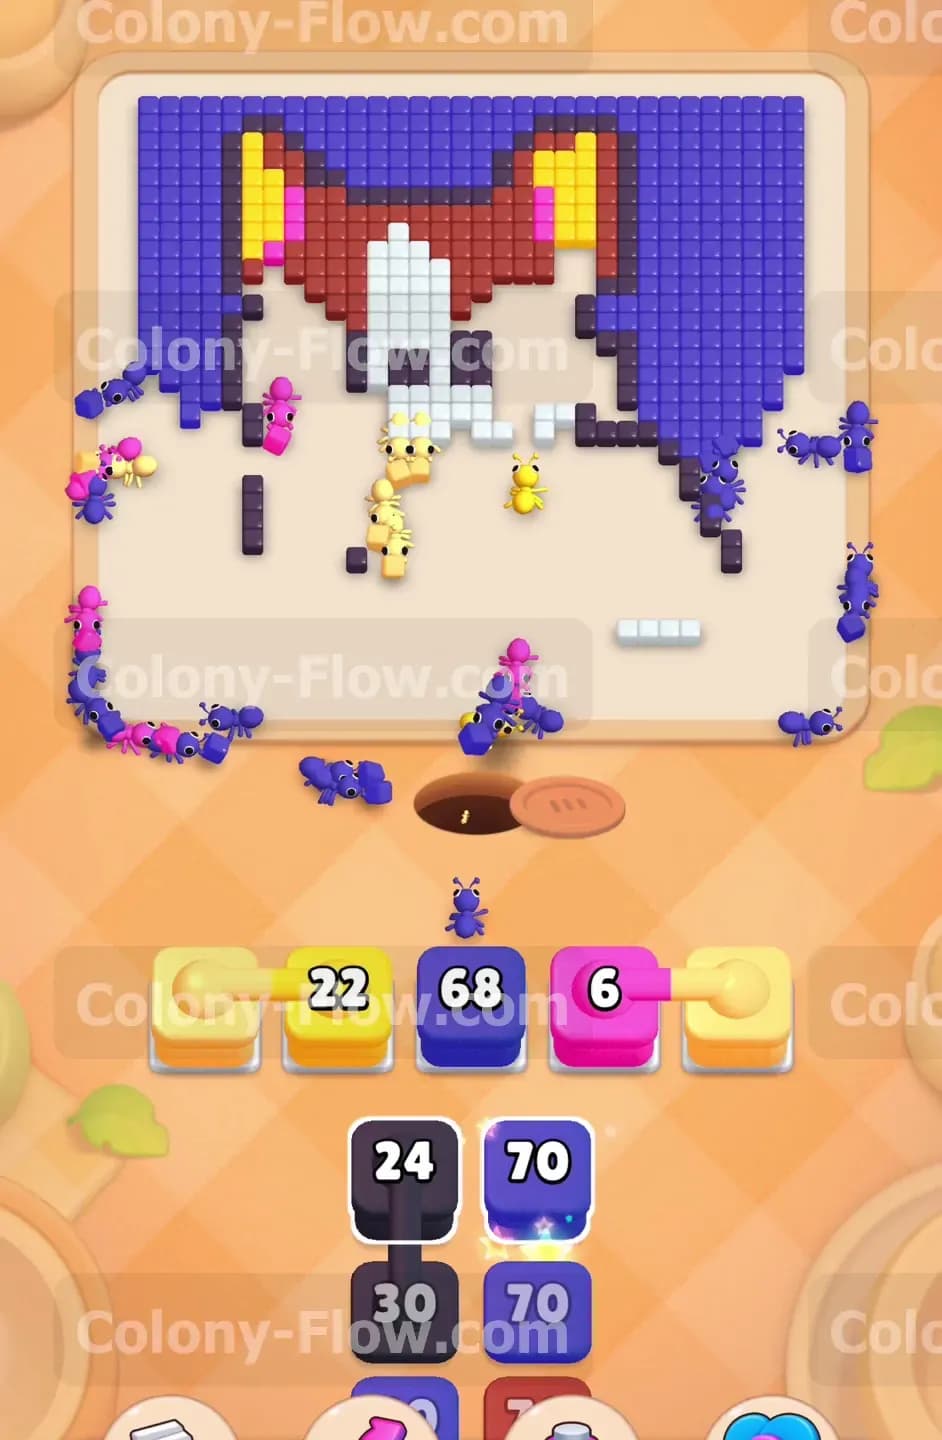
With the bottom half of the dog completely gone the ants have a wide open path to the head section. Pull the remaining white blocks to finish the white stripe running up the middle of the face. Then deploy more brown blocks to tackle the thick sides of the head and the outer ears. The tile counts on the board drop very quickly as the ants swarm these upper sections. You need to bring up another yellow block to finish the inner ear parts at the very top. Keep pulling exactly what you need based entirely on the exposed colors on the board. The puzzle gets much easier to read at this stage because the paths are wide open and the block numbers are getting smaller.
Step 7: Clean up the final upper background corners and win the game.
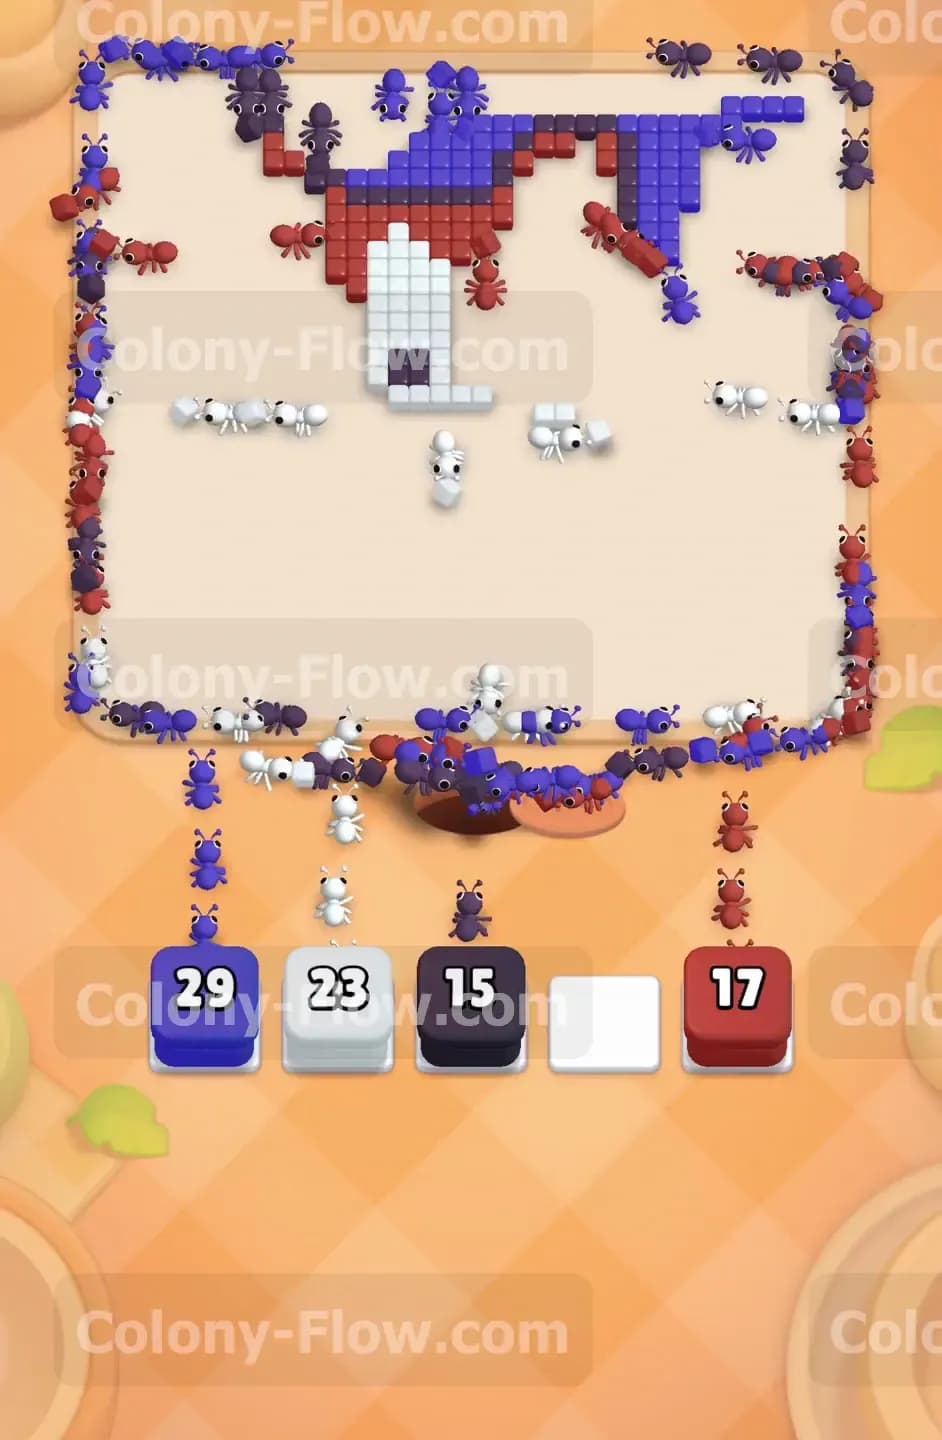
Only the very top section of the blue background and a few straggling dark tiles remain on the board. Pull the final blue and dark blocks from your tray into the waiting area. The ants will spread out along the top edge of the board and consume the last remaining pieces of the frame. You have plenty of empty waiting slots now so you can easily queue up everything left in your tray without any fear of losing. Watch the final wave of ants march across the top and clear the very last pixel. The board empties completely and you win the level.
Final Thought
Completing this specific puzzle is all about pacing your block pulls and breaking through that initial thick bottom border. Once you crack the blue frame the rest of the picture opens up and the moves flow very naturally. Keep a close eye on those connected boxes so they never catch you without enough open slots. I strongly encourage you to watch the video above this article if any step is hard to follow in text or if you want to see exactly how I timed my pushes.