Colony Flow Level 433 Walkthrough Solution & Guides | How to solve Colony Flow 433

Guide By Liam Stone
Updated on July 29, 2026
Prefer to watch rather than read? The Level 433 walkthrough video sits right above this guide.
Video doesn't match your screen?
Game updates frequently scramble layouts! Try our AI Screenshot Solver first to find your exact board instantly, or report broken guides to our team.
Welcome to another puzzle guide where I break down exactly how to beat the toughest boards. Colony Flow Level 433 presents a massive chocolate barrier that will test your patience and your tray management skills. You need to clear a picture of a bear wearing a hoodie but those brown chocolate tiles at the bottom stand directly in your way. I have played this level multiple times to find the safest route and I am here to share my winning method with you.
Colony Flow Level 433 Overview
What You Are Working With
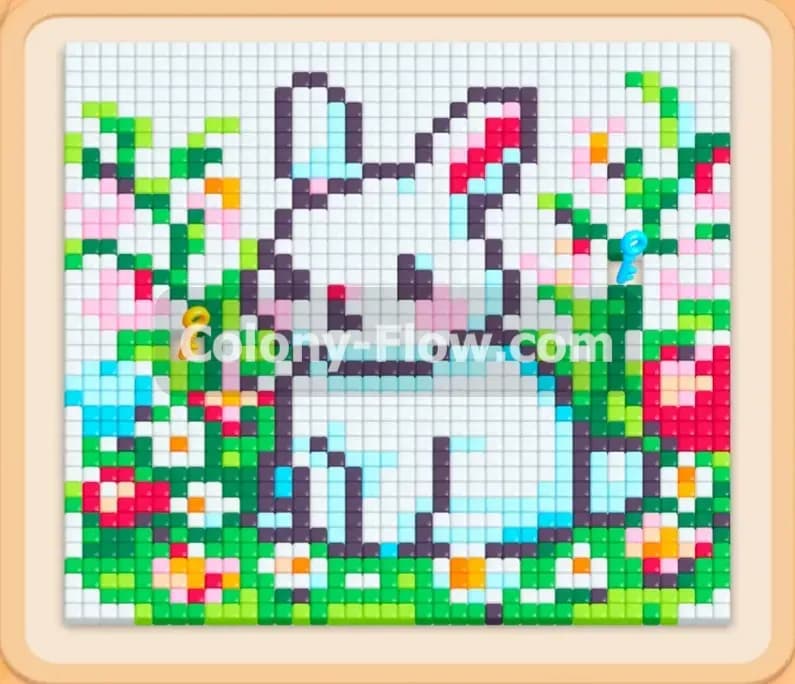
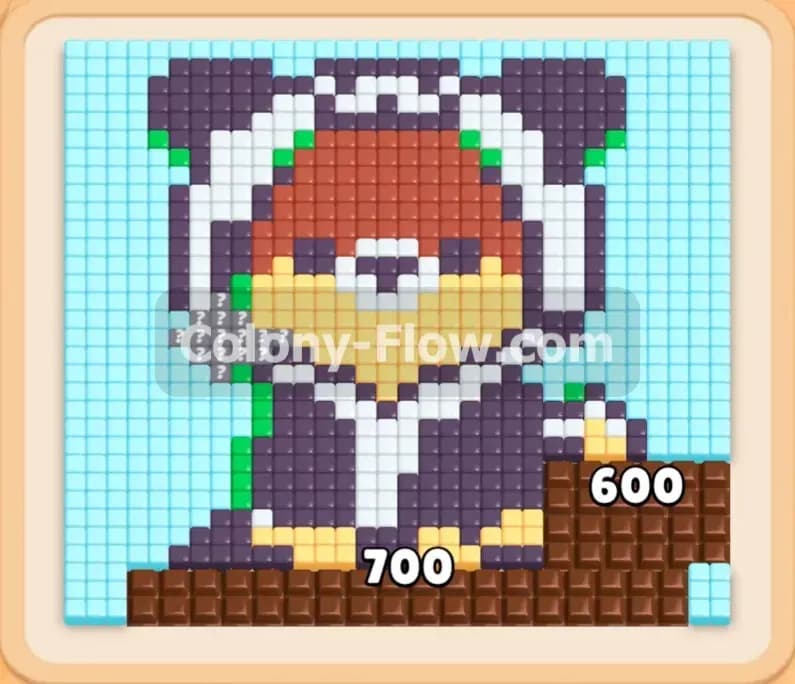
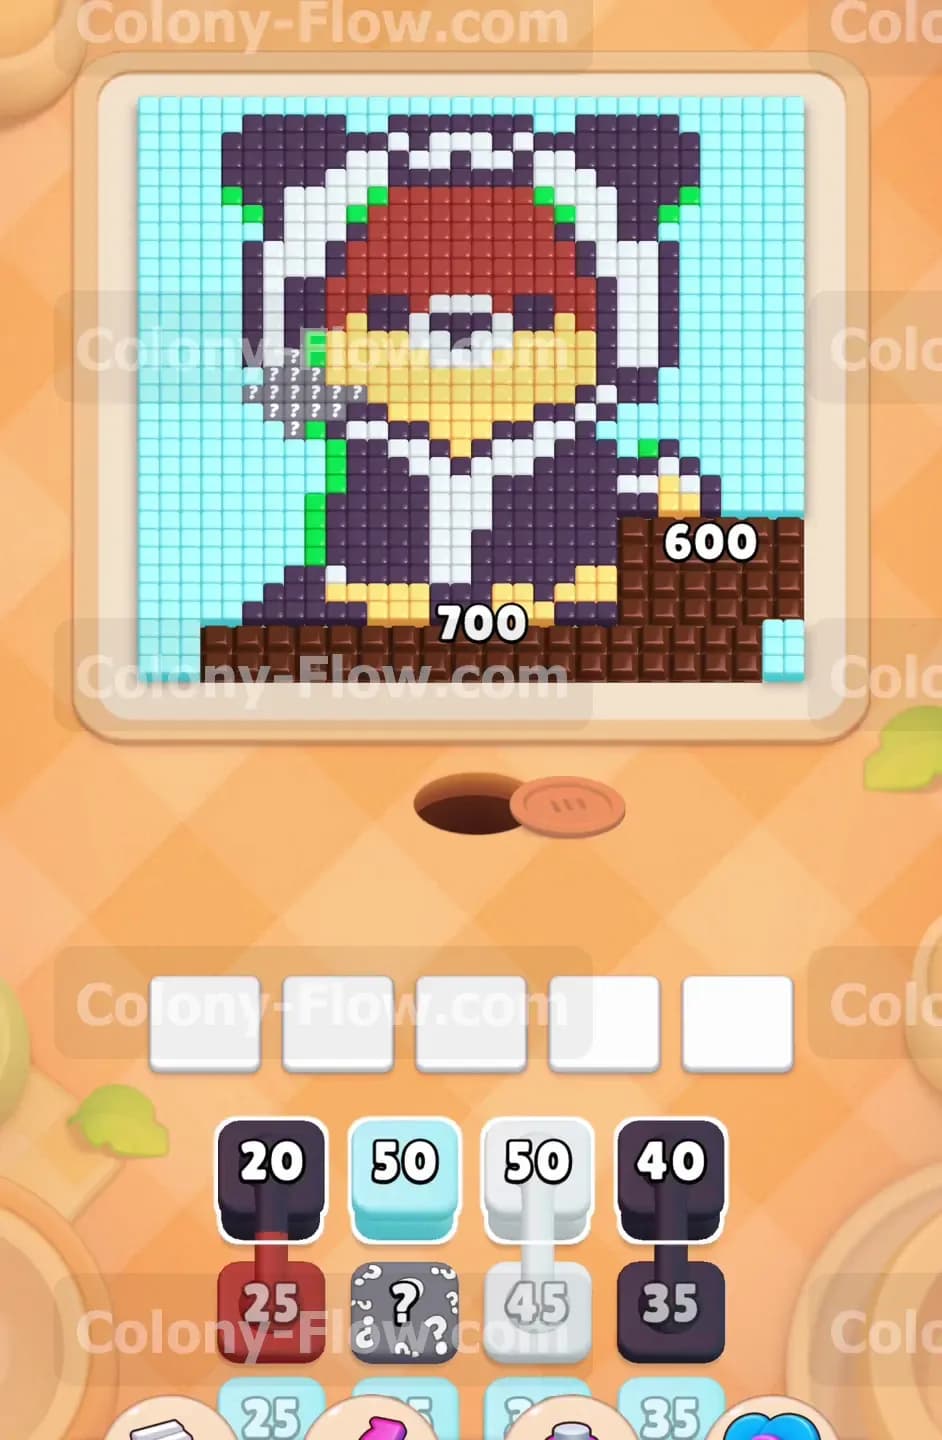
The picture on your board shows a bear wearing a dark blue hoodie sitting behind a thick brown counter. The background is completely made of light blue tiles. The bear features dark blue ears and a dark blue hoodie body. You will also see a white hoodie trim along with a red inner hood and a yellow muzzle. Small green accent tiles sit near the ears. The most intimidating part of this board is the enormous chocolate barrier at the bottom. The chocolate covers and blocks the food tiles underneath until cleared. The chocolate pieces require a staggering number of hits to break apart. You will see the left side needs seven hundred hits and the right side requires six hundred hits. Your tray contains blocks of light blue, dark blue, white, red, green, and yellow. You will also encounter hidden boxes in the tray. A hidden box hides its color until it has a valid path to move on the board.
What It Takes to Clear Level 433 Board
Winning this board requires you to chip away at the massive chocolate barrier while steadily clearing the bear picture above. You must manage your five waiting slots with extreme care throughout the entire process. The core rule is simple. If you fill all five waiting slots and no ants can clean the board you lose the level. You must keep a constant stream of ants flowing out of the nest hole to chew through the chocolate and the picture tiles. You clear the board by matching the colored tray blocks to the exposed picture tiles without dead ending your waiting slots. Patience is your best tool here because the chocolate takes a long time to break down.
Colony Flow Level 433 Step by Step Solution
Step 1: Start clearing the background and attack the chocolate
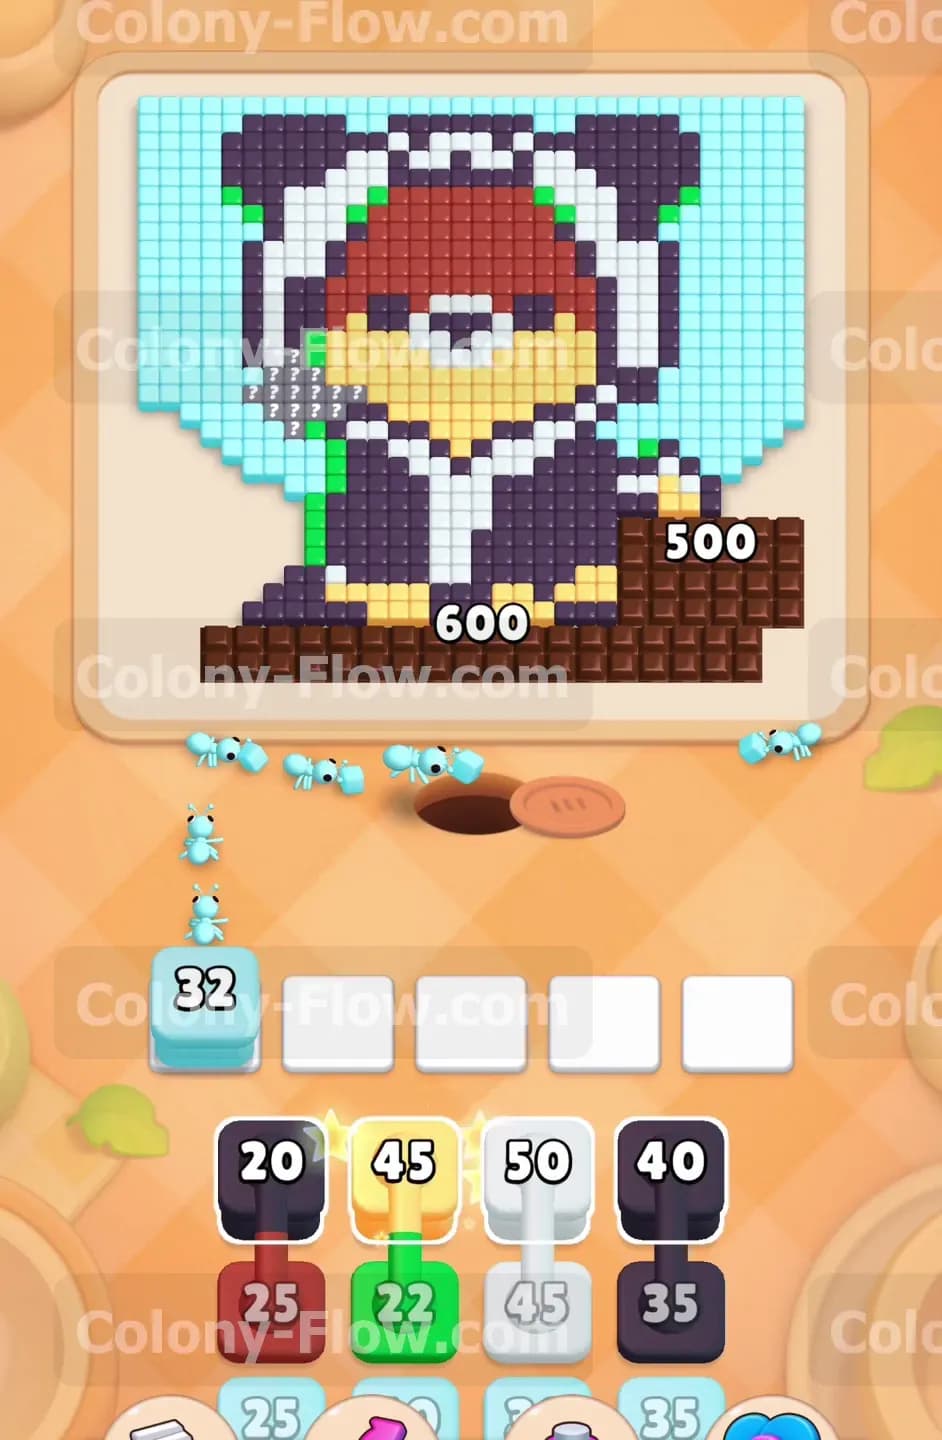
You want to pull the light blue block from the tray to get your ants moving immediately. The light blue background tiles are completely exposed on the outer edges of the picture. Pulling this block sends a swarm of light blue ants up the sides to eat the background. Because the chocolate barrier sits directly in front of the nest hole some of your ants will immediately start chewing on the chocolate. Every ant that hits the chocolate reduces the hit counter by one. This dual action begins clearing the board and weakening the heavy barrier at the exact same time. Leaving the light blue block in the waiting slot guarantees a steady outward flow.
Step 2: Bring out the dark blue ants for the outer hoodie
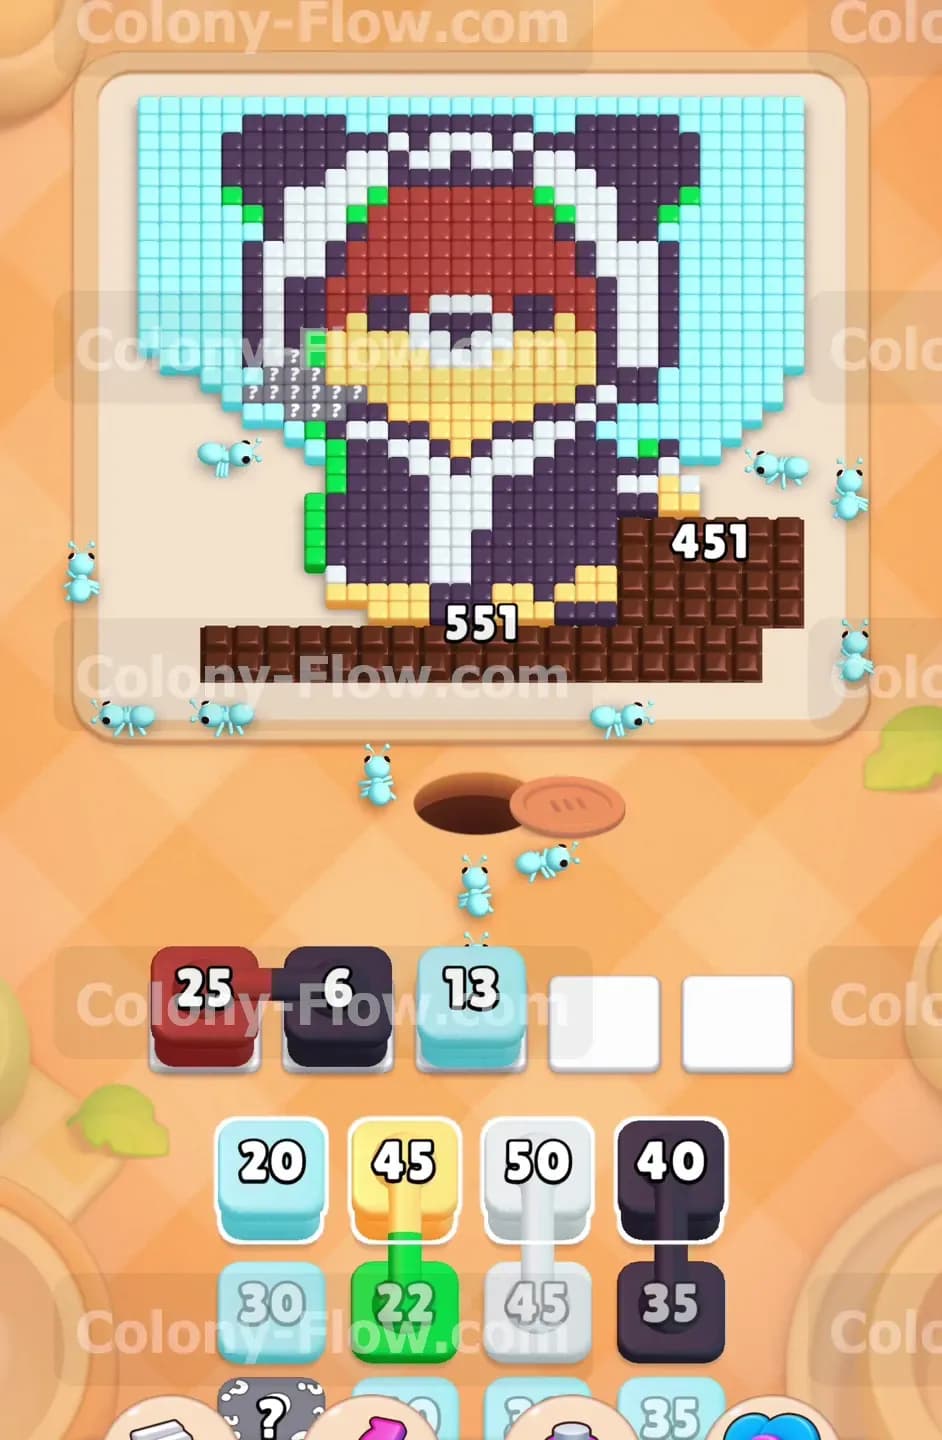
Once the light blue ants establish a path you need to activate the dark blue blocks. Pull the first dark blue block into your waiting slots to begin the next phase. The dark blue ants will target the outer sections of the bear hoodie and the dark ears. They will flow out of the nest hole and join the massive attack on the chocolate barrier as they try to reach their target tiles. Keeping both light blue and dark blue ants active ensures a steady drain on the chocolate numbers. You must always watch your waiting slots and only pull a new block when an old one finishes or when you are certain the path is open.
Step 3: Unleash the red ants to reach the inner hood
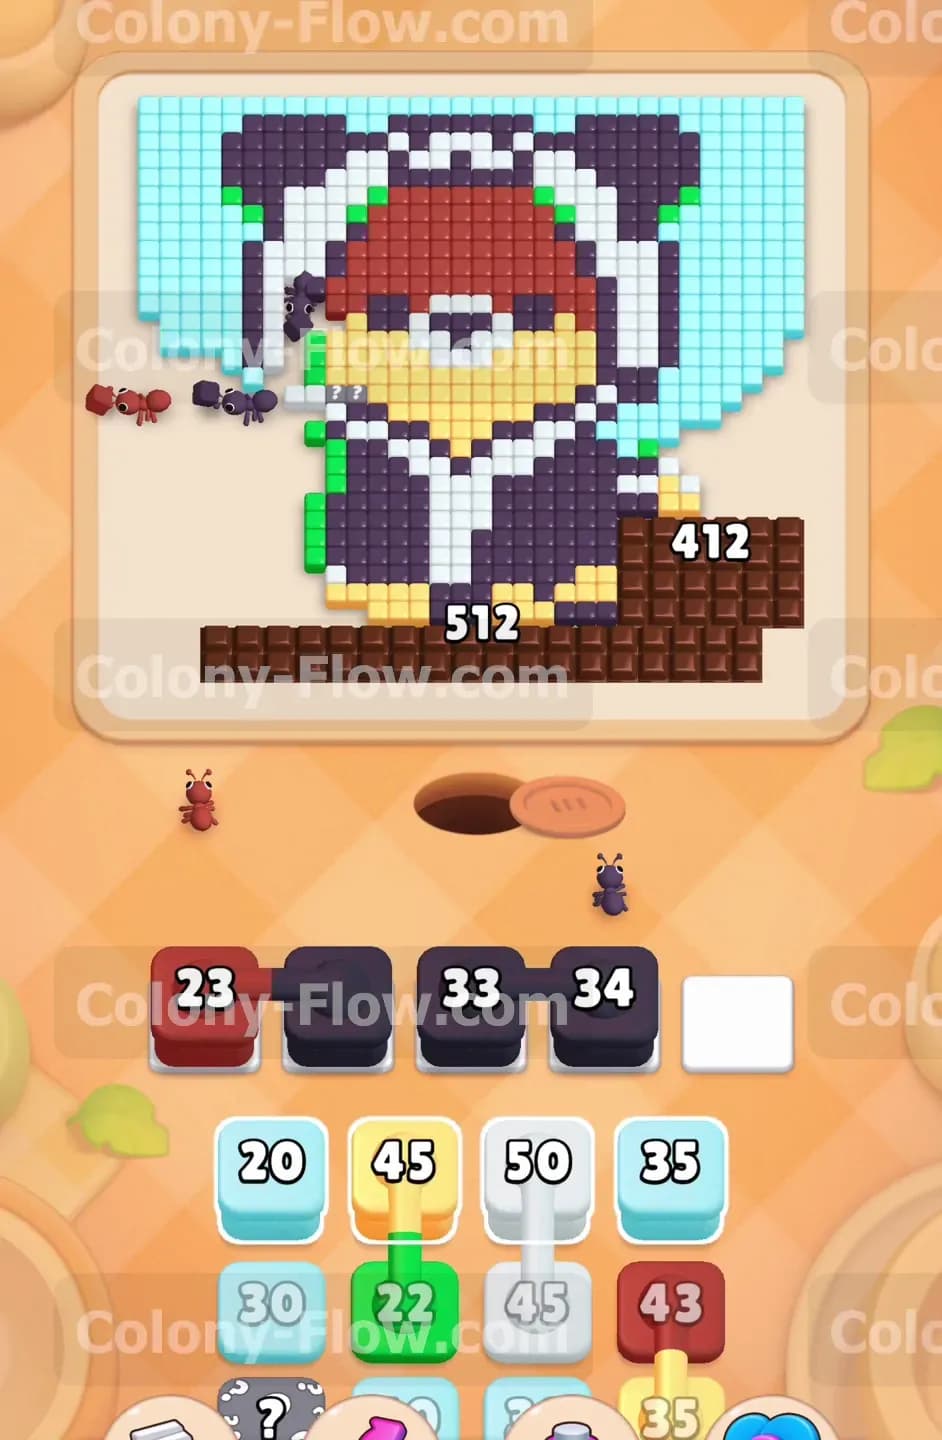
The tray provides red blocks that correspond to the red sections of the inner hood and the face. Pull a red block into a waiting slot once the dark blue ants have cleared enough space along the edges. The red ants will stream upward toward the center of the picture. They will also collide heavily with the chocolate barrier on the left side. The left side chocolate started with seven hundred hits so it needs a massive amount of ant traffic to break down completely. Sending red, dark blue, and light blue ants at the same time creates a heavy swarm that rapidly drops the chocolate counter and frees up space on the board.
Step 4: Deploy the white ants to clear the hoodie trim
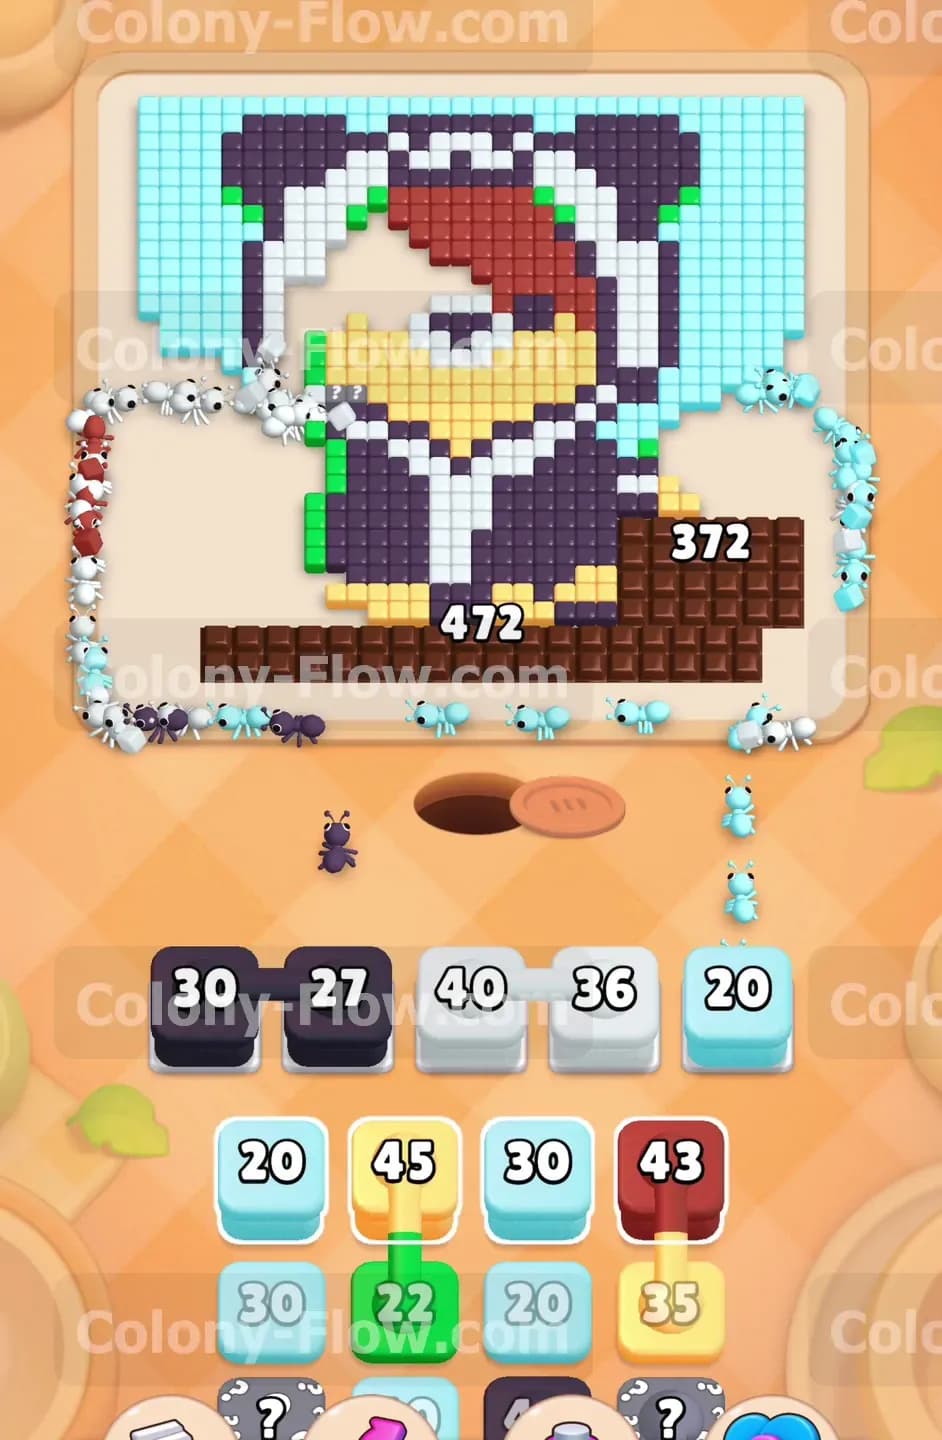
As the outer hoodie tiles disappear the white trim tiles become fully accessible to your colony. You will see white blocks available in your tray. Pull a white block into your waiting slots to send white ants toward the trim. These ants will chew through the remaining chocolate on the left side before rushing up to eat the white tiles. This constant pressure on the left side of the chocolate barrier is vital for your success. You will notice the numbers on the left chocolate falling very fast at this stage. Keep your waiting slots balanced and never pull a block if its matching tiles are completely surrounded by other colors.
Step 5: Utilize the green and yellow blocks as paths open
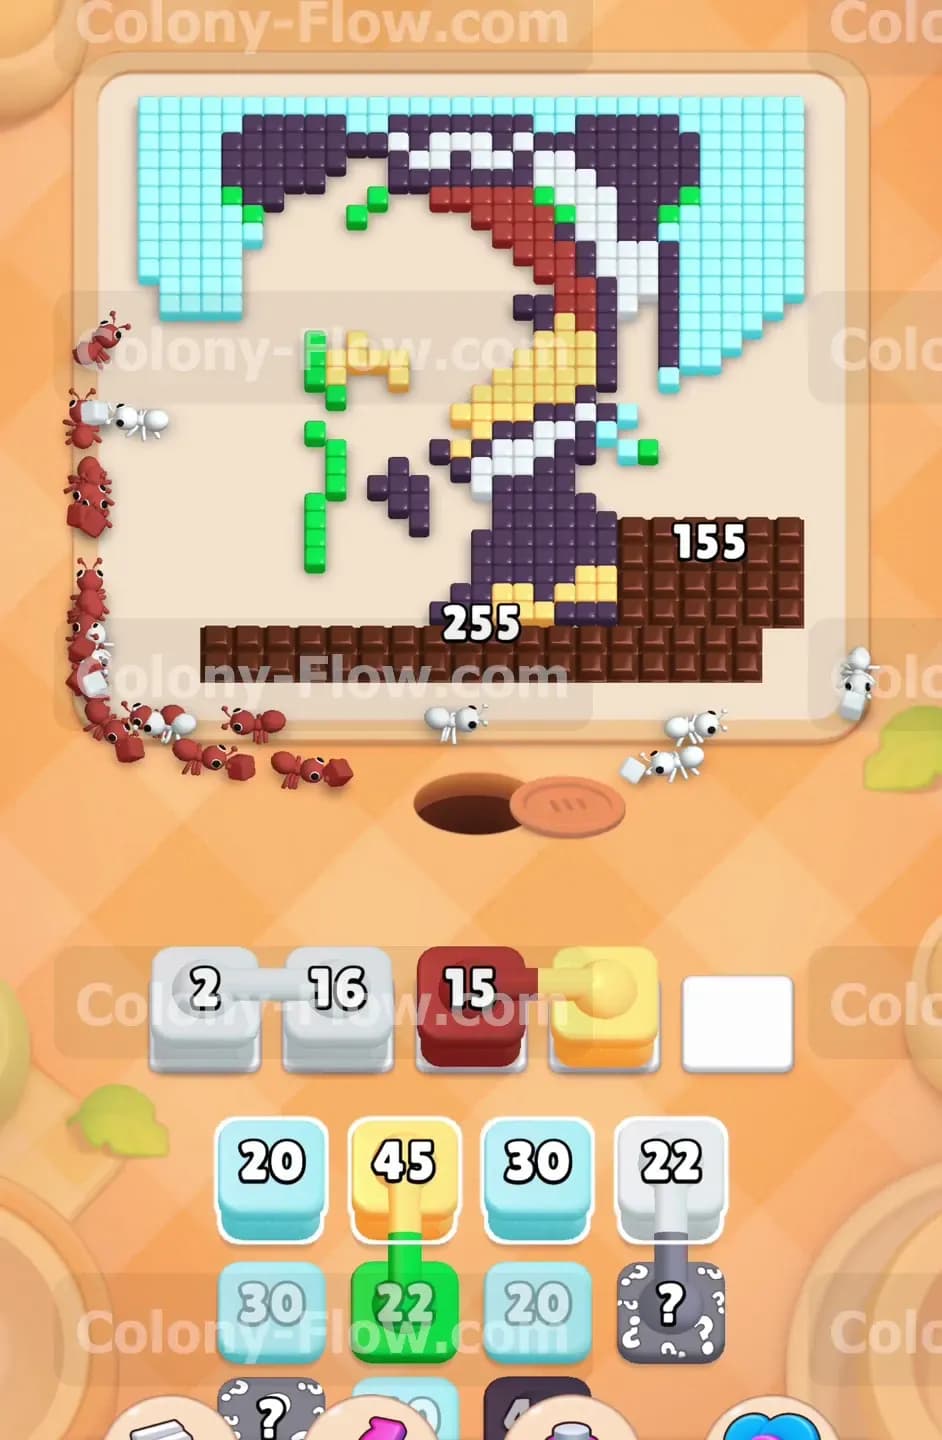
The yellow muzzle and the green accent tiles are buried much deeper in the picture. The tray holds green and yellow blocks waiting for their turn. Wait until the white and red ants clear the surrounding tiles before you pull the yellow block. Once the path is totally clear pull the yellow block into a waiting slot. The yellow ants will rush in and clear the muzzle area. You will also uncover green blocks in the tray. Do not pull the green blocks until the red tiles near the ears are completely gone. Pulling the green block too early will trap it in a waiting slot and bring you dangerously close to losing the level.
Step 6: Wait for hidden boxes to reveal their true colors
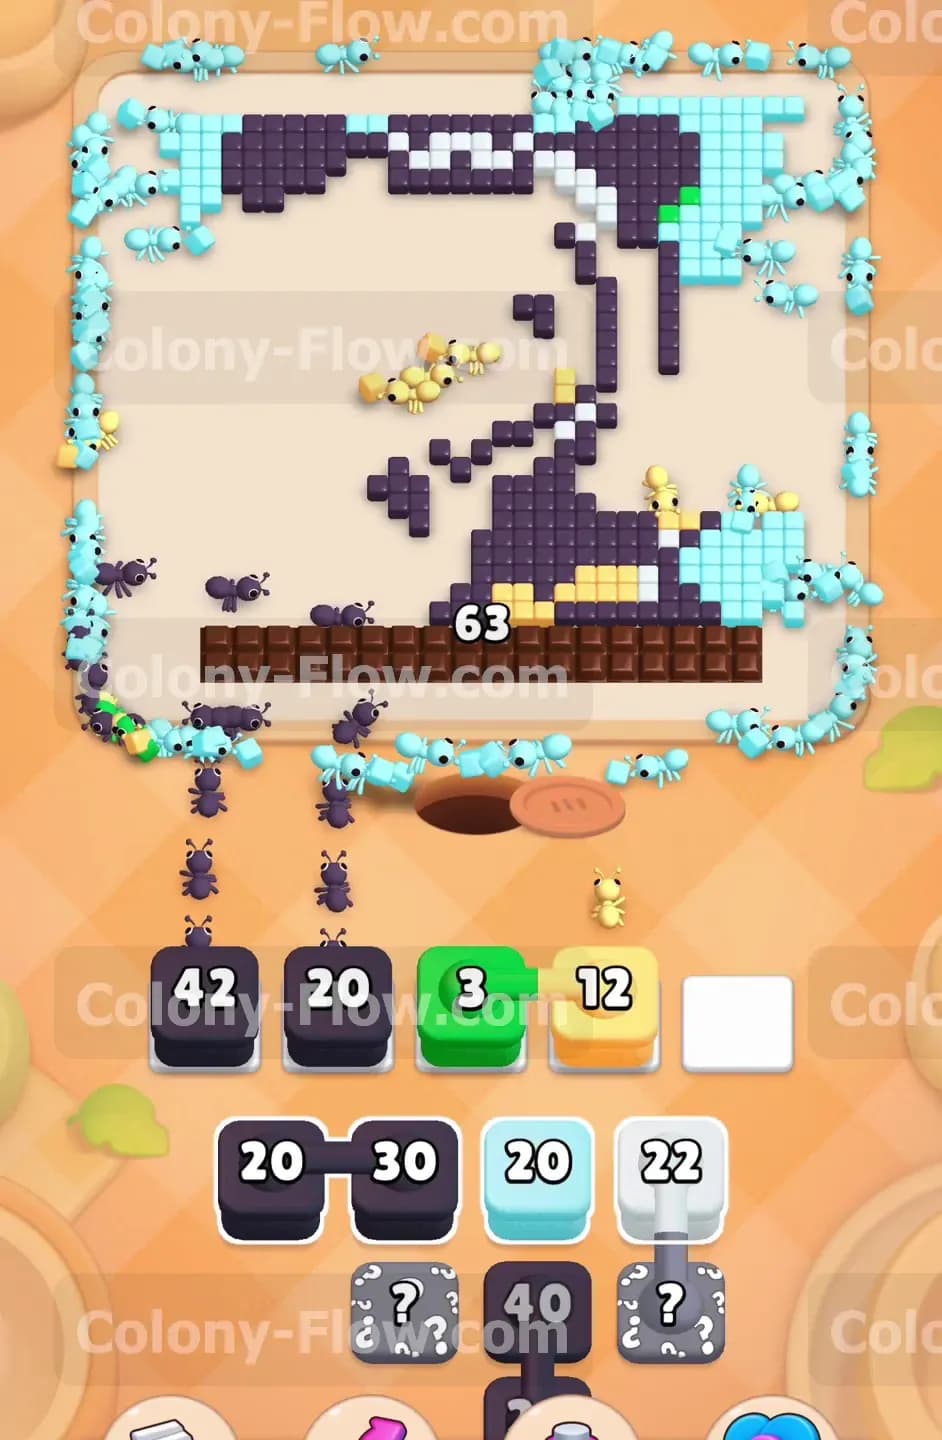
You will notice several boxes in your tray marked with a question mark. These are hidden boxes and they require a specific strategy. A hidden box hides its color until it has a valid path to move on the current board. You must ignore these boxes until they flip and reveal their true color. Do not try to guess what they are or pull them early. Once the board opens up a path for the color hidden inside the box will reveal itself automatically. When you see a hidden box turn into a red or dark blue block you know it is entirely safe to pull it into a waiting slot. This mechanic protects you from dead ending your board as long as you exercise basic patience.
Step 7: Crush the right side of the chocolate barrier
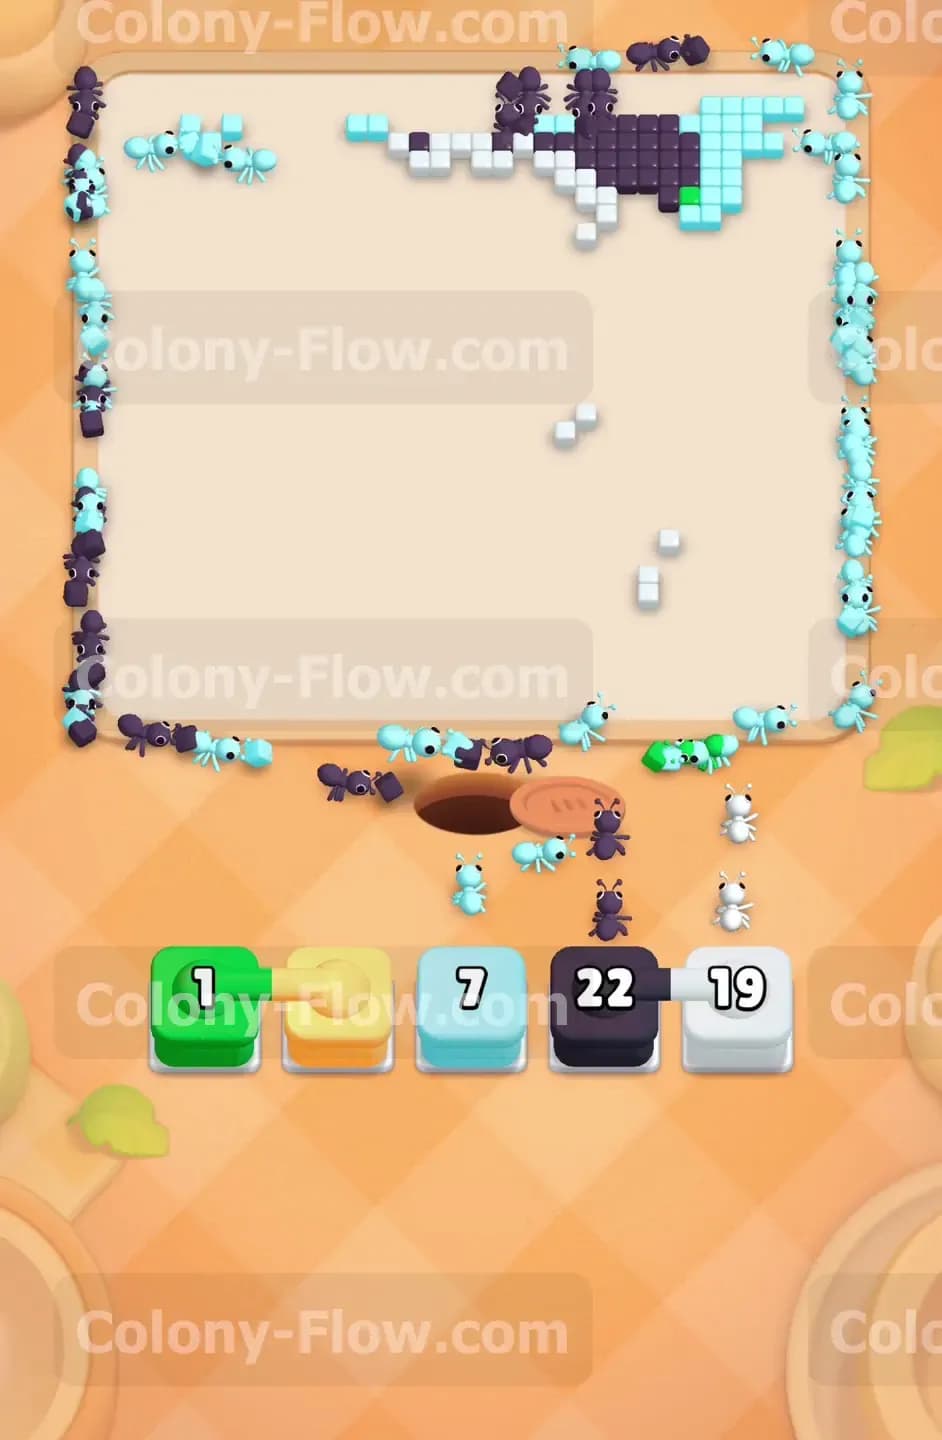
With the left side of the chocolate completely destroyed your ants will naturally shift their focus to the right side of the board. The right side chocolate started at six hundred hits and should be significantly lower by this point in the level. Pull more light blue and dark blue blocks from the tray to keep the swarm active and moving. The light blue ants will target the remaining background tiles on the right side. They will chew aggressively through the right side chocolate barrier to reach their destination. Keep cycling your blocks through the waiting slots as they empty out to maintain your momentum.
Step 8: Clean up the final picture tiles to secure the win
The massive chocolate barrier will eventually vanish completely from the bottom of the screen. This leaves only a handful of light blue, dark blue, and green tiles scattered around the extreme edges of the picture. Check your tray for the last remaining colored blocks. Pull the green block to clear the final green accents near the ears. Pull the remaining dark blue and light blue blocks to sweep up the last pieces of the background and the hoodie body. Your waiting slots should be mostly empty by now. Let the last few ants finish their routes to completely clear the board and win the level.
Final Thought
Level 433 tests your ability to sustain a massive attack on a heavy obstacle without clogging your waiting slots. The chocolate barrier seems impossible at first glance but a steady flow of ants will break it down faster than you might expect. Always prioritize keeping a path open and never pull a block unless its matching tiles are completely ready to be eaten. If any of these step instructions feel difficult to visualize I highly recommend you watch the video above this article. Seeing the exact timing of the tray pulls will make your own playthrough much smoother.