Colony Flow Level 137 Walkthrough Solution & Guides | How to solve Colony Flow 137

Guide By Liam Stone
Updated on July 11, 2026
You can watch the Level 137 solution unfold in the video above instead of scrolling through the article.
Video doesn't match your screen?
Game updates frequently scramble layouts! Try our AI Screenshot Solver first to find your exact board instantly, or report broken guides to our team.
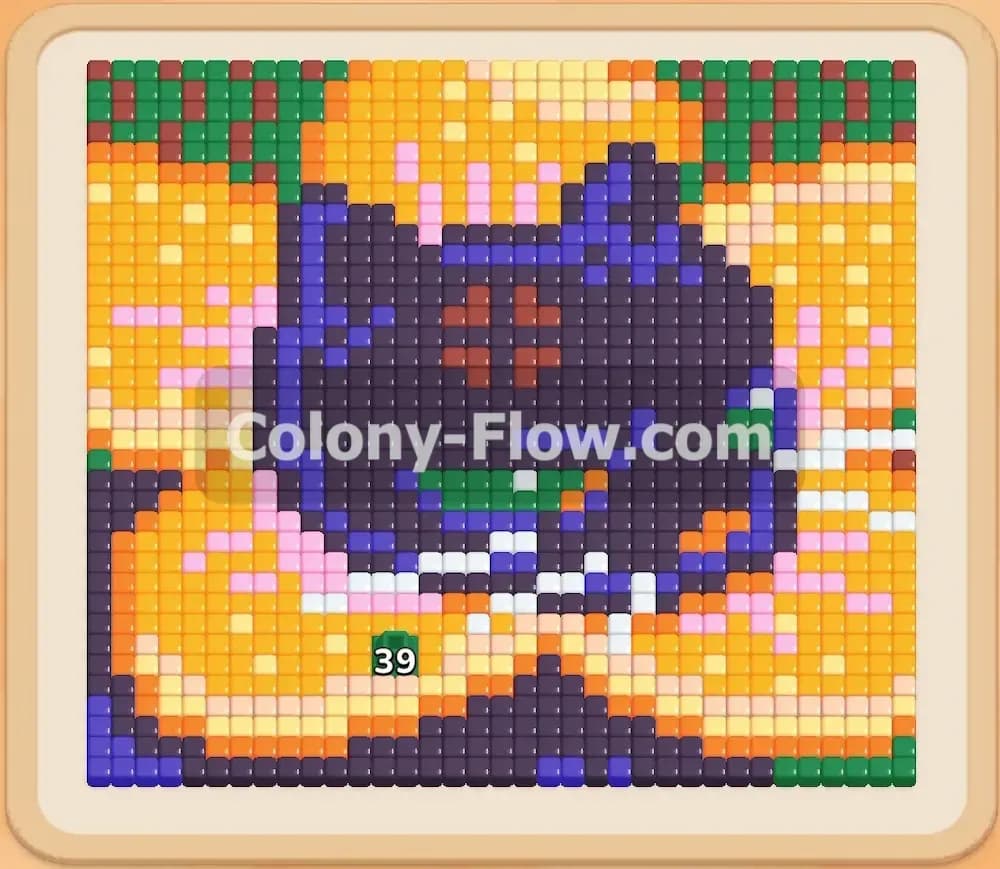
Welcome to Colony Flow Level 137. This puzzle presents a large insect design surrounded by a massive yellow background. You will need careful block management to clear the background without jamming your waiting slots. I will guide you through the exact sequence to break apart the wings and reveal the hidden boxes in the abdomen. Playing this level requires a steady rhythm of sending out ants to carve paths through the solid blocks of color.
Colony Flow Level 137 Overview
What You Are Working With
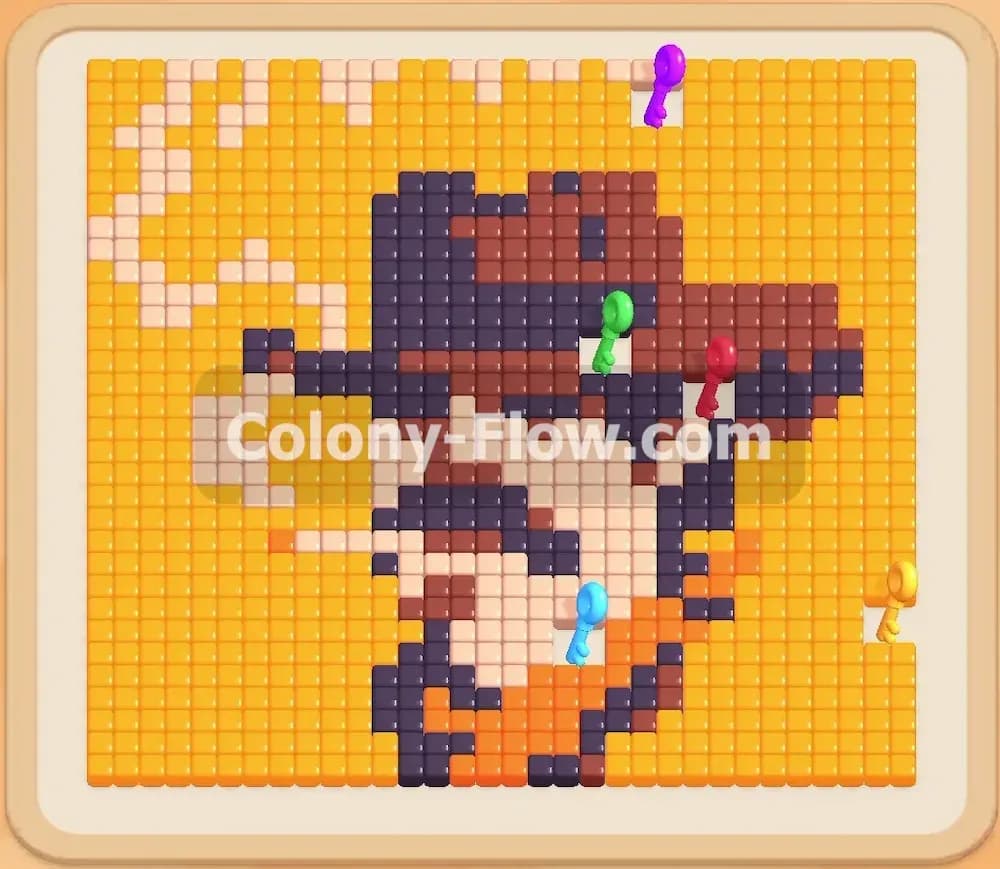
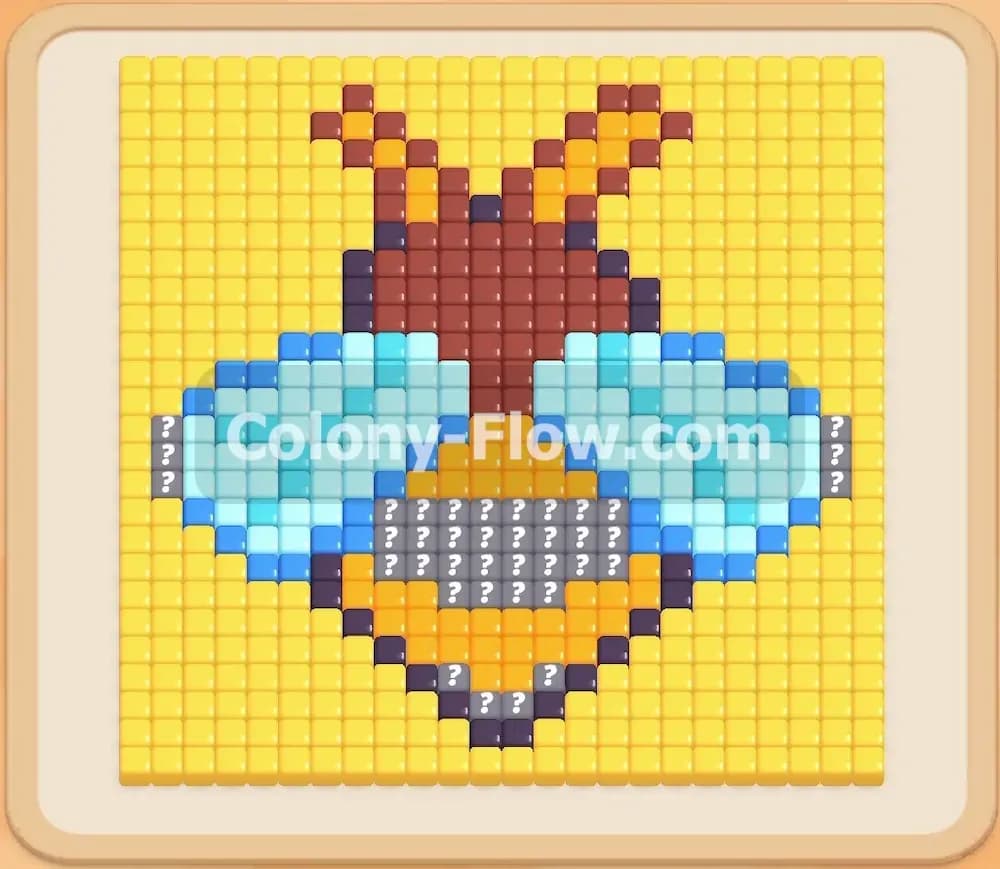
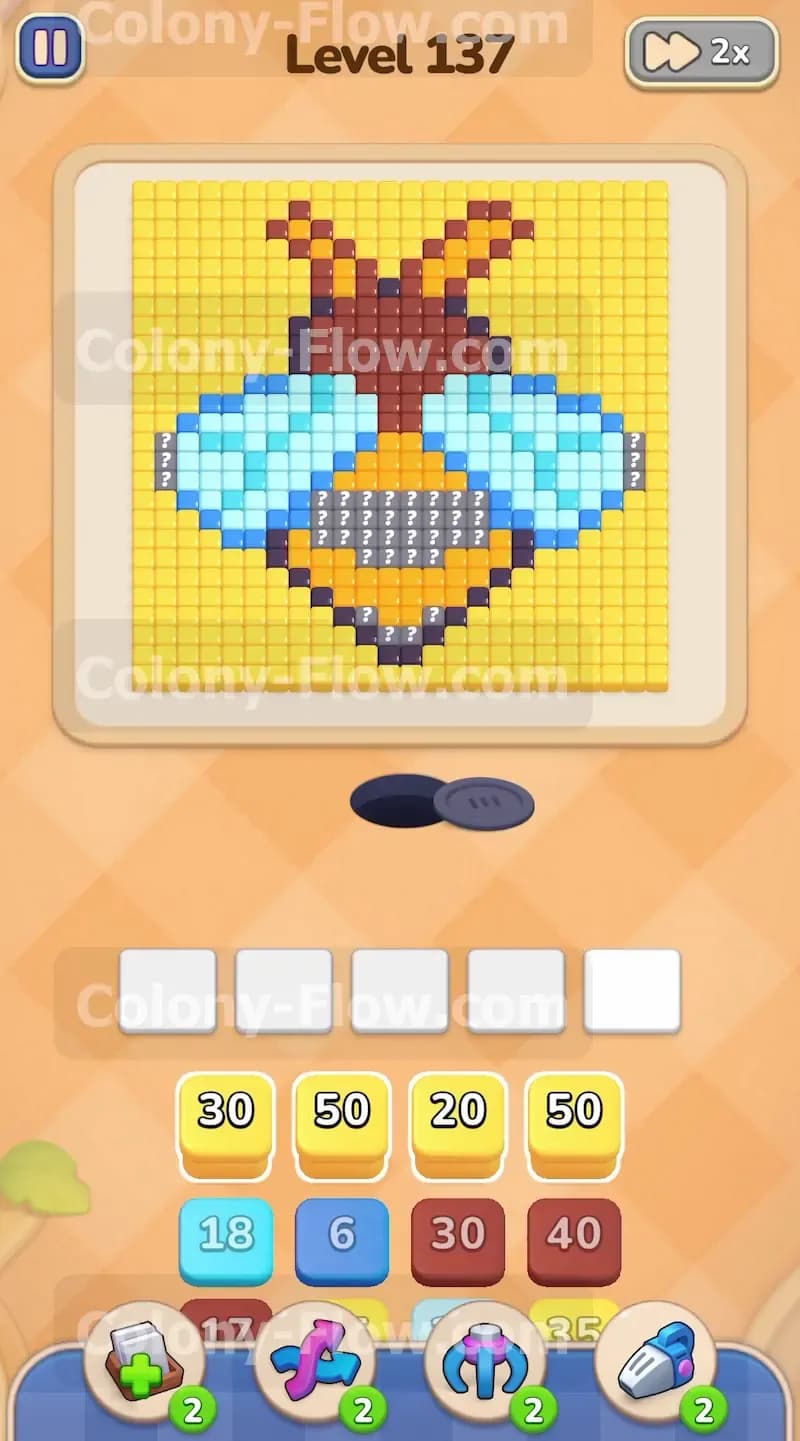
The board features a pixel art insect that looks remarkably like a bee or a fly. A huge solid yellow background fills all the empty space around the insect from the top corners all the way down to the bottom edges. The insect has a thick dark brown outline that defines its shape and protects the inner body sections. The wings consist of light blue outer edges and cyan inner sections. The head and upper body are made entirely of reddish brown tiles. The lower abdomen contains grey hidden boxes marked with question marks. These hidden boxes will reveal their true colors once you clear the regular tiles next to them. Your tray starts with several large yellow blocks along with dark brown, light blue, cyan, and reddish brown blocks. The nest hole sits at the very bottom center of the screen where all your ants originate.
What It Takes to Clear Level 137 Board
Winning this level requires you to dismantle the yellow background in stages while steadily breaking down the insect from the outside in. You must clear the light blue outer wings before the cyan inner wings can be reached. The dark brown outline must be breached at the bottom tip to give your ants access to the abdomen. You have exactly five waiting slots at the bottom of the screen. If you fill all five slots with blocks that have no open path to their matching tiles, the game ends immediately. The core rule is to never let your waiting slots jam. The key to victory is balancing the massive yellow background clearing with targeted strikes on the wings and body parts. You will reveal the hidden boxes late in the level and clear the orange and yellow stripes inside the abdomen to finish the board and claim your win.
Colony Flow Level 137 Step by Step Solution
Step 1: Start clearing the massive yellow background and open the bottom dark brown outline
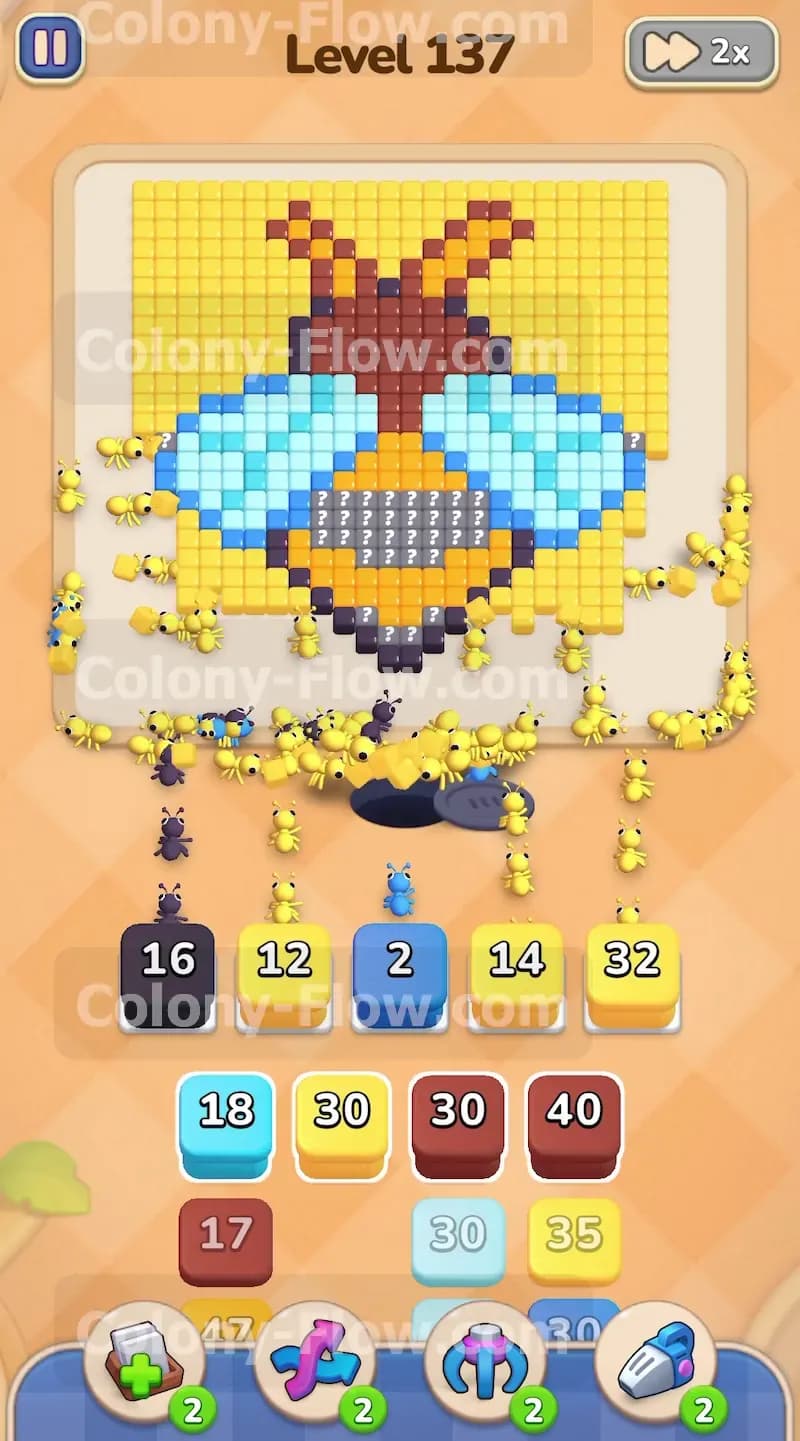
Your first priority is to create physical space on the board and start working through the huge stack of yellow blocks in your tray. Pull the first few yellow blocks into your waiting slots right away. The yellow ants will immediately stream out of the nest hole and begin consuming the bottom corners and outer side edges of the solid yellow background. At the same exact time, pull a dark brown block to target the very bottom tip of the insect outline. The dark brown ants will march straight up from the nest hole and start eating the bottom point of the abdomen. This specific move opens a direct path to the hidden boxes inside the lower body. Keep a close eye on your waiting slots and let the yellow ants do their heavy lifting before pulling too many blocks at once. You want a steady flow rather than a sudden jam.
Step 2: Send light blue ants to dismantle the outer edges of the wings
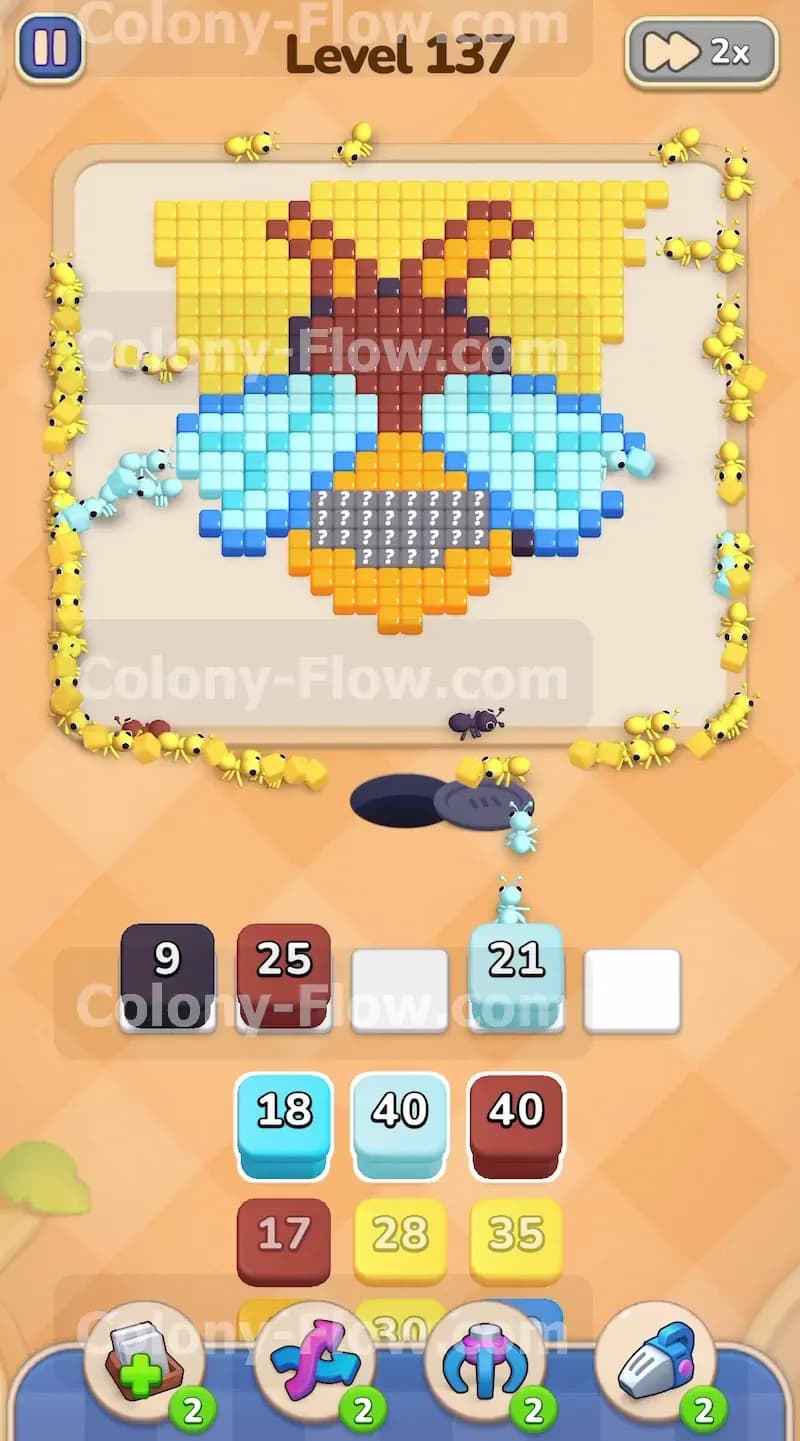
Once the yellow ants have cleared enough space around the left and right sides of the insect, you gain direct access to the outer wings. Pull the light blue block from your tray into an empty waiting slot. The light blue ants will instantly split up and travel up both sides of the board to attack the light blue wing tips. The wings stick out far enough that the ants can reach them without needing the entire top half of the yellow background cleared first. This action keeps your slots moving and quickly reveals the cyan inner sections of the wings for your next wave of ants. You want to clear the light blue tiles completely before moving on to the next color in your tray. Leaving stray light blue tiles will block your progress.
Step 3: Unleash cyan ants to consume the inner wing sections
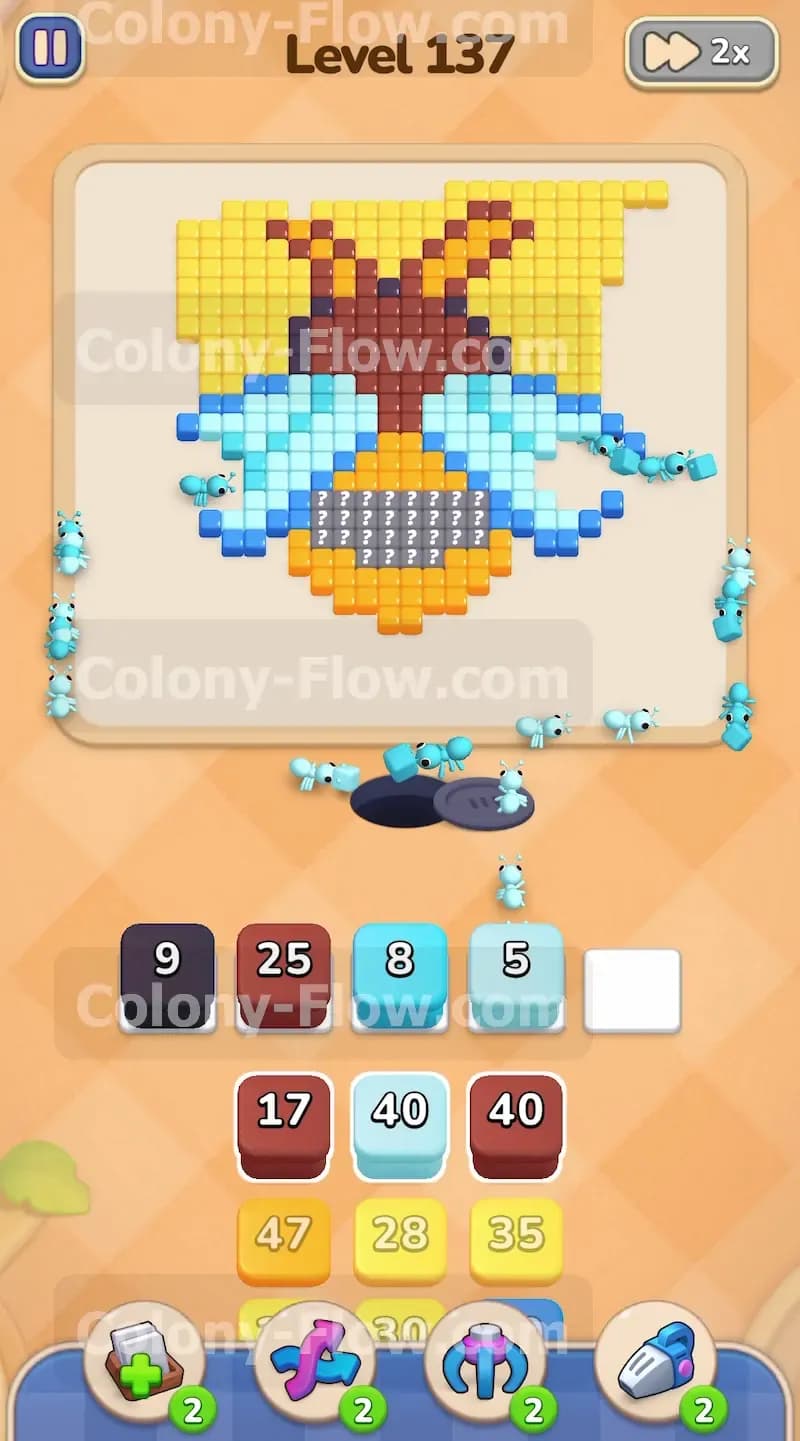
With the light blue outer edges totally gone, the cyan tiles are now exposed and ready to be cleared. Pull a cyan block into your waiting slots to continue the assault. The cyan ants will march up the sides and begin eating the massive inner wing sections. You will definitely need multiple cyan blocks to clear both wings fully since they contain so many tiles. Pull another cyan block when the first one runs low on numbers. By focusing heavily on the wings right now, you uncover the sides of the dark brown thorax and the reddish brown upper body. Make absolutely sure you do not pull any cyan blocks before the light blue tiles are fully cleared, or the cyan ants will have nowhere to go and will completely clog your waiting slots.
Step 4: Continue chipping away at the top sections of the yellow background
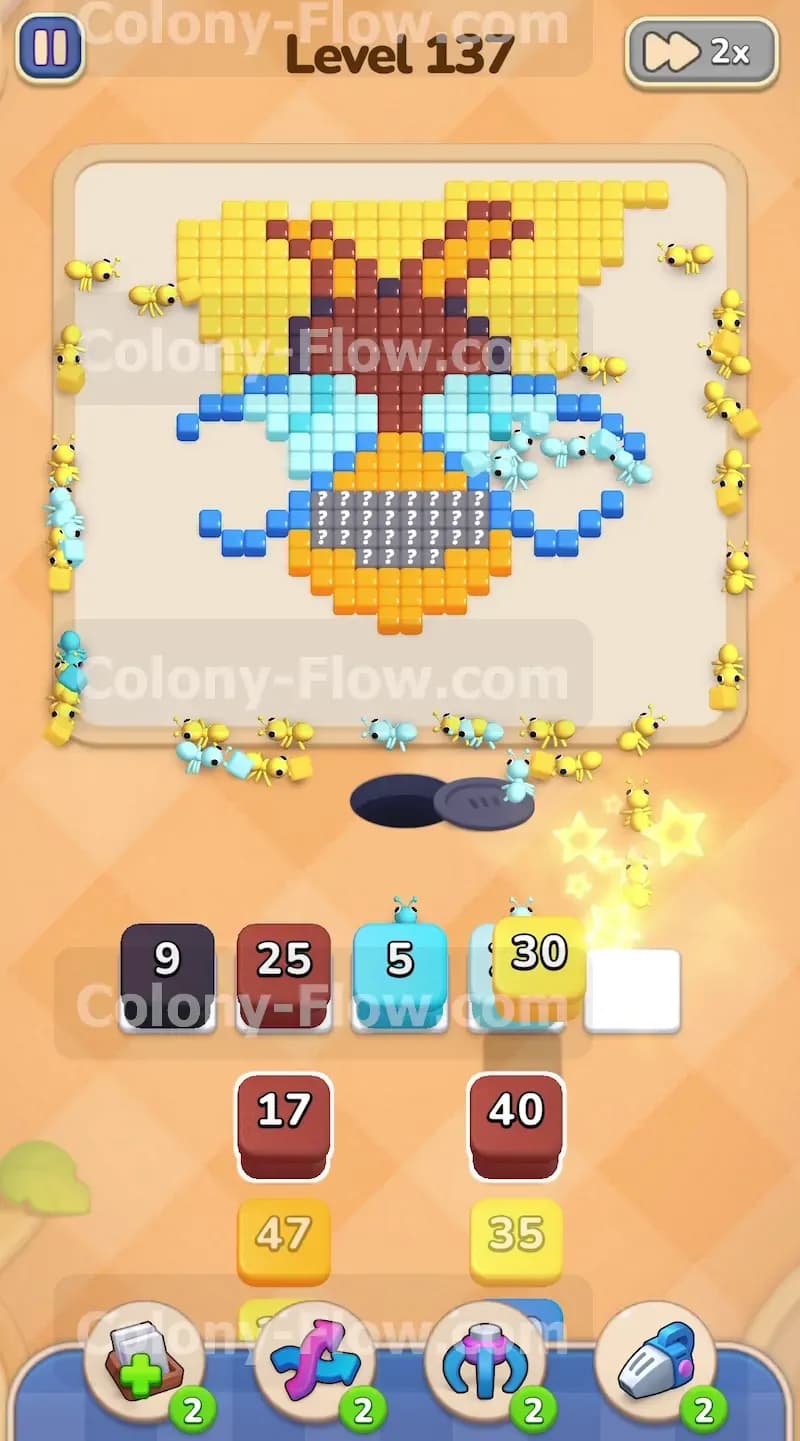
While the cyan ants are busy eating the wings, you will notice the top half of the yellow background is still completely intact. The top corners and the area directly above the insect head need immediate attention. Pull another large yellow block from your tray to keep the background shrinking. The yellow ants will travel all the way up the outer sides of the board, walk past the remaining wing sections, and start clearing the top corners. It takes a very long time for the ants to travel that far up the board, so pulling this yellow block early ensures you do not waste time waiting later. You need to keep the yellow blocks flowing out of your tray to reach the body blocks buried underneath them.
Step 5: Attack the reddish brown head and upper body
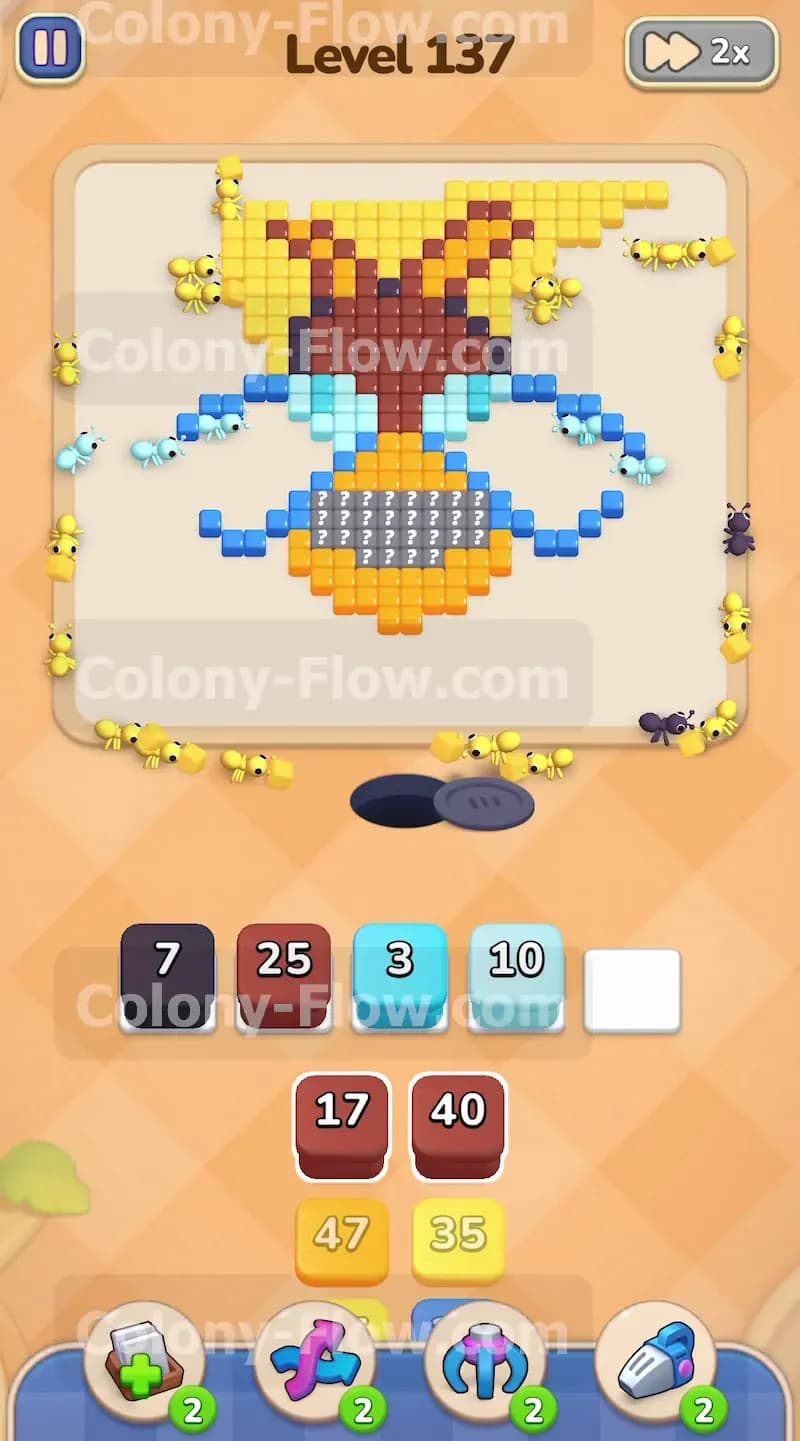
As the wings disappear and the top yellow background shrinks, the reddish brown head and thorax become fully accessible from the sides and the very top. Pull a reddish brown block into your waiting slots to start the next phase. The reddish brown ants will charge straight into the head and start dismantling it from all available angles. You will see several high numbered reddish brown blocks sitting in your tray waiting to be used. Pull them one by one as your slot space allows. The head and upper body contain a massive number of tiles grouped tightly together. Clearing this specific section opens up the entire top half of the insect and removes a huge chunk of the total tiles on the board. Always ensure the reddish brown ants have a clear path before pulling the next block.
Step 6: Reveal the hidden boxes in the abdomen and clear the orange stripes
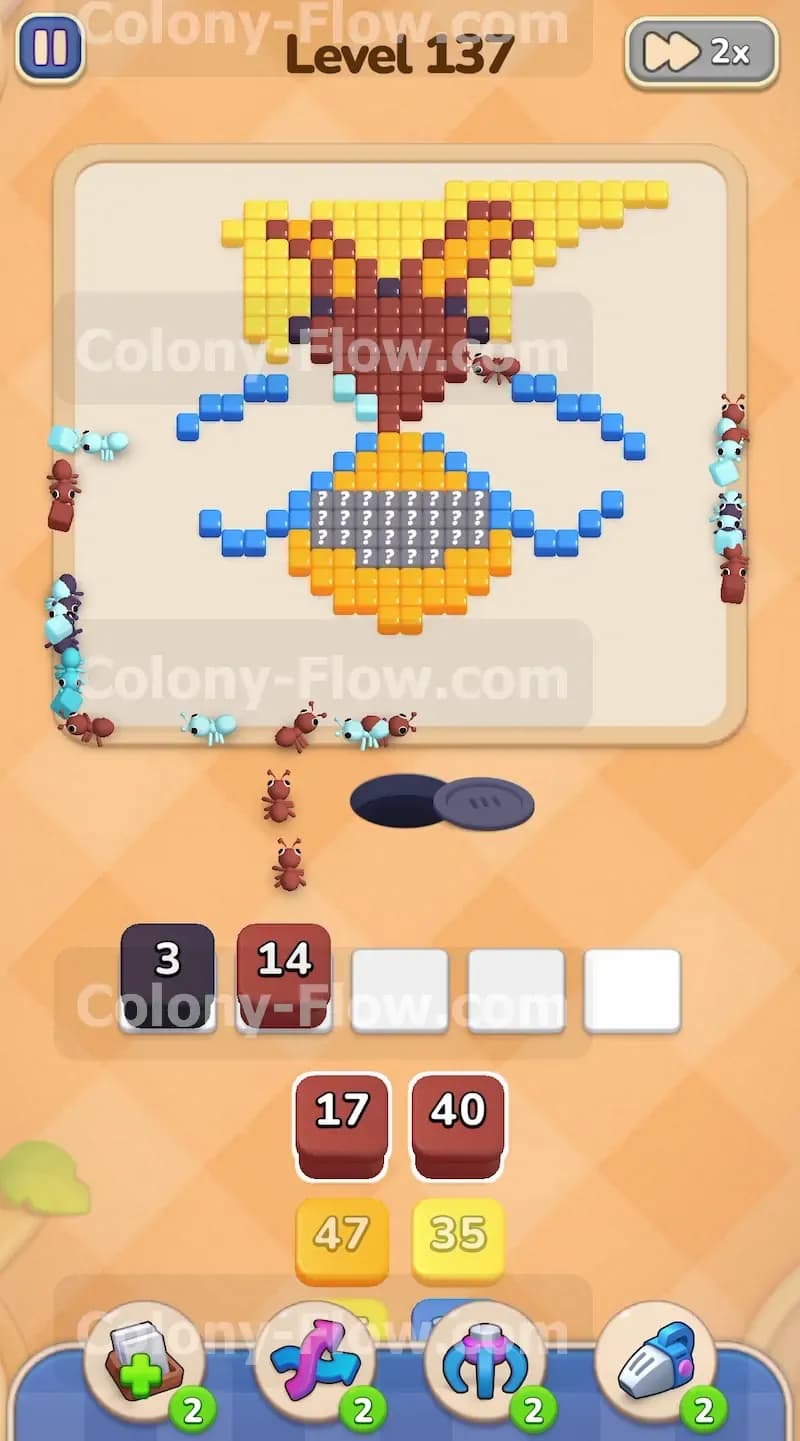
By this late point in the level, the bottom dark brown outline has been broken wide open, and the sides of the abdomen are entirely exposed. The grey hidden boxes with question marks will finally start revealing their true colors to you. They turn into bright orange and yellow horizontal stripes. Pull an orange block from your tray into a waiting slot. The orange ants will march straight into the abdomen and begin clearing the orange stripes. You will also need to pull another yellow block to clear the newly revealed yellow stripes in the center of the abdomen. The hidden boxes add a fun layer of surprise, but since you kept your slots clear, you have plenty of room to pull the matching colors. The abdomen will quickly vanish as the orange and yellow ants work closely together.
Step 7: Finish the remaining dark brown outline and complete the level
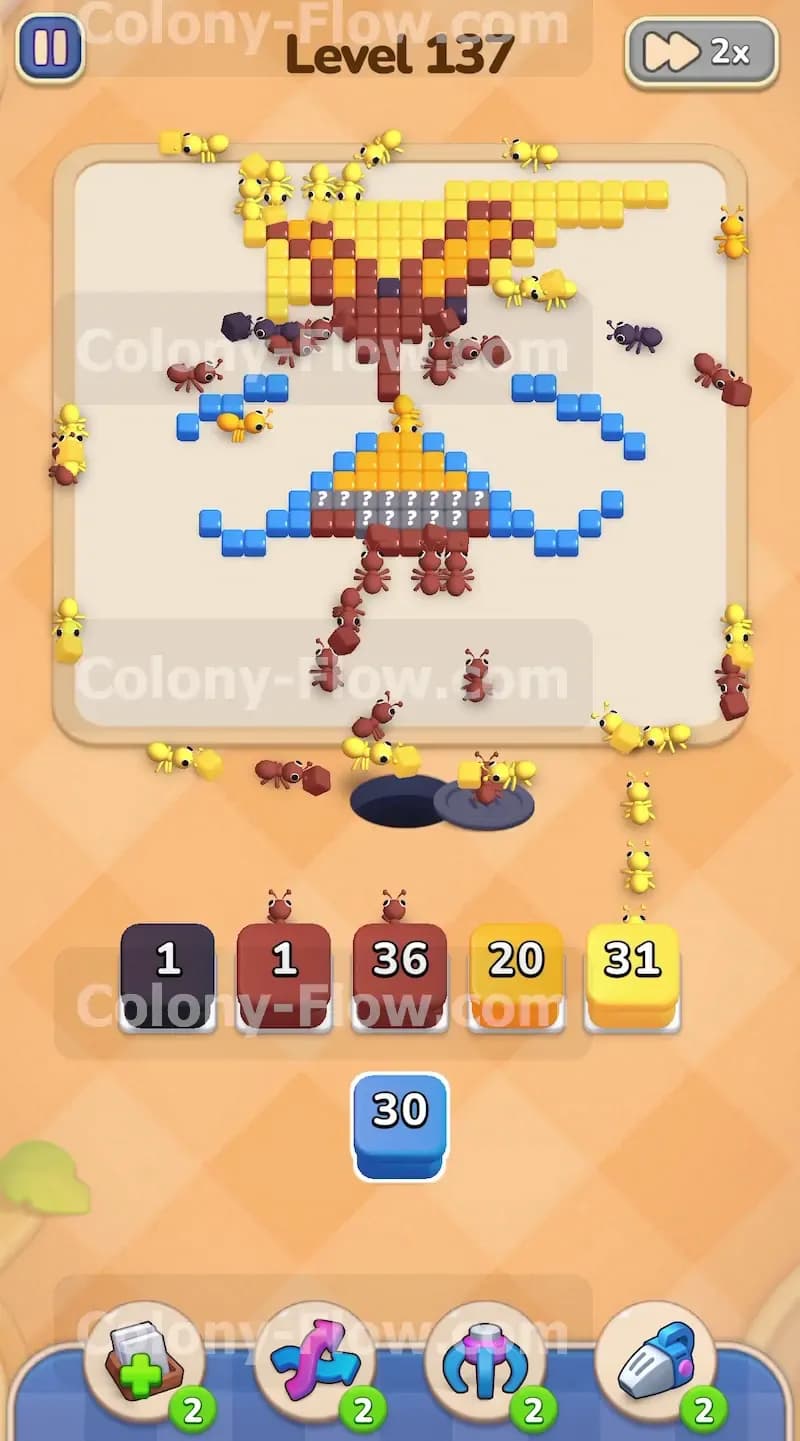
The only parts of the insect remaining are scattered pieces of the dark brown outline and a few leftover yellow background tiles at the very top of the board. Pull your final dark brown block into the available waiting slots. The dark brown ants will split up and hunt down the last outline pieces around the thorax and abdomen. If any yellow tiles remain at the top edge of the board, pull your last yellow block to send ants all the way up to finish the job. The board will be completely empty once the final dark brown and yellow tiles are consumed. The ants will finish their walking paths, the screen will clear, and you will win the level.
Final Thought
Colony Flow Level 137 tests your patience with its massive yellow background and layered insect design. The secret is simply pacing your yellow blocks while steadily breaking down the wings and body sections as they become available. Always make sure a specific color has a clear path before you pull it into your waiting slots to avoid losing the game. The hidden boxes in the abdomen will not cause any trouble at all as long as you open the bottom outline early in the puzzle. If you find any of these written steps difficult to visualize, please watch the video above this article to see the exact timing and order of every single move. Good luck clearing the board and moving on to the next challenge.