Colony Flow Level 420 Walkthrough Solution & Guides | How to solve Colony Flow 420

Guide By Liam Stone
Updated on August 1, 2026
The written guide below covers Level 420 in depth, but you can watch the video above for the same solution.
Video doesn't match your screen?
Game updates frequently scramble layouts! Try our AI Screenshot Solver first to find your exact board instantly, or report broken guides to our team.
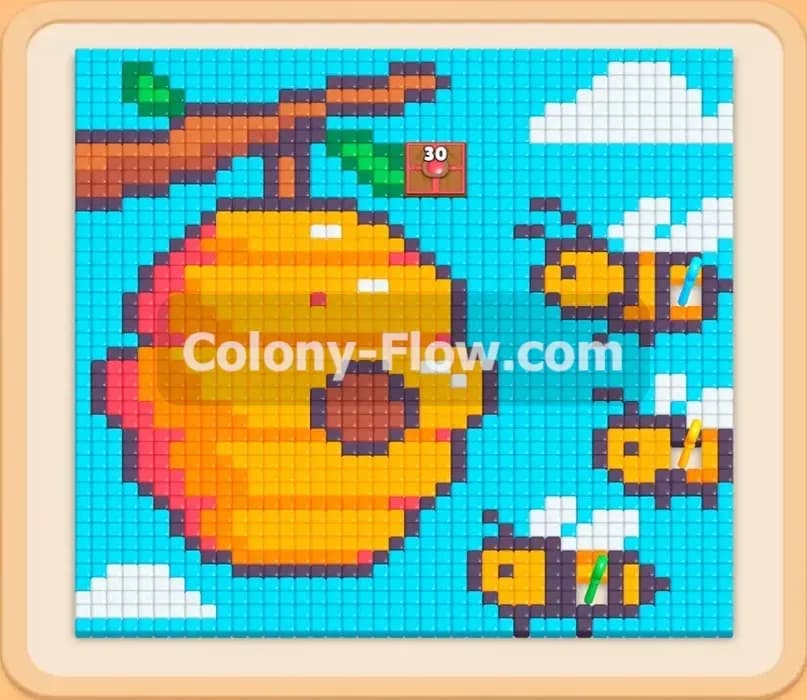
Colony Flow Level 420 features a beautiful pixel art beehive hanging in a bright summer sky. You command a busy colony of ants that must dismantle and eat every single pixel to win the stage. I played this exact puzzle to figure out the safest order of operations for your tray. Follow my step by step guide below to keep your ants marching and completely avoid the frustrating dead ends.
Colony Flow Level 420 Overview
What You Are Working With
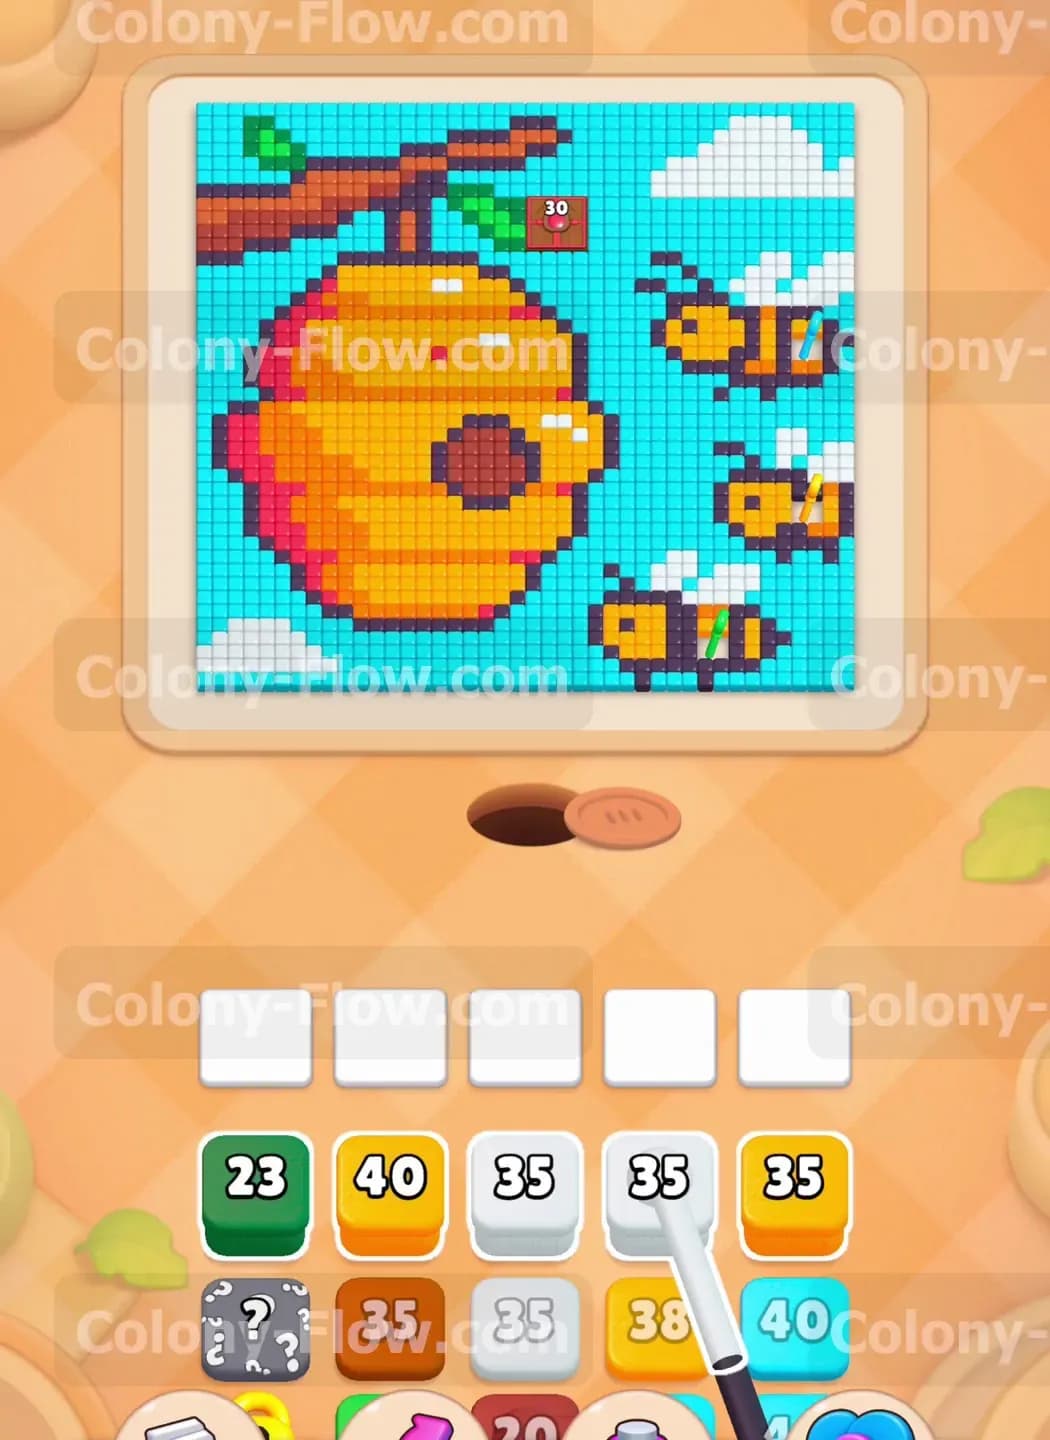
The board presents a massive picture dominated by a light blue sky and fluffy white clouds. The main subject is a giant honeycomb hive shaded in bright yellow with thick orange and red borders. A sturdy dark brown branch holds the hive up while green leaves sprout from the top left corner. Several small bees with dark grey stripes and white wings fly around the right side of the screen. Down below the picture sits your nest hole where the ants emerge. Your tray at the bottom holds the numbered colored blocks you need to deploy. The numbers on these blocks tell you exactly how many ants will spawn to eat that specific color. You will encounter Connected Boxes which force you to pull two blocks to the queue at the exact same time. You also have a Hidden Box that conceals its color under a question mark until you commit it to the board. There are also lock and key mechanics in play where certain blocks remain frozen until you collect the corresponding key from the tray.
What It Takes to Clear Level 420 Board
Winning this stage requires you to erase every pixel of the picture by feeding them to your colony. You direct the ants by tapping the colored blocks in your tray and moving them up to the five waiting slots. The ants will pour out of the nest hole and automatically seek out the closest matching colored tiles. However you must manage those five waiting slots with extreme care. If you fill all five slots with blocks that have no clear physical path to their matching tiles you instantly lose the level. Every single move you make must maintain an open route for at least one active color. You have to peel the picture away layer by layer starting with the outer sky and working your way inward to the hive. The long branch and the scattered flying bees create complex physical barriers. You must clear the colors around them before your ants can safely reach the interior details.
Colony Flow Level 420 Step by Step Solution
Step 1: Clear the white clouds to open the outer edges of the sky
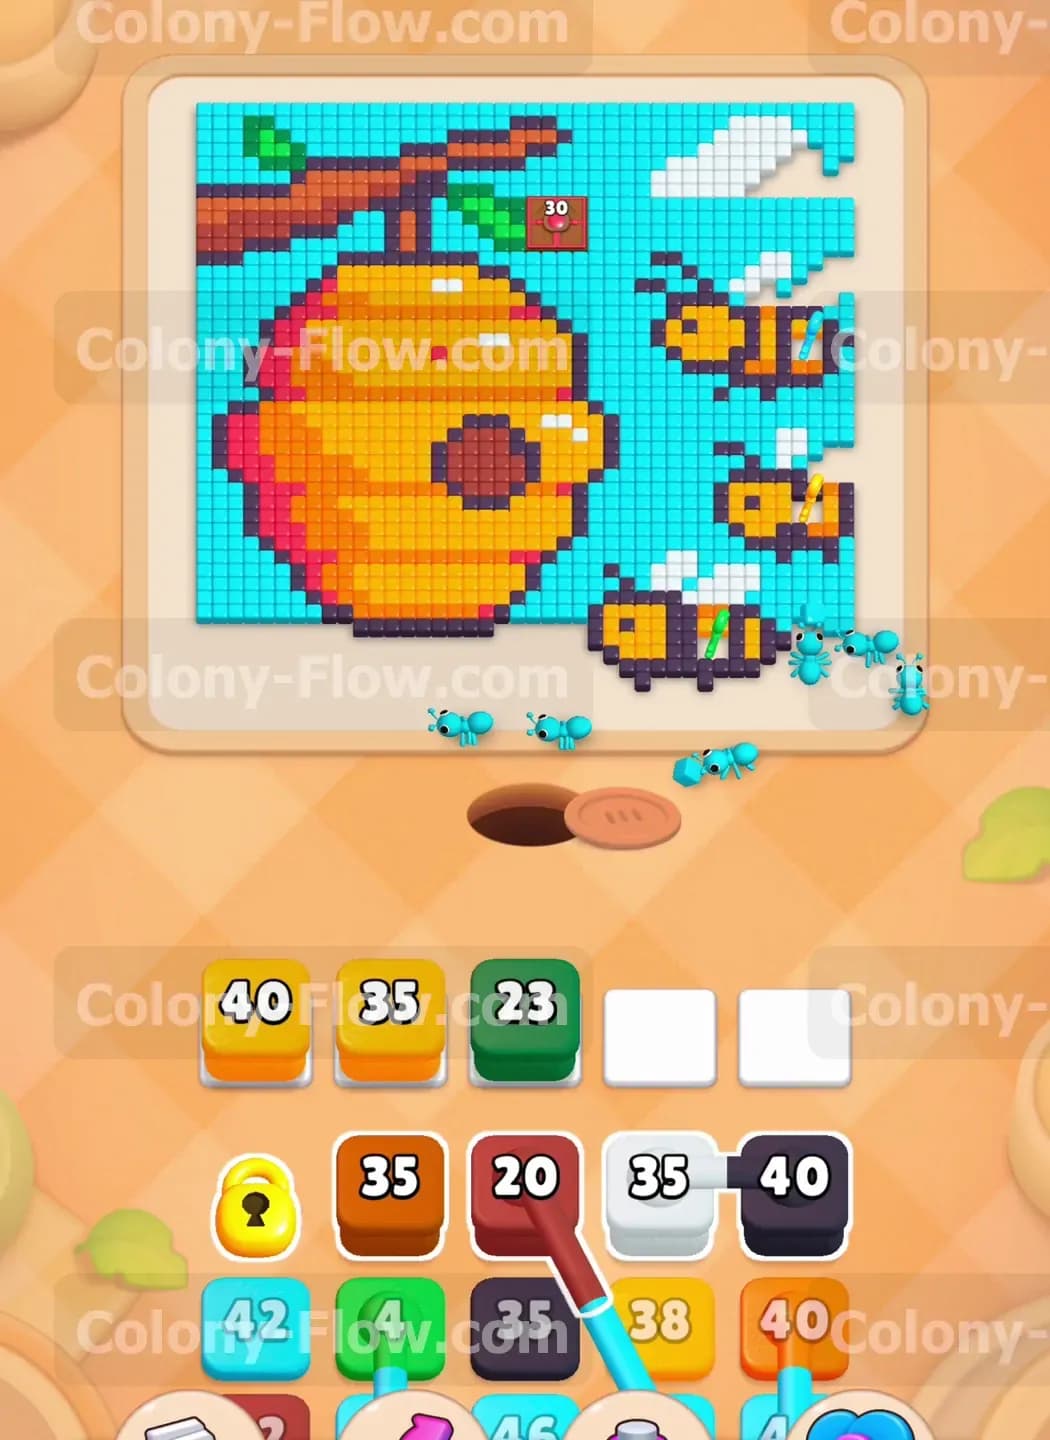
Your first major obstacle is the cluster of white clouds scattered across the bottom and right edges of the light blue sky. You will spot a pair of White blocks in your tray carrying the number thirty five. These blocks are joined together as Connected Boxes. Tap them to send both White blocks up to your waiting slots at the same time. The white ants will stream out of the central nest hole and split up to devour the white pixel clouds. Clearing these clouds first is a brilliant tactical move because it creates wide open walking lanes along the bottom edge of the board. Once the white clouds disappear you can tap the large Light Blue blocks in your tray. The light blue ants will march out and begin eating away the massive background sky. Getting the sky out of the way early gives all your future ants plenty of room to maneuver without getting trapped.
Step 2: Unlock the yellow pieces to expose the main honeycomb structure
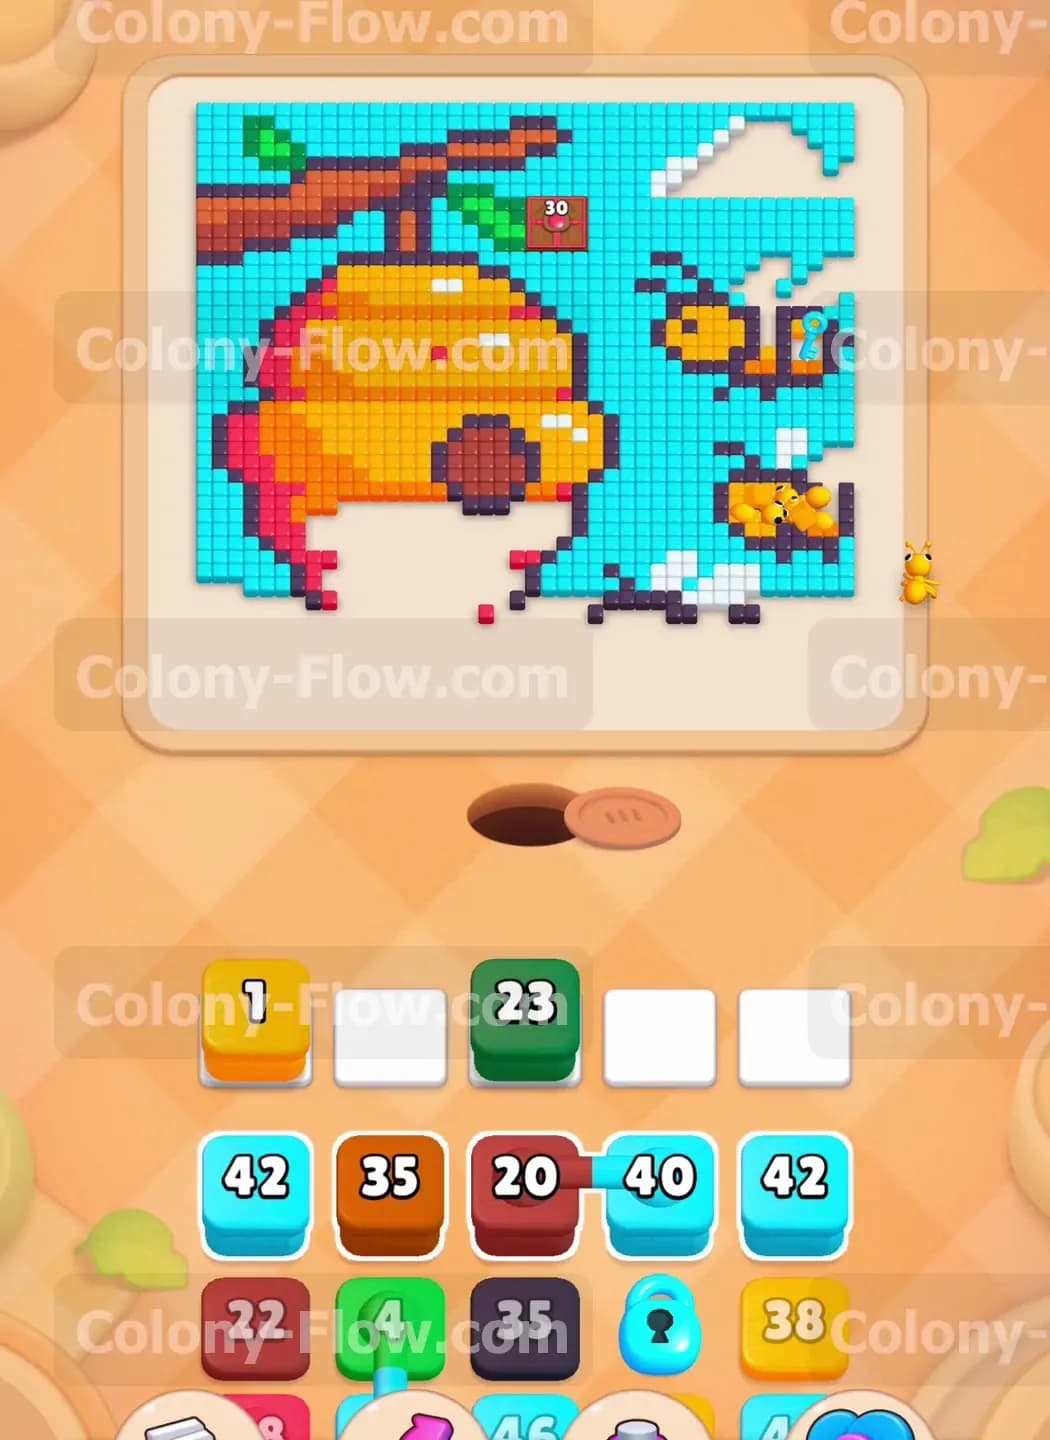
As the light blue sky slowly recedes your ants gain access to the large yellow honeycomb and the small yellow flying bees. You will quickly notice a yellow lock securing one of your essential tray blocks. You must find the block bearing the yellow key and tap it to send it to the queue. The ants will grab the key and shatter the lock on your yellow block. With the lock out of the way you can safely tap the large Yellow blocks waiting in your tray. The yellow ants will pour out of the nest hole and swarm the giant hive structure. They will rapidly eat away the bulk of the honeycomb and then travel right to eat the yellow bodies of the small bees. Only pull these yellow blocks when you are absolutely certain the ants can walk straight to the hive without hitting a blue wall.
Step 3: Deploy the connected brown and dark grey blocks for the details
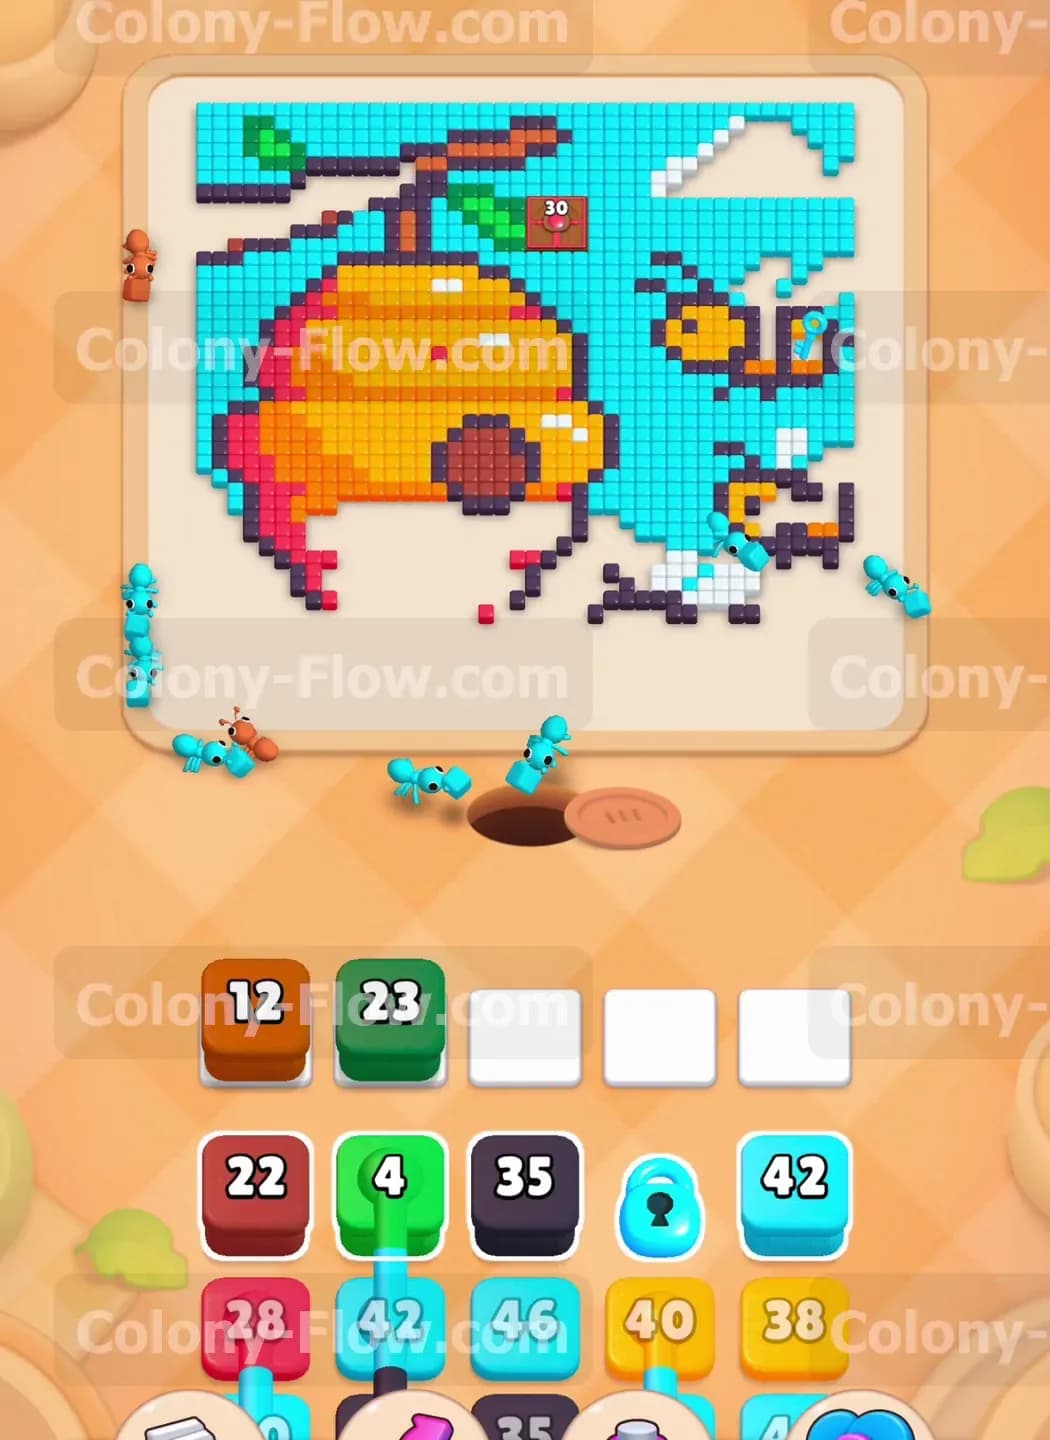
The center of the board features a thick dark brown branch and a dark brown entrance hole right in the middle of the hive. You also have several small bees flying around that feature dark grey stripes. Your tray provides a perfect tool to handle these tricky interior colors. You will find a Brown block carrying the number twenty connected directly to a Dark Grey block carrying the number forty. Tap this connected pair to send both colors up to the waiting slots simultaneously. The brown ants will immediately march up to the branch and begin eating the wood. At the exact same time the dark grey ants will weave through the cleared sky to eat the stripes on the bees. Handling both of these detail colors at the same time keeps your queue moving and prevents a nasty bottleneck.
Step 4: Reveal the hidden box once you establish multiple open routes
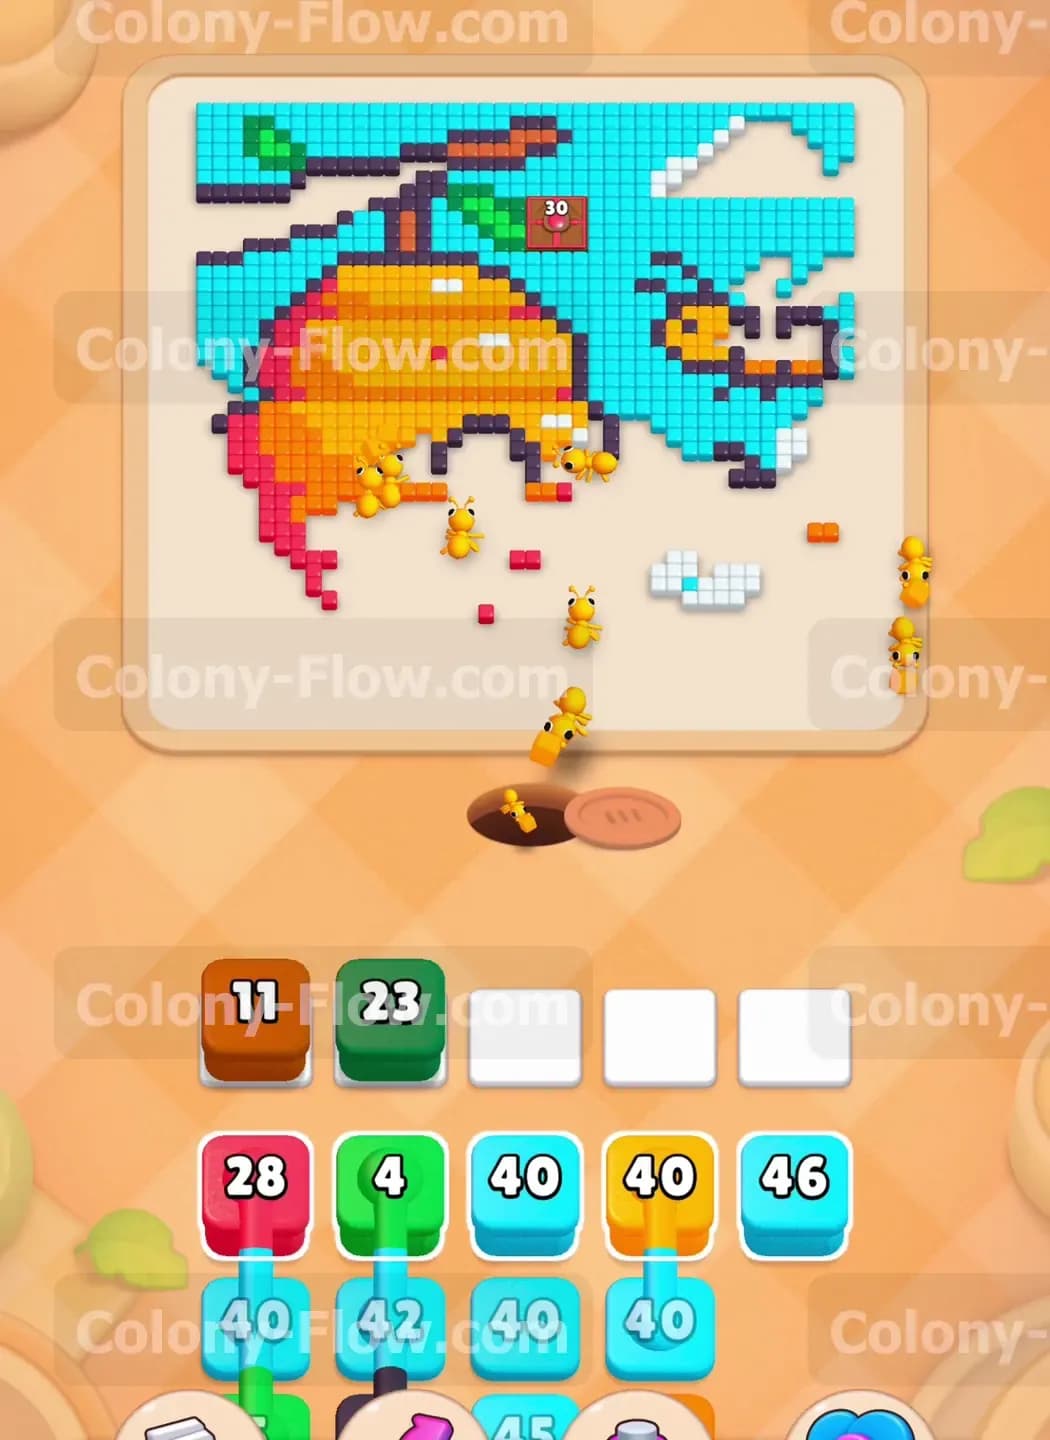
You still have a Hidden Box sitting in your tray disguised with a grey question mark. You cannot know what color it holds until you tap it and move it to the active queue. You should only tap this block when you have cleared a substantial amount of the board. By this point the sky is mostly gone and the hive is heavily damaged. This guarantees that whatever color pops out of the Hidden Box will almost certainly have a clear path to its target. Tap the Hidden Box and watch it reveal its true color. The corresponding ants will spawn and get straight to work. Always keep at least two of your five waiting slots totally empty before you gamble on a Hidden Box. That extra space protects you if the hidden color needs to wait a moment before it can find a clear path.
Step 5: Peel away the bright orange and deep red hive shadows
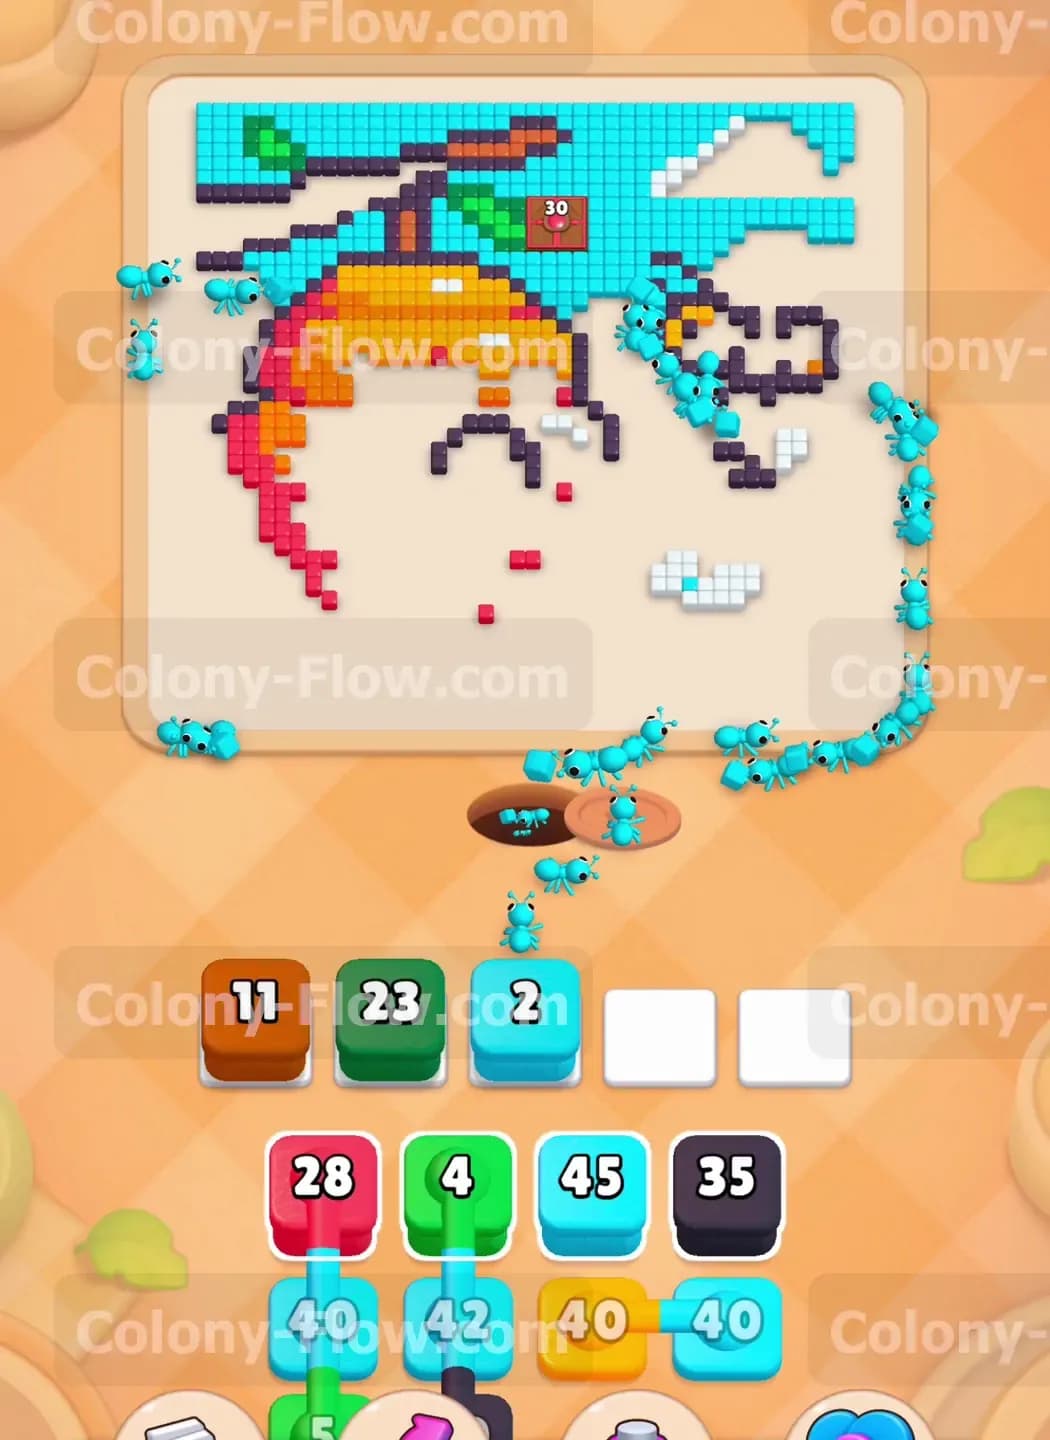
The massive yellow center of the hive is completely gone leaving behind a curved shell of bright orange and deep red pixels. These colors represent the shadows on the left and bottom edges of the honeycomb. You must strip these colors away in the correct order to avoid a jam. Tap your Orange blocks first and send them up to the queue. The orange ants will run up and eat the inner layer of the shadow. Once the orange tiles start to vanish you can tap the pair of Red blocks linked together as Connected Boxes. The red ants will follow the exact same path and eat the very outer rim of the hive. If you accidentally tap the Red blocks before the Orange blocks the red ants will get blocked and your waiting slots will fill up resulting in a quick loss.
Step 6: Send the green ants on the long journey to the leaves
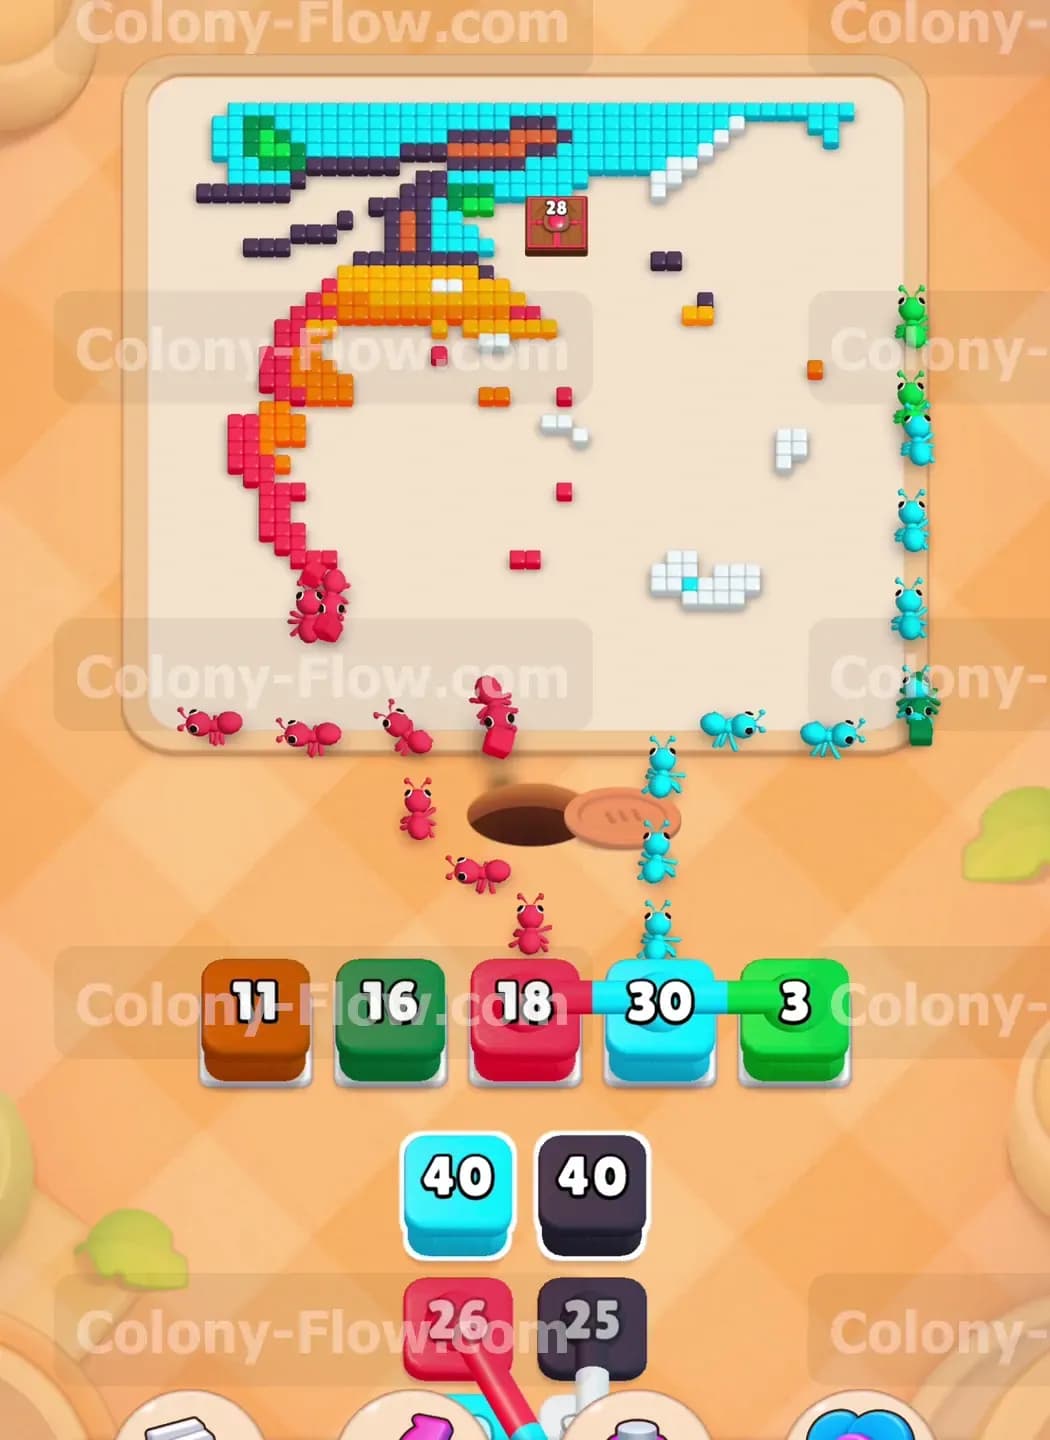
Look at the top left corner of your screen where a small cluster of green leaves sits attached to the brown branch. The physical distance from the nest hole at the bottom to those leaves at the very top is incredibly long. Tap your Green blocks and send them to the waiting slots. The green ants will spawn and begin their massive trek all the way around the left side of the board. Because their walking path is so long these green blocks will occupy your waiting slots for a significant amount of time. You must exercise patience here. Do not frantically tap other blocks while the green ants are marching. Maintain your empty queue space and let the green ants finish their meal before you move on to the final colors.
Step 7: Unlock and consume the final light blue sky fragments
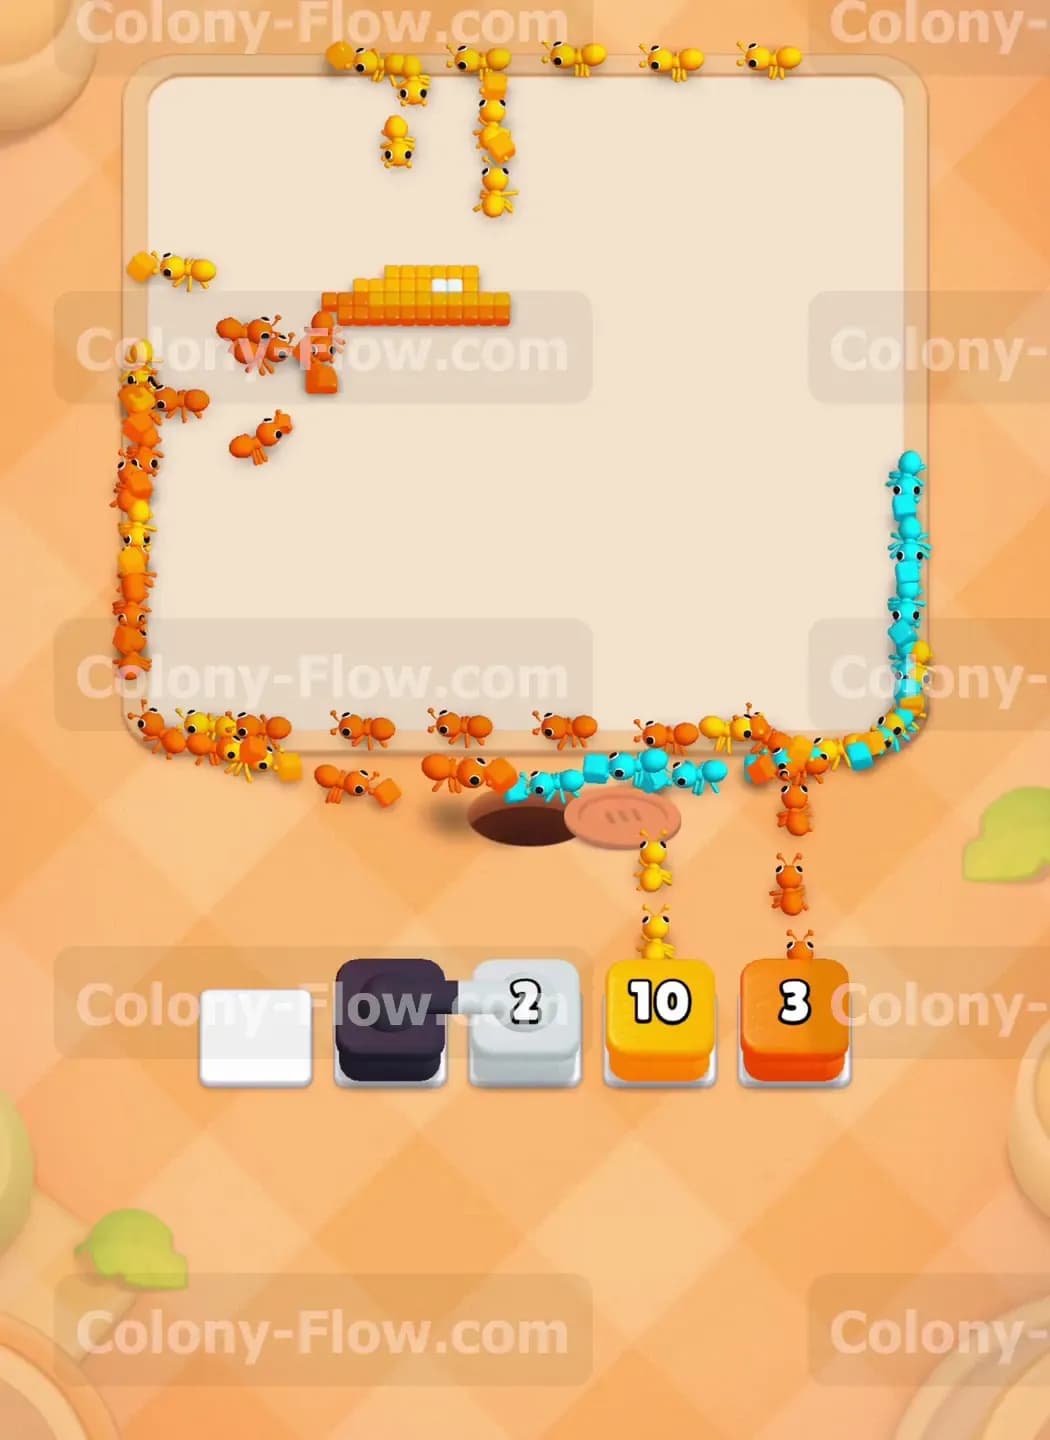
The extreme outer edges of the screen still hold a few stubborn light blue sky pixels. You will encounter another lock mechanic in your tray protecting a massive Light Blue block. Locate the block holding the light blue key and tap it to free your locked pieces. Once the lock breaks you can safely queue up the remaining Light Blue blocks. The ants will scatter to the top right and top left corners to hunt down the final pieces of the background. The board is very open now so the ants will not get stuck but they still have a lot of ground to cover. Wait for the light blue numbered blocks to count down completely before you dump the rest of your tray.
Step 8: Empty the remaining blocks to finish the puzzle board
You are in the final stretch with only a handful of blocks left sitting in your tray. You will see a few small Orange and Yellow blocks along with a grey block remaining. The entire center of the board is completely erased leaving perfect straight paths to the isolated pixels. Tap these final blocks in any order you prefer. The last wave of ants will sprint out of the nest hole and gobble up the tiny remnants of the hive and the bees. Watch the numbers on your blocks hit zero as the tray completely empties out. The screen will clear entirely confirming your victory. You safely managed your limited queue space and guided the colony without a single dead end.
Final Thought
Clearing this busy pixel art scene feels highly satisfying when you execute the right queue management strategy. Always remember to prioritize the outer colors like the white clouds and the light blue sky before you try to dig into the center details. Watch the video above this article if you run into trouble visualizing the connected blocks or the lock mechanics I outlined. Seeing the ants navigate the long paths in real time will help you master the exact timing required to protect your waiting slots. Keep practicing your routing skills and you will dominate every puzzle in this game.