Colony Flow Level 102 Walkthrough Solution & Guides | How to solve Colony Flow 102

Guide By Liam Stone
Updated on July 11, 2026
Watch the video above for a faster look at how Level 102 gets solved.
Video doesn't match your screen?
Game updates frequently scramble layouts! Try our AI Screenshot Solver first to find your exact board instantly, or report broken guides to our team.
Colony Flow Level 102 presents a brilliant pixel art rooster puzzle that demands your full attention right from the start. I played this stage multiple times and learned quickly that the massive block numbers can trap you if you make the wrong move. The secret is peeling the image away from the outside edges before touching the center details. You need to keep those ants moving smoothly to secure the win and keep your slots empty.
Colony Flow Level 102 Overview
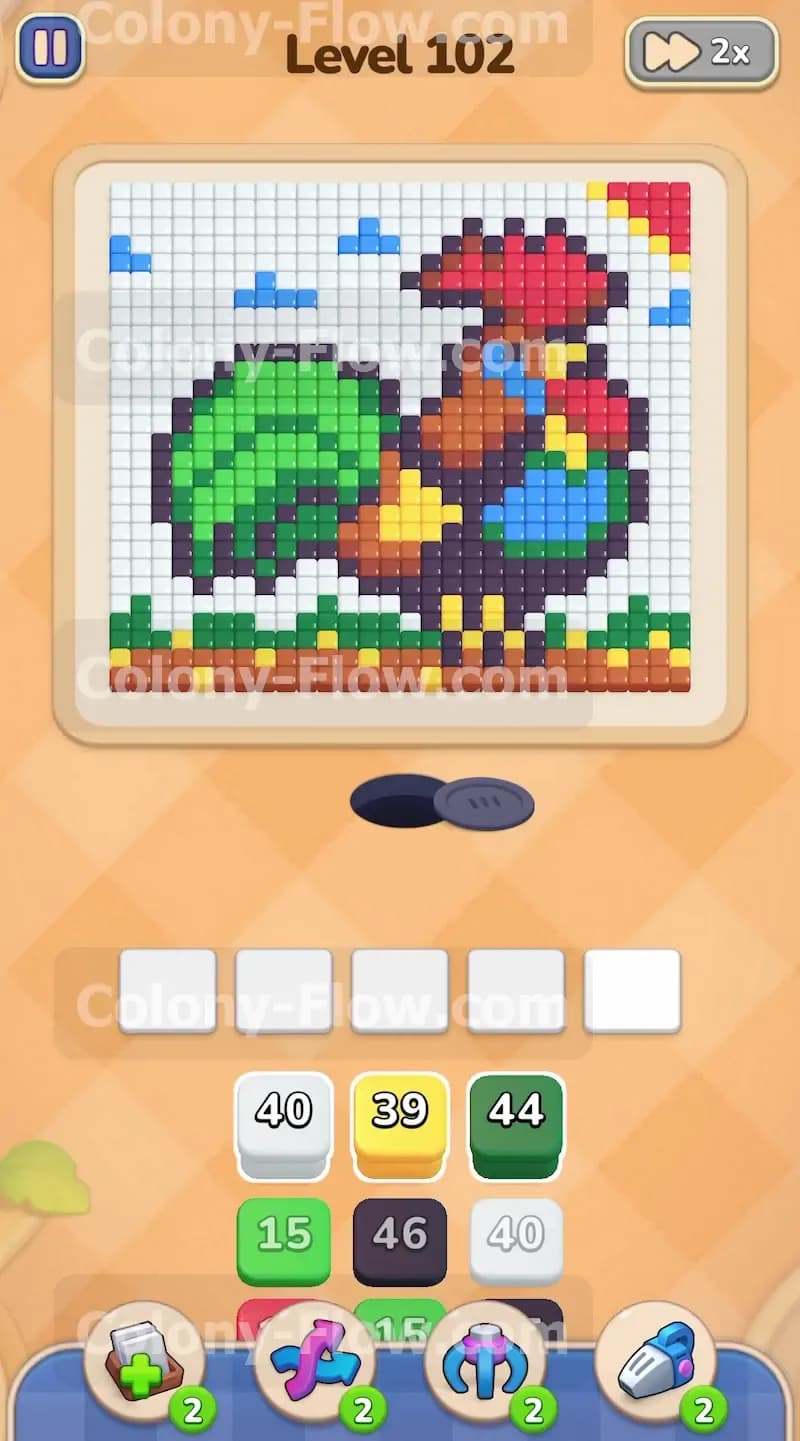
What You Are Working With
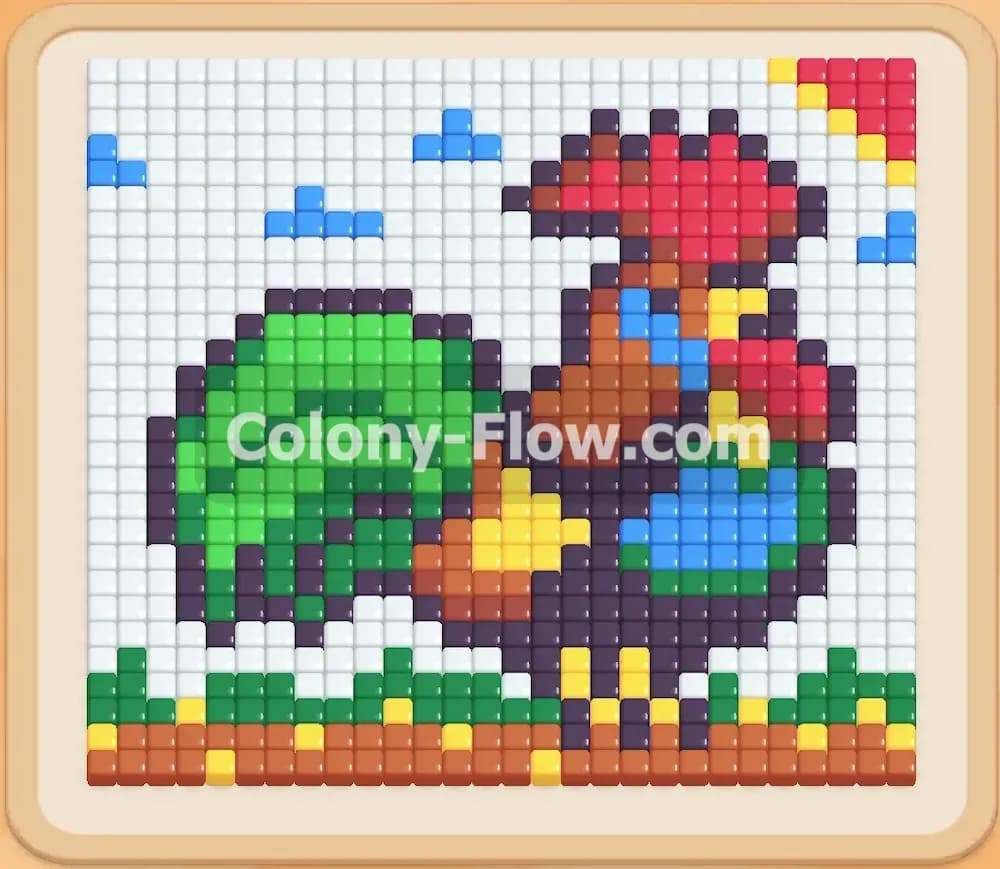
The main puzzle features a large colorful rooster facing the right side of the screen. A thick black outline surrounds the bird and separates all its bright inner sections. You see a pure white background that forms clouds covering the upper edges of the board. The rooster sports a bright green bushy tail on the left and a red comb on its head. A yellow sun sits in the top right corner above the bird. The body consists of brown tiles with a blue and yellow wing resting in the center. A strip of brown ground stretches entirely across the bottom of the play area. The block tray gives you massive numbers to work with right from the start. You will see blocks numbering in the forties for the white sky, green tail, and black outline. Every single tile on this board is a standard colored square that requires a direct open path from the nest hole. The challenge comes entirely from managing the sheer volume of tiles rather than dealing with complicated mechanics.
What It Takes to Clear Level 102 Board
You clear this stage by methodically dissolving the outer layers to reach the protected inner colors. The five waiting slots at the bottom of your screen are your biggest risk because the blocks hold such incredibly high numbers. Pulling a block too early means it will sit in your tray for several minutes while the ants slowly chip away at highly restricted paths. You win the game by timing your block pulls so that every single color has a wide open route to its matching tiles. Clearing the white sky and the outer green tail first creates massive empty spaces around the main figure. Those wide open areas let your ants travel extremely fast and clear the deeper black outline and brown body sections. You must never pull a color if its matching tiles are completely surrounded by another solid unmoving color.
Colony Flow Level 102 Step by Step Solution
Step 1: Clear the outer white sky and the outer green tail feathers
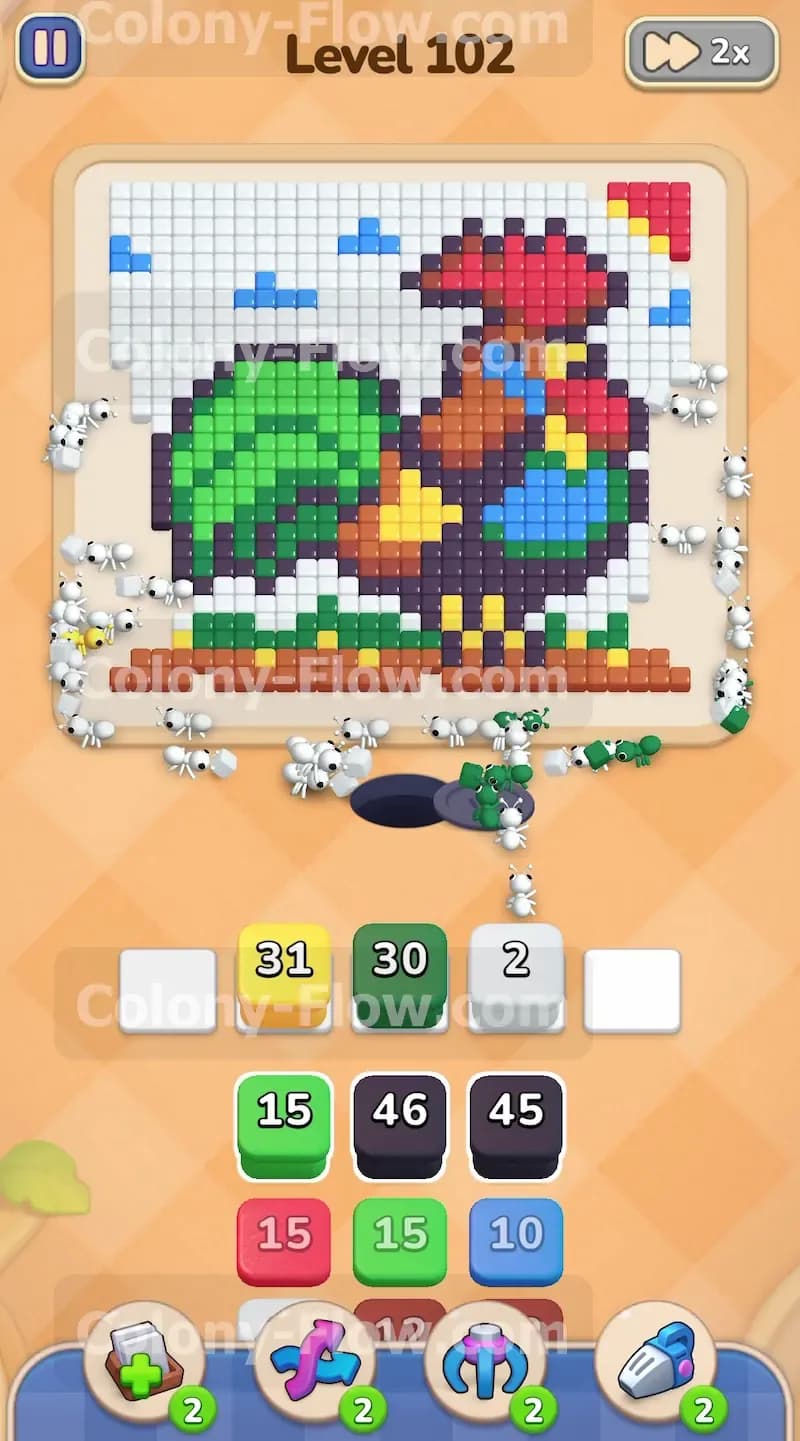
Your very first move must target the easily accessible colors on the top and left sides of the board. Pull the massive white block holding forty ants and the huge green block holding forty four ants into your waiting slots to get the colony moving. The white ants will immediately stream upward from the nest hole to eat the large cloud formations covering the top left and top right corners. At the exact same time the green ants will rush the massive tail section on the left side of the rooster. These two paths are completely open from the start so your ants will drain those big tray numbers very quickly. Leaving these two blocks to work alone for a moment prevents your slots from jamming early in the run. You want to see those numbers drop significantly before you introduce a third color to the mix.
Step 2: Bring in the yellow block to eat the sun and wing
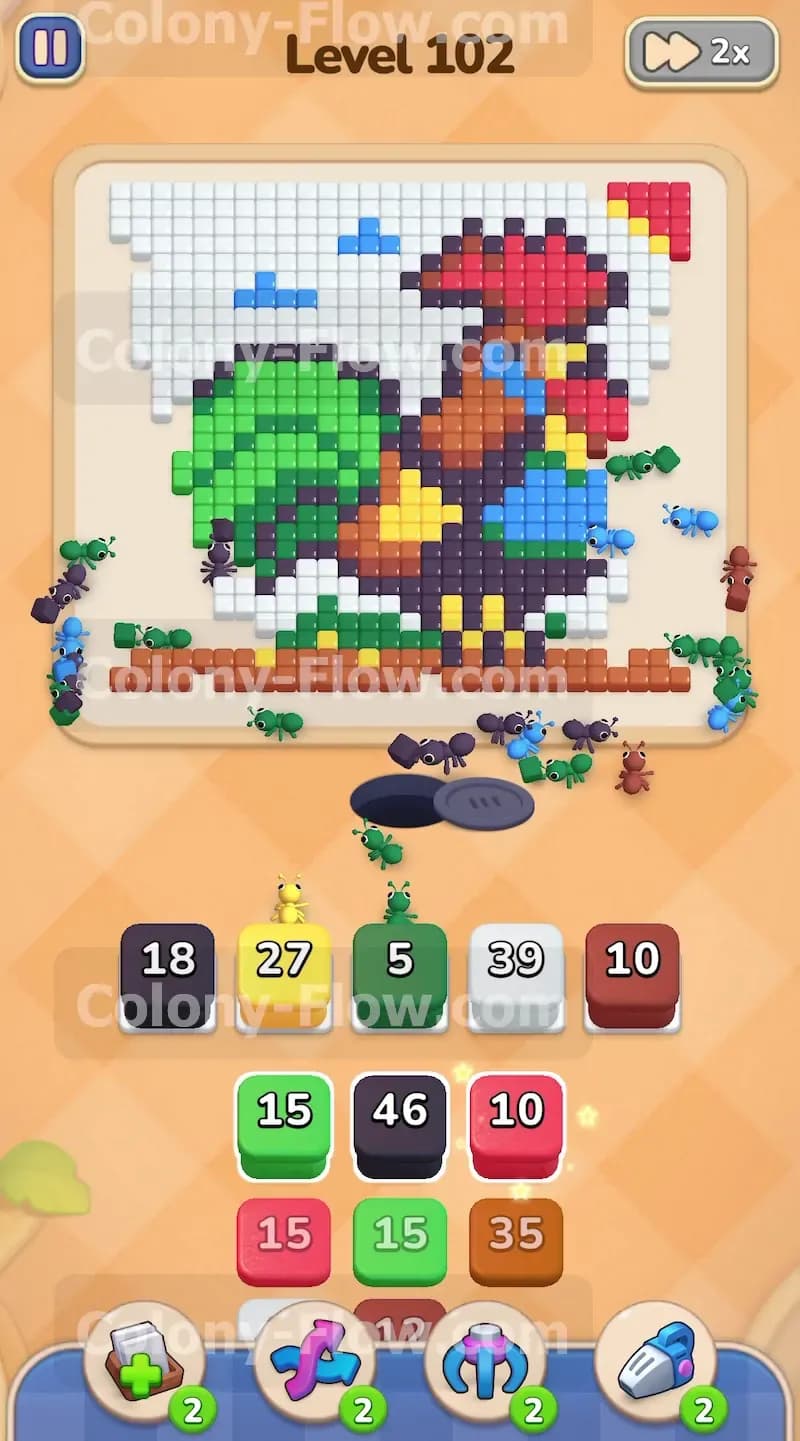
Once the white and green ants create a solid buffer of empty space you can safely pull the yellow block holding thirty nine ants. The yellow ants will leave the nest and split their focus between two completely different areas on the board. One group of ants will march up the newly opened right side to consume the bright yellow sun in the corner. Another group will head straight for the exposed yellow wing pieces on the lower half of the rooster body. The white ants have already cleared enough surrounding tiles to give the yellow ants a totally clean run to the sun. Your waiting slots now hold white blocks, green blocks, and yellow blocks that are all actively dropping in value without blocking each other.
Step 3: Deploy the black block to break down the heavy outline
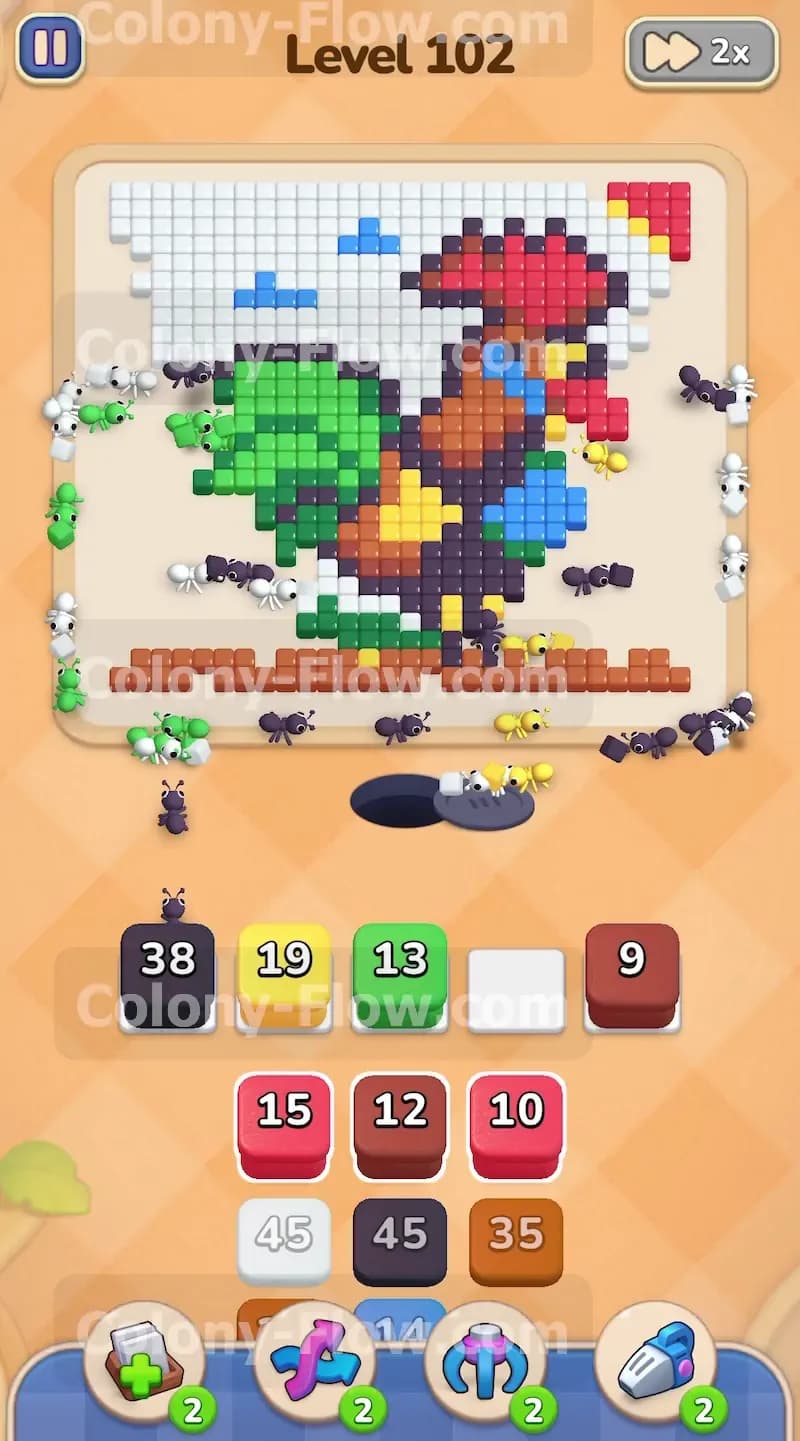
The rooster has a thick dark border that prevents access to the brown and blue inner body tiles. Pull the heavy black block holding forty six ants into your fourth slot to start breaking down these restrictive walls. The black ants will swarm the entire perimeter of the bird shape and chew through the top of the head and the back. They also eat away the thick borders separating the tail feathers from the main body. You need this black outline to disappear so the deeper colors become completely available for later moves. The initial white and green blocks will be nearing the end of their counts right around the time the black ants make major progress. This timing naturally frees up space in your five waiting slots for the next wave of block pulls.
Step 4: Introduce the brown blocks to clear the ground floor
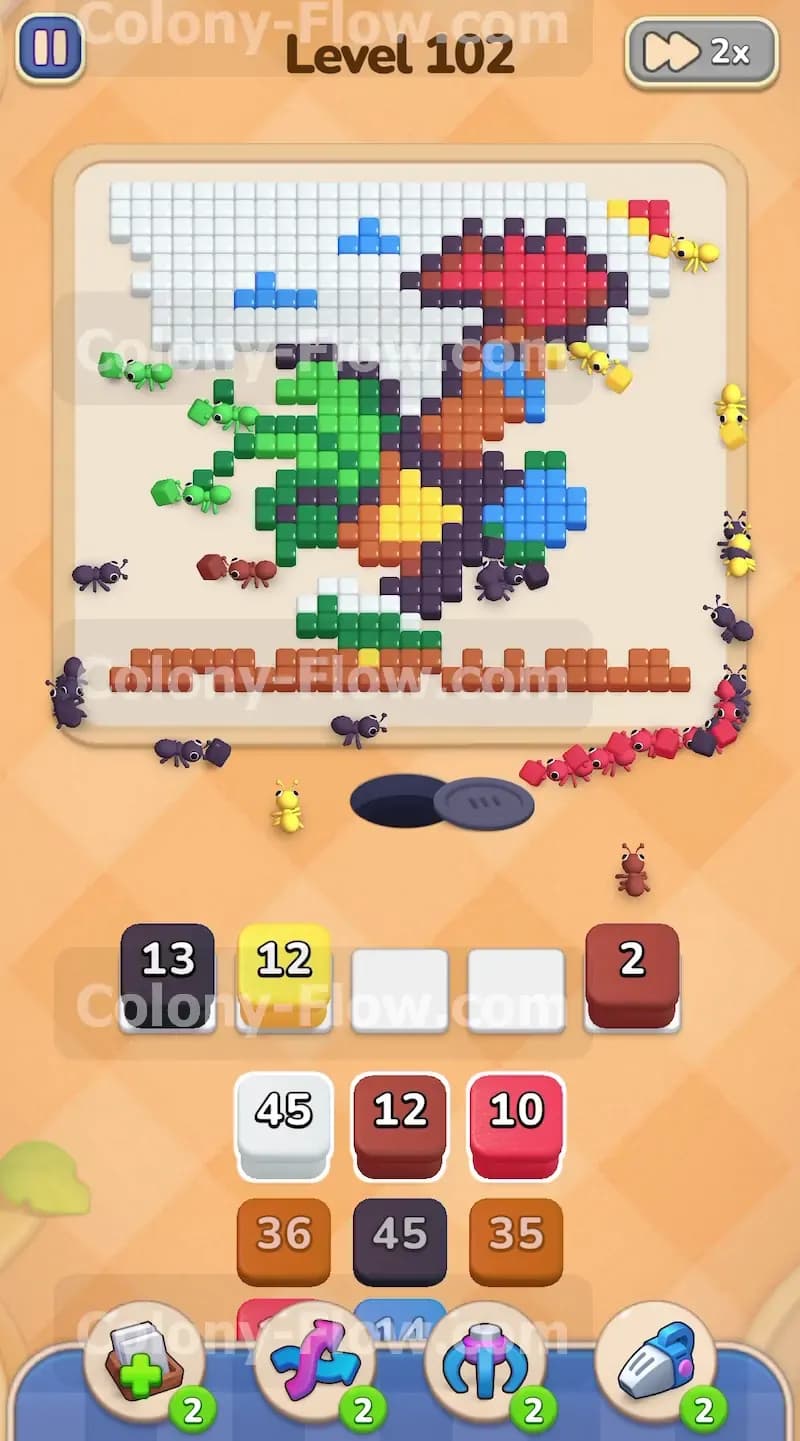
You have a long broken line of brown tiles creating the ground at the very bottom of the picture. Pull a brown block holding twelve ants into the tray to send them along this bottom edge. They will chew straight across the dirt path from left to right and completely remove the floor under the rooster. This action permanently opens up the bottom boundary of the main rooster body. Some brown ants will also start climbing into the chest and legs of the bird since the black border is mostly gone by now. Your slots might look dangerously full here but the older white and green blocks will expire and vanish just in time to save your run from a sudden loss.
Step 5: Replace expiring white and green blocks to maintain momentum
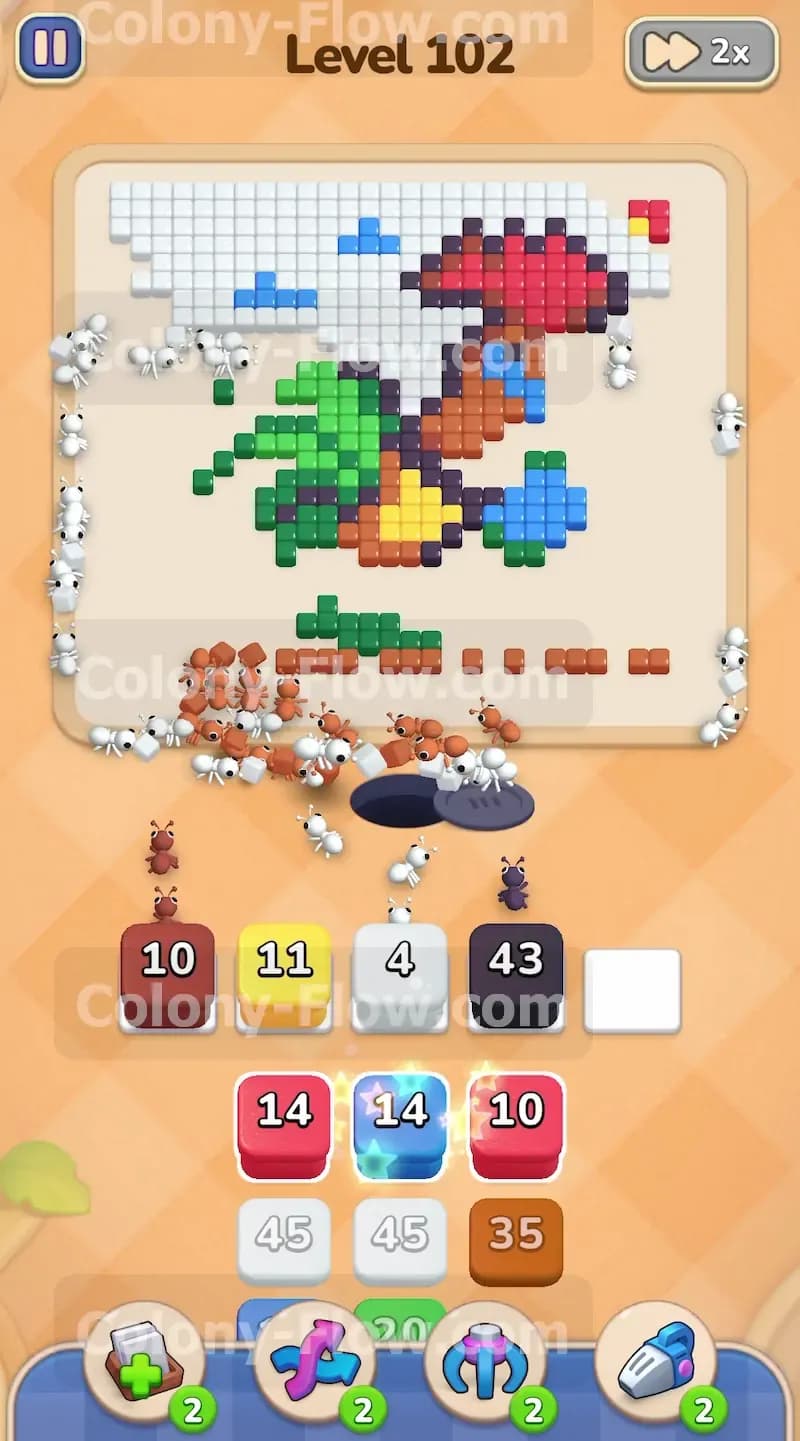
Your initial white and green blocks will eventually run completely out of numbers and vanish from the tray. The board still has scattered white background tiles and a few green inner tail pieces left to clear. Look at your tray and pull the next white block holding forty five ants and the green block holding fifteen ants into the newly emptied slots. The fresh white ants will clean up the scattered sky remnants while the green ants finish off the base of the tail feathers near the body. Keeping the white and green pressure active ensures the black outline continues to break down evenly across the board. You always want at least three distinct paths functioning at once to keep the whole board fluid and dynamic.
Step 6: Release the red block to eat the head details
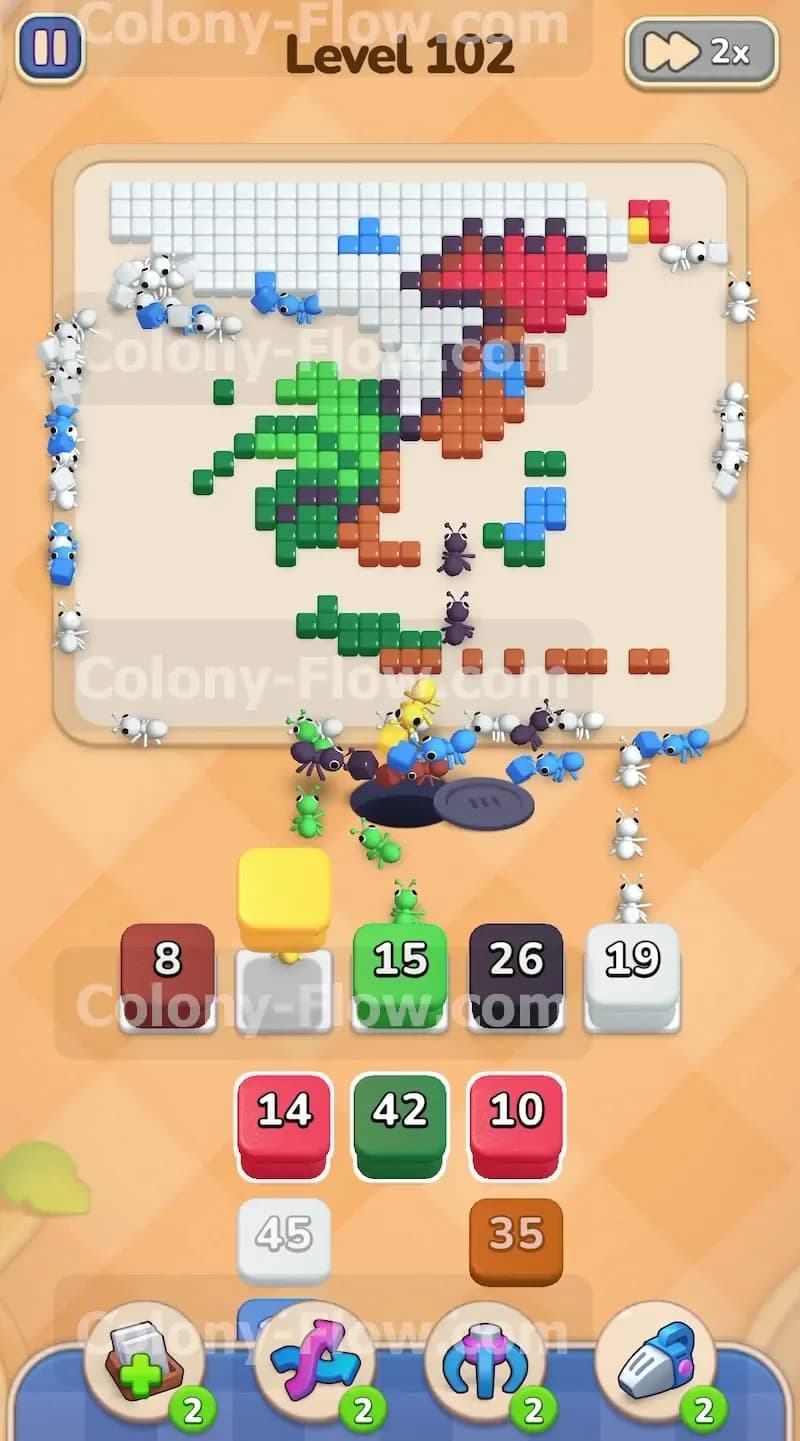
The head of the rooster features a distinct red comb on top and a red wattle hanging down near the beak. The black ants have cleared enough of the head outline to expose these red tiles completely to the open board. Pull the red block holding fifteen ants into an empty slot at the bottom of the screen. The red ants will run straight up the center of the board and consume the entire top section of the head. This move is completely safe now because the travel path is totally wide open. If you had pulled this red block during the first step it would have sat stuck in your tray and ruined your entire run. Now the red block empties fast and leaves the tray almost instantly.
Step 7: Send blue ants to clear the central wing patch
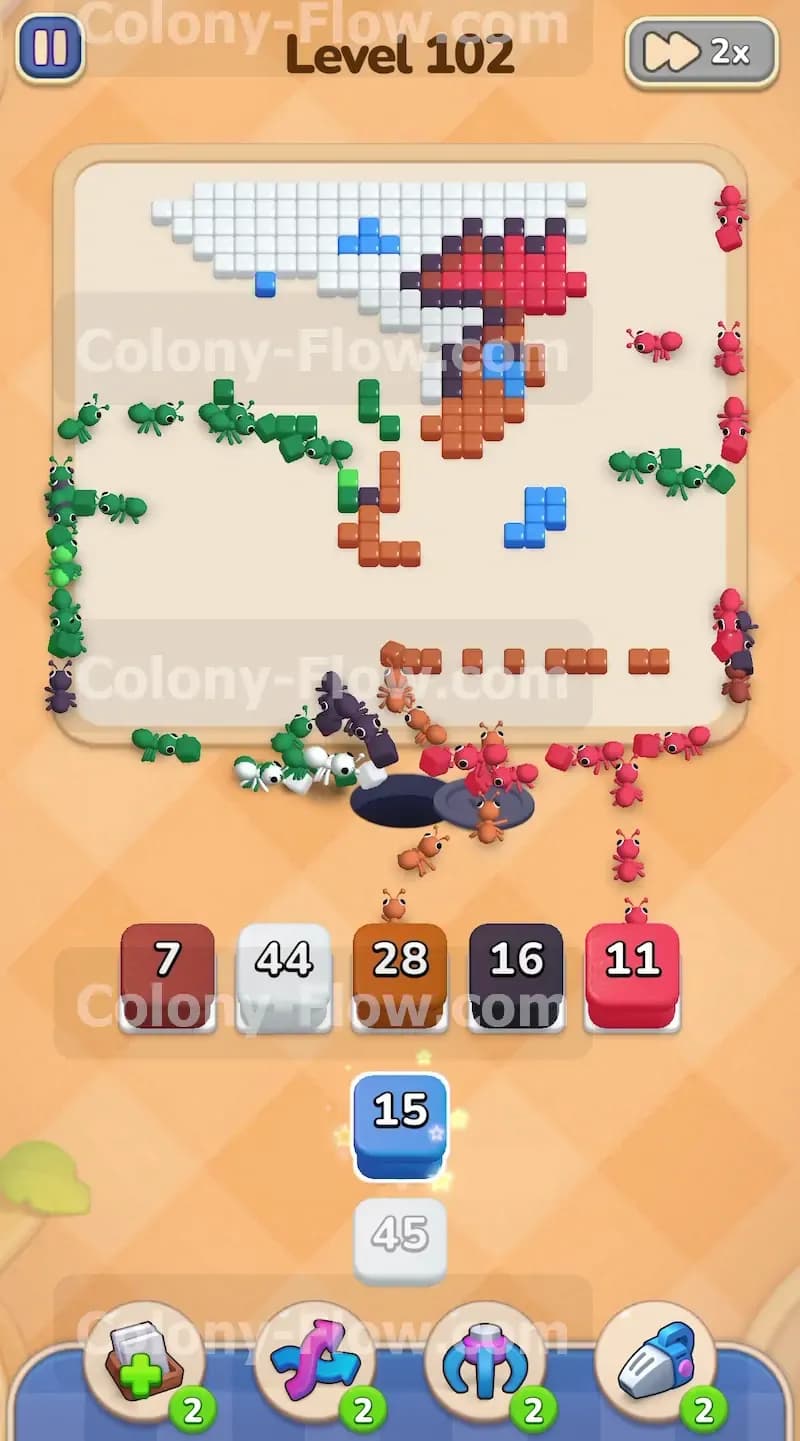
The final locked color on the board is the solid blue patch located right in the middle of the rooster body. The yellow and black blocks have done their jobs beautifully and exposed the edges of this blue shape. Pull the blue block holding fourteen ants into an open slot to send your swarm to the center. The blue ants only have a short distance to travel across the empty ground and they will quickly eat away the middle wing tiles. The number on the blue block is low enough that it vanishes in just a few seconds. The body of the rooster is now fully hollowed out and only a few scattered colors remain across the entire board.
Step 8: Clean up the final scattered brown and black tiles
The board is practically empty now with only a handful of brown chest pieces and a few dark border tiles remaining. Pull the final brown block holding thirty five ants and any remaining white blocks from your tray to finish the cleanup job. The ants will run straight across the giant empty canvas and eat the last remaining colored pixels scattered around the edges. Your five slots are completely safe from jamming at this point because every single tile is exposed to the open air. Watch the last few numbers tick down to zero as the final pieces of the rooster disappear from the screen. The ants will return to the nest and the level ends in a satisfying victory.
Final Thought
Clearing this specific board comes down to respecting the massive block numbers and letting the outer edges dissolve first. You must stay patient and wait for the white sky and green tail to vanish before you touch the red or blue details. This method guarantees your five tray slots stay fluid and open throughout the entire puzzle sequence. Please watch the video above this article if any step is hard to follow in text.