Colony Flow Level 104 Walkthrough Solution & Guides | How to solve Colony Flow 104

Guide By Liam Stone
Updated on July 11, 2026
If you want to skip straight to the solution, watch the video above covering Level 104.
Video doesn't match your screen?
Game updates frequently scramble layouts! Try our AI Screenshot Solver first to find your exact board instantly, or report broken guides to our team.
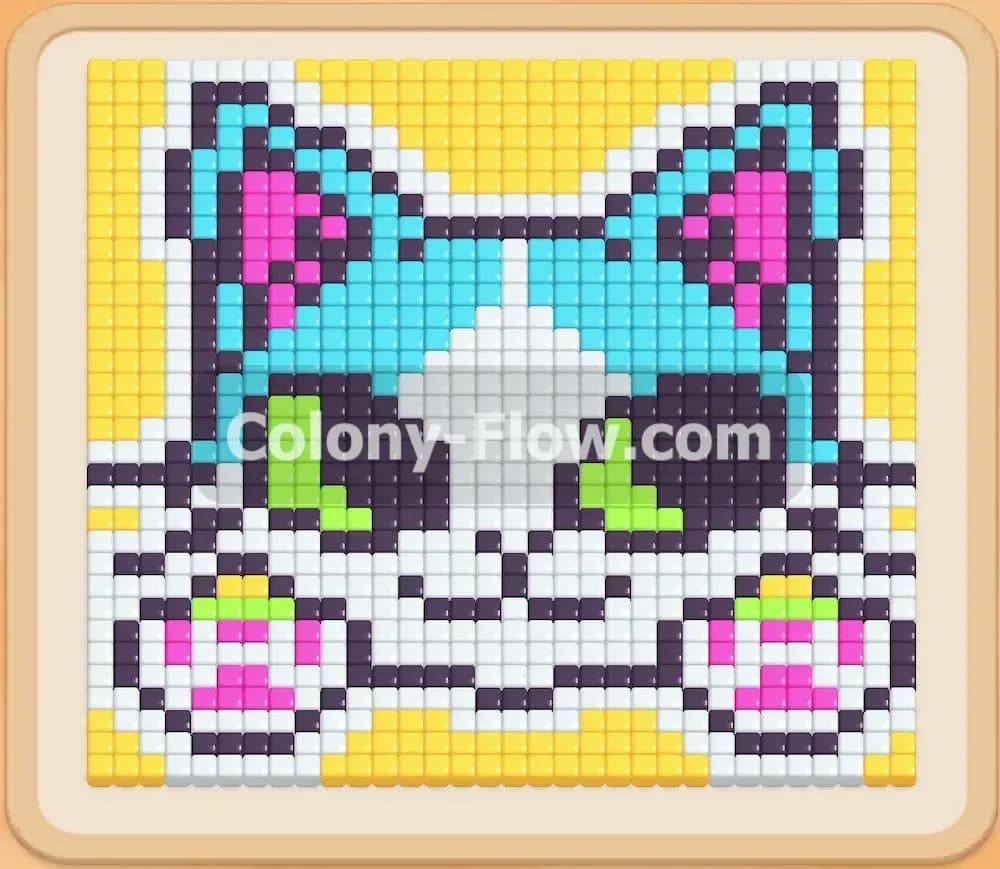
Colony Flow Level 104 drops you into a massive puzzle featuring a brightly colored tiger face. I played this level several times to figure out the perfect sequence to keep the ants moving. You need to manage a very crowded block tray and carefully peel back the picture layer by layer. I know exactly how frustrating it feels to click the wrong block and watch your game end early. My guide will walk you through the exact order to pull your colors.
Colony Flow Level 104 Overview
What You Are Working With
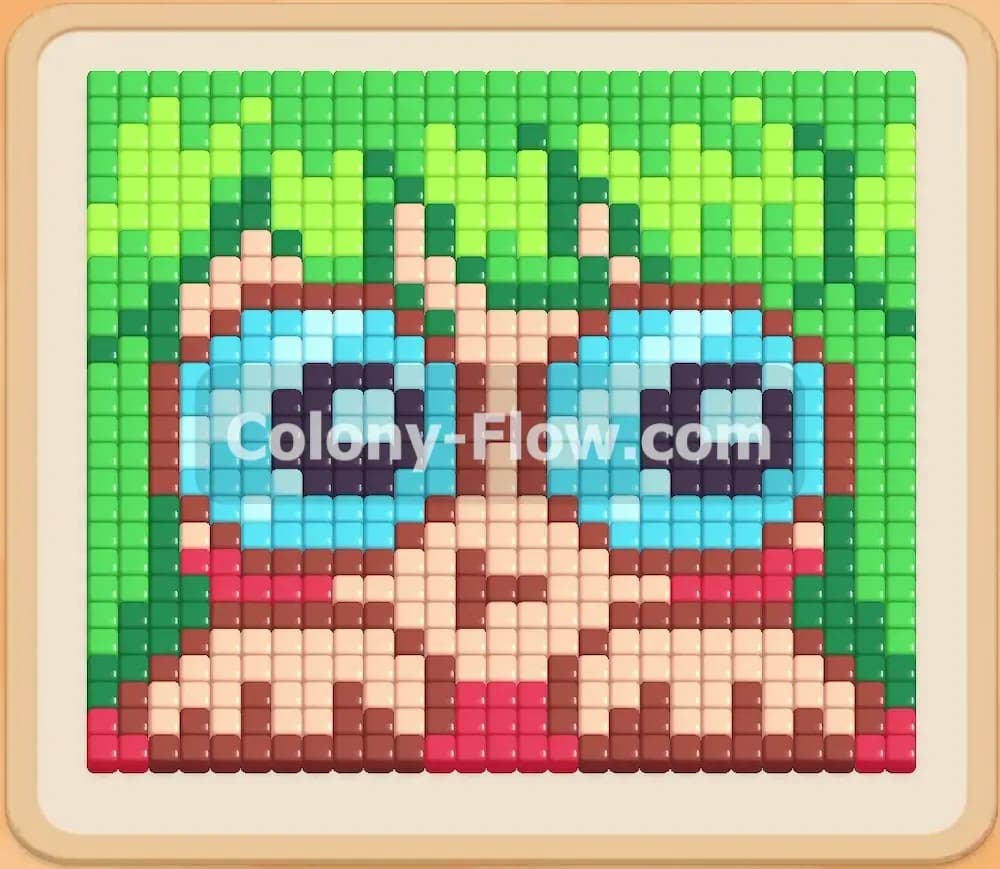
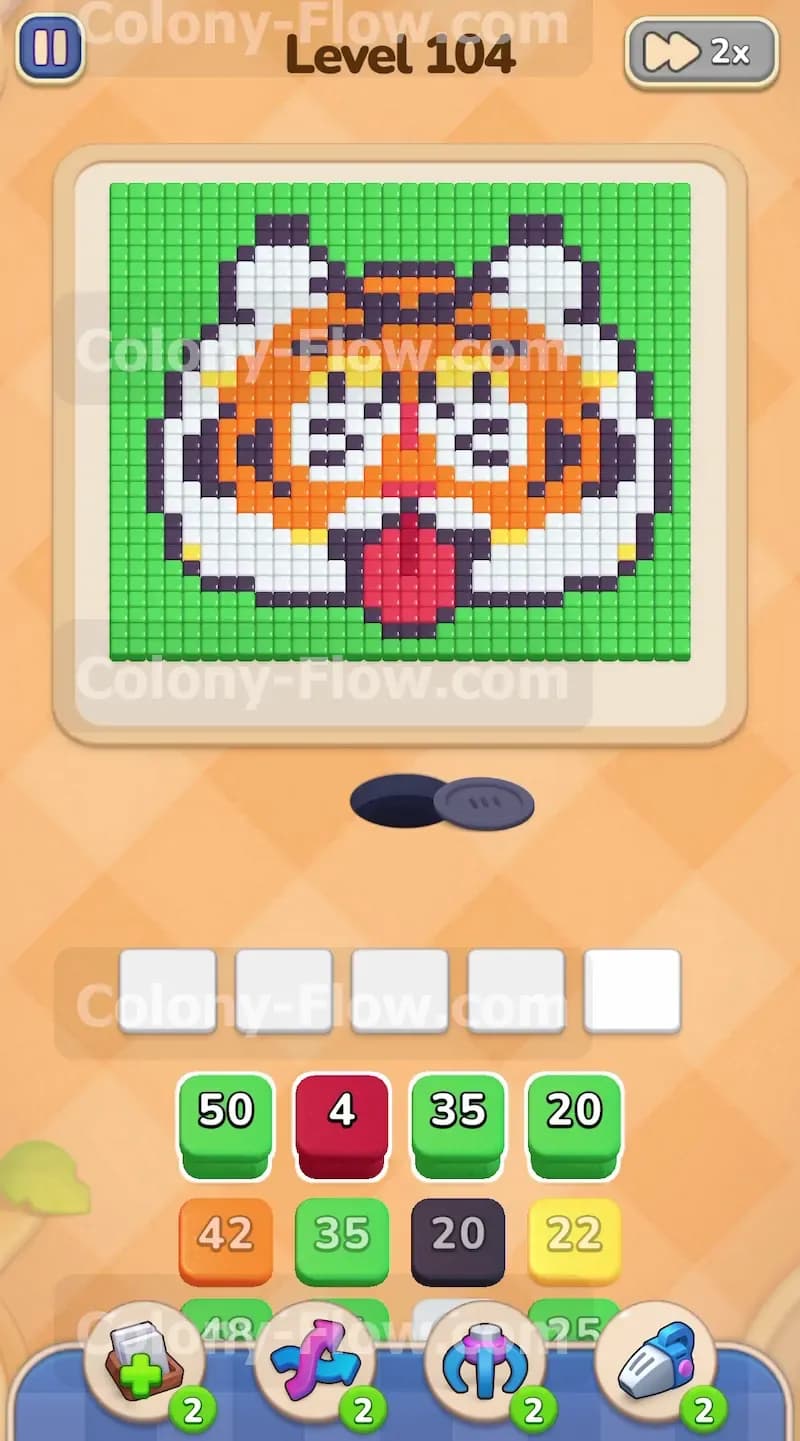
Let us break down the board. The picture at the top of your screen is a large pixel art tiger head. It features a bright red tongue hanging out of its mouth. The face consists of thick orange and white stripes forming the cheeks and forehead. Two bright yellow eyes sit right in the middle of the face. A heavy black outline defines the entire shape of the tiger and separates the internal stripes. A massive solid green background surrounds the entire tiger head. The nest hole sits directly below the picture. The tray at the bottom contains dozens of numbered blocks. You have green blocks with large numbers like fifty and thirty eight. You also have red, white, orange, yellow, and black blocks stacked deep on top of each other. The green background completely blocks physical access to the tiger head at the very beginning.
What It Takes to Clear Level 104 Board
You clear this board by completely eating away every single pixel in the picture. The ants must march out of the nest hole and carry away the tiles to empty the numbers printed on your blocks. You win the level when the board is totally blank and the ants return home. The biggest trap in this level is slot management. You only have five waiting slots at the bottom of the screen. If you pull colors like yellow or red too early, those blocks just sit in the slots doing nothing. The ants cannot reach the yellow eyes or the red tongue through the solid green wall. If you fill all five slots with blocked colors, the game immediately ends. You lose. You must clear the green wall first to open paths to the black outline. Then you breach the black outline to reach the orange and white fur. Every single move needs to create a new open path.
Colony Flow Level 104 Step by Step Solution
Step 1: Clear the bottom green background wall to open the board.
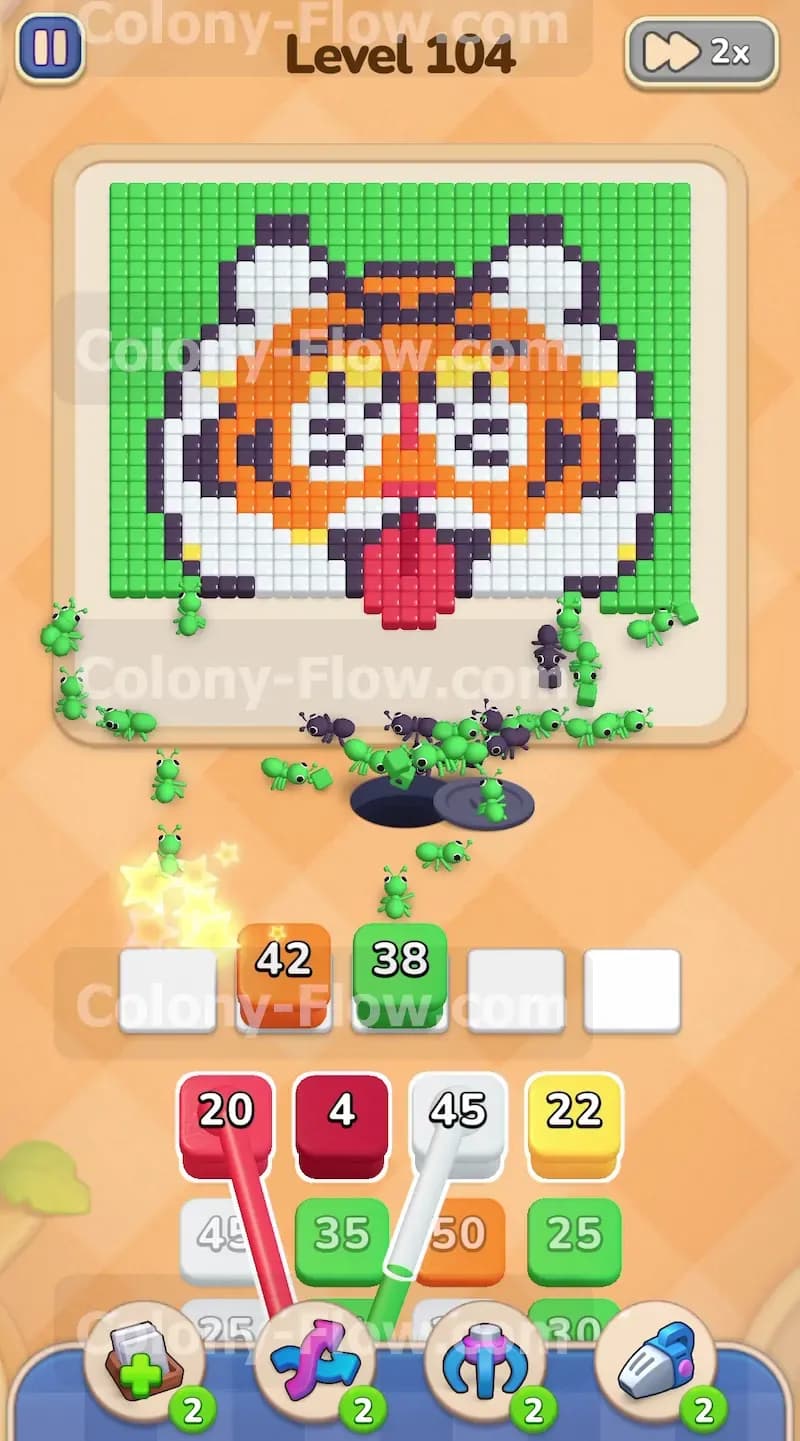
Start the level by pulling a high number green block from the tray. The green background is the only color touching the empty space at the bottom of the board. The ants immediately stream out of the nest hole and fan out to the left and right sides. They start chewing away the bottom edge of the green background. Do not pull any orange or yellow blocks yet. The ants have no physical path to reach the inner tiger face. Let the green ants do their entire job. Watch the number on the green block count down to zero. Keep pulling green blocks until the bottom corners of the green background are completely gone. This action exposes the very bottom edge of the black tiger outline. You will see the ants wrap around the corners of the shape to clear more room. Keep your patience high and let the initial wave finish.
Step 2: Breach the outer black outline at the chin.
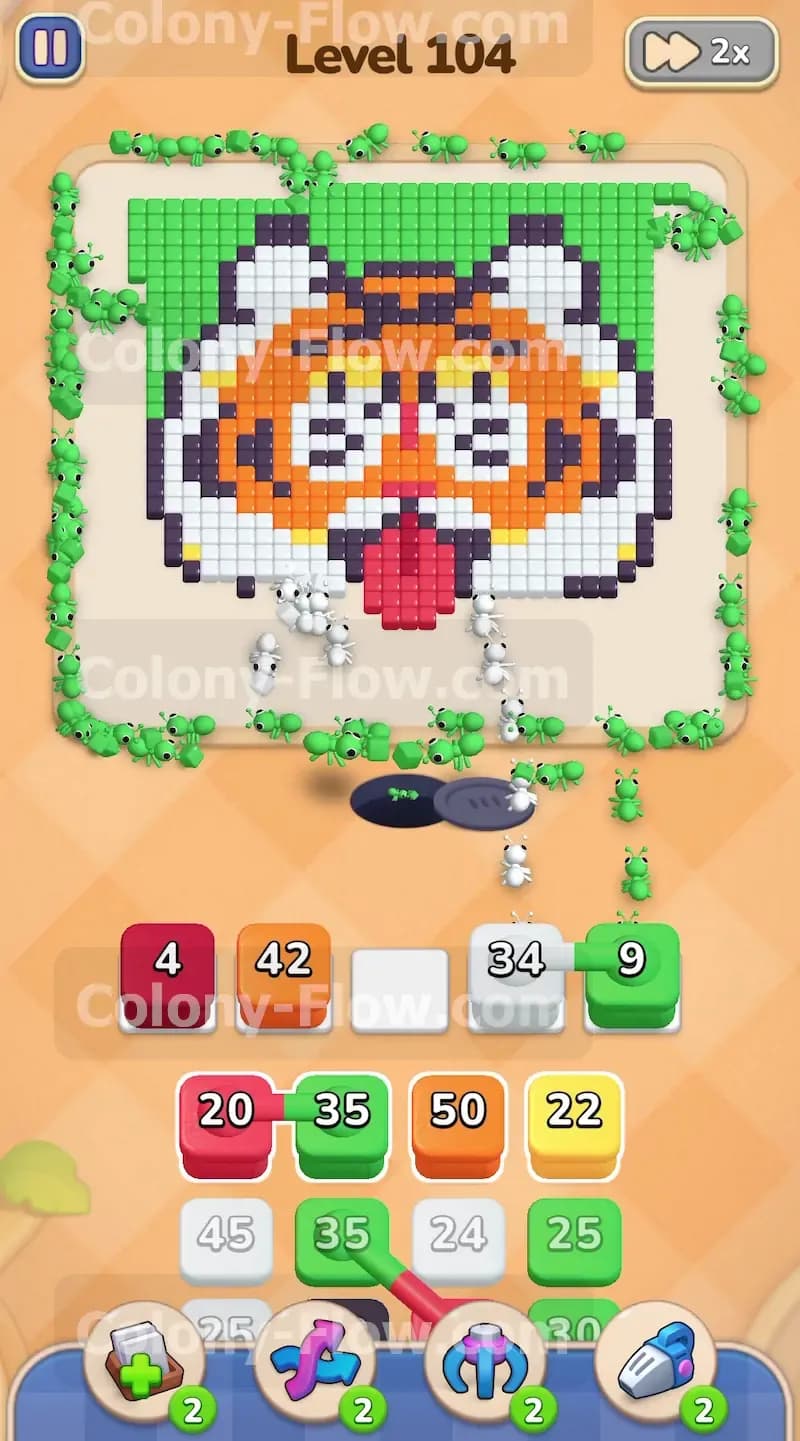
Pull a black block into an open waiting slot. With the bottom green tiles out of the way, the ants now have a clear path to the black outline. The ants march straight up from the hole and begin breaking down the thick black lines around the chin and lower jaw of the tiger. You must clear this black barrier to gain entry to the colorful inside of the face. Leave at least two waiting slots empty at all times. You always want a buffer just in case a block takes a long time to clear. The black ants will slowly work their way up the sides of the face. As they eat the black border, the inner colors become exposed to the open air. This is the exact moment your options open up drastically.
Step 3: Eat the red tongue and the lower white fur.
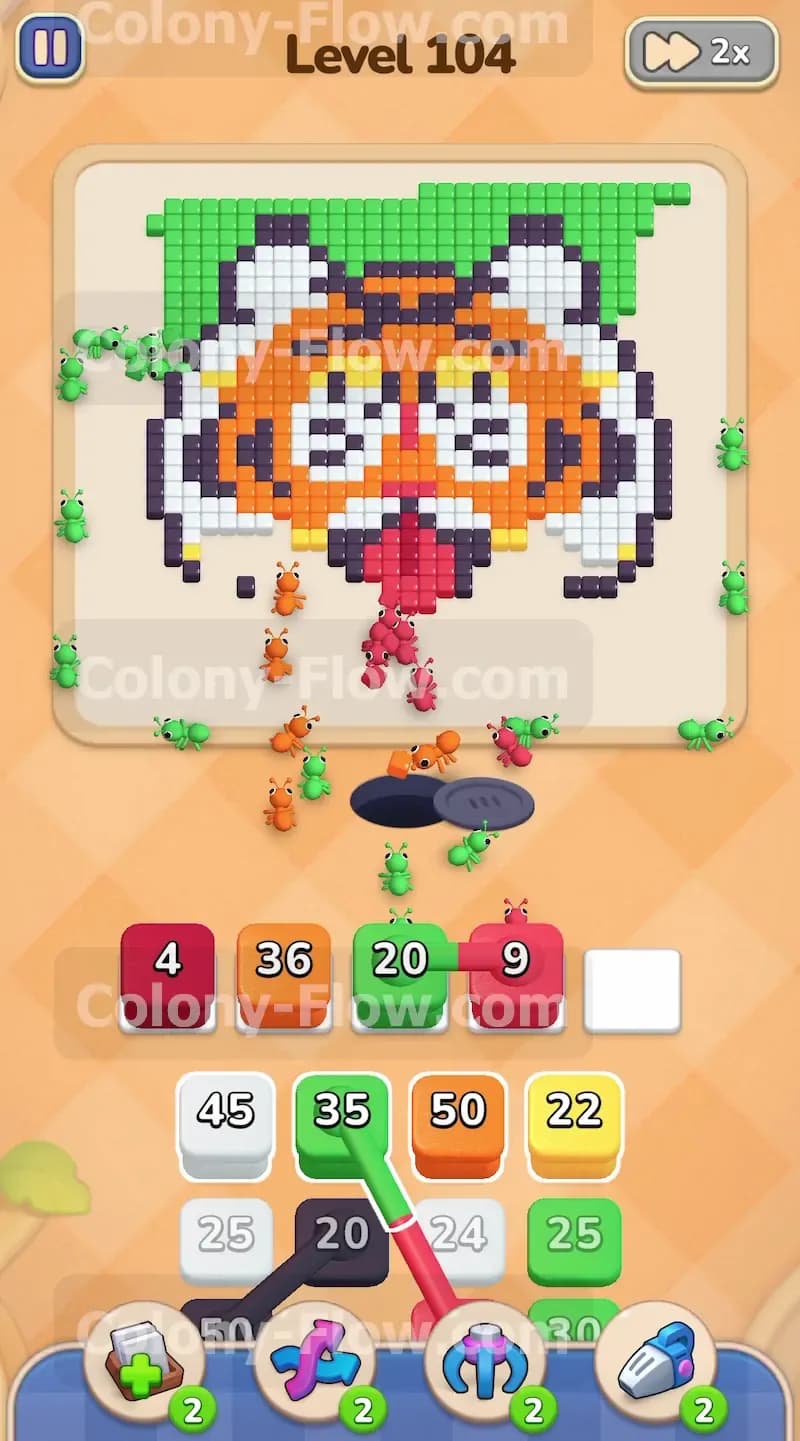
The open chin reveals the red tongue and the white sections of the lower mouth. Pull a red block with a low number into your active tray. Then pull a white block from the tray. The red ants march straight up the center of the board and consume the bright red tongue. The red section is relatively small so the block clears very quickly and frees up its slot. The white ants spread out to tackle the white pixels forming the muzzle and lower cheeks. Keep an eye on your active green block. You can pull another green block to keep a steady stream of ants working on the left and right edges of the background. Keeping multiple colors active at the same time is the absolute best way to prevent your slots from jamming.
Step 4: Target the lower orange stripes and cheeks.
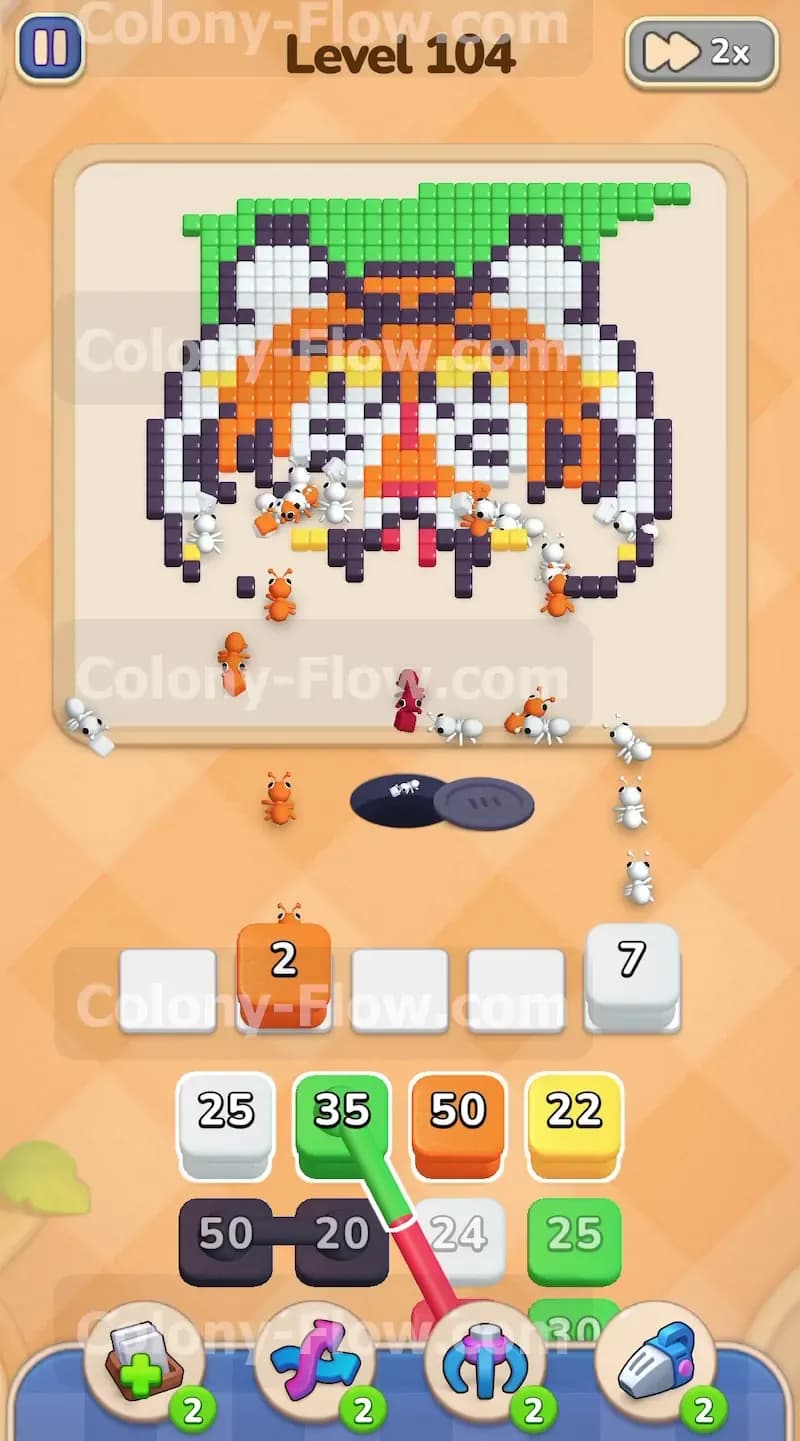
Now that the white muzzle is disappearing, the bottom orange stripes are totally open. Pull a large orange block from the tray into an empty slot. Orange ants rush in to clear the bright orange tiles on the lower half of the face. You are now working on three fronts simultaneously. Green ants are climbing the far outer edges of the screen. Black ants are chewing the thick side outlines of the head. Orange and white ants are hollowing out the middle of the tiger face. This is exactly where you want to be for moving fast. The tray continues to reveal more blocks underneath as you pull from the top. Take a moment to check your open slots. If you have two open slots, you are playing perfectly safe.
Step 5: Push into the upper white face and eyes.
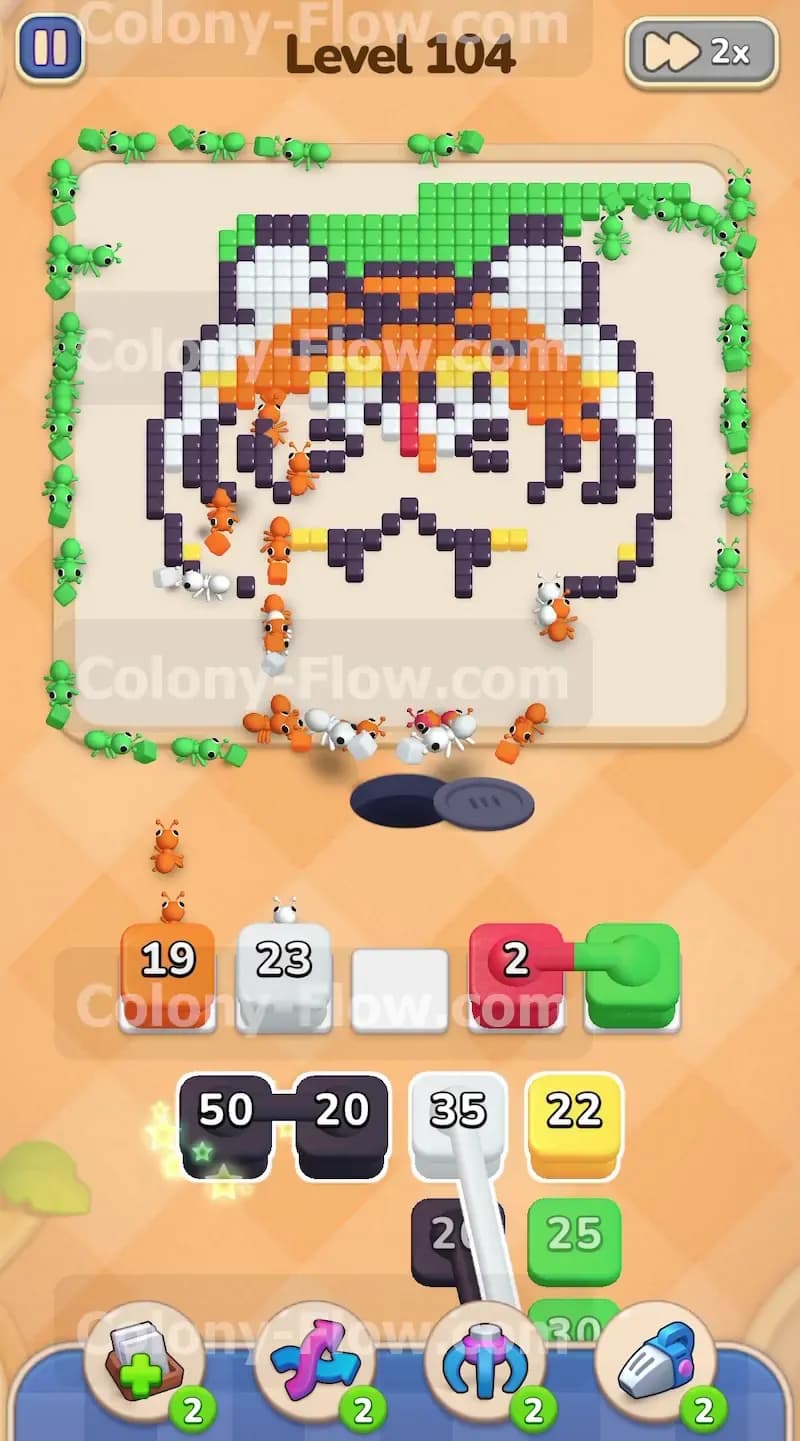
The middle of the board opens up drastically as the lower face disappears into the nest. The white blocks in your tray have very large numbers. Pull a high number white block to send a massive swarm of ants into the upper white cheeks. The ants chew through the pixels right up to the yellow eyes. The pathing here is wide open and highly efficient. The ants do not have to squeeze through narrow gaps anymore. They flow smoothly from the nest hole straight into the wide center of the picture. Wait for the white block to fully empty before pulling another one. You want to make sure the white section has enough exposed surface area for the ants to grab food without waiting in line.
Step 6: Clear the yellow eyes and inner black lines.
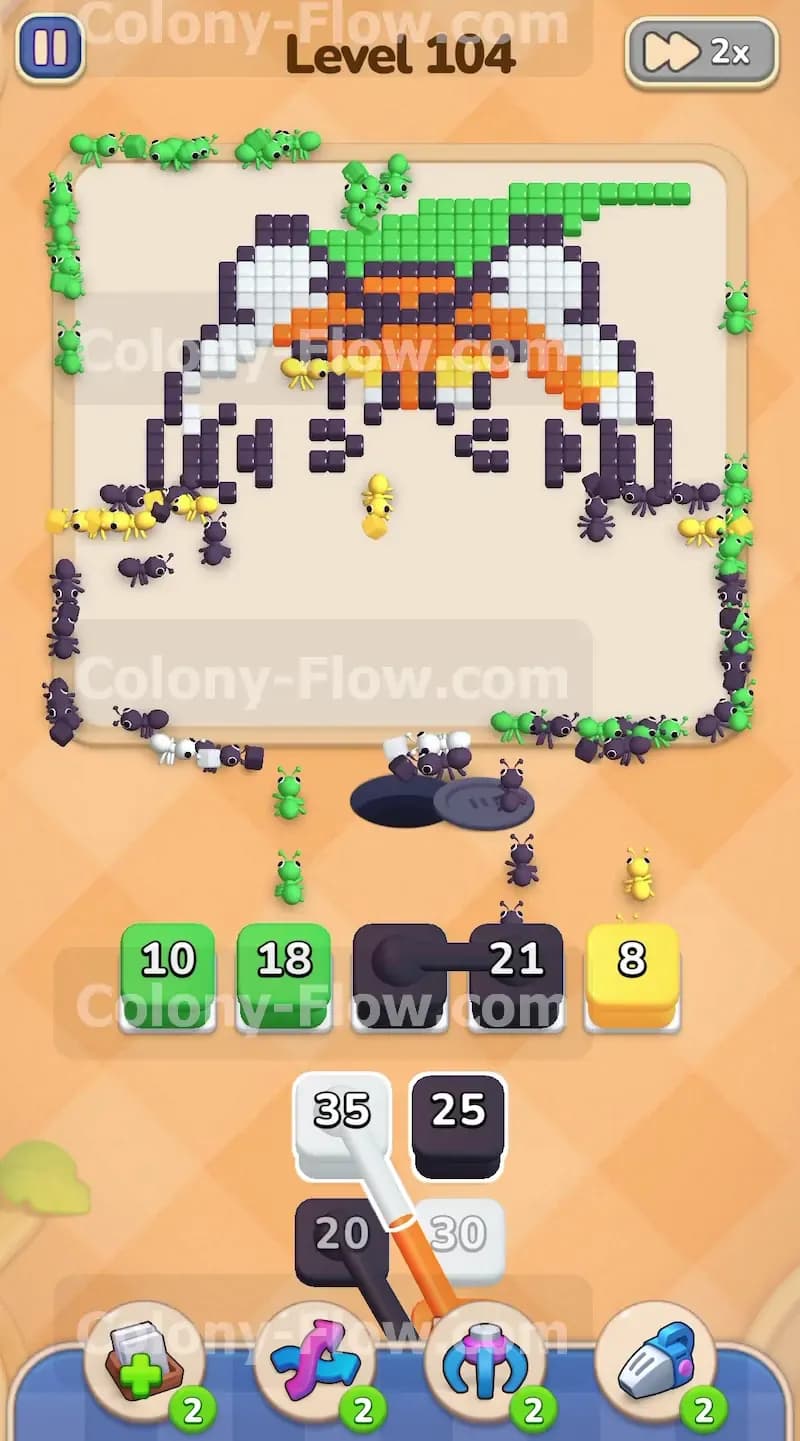
The white ants have finally exposed the bright yellow eyes of the tiger. Locate a yellow block in your tray and pull it into a waiting slot. The yellow section is very small compared to the rest of the picture. The block will empty almost instantly and give you your slot back. At the exact same time, pull a black block to target the internal black lines. The tiger has thick black stripes on its forehead and thick borders around its ears. The black ants will climb up through the massive empty space in the middle of the board and eat away those internal borders. Clearing these black lines separates the remaining orange sections into smaller isolated chunks.
Step 7: Dismantle the orange forehead and top green border.
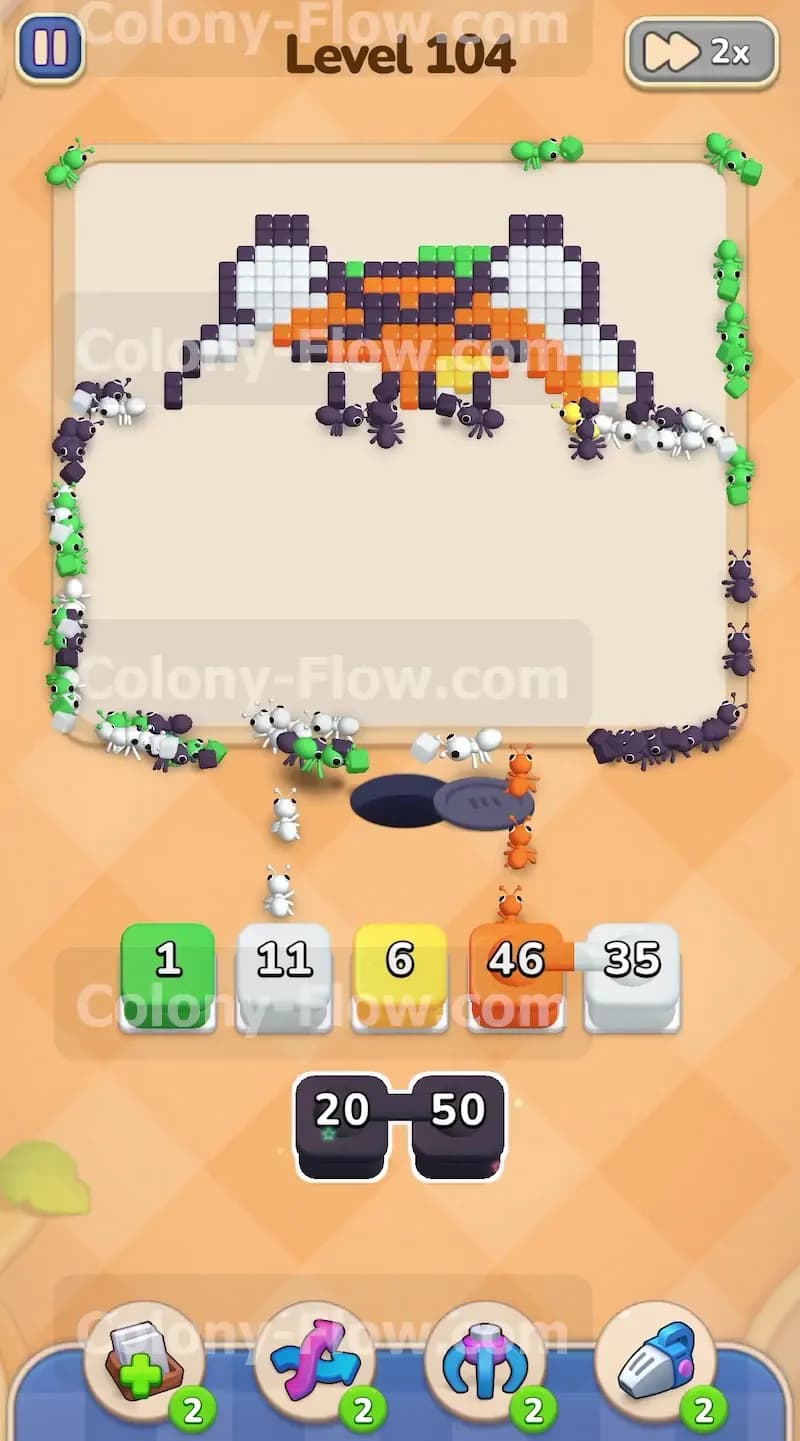
The top half of the tiger is dominated by a massive block of orange fur covering the forehead. Pull your highest number orange block to tackle this area. The ants will flood the top of the head and rapidly eat the orange pixels. You will notice the top green background is still sitting there waiting for attention. Pull a large green block to send ants wrapping all the way around the board to the very top edge. The ants have a incredibly long walking distance right now. They must travel from the nest hole all the way to the top corners of the screen. This means the block numbers tick down much slower than before. Be extremely patient. Do not rapidly click blocks to fill the slots. Let the ants make the long trek and bring the food back safely.
Step 8: Clean up the remaining isolated pixels.
You are almost done with the entire puzzle. The board only has a few scattered pixels left to clear. You might see a tiny piece of black outline on an ear or a single green tile stuck in the top corner. Look closely at the board and match the exact colors you still need. Pull a low number black block and a low number green block to finish the job. The final ants will run all the way up and grab the last few pieces of food. Watch the final block drop to zero in your tray. The board goes completely blank and the victory screen appears. You successfully fed your colony without ever causing a traffic jam in your waiting slots.
Final Thought
Beating this board requires intense focus on your slot management and a careful eye for opening new paths. I hope my walkthrough helped you master the flow of the ants and clear the tiger face without any frustrating slot jams. Play slow and always leave yourself a safety net in your tray. If any step is hard to follow in text, please watch the video above this article to see exactly how I executed the moves.