Colony Flow Level 894 Walkthrough Solution & Guides | How to solve Colony Flow 894

Guide By Liam Stone
Updated on August 8, 2026
The article below explains Level 894 in detail, but the video above gets you there faster.
Video doesn't match your screen?
Game updates frequently scramble layouts! Try our AI Screenshot Solver first to find your exact board instantly, or report broken guides to our team.
Colony Flow Level 894 drops you into a tricky puzzle featuring a bright pixel art cat. I always enjoy the animal shapes in this game but this particular board requires very careful slot management to survive. You will face heavily connected blocks in your tray right from the start. I found this stage challenging because the tight layout easily leads to a jam if you pull the wrong color too early. Let me walk you through the exact moves I used to beat this stage and keep the ant paths open.
Colony Flow Level 894 Overview
What You Are Working With
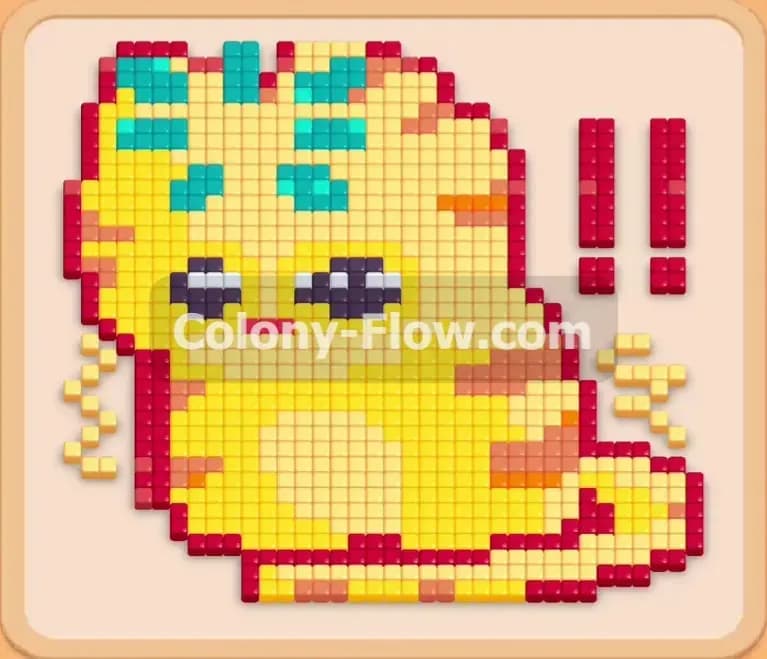
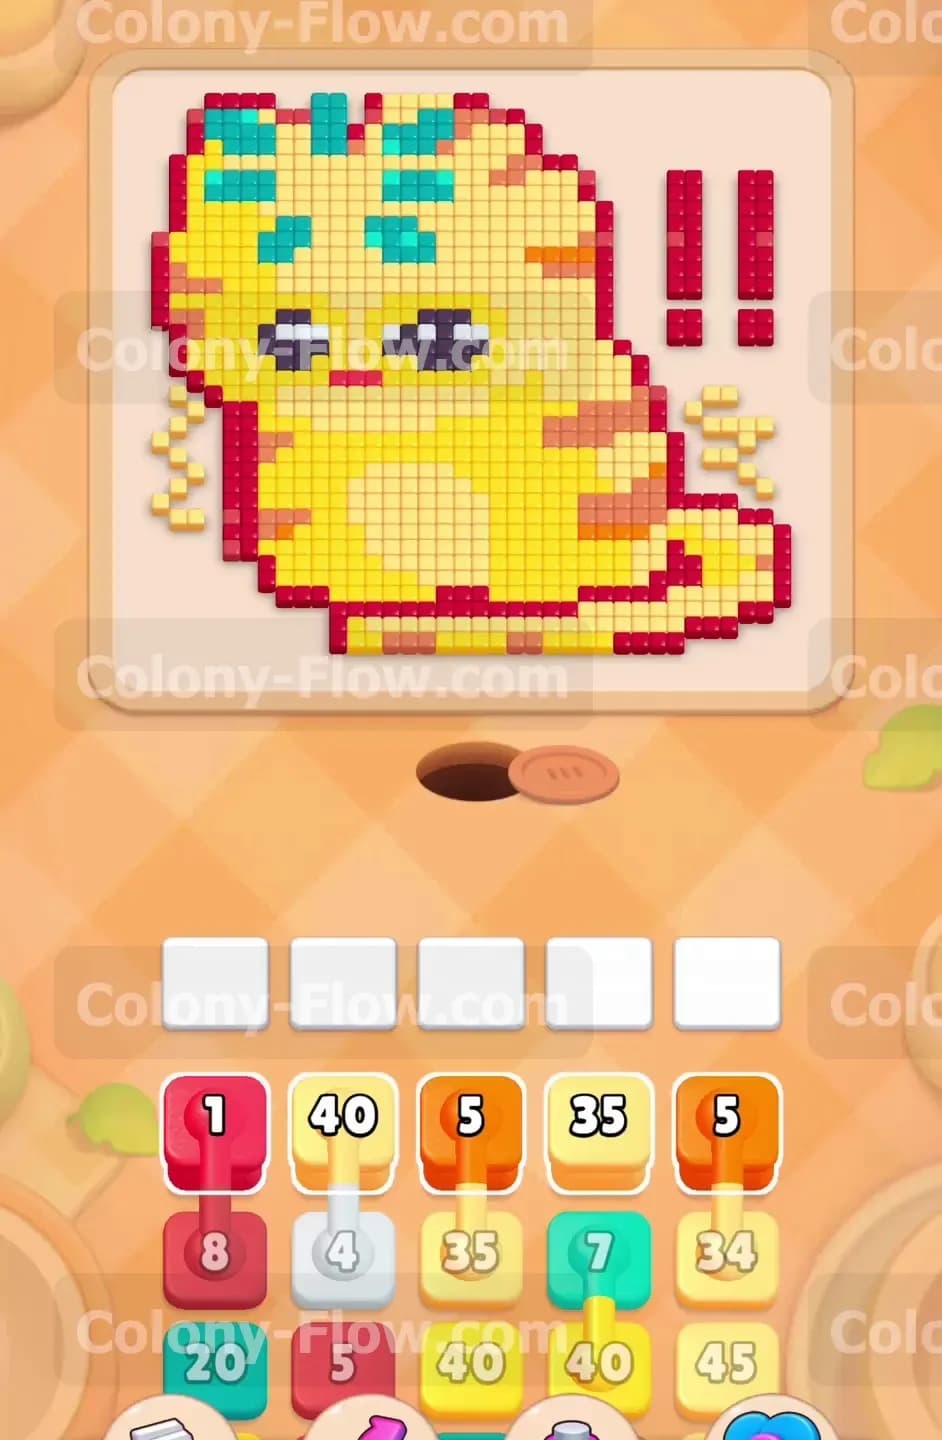
The puzzle board displays a large yellow cat sitting upright on the screen. The cat features thick orange stripes across its back and tail along with bright turquoise markings on its forehead. A thick red outline surrounds the entire animal shape to define the character. You will also see two large red exclamation marks hovering entirely separate on the right side of the screen.
Down in your tray you have a complex mix of yellow, orange, turquoise, white, and red blocks. The main obstacle in this level is the presence of connected boxes. Many blocks in your tray are linked together by bright white lines. When you pull one of these connected boxes the entire linked group moves up into your waiting slots at the exact same time.
What It Takes to Clear Level 894 Board
You win the level when your ants completely consume every colored tile on the board and the screen sits empty. Your primary threat is the row of five waiting slots located just above your tray. Because the connected boxes jump up in groups of two or more they eat up your slot space extremely fast.
If you fill all five slots and the active ants cannot reach their matching color tiles you lose the level instantly. You must constantly monitor the board to ensure an open physical path exists for every color you pull from the tray. Every move I detail below is designed to keep the ants moving steadily so the slots never jam and end your game.
Colony Flow Level 894 Step by Step Solution
Step 1: Open the main pathways by sending out the initial yellow and turquoise ants.
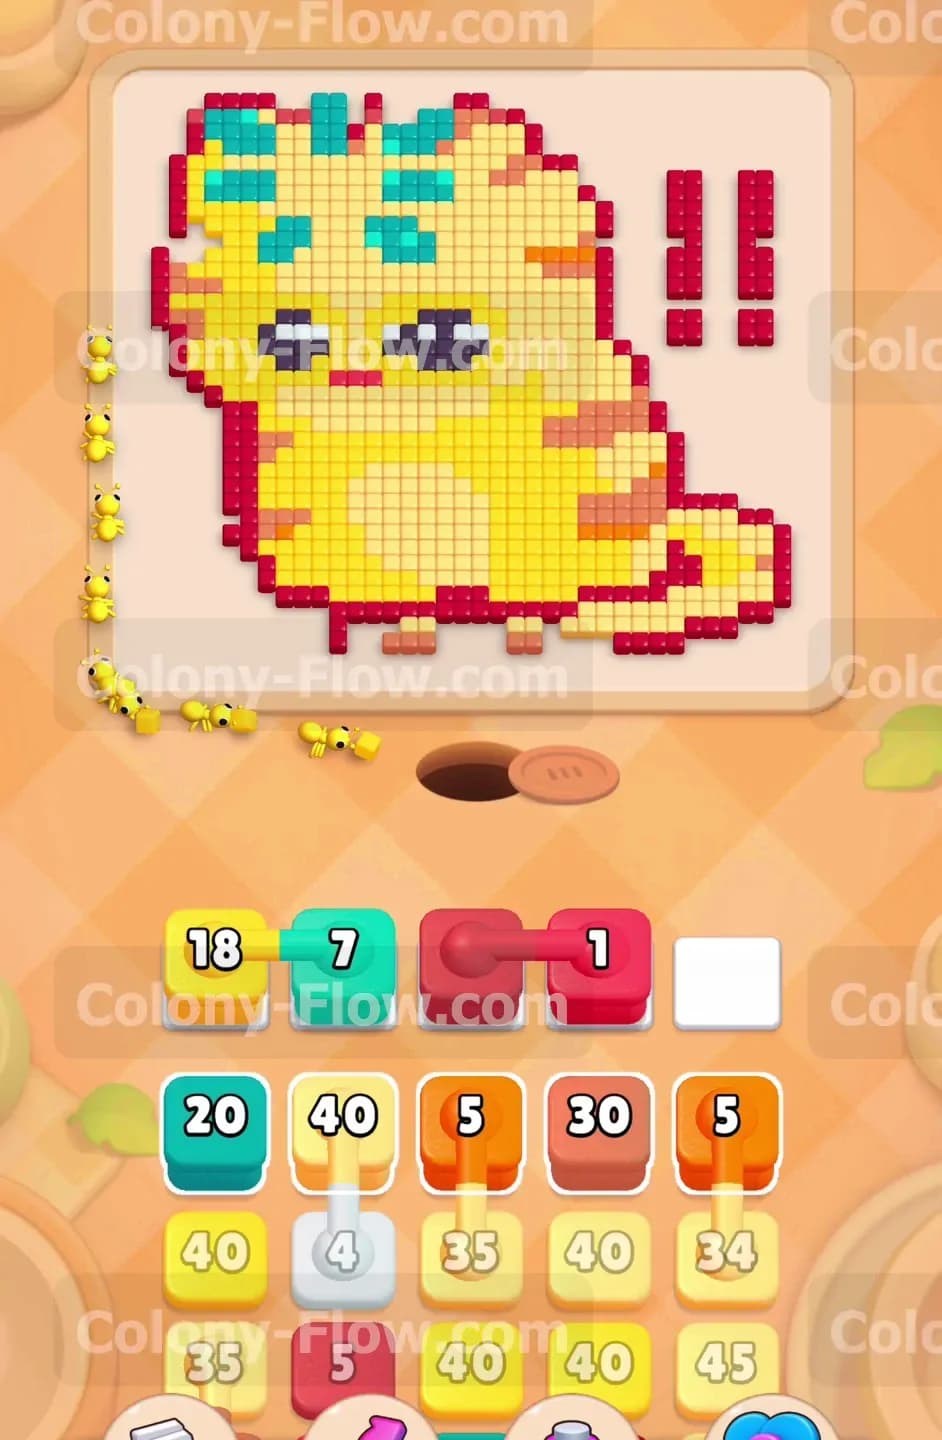
You begin by pulling the large yellow thirty five block from the top row of your tray. The yellow ants stream out of the nest hole at the bottom and immediately find an open path to the lower paws and round belly of the cat. You then pull the turquoise seven block. The turquoise ants easily march up the far left side of the board to attack the bright markings on the top forehead of the cat. I also pull the single red one block right at the start. One red ant runs up to grab a single exposed red outline tile near the bottom edge. This precise opening sequence gets three distinct colors working simultaneously without overloading your limited slot space.
Step 2: Pull the white connected boxes to clear the fine eye highlights.
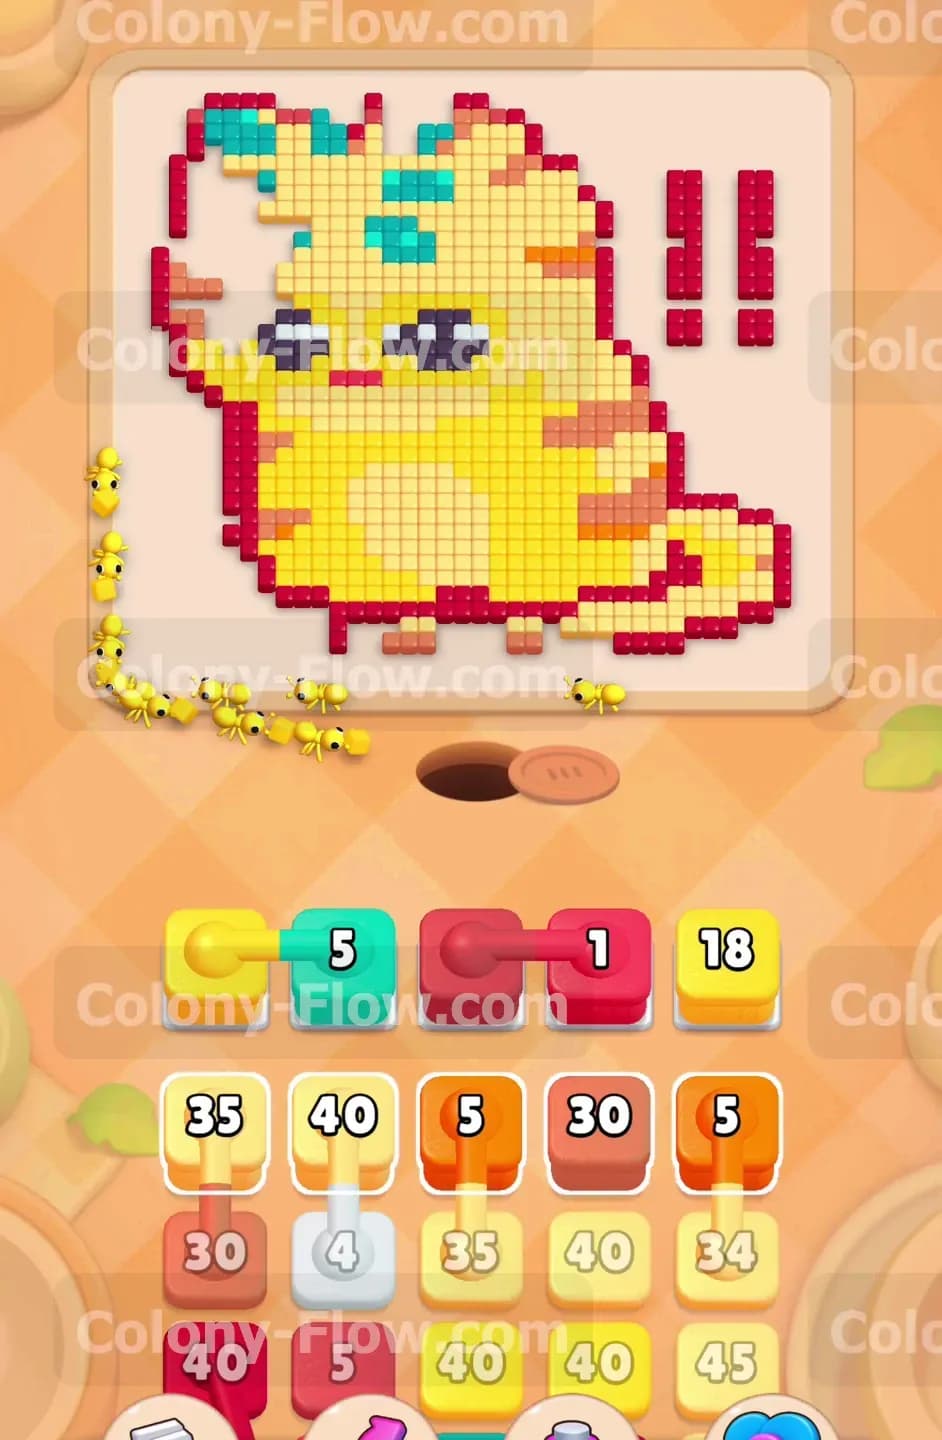
Once the yellow ants clear away the very bottom edge of the cat you gain immediate access to the inner facial sections. Now is the perfect time to pull the white forty block from your tray. This specific block is part of a connected box group. When you tap it multiple white blocks jump into your waiting slots all at once. The white ants swarm the board to eat the tiny white highlights inside the dark eyes and the scattered white tiles around the face area. Because you waited for the yellow ants to open the area first the white ants find their path right away. The high numbers on the white blocks count down rapidly and vanish from your slots. This restores your free space so you can continue pulling fresh blocks from the tray.
Step 3: Feed the orange ants to dissolve the thick back stripes.
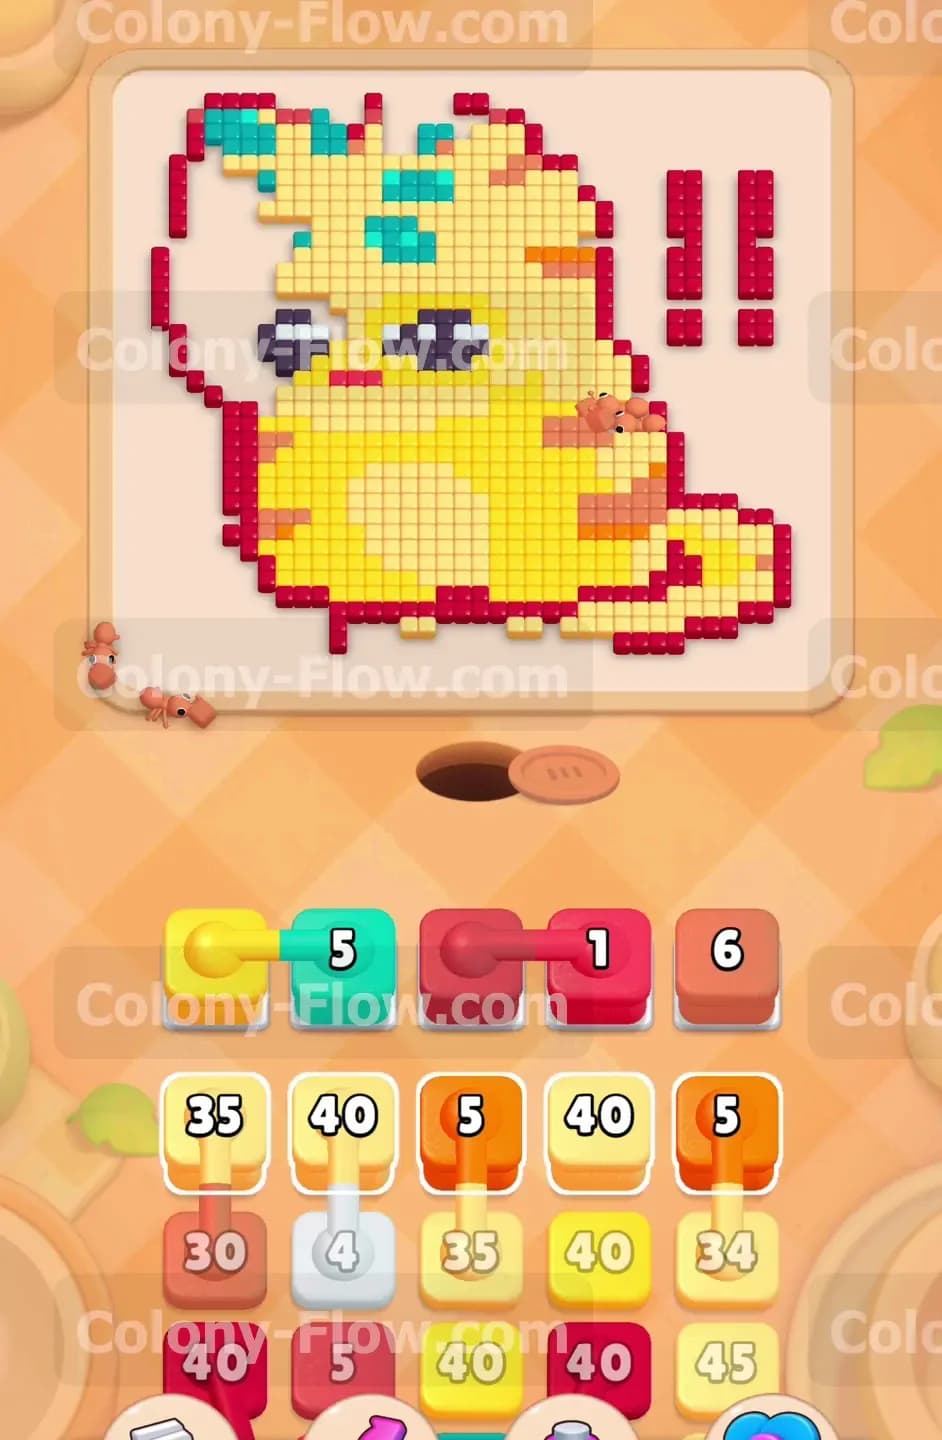
With the tiny white tiles completely out of the way you need to address the thick orange stripes. The tray holds a linked group of orange blocks starting with an orange five block. You pull this connected group next to get the orange ants moving. The orange ants navigate cleanly through the empty spaces left behind by the departed yellow and white ants. They attack the thick orange stripes on the upper back of the cat and the smaller orange details wrapped around the tail. It takes a few moments for the orange numbers to drop down to zero. During this busy time you must resist the urge to tap any more blocks. You simply let the orange and yellow ants work together to hollow out the middle of the cat.
Step 4: Manage the shrinking yellow blocks in your limited waiting slots.
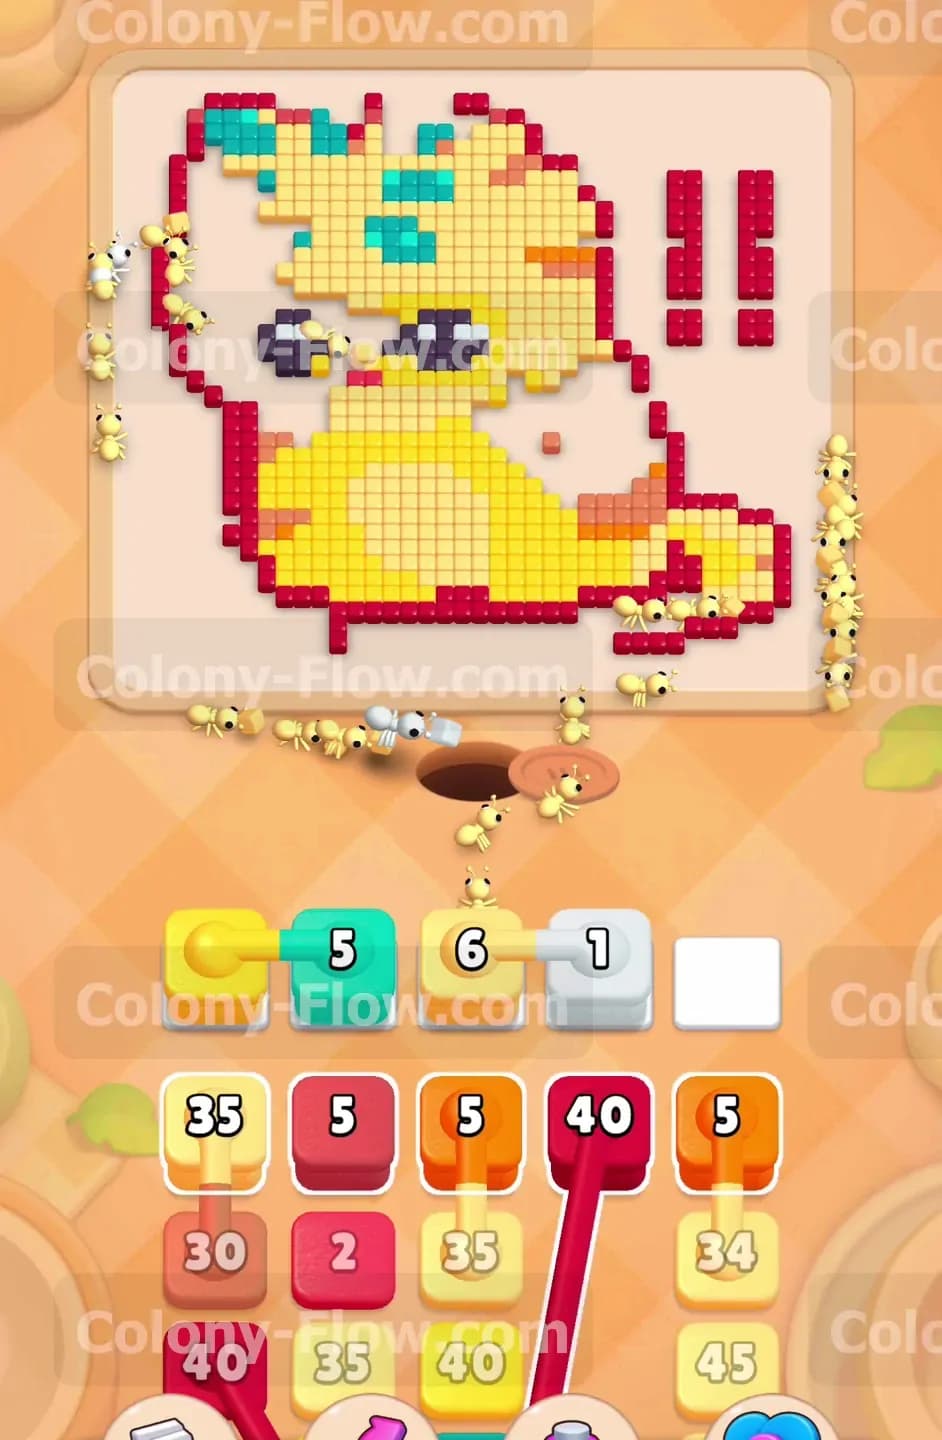
The bright yellow body is massive and takes the most time and resources to clear away entirely. As the hungry ants eat away the center of the board your yellow blocks will shrink from thirty five down to eighteen and eventually drop down to five. You will pull several more yellow blocks from the tray during this busy mid game phase. Always check that the yellow ants have a direct and clear route to the remaining yellow tiles before you tap. By this point the center of the board looks completely hollowed out. Only a few scattered yellow and turquoise blocks remain trapped inside the massive red outline shell. Your patience here prevents the dreaded five slot jam.
Step 5: Ignore the massive red connected blocks until the center sits completely empty.
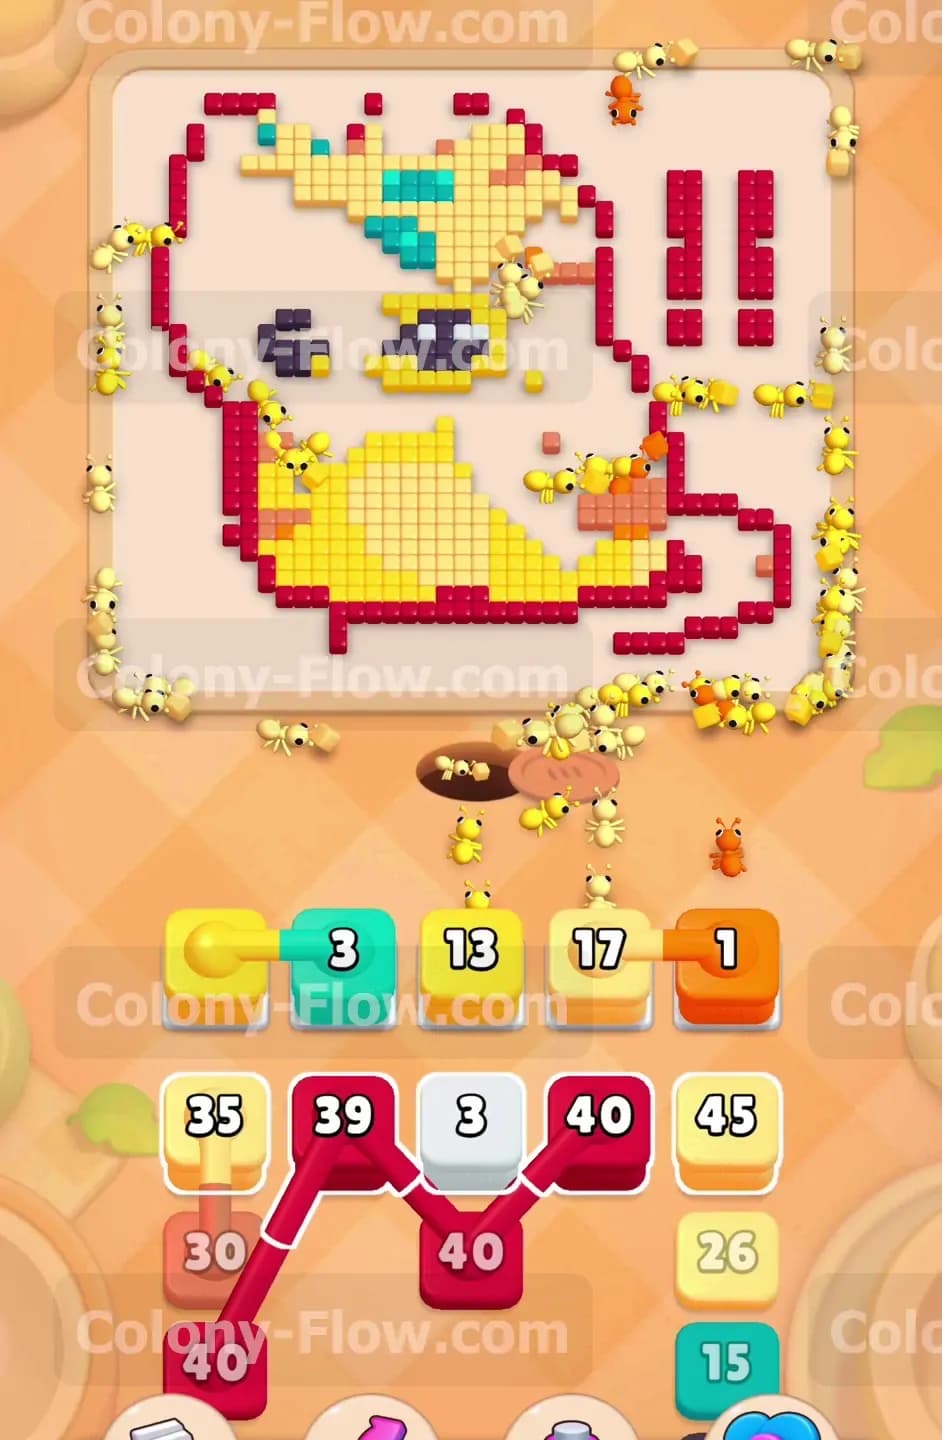
You will quickly notice a massive red forty block sitting in the tray connected to several other thick red blocks. Do not touch this group under any circumstances yet. The red tiles form the tough outer border of the cat and the entirely separate exclamation marks on the right side. If you pull the connected red boxes too early the red ants will get stuck behind the solid yellow body tiles. That simple mistake fills your slots instantly and ruins your run. You must wait until the yellow and orange interior tiles are almost entirely gone from the screen. Keep pulling the small turquoise and yellow blocks to finish cleaning the inside of the picture first.
Step 6: Unleash the connected red boxes to consume the thick outer border.
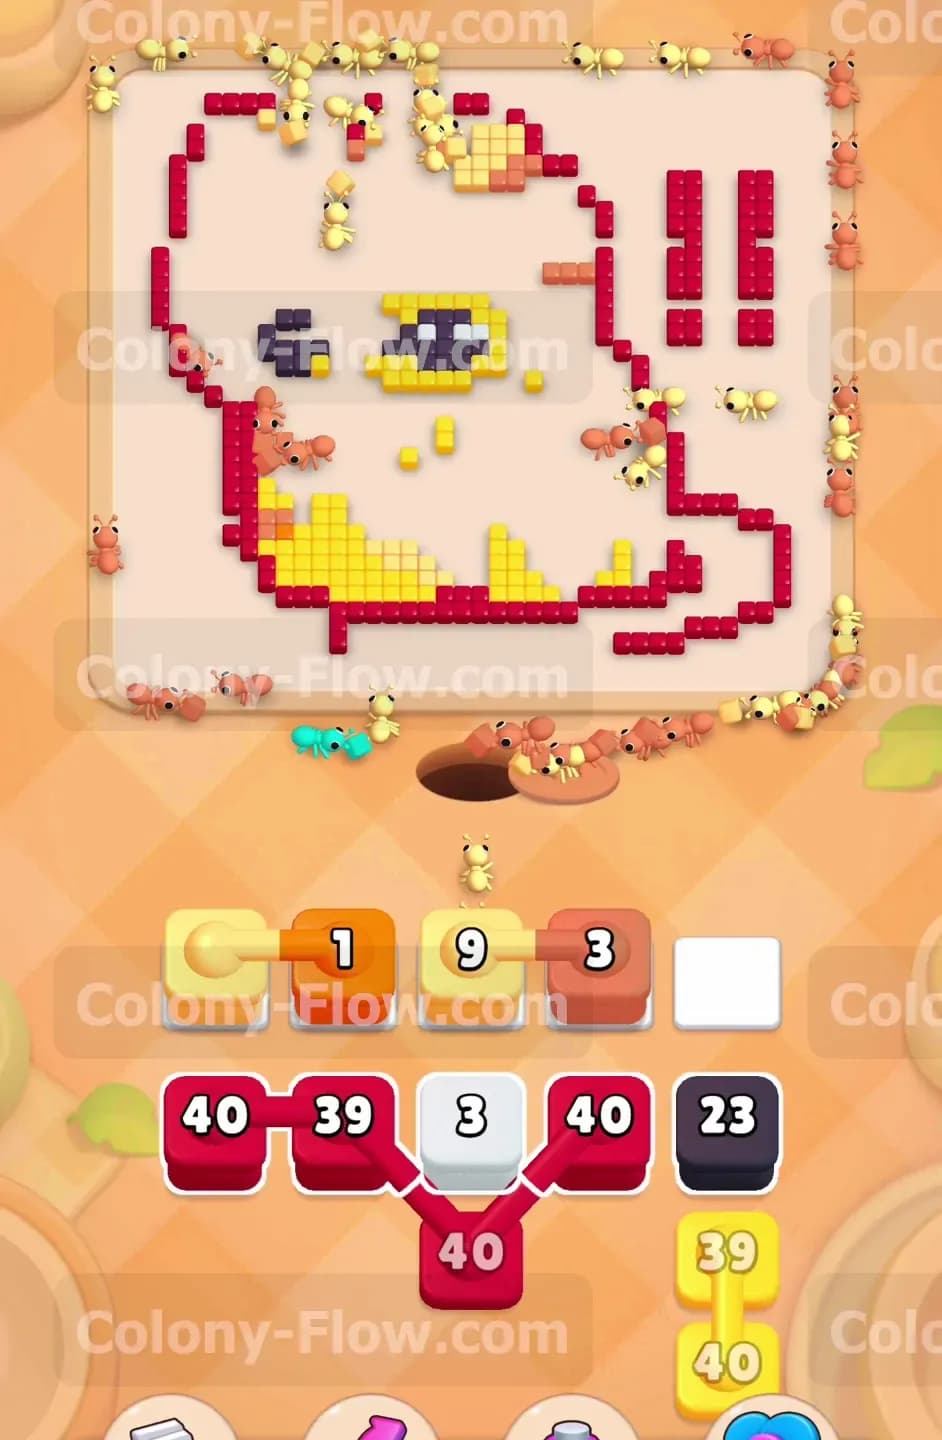
Once the inner cat body is fully cleared the red outline becomes completely exposed from the inside out. Now you can safely pull the heavily connected red blocks from your tray. The entire linked group jumps into your waiting slots taking up almost all your available free space at once. Because the path is now wide open an absolute swarm of red ants streams out of the dark nest hole. They fan out aggressively across the board and attack the thick red outline from every possible angle. The massive number forty on the red block begins to drop at an incredible speed as the ants devour the shape.
Step 7: Clear the floating exclamation marks and finish the level board entirely.
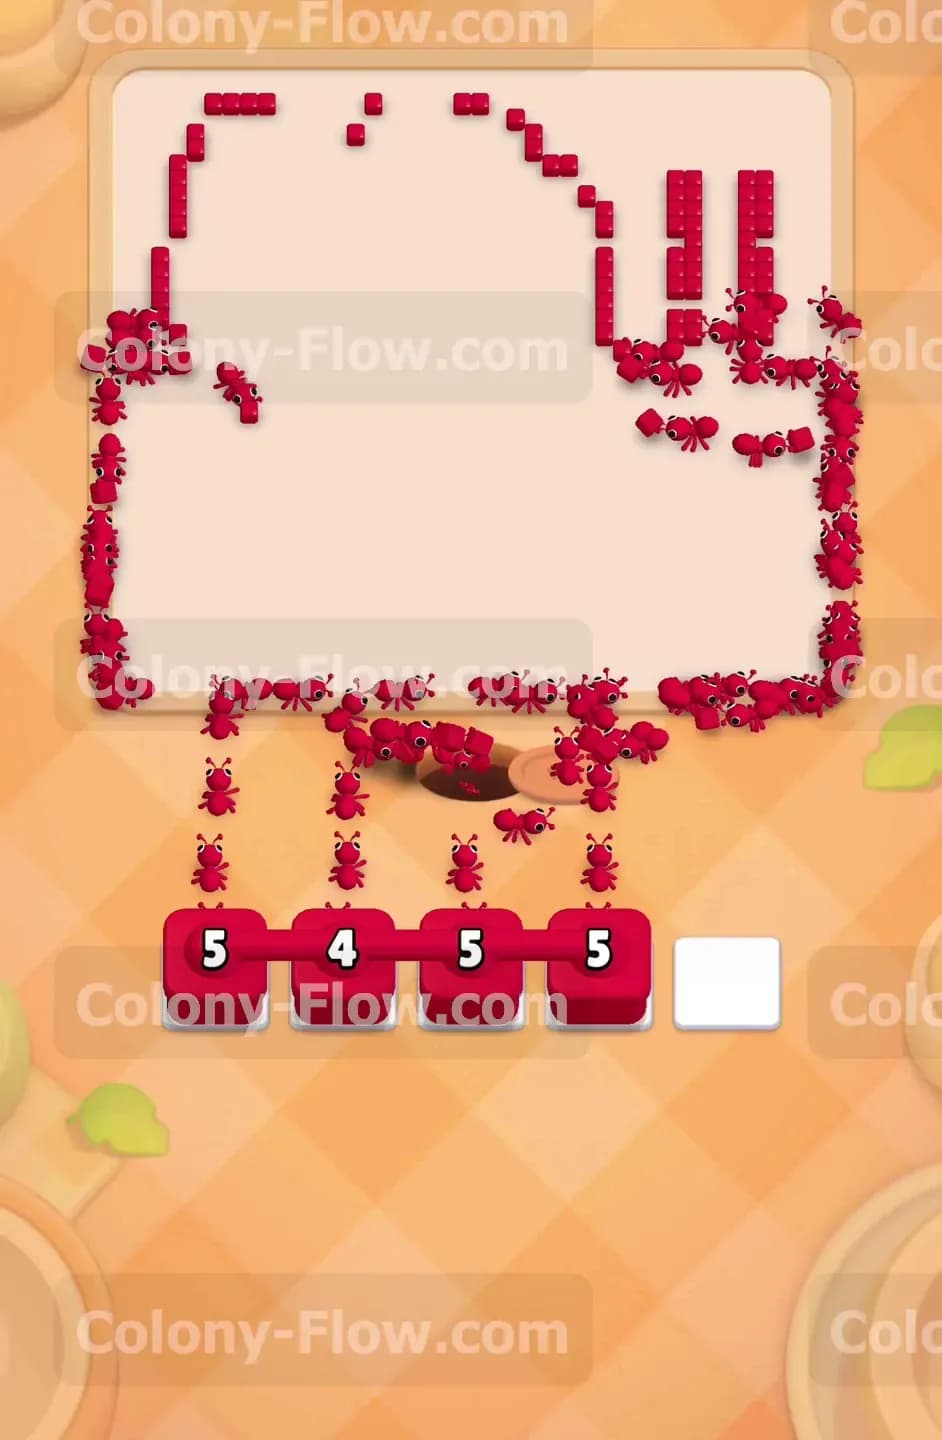
The red ants quickly devour the thick shell of the cat and move straight out to the far right side of the board. Here they finally encounter the two floating red exclamation marks. Your bottom tray is completely empty at this late stage of the game. Your waiting slots currently hold four individual red five blocks. The final massive wave of red ants marches over to the exclamation marks and eats the last remaining floating tiles. The red numbers hit zero and the final blocks vanish permanently from your slots. The board is now completely empty and you win the level.
Final Thought
Level 894 teaches you the exact value of absolute patience when dealing with heavily connected blocks. By waiting for the inner tiles to clear out completely before pulling the massive red groups you ensure a perfectly smooth victory without risking a sudden slot jam. I highly encourage you to watch the video above this article if you find any step hard to visualize in pure text. The video shows the exact proper timing for pulling each connected group so you can match the puzzle flow perfectly and secure your win.