Colony Flow Level 537 Walkthrough Solution & Guides | How to solve Colony Flow 537

Guide By Liam Stone
Updated on July 30, 2026
Skip ahead to the video above if you want to see Level 537 solved without reading the full article.
Video doesn't match your screen?
Game updates frequently scramble layouts! Try our AI Screenshot Solver first to find your exact board instantly, or report broken guides to our team.
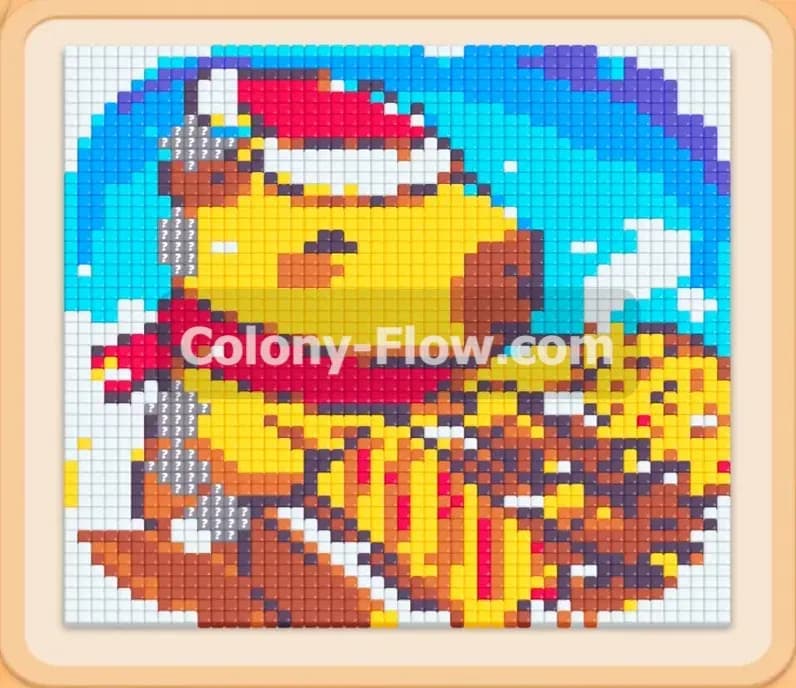
Welcome back to another puzzle solving guide. Colony Flow Level 537 is an incredibly fun challenge that tests your patience and slot management skills. You get to clear a beautiful picture of a capybara wearing a Santa hat while eating a pile of food. The level starts feeling very cramped but quickly expands into a massive swarm of ants covering the whole screen. I will show you exactly how to approach this board so you never get stuck.
Colony Flow Level 537 Overview
What You Are Working With
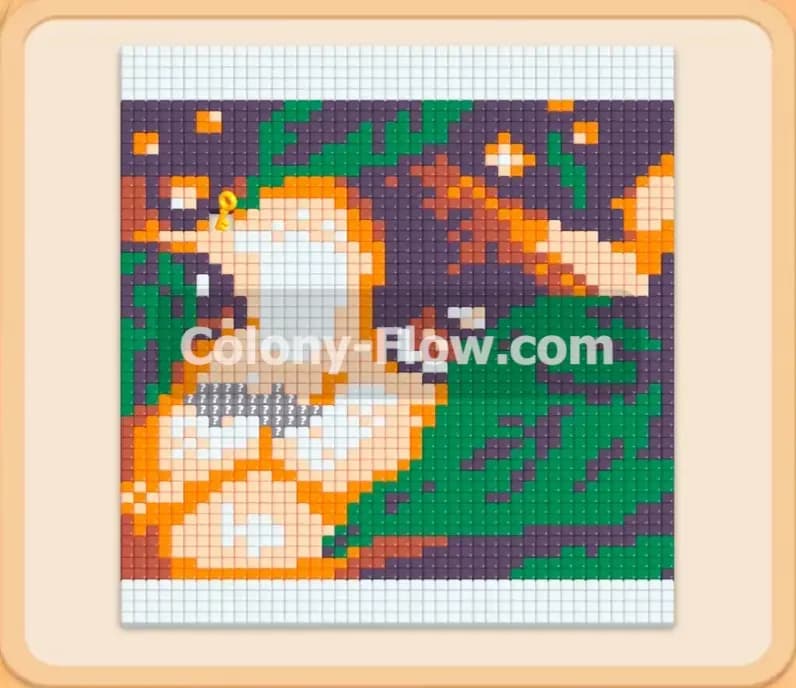
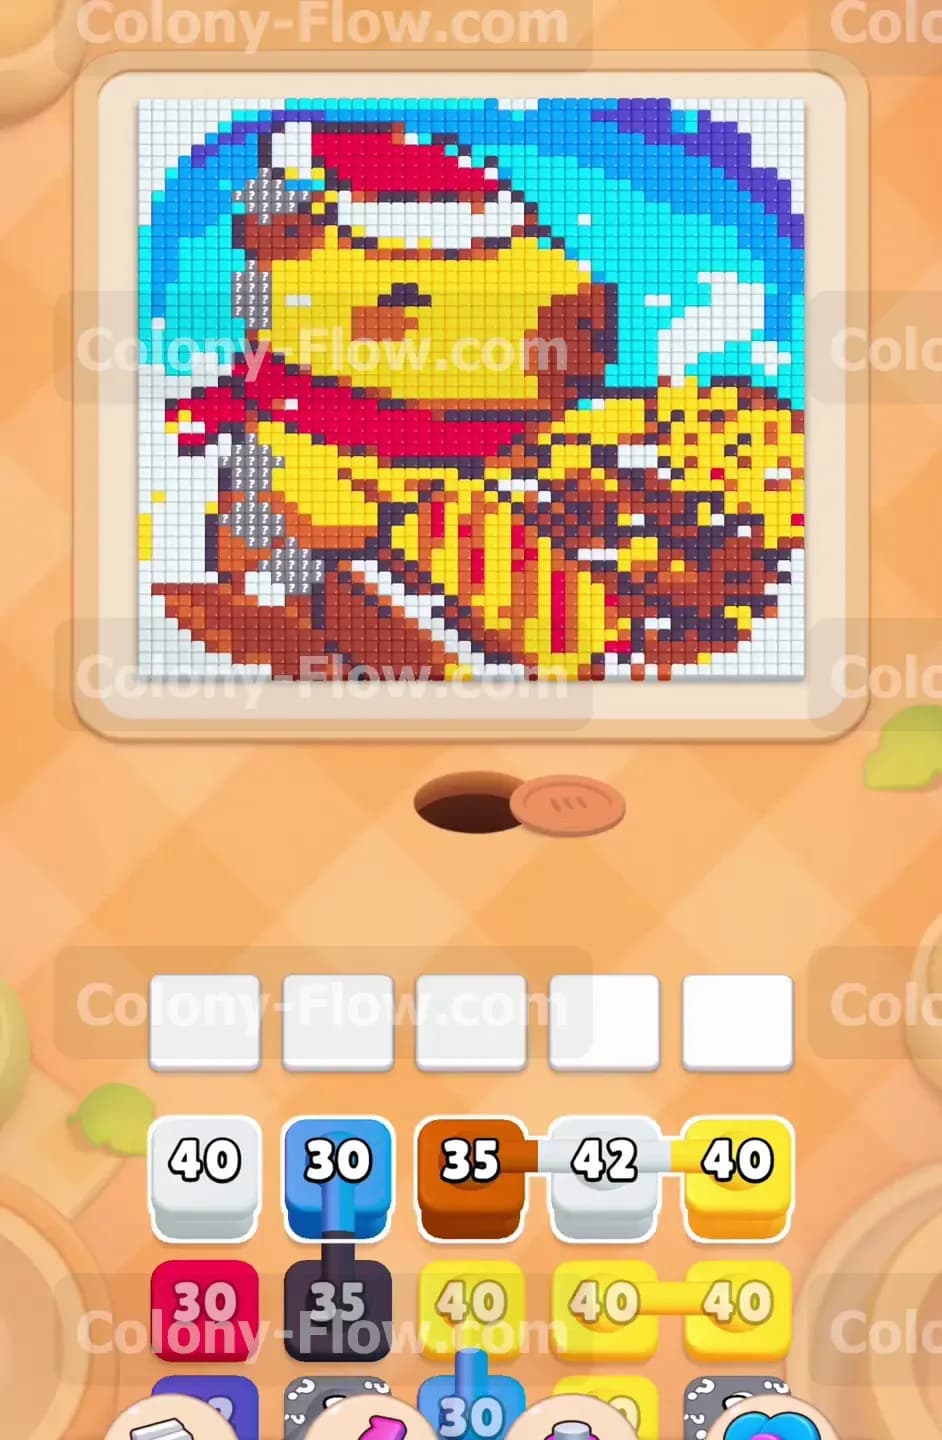
Colony Flow Level 537 presents a vibrant picture of a capybara wearing a festive Santa hat. The capybara is munching on a large pile of yellow food. The background consists of a bright cyan sky with scattered white clouds. Your tray at the bottom holds a massive variety of colored blocks. You will see yellow, blue, brown, white, dark gray, red, cyan, and pink blocks. You will also encounter a hidden box in the lower section of your tray. The hidden box displays a question mark and conceals its true color until it secures a valid path to move. The nest hole sits exactly at the bottom center of the board. The ants must walk from this single point to reach every single part of the picture.
What It Takes to Clear Level 537 Board
Clearing this level requires strict management of your five waiting slots. You lose the level if blocks fill all five waiting slots and no ants can clean the board. Every single move must keep at least one path open for the ants. You start with only one clear path leading to the yellow food pile. You must carefully peel away the outer layers of the picture to reach the inner sections. The colors blend together tightly in the center. The capybara body relies heavily on yellow and brown pixels. The Santa hat and scarf demand a lot of red and pink blocks. The massive sky background takes up nearly half the screen and requires constant cyan block feeds. You will win when the final outline pixels disappear and your tray is completely empty.
Colony Flow Level 537 Step by Step Solution
Step 1: Clear the initial yellow food pile to open paths into the center
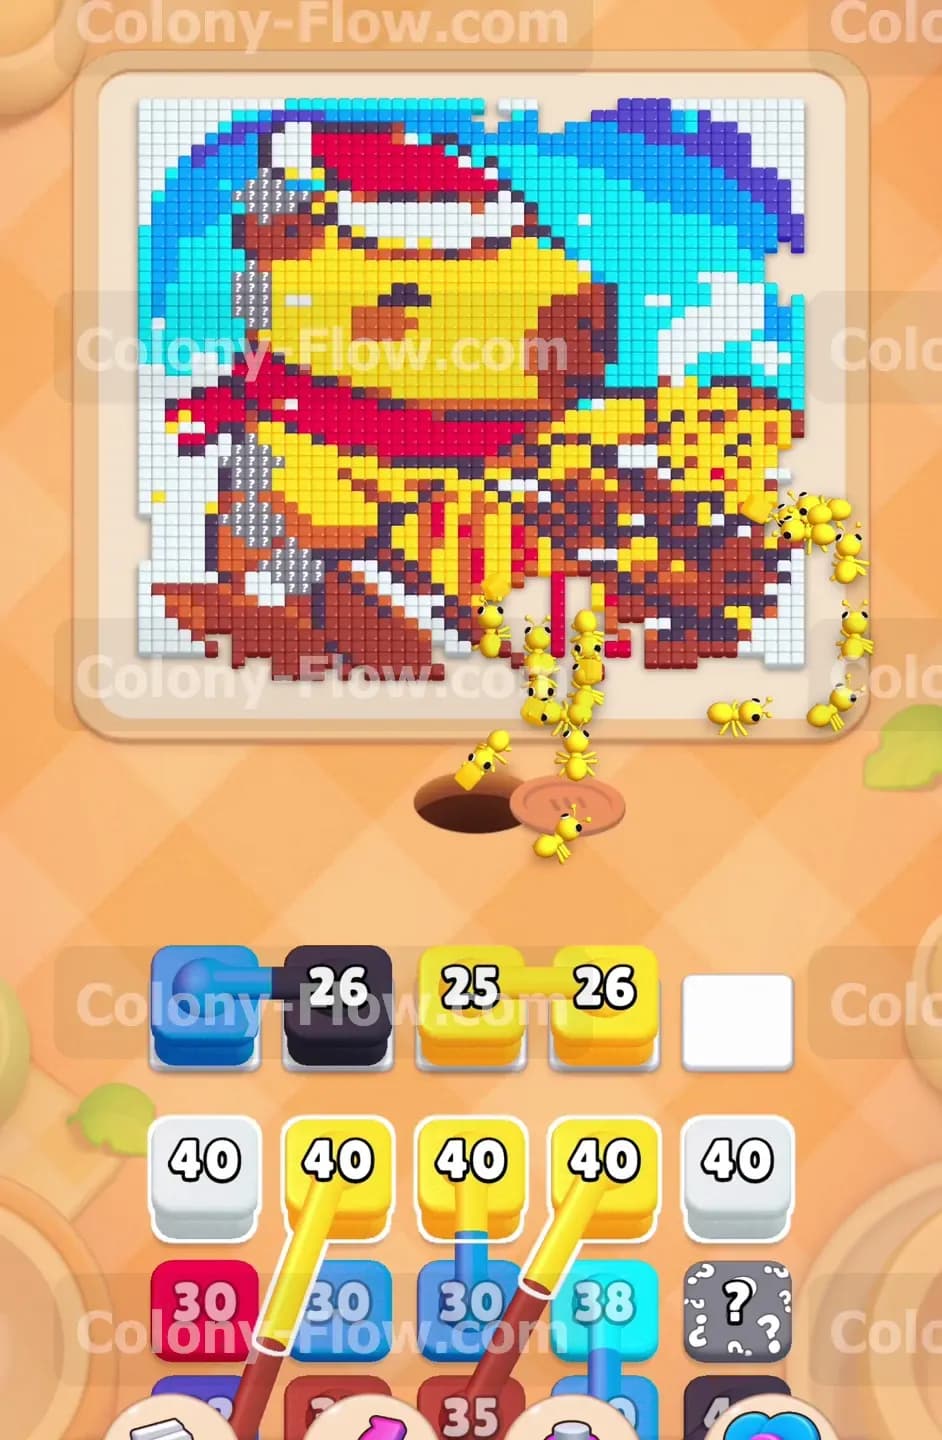
The board begins with a very restricted opening. The nest hole sits directly at the bottom center of the screen. The ants stream out and immediately look for a food source. The only available color at the very start is the yellow pile located on the bottom right side. You need to pull the yellow 40 block into your first waiting slot. The ants will march directly to the yellow pixels and start eating. Watch the number count down on the block as they work. As the ants clear this yellow section, they create a wider path that reaches higher up the board. You must never pull a block if its matching color has no open path. Doing so fills one of your five slots permanently until a path naturally opens. Focus solely on feeding the yellow ants right now.
Step 2: Introduce blue and dark gray blocks to the outer edges
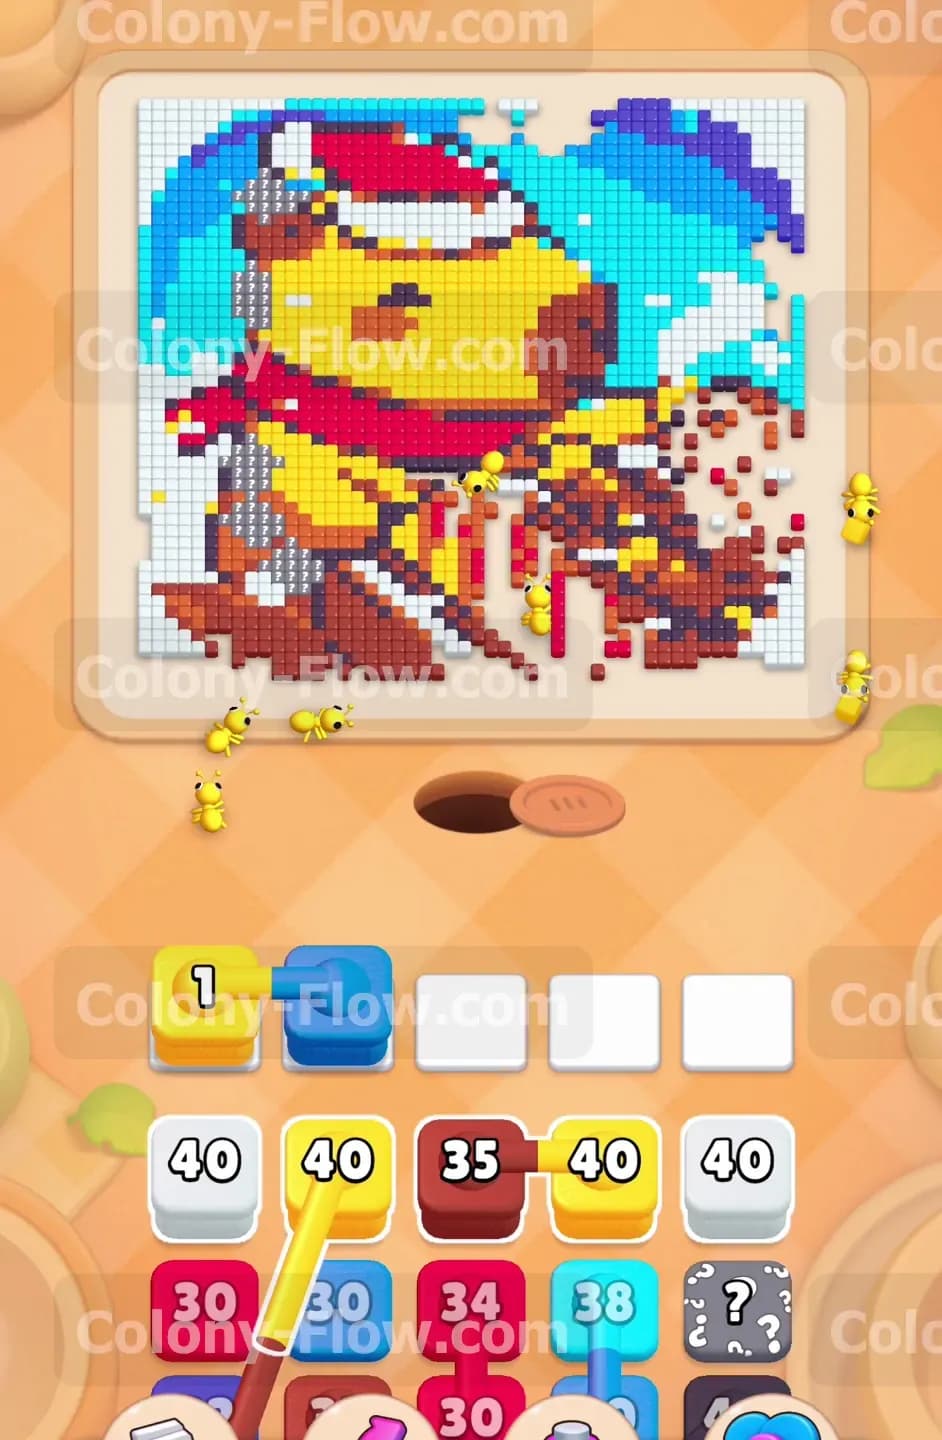
Once the yellow food pile begins to shrink, new colors become accessible. The dark gray outline of the capybara becomes exposed near the bottom. You also reveal the blue background pixels on the right edge of the screen. Pull the dark gray 35 block and the blue 30 block into your open tray slots. The ants will divide their attention beautifully. Some ants head to the dark gray pixels while others tackle the blue pixels. This split movement is perfect because it drains two different blocks at the exact same time. Keeping multiple active paths ensures your waiting slots never jam up. The blue blocks clear quickly because the right side path is very short.
Step 3: Feed the red blocks to clear the Santa hat and scarf
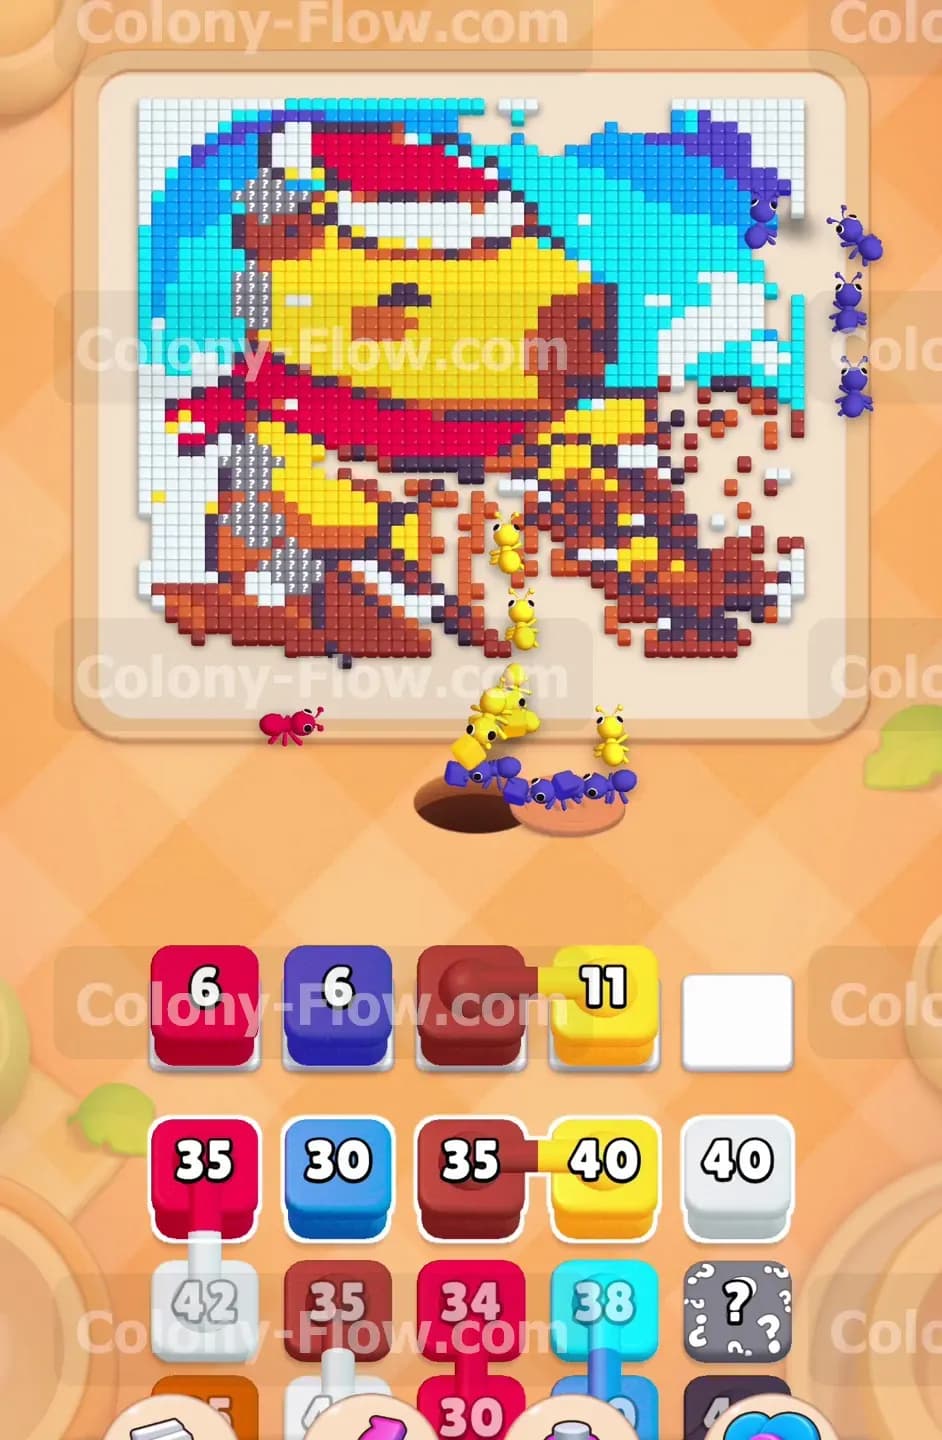
The capybara body clears enough to grant access to the red sections. The red winter scarf wraps heavily around the neck area. The festive red Santa hat sits high on top of the head. Pull the red 30 block into a waiting slot. The ants will weave through the cleared yellow body space to reach the red pixels above. You want the ants to clear both red areas simultaneously so the numbers count down faster. Pull a second red block if you have room in your five slots. The red pixels make up a large portion of the central image. Clearing them creates a massive open space in the middle of the board for your ants to travel through.
Step 4: Tackle the brown blocks on the right side of the board
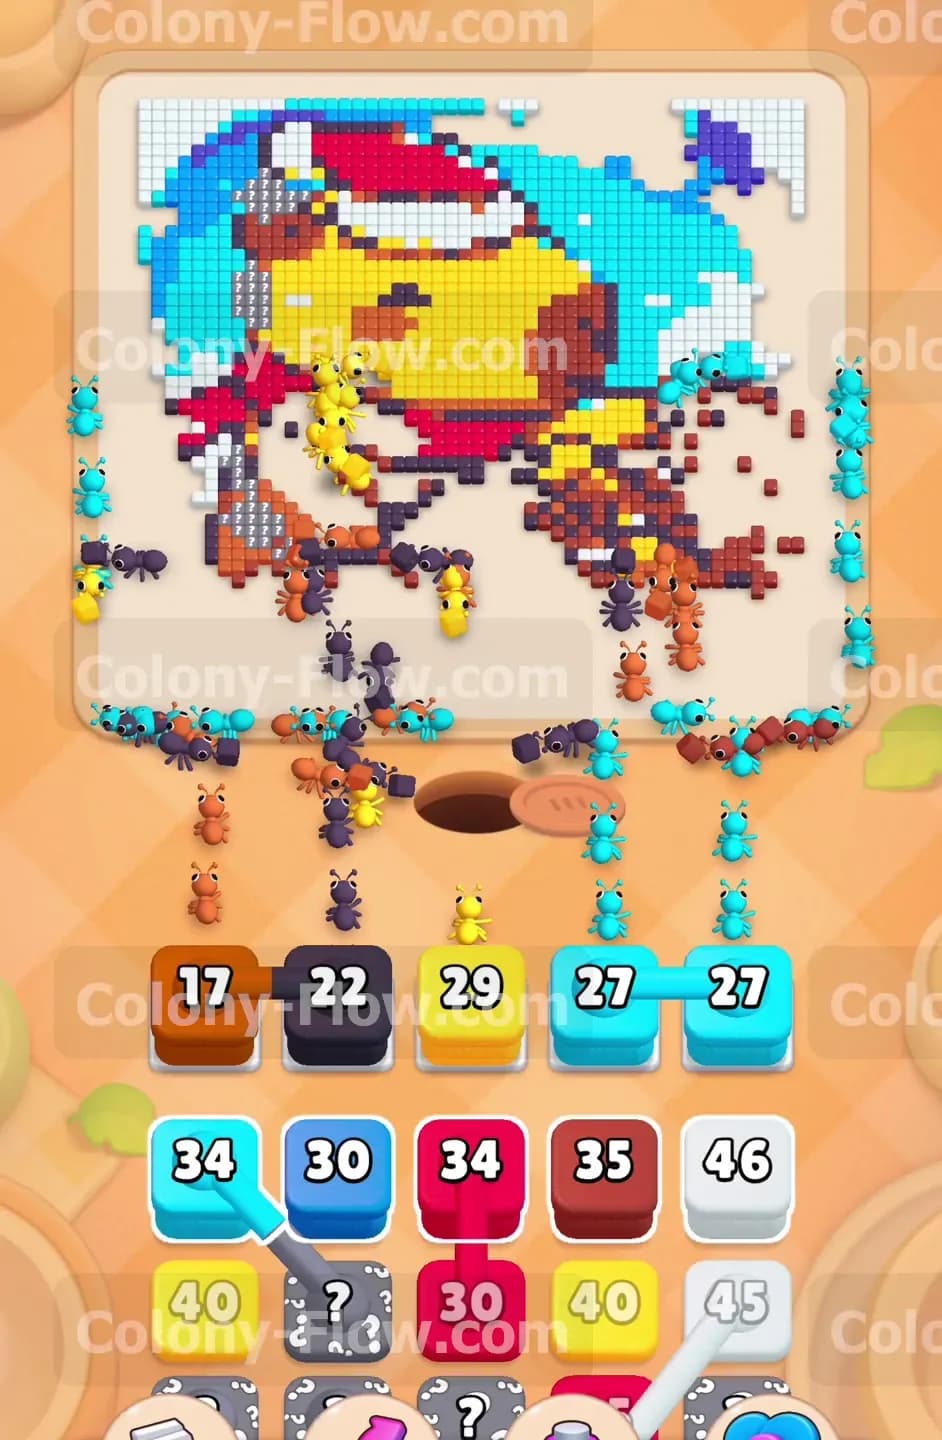
There is a large brown section mixed into the food pile on the right side. This brown area connects to the dark gray outlines you started earlier. Pull the brown 35 block into the tray. The ants will rush to the right side and chew through the brown pixels. You must monitor your active slots carefully during this stage. Do not let the brown block sit alone if there is room for another color. Pair the brown block with a yellow block to keep the center body clearing. The brown pixels take a while to reach because the ants have to walk around the remaining yellow shapes. Patience is key here. Just keep the paths flowing.
Step 5: Pull white blocks for the fluffy hat trim and background clouds
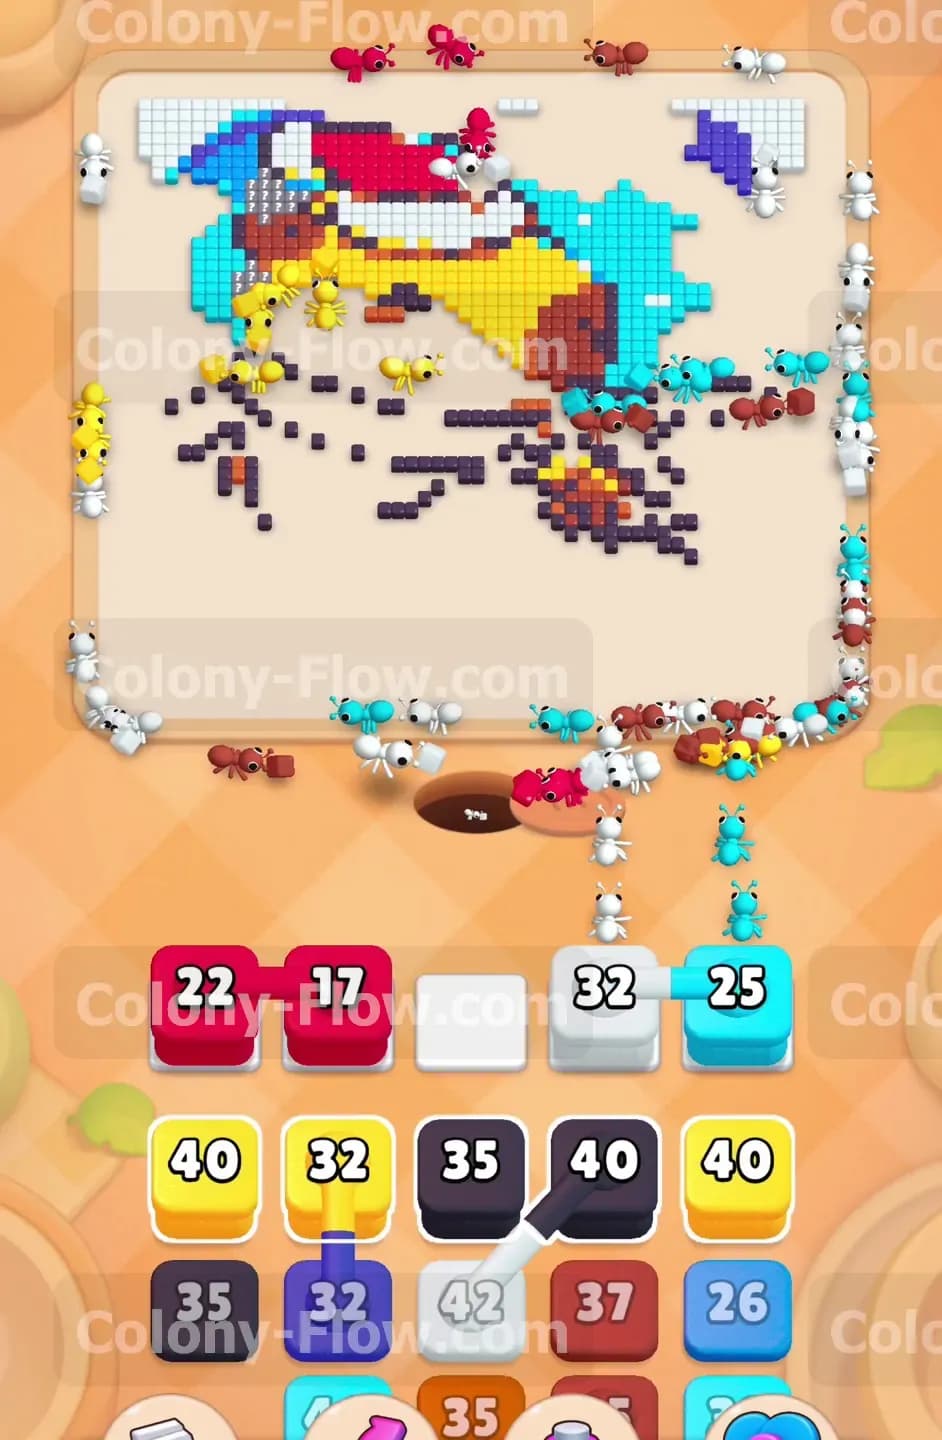
Now look at the bright white sections of the board. The Santa hat has a thick white fluffy trim and a large white pom ball hanging off the end. The background sky also contains several white clouds scattered around the top corners. Pull the white 40 block into an empty slot. The ants will travel straight up the middle of the cleared body to reach the hat trim. Other ants will branch off toward the clouds. White blocks drain very fast because the ants can attack the pixels from multiple different angles at once. Always leave at least one slot empty when pulling white blocks. You want room to pivot if a path suddenly finishes.
Step 6: Flood the active slots with cyan blocks for the massive sky
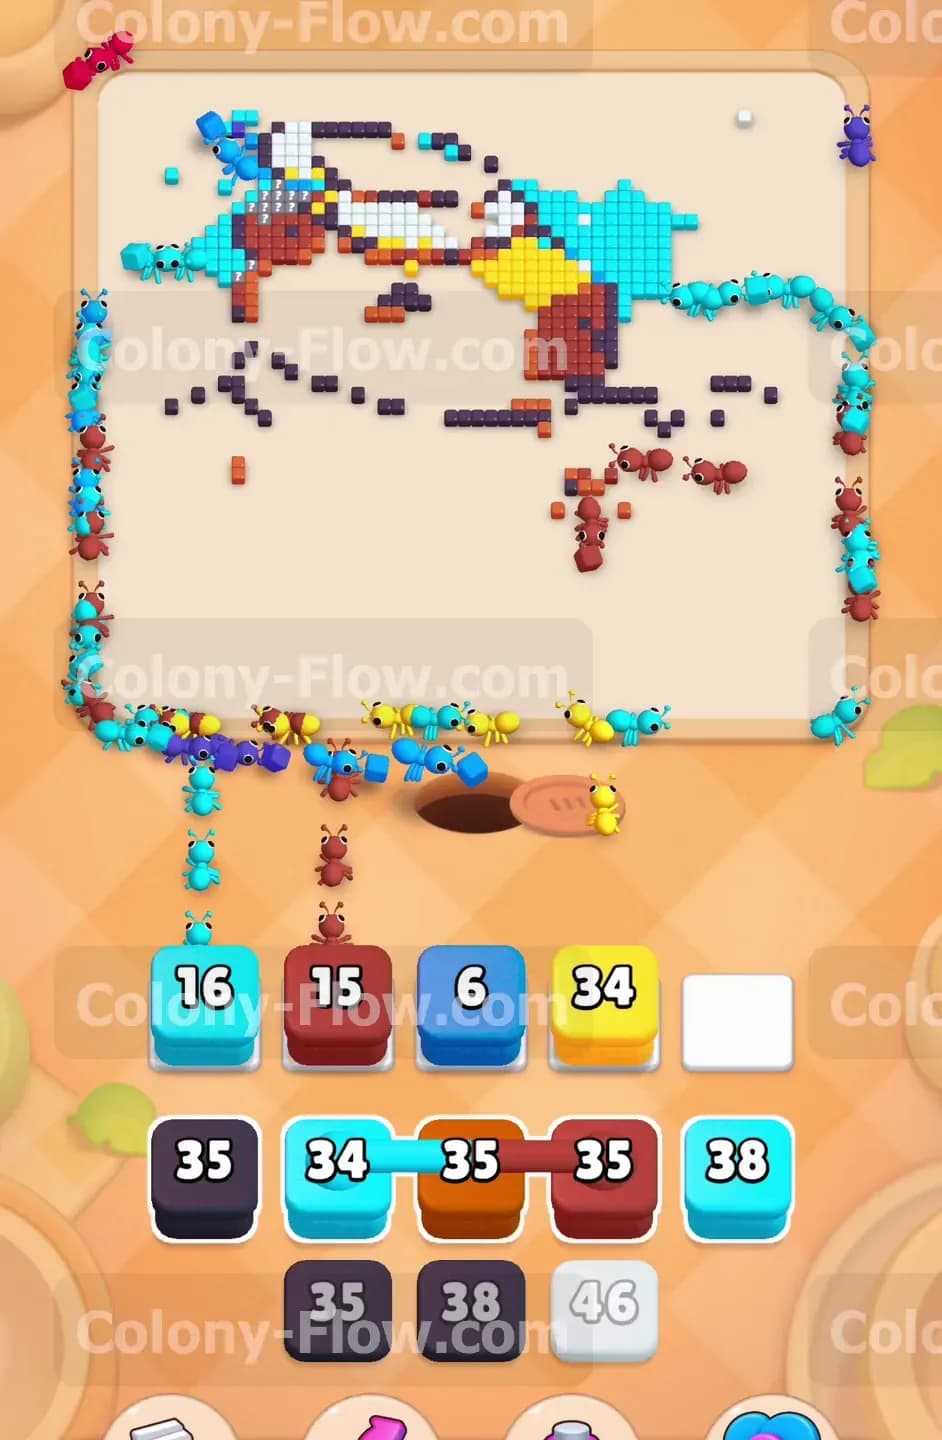
The sky behind the capybara consists of thousands of cyan and light blue pixels. This is the largest single colored area on the entire board. You need multiple cyan blocks to clear it completely. Pull a cyan 38 block and a cyan 34 block into the tray at the same time. The ants will rush to the upper corners of the board in huge numbers. They eat away the sky very quickly because so many tiles are exposed at once. You can safely pull three cyan blocks at the same time if your tray space permits. This prevents any single massive block from slowing down your progress. The sky will vanish rapidly under the swarm.
Step 7: Clear the pink scarf sections and handle the hidden box
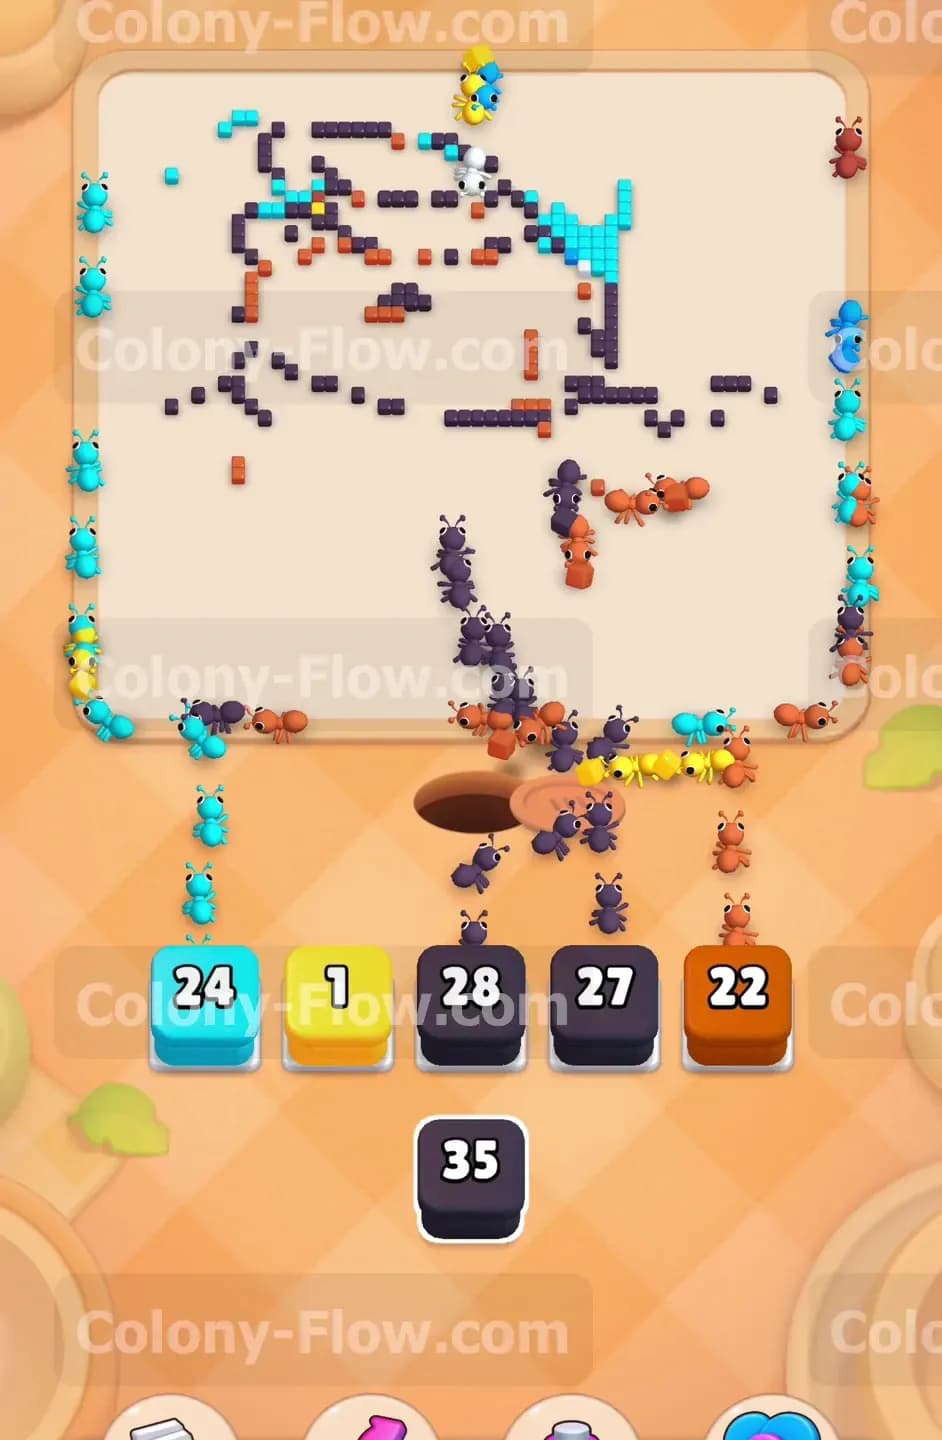
Look closely at the winter scarf again. You will notice bright pink pixels mixed in with the remaining red ones. These pink sections add shading to the fabric. Pull the pink 34 block into your tray. The ants will fill the gaps left behind by the red tiles. As you work on the pink sections, you can finally use the hidden box sitting in your tray. A hidden box conceals its color until you pull it into a slot. Because you have cleared so much of the board, almost every remaining color has a wide open path. Pull the hidden box into a waiting slot. It will reveal its color and the ants will immediately find a path to the matching pixels.
Step 8: Finish the remaining scattered outline pixels
The final stage of the level leaves only the dark gray and brown outline pixels. The capybara shape looks like a scattered skeletal frame at this point. Pull the remaining dark gray 28 block and the brown 22 block into your tray. The ants will run all over the board to hunt down these tiny individual pixels. The numbers on your blocks will count down much slower now because the travel distance is extremely far. You must be patient and let the ants do their long walk. Leave a cyan block in one slot to give the remaining background ants something to do. Once the ants consume the final dark gray pixel, the screen clears and you win the level.
Final Thought
This level tests your ability to juggle multiple colors without clogging your active slots. Remember to always prioritize colors that have wide open paths near the nest hole. If any specific move feels confusing in text form, I highly encourage you to watch the video above this article. Seeing the ants clear the paths in real time makes the slot management strategy much easier to understand. Good luck clearing the board.