Colony Flow Level 300 Walkthrough Solution & Guides | How to solve Colony Flow 300

Guide By Liam Stone
Updated on August 1, 2026
The article below goes step by step through Level 300, but the video above shows the same thing faster.
Video doesn't match your screen?
Game updates frequently scramble layouts! Try our AI Screenshot Solver first to find your exact board instantly, or report broken guides to our team.
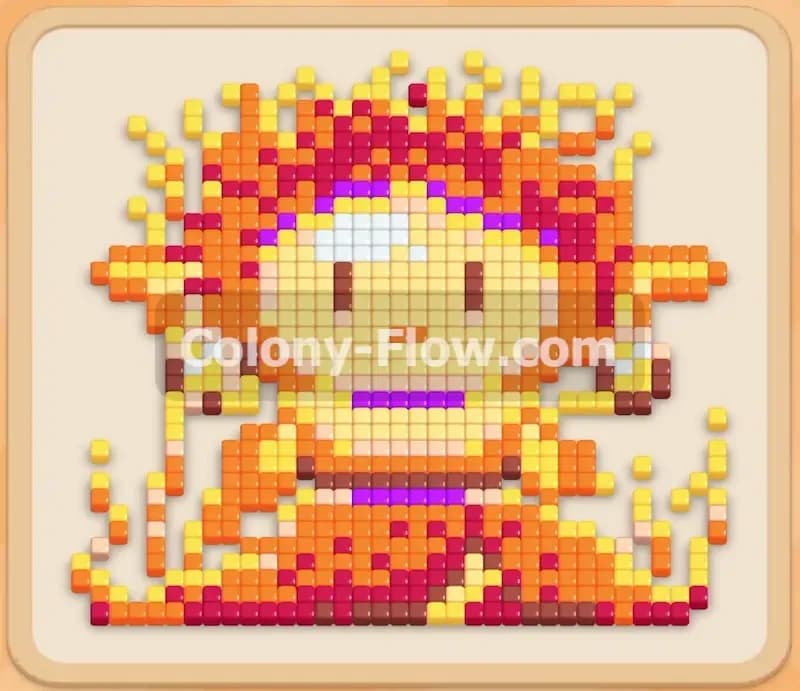
Welcome to Colony Flow Level 300. This level challenges you with a beautiful and large pixel art figure that is completely surrounded by a scattered aura of yellow and orange tiles. You have a very crowded tray full of large numbers and you must handle some tricky connected boxes that can quickly jam your waiting slots if you make a wrong move. Let me walk you through exactly how I clear this board from start to finish without dead ending the ants.
Colony Flow Level 300 Overview
What You Are Working With
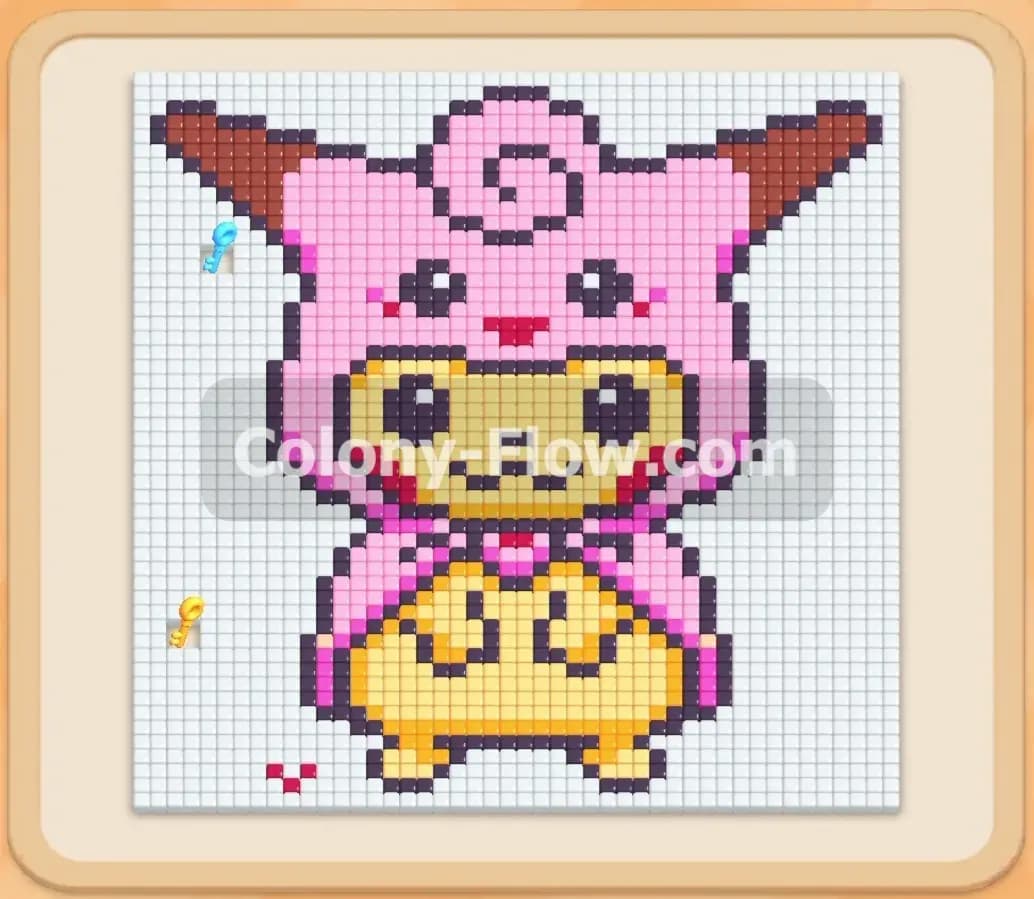
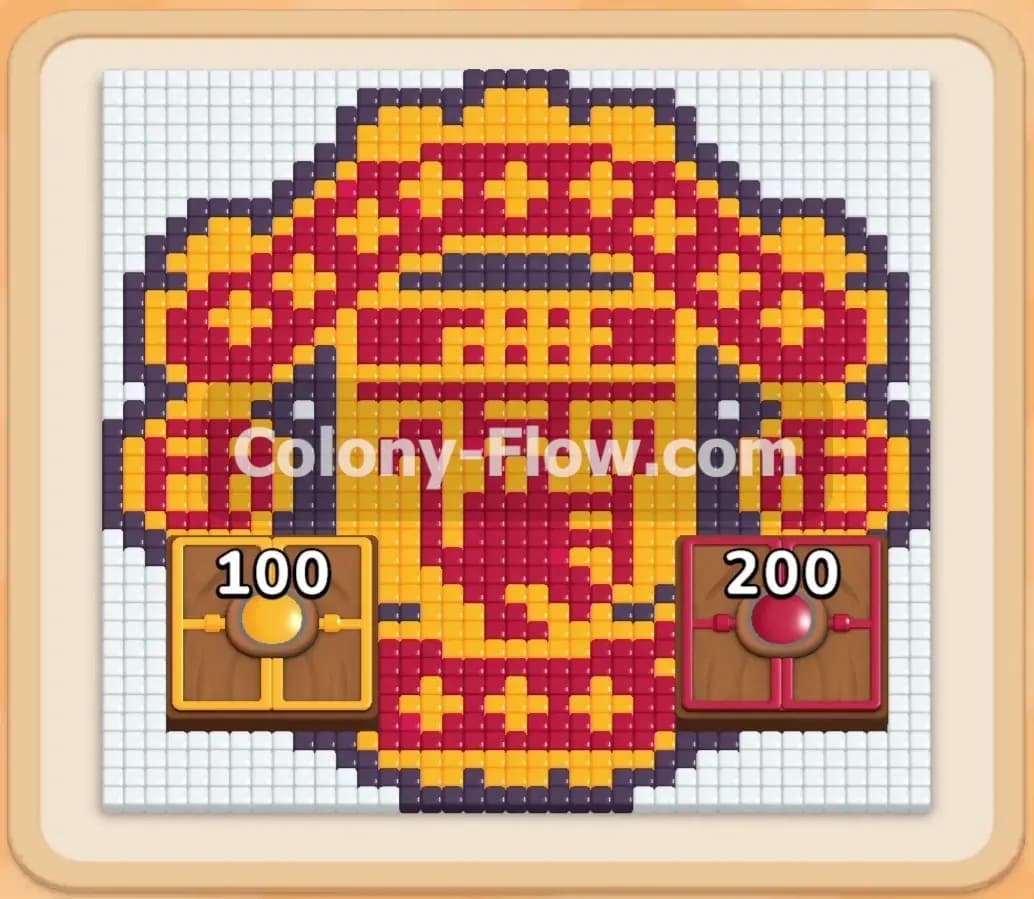
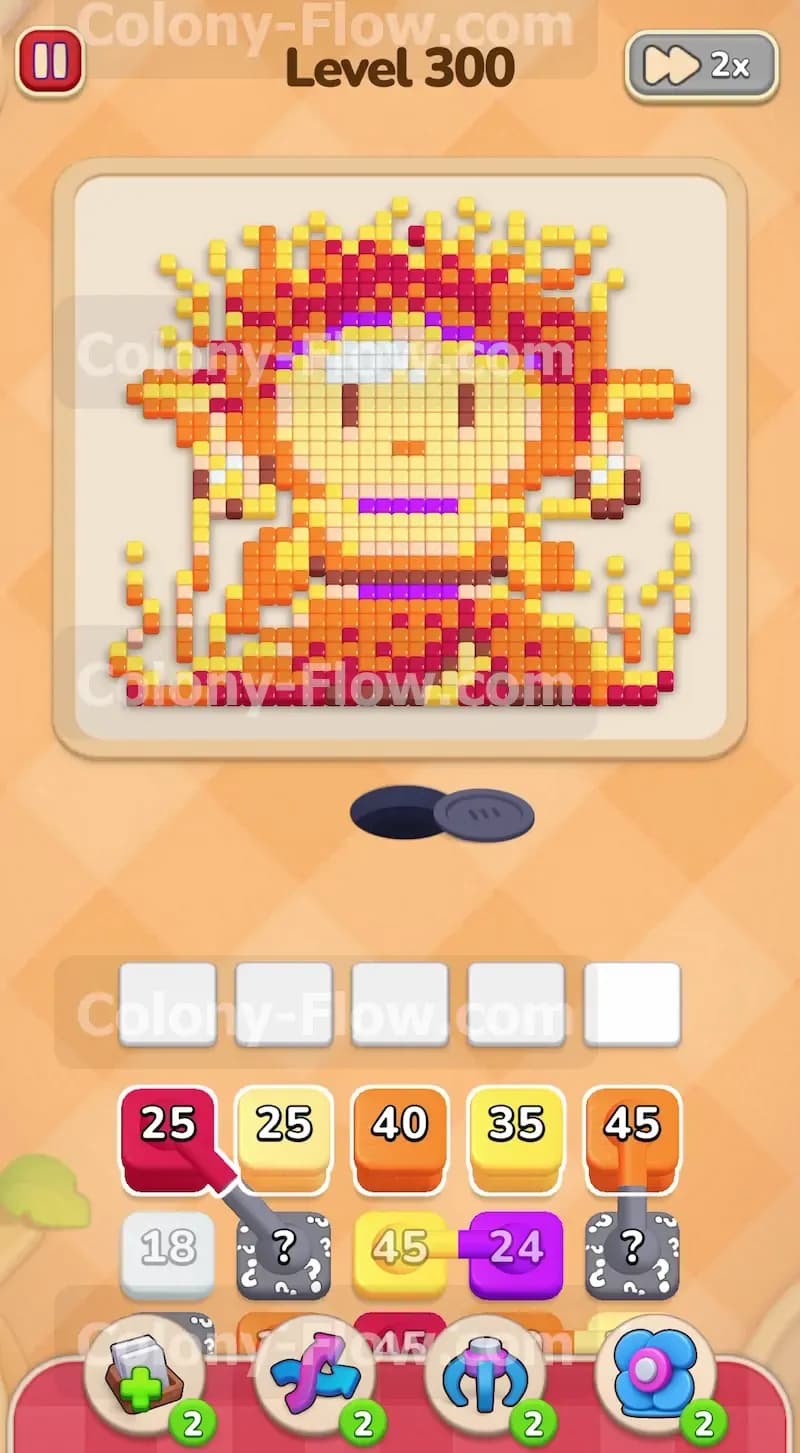
The board features a large pixel art character with a red and purple dress, a wide beige face, and wild red and orange hair. A huge cloud of scattered yellow and orange tiles floats all around the outside of the main figure. You must feed the ants matching colored blocks from the tray at the bottom of the screen.
This level includes two dangerous special elements in the tray. The first is Connected Boxes. These are blocks linked together by a visible line. When you pull one of these blocks, every block connected to it gets pulled into your waiting slots at the exact same time. The second special element is the Hidden Box. These blocks have a question mark on them and they hide their true color until you clear the blocks sitting on top of them. You cannot plan around a hidden box until it reveals itself.
What It Takes to Clear Level 300 Board
You win the level by clearing every single pixel art tile from the board. The core challenge is managing your five waiting slots at the top of the tray area. If you pull a block and the ants cannot reach its matching color on the board, that block sits in a waiting slot. If all five waiting slots fill up and no ants can move, you lose the level instantly. You must constantly look at the board and only pull blocks when you know the ants have an open path to reach those colors. The connected boxes make this especially hard because they take up multiple slots in a single tap.
Colony Flow Level 300 Step by Step Solution
Step 1: Clear the outer yellow aura first.
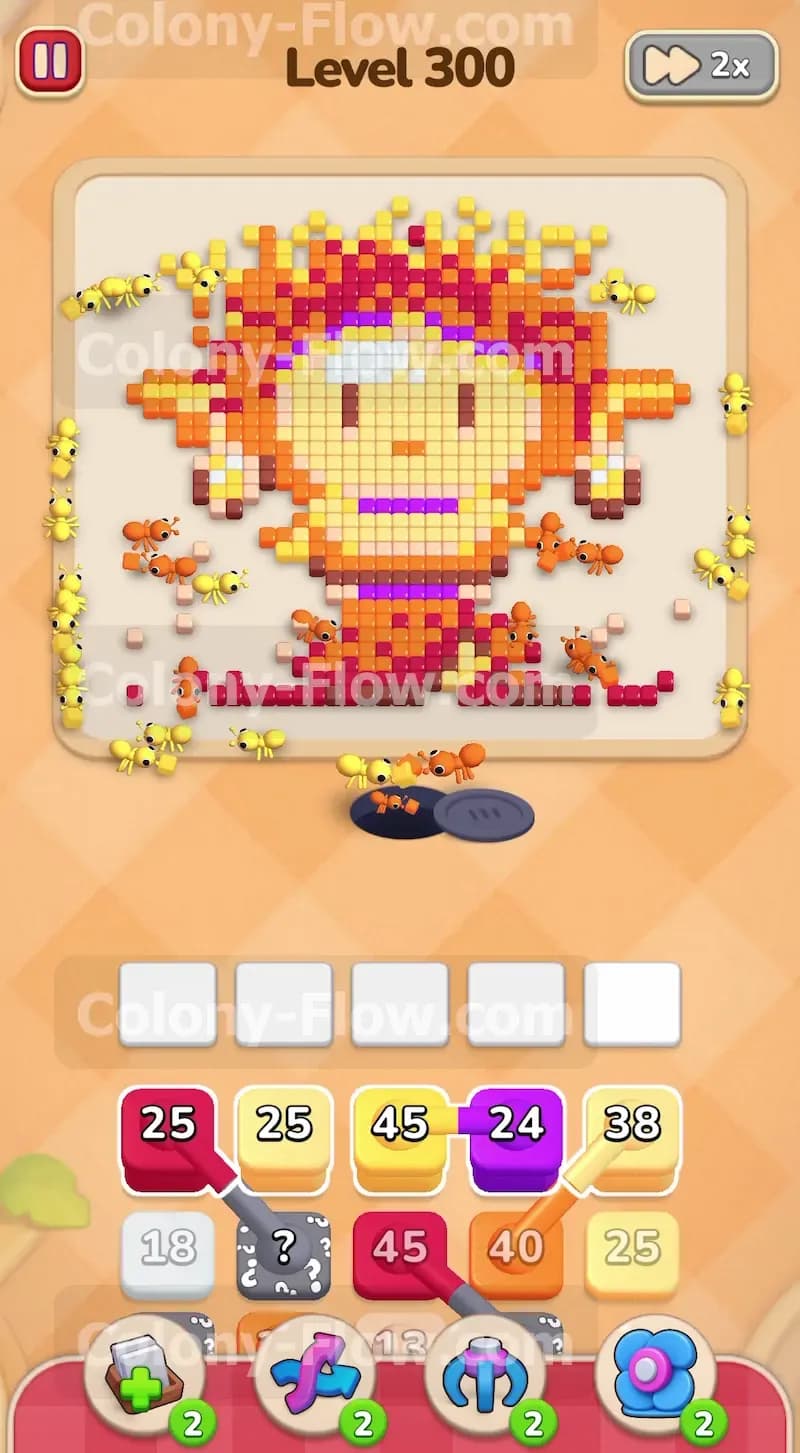
The picture starts completely enclosed by scattered yellow tiles. The ants cannot reach the inner red dress or the face yet. Look at the top layer of your tray and pull the yellow block with the number 25. It slides into your waiting slots and the yellow ants immediately stream out of the nest hole to eat the outermost pieces of the yellow aura. This simple move keeps your slots clear and opens up pathways to the red and orange sections underneath.
Step 2: Open the bottom red base.
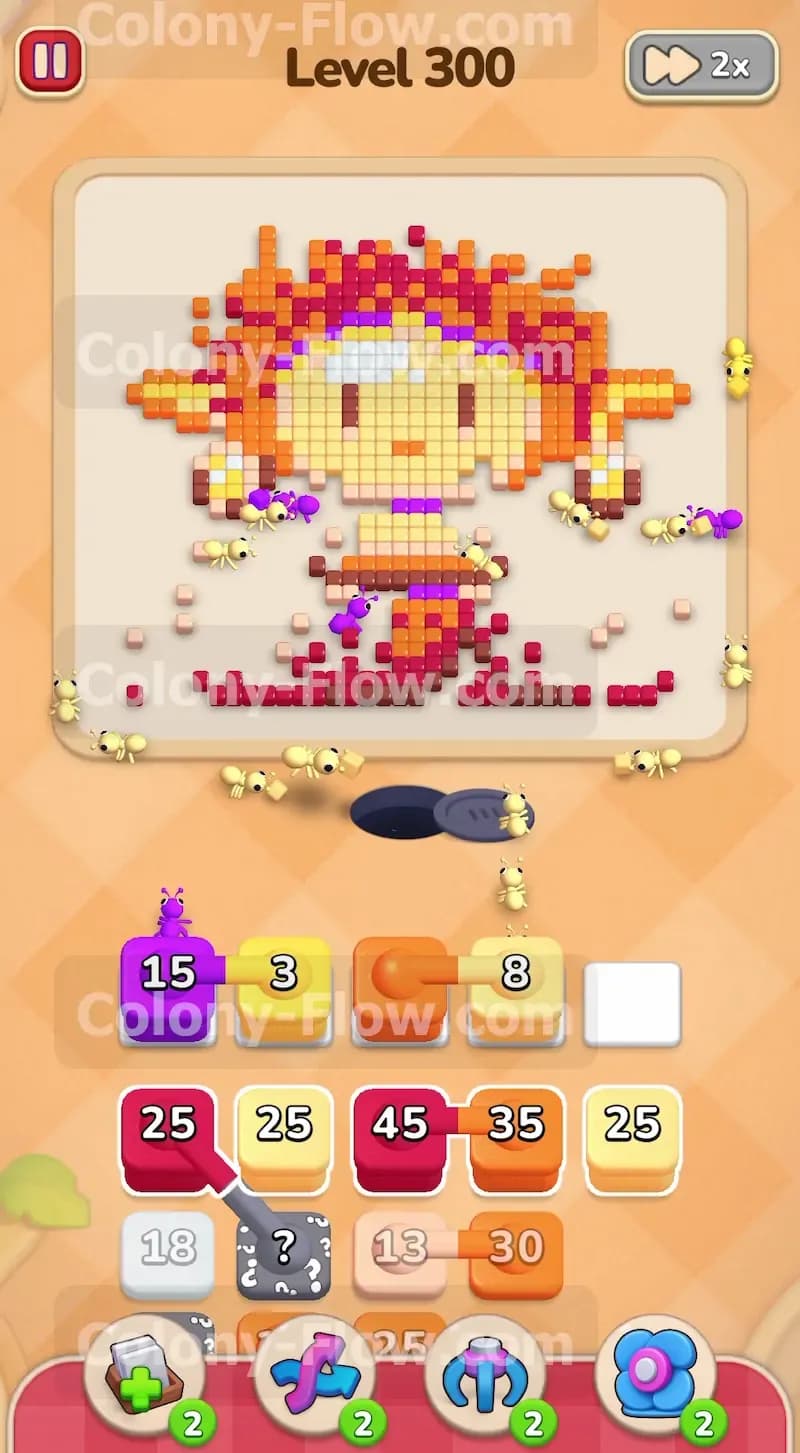
Once the yellow ants remove the lower left and lower right edges, the bottom red base of the figure becomes totally reachable. Pull the red 25 block from the top layer of the tray. Red ants will deploy and start chewing away the flat red platform at the very bottom of the art. This action shrinks the bottom obstacle and frees up physical space in your tray to reveal the connected boxes hiding below the top layer.
Step 3: Handle the first connected pair.
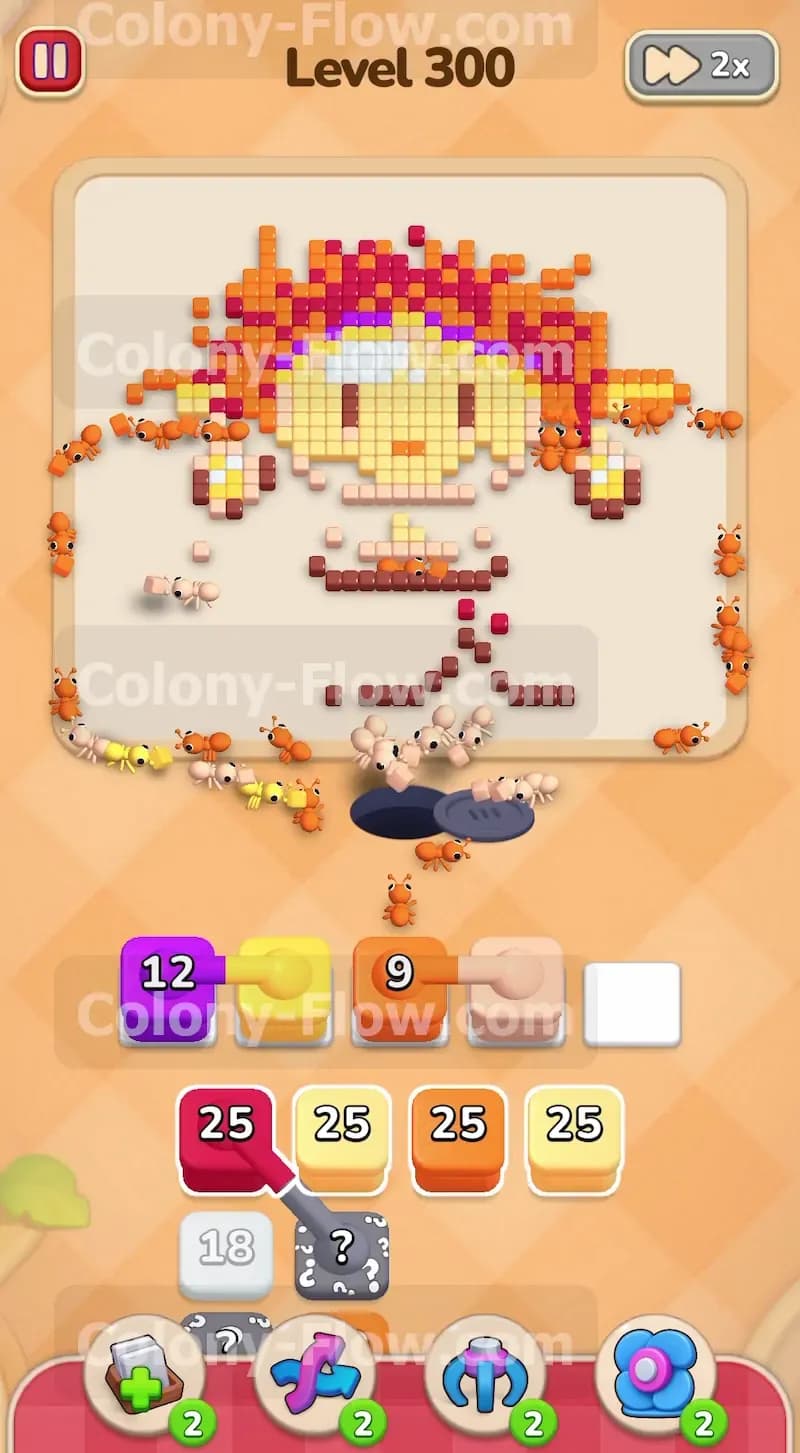
You will soon uncover a connected pair consisting of a purple 24 block and a beige 38 block in the tray. Before you tap them, look closely at the board. The purple tiles on the lower dress are now fully exposed because you cleared the red base earlier. Pull the connected pair. Both blocks slide into the waiting slots together. Because the purple path is open, the purple ants instantly go to work on the dress. This prevents the connected blocks from jamming your limited slots.
Step 4: Chip away the orange edges.
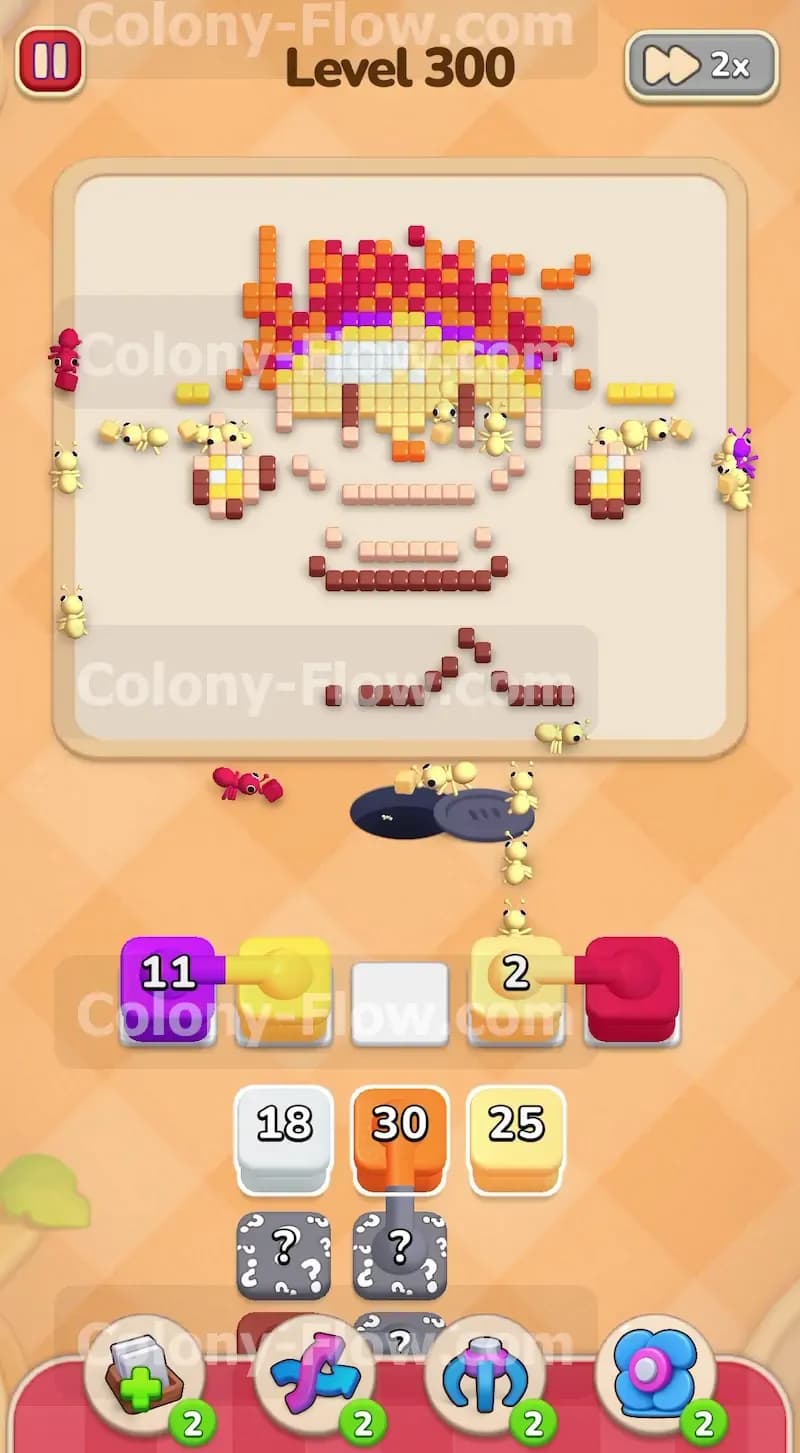
With the bottom dress shrinking rapidly, you still have a massive amount of orange aura tiles floating around the head and the shoulders. Pull an orange 45 block from the tray to keep the ants moving on the outside perimeter. The orange ants will sweep around the top and the sides of the character. This steady removal of the outside layers is vital before you try to tackle the dense face or the thick hair.
Step 5: Pull the dangerous triple connected group.
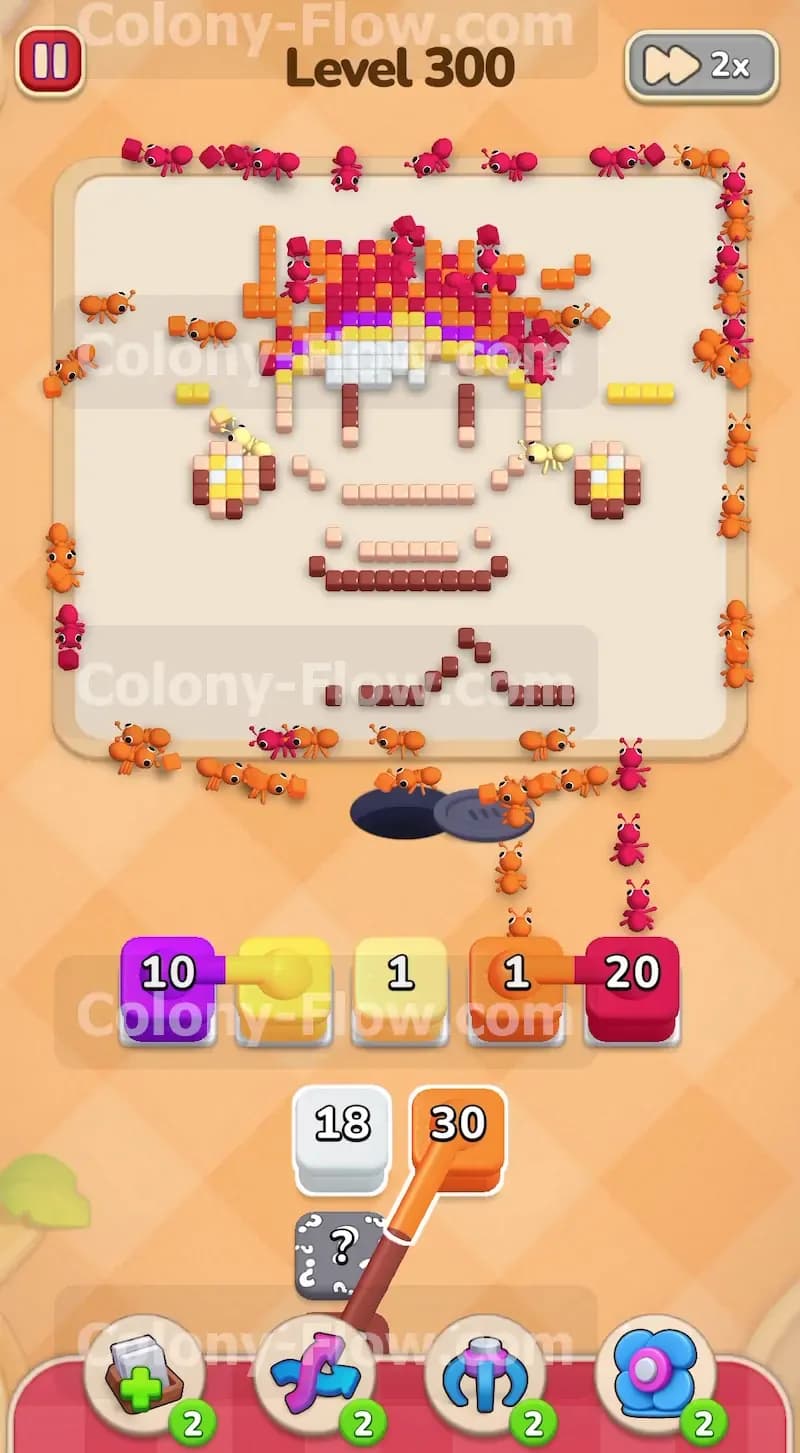
Deep in the tray you will find a set of three connected boxes made up of a purple 15 block, a yellow 3 block, and an orange 8 block. This is a very dangerous move. Pulling this group takes up three of your five waiting slots at the exact same time. You only survive this pull if the ants can immediately reach at least one of those colors. Luckily your earlier work opened the orange hair and the remaining purple sections of the dress. The ants will clear these out fast and empty the slots before a jam happens.
Step 6: Target the scattered earrings.
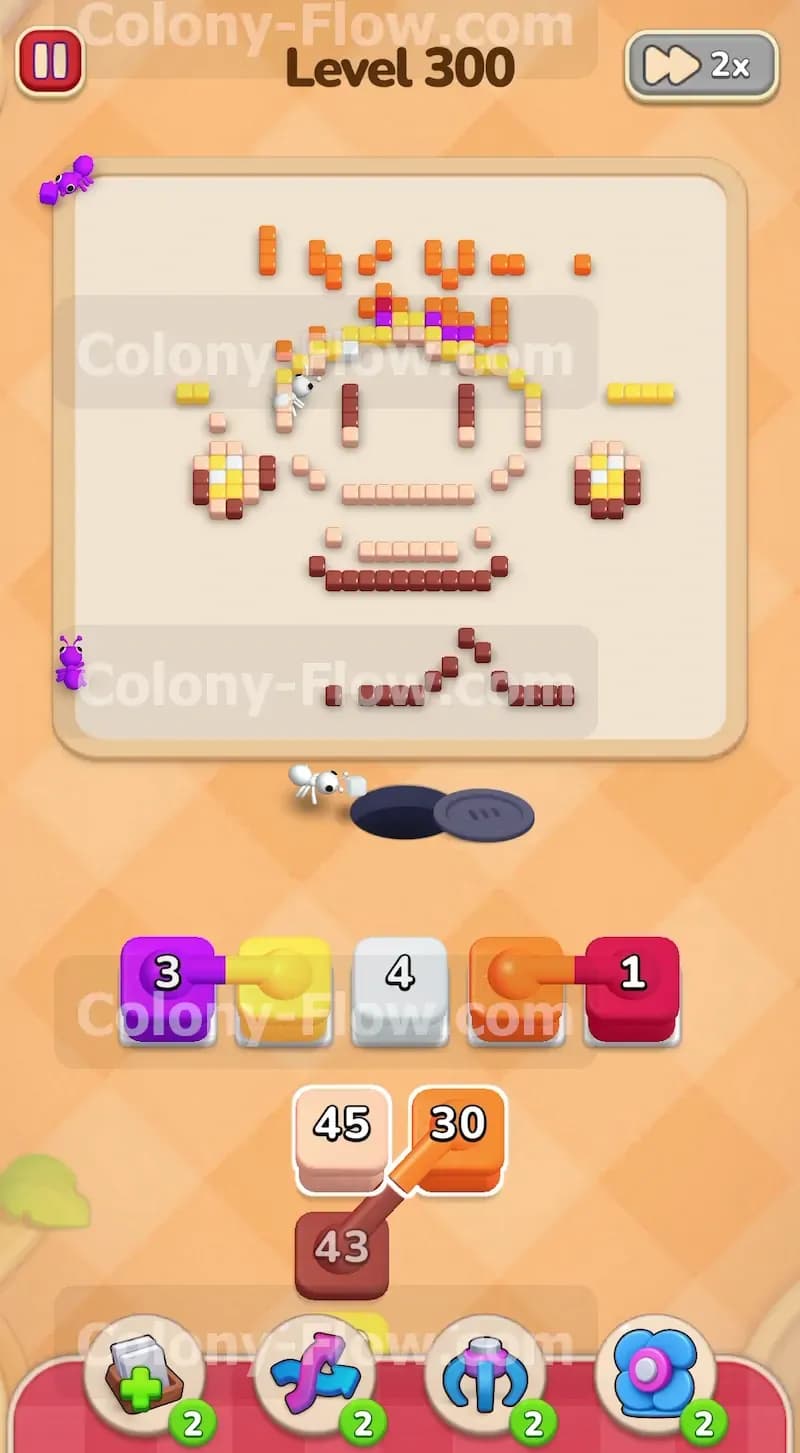
The lower body is completely gone by this point in the level. The picture is now just a head surrounded by red and orange hair, plus a few isolated tiles on the sides that look like earrings. Another connected group of purple, yellow, and beige blocks appears in your tray. Pull this group. The yellow ants will rush out to eat the remaining earring tiles on the sides while the beige ants start working on the outer edges of the face.
Step 7: Clear the massive hair.
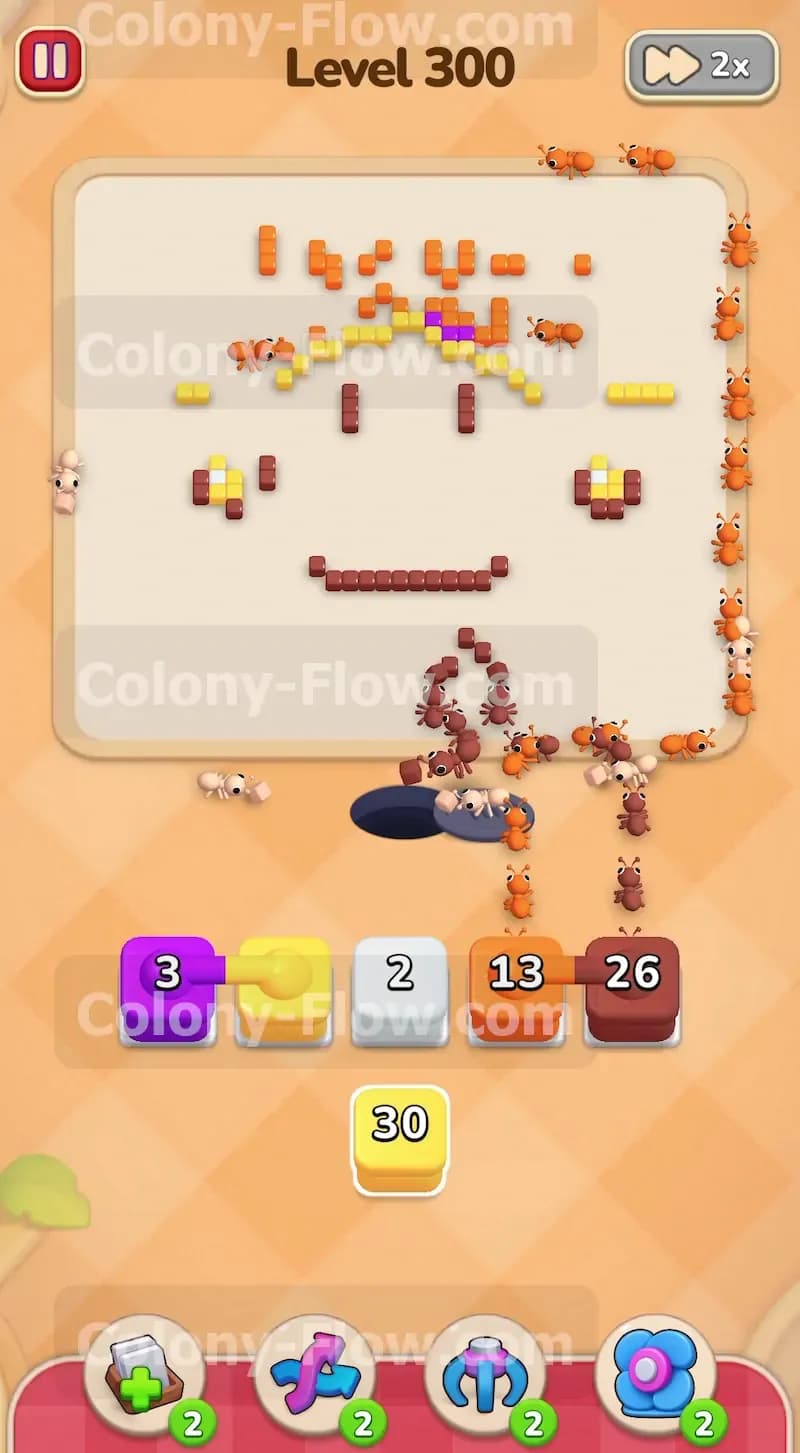
The face is totally surrounded by thick layers of red and orange hair. You must remove this barrier to let the beige ants finish the face. Keep pulling the large red and orange blocks from the tray. The ants will swarm the top of the board and chew through the thickest parts of the hair. Always make sure a red or orange path is actually open before you pull the block so you do not accidentally fill your final waiting slots.
Step 8: Reveal the hidden boxes.
As you pull more blocks to clear the heavy hair, you will finally unearth the hidden boxes marked with a question mark near the bottom of the tray. You must clear the solid blocks directly above them so they can flip over and reveal their true colors. Keep feeding the required colors to the ants working on the face and the remaining hair. Once the solid blocks move out of the way, the hidden boxes flip and show you the exact colors you need for the final push.
Step 9: Finish the face.
The massive hair is finally gone and only the beige face remains. It holds a few dark features like eyes and a mouth. Pull the remaining beige blocks from the tray to send a huge wave of ants covering the entire face area. Watch the numbers count down on the blocks. The beige skin vanishes layer by layer until only the dark brown and white tiles are left floating completely alone in the center of the board.
Step 10: Feed the final brown and white blocks.
You are at the very end of the puzzle. The board only has the eyes and the mouth tiles remaining. Your tray contains the exact white 13 block and brown 26 block you need to finish the job. Pull the white block first to clear the whites of the eyes. Then pull the large brown block. A massive swarm of brown ants will rush out to eat the final tiles. The board wipes clean and you win the level.
Final Thought
This level requires serious patience and a very careful eye on those connected boxes. Always double check that a path is open before you pull a linked group into your tray. Take your time clearing the outer layers so the inner layers naturally open up for the ants. If you find any part of this written guide hard to picture, I encourage you to watch the video above this article to see exactly how the ants move through the board.