Colony Flow Level 113 Walkthrough Solution & Guides | How to solve Colony Flow 113

Guide By Liam Stone
Updated on July 11, 2026
Check out the video above for the full Level 113 walkthrough if you want to skip the written steps below.
Video doesn't match your screen?
Game updates frequently scramble layouts! Try our AI Screenshot Solver first to find your exact board instantly, or report broken guides to our team.
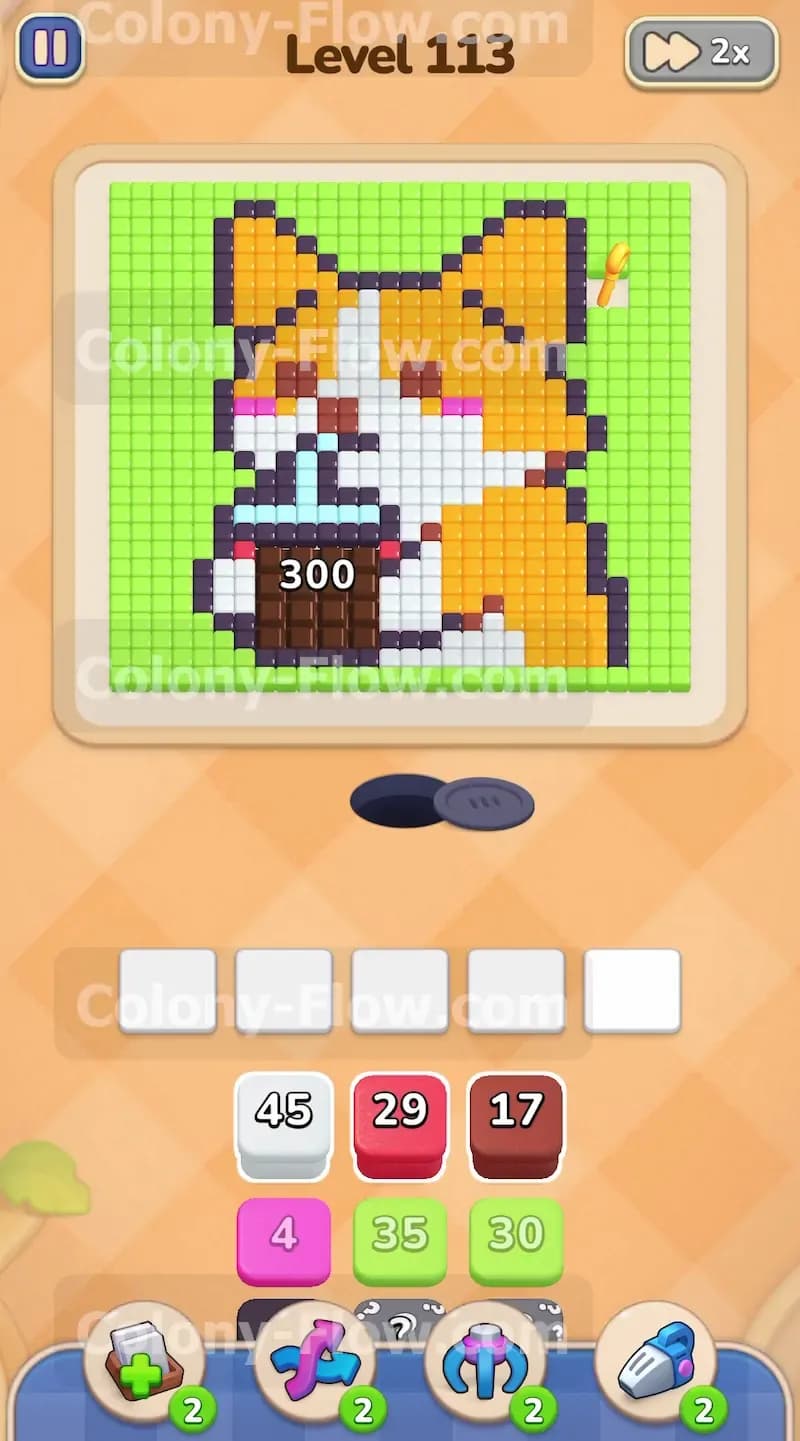
Colony Flow Level 113 drops you into a massive puzzle featuring a pixel art corgi holding a tall boba drink. You face an enormous solid green background and a frustrating chocolate obstacle covering the center cup. You must manage your five waiting slots perfectly because the sheer volume of background tiles will easily jam your board if you pull the wrong colors too early. I play every level of this game to find the exact order of operations and I will show you how to beat this board without getting stuck.
Colony Flow Level 113 Overview
What You Are Working With
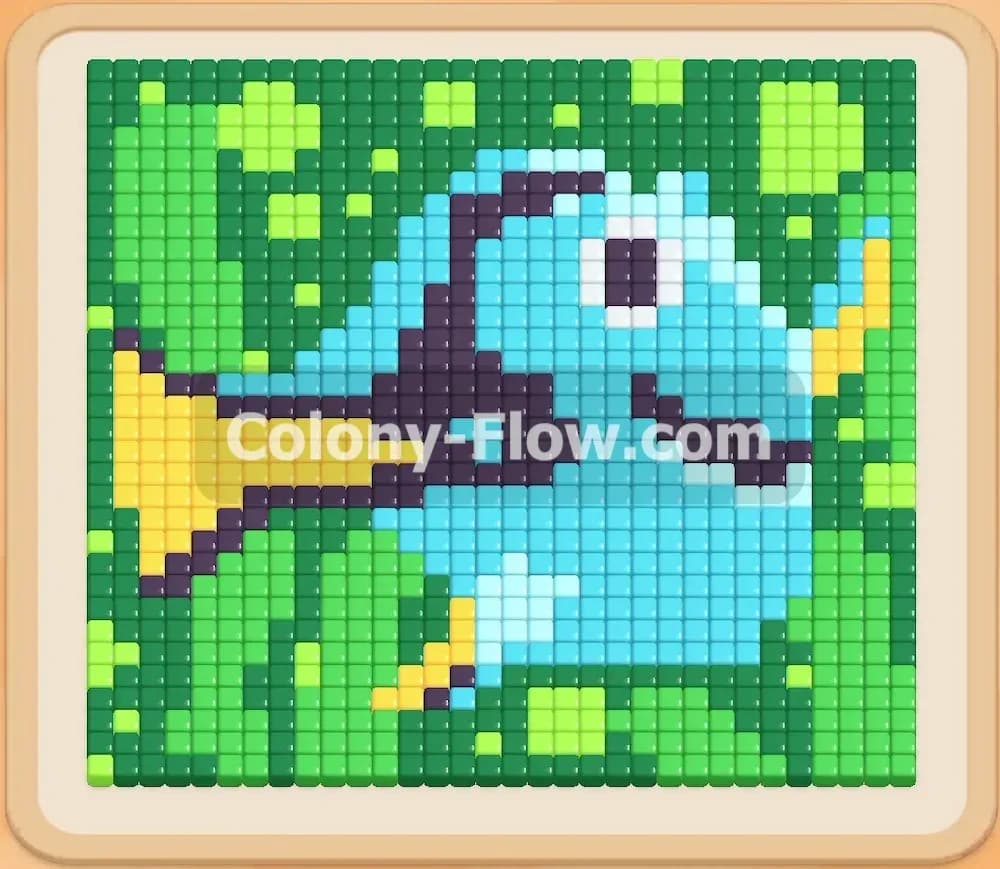
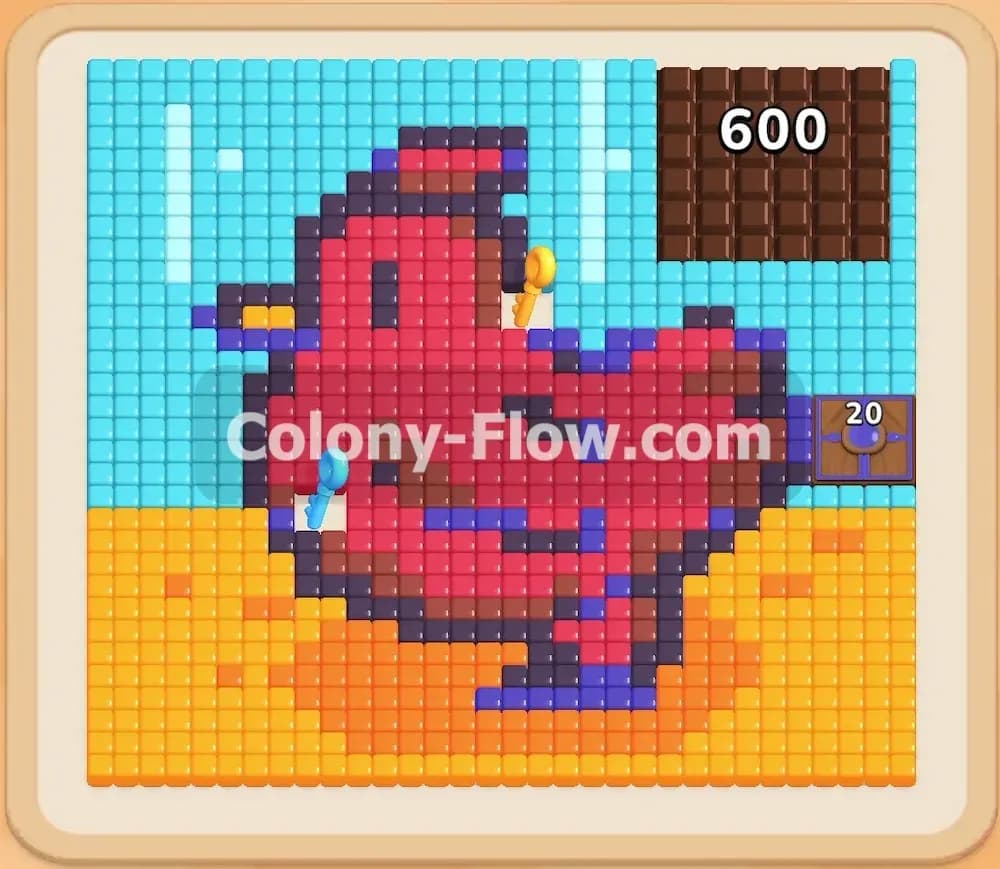
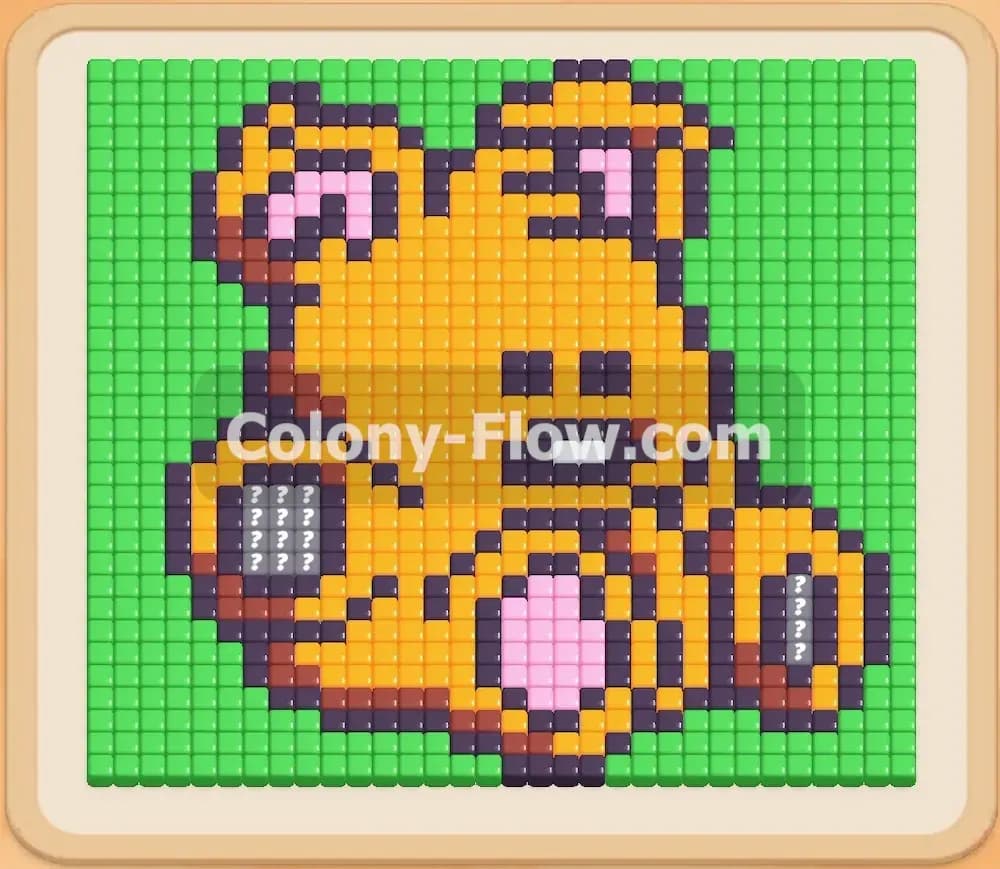
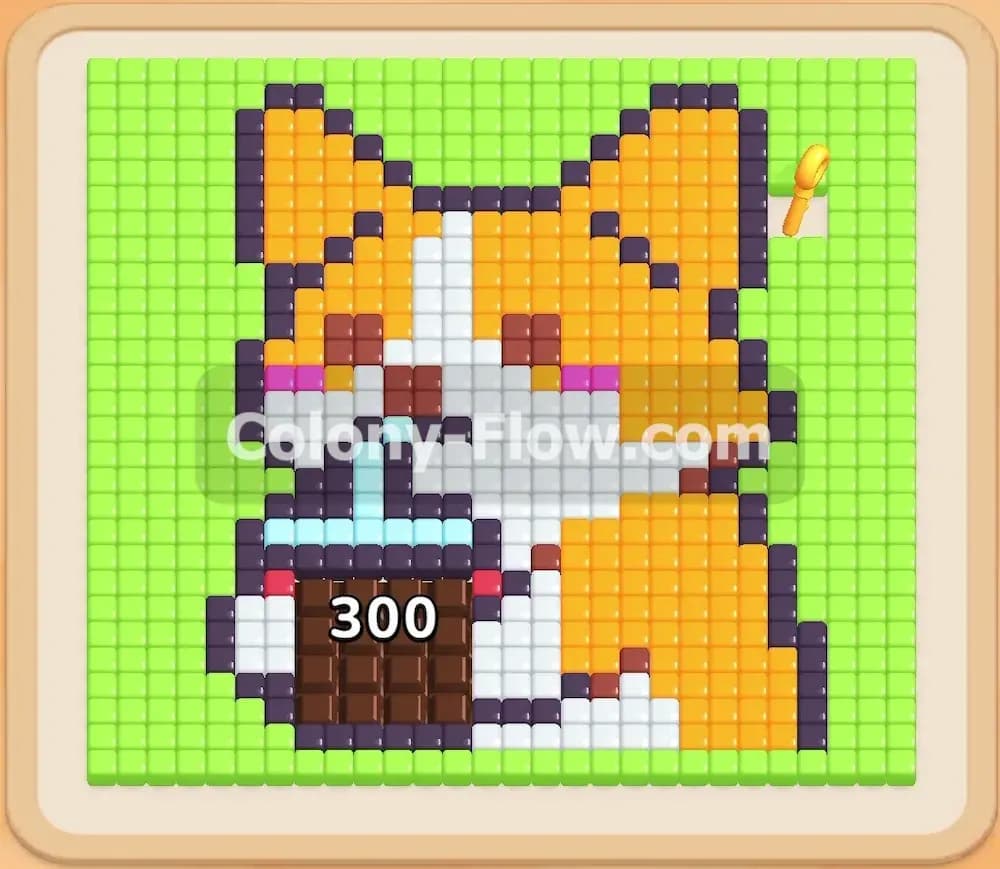
The main picture is a cute corgi dog with orange and white fur. A golden key sits locked in the top right corner. The dog holds a drink cup that features a light blue straw and a red bow near the bottom. However you will not see all these details right away because a massive light green background surrounds the entire dog. The background contains three hundred individual tiles.
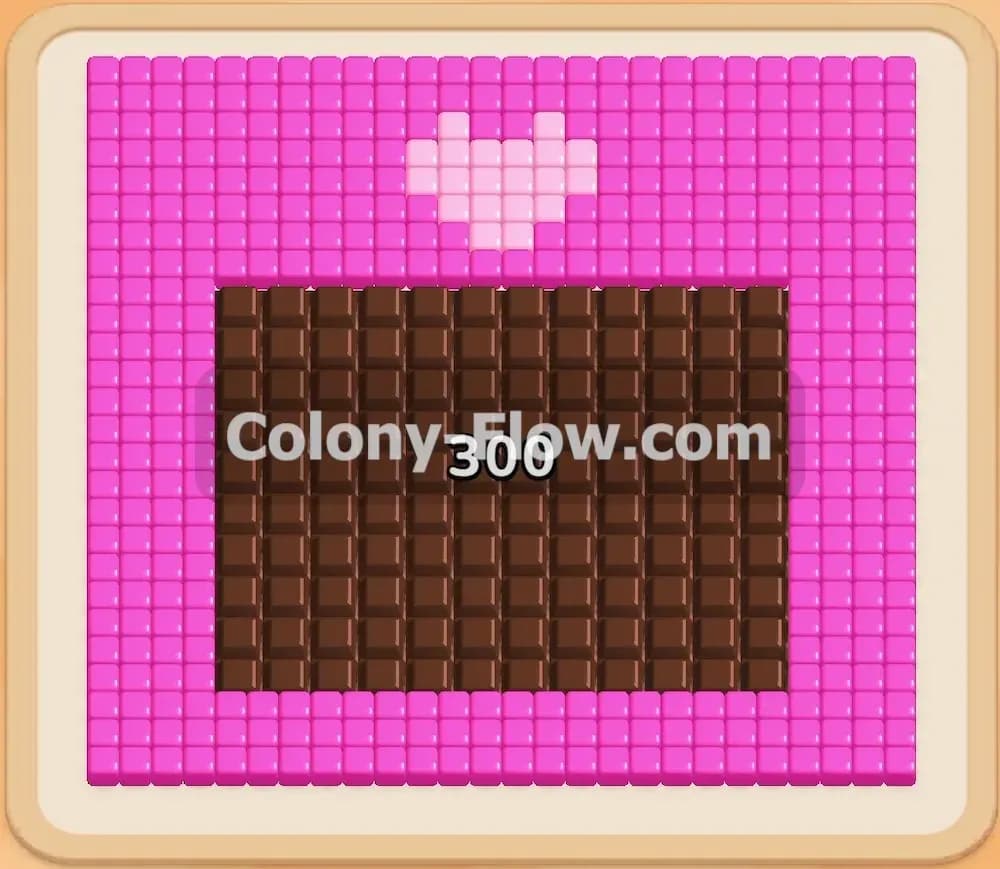
Once you clear enough of the background a chocolate special tile will reveal itself directly over the drink cup. Chocolate covers and blocks the food tiles underneath until cleared. You also have a standard dark grey outline surrounding the dog and the cup. Your block tray offers a wide variety of colors including light green, white, red, brown, pink, orange, light blue, and dark grey.
What It Takes to Clear Level 113 Board
You win this level by breaking down the massive green background first and then carefully working your way inward to the dog and the cup. You must clear the tiles adjacent to the chocolate block to shatter it and expose the drink underneath. You also need to carve a path to the top right corner to collect the golden key. The core rule of the game dictates that if your five waiting slots fill up with blocks that have no open path you lose immediately. You will clear the board by constantly feeding light green blocks to the ants while keeping at least one slot open for the colors that build the inner picture.
Colony Flow Level 113 Step by Step Solution
Step 1: Flood the board with light green ants to attack the massive background
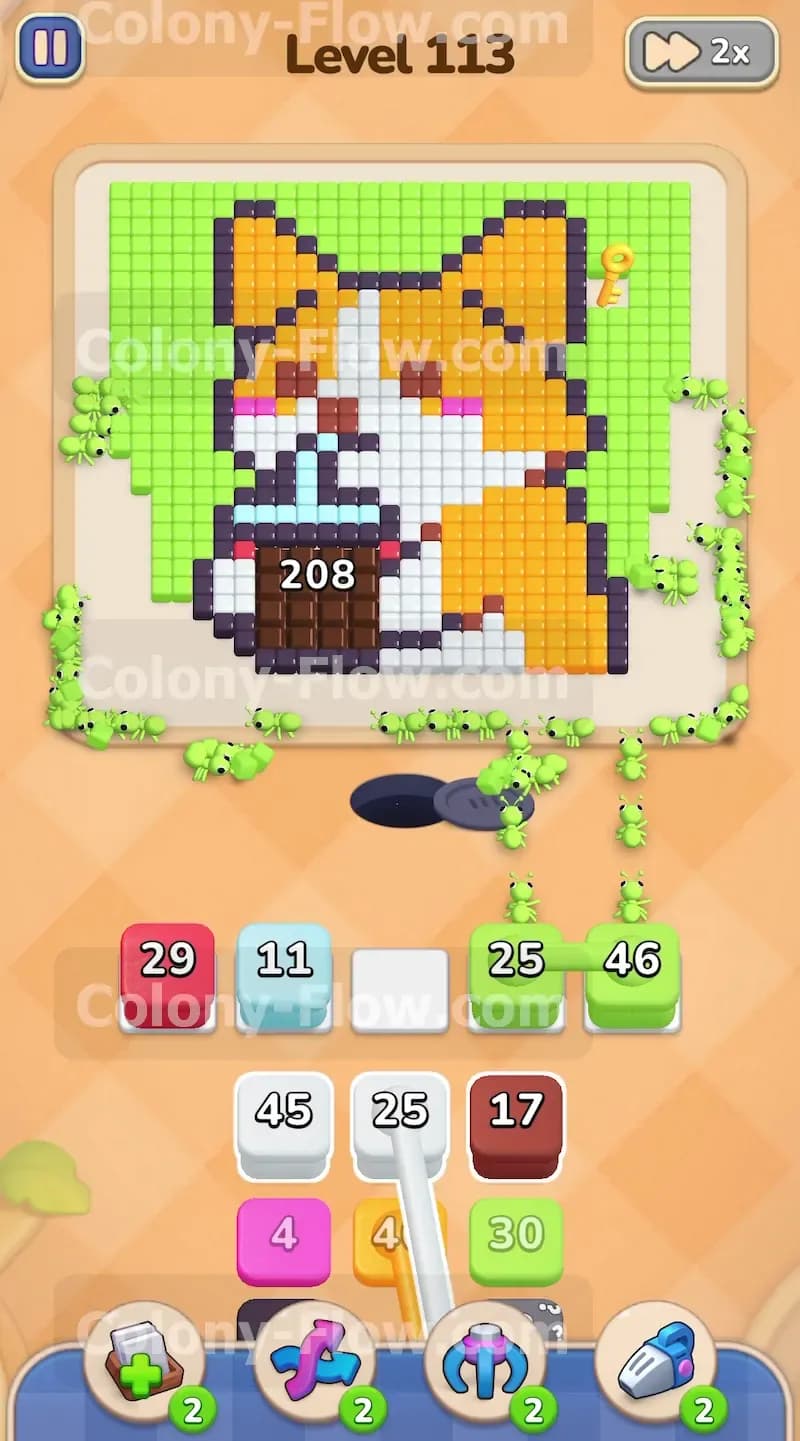
You begin the level staring at a light green background holding three hundred tiles. You must start chipping away at this massive obstacle right away. Pull the light green thirty five block and the light green thirty block from your tray. Place them into your waiting slots. The ants will stream out of the nest and immediately start eating the light green edges of the picture. This initial wave is crucial because it opens up the outer boundaries of the board and gives you room to breathe.
Step 2: Queue up the red and light blue blocks while the green clears
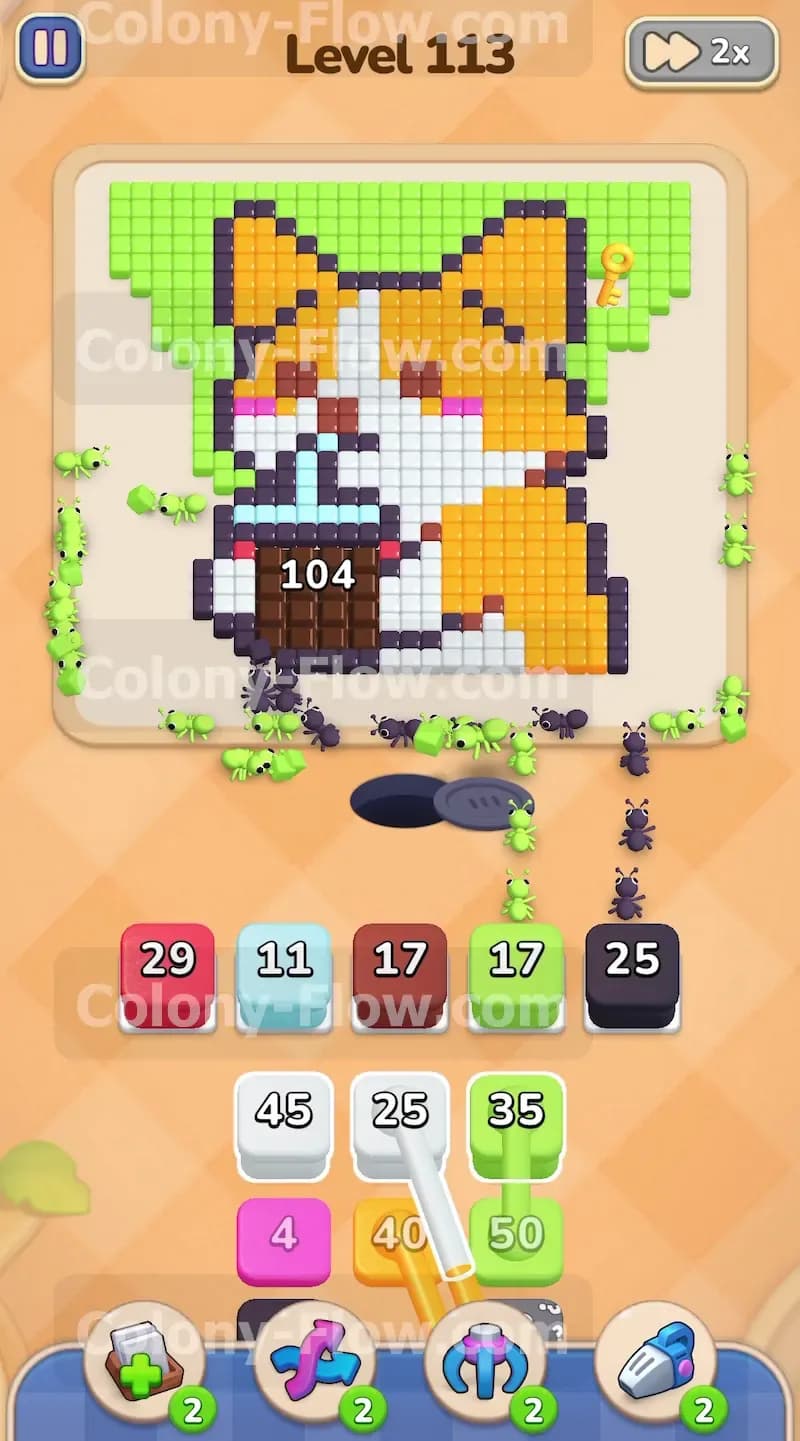
As the green ants work on the background you will notice red and light blue blocks appear in your tray. You pull the red twenty nine block and the light blue eleven block and place them in the waiting slots. These blocks will sit patiently in the slots because their corresponding color paths on the red bow and the blue straw are not open yet. You follow this up by pulling the light green twenty five block and the light green forty six block from the tray. The new green ants will join the swarm and drop the background count from over two hundred down to about one hundred. This keeps the primary path moving and prevents your slots from jamming.
Step 3: Introduce the dark grey and brown blocks to target the outline
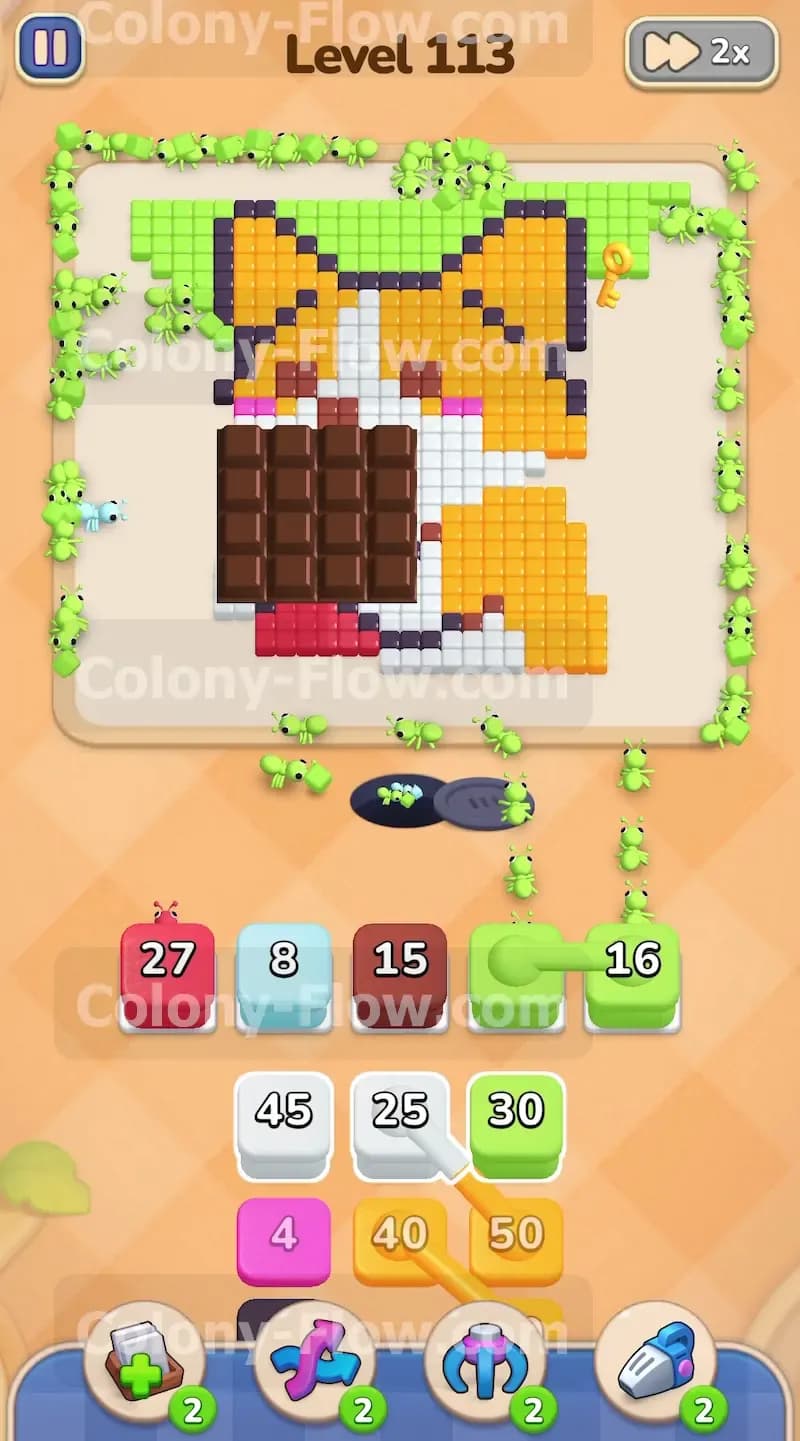
The background is now thinning out enough to expose the dark grey outline of the corgi. You pull the brown seventeen block and the dark grey twenty five block into your waiting area. You also pull a light green seventeen block to finish off the very last pieces of the background. The green ants will eat the final green tiles in the top corners. Once the green is gone the dark grey ants finally have a clear path to the outline. They march up the left side of the dog and begin eating the thick border. This continuous movement ensures your waiting slots remain active and clear.
Step 4: Break through the chocolate block covering the drink cup
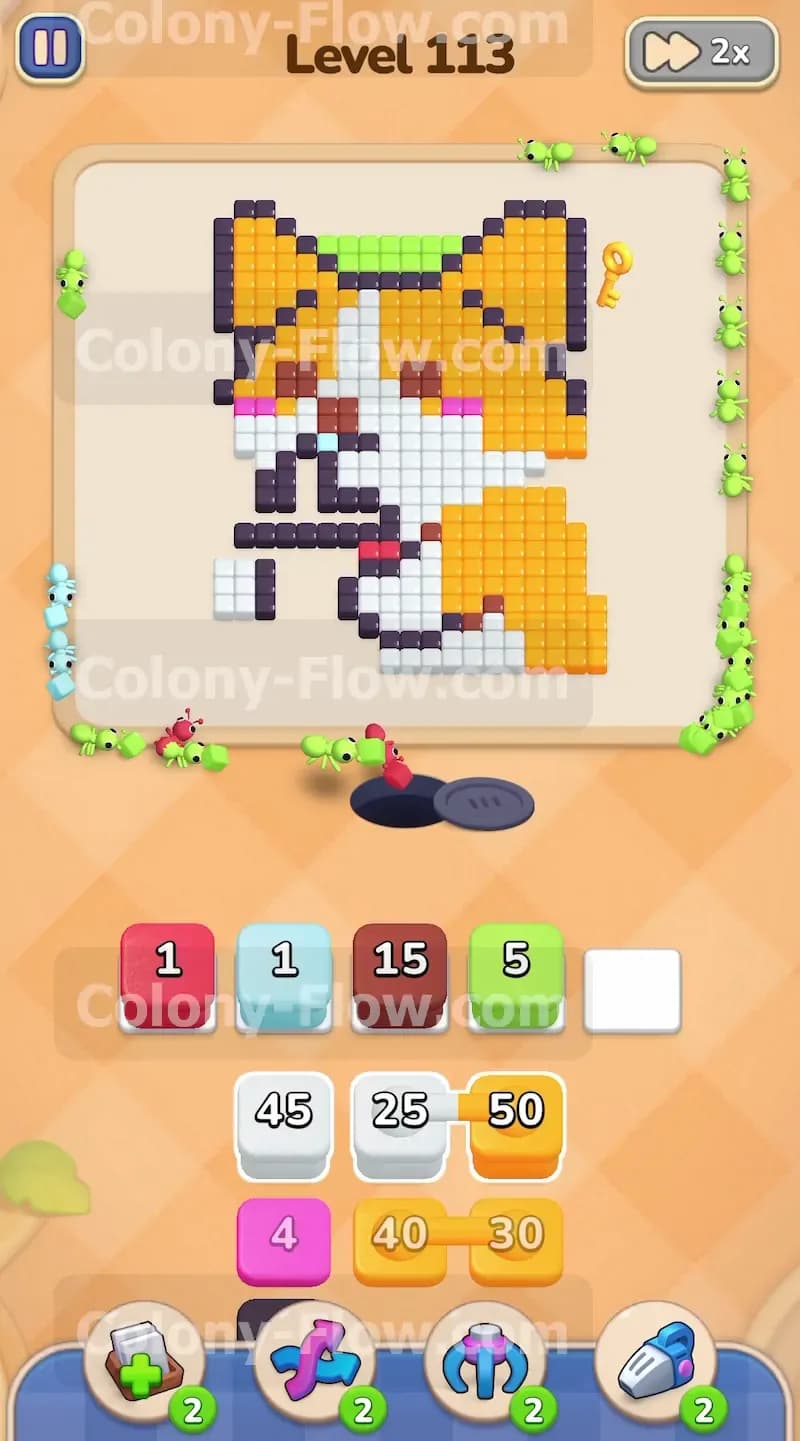
With the background gone a three by three chocolate block reveals itself right over the drink cup in the center of the board. You cannot eat chocolate directly with a specific colored ant. You must clear the tiles adjacent to the chocolate to break it apart. You pull the orange forty block and the orange fifty block from the tray to target the dog fur right next to the chocolate. You also bring in the white forty five block. The orange and white ants swarm the face and paws of the corgi. As they eat the fur touching the chocolate the brown chocolate squares shatter and disappear.
Step 5: Clear the exposed boba cup and the red bow
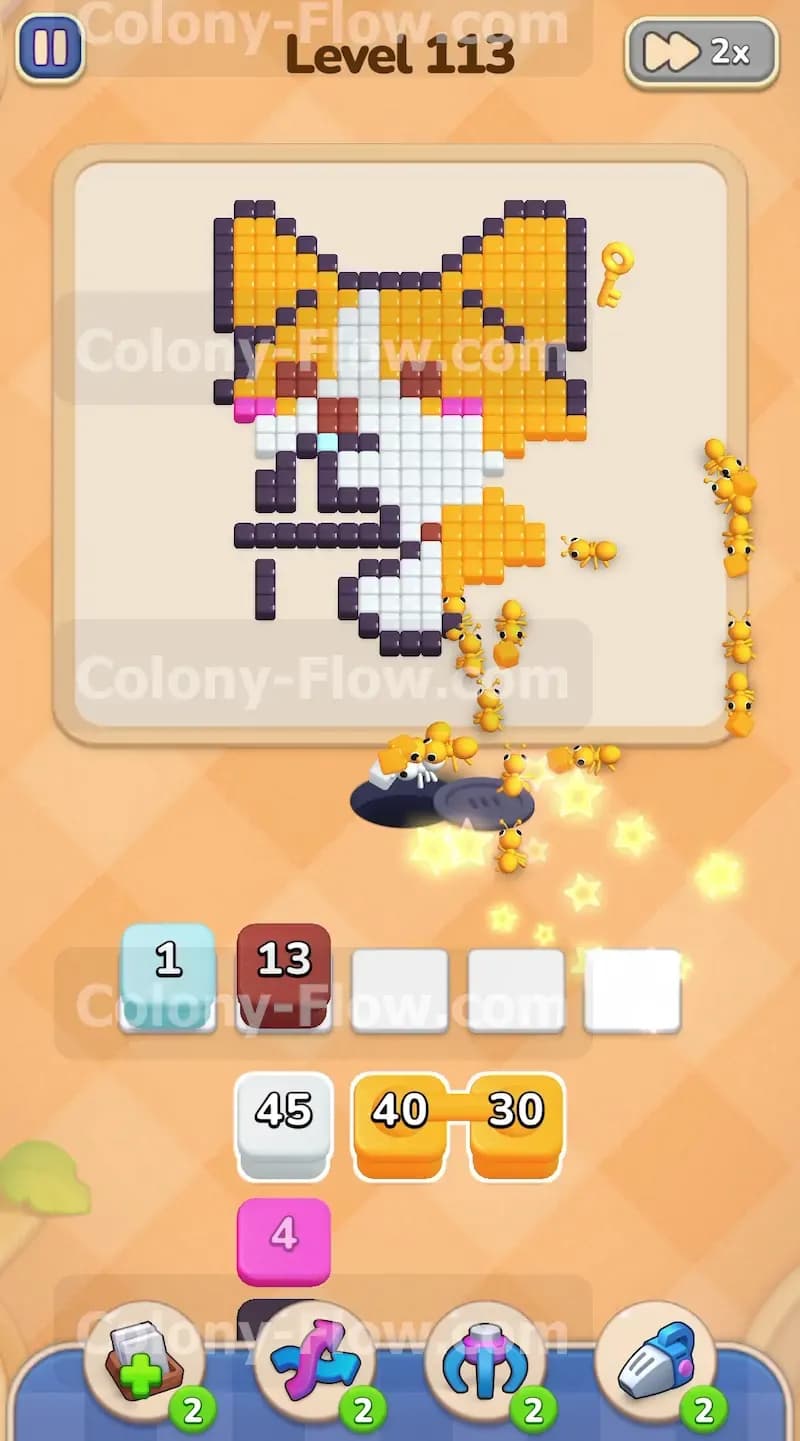
Shattering the chocolate reveals the dark grey drink cup along with the white cup accents. The red bow and the light blue straw are now completely free. The red twenty seven block and the light blue eight block that you queued up earlier finally activate. The red ants rush in to eat the bow while the light blue ants consume the straw. You pull the white twenty five block to help the white ants eat the cup details. You also pull a pink four block and a brown fifteen block to handle the small details on the dog cheeks and the cup base. Every block in your waiting slots is now actively draining.
Step 6: Guide the orange ants to collect the golden key
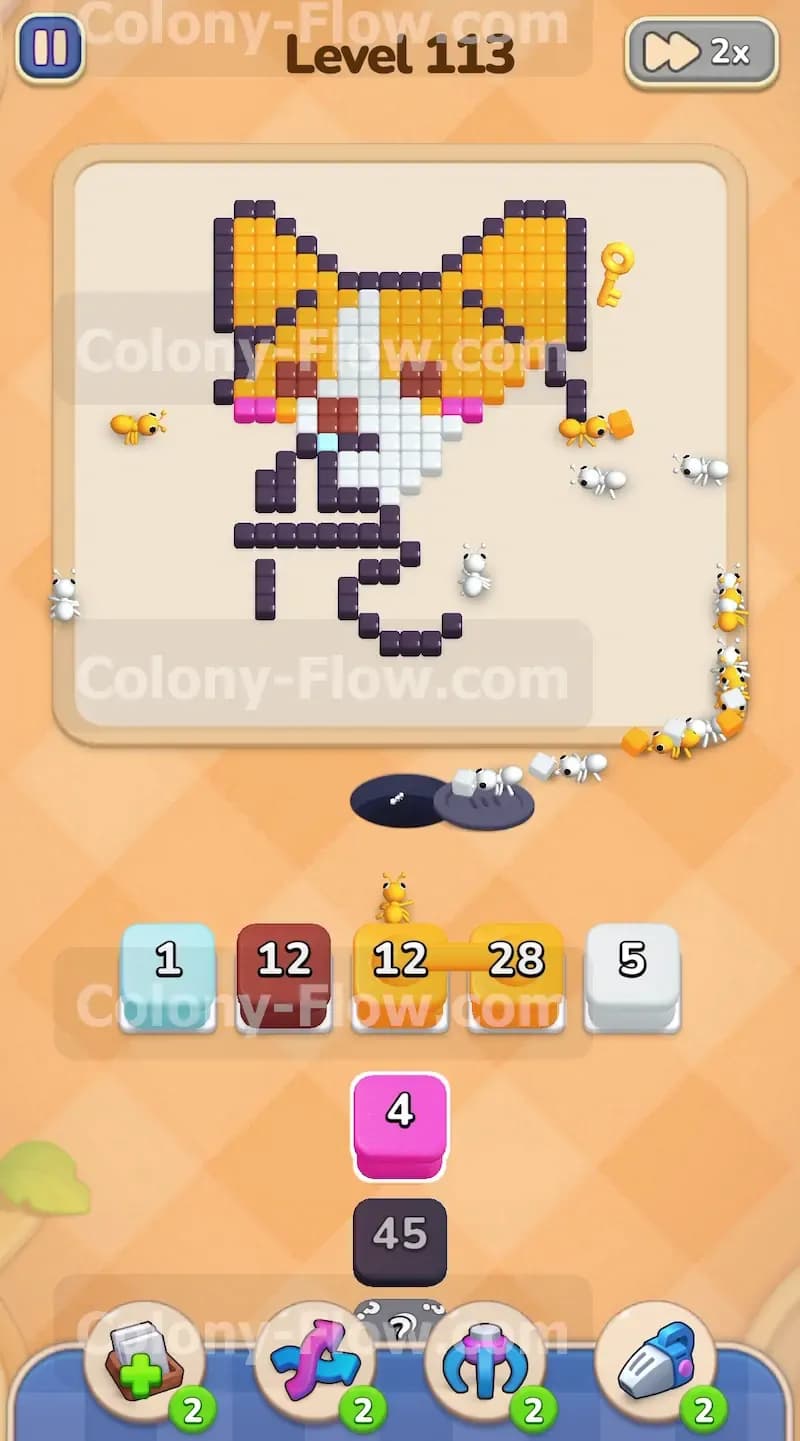
The golden key remains locked in the top right corner of the board surrounded by orange fur and the dark grey outline. You pull the orange thirty block to send a fresh wave of ants up the right side of the dog. The orange ants carve a direct path through the fur and reach the key. Collecting the key unlocks the final section of the board. You pull another white block and another dark grey block to prepare for the final cleanup phase. The picture is now mostly empty space with just a few fragments of the dog face and the outer border remaining.
Step 7: Finish the white fur and manage the remaining small blocks
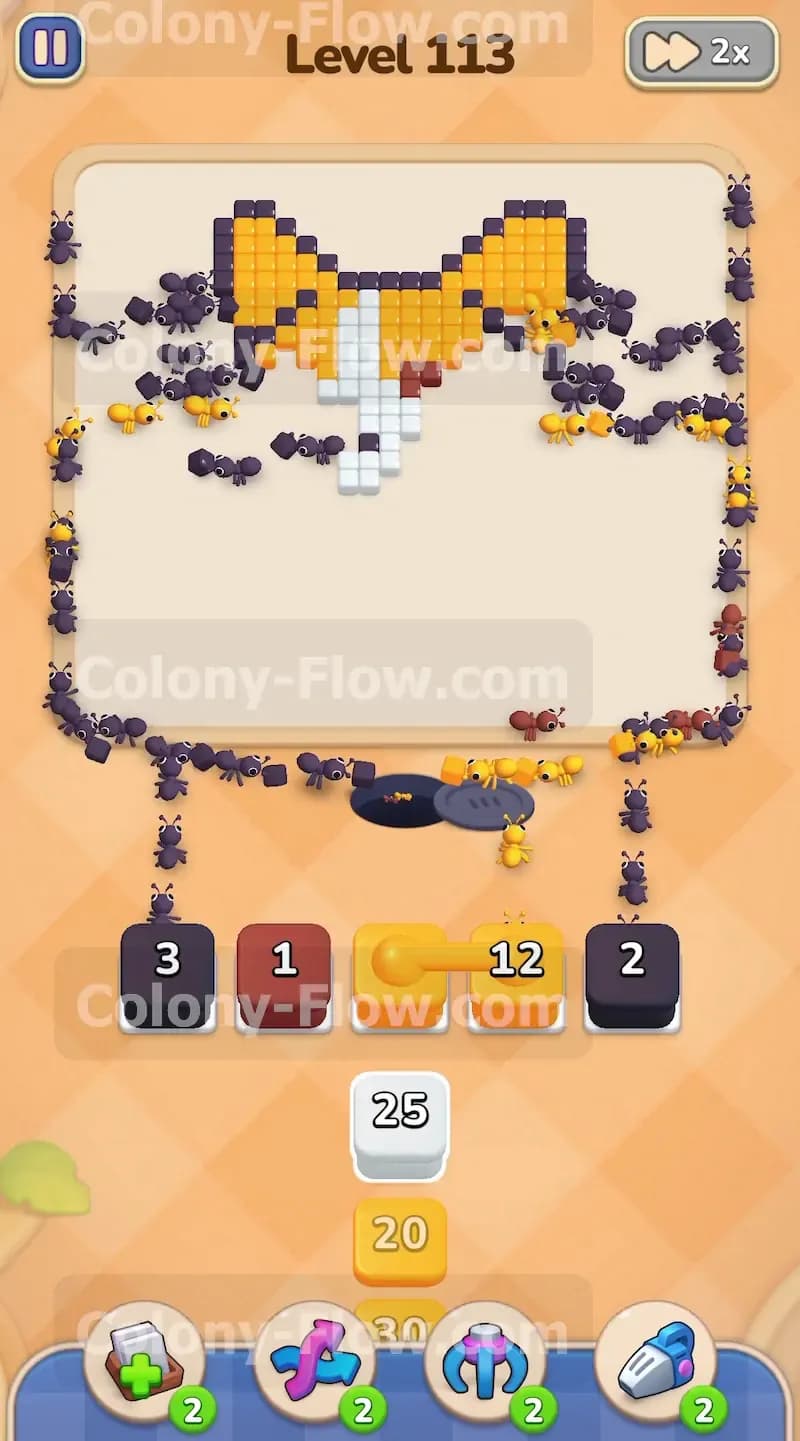
Your waiting slots now hold several blocks with very small numbers left on them. You have a light blue one a brown twelve and an orange twelve waiting for their paths to finish. You pull the dark grey forty five block from the tray. The massive wave of dark grey ants floods the board to eat the large remaining chunks of the outline on the left and right sides. The white ants finish eating the very last white tiles on the dog muzzle. The board is looking very bare and your waiting slots are cycling perfectly without any jams.
Step 8: Clear the final dark grey outline to win the level
Only a few scattered dark grey and orange tiles remain on the board. You pull the orange twenty block and a final pink block from the tray. The orange ants clean up the last piece of fur on the bottom right. The dark grey ants finish the top right corner where the key used to sit. The numbers on your waiting slot blocks tick down to zero and the blocks vanish. The last ant returns to the nest and the board is completely empty. You have successfully cleared the level.
Final Thought
Level 113 tests your patience with that massive green background and forces you to plan ahead for the chocolate block. Managing your five waiting slots by constantly feeding the active colors is the only way to survive the early stages of this board. If you find yourself getting stuck on the chocolate breaking phase or the golden key path I highly encourage you to watch the video above this article to see exactly how I time my block pulls.