Colony Flow Level 425 Walkthrough Solution & Guides | How to solve Colony Flow 425

Guide By Liam Stone
Updated on July 29, 2026
You can watch the Level 425 solution unfold in the video above instead of scrolling through the article.
Video doesn't match your screen?
Game updates frequently scramble layouts! Try our AI Screenshot Solver first to find your exact board instantly, or report broken guides to our team.
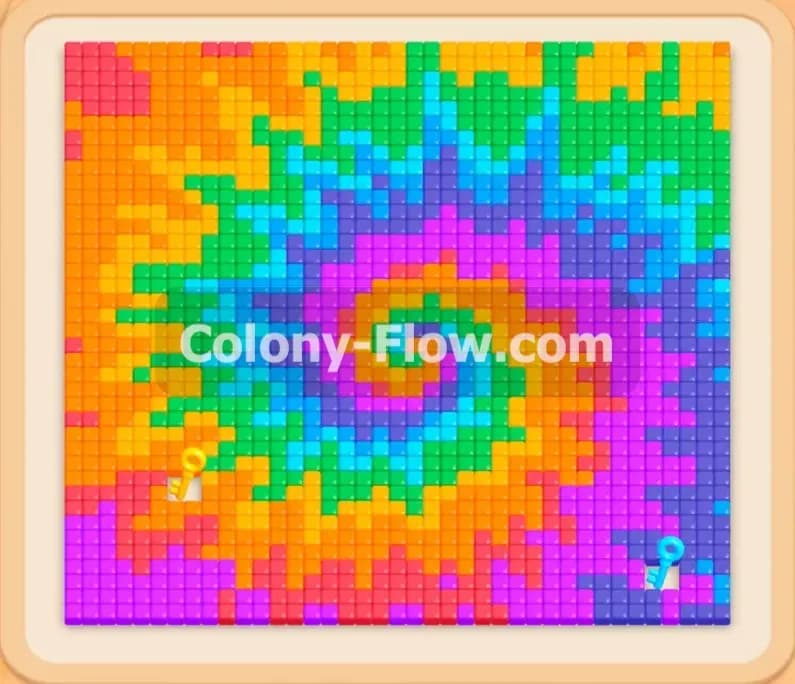
Welcome to Colony Flow Level 425. This level presents a massive tie dye spiral pattern that fills almost the entire board from corner to corner. You need to dismantle this colorful shape piece by piece from the outside in. The bright colors can easily distract you from the actual paths the ants need to take. I played through this level and figured out the exact sequence to keep the ants moving smoothly. Here is my complete guide to clearing the board without ever jamming your tray.
Colony Flow Level 425 Overview
What You Are Working With
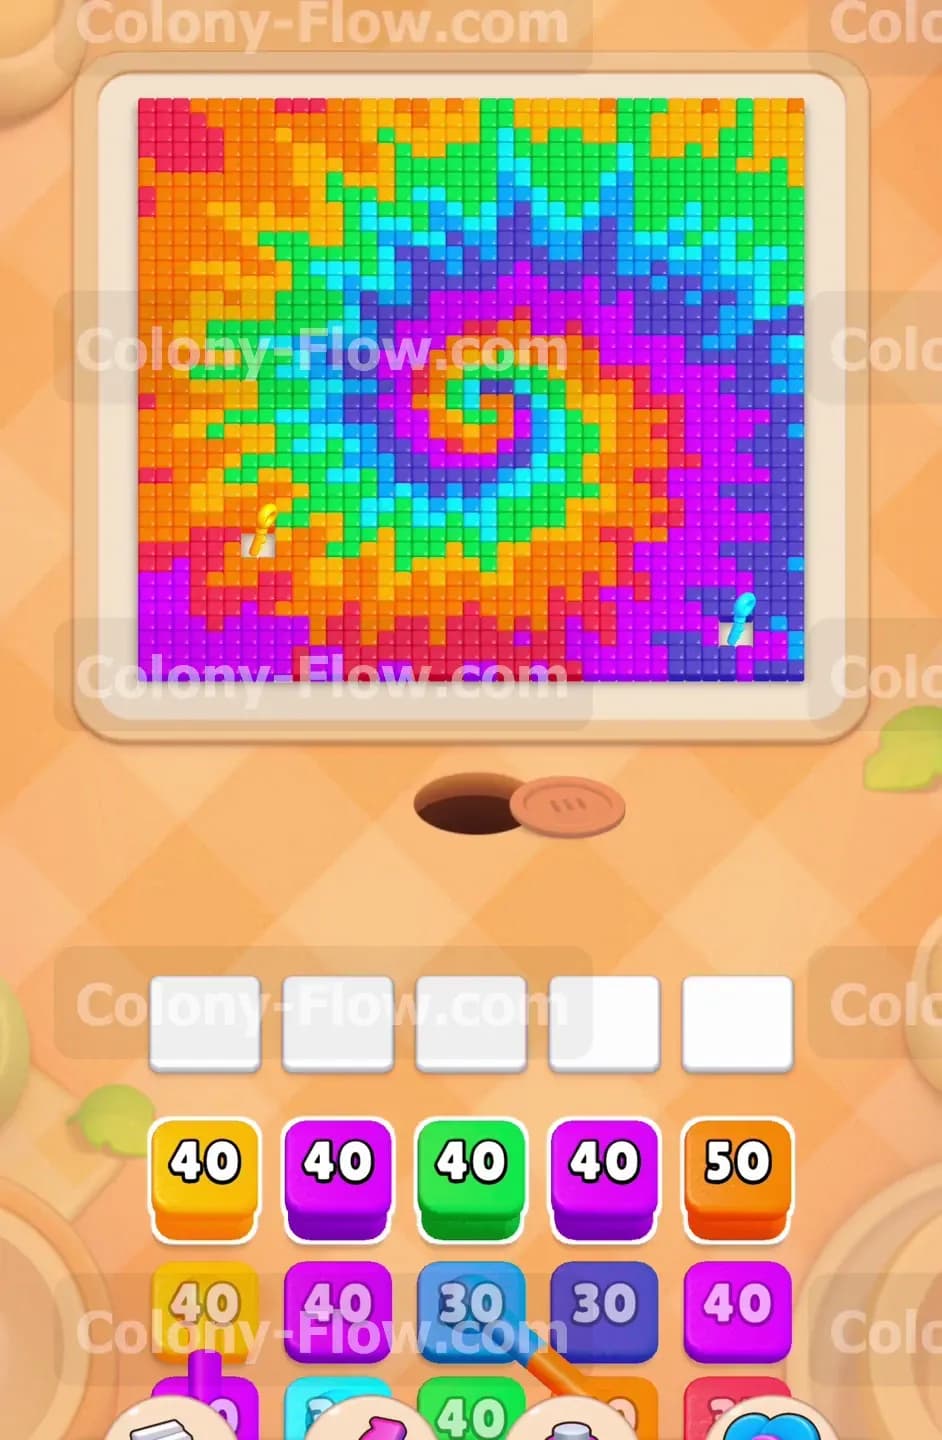
The main feature of this level is the dense spiral picture made of brightly colored food tiles. The colors include red, orange, yellow, green, light blue, dark blue, purple, and magenta. The tray at the bottom holds blocks corresponding to these colors, and many of these blocks carry high numbers like 40 or 50. Some blocks in the tray are connected together. This means you pull them as a linked pair. There are also locks in the tray, specifically a yellow lock and a light blue lock. You must collect keys from the board to open these locks and access the blocks trapped underneath them.
What It Takes to Clear Level 425 Board
To win you must clear every single tile of the spiral picture. The ants emerge from their hole at the bottom and travel along open paths to reach the tiles. The main challenge is managing your five wait slots at the bottom of the screen. If you pull a block and the ants cannot reach the matching color on the board, that block sits in a wait slot and blocks other moves. If all five slots fill up with stuck blocks, you lose the level immediately. You must constantly analyze the outer edges of the spiral and only pull blocks for colors that are completely exposed and perfectly accessible to the ant colony.
Colony Flow Level 425 Step by Step Solution
Step 1: Start with the outermost purple and red edges
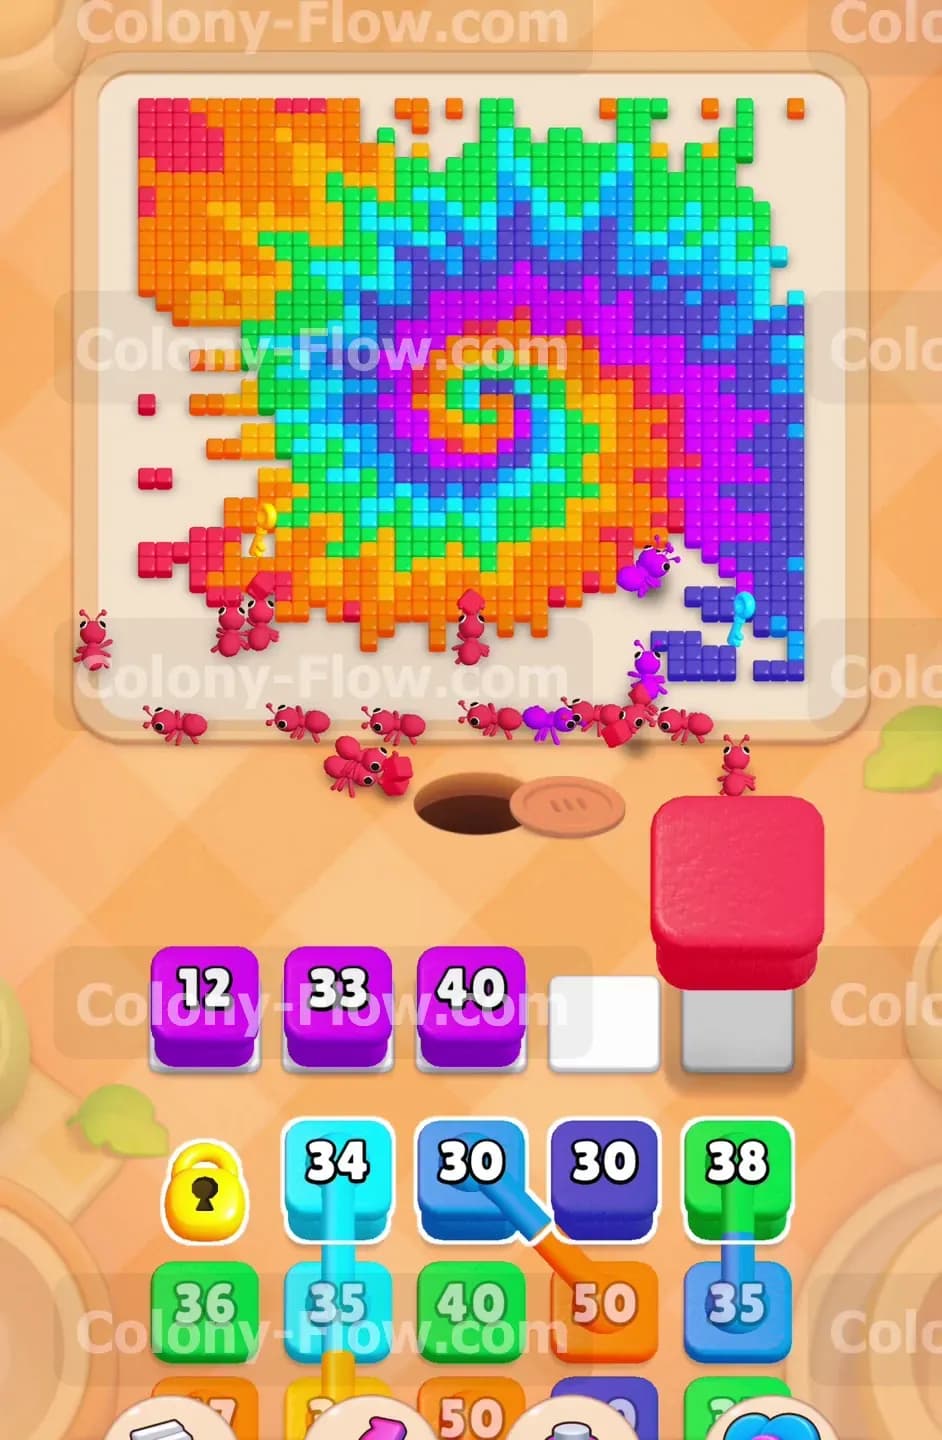
You must begin by attacking the very ends of the spiral arms on the outer edges of the board. The purple and red tiles are readily accessible at the start. Pull the purple blocks and the red blocks from the tray first. The ants stream out and head straight for the bottom left corner and the bottom right edge. These blocks have high numbers around 40, so they will take some time to drain completely. Keep an eye on your wait slots and do not pull any new colors until the purple and red numbers drop significantly. This initial wave peels back the first protective layer of the tie dye shape.
Step 2: Clear the scattered purple edges
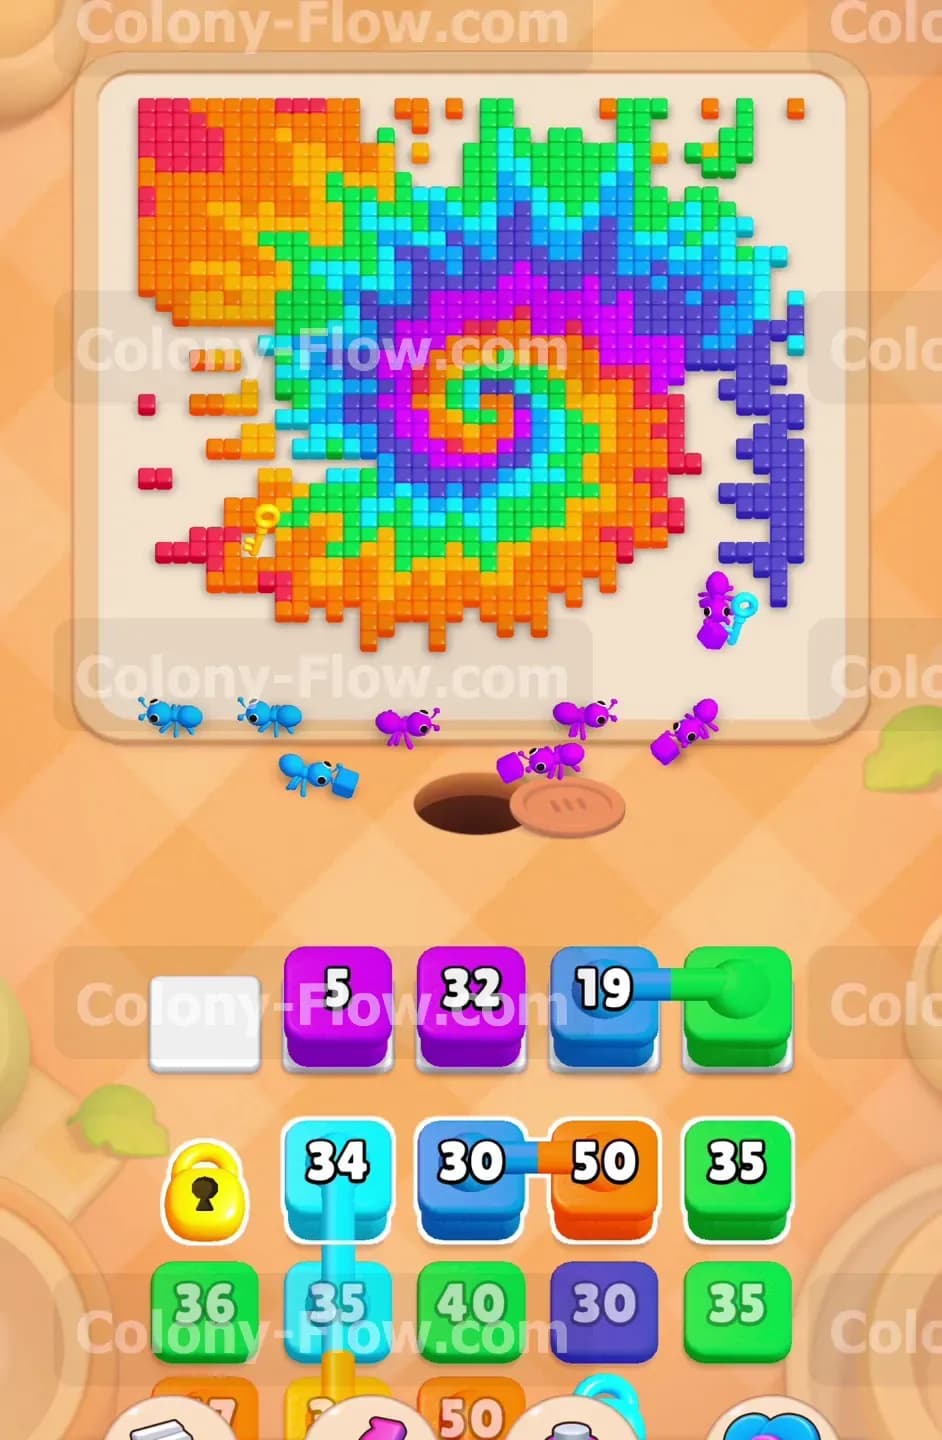
As the first purple and red blocks drain down, you open up new pathways around the spiral. The bottom left red section starts to vanish entirely, and the scattered purple edges disappear. You can now see more purple blocks entering the tray with numbers like 12 and 33. Pull these additional purple blocks to keep the momentum going. Sending them ensures the ants continue working on the right side of the spiral. You want to clear as much of this outer purple arm as possible before introducing a new color. Keeping a steady flow of one or two colors prevents your wait slots from filling up with blocks waiting for their turn.
Step 3: Attack the thick green spiral arm
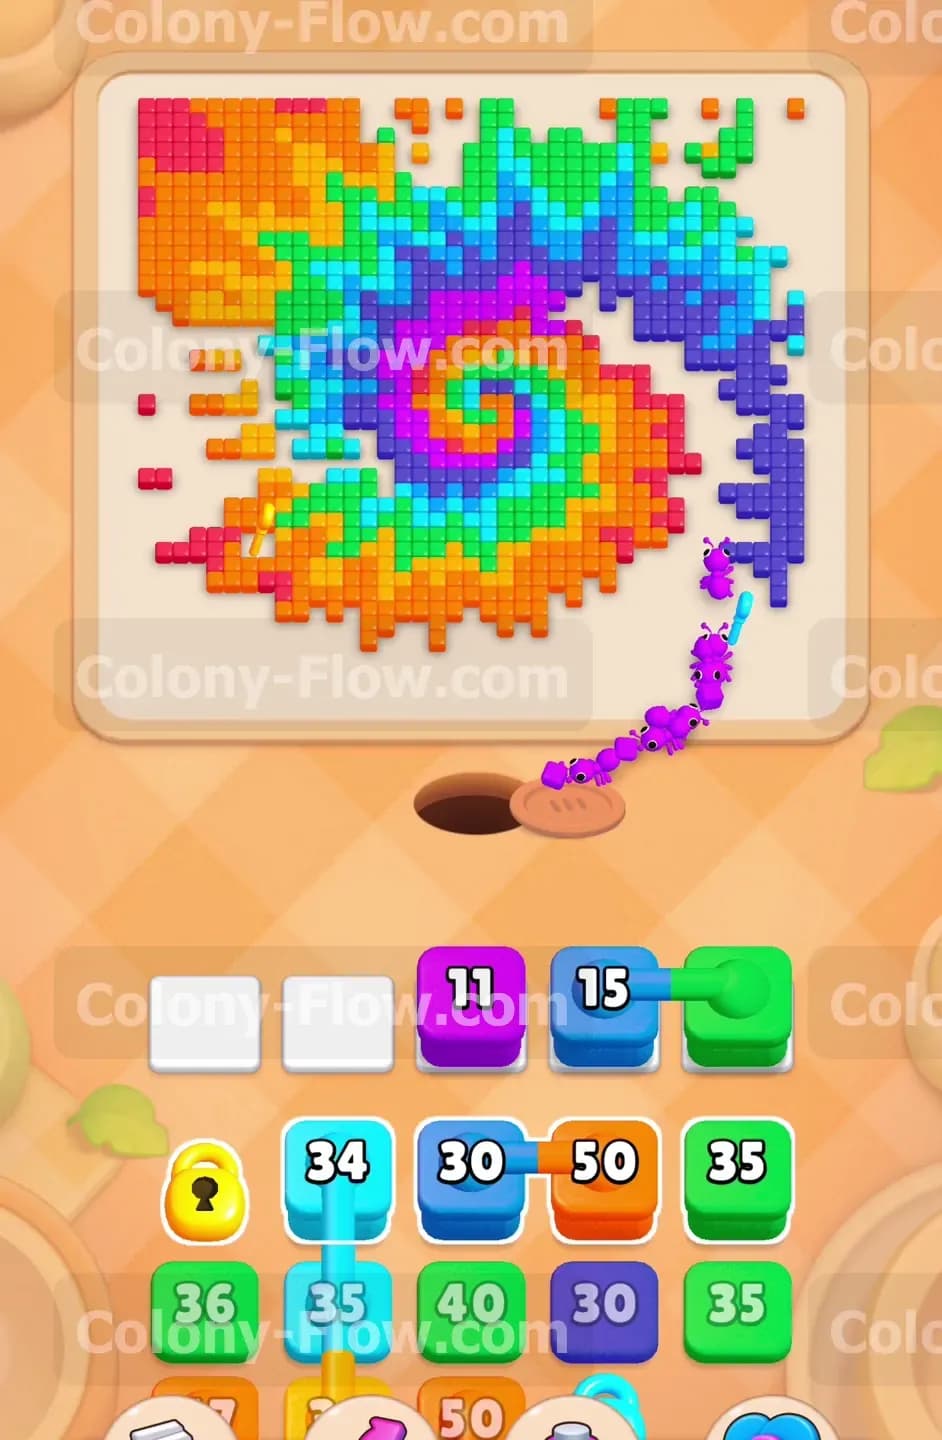
With the outer purple and red sections mostly cleared, the green arm of the spiral is now totally vulnerable. Look at your tray and locate the high numbered green blocks. Pull the green 38 and green 35 blocks up into the wait slots. The ants will switch targets and swarm the right and bottom sections of the green spiral. This green arm is quite thick and requires a massive amount of ants to consume. As the green blocks drain, you will notice connected boxes entering the tray. You must prepare to handle these linked blocks carefully, as pulling them brings multiple colors into your wait slots at the exact same time.
Step 4: Time the connected dark blue and orange blocks
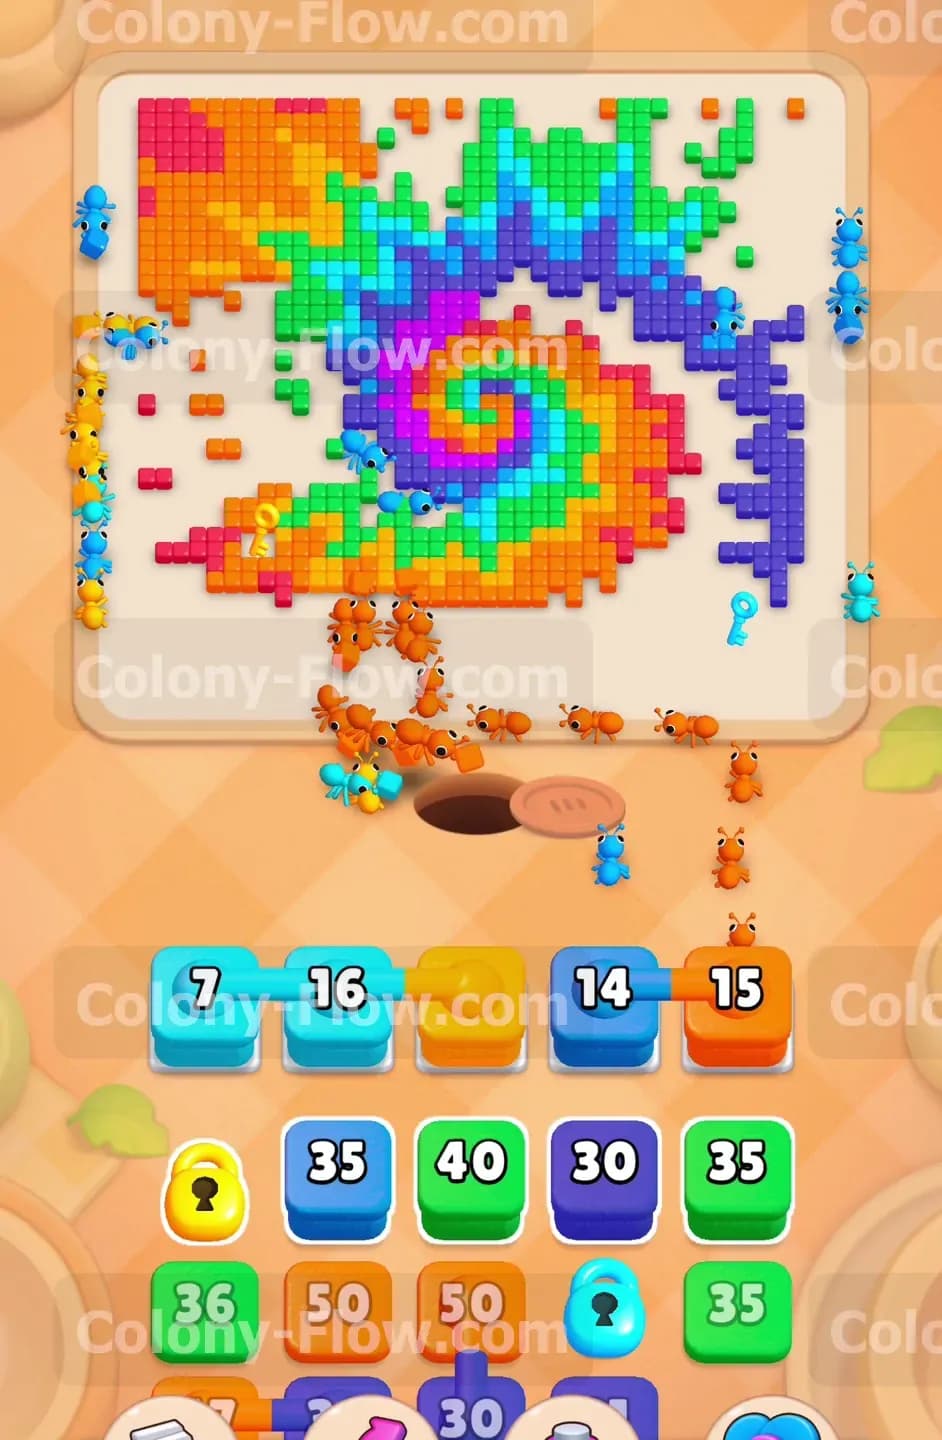
You will see a light blue block connected to another light blue block, and a dark blue block connected to an orange block. You cannot pull these until you are absolutely sure both colors have an open path on the board. The dark blue spiral arm is now exposed thanks to your previous moves. Pull the connected dark blue 30 and orange 50 blocks. The dark blue ants will quickly find their way to the newly opened dark blue tiles. Once they finish, the orange block becomes active and the ants move on to the orange tiles below. This perfectly timed move keeps your wait slots moving efficiently.
Step 5: Deploy the connected light blue blocks
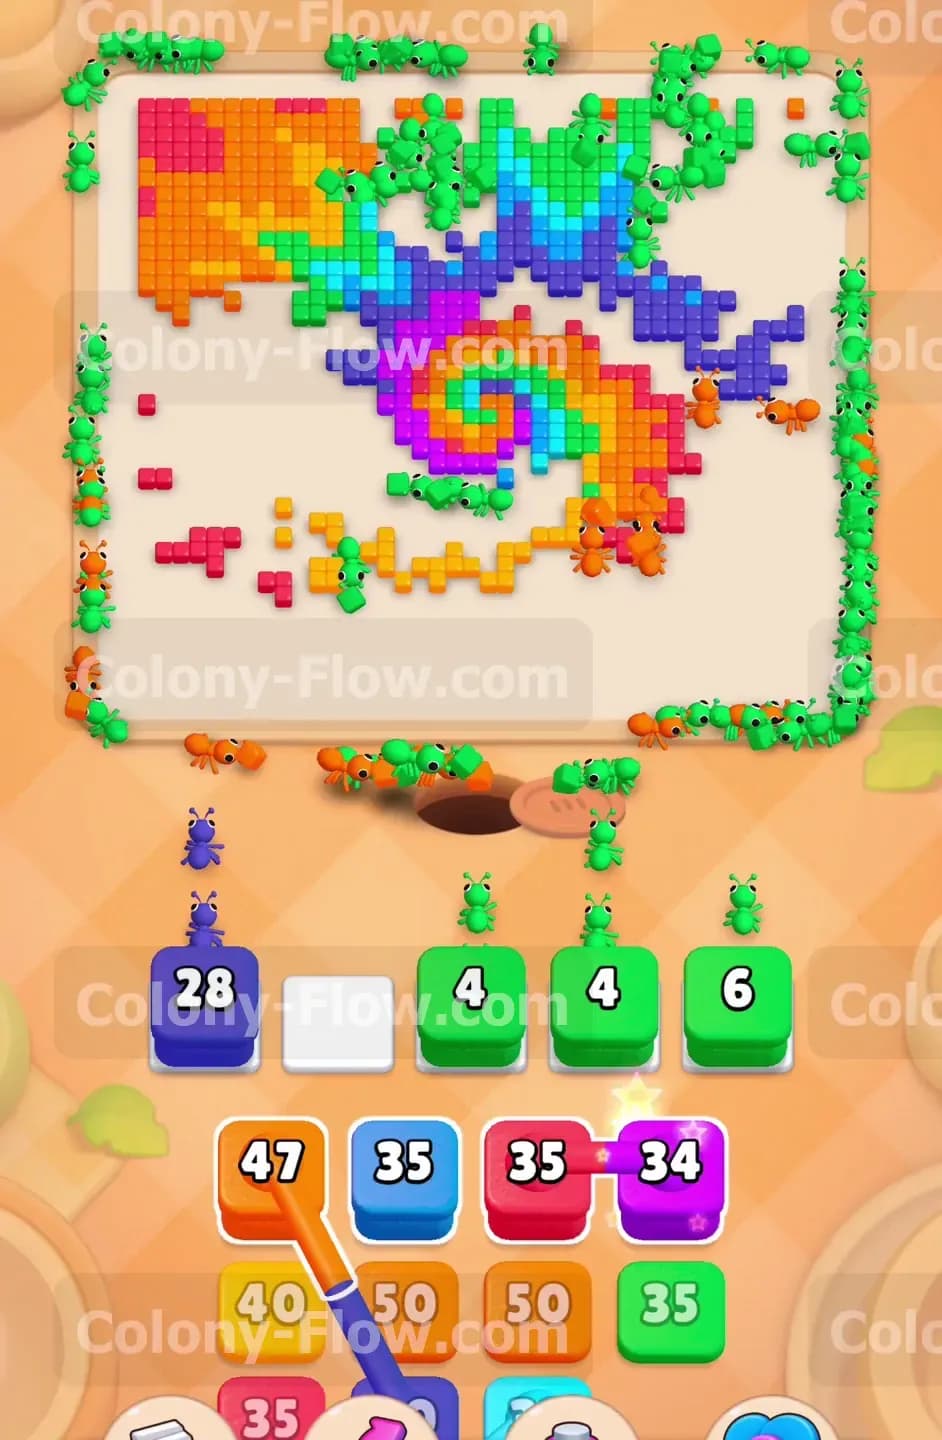
The left side of the spiral is now mostly light blue tiles. Your tray has the connected light blue 34 and light blue 35 blocks ready to go. Pull these light blue blocks into the wait slots. A massive swarm of light blue ants will deploy and devour the entire left side of the spiral. At the same time, the orange blocks from the previous step are still clearing the bottom right. The spiral shape is shrinking rapidly now. You are carving out huge chunks of the board, creating plenty of open space for the ants to navigate. Always make sure the light blue tiles have a clear path before pulling the connected blocks.
Step 6: Collect the keys to open the tray locks
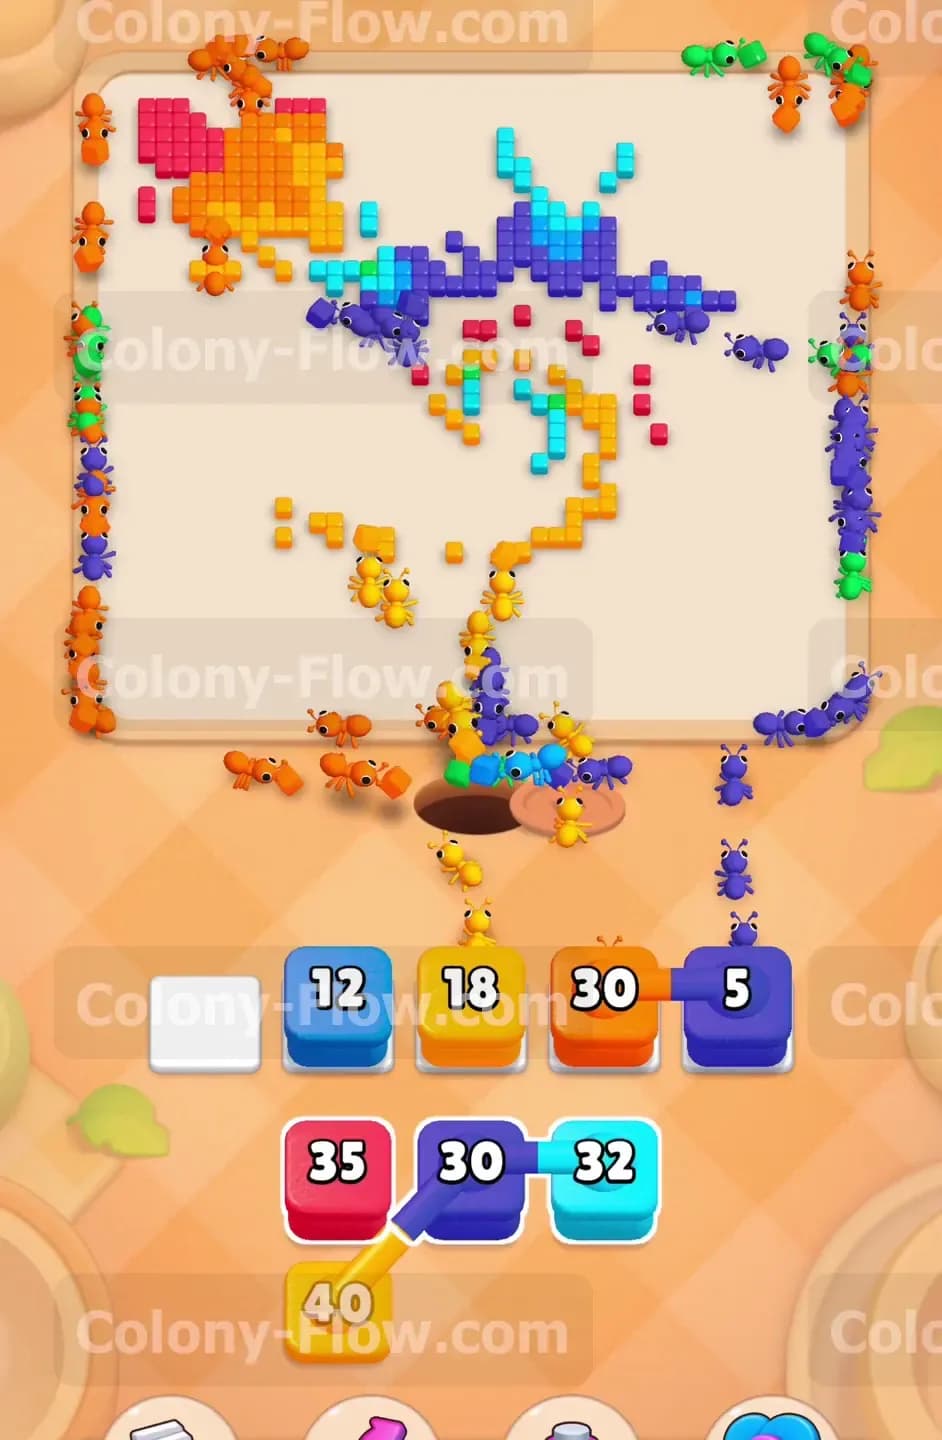
Now you face the locked blocks in the tray. You have a yellow lock and a light blue lock blocking your access to the blocks beneath them. To open these, the ants must eat the tiles on the board that hold the hidden keys. Direct your ants to the sections of the board that contain the yellow keys. Once the ants consume those specific tiles, the keys fly down and unlock the yellow lock in the tray. Do the exact same thing for the light blue lock. Opening these locks gives you access to a fresh supply of green and dark blue blocks that you absolutely need for the final stages of the level.
Step 7: Surround the board with a massive green wave
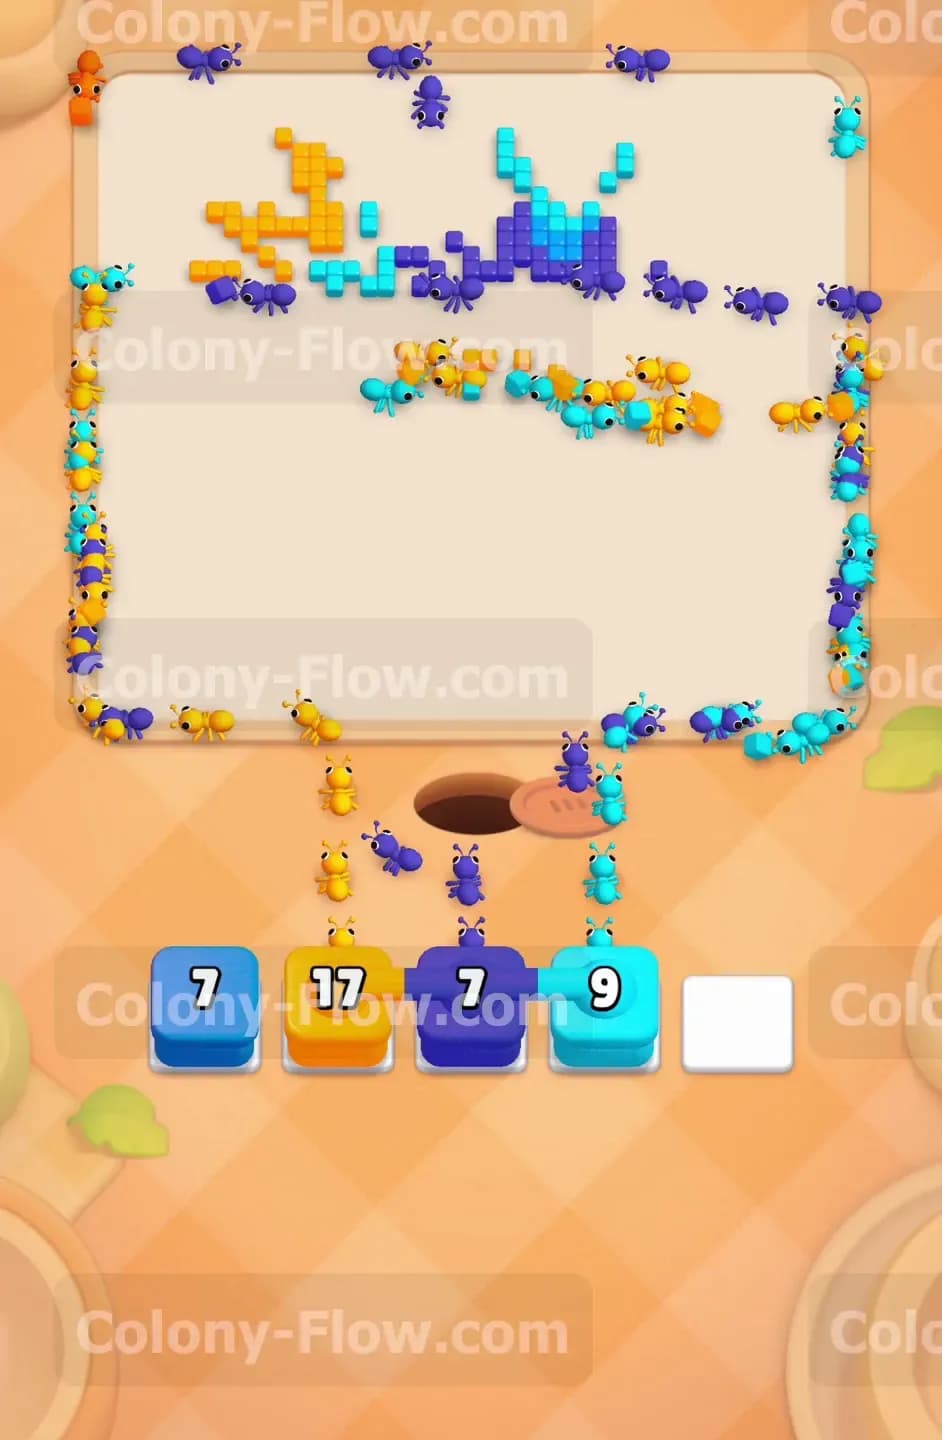
The board is now broken apart, and a large ring of green tiles remains around the top and right edges. Pull the newly unlocked green blocks from your tray. The ants will form a giant wave that completely surrounds the board. They will attack the green tiles from all sides simultaneously. Because they have so many open paths to reach their food, the green blocks in your wait slots will count down very fast. This is a great sequence to watch as the largest remaining structure on the board simply melts away under the constant stream of green ants.
Step 8: Dismantle the isolated color islands
The once dense spiral is now reduced to a few isolated patches of color. You have an orange island in the top left, a cyan island in the top middle, and a yellow island near the bottom. Look at your tray and find the connected orange 47 and orange 40 blocks. Pull them to eliminate the top left island completely. Then carefully pull the dark blue 12 and yellow 18 blocks to target the center pieces. You must sequence these final pulls correctly. If you pull a yellow block before the yellow island is fully accessible, it will get stuck in your tray forever. Take your time and verify the paths before moving the blocks up.
Step 9: Send the final ants to finish the board
You are down to the very end of the level. Only a handful of scattered cyan, yellow, and dark blue tiles remain on the board. Your tray holds the exact blocks needed to finish the job. Pull the final dark blue 7 block, the final yellow 17 block, and the final cyan 9 block into your wait slots. The ants will make quick work of these last few pieces. Watch as the numbers drop to zero and the remaining tiles vanish completely. The board is now clear, your wait slots are empty, and you have successfully completed the puzzle.
Final Thought
Level 425 demands patience and careful observation of the spiral edges from start to finish. You must resist the urge to pull blocks quickly and instead focus on maintaining clear paths for every color you deploy. If you struggle with the timing of the connected blocks or finding the keys, watch the video above this article to see the exact sequence in action.