Colony Flow Level 827 Walkthrough Solution & Guides | How to solve Colony Flow 827

Guide By Liam Stone
Updated on August 8, 2026
Watch first, read later. The video above shows the complete Level 827 walkthrough.
Video doesn't match your screen?
Game updates frequently scramble layouts! Try our AI Screenshot Solver first to find your exact board instantly, or report broken guides to our team.
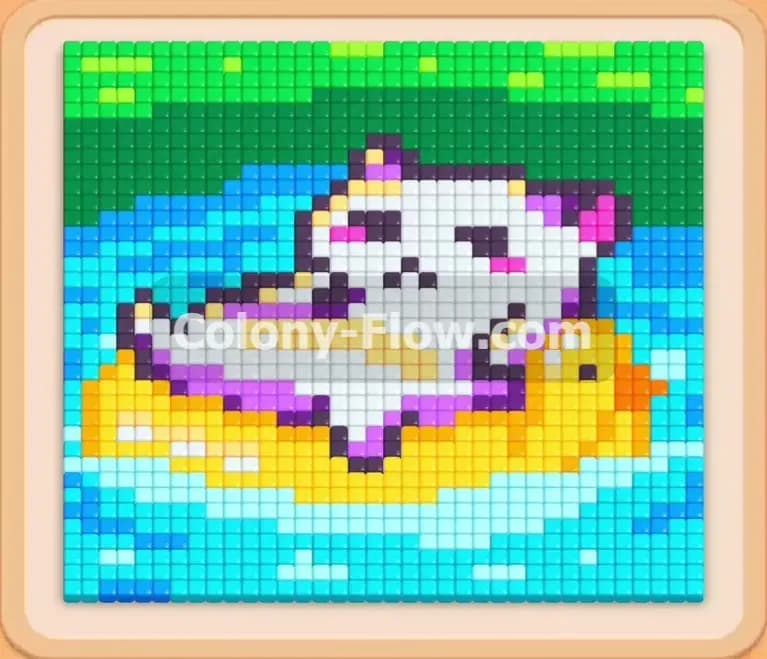
Welcome to Colony Flow Level 827. You have a fun and colorful puzzle to solve today featuring a lazy white cat lounging on a yellow duck pool floatie. The water setting looks incredibly relaxing but the board itself demands careful planning to clear without losing. You need to manage your limited tray slots perfectly and deal with linked blocks without causing a permanent traffic jam. This guide will walk you through exactly how to feed your colony and empty the board safely.
Colony Flow Level 827 Overview
What You Are Working With
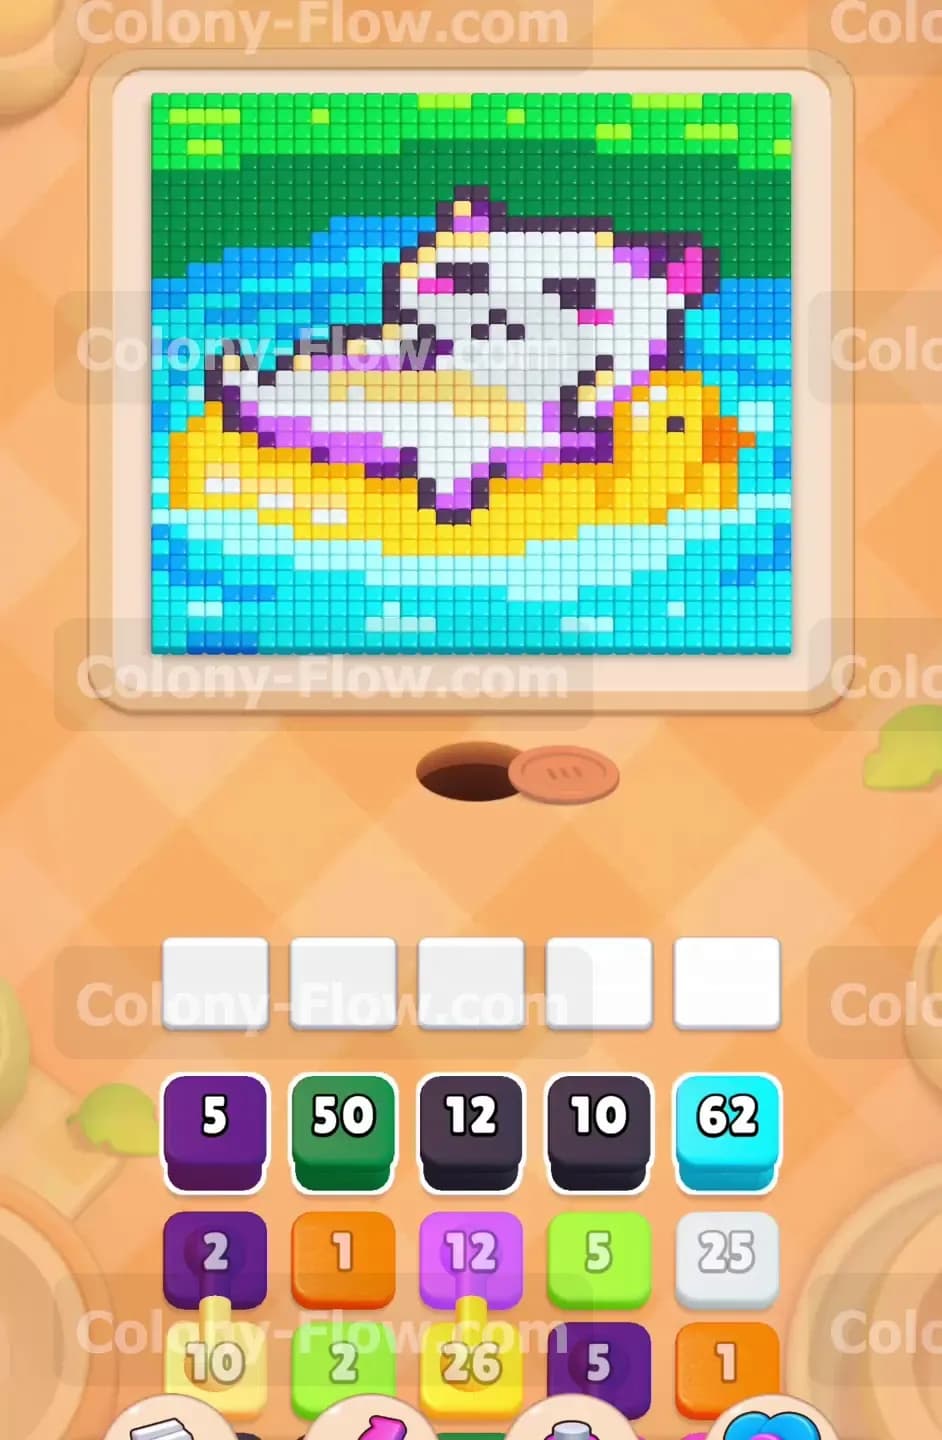
The canvas for this puzzle presents a bright outdoor swimming pool scene. The very top edge of the board is lined with bright green blocks that form a grassy border or some distant trees. Below the green border you will find a large white cat resting lazily on its back. The cat features a thick black outline along with a few purple pixels that make up the ears and small facial details. The cat is floating inside a massive bright yellow duck floatie. The duck has a small orange beak pointing toward the right side of the screen. The entire bottom half and sides of the canvas are filled with blue and light blue blocks that represent the pool water.
Down in your tray you have a wide variety of colored blocks waiting to be used. These blocks display numbers that tell you exactly how many ants they will feed. You also have to handle a special mechanic called Connected Boxes in this puzzle. Connected Boxes appear as two blocks linked together by a thick solid line in your tray. When you tap one of these blocks you automatically pull both of them into your waiting slots. This mechanic forces you to manage your space carefully because both colors must have open paths on the board.
What It Takes to Clear Level 827 Board
You clear the board by matching every colored block in your tray to the corresponding colored pixels on the canvas above. You win the game when the picture is completely empty and your ants return safely to their nest hole at the bottom of the screen. You lose the game if you fill all five of your waiting slots with blocks that have no open paths to their matching colors. The ants will stop moving and the board will dead end. You must always ensure that at least one active block in your tray has a clear open route for the ants to follow.
Colony Flow Level 827 Step by Step Solution
Step 1: Clear the white cat body and the purple ear details
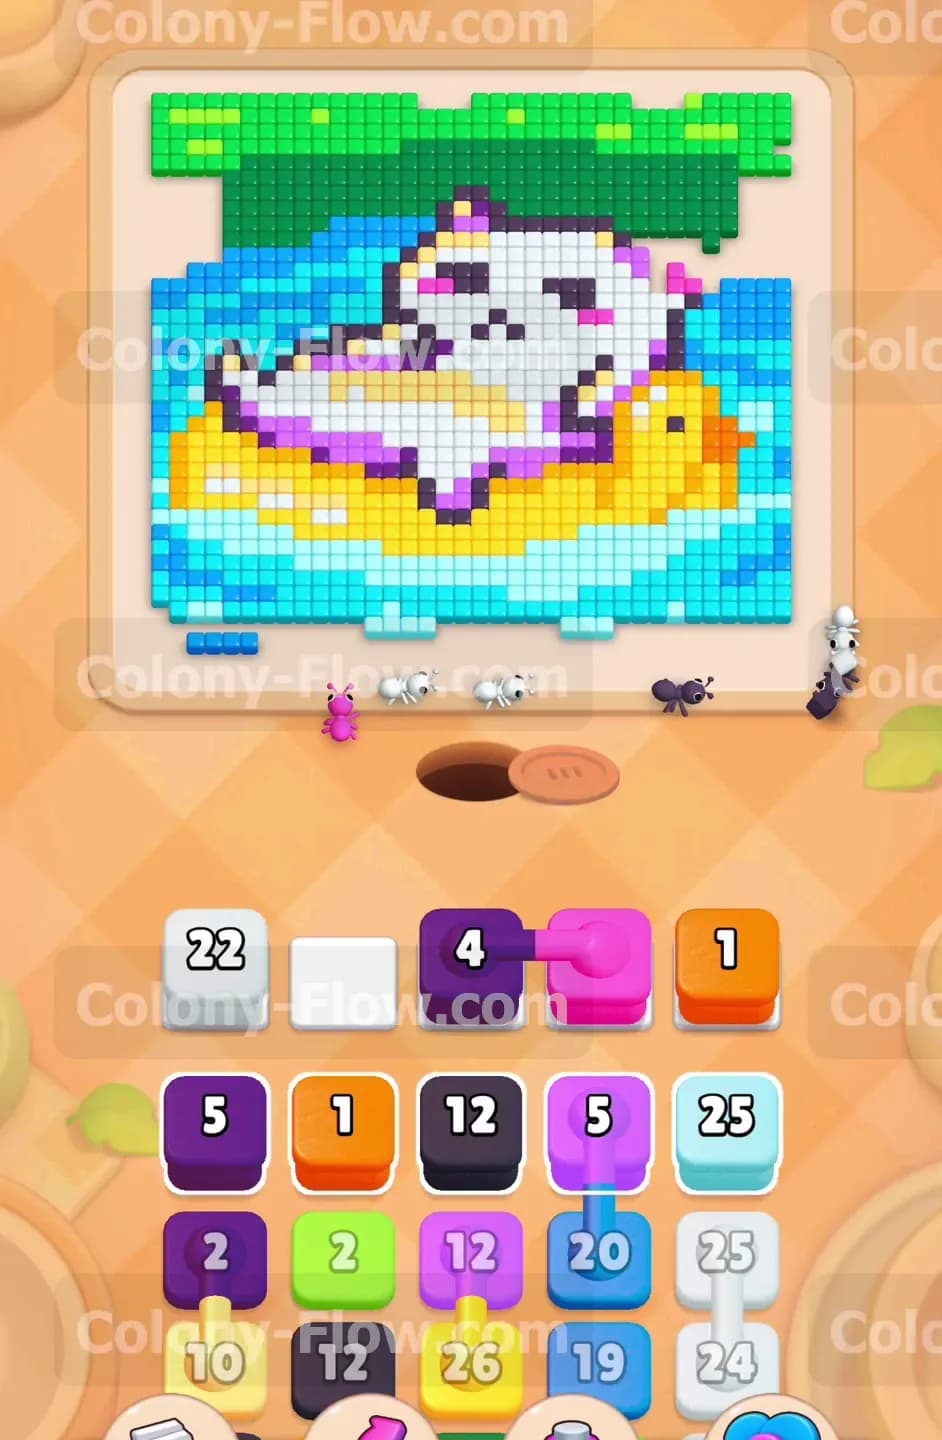
Begin your puzzle by pulling a white block and a purple block into your active waiting slots. The ants immediately rush out of the nest hole and start eating the bright white pixels that make up the belly of the lounging cat. Another group of ants will branch off to target the purple pixels located on the ears and small sections of the face. You want to clear these central areas early because it helps open up fresh pathways to the upper sections of the board. The white block has a very high number so it will stay in your slot for a substantial amount of time. You still have three open slots remaining which keeps you completely safe from a sudden dead end. Allow the ants to establish a steady walking rhythm before you pull any more heavy numbers into the tray.
Step 2: Target the orange duck beak and the top green border
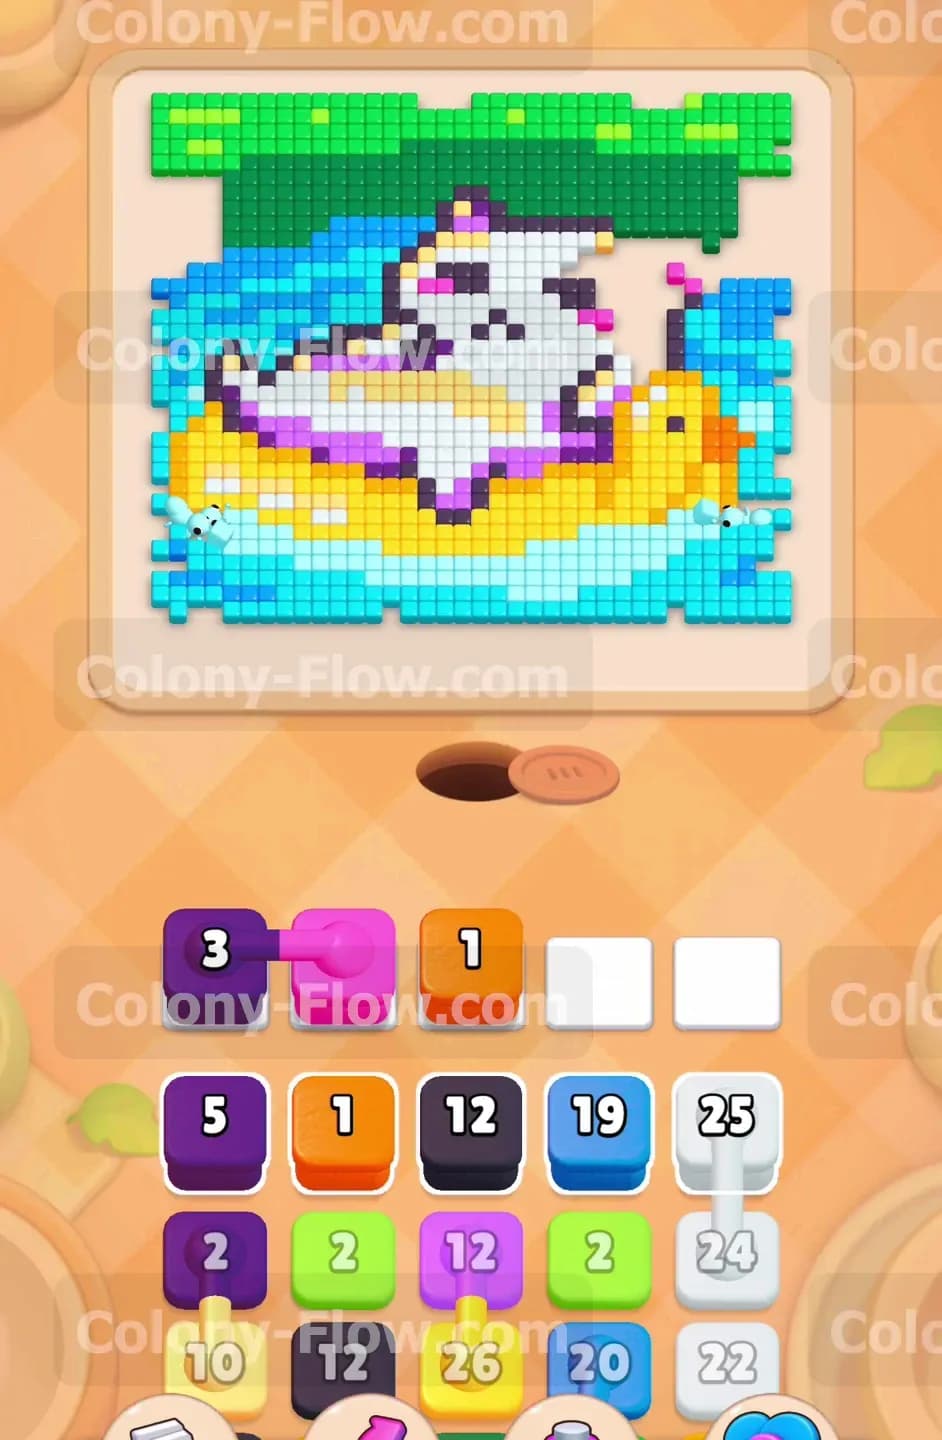
Now you need to bring down the orange block and the large dark green block into your tray. The orange block holds a very small number and the ants quickly clear the tiny beak on the yellow duck floatie. This fast action frees up that waiting slot almost instantly and gives you plenty of room to breathe. The green block behaves very differently because it holds a massive number of pixels. The ants have to travel all the way from the nest hole past the cat and up to the very top edge of the canvas to reach the green border. This long physical travel time across the board means the green block will sit in your waiting area for quite a while. You must not overload your three remaining slots while the ants make this long trek across the screen.
Step 3: Attack the yellow duck floatie and the magenta accents
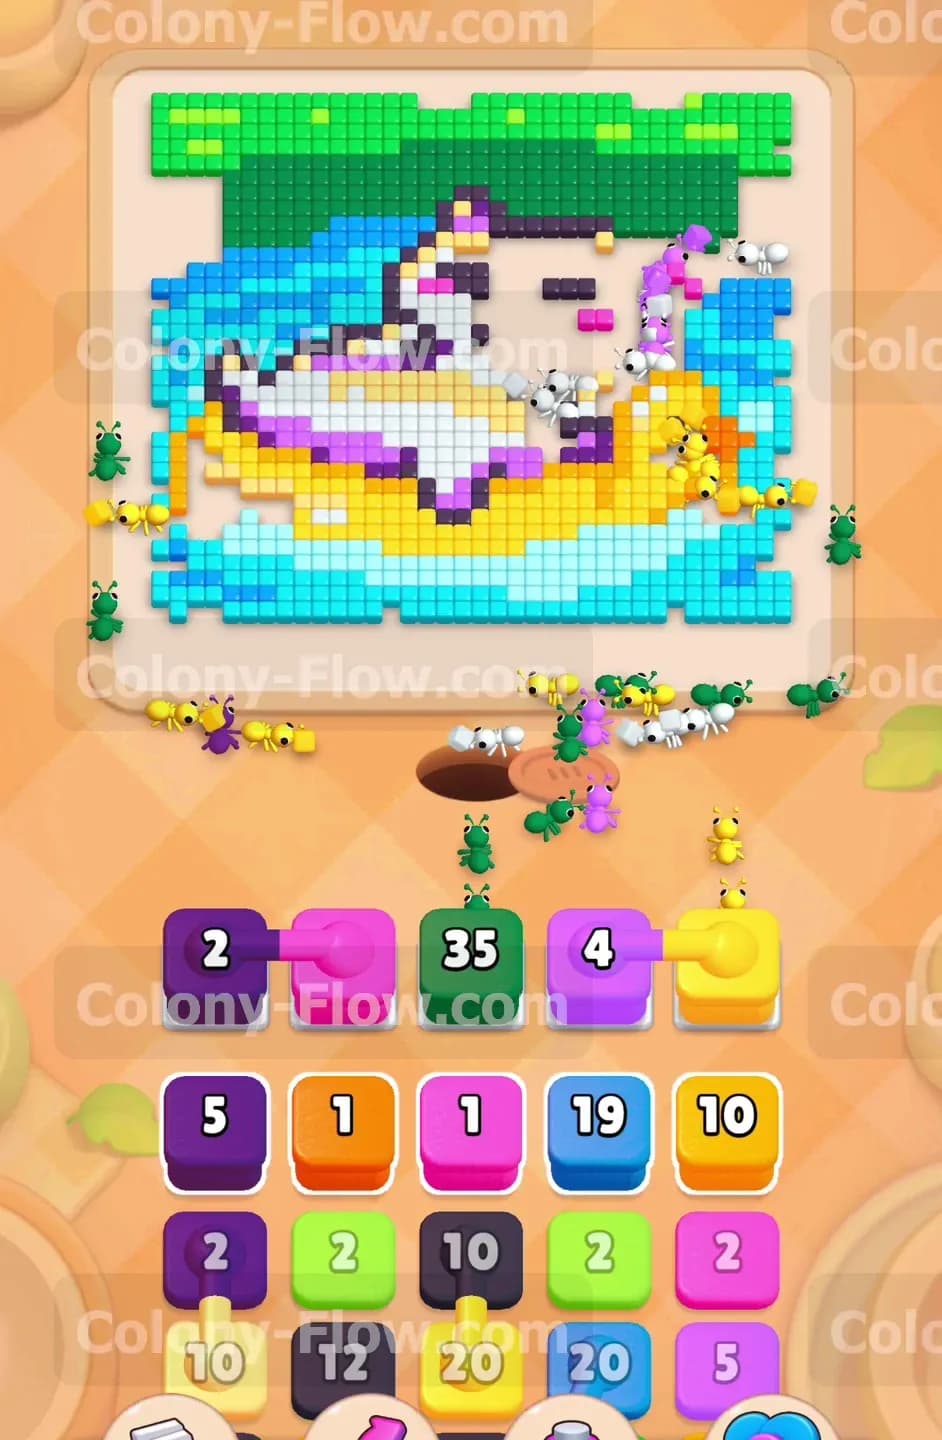
Pull down the magenta block and the first bright yellow block to continue your progress. The yellow duck floatie takes up a massive portion of the middle picture. The ants will swarm the yellow pixels and slowly chip away at the shape of the duck head and the floatie ring. The magenta block targets a few small extra details around the face and paws of the white cat. Because the yellow section is so incredibly large you will see a steady stream of ants marching out of the nest hole for a long time. Always watch the board closely to ensure the yellow pixels remain perfectly accessible and are not blocked off by the black outline of the cat. Let the ants chew through the bulk of the yellow floatie before you make your next major decision.
Step 4: Drain the massive light blue pool water
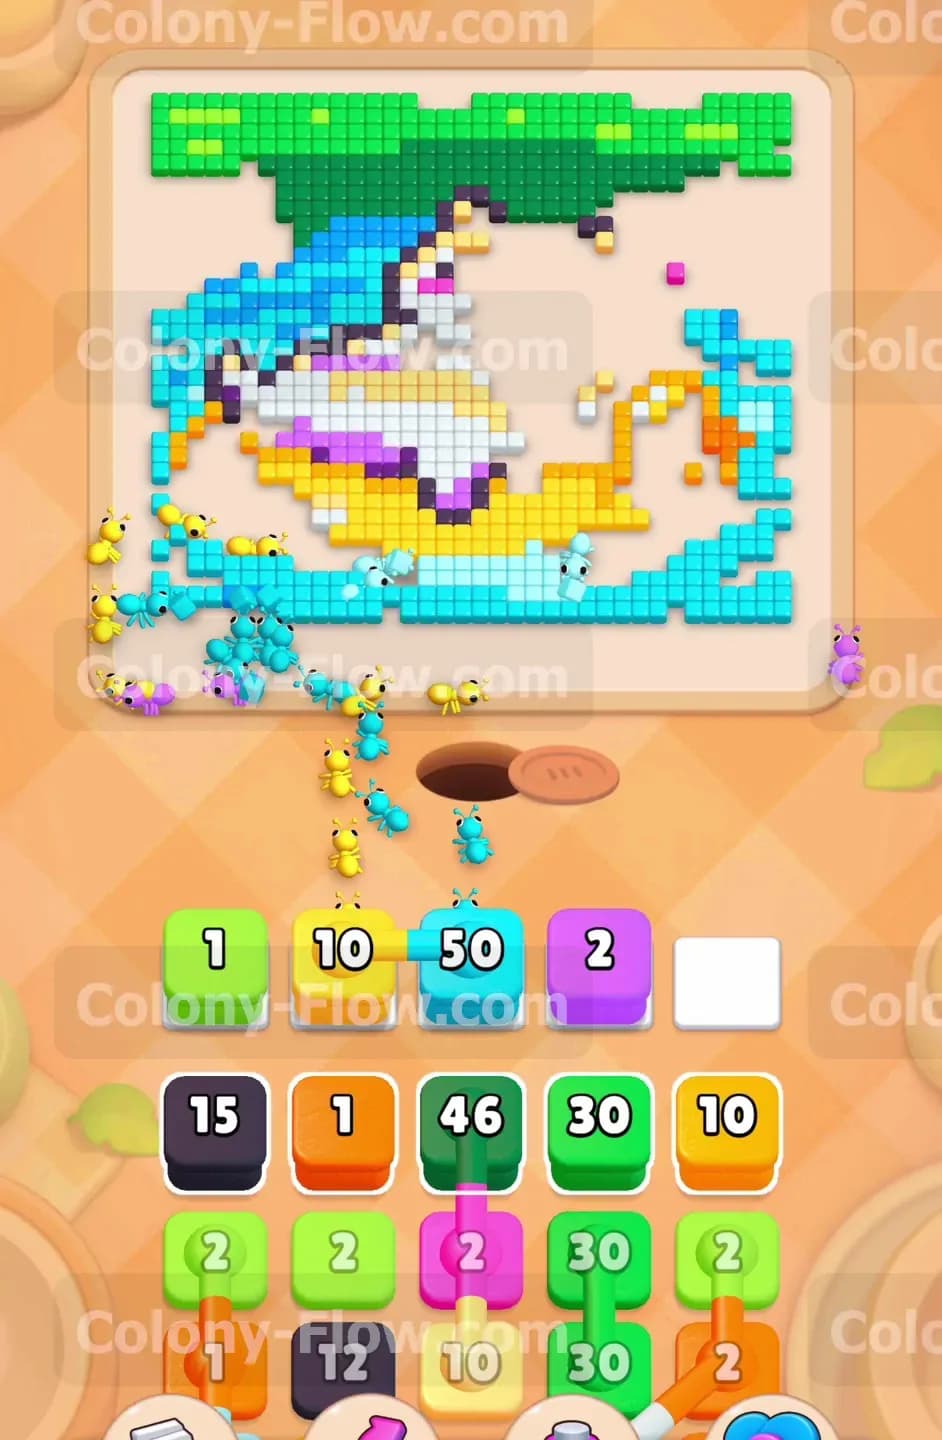
The light blue water surrounds the entire floatie and covers the whole bottom section of the canvas. Tap the large light blue block to send your colony into the pool water. The ants will clear the water starting from the bottom edges near the nest hole and slowly work their way up the left and right sides of the screen. The light blue block has a very high number and will occupy a waiting slot for a large portion of the level. You must rely heavily on your other four open slots to cycle through smaller colors while the water drains. Keep a close eye on the flow of your ants to make sure they can reach the water pixels located on the far left and far right edges of the screen. If you block their path with a different color your light blue block will become completely stuck and you will lose one of your valuable waiting slots.
Step 5: Manage the first set of linked connected boxes
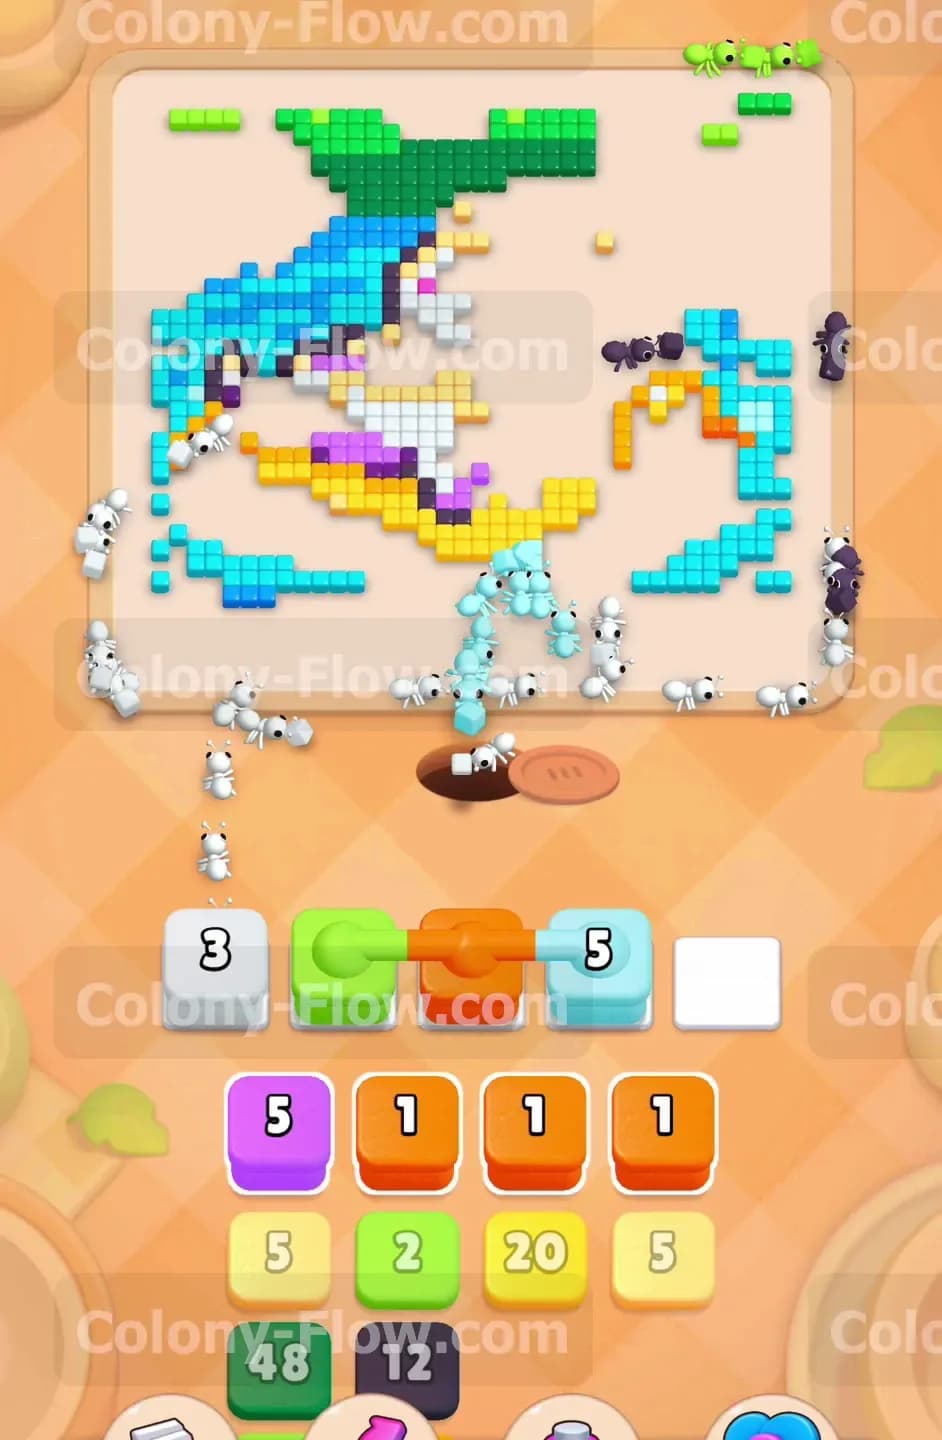
You will soon spot a light green block linked directly to an orange block in your tray. These are Connected Boxes and they always move into your slots together. Before you pull them you must verify that your ants can physically reach both the light green pixels and the orange pixels on the board. If the orange pixels are hidden behind another solid color the orange block will sit inactive in your tray and waste a valuable space. Once you confirm open paths for both colors you can tap the linked blocks without fear. The ants will divide their attention and clear both colors simultaneously. This dual action helps you break down the remaining small duck details and some background grass pieces without risking a dead end. Managing these paired blocks properly is the true trick to surviving the middle section of the puzzle.
Step 6: Finish the remaining pool water and the yellow floatie
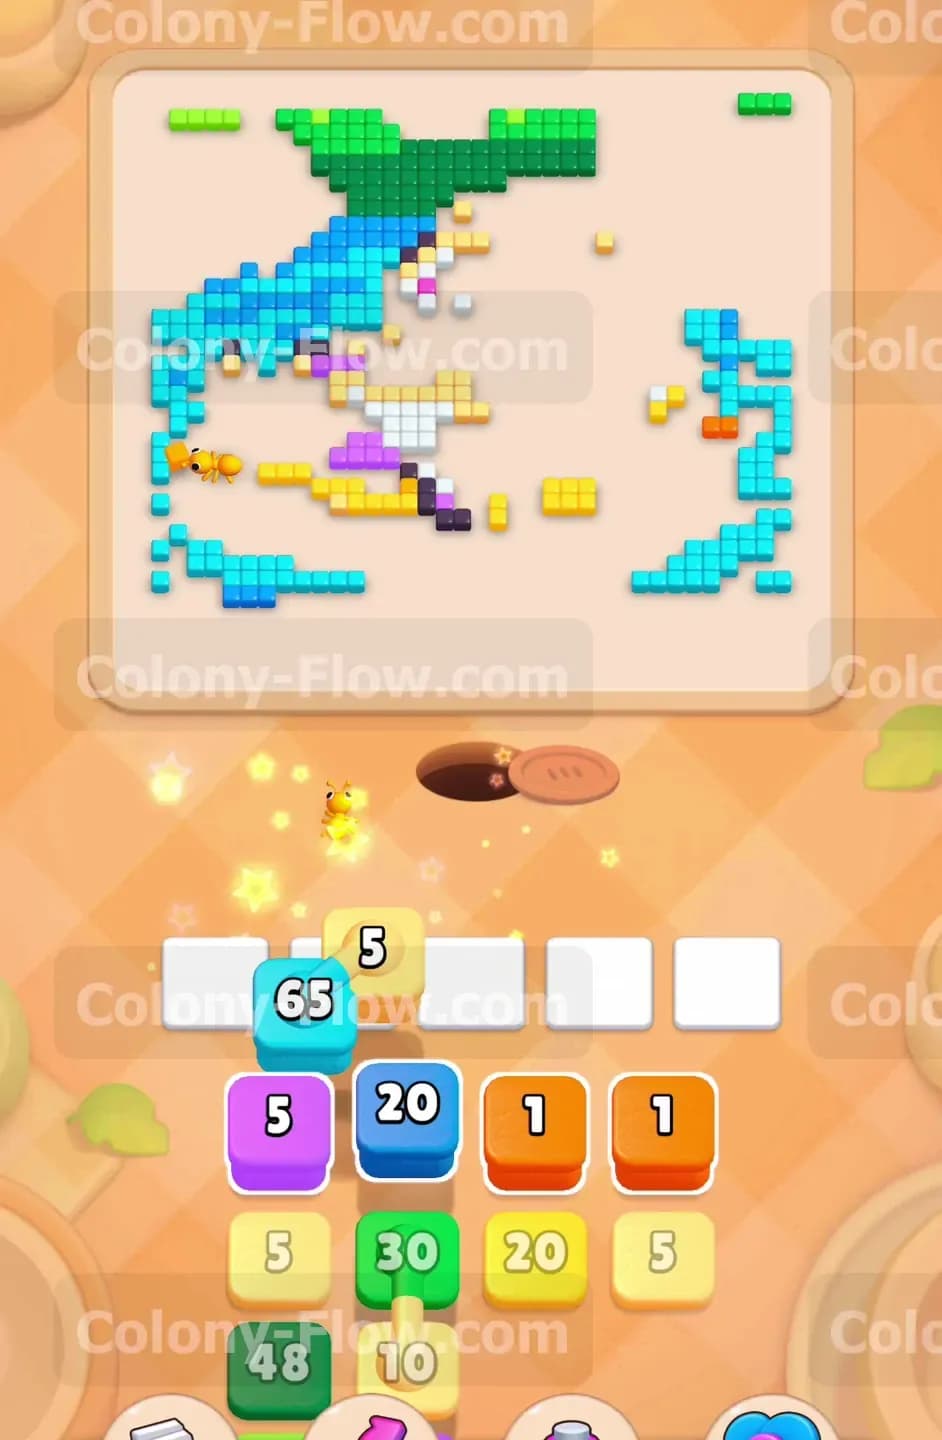
Bring down another light blue block and another yellow block to handle the shrinking shapes. The remaining water pixels are scattered around the top corners of the pool area near the green border. The ants now have to walk straight past the partially cleared cat and the remaining pieces of the duck to reach them. The yellow floatie is also shrinking down to its final few dozen pixels. You need to exercise patience here because the travel distance from the nest hole is getting much longer. Let the ants do their job and avoid pulling any unnecessary new blocks that might clog up your remaining tray slots. A clean board allows the ants to walk much faster across the empty spaces.
Step 7: Clear the black outline and the final green spots
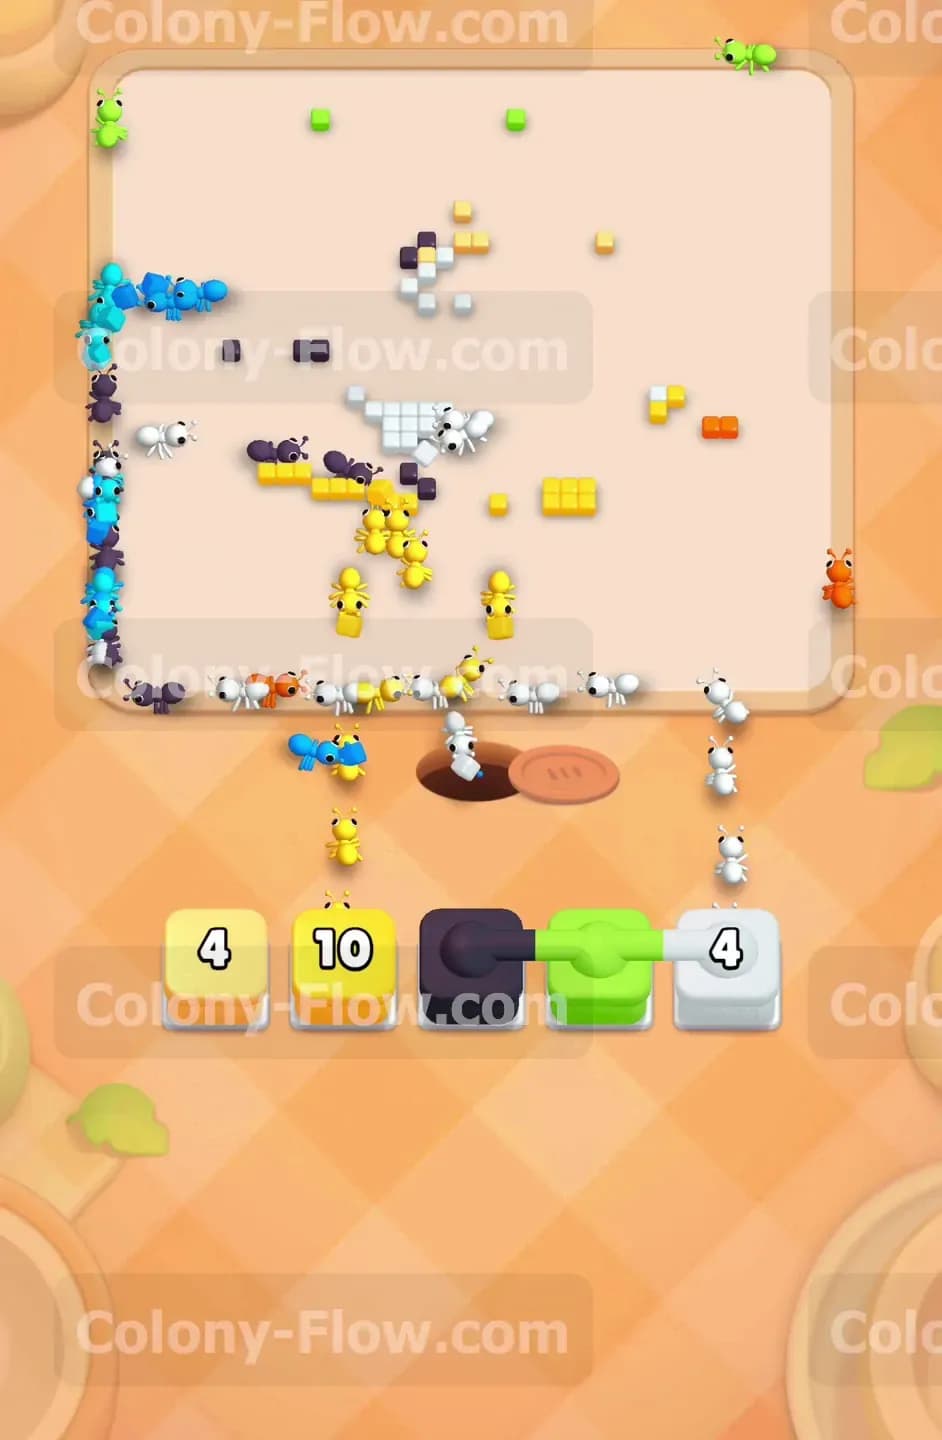
Your last major hurdle involves another tricky set of Connected Boxes. This time you have a black block linked directly to a green block. The black block is responsible for clearing the dark outlines wrapped around the lounging cat. The green block finishes off the very last scattered pieces of the top grassy border. Check the board one last time to ensure no other stray colors are blocking the black outline paths. Once you see the path is completely clear you can tap the linked blocks to bring them down. The ants will march up the screen and eat the black borders and the final green spots. The canvas will completely empty out and the straggling ants will return to the nest hole to successfully end the level.
Final Thought
Level 827 requires good timing and careful slot management from start to finish. Dealing with connected blocks is always a tricky balancing act because you have to ensure multiple paths are open at exactly the same time. Managing your long distance routes to the top of the screen is the real secret to keeping your tray completely clear. If you ever find yourself stuck or unsure about which block you need to pull next please watch the video above this article. The visual guide will show you exactly how the ants move and help you perfect your overall strategy.