Colony Flow Level 83 Walkthrough Solution & Guides | How to solve Colony Flow 83

Guide By Liam Stone
Updated on July 11, 2026
The Level 83 walkthrough plays out in full in the video above, so skip the article if that works better for you.
Video doesn't match your screen?
Game updates frequently scramble layouts! Try our AI Screenshot Solver first to find your exact board instantly, or report broken guides to our team.
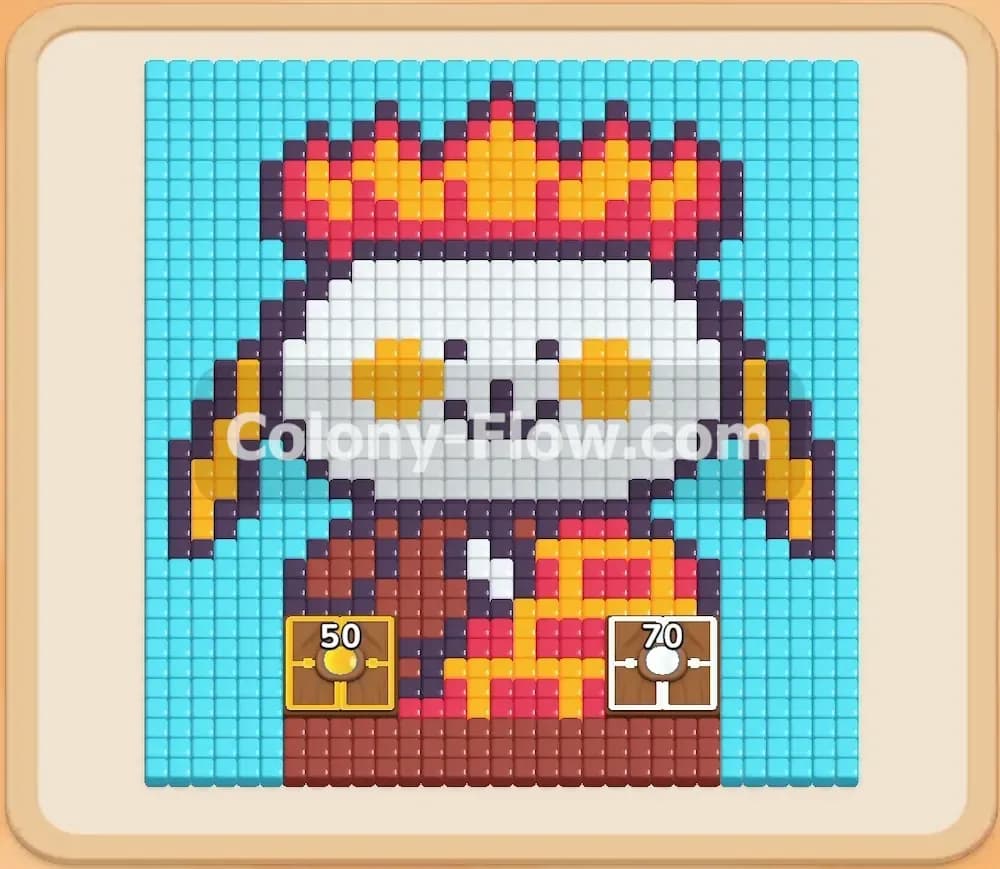
Colony Flow Level 83 presents a fun but tricky pixel art challenge featuring a bright yellow monster sitting on a solid brown base. You have a lot of different colors to manage in this puzzle. The dark outline wraps around the whole character while the yellow body takes up the bulk of the picture. You also have to deal with connected green boxes sitting on the brown ground. The key to winning is managing the five waiting slots so the ants always have a clear path to their matching tiles. If you pull the wrong block at the wrong time you will ruin your chances of success. I played this level multiple times to find the perfect sequence of moves. The solution relies on patience and careful observation of the board.
Colony Flow Level 83 Overview
What You Are Working With
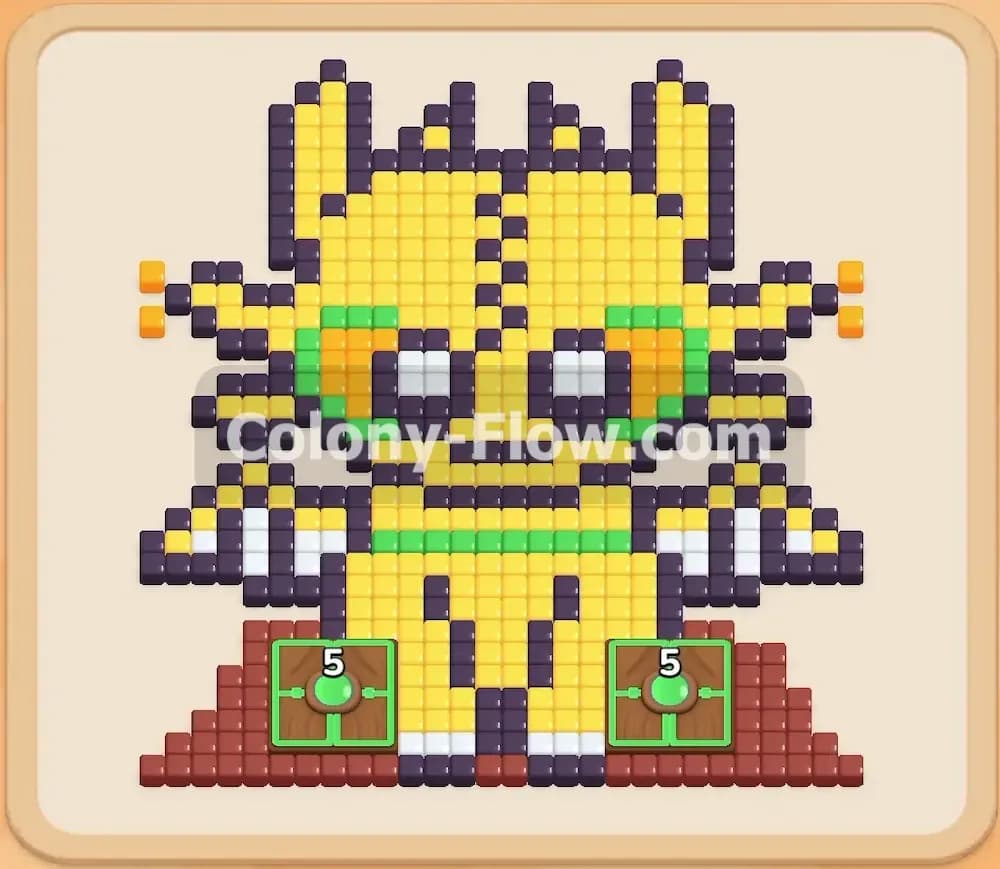
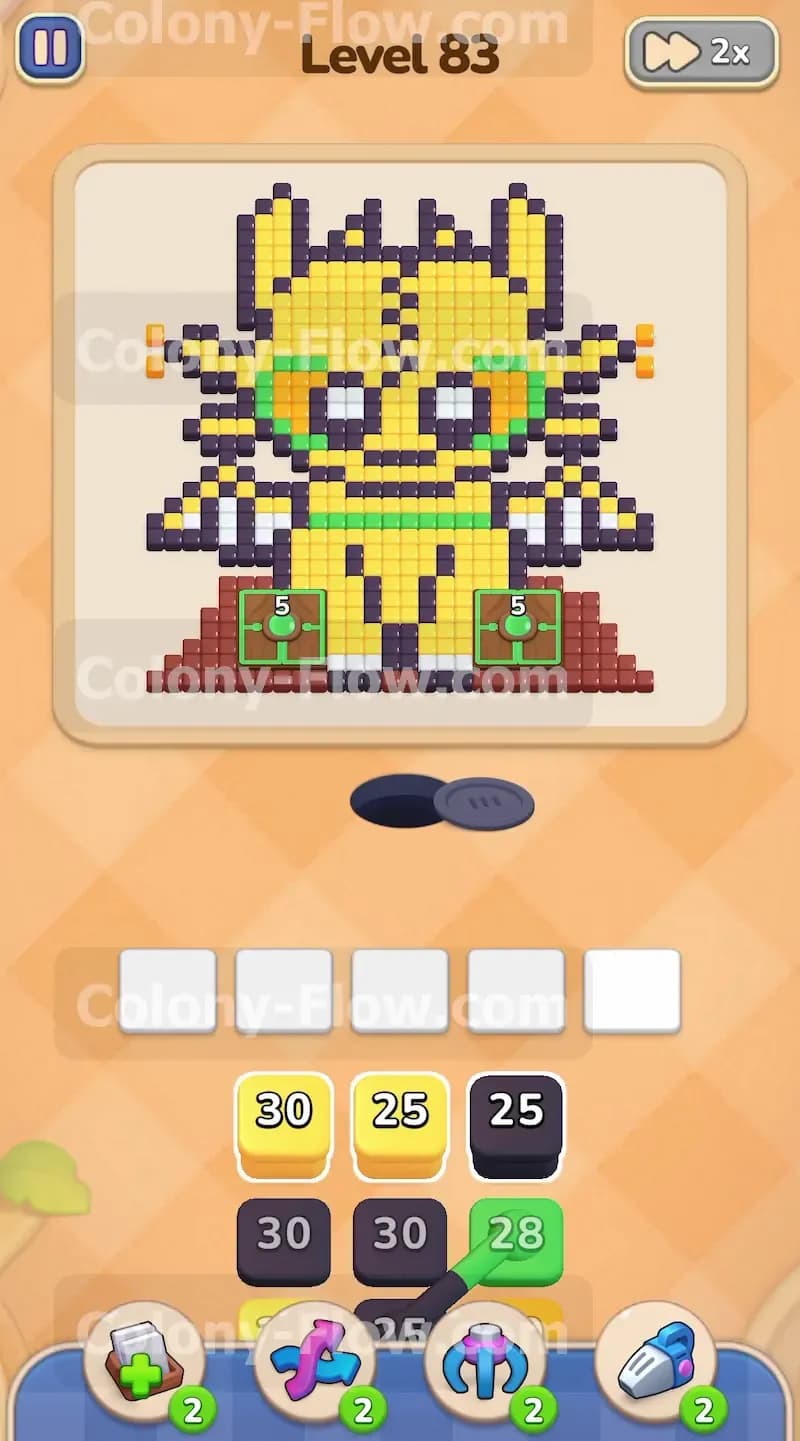
The pixel art picture shows a yellow creature with green eyes and white claws resting on a brown mound. The board features several colors including black for the heavy outline and yellow for the main body. You will also see white tiles for the claws and orange tiles for the cheeks. On top of the brown base you will find a special obstacle known as Connected Boxes. These two green boxes are linked together and must be cleared as a single group. The block tray at the bottom holds a massive pile of numbered blocks in yellow black green white orange and brown. You have exactly five waiting slots to hold the active blocks while the ants do their work. The ants spawn from a single nest hole below the picture and spread out across the available paths to find their food.
What It Takes to Clear Level 83 Board
Clearing this board requires you to peel the picture away layer by layer starting from the outer edges and the bottom. You must pull blocks from the tray in the right order so the ants can always reach their target tiles. If you pull a color that has no open path to its matching tiles the block will sit in the waiting slot. Filling all five slots with blocked colors will cause you to lose the level entirely. You win by carefully matching blocks to accessible tiles until every last piece of the monster and its base disappears and the ants return to their nest. The challenge is keeping the flow of ants constant without overwhelming the limited space in your tray. You need to plan ahead and always leave an escape route for your insects.
Colony Flow Level 83 Step by Step Solution
Step 1: Start by pulling black and yellow blocks to clear the outer edges and lower body
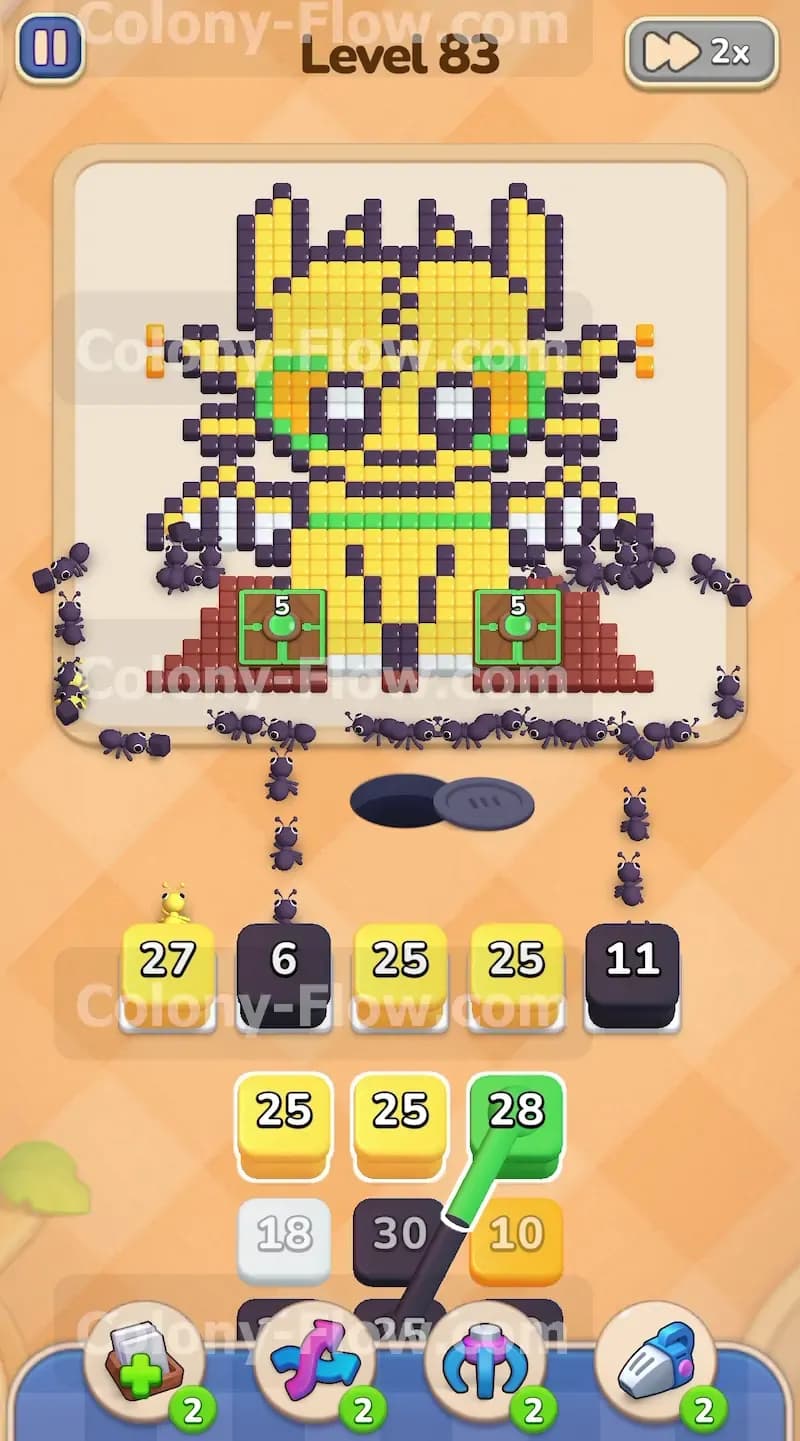
Your first moves should focus on the most accessible parts of the picture. The black outline wraps around the entire outer edge of the monster making it very easy for the ants to reach. Tap the black blocks in the tray to send them into the waiting slots. You should also tap the yellow blocks because the yellow body connects directly to the bottom edge above the nest. The black ants will immediately swarm the dark purple border while the yellow ants march straight up the middle to eat the yellow belly. This dual assault opens up multiple paths into the center of the picture. You want to keep an eye on the numbers on the blocks as they count down. Do not pull too many blocks of the same color at once or you risk clogging the waiting slots. A slow and steady approach works best during the opening moments of the level.
Step 2: Introduce white blocks to tackle the claws and lower details
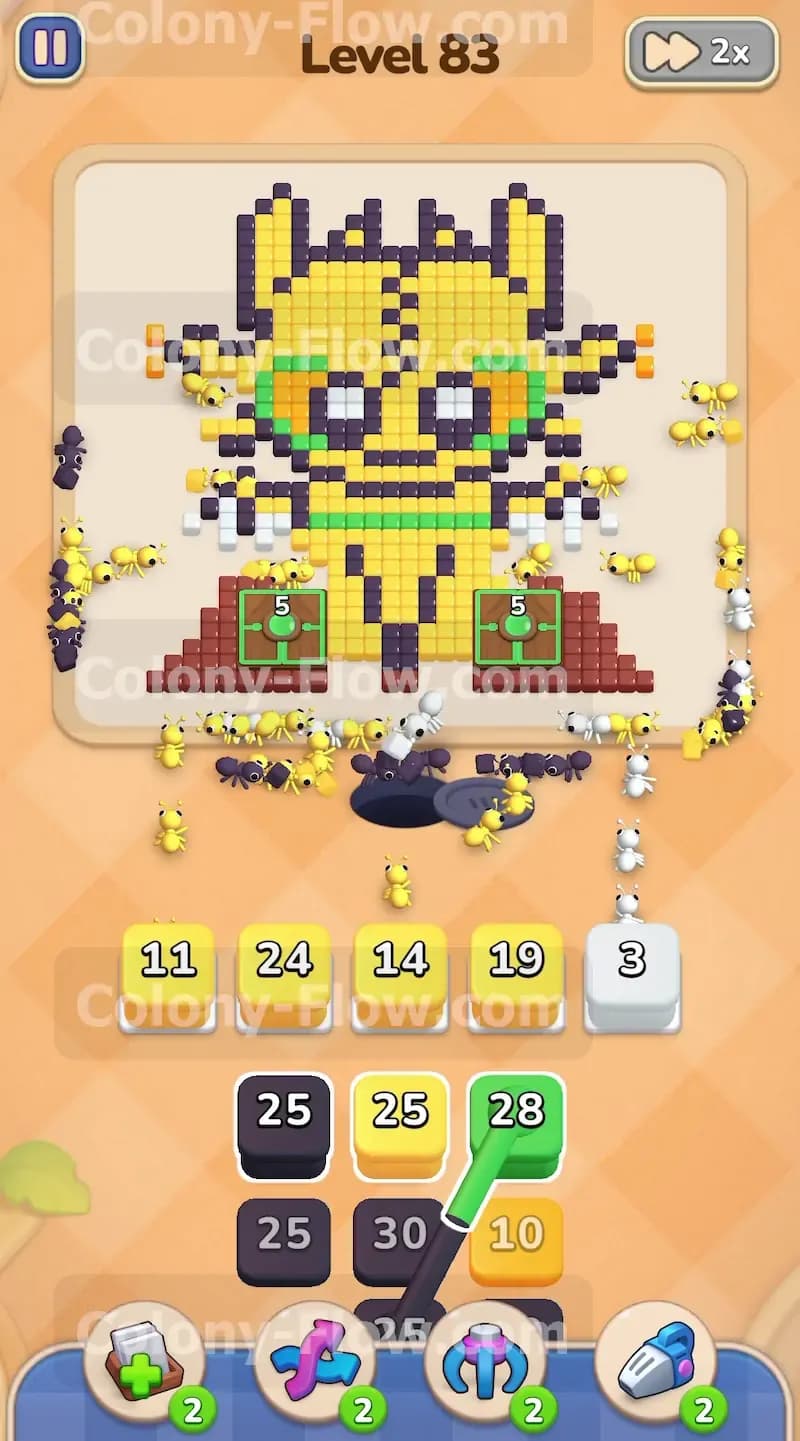
Once the initial black and yellow ants clear a decent chunk of the bottom and sides you will expose the white tiles. These white tiles make up the claws and the feet of the monster. Tap a white block from the tray to bring it into a waiting slot. The white ants will stream out and head straight for these newly exposed areas. You must ensure the black and yellow ants have already cleared enough space so the white ants do not get stuck behind them. Keeping a steady flow of different colored ants prevents traffic jams on the board. The white tiles do not require huge numbers so a single white block will do a lot of heavy lifting. Let the white ants finish their meals before you flood the slots with more blocks. This careful timing keeps your waiting slots free for the next crucial colors.
Step 3: Deploy green blocks to clear the eyes and the Connected Boxes
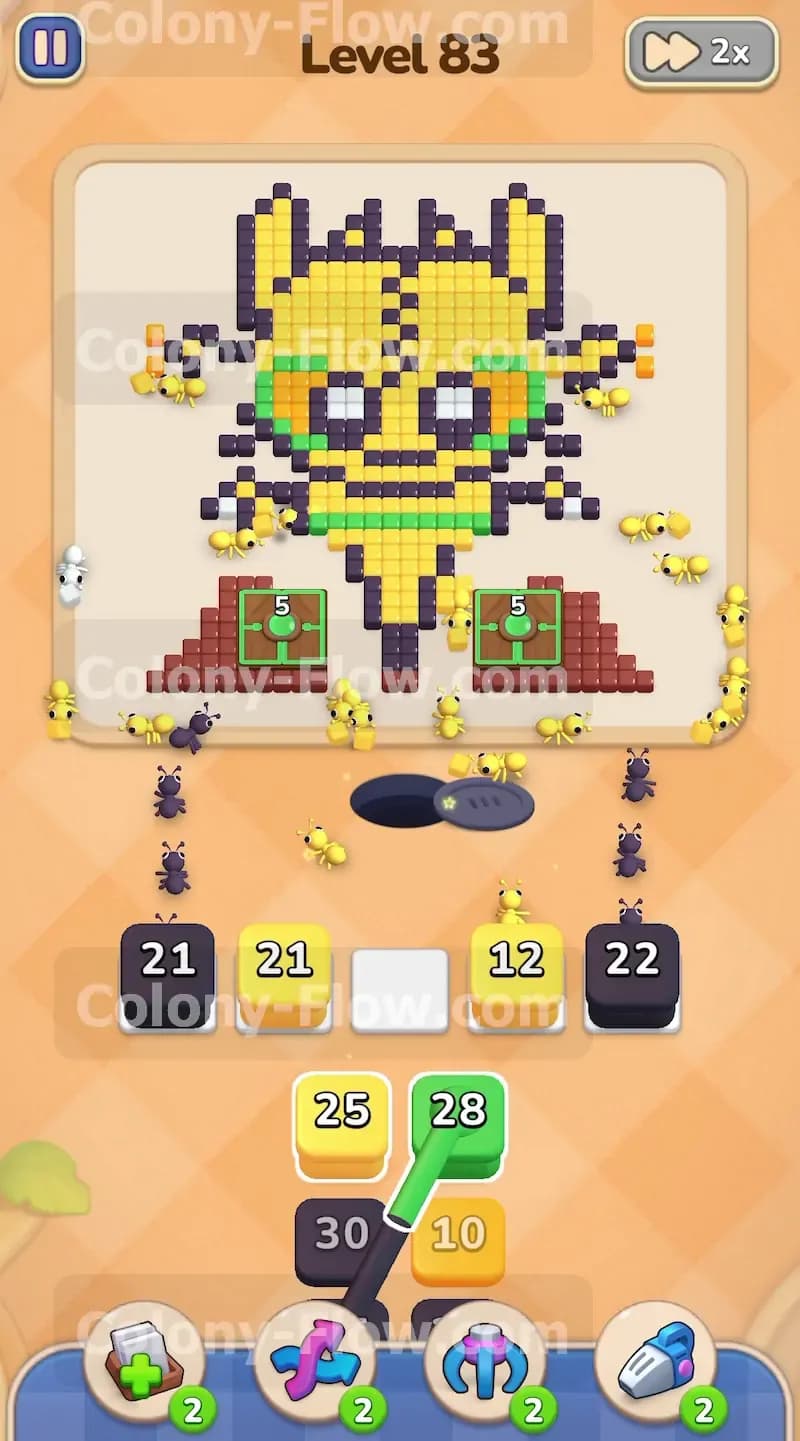
Now that the lower section is opening up it is time to handle the green tiles. The green tiles make up the large eyes of the monster and the special Connected Boxes resting on the brown base. Tap the green blocks from the tray to send the green ants onto the board. These ants will split their attention between the high eyes and the low boxes. The Connected Boxes are tricky because they are linked together and require a coordinated effort to clear. The green ants will swarm these boxes and chip away at the number five printed on them. Because they clear as a group you must supply enough green ants to empty the total requirement. Make sure the path to the brown base is completely clear of yellow and black ants before pulling the green blocks. This guarantees the green ants can reach the connected boxes without causing a backup in the waiting slots.
Step 4: Pull more yellow and black blocks to hollow out the head
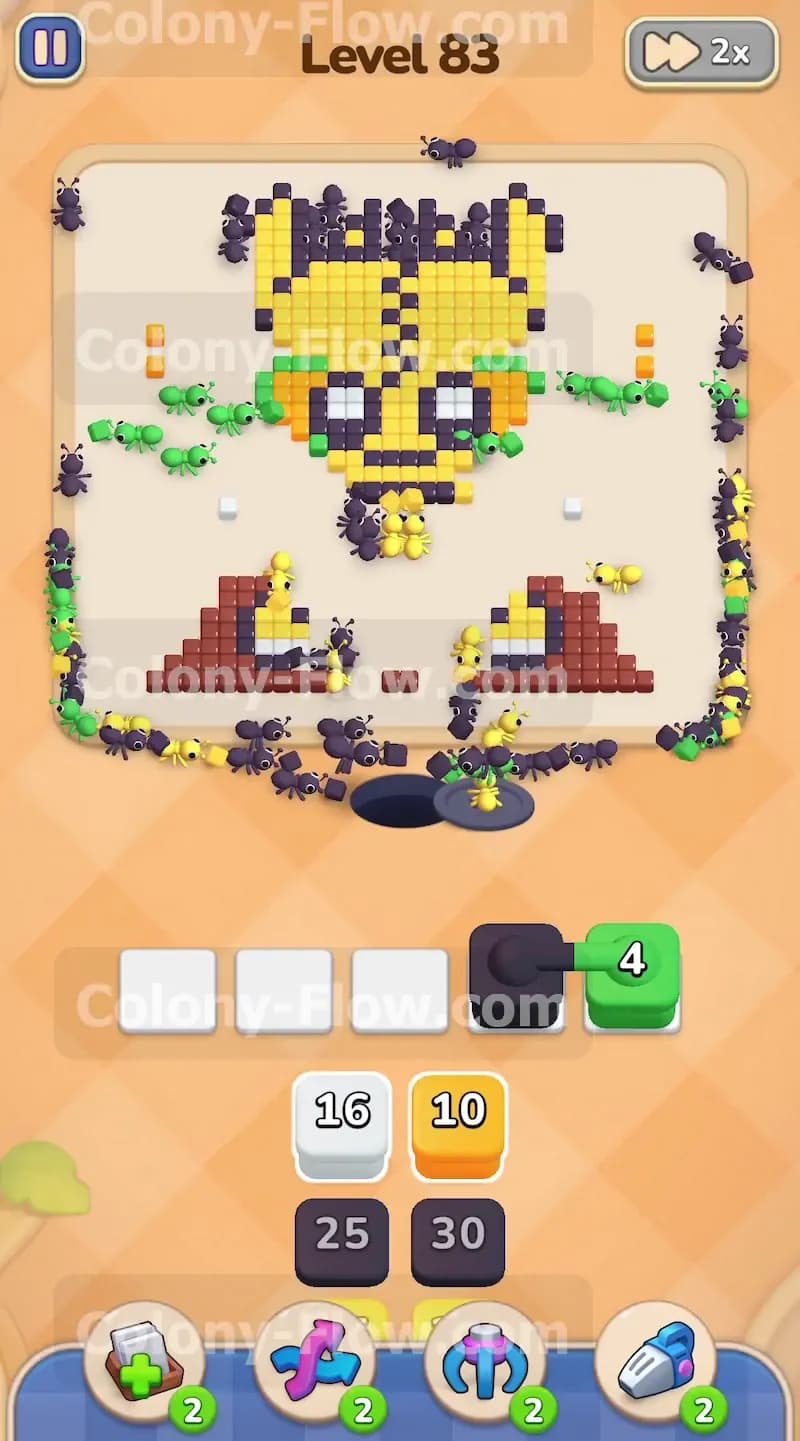
With the lower half of the monster mostly gone and the eyes cleared you need to finish off the massive yellow head. Tap the remaining yellow and black blocks in your tray to unleash another massive wave of workers. The black ants will hunt down the leftover outline pieces around the ears and the top of the head. Meanwhile the yellow ants will devour the giant solid block of yellow pixels making up the face. You will notice the numbers on your tray blocks are quite large such as twenty five or thirty. This means a single block will release a huge swarm of ants. You must be very careful not to fill all five waiting slots with high capacity blocks unless you are absolutely sure the paths are wide open. The top of the head is far away from the nest so the ants take longer to travel there and back. Keep at least one slot empty just in case you need to pull a different color to unblock a path.
Step 5: Bring out the orange blocks for the small cheek details
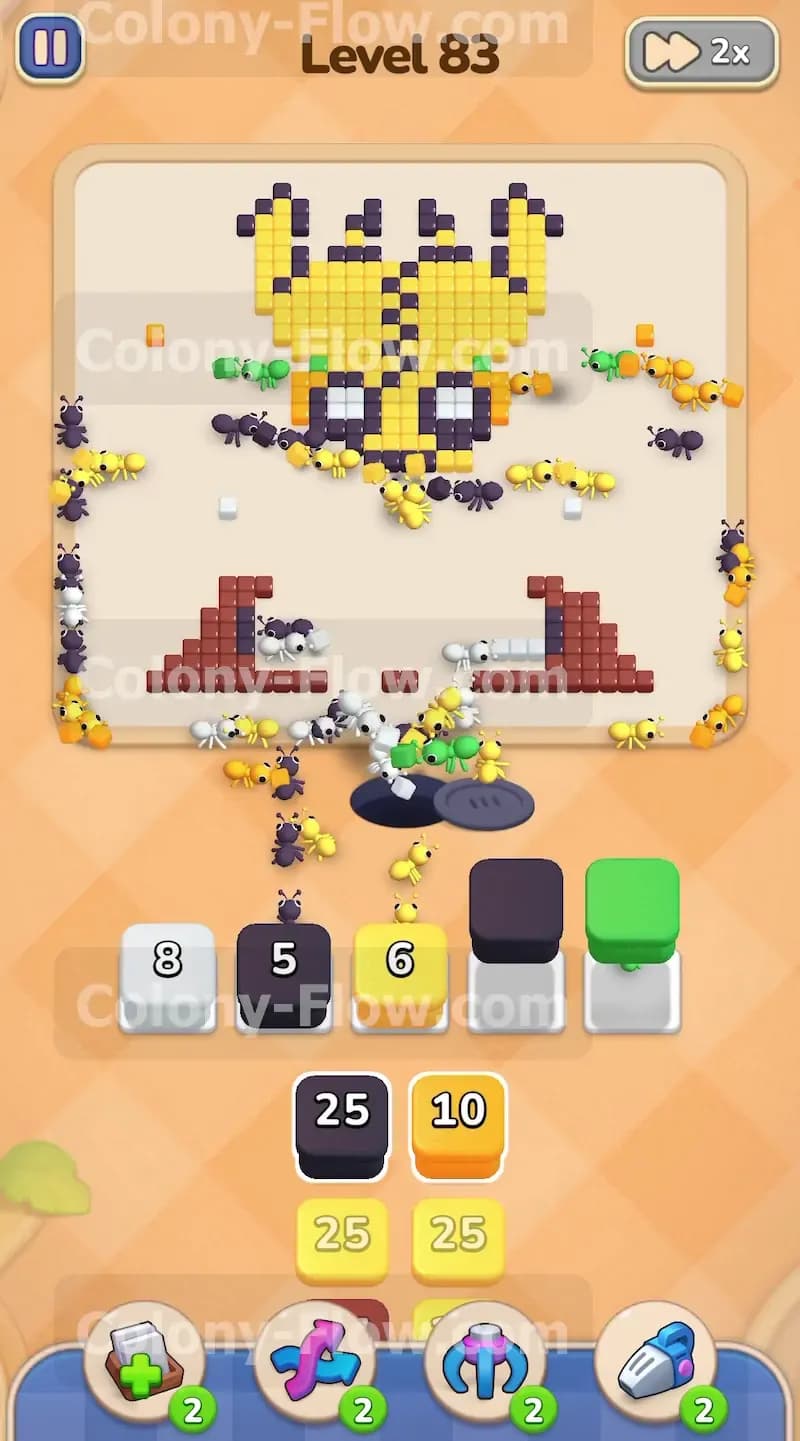
As the yellow head disappears you will uncover small patches of orange tiles on either side of the face. These act like little cheeks for the monster and they block the final internal sections. Find an orange block in your tray and pull it up to the waiting slots. The orange ants will quickly run up the board and clear these isolated tiles. Because there are not many orange tiles you only need a small block to get the job done. Make sure the yellow ants have completely eaten the surrounding pixels before you pull the orange block. If you pull it too early the orange ants will hit a dead end and the orange block will sit uselessly in a waiting slot. Patience is your best friend here so just wait for the exact right moment to release the orange ants. Once the cheeks vanish the path is completely clear for the final cleanup phase.
Step 6: Use the brown blocks to demolish the ground base and finish the level
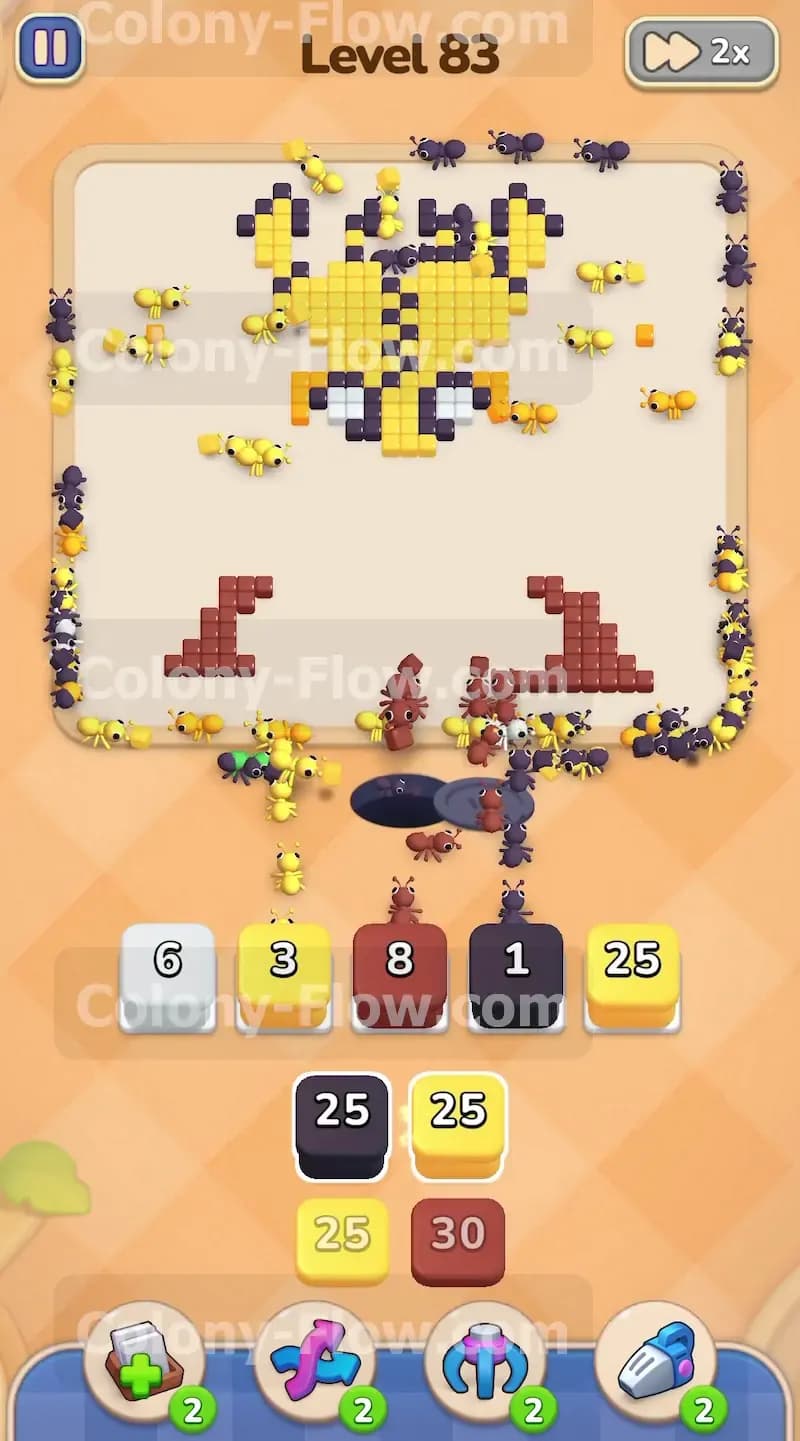
The final pieces of the puzzle are the solid brown tiles making up the ground at the very bottom of the picture. You were unable to clear these earlier because the Connected Boxes were sitting directly on top of them. Now that the green ants have removed those boxes the brown tiles are fully exposed and ready to go. Tap the brown blocks from the tray to send out the final wave of ants. The brown ants will sweep across the bottom of the board and consume the remaining ground pieces. You will still have a few stray yellow or white tiles left over so pull any small remaining blocks to clean up the board. Once the brown ants eat the last tile the picture completely disappears. The ants will retreat back into their nest hole and you will finally beat the level.
Final Thought
This puzzle tests your ability to juggle multiple colors and manage the special connected obstacles without making a mistake. You need to keep a close eye on the waiting slots to ensure every color has a valid target before you pull it from the tray. Take your time and peel the picture away from the outside in to maintain a smooth continuous flow of ants. Keep your strategy flexible and always prioritize the colors that have direct access to their tiles. If you find yourself struggling with a specific move or sequence please watch the video above this article. Seeing the solution in motion provides a great visual guide to help you conquer the board and move on to the next exciting challenge.