Colony Flow Level 219 Walkthrough Solution & Guides | How to solve Colony Flow 219

Guide By Liam Stone
Updated on July 13, 2026
The video above has the full Level 219 walkthrough, so skip the reading if you just want to watch.
Video doesn't match your screen?
Game updates frequently scramble layouts! Try our AI Screenshot Solver first to find your exact board instantly, or report broken guides to our team.
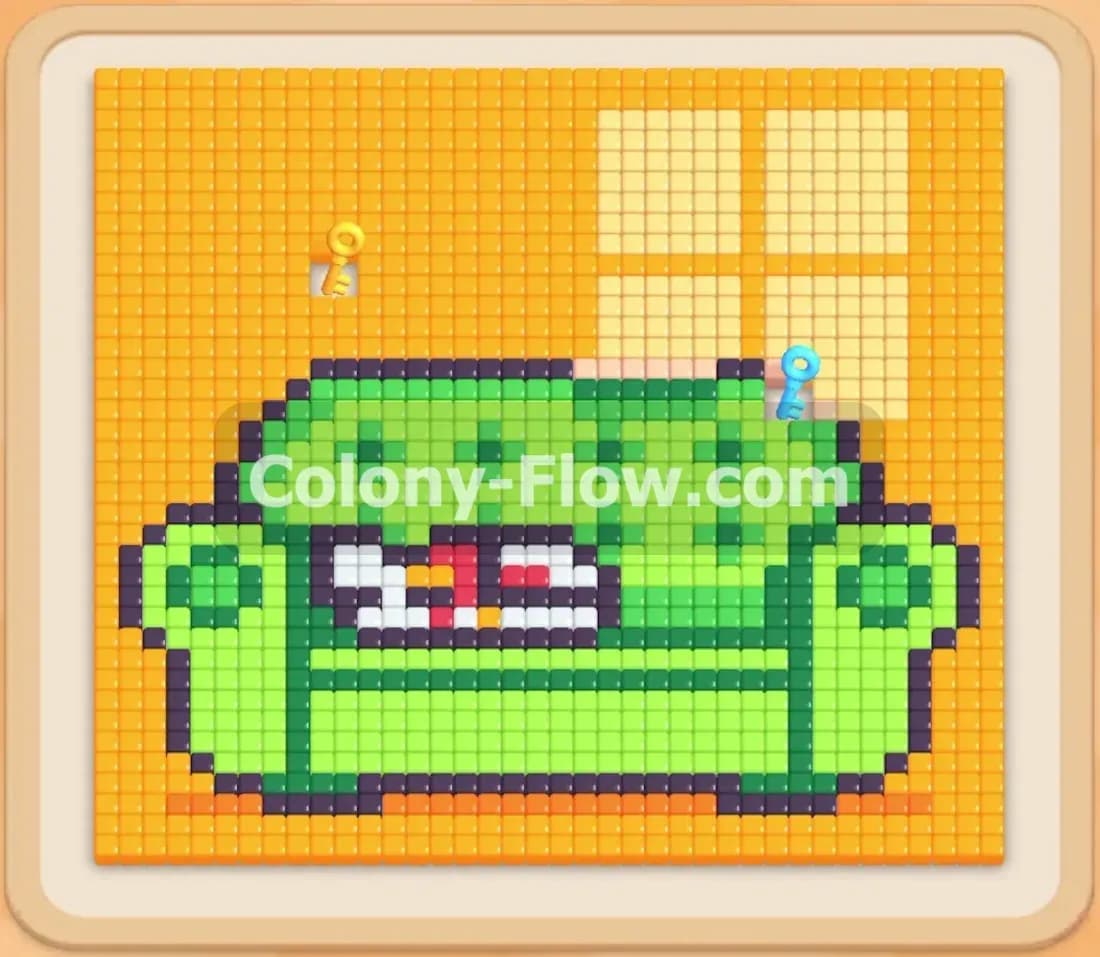
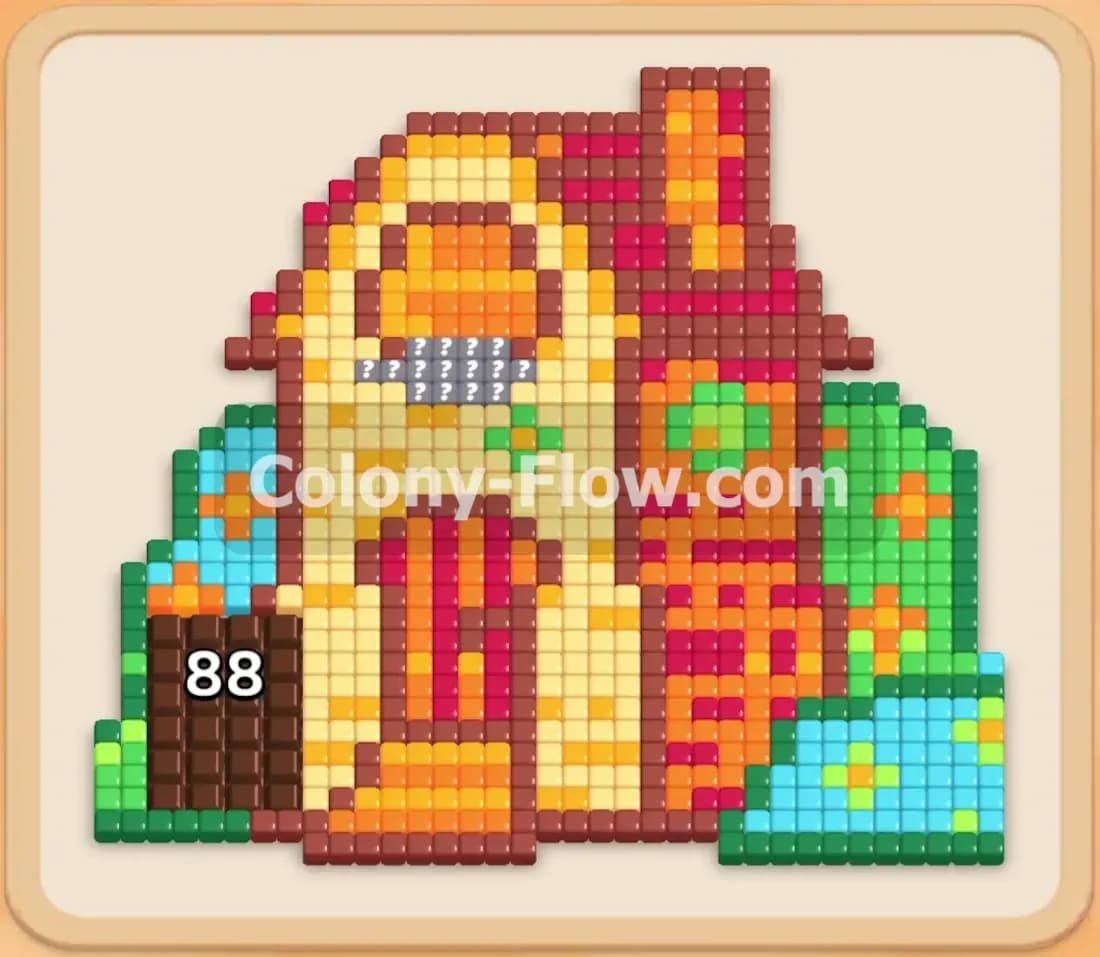
Welcome to Colony Flow Level 219. This puzzle presents a vibrant pixel art house surrounded by colorful landscaping. I beat this level by carefully managing the bottom tray and ensuring the ants always had an open route. My guide below walks you through the exact moves to dismantle the house without filling your waiting slots. You will need a solid plan to handle the large obstacles blocking the front yard.
Colony Flow Level 219 Overview
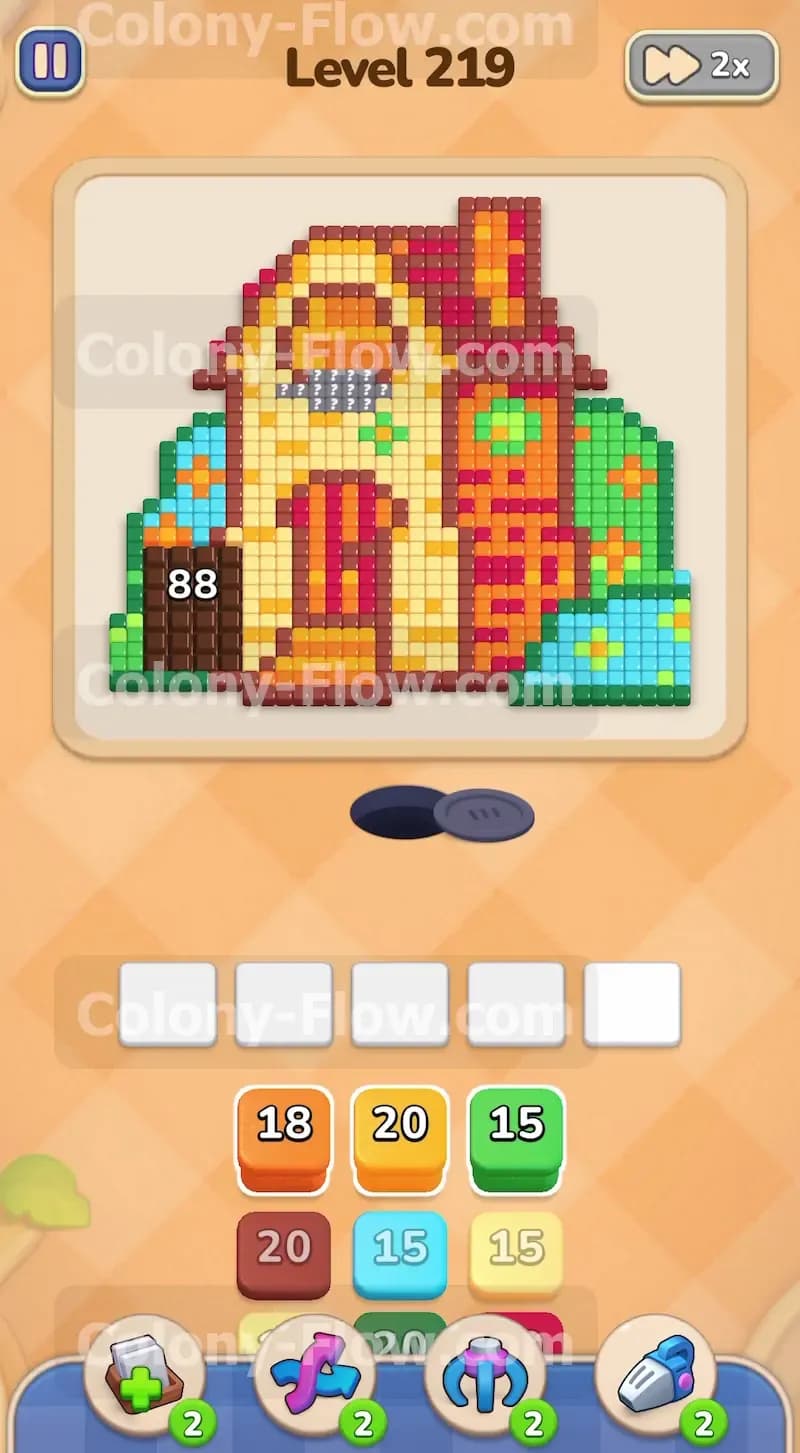
What You Are Working With
The board features a large pixel art image of a home. The structure has bright yellow walls and a distinct red roof with a tall brown chimney on the right side. A large orange door sits right at the front entrance. Lush green and blue bushes flank the building on both sides to form a thick garden. On the lower left side you will notice a massive brown section that takes exactly eighty eight ants to clear. This large obstacle blocks a huge portion of the left path entirely. Your tray at the bottom holds a deep stack of numbered color blocks. You start with access to orange, yellow, and green numbers. The waiting area right above the tray has exactly five empty slots. Filling these five slots when the ants have nowhere to go results in an instant loss.
What It Takes to Clear Level 219 Board
Winning this stage means completely erasing the house and the surrounding greenery. You must start from the very bottom edge and work your way up to the roof. The ants only eat tiles that match the color of the block you pull from the tray. You have to alternate your focus between the bushes on the right and the massive brown obstacle on the left. Breaking down that giant brown section early opens up the left side of the house for future moves. Once the outer landscaping is out of the way, you send yellow and orange ants to devour the walls and the front door. The final phase involves bringing up red and brown blocks to eliminate the roof and the chimney. You must constantly monitor your five waiting slots to avoid trapping yourself in a dead end.
Colony Flow Level 219 Step by Step Solution
Step 1: Clear the bottom green grass and lower right bushes
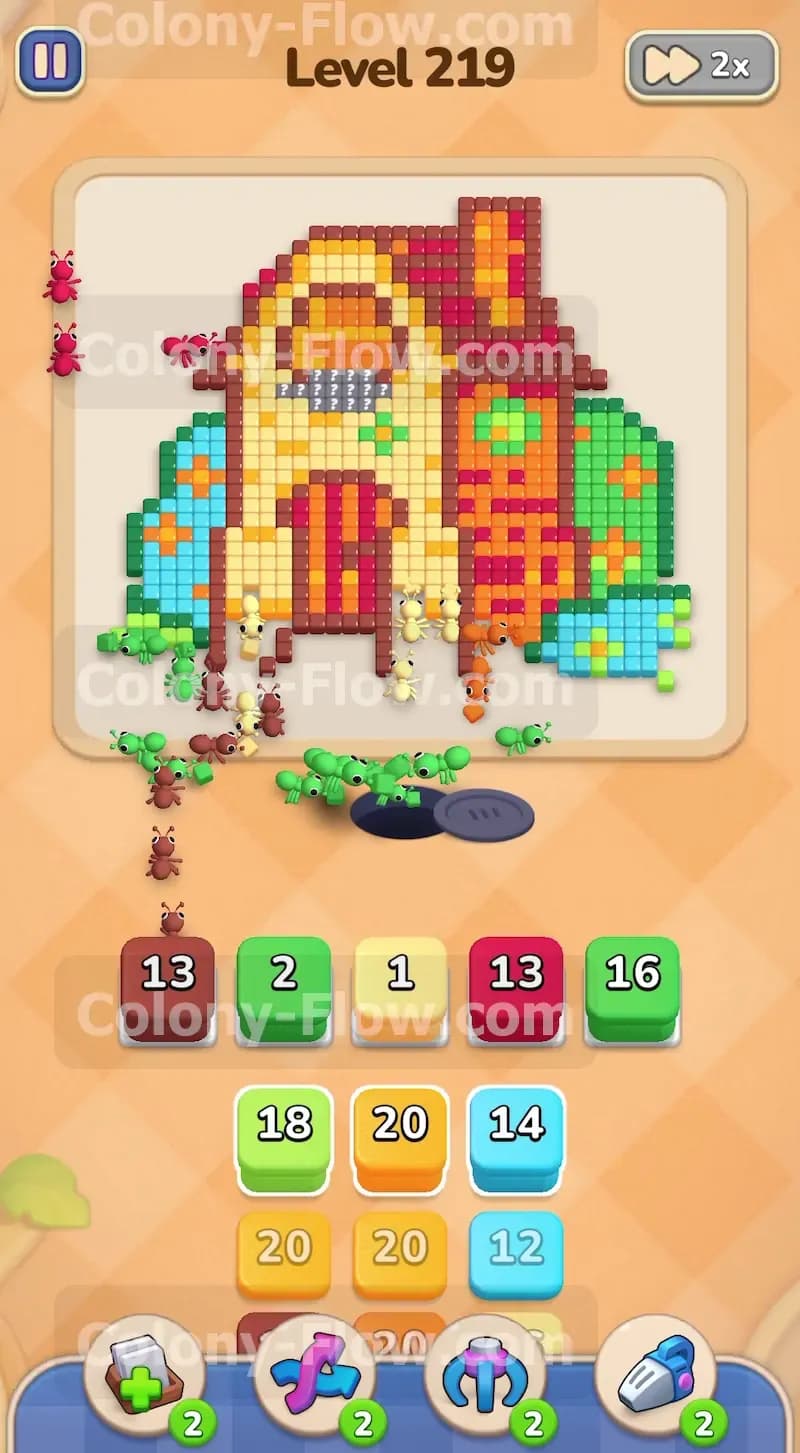
You start with a solid line of grass and bushes blocking the bottom edge of the house. Tap the green blocks in your tray to send them up into the waiting slots. The ants will stream out of their nest hole and immediately begin eating the light green and dark green tiles along the bottom right side of the yard. This action clears the initial barrier and exposes the light blue flower tiles tucked inside the bushes. You keep the center path open by focusing on this right side first. Leave the heavy brown blocks alone for now. Let the green ants finish their meal so your slots open up again. Pushing too many colors at once will quickly fill your tray and cause a failure before you even reach the house.
Step 2: Chip away at the massive brown block on the left
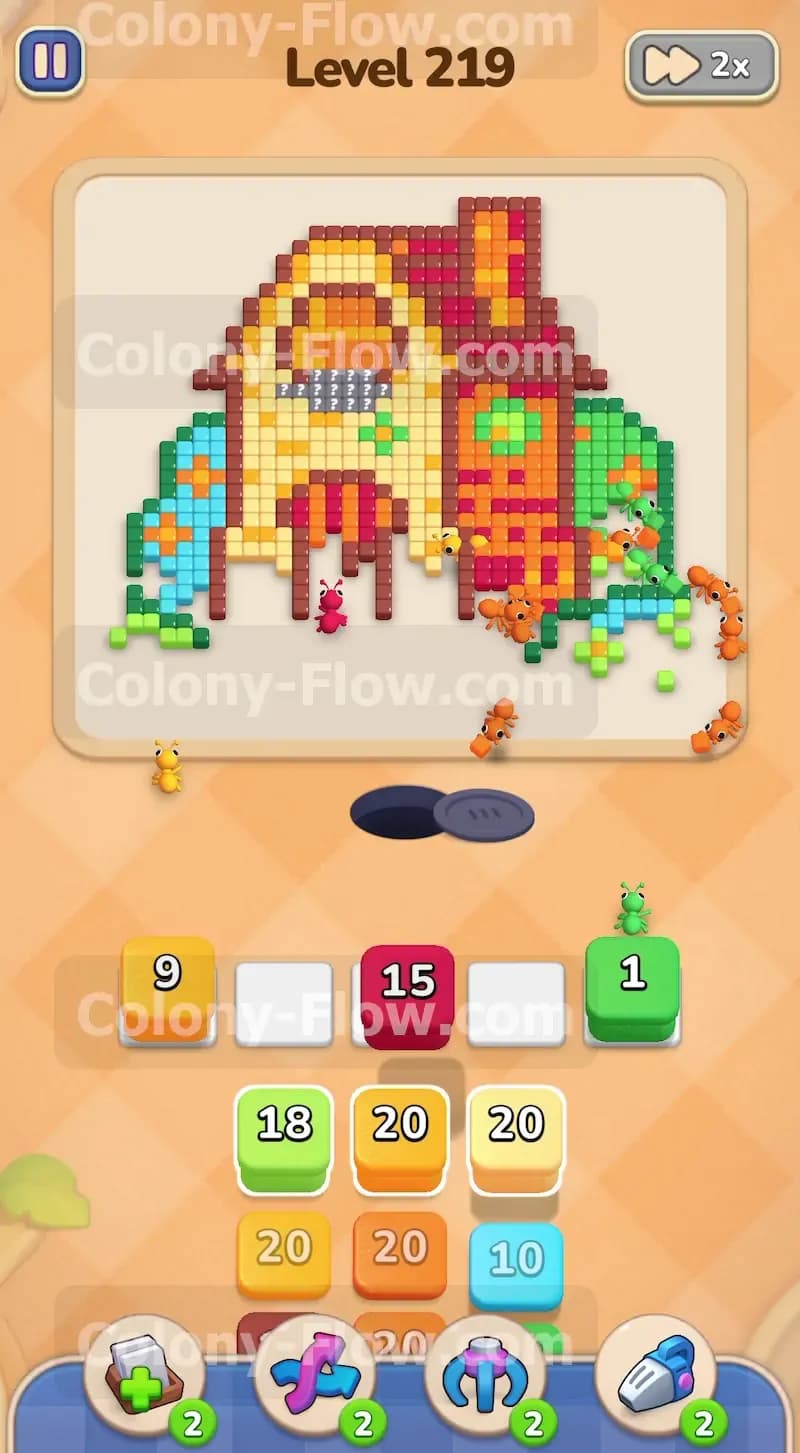
Now turn your attention to the lower left corner of the board. You face a giant brown obstacle that requires eighty eight ants to clear completely. Pull a brown block from your tray to get started on this massive barrier. The ants will march over to the left and begin breaking down the outer shell of that brown section. You will need multiple brown blocks to finish the job entirely. Tap another brown block if you have space in your waiting slots. This steady pressure shrinks the brown obstacle and prevents it from blocking the left side of the house later on in the level. Getting a head start on this section is the best way to keep your tray empty.
Step 3: Remove the light blue and remaining green foliage
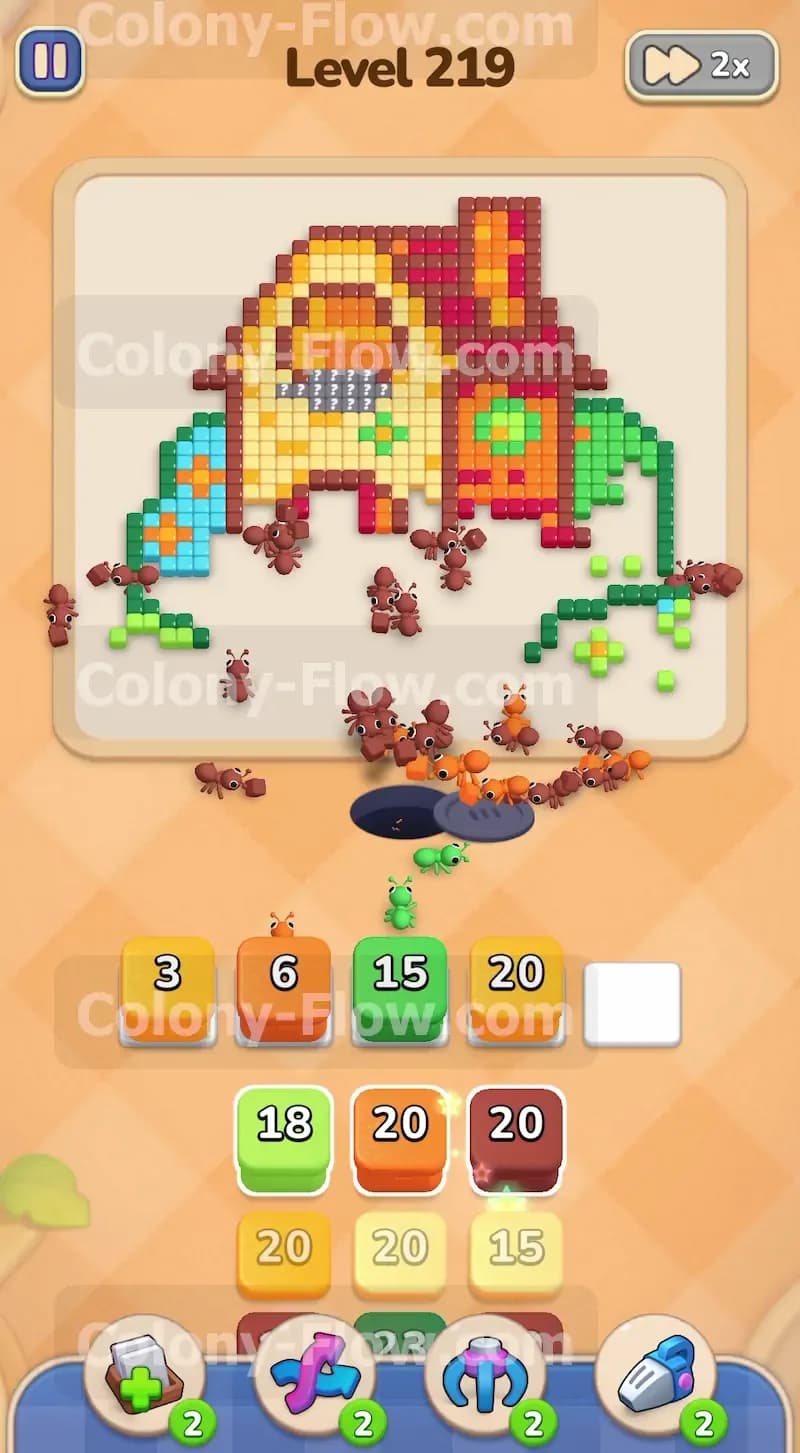
With the brown obstacle shrinking on the left side, switch your focus back to the right side of the yard. The bottom layer of the right bush is now completely gone. Tap a light blue block from your tray to target the blue flower tiles. The ants will quickly consume the blue sections to reveal the upper leaves. Follow this move with another green block to eat the higher layer of the bush. Balancing your moves between the left and right sides keeps multiple paths active for the colony. Your waiting slots will naturally empty out as the ants continuously find matching colors on both ends of the board. You maintain complete control over the flow of traffic this way.
Step 4: Open the orange front door and the lower walls
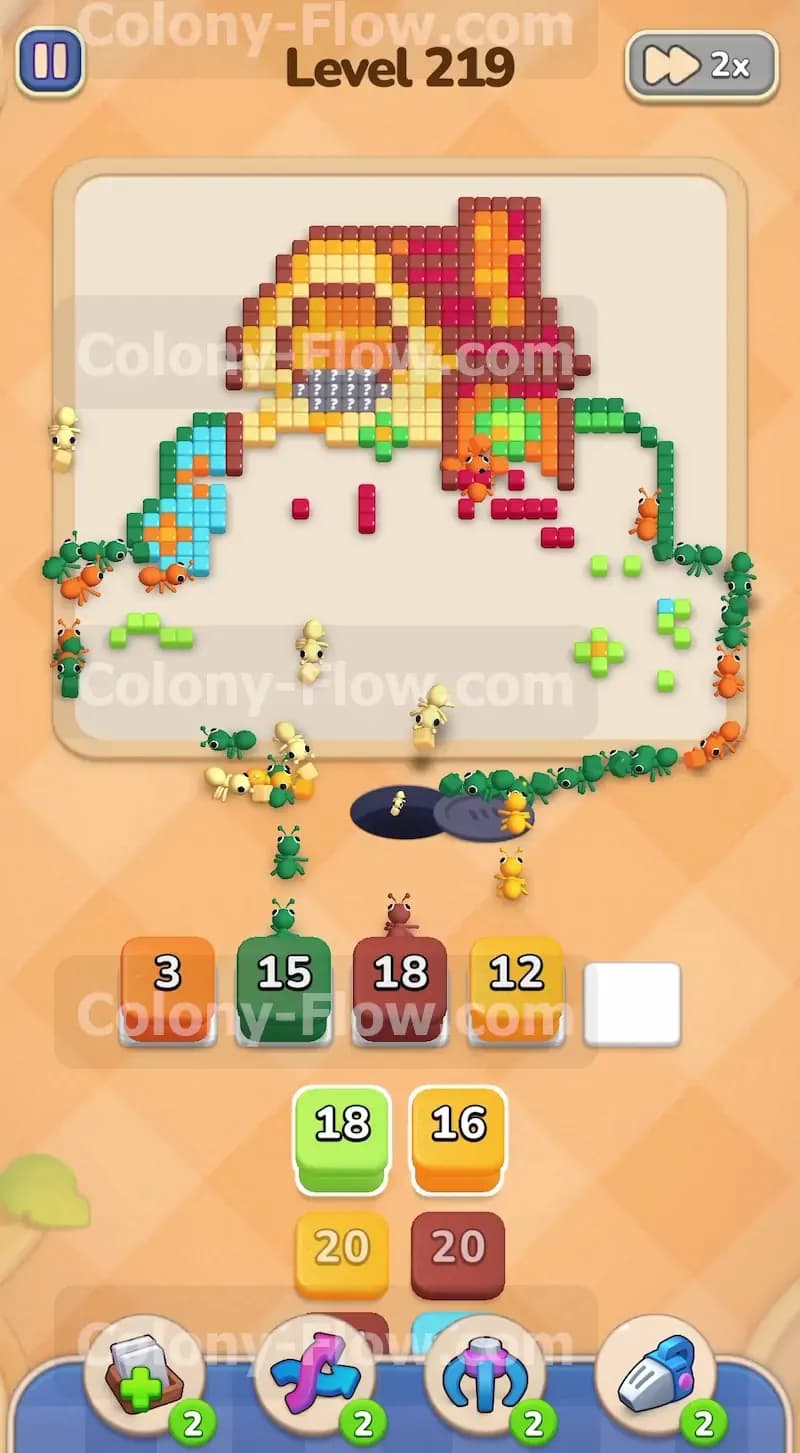
The bottom center of the board is now exposed and ready for action. Tap an orange block to send ants directly toward the front door of the house. The orange tiles make up a large portion of the main entrance. Next, pull a yellow block to start working on the lower walls surrounding the door. The ants will split their attention between the orange entrance and the yellow siding. This creates a wide opening right in the middle of the structure. Keeping the center active works well because it offers the shortest travel distance for your colony to reach their food. Shorter travel times mean your tray blocks process much faster.
Step 5: Finish the giant brown section to free the left path
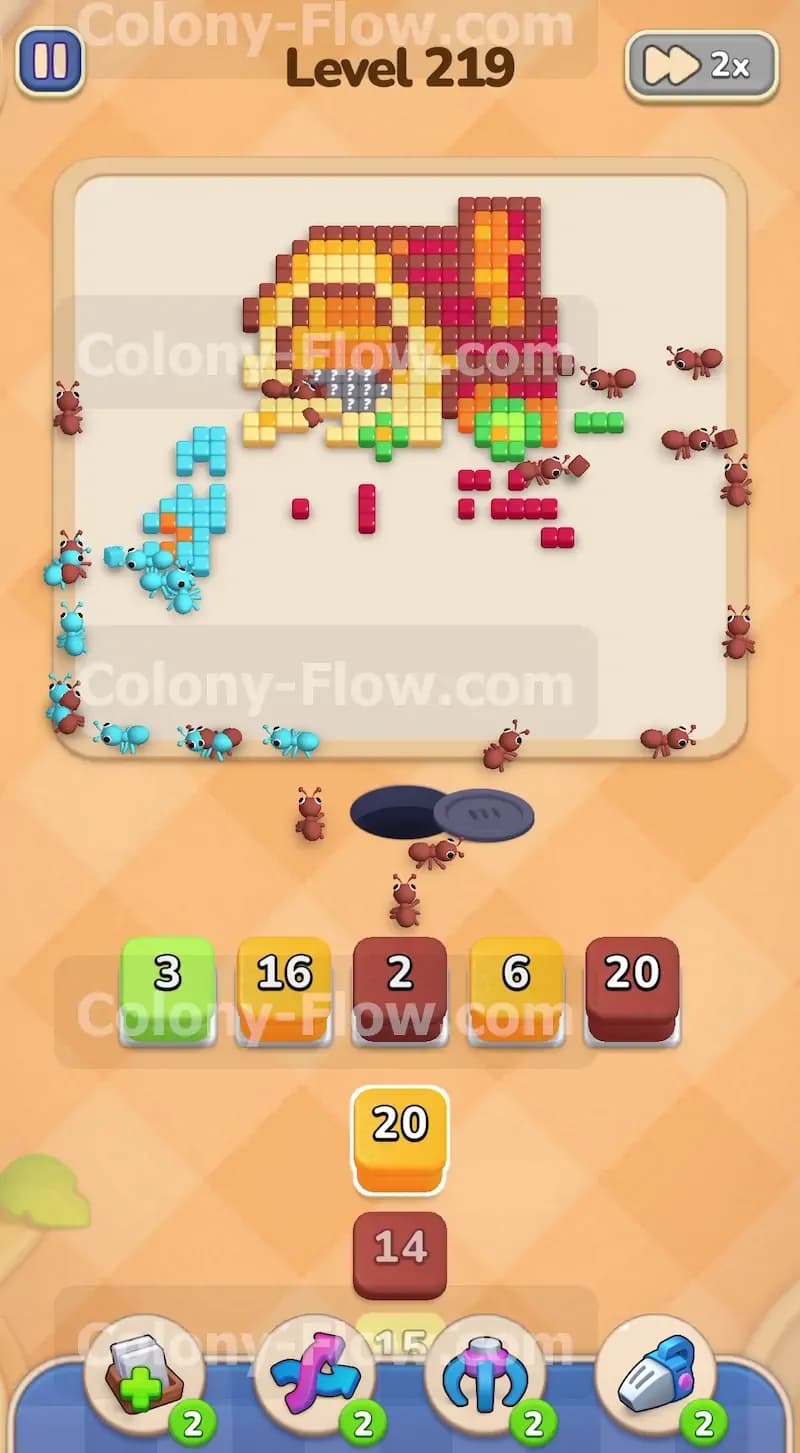
The giant brown obstacle on the lower left still holds a few remaining points. Pull another brown block from the stack to send a fresh wave of ants to that corner. They will consume the last pieces of the brown barrier. Eliminating this completely opens a massive secondary path up the left side of the yellow house. You now have full access to the left wall and the overhanging red roof. Freeing this side gives you immense flexibility for your upcoming moves. You never want to leave a large blocker sitting around while your tray fills up with matching colors. The ants will now freely move up the left boundary.
Step 6: Devour the yellow siding and the window details
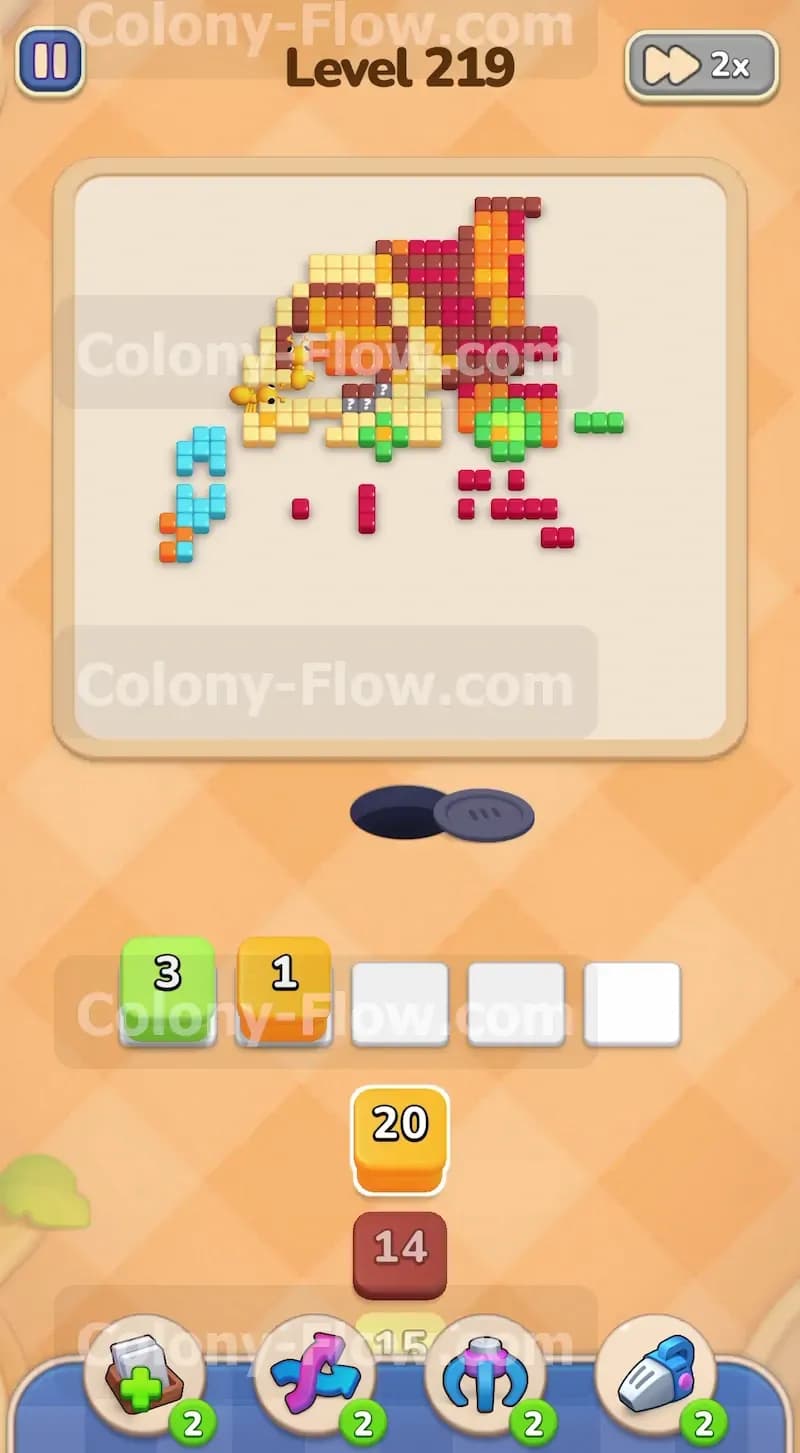
The entire lower half of the board is practically empty now. Bring up several yellow blocks to attack the main body of the house. The ants will swarm the left and right walls at the exact same time. You will also see some dark grey and white tiles forming a window near the top center of the walls. Focus strictly on the yellow siding first to isolate the window completely. The more yellow you clear, the more the roof structure becomes exposed. Always watch your five slots and only pull blocks that the ants can immediately reach. Pulling a grey block right now would be a mistake since the window is still surrounded.
Step 7: Erase the dark red roof base and orange highlights
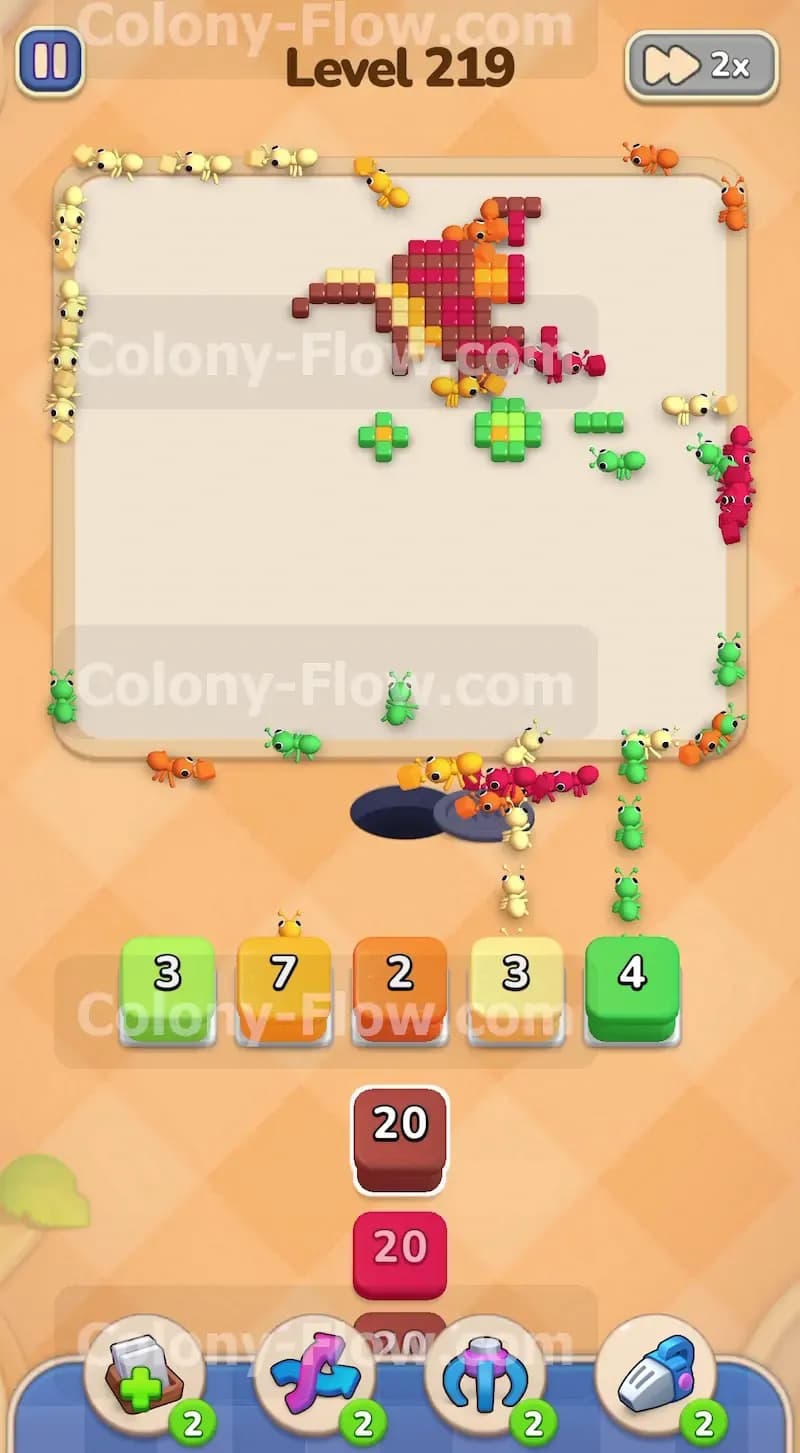
The yellow walls are mostly gone at this point. Now you face the sprawling red roof and its orange trim. Tap the dark red blocks to deploy ants to the lower edges of the roof. Follow up with an orange block to clear the decorative trim separating the walls from the roof structure. The ants will form a long line wrapping around the entire upper section of the board. The roof consists of many separate red sections. Keep feeding red blocks into the slots to maintain the momentum. The board will rapidly shrink as the heavy top layer dissolves. Your ants will easily handle the massive red areas if you keep supplying them with the right blocks.
Step 8: Destroy the upper roof peaks and the brown chimney
Only the very top of the house remains intact. You need to clear the bright red roof tiles and the tall brown chimney on the right side. Send a bright red block to handle the highest peak of the roof. Then pull a brown block to target the chimney. The ants will climb to the very top corners of the screen to eat these pieces. Make sure you only tap the brown block when the chimney is fully exposed and ready to be eaten. Pulling the brown block too early will trap it in your waiting area and risk a total lockup. Wait until a clear path exists before sending the brown ants up there.
Step 9: Clean up the final scattered roof tiles
You are down to the last few lingering tiles at the very top of the board. Pull the exact colors needed for these isolated pieces. You will pull one more green block for a stray leaf tile on the right and a small red block for the final roof point on the left. The ants will march straight up the middle of the empty screen to finish the job. They will consume the window pieces and the remaining trim. Once they eat the very last tile, the picture completely vanishes. The level ends in a victory and you are ready for the next challenge.
Final Thought
Clearing this board requires patience and a steady rhythm. You win by managing the massive brown obstacle early while keeping the right side moving at the same time. If you ever feel stuck on a specific section, watch the video above this article. The visual guide will show you exactly how to sequence your blocks and keep your colony flowing smoothly.