Colony Flow Level 630 Walkthrough Solution & Guides | How to solve Colony Flow 630

Guide By Liam Stone
Updated on August 8, 2026
The video above solves Level 630 step by step, so you can skip the article entirely if you prefer watching.
Video doesn't match your screen?
Game updates frequently scramble layouts! Try our AI Screenshot Solver first to find your exact board instantly, or report broken guides to our team.
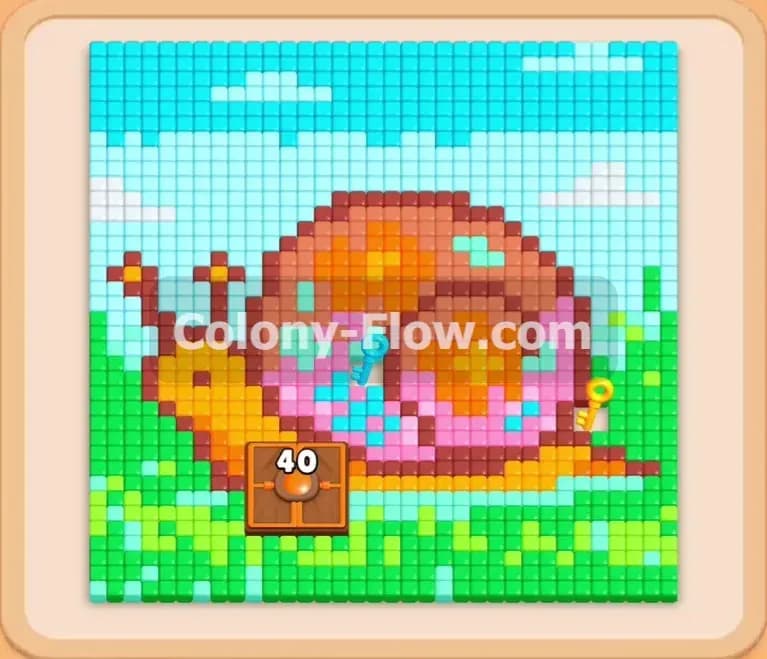
Playing Colony Flow Level 630 is an absolute blast when you know the right order of operations. This puzzle presents a massive pixel art snail resting on a vibrant patch of grass beneath a bright sky. The layout looks simple at first glance but quickly turns into a tight squeeze for your tray space. You will need to carefully pick which colors you pull so the colony always has an open path. I played through this level and figured out the exact sequence to keep the ants moving without jamming the board.
Colony Flow Level 630 Overview
What You Are Working With
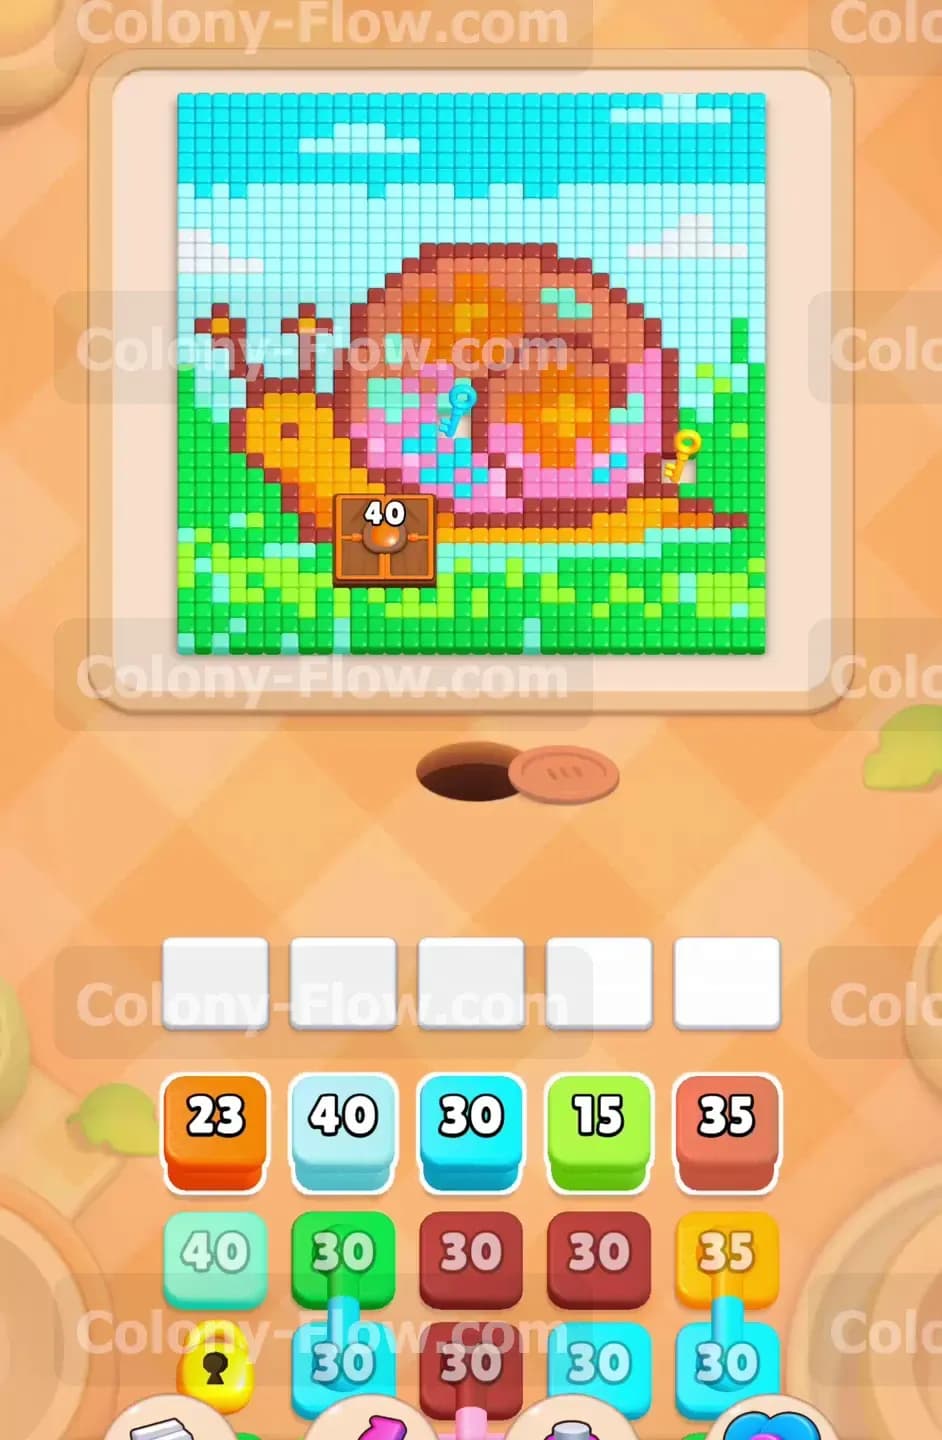
The board features a highly detailed snail with a thick brown shell and a bright pink inner swirl. The snail body is primarily orange and yellow. Bright green grass sits at the bottom while light blue sky tiles cover the top background. Right in the middle of the grass area sits a wooden Hungry Door block with a big number 40 printed on it. You will also see a busy tray at the bottom of the screen. The tray contains single numbered blocks in various shades like light blue, brown, green, and orange. Deeper in the tray you will find special items like lock and key tiles covering your lower blocks. You also have hidden boxes marked with question marks and connected boxes bound together by a visible line.
What It Takes to Clear Level 630 Board
You win by clearing every single colored pixel from the screen. The ants stream out of the dark nest hole and march toward the matching food tiles. You must tap the numbered blocks in the tray to feed them and clear the picture. The main challenge is managing your five waiting slots at the bottom of the board. If you fill all five slots with blocks that have no open path on the board the ants stop moving and you lose the game. You must always keep at least one active route open so the blocks can count down to zero and vanish. We will clear the outer layers first to make room for the hidden items and connected blocks later in the game.
Colony Flow Level 630 Step by Step Solution
Step 1: Clear the outer sky and the brown shell to open the upper board completely.
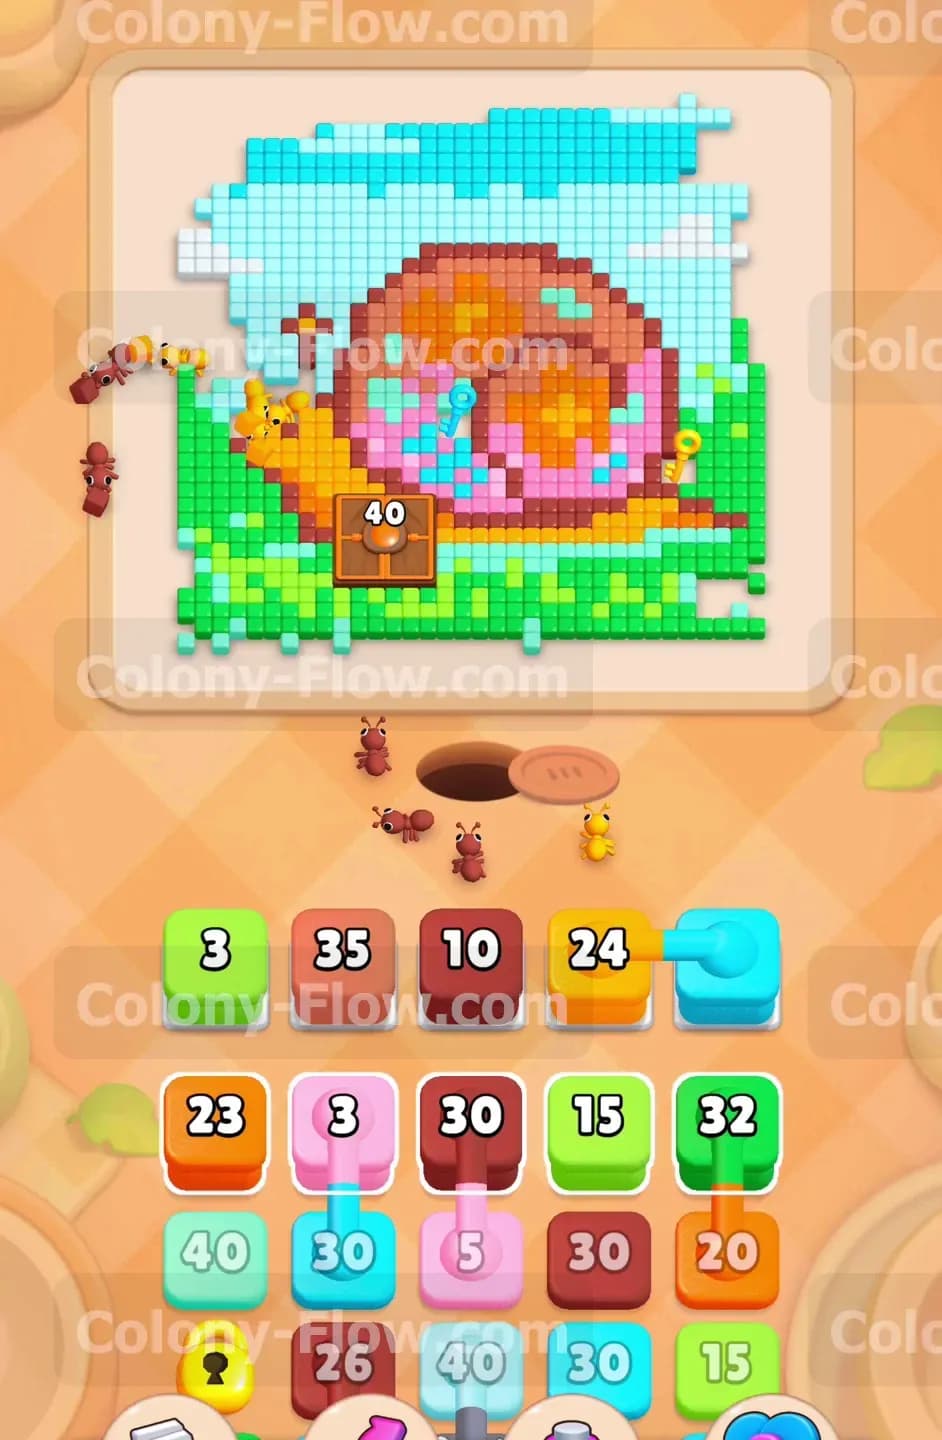
Begin by pulling the large light blue and brown blocks from the top layer of your tray. The light blue blocks hold high numbers like 40 and 30. Tapping these sends a massive wave of ants up to the top of the board to eat the sky tiles. Pulling the brown blocks sends another huge stream of ants to the outer rim of the snail shell. These two areas are fully exposed right from the start. You want to reduce these large blocks quickly so they do not sit in your five slots for too long. Keep watching the board as the ants chew away the pixels. The brown ants will slowly carve out the top and right sides of the shell. This action pushes the boundaries back and exposes the inner pink shell tiles.
Step 2: Open the side paths through the green grass to create routes around the center.
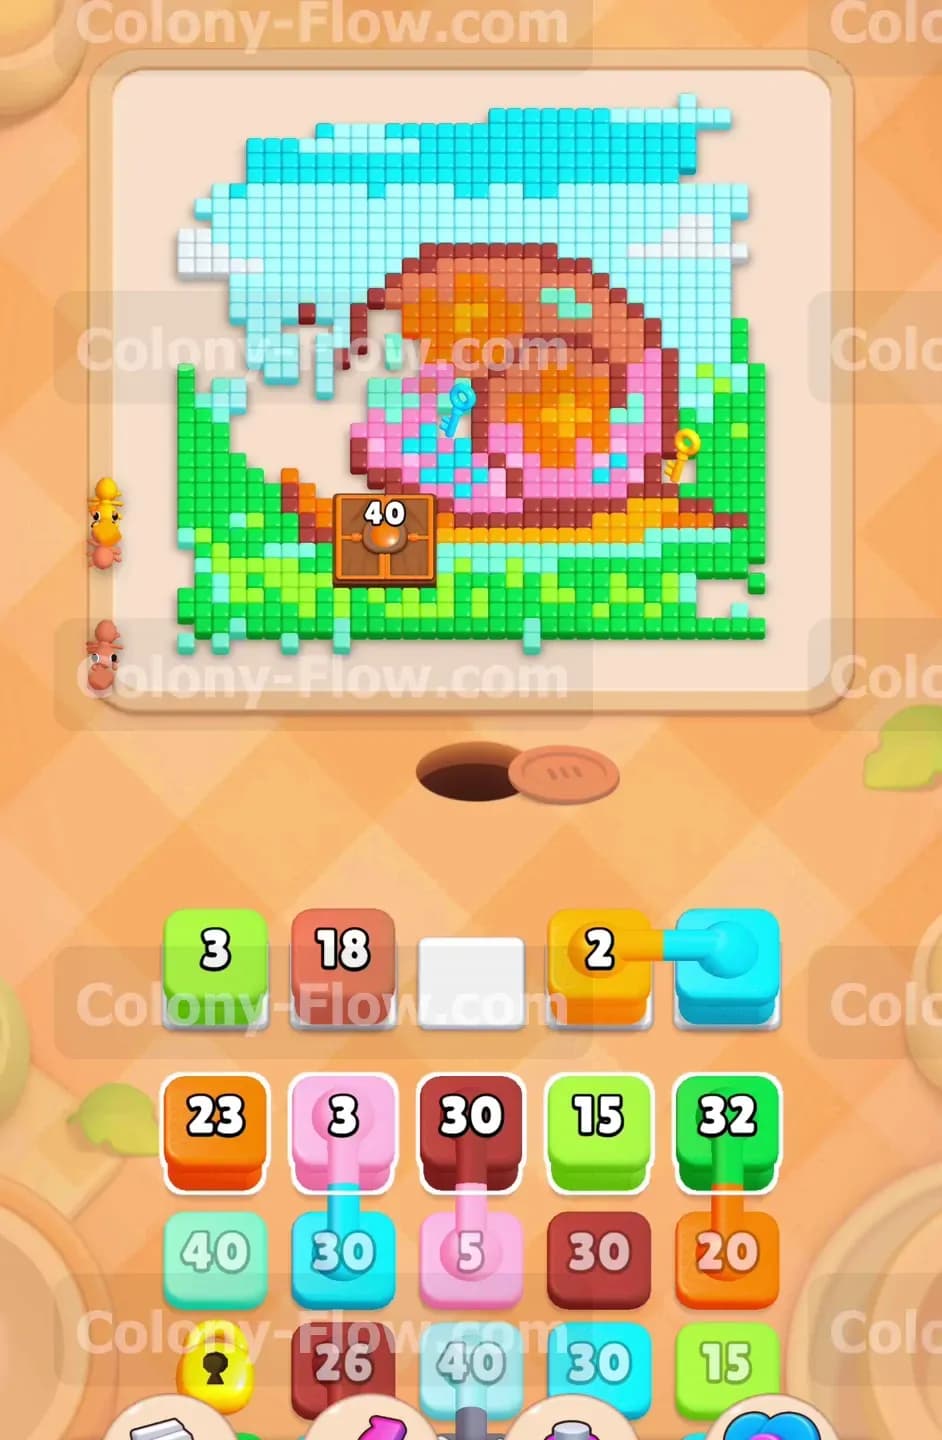
Bring up the light green and orange blocks next. The light green ants will march toward the left and right corners of the grass patches. The orange blocks target the head and tail of the snail body. Opening these lower sections is required to create wrapping paths around the center block. You have to balance your slot usage here carefully. Do not tap all the green blocks at once. Pull one green block and one orange block. Let the numbers tick down as the ants do their job. Once a block vanishes from a slot you can safely tap another one from the tray. This careful pacing guarantees that your ants always have an active target and your waiting slots remain flowing.
Step 3: Feed the Hungry Door to break it open and clear the main roadblock.
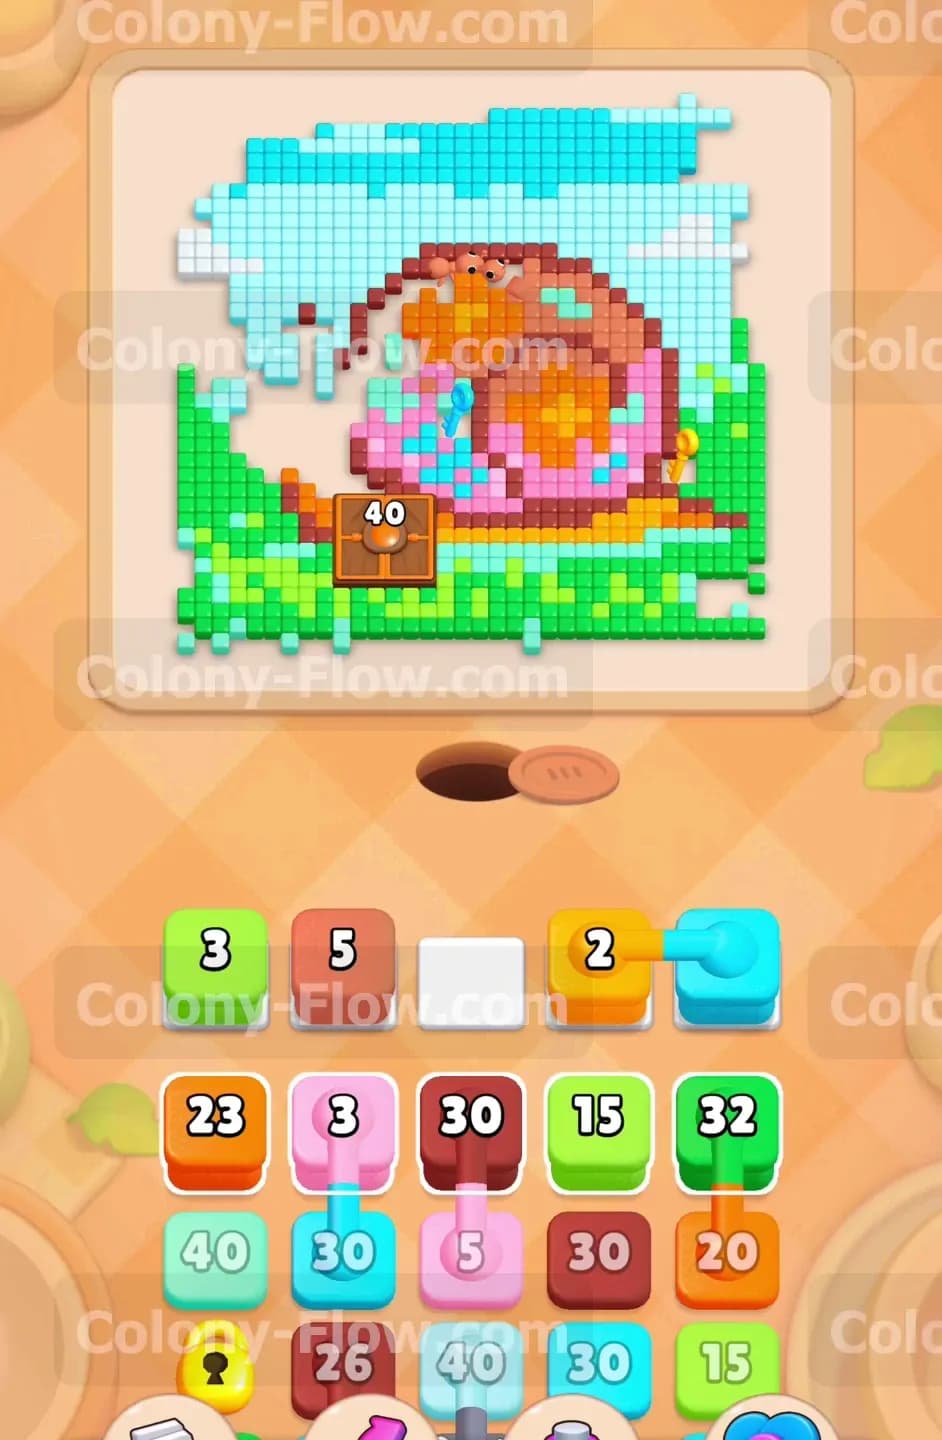
The wooden Hungry Door sits right in your way and demands 40 ants to open. You need to start feeding it now that the front paths are clear. Tap the matching blocks from the tray and watch the ants swarm the door. The number on the door will steadily drop from 40 down to single digits. You will see it hit 9 as you keep supplying it with ants. Keep feeding it until the number hits zero. The wooden door will vanish in a bright glowing flash. This clears a massive roadblock from the lower half of the board. The ants now have a straight shot into the center of the puzzle which speeds up the rest of the level significantly.
Step 4: Collect keys and reveal the hidden boxes to access the deeper tray layers.
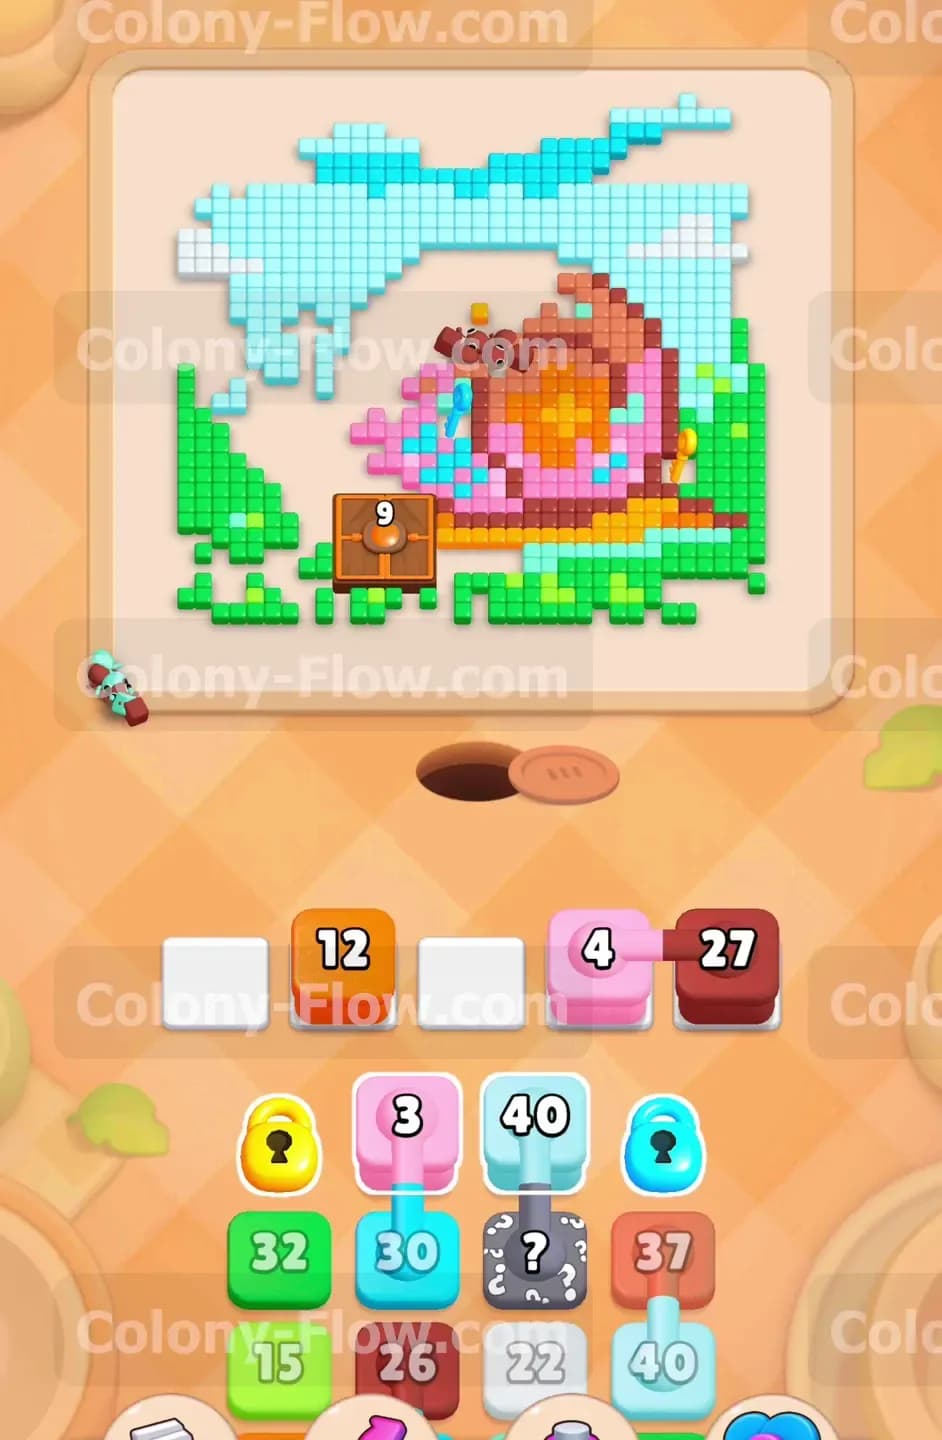
As you empty the top rows of the tray you will uncover lock and key tiles along with hidden boxes. You must clear the required keys to unlock the locked tiles that block your access to the bottom rows. Keep clearing the standard solid colors like pink and green to naturally collect these keys. At the same time you will see question mark boxes in the tray. These hidden boxes will not show their true color until they have a valid path to move. Just leave them alone for a moment while you clear more of the pink inner shell and the yellow snail body. Once the board opens up enough the hidden boxes will flip and reveal their colors. You can then tap them safely without worrying about causing a jam in your slots.
Step 5: Manage the connected boxes carefully so they do not overwhelm your waiting slots.
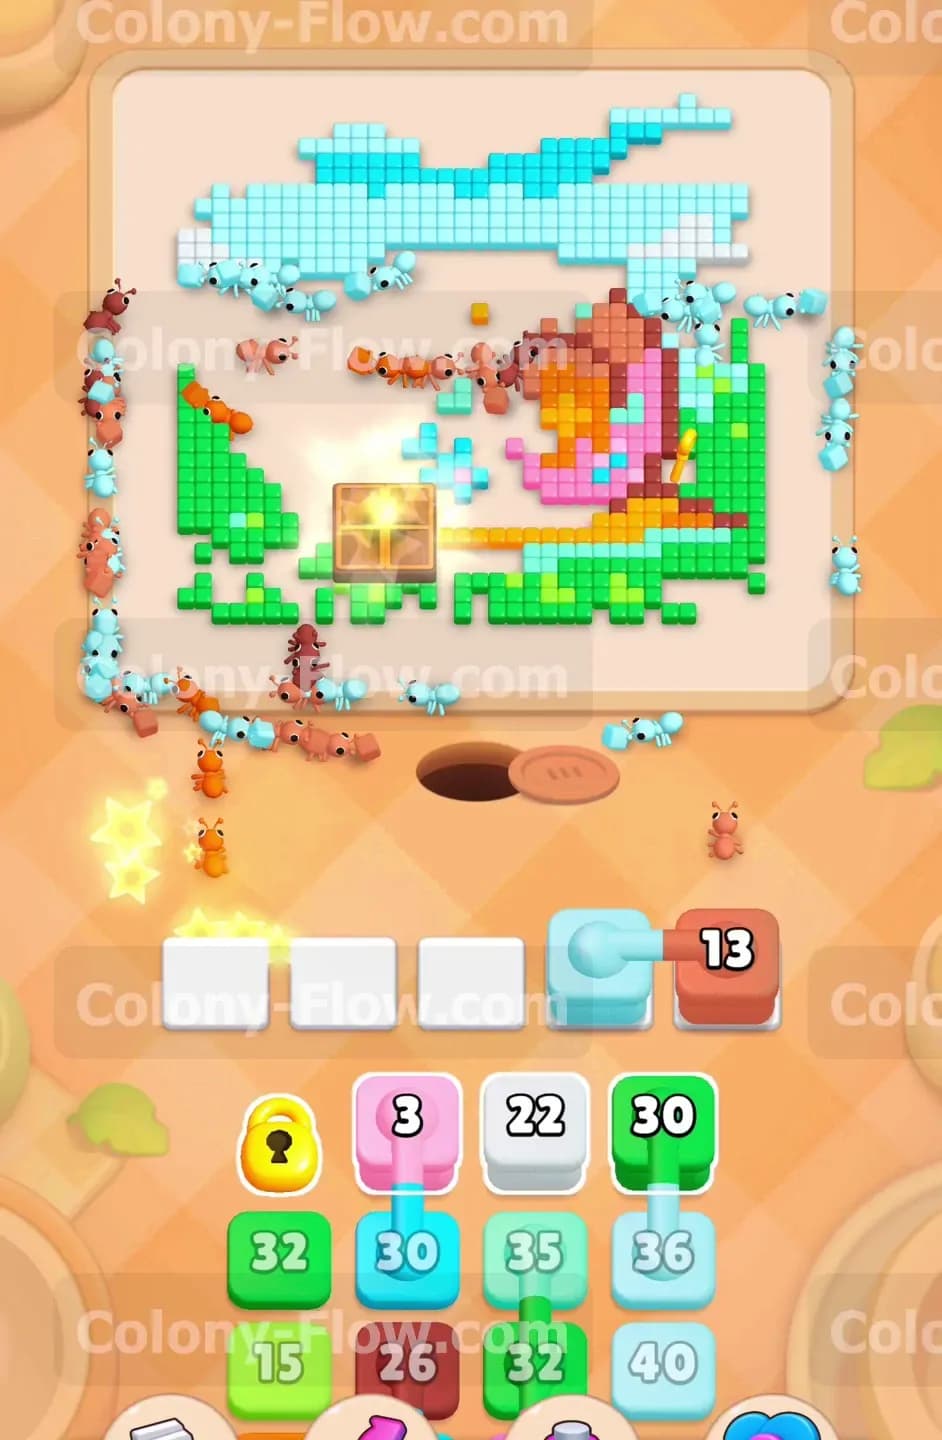
The deepest layers of the tray introduce connected boxes bound together by a visible line. When you tap one of these boxes they pull together into your waiting slots. This mechanic is highly dangerous because it eats up multiple slots instantly. You must verify that both colors in the connected pair have open paths on the board before you tap them. Look at the remaining sky tiles and grass patches. If you see a light blue connected block wait until you are absolutely sure the light blue ants can reach the sky. Pulling a connected block with no valid path is the fastest way to dead end your board and lose the level. Play them one pair at a time and let them clear out entirely before pulling the next pair.
Step 6: Clear the pink inner shell and remaining body pieces to empty the center entirely.
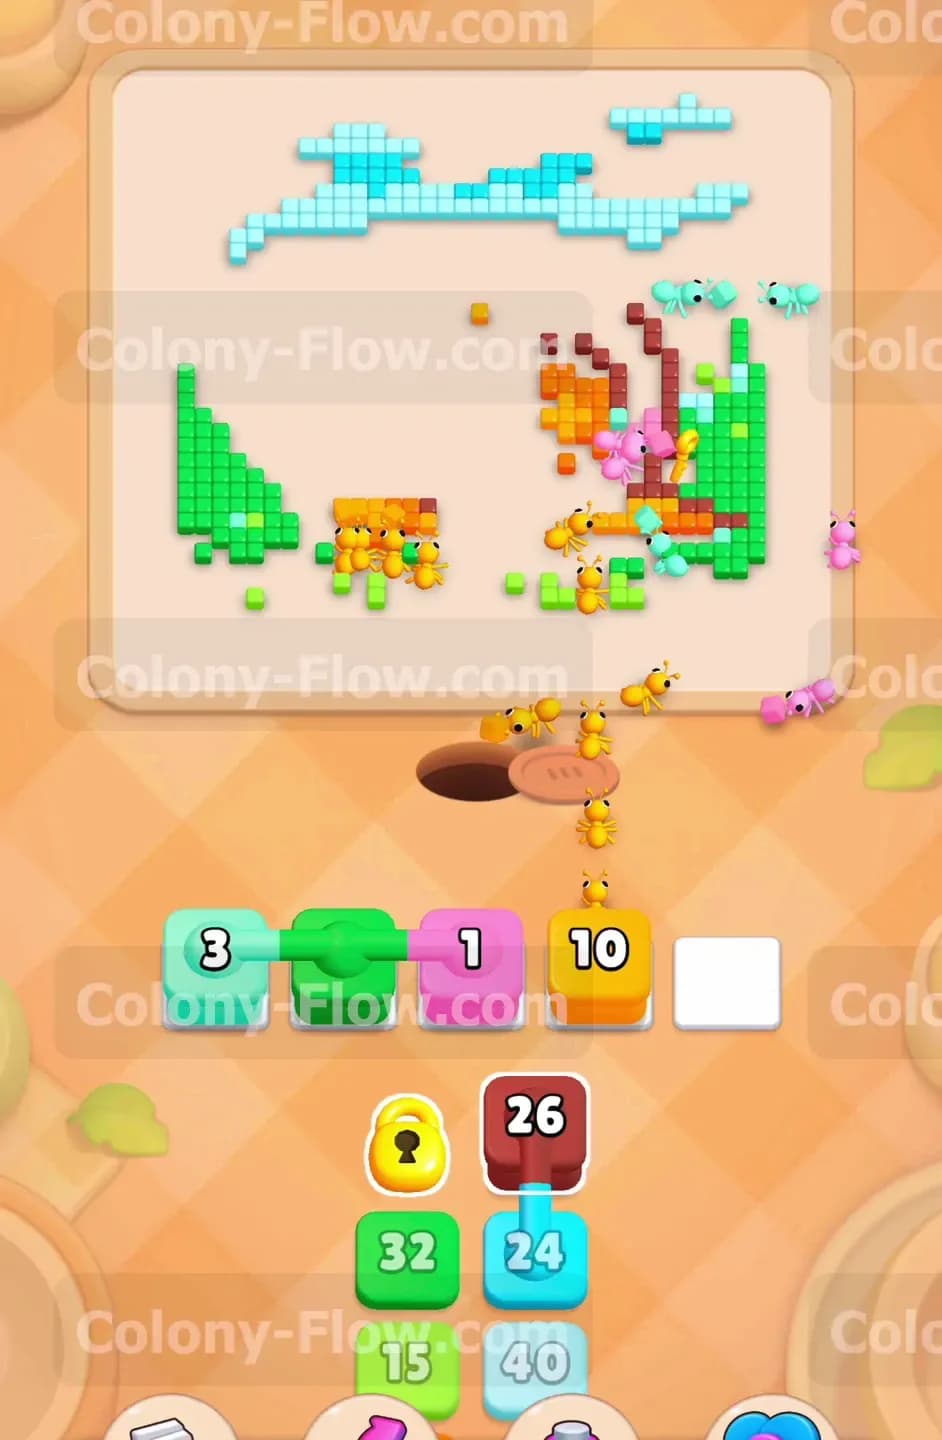
With the Hungry Door gone and the connected blocks flowing smoothly you can attack the center of the snail. Bring out your pink blocks to clear the vibrant spiral inside the shell. The pink tiles are heavily concentrated in one spot so these blocks will drain very fast. Follow up with the remaining orange and brown blocks to finish off the snail face and the lower shell fragments. The board will look very bare at this point. You will see a massive empty space in the middle with only a few straggling pixels scattered around the outer edges. Your slots should be wide open and ready for the final cleanup phase.
Step 7: Finish the border pixels to close the nest hole and win the game.
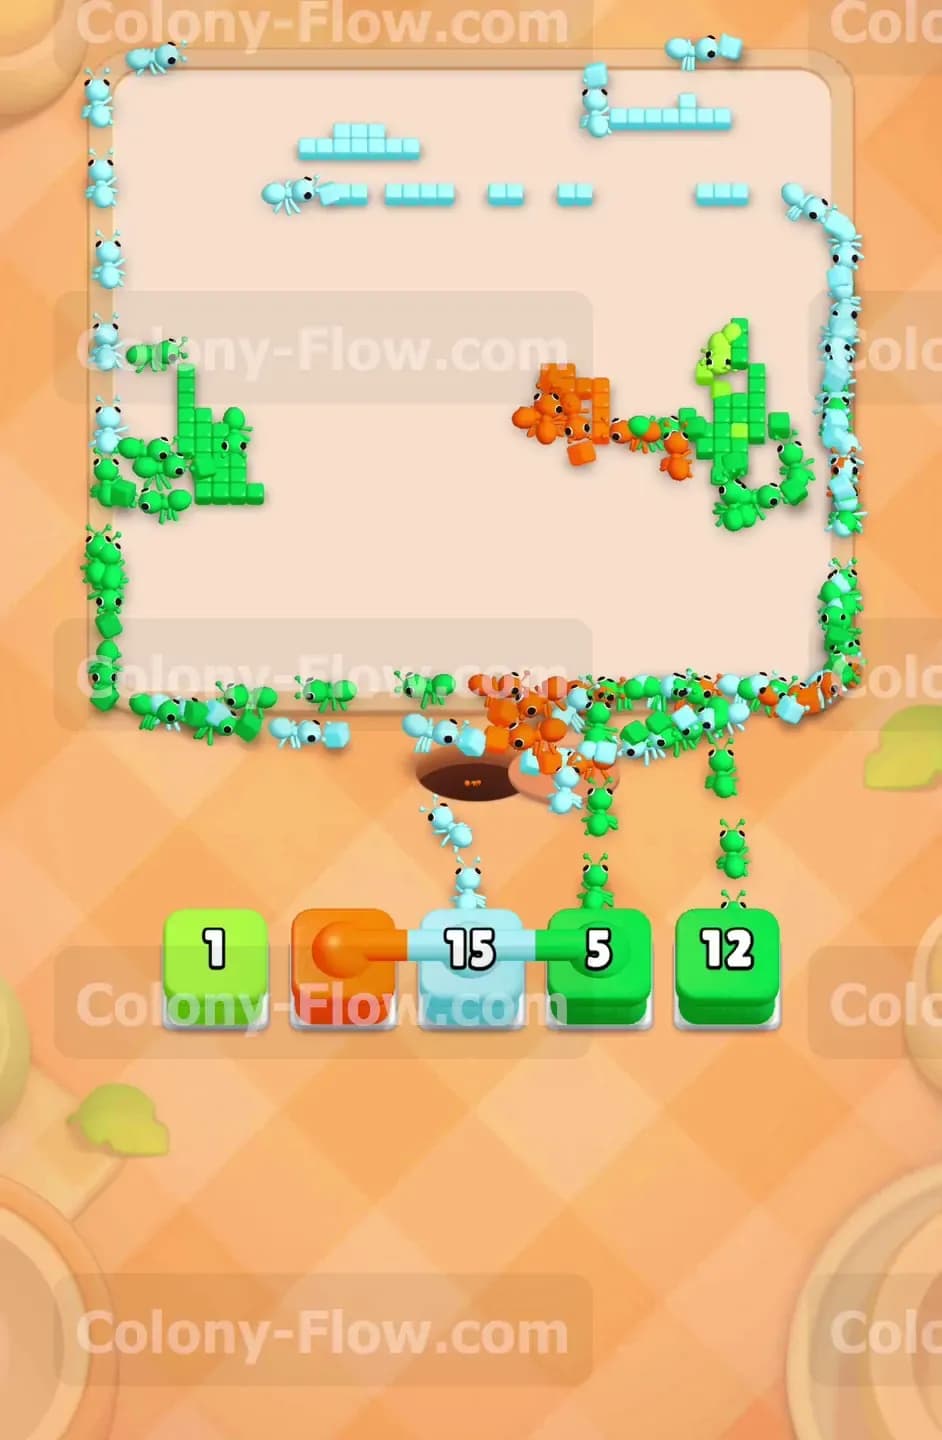
Your tray is now down to the very last few blocks. You will likely have a few low number light blue and green blocks remaining. Tap them to send the final waves of ants to the very top corners of the sky and the bottom corners of the grass. The ants will take a long walk across the empty board to reach these isolated tiles. Just let them march and finish their meals. You do not need to rush this part since the board is fully open. When the final green block hits zero and the last pixel disappears the nest hole closes. You have successfully conquered the puzzle.
Final Thought
Patience and slot management make all the difference in this puzzle. You just need to take your time and read the board before committing your taps. I highly encourage you to watch the video above this article if any step is hard to follow in text. Seeing the exact timing of the connected blocks in motion will help you clear the board on your very first try.