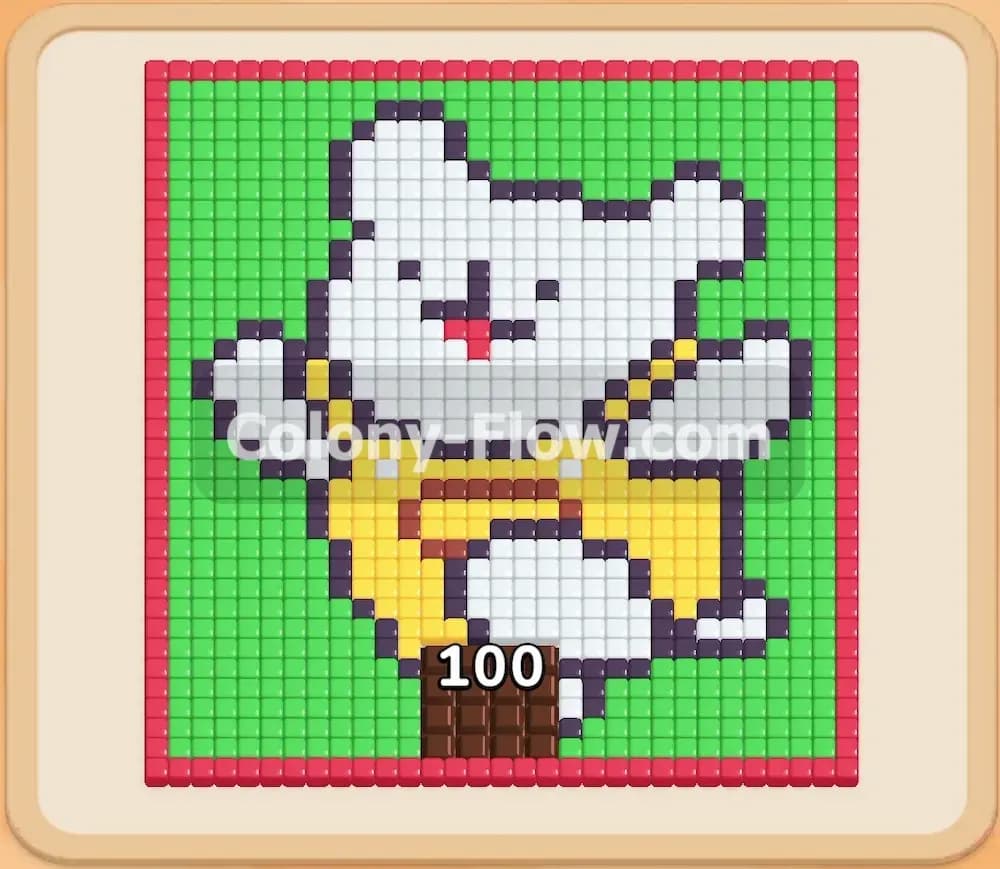
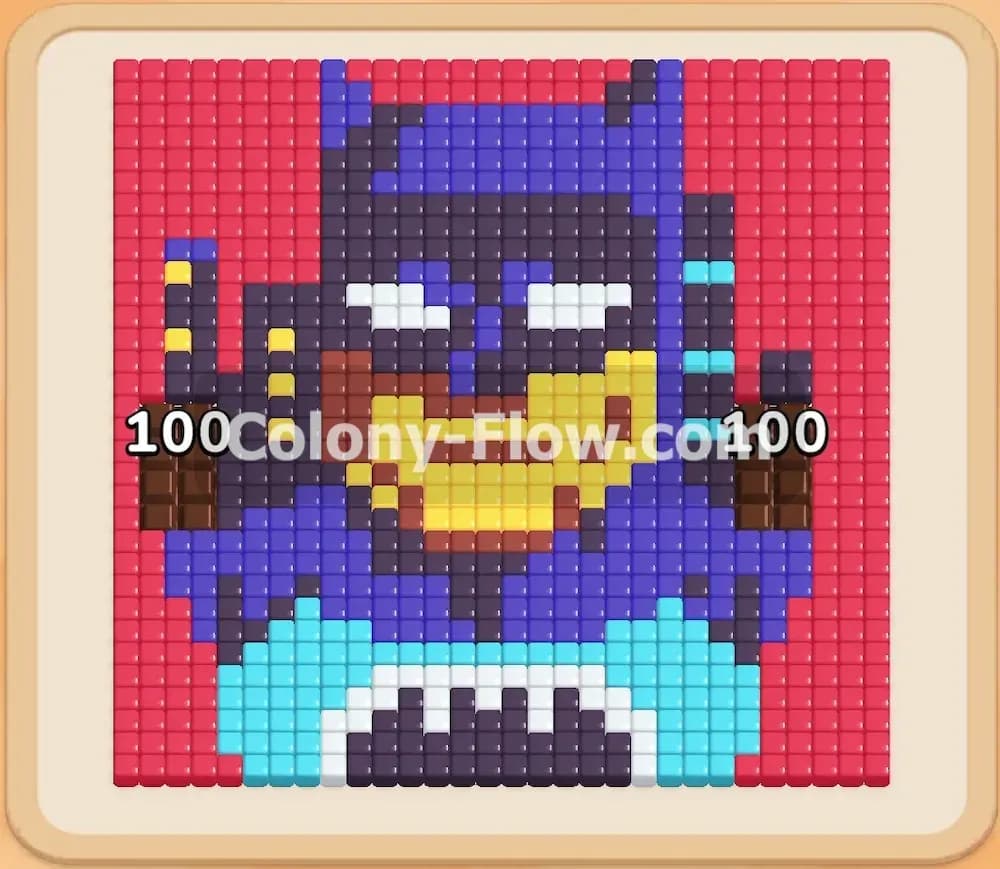
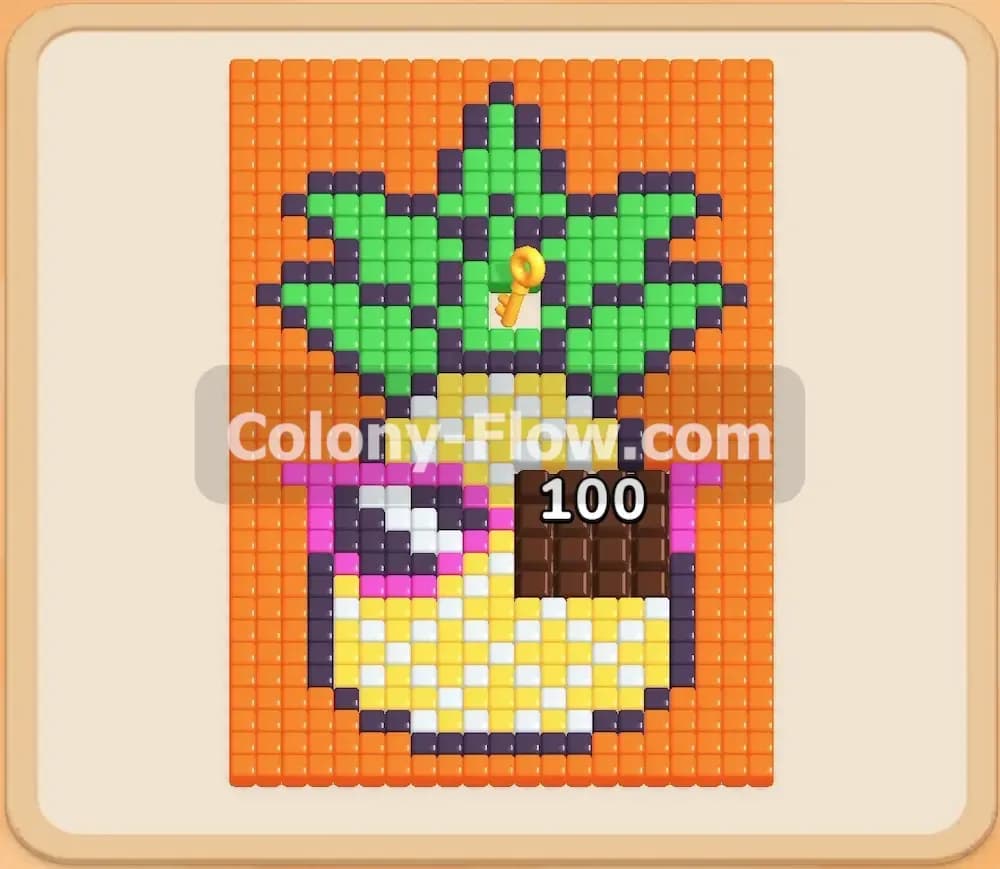
Colony Flow Level 65 Walkthrough Solution & Guides | How to solve Colony Flow 65

Guide By Liam Stone
Updated on July 13, 2026
Watch the video above for a faster look at how Level 65 gets solved.
Video doesn't match your screen?
Game updates frequently scramble layouts! Try our AI Screenshot Solver first to find your exact board instantly, or report broken guides to our team.
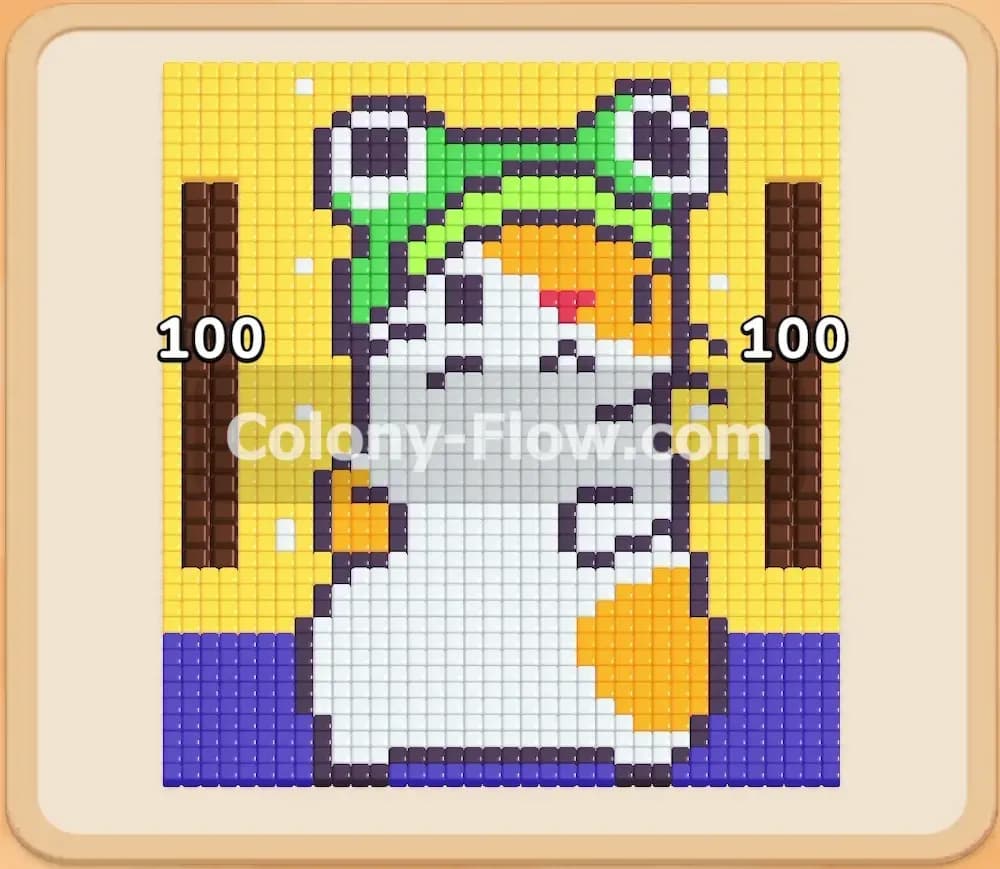
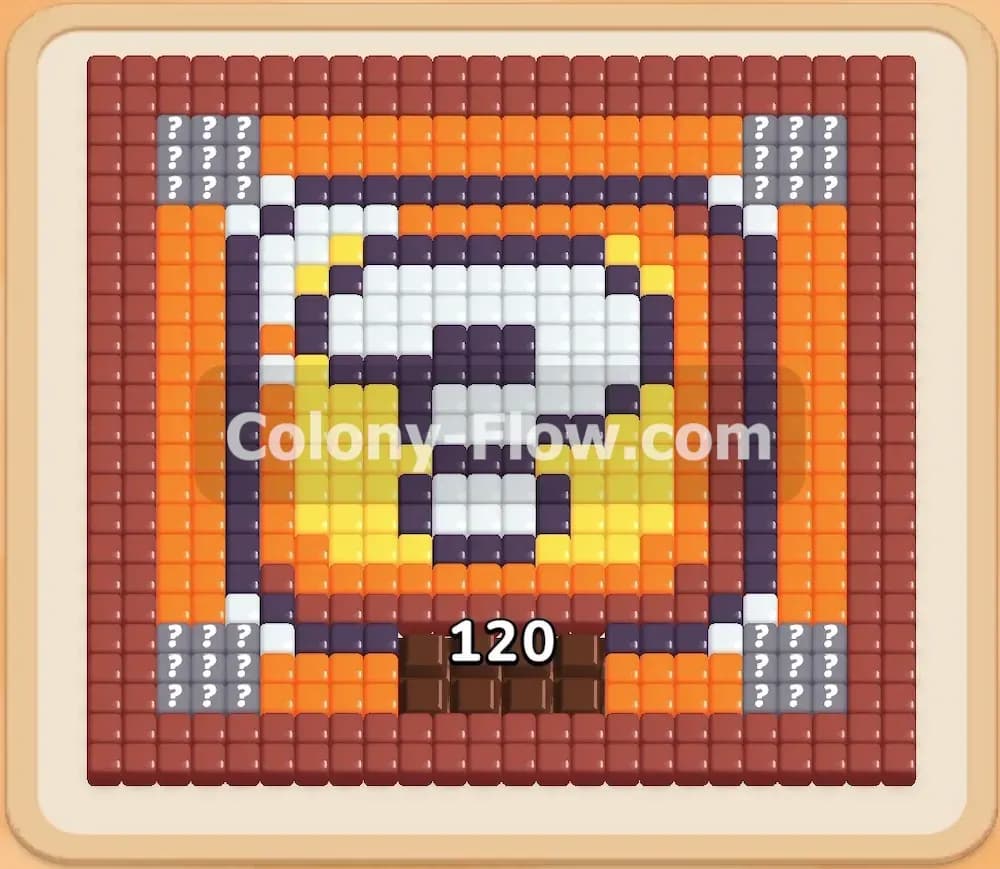
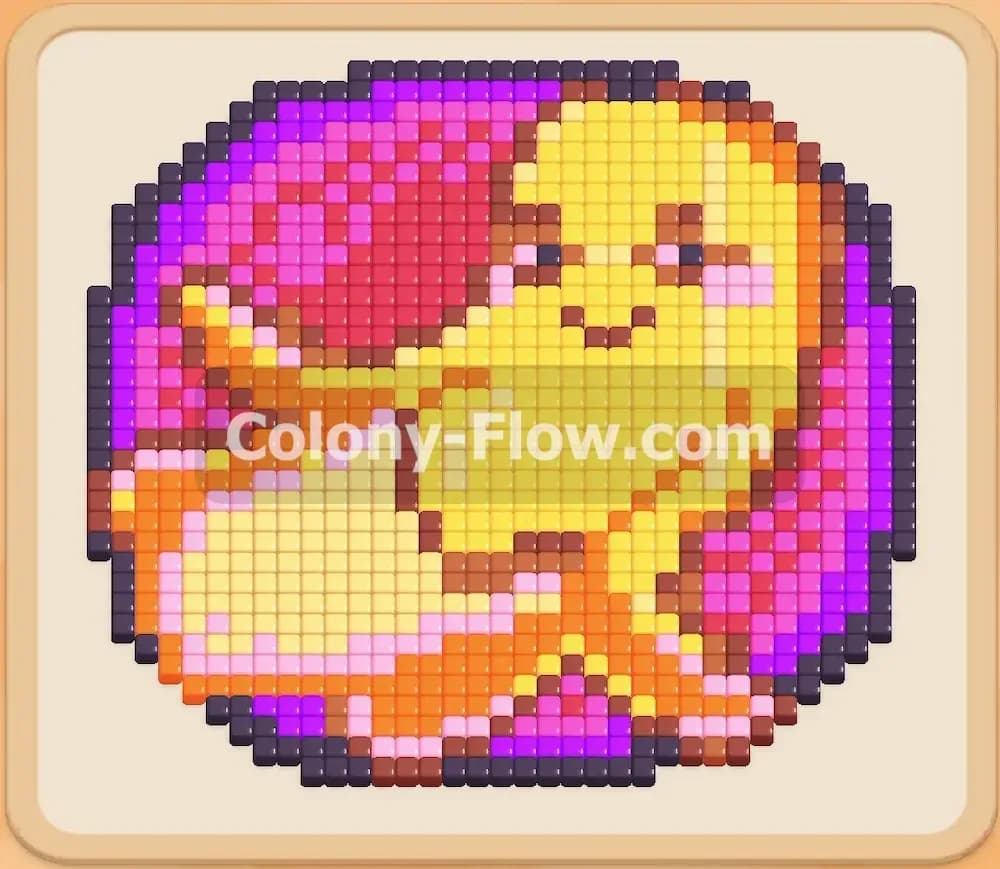
Colony Flow Level 65 presents a beautiful pixel art picture that you must feed to your ants. You start this board facing a massive yellow character surrounded by a thick purple and pink background. I beat this level by carefully managing my tray space and refusing to rush my moves. You have to maintain control over your waiting slots to win this one.
Colony Flow Level 65 Overview
What You Are Working With
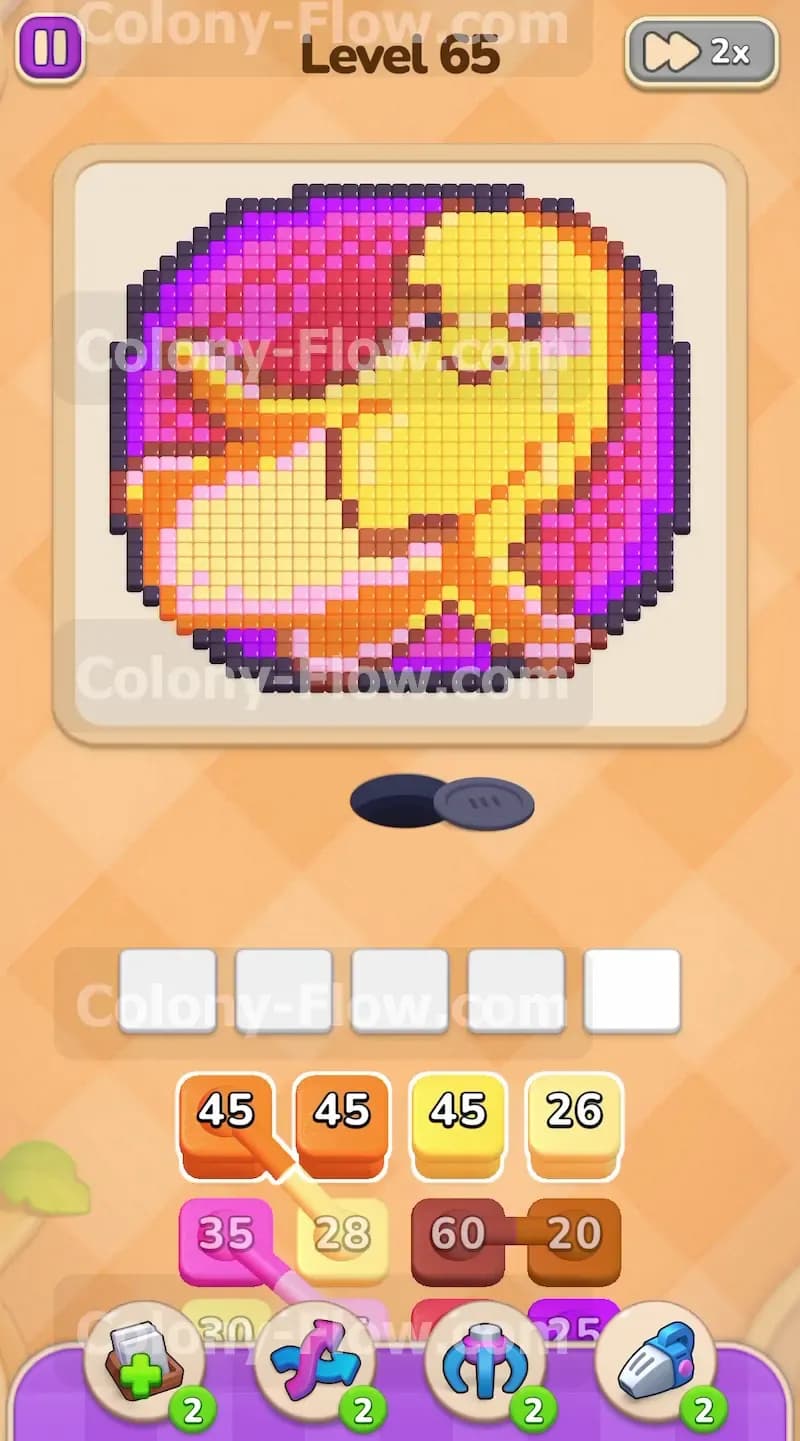
The board features a large central pixel art design shaped like a yellow character hugging a smaller object. You have a very thick dark border wrapping around the entire picture. Inside that border sits a large background made of bright pink and dark purple tiles. The main character consists of light yellow, standard yellow, and orange pieces.
Your tray holds blocks with very high numbers. You will use yellow, light yellow, orange, dark pink, purple, and brown blocks to clear this image. This level also introduces Connected Boxes into your tray. These are pairs of colored blocks linked by a solid line. When you tap one block in a connected pair, both blocks jump up into your active waiting area. They take up two slots instantly.
What It Takes to Clear Level 65 Board
You win the level when your ant colony eats every colored tile on the board and the picture completely disappears. You lose the level if you fill all five of your waiting slots and the ants have no open path to reach the matching colors on the board. The Connected Boxes make this extremely dangerous.
Your entire strategy revolves around pathing. You must carve a route through the dark outer border and the orange base to reach the massive pink and yellow sections inside. You have to monitor your five waiting slots constantly. You can never pull a connected pair of blocks unless you know your ants can immediately travel to those specific colors on the board.
Colony Flow Level 65 Step by Step Solution
Step 1: Open the outer border with yellow and orange
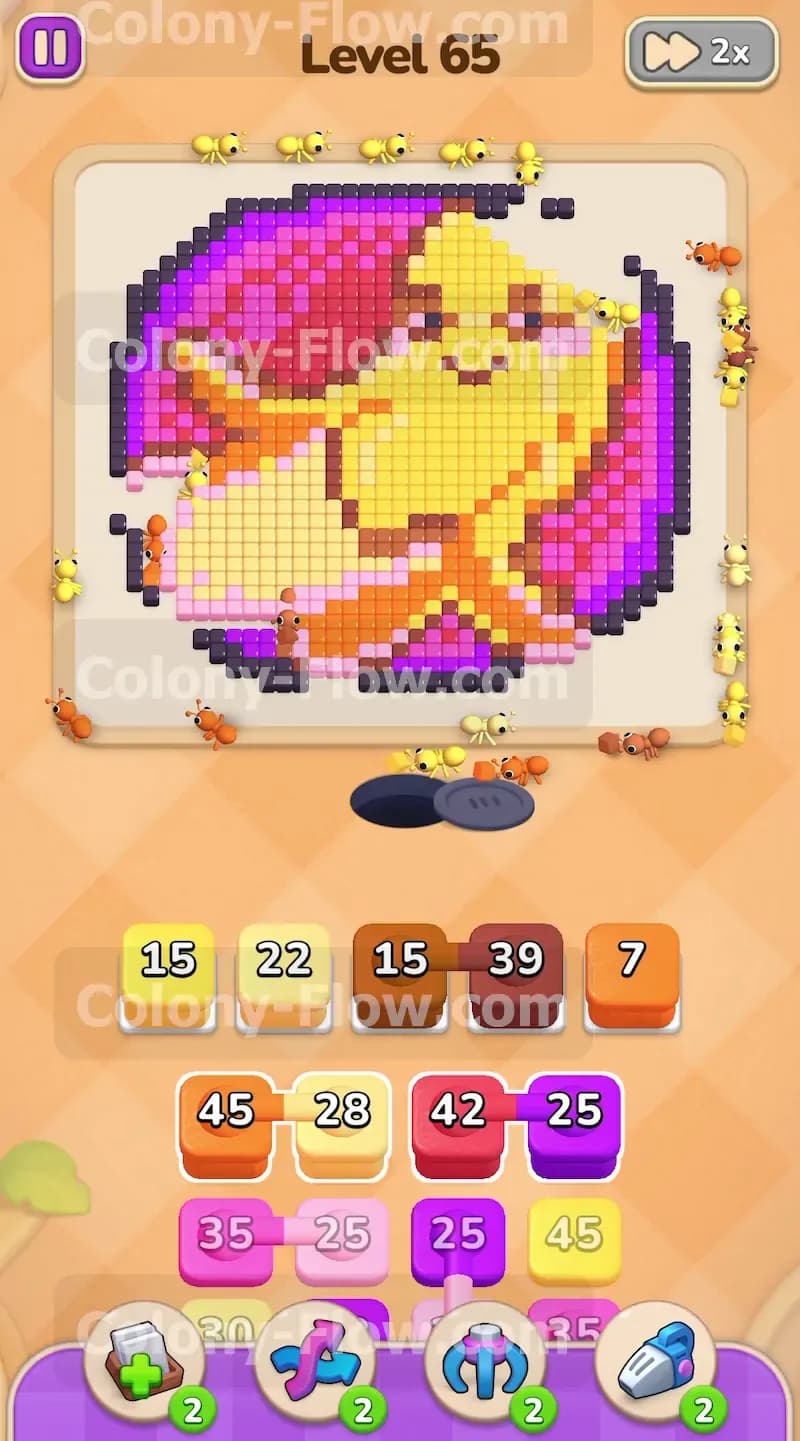
You begin by pulling the initial orange and light yellow blocks to open the bottom edges. You tap the orange block and the light yellow block to move them into your waiting slots. The ants stream out of the nest hole and immediately travel to the bottom and right edges of the picture. They bite into the orange base and the yellow border tiles. The numbers on your blocks drop rapidly with every single bite. You want to clear these outer obstacles first to expose the inner background colors. I kept my remaining three slots completely empty during this opening phase. This steady flow guarantees you never jam your tray early in the round.
Step 2: Clear the brown outline sections
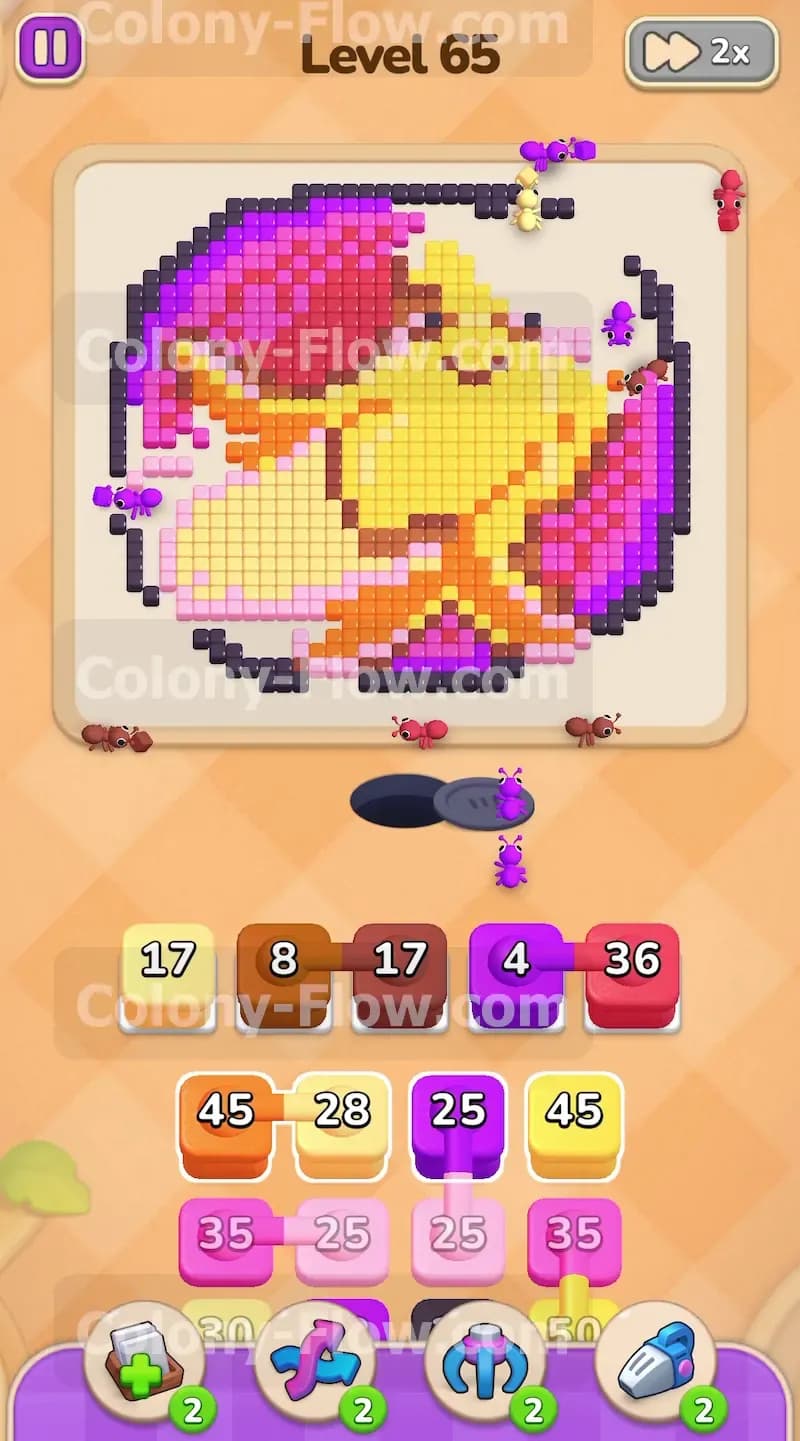
You pull the high number brown blocks to eat away the dark edges of the picture. Make sure your previous orange blocks finish their countdown and vanish so you have empty slots ready. You tap a brown block and send your ants chewing through the thick outer crust on the left and right sides. The path opens up beautifully toward the top half of the screen. You see the dark brown tiles disappear one by one. The ants need a continuous open lane to reach the brown tiles. Leaving this lane clear means your slots empty out fast and stay available for your next moves.
Step 3: Tackle the pink and purple background
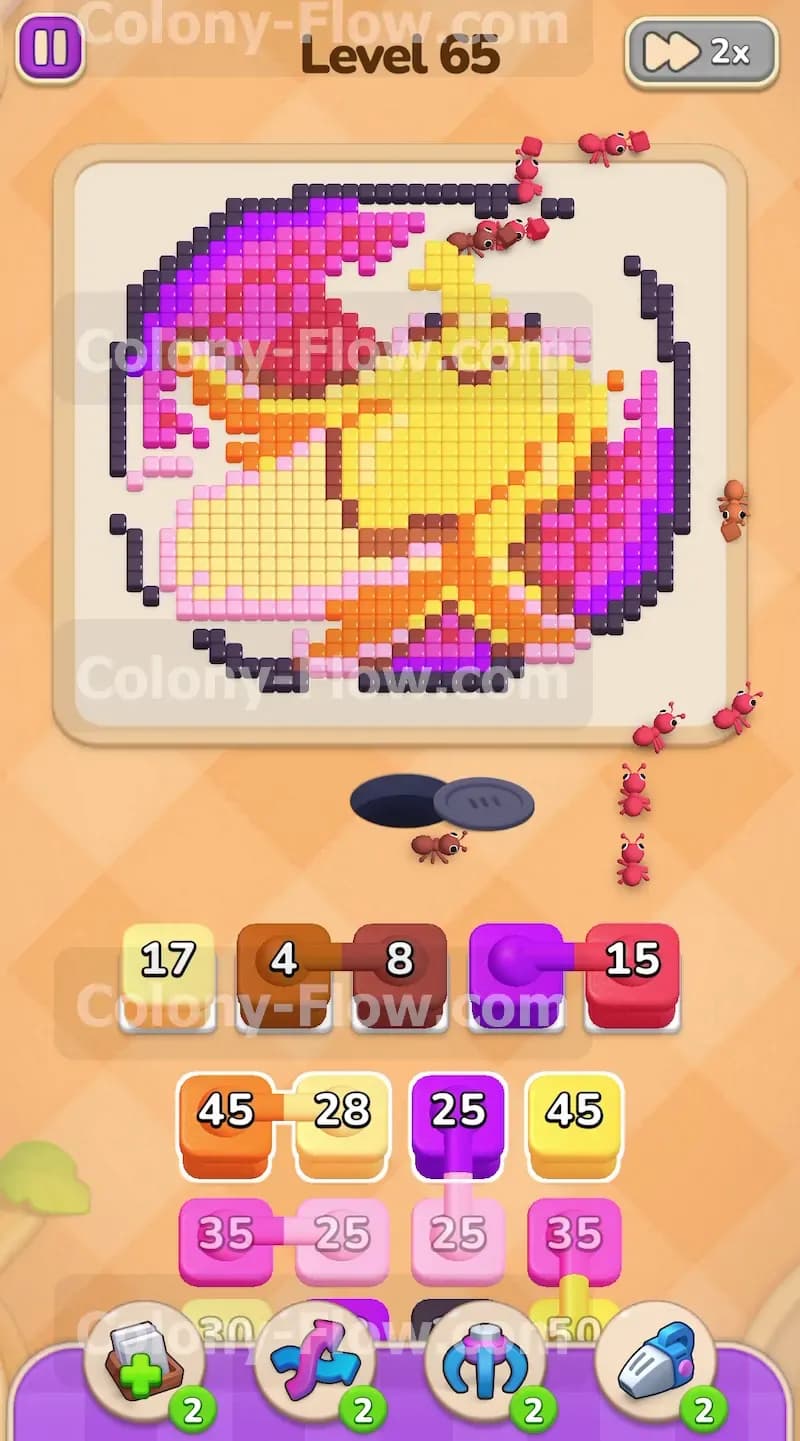
You grab your first set of Connected Boxes to dig into the bright background. Now that the outer shell is broken, your ants have direct access to the bright pink and dark purple tiles. You tap the linked pink and light yellow blocks sitting in your tray. They snap into your waiting area together and consume two spaces right away. Because you opened the outer border during the previous steps, your ants rush straight into the pink background and the yellow character body simultaneously. Both blocks count down at the same time. This action clears a massive chunk of the left side without clogging your tray.
Step 4: Digest the dark purple outer ring
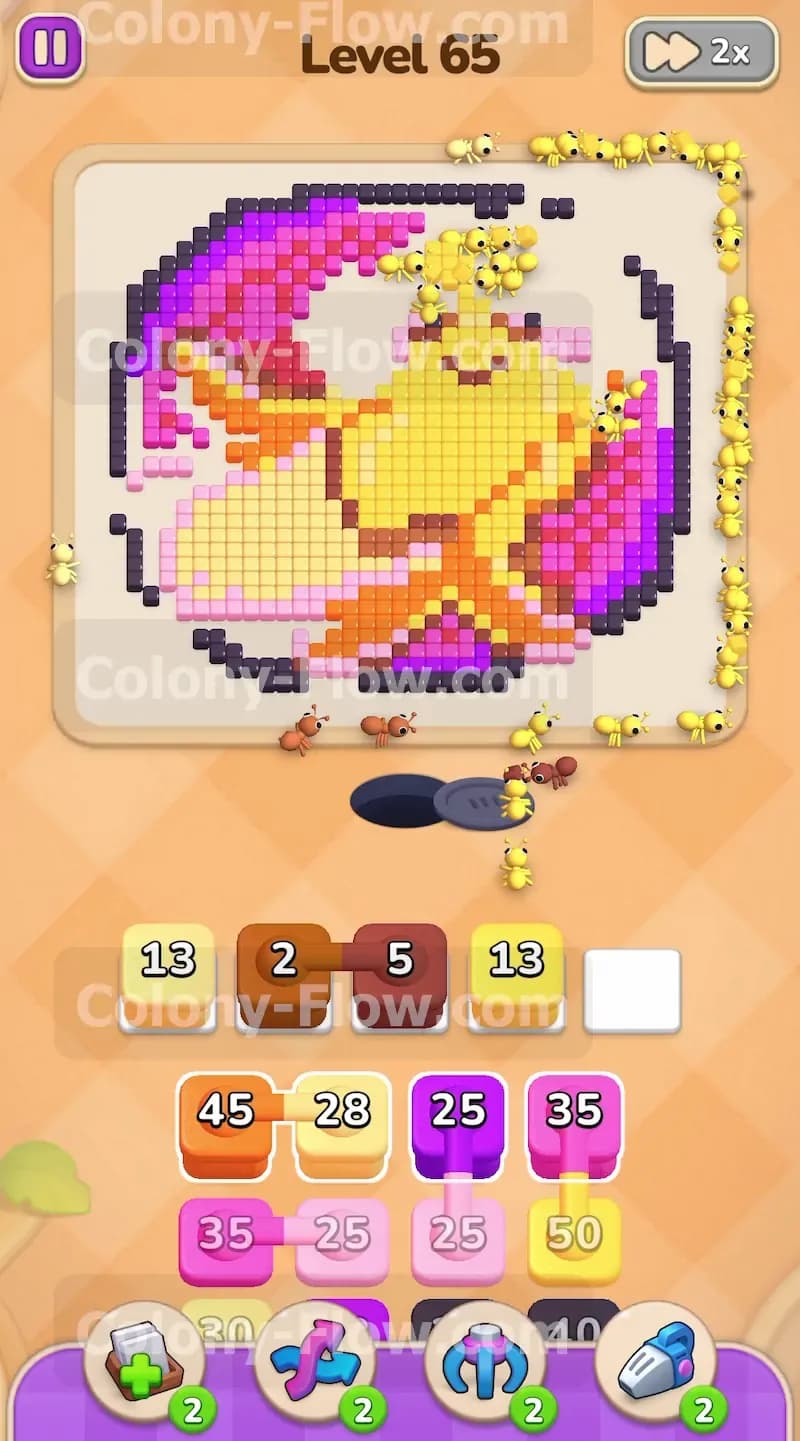
You move the purple blocks into your slots to handle the dense sections on the right side. The board features a large patch of dark purple tiles right against the border. You must ensure the ants can walk all the way to the right side before you pull any purple blocks. You tap a purple block and watch the ants march across the bottom and up the right wall. They eat away the dark purple background rapidly. You also bring up another brown block right here to finish off the dark border pieces on the top left corner. Keeping your moves separated between the left and right sides guarantees you always have at least two empty slots available.
Step 5: Focus on the main yellow character body
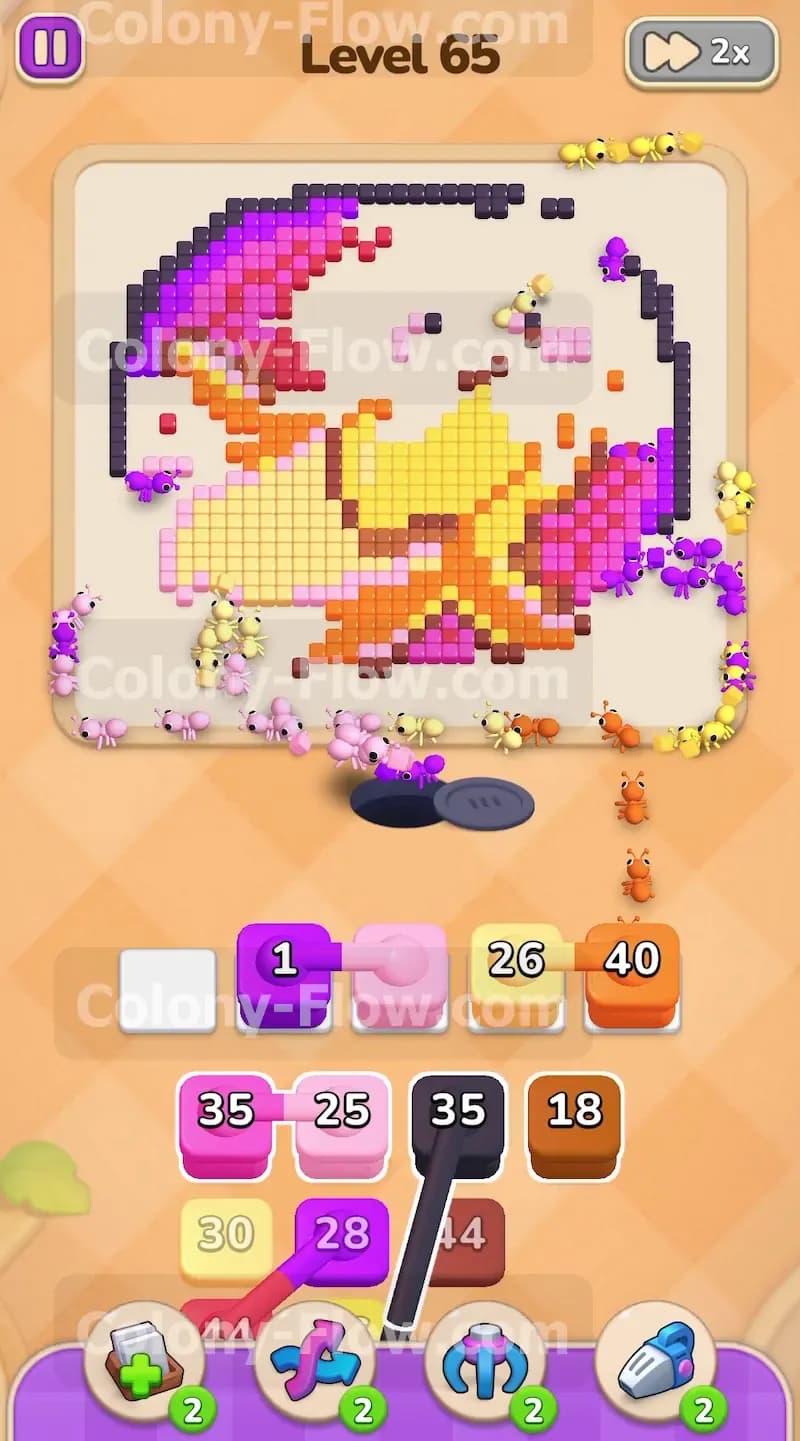
You tap the huge yellow blocks from your tray to clear the center of the board. The middle of the picture is a giant block of light yellow and standard yellow tiles. Your ants flood the center of the image and spread out over the yellow shape. The numbers on the yellow blocks are very high. It takes time for the ants to eat enough tiles to clear these blocks from your waiting slots. You must let the ants do their job and clear the bulk of the character body. Do not tap any random colors while the yellow blocks count down. This massive clearing operation opens up everything else remaining on the board.
Step 6: Handle the connected box pairs carefully
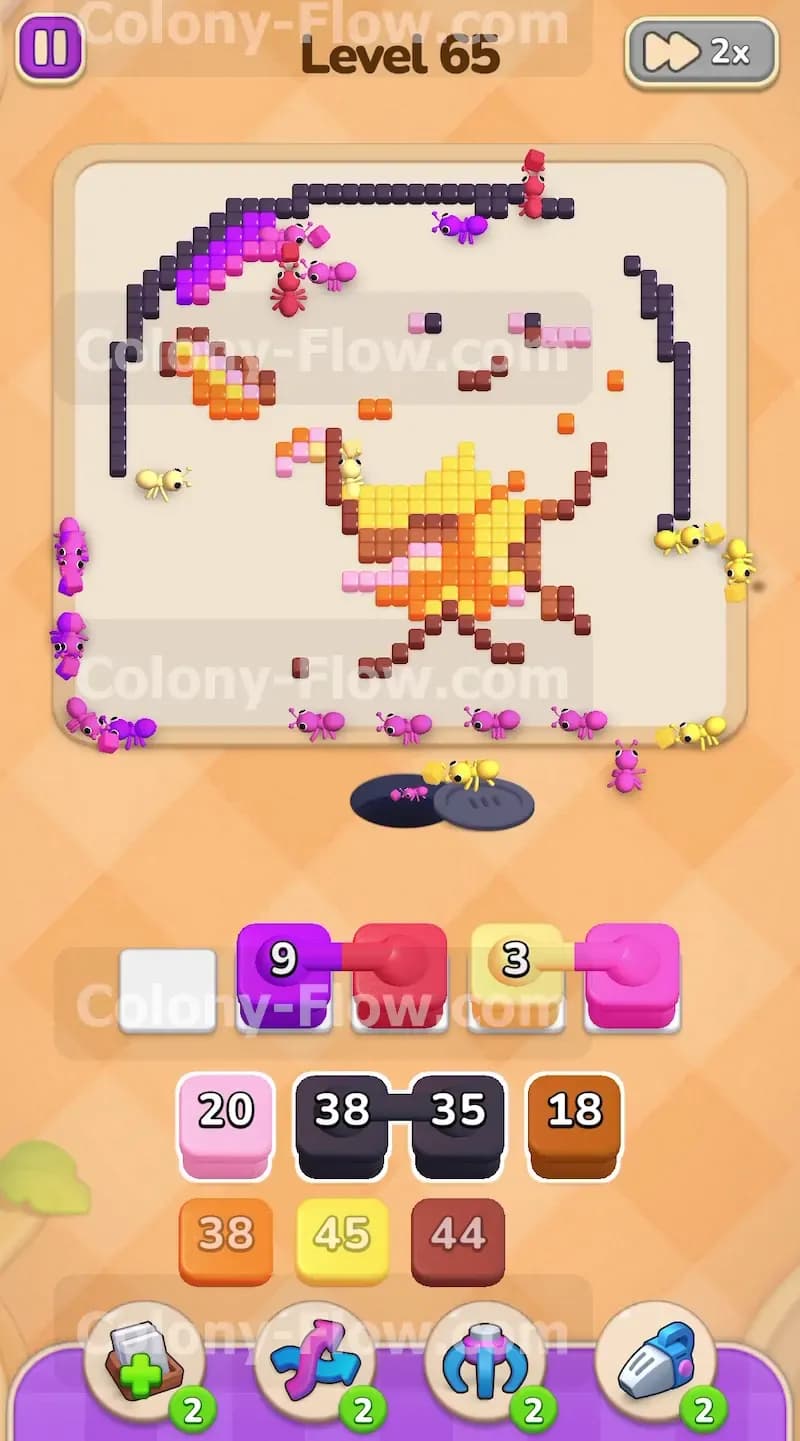
You carefully pull the next pair of linked blocks containing dark pink and black. You have to pay close attention here. Look at the board and confirm the dark pink and black tiles are fully exposed. Since the yellow character is mostly gone, the ants now have a wide open path to the remaining dark tiles near the top. You pull the connected blocks up into your tray. They fill two slots instantly. The ants quickly grab the dark pink and black pieces scattered around the upper edges. Your waiting area clears out perfectly because you verified the path before touching the blocks.
Step 7: Clear the remaining pink and orange details
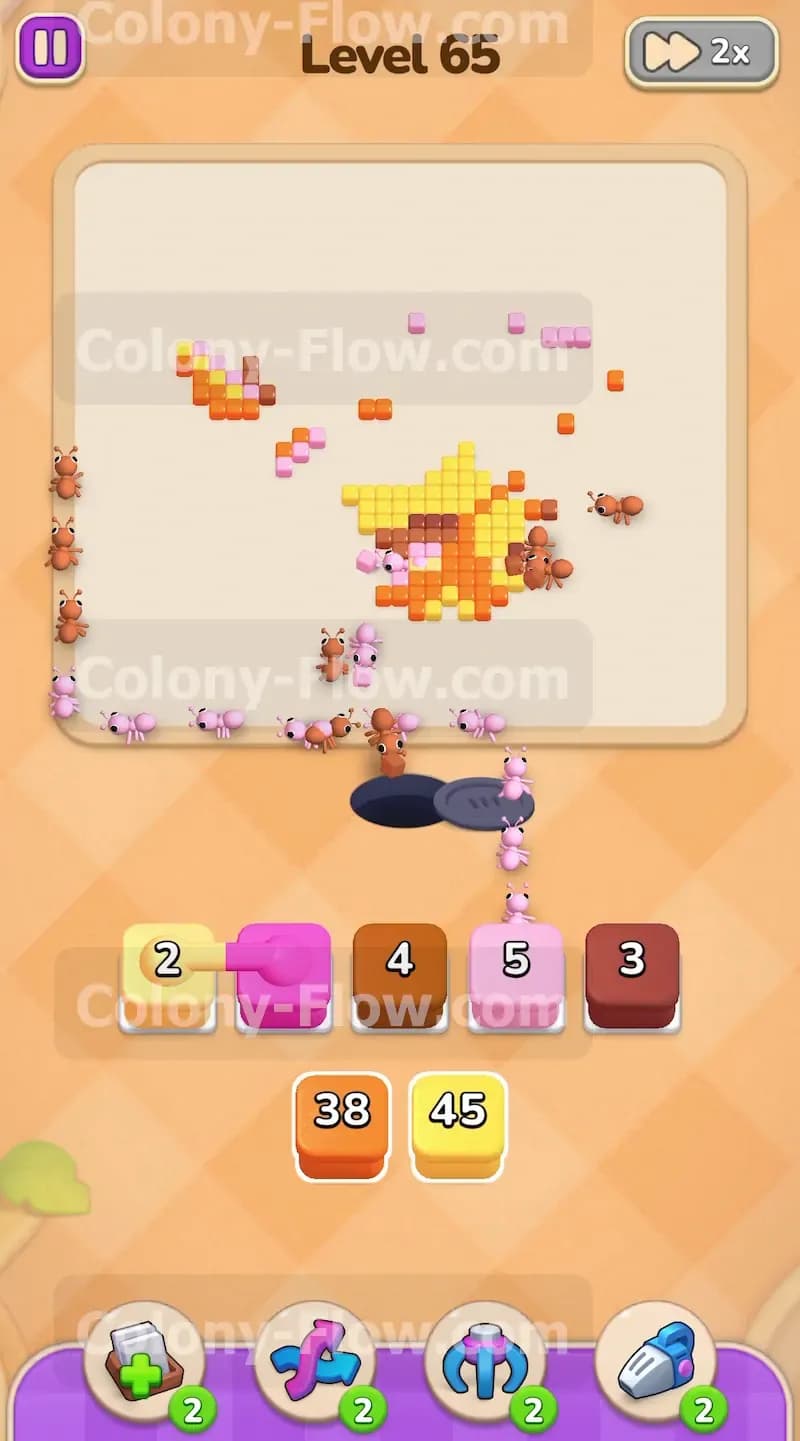
You bring up the low number orange and pink blocks to clean up the loose pieces. The picture is mostly empty space by this point. You only have isolated patches of orange, pink, and purple left scattered around the edges. The ants run freely across the empty white board and devour these remaining pieces. You have plenty of slot space now. I pulled an orange block and a pink block at the exact same time. The ants split their forces and clear both colors simultaneously. Your tray numbers drop quickly to zero.
Step 8: Finish the center yellow and brown tiles
You pull the final small yellow and brown blocks to finish the level. Only a tiny cluster of yellow and brown tiles remains floating in the very middle of the screen. You tap the last few blocks from the bottom of your tray. The numbers on these blocks are very small. The ants rush out of the nest, eat the last few colored squares, and disappear. The entire picture is completely gone. You managed your waiting slots flawlessly and avoided the traps created by the connected blocks.
Final Thought
Level 65 demands patience and excellent slot management from start to finish. The connected boxes can easily ruin your entire run if you tap them blindly without checking your paths. Just remember to peel away the outer borders first and never overload your waiting slots with high numbers all at once. Watch the video above this article if you struggle to visualize any specific move I described.