Colony Flow Level 442 Walkthrough Solution & Guides | How to solve Colony Flow 442

Guide By Liam Stone
Updated on July 29, 2026
Want the shortcut? Watch the video above for the full Level 442 solution.
Video doesn't match your screen?
Game updates frequently scramble layouts! Try our AI Screenshot Solver first to find your exact board instantly, or report broken guides to our team.
Welcome to Colony Flow Level 442. This particular stage throws a massive obstacle right in the middle of a detailed pixel portrait. You need to break through a heavy barrier before you can even touch the main puzzle pieces. I play every level of this game myself and this one requires very careful tray management so you do not jam your board. You must plan your moves ahead of time and pay close attention to the special tiles sitting in your tray. We are going to walk through the exact method to beat this level without ever hitting a dead end.
Colony Flow Level 442 Overview
What You Are Working With
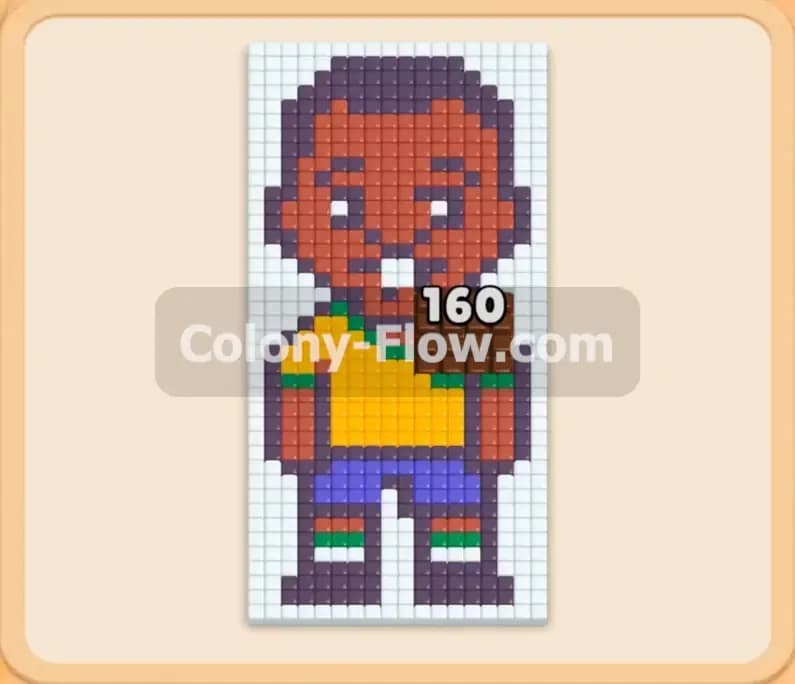
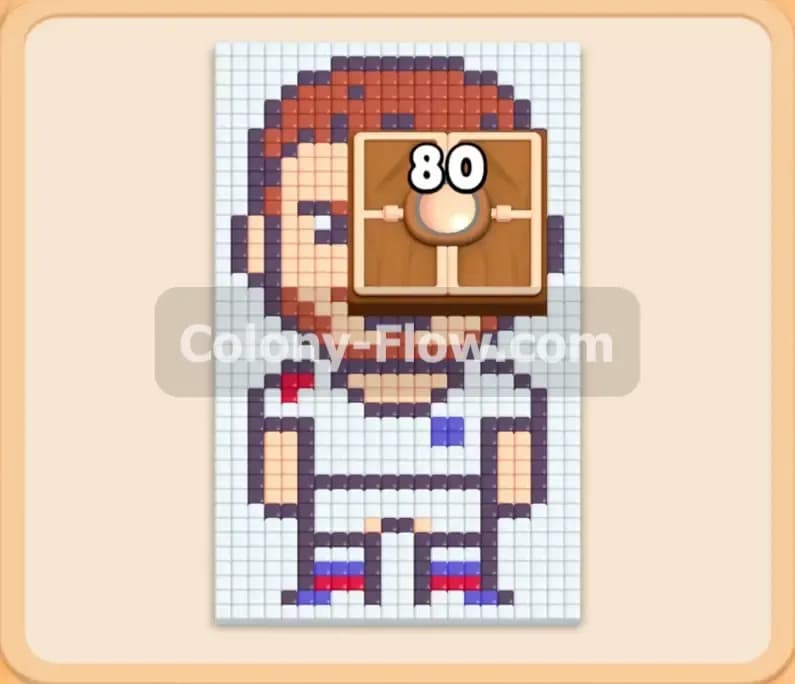
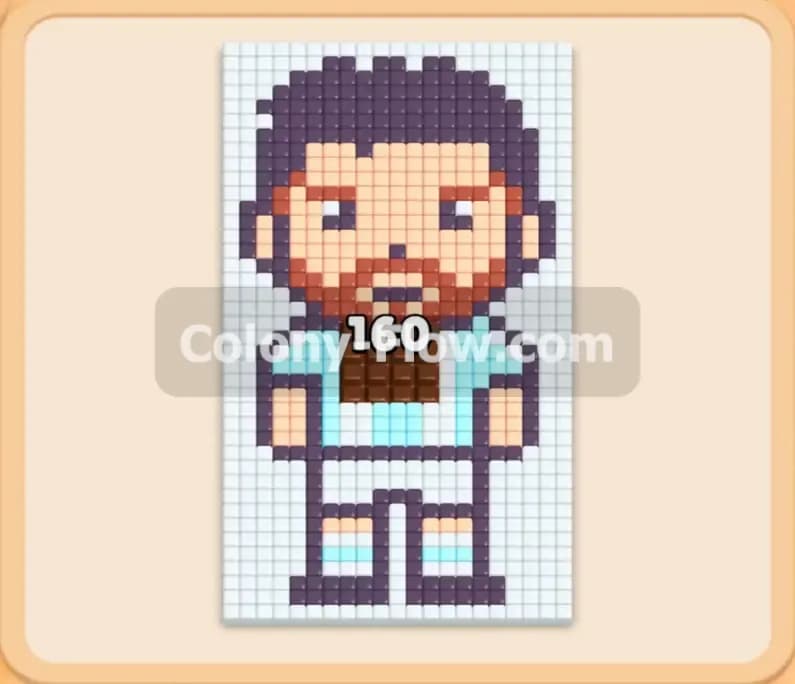
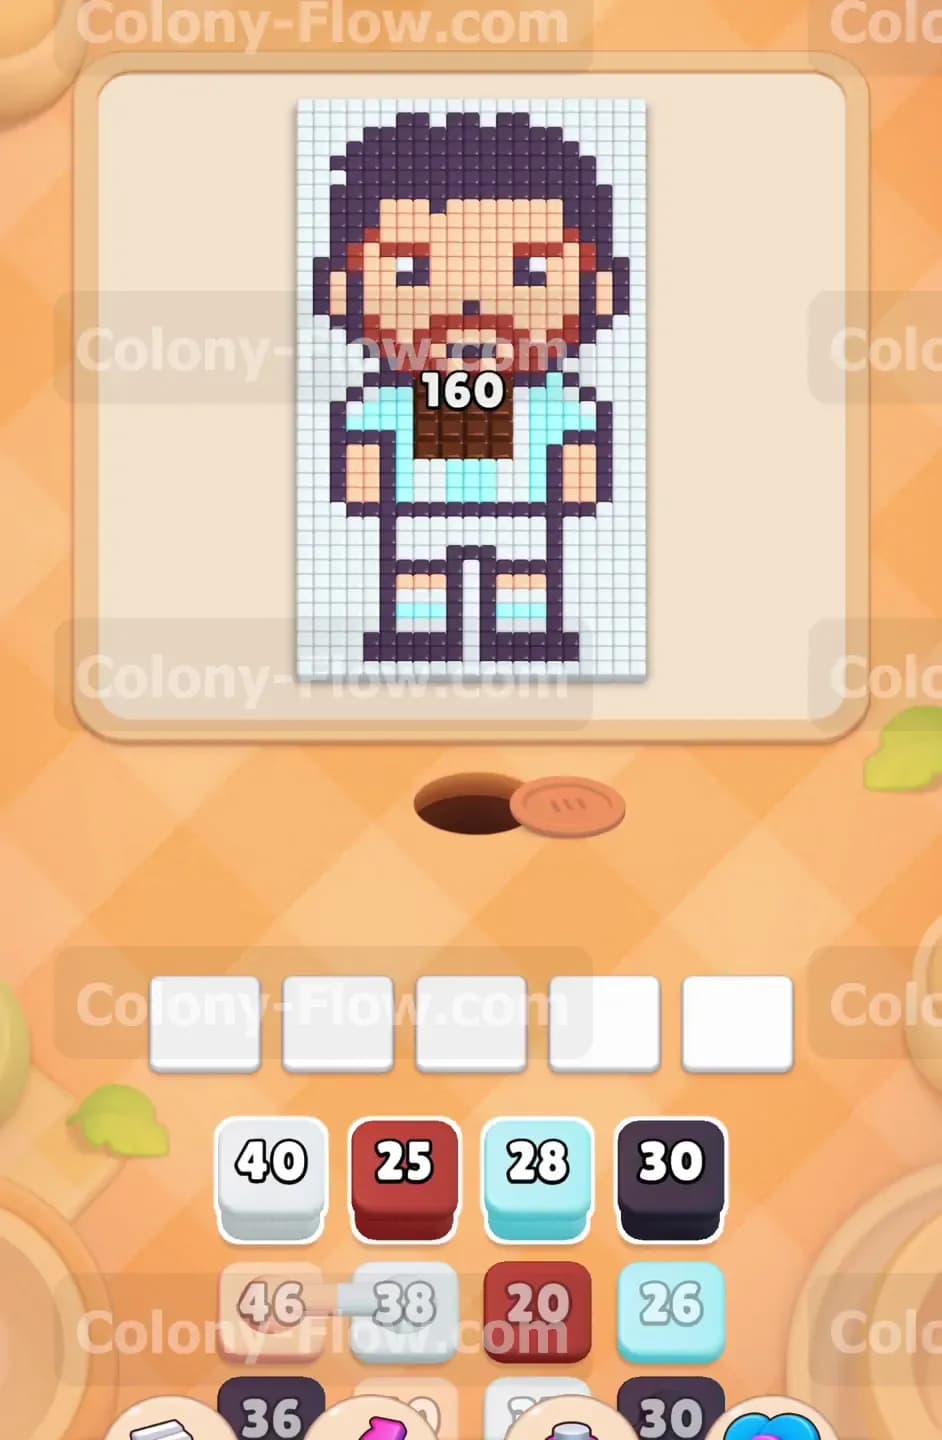
In this level you are looking at a pixel art man with dark hair, a dark red beard, a light blue shirt, white pants, and dark blue shoes. The major obstacle here is a giant chocolate block sitting squarely on the chest of the character. This chocolate has the number 160 written prominently across it. Below the picture is your nest hole where the ants spawn. At the bottom of the screen you have your tray of colored numbered blocks and the five empty waiting slots. The tray contains loose single blocks and several connected boxes. Connected boxes are a special element in this level. They are linked together by thin white lines and always move into the waiting slots as a single group. You also have standard loose blocks in white, dark red, light blue, dark blue, and peach colors. Every element plays a specific part in dismantling the picture.
What It Takes to Clear Level 442 Board
To win this level you must completely clear the pixel art picture and the background tiles. You start by feeding ants into the chocolate block to reduce its counter from 160 down to zero. Once the chocolate shatters, the regular food tiles underneath become exposed and vulnerable. From there you must match the correct colored blocks to the remaining clothing, face, and hair. You win the stage when every pixel is gone and your ants return to the nest. The core rule of the game is how you lose. If blocks fill all five waiting slots and no ants can clean the board, you lose the level immediately. Every move you make must keep at least one path open so the waiting slots never jam.
Colony Flow Level 442 Step by Step Solution
Step 1: Send your first massive wave of ants to break the giant chocolate block.
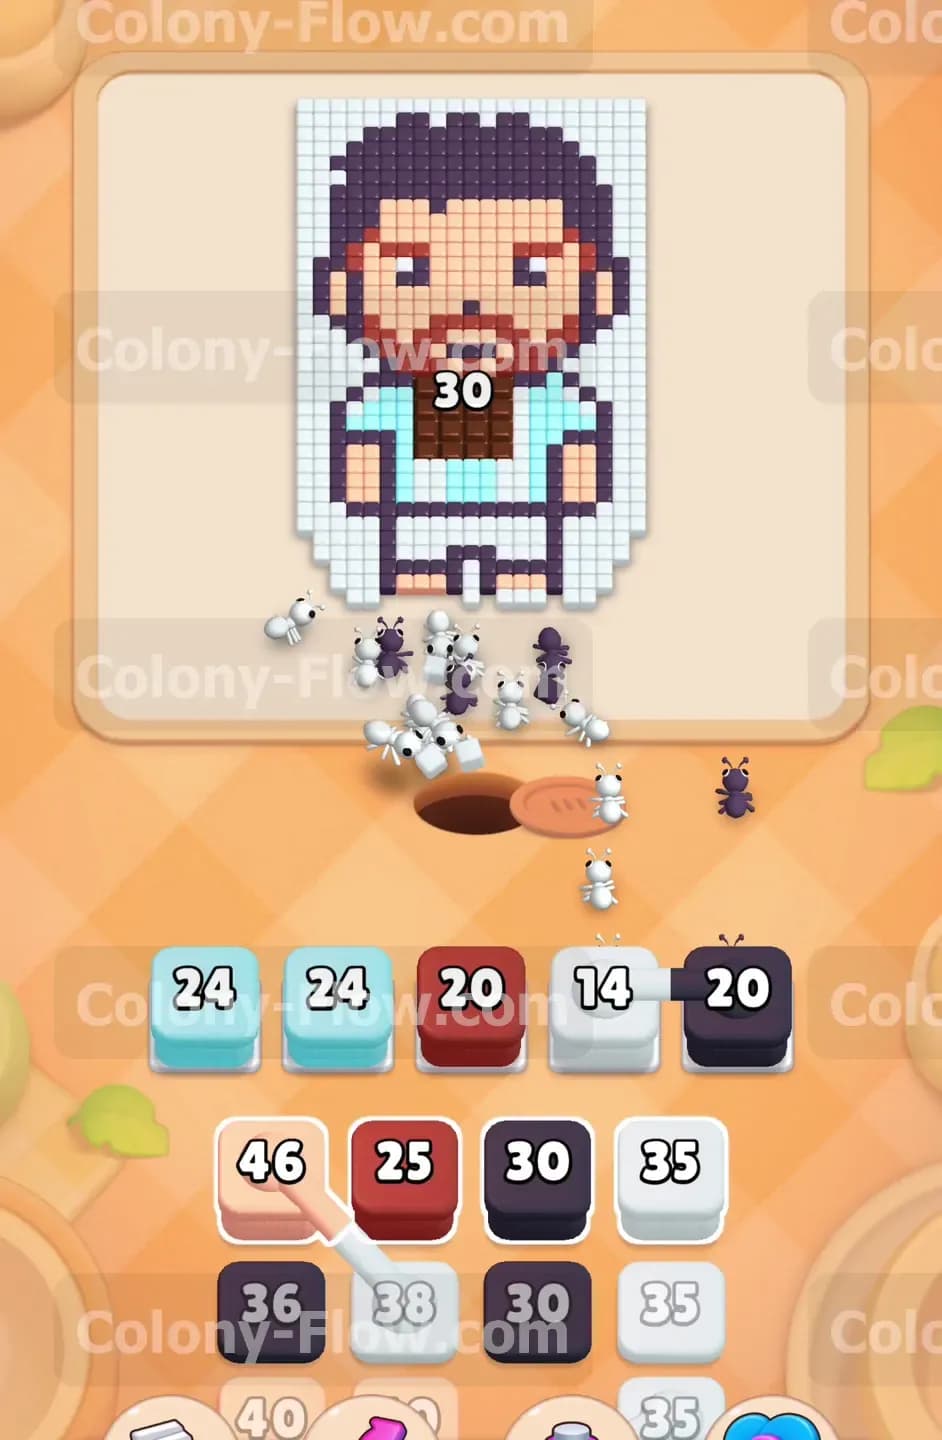
You begin the level by targeting the main obstacle on the board. The chocolate block prevents access to the shirt and chest tiles. It requires 160 hits to break apart. Pull the white 40 block, the dark red 25 block, the light blue 28 block, and the dark blue 30 block up into your waiting slots. This action fills four of your five slots immediately. Do not pull a fifth block yet. You must always keep one slot open to avoid a fatal dead end. The ants from these four blocks stream out of the nest hole and march upward. Because the chocolate completely covers the food tiles, all the ants hit the chocolate instead. The chocolate obstacle accepts ants of any color. You will watch the number on the chocolate drop rapidly from 160 all the way down to a much smaller number. This heavy assault weakens the barrier without jamming your board. You establish a strong flow right from the first second.
Step 2: Clear the final layers of the chocolate to expose the man underneath.
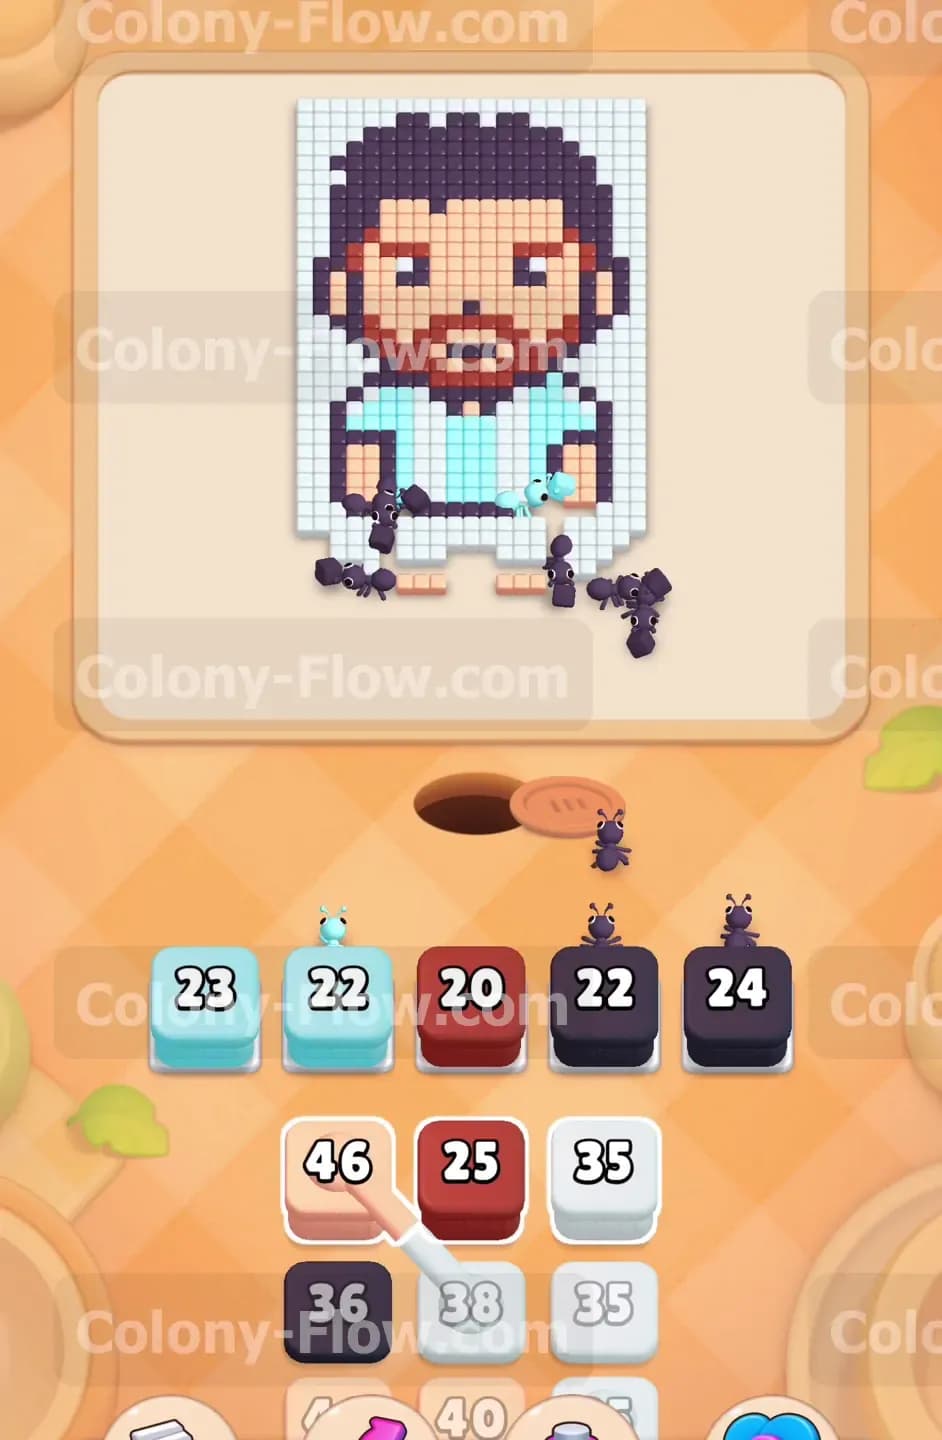
Your first wave of blocks will eventually count down to zero and vanish from the waiting slots. Once you have the necessary space, pull up the next light blue 24 block and a dark blue 20 block. The ants will swarm the chest area again. They will quickly eat through the final remaining points of the chocolate barrier. The brown chocolate layer shatters completely and disappears from the board forever. The light blue shirt and white chest tiles are now fully exposed to the board. Because the chocolate is gone, any ants still streaming from your active blocks will immediately redirect to their matching colors. The light blue ants will start eating the shirt. The dark blue ants will head down to the shoes. Your waiting slots remain perfectly safe because the ants have open paths to their natural food sources. You have successfully bypassed the biggest trap of the level.
Step 3: Clear the shirt and pants to open up the bottom half of the board.
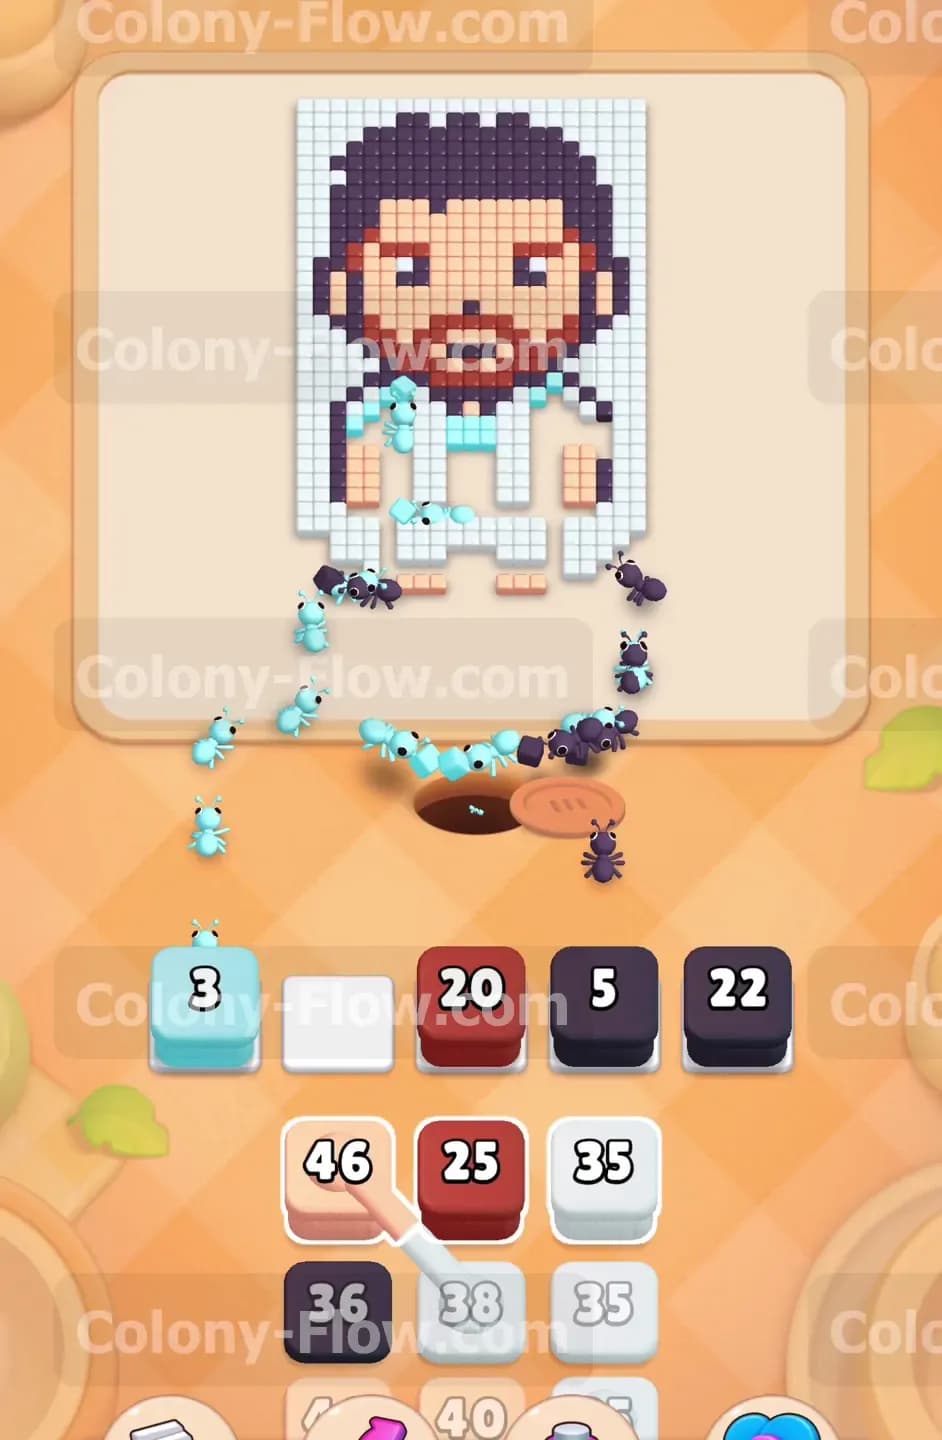
Now that the chest is clear you can fully focus on the clothing. Wait until your active blocks finish their countdowns and vanish. Pull the remaining light blue blocks into the slots to target the rest of the shirt. Pull a white 14 block to target the pants. The ants have a very short travel distance from the nest hole to the lower half of the character. This short travel distance is excellent for your tray management. The ants reach their food quickly, which means the numbers on your blocks count down incredibly fast. Your waiting slots empty out rapidly and give you plenty of breathing room. Keep feeding the light blue and white blocks until the entire lower half of the man is completely gone. Never pull a new block if you do not see a clear path for that specific color.
Step 4: Manage the connected boxes carefully to clear the face and beard.
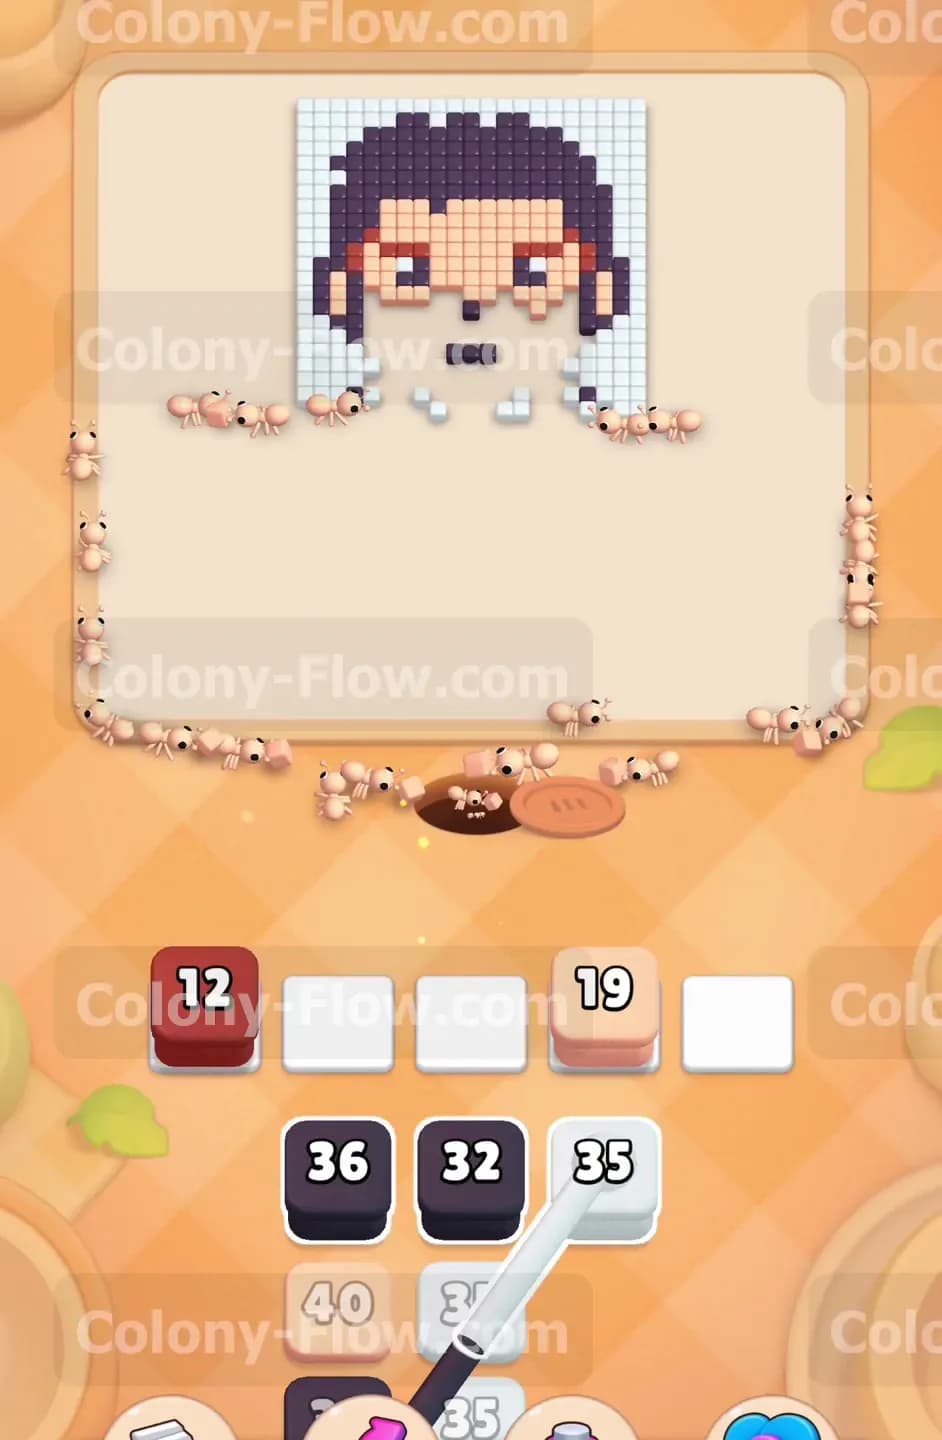
You will now see several connected boxes waiting in your bottom tray. You have a peach 46 block linked to a white 38 block. You also have a dark red 20 block linked to a light blue 26 block. Connected boxes are highly dangerous because they take up two waiting slots at the exact same time. If you only have one slot open and you pull a connected box, the game will jam and you will lose the level. Wait patiently until you have two completely empty slots. Pull the dark red and light blue connected group first. The dark red ants will travel up to the face and clear out the beard. The light blue ants will clean up any leftover shirt tiles. Once two more slots open up, pull the peach and white connected group. The peach ants will clear the skin on the face. Keep a very close eye on your slots during this phase and do not rush your pulls.
Step 5: Send the dark blue ants on a long journey to clear the hair.
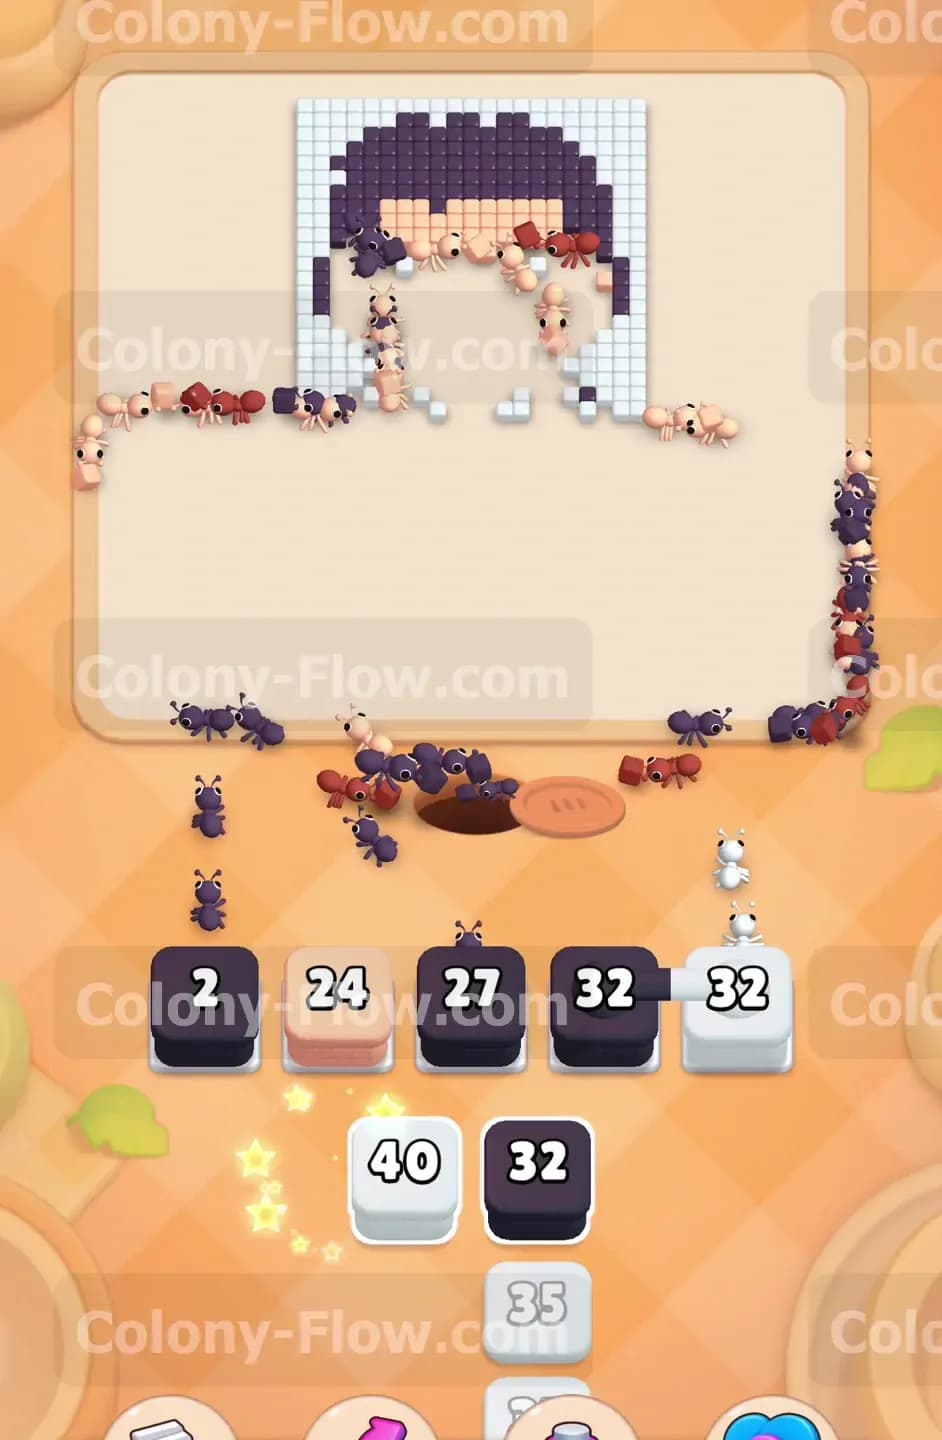
The face and body are completely gone by this point. The only major section remaining is the dark hair at the very top of the board. Pull your large dark blue 32 block and your dark blue 27 block into the waiting slots. Because the bottom of the board is completely empty, the dark blue ants must travel a very long distance. They will stream out of the nest hole, move all the way up the sides of the empty space, and wrap around the top to reach the hair tiles. Because the physical path is so long, your blocks will take a much longer time to count down. Be patient and do not pull extra blocks while you wait for the ants to travel. Let the dark blue ants chew away the top of the hair steadily.
Step 6: Use your final white blocks to clear the remaining background tiles.
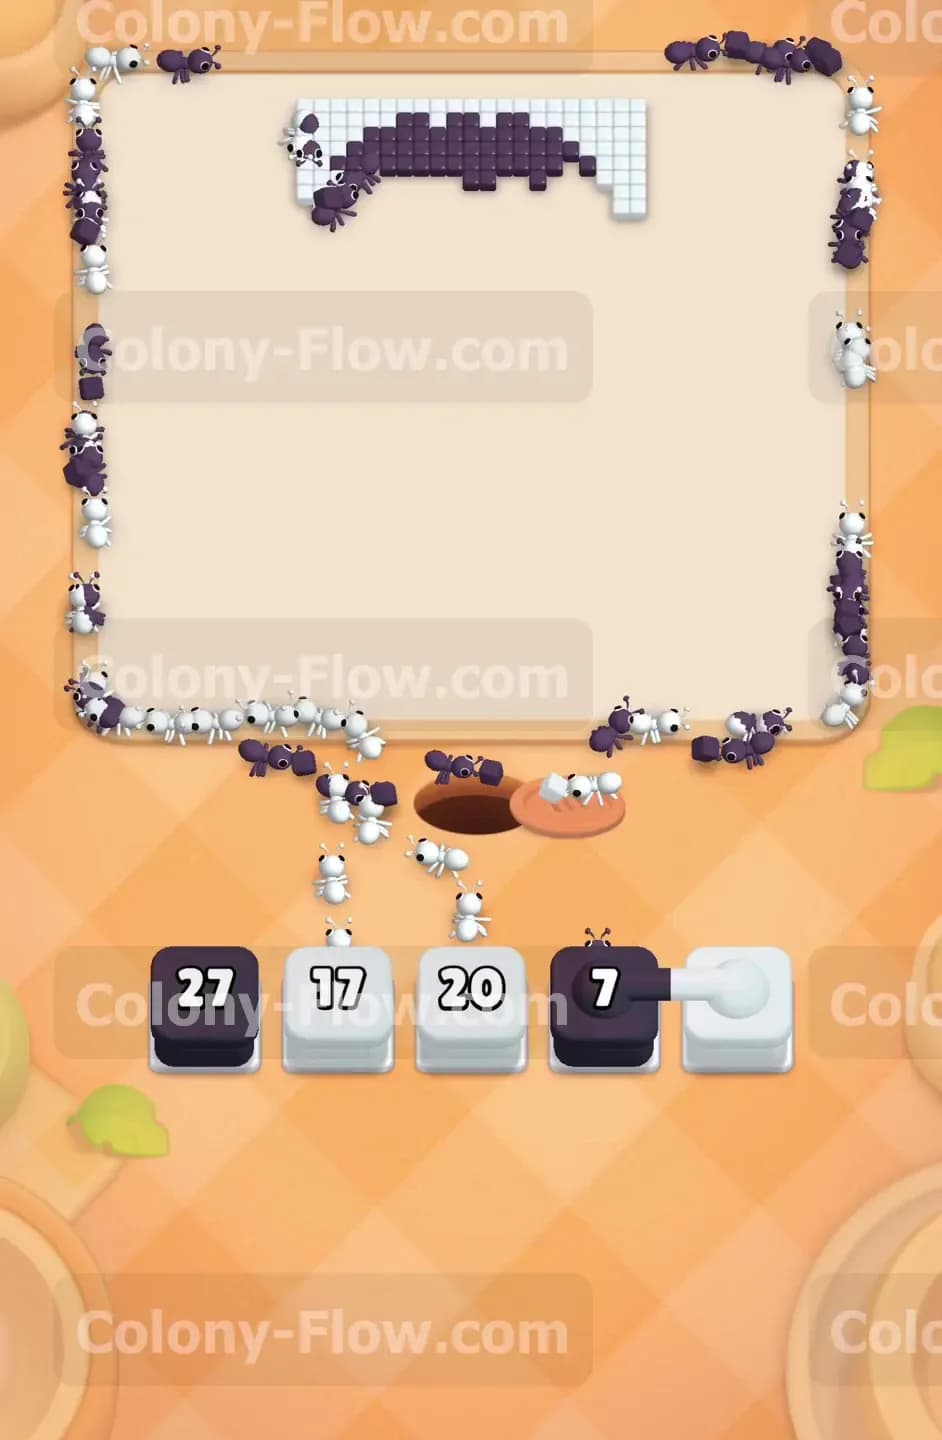
As the dark blue ants finish the hair, you will notice some leftover white background tiles around the edges of the original picture. Once you have open waiting slots again, pull your final white blocks. You will likely have a white 32 block and a white 20 block left in the tray. The white ants will follow the long outer path to reach these final border tiles. They will form a long continuous line marching all the way around the completely empty center of the board. The last few background tiles will vanish as the ants reach them. Your waiting slots will clear completely and the level will end in a satisfying win.
Final Thought
Colony Flow Level 442 demands genuine patience and careful slot management. Breaking the chocolate early and handling the connected boxes correctly will keep your board moving smoothly from start to finish. Remember to always leave one slot open during heavy waves so you never hit a dead end. If you struggle with the exact timing of the connected boxes or the long pathing at the end, I highly encourage you to watch the video above this article. Seeing the exact flow in motion will help you perfect your strategy and clear the board with ease.