Colony Flow Level 331 Walkthrough Solution & Guides | How to solve Colony Flow 331

Guide By Liam Stone
Updated on July 17, 2026
You don't need to read the article to solve Level 331. The video above shows you everything.
Video doesn't match your screen?
Game updates frequently scramble layouts! Try our AI Screenshot Solver first to find your exact board instantly, or report broken guides to our team.
Welcome to Colony Flow Level 331. This board presents a massive pixel art flag that forces you to manage a huge block of chocolate right from the very first move. You must direct your ants carefully around the obstacles to avoid filling your waiting slots and failing the level. I played this level multiple times to find the perfect sequence to crack the chocolate and clear the board without jamming the tray.
Colony Flow Level 331 Overview
What You Are Working With
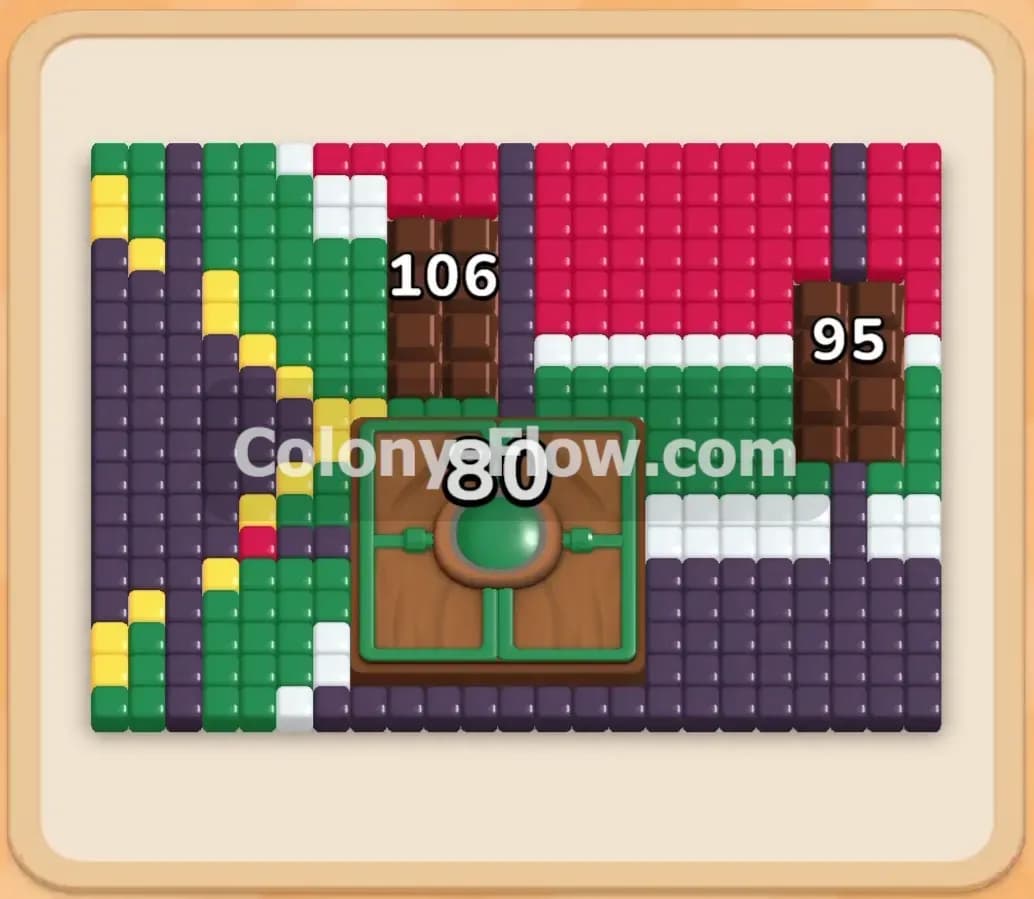
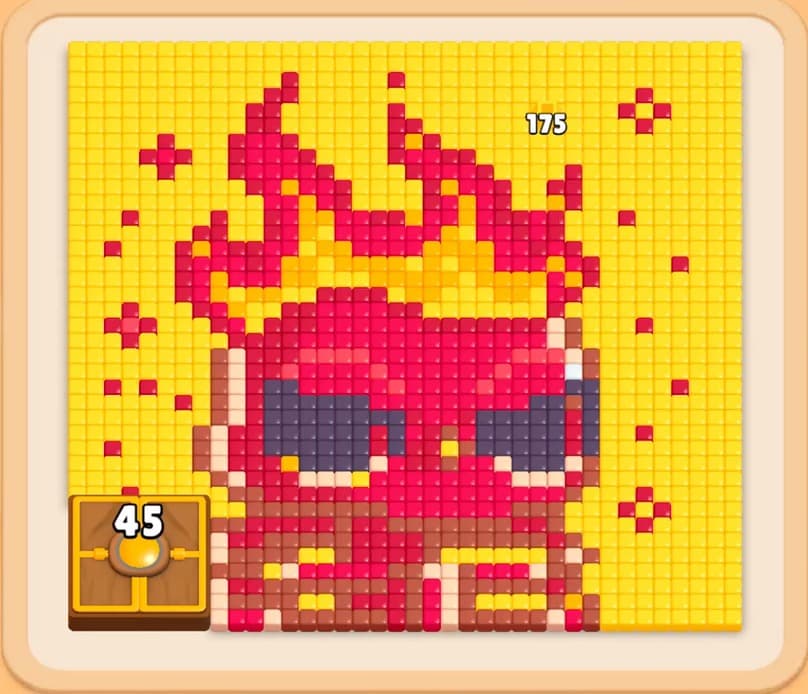
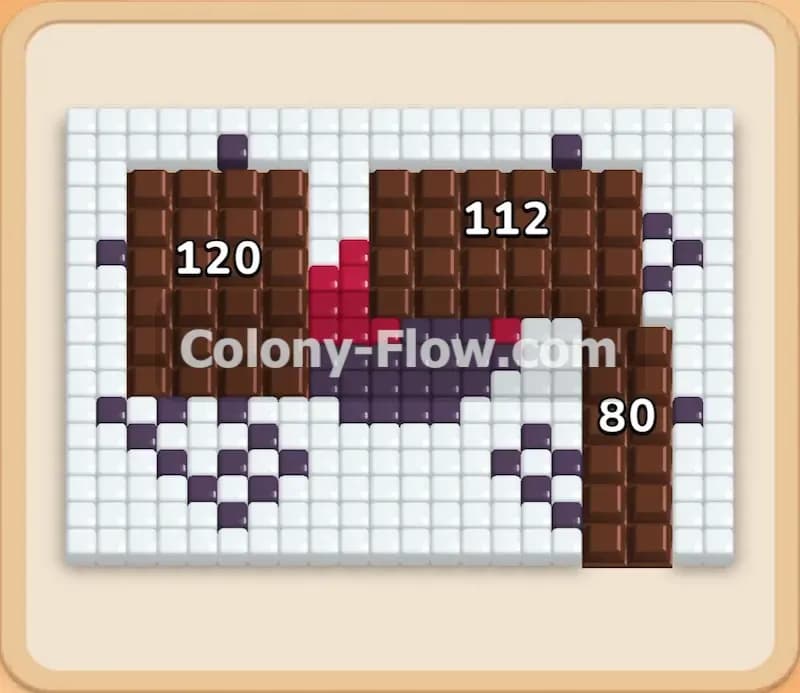
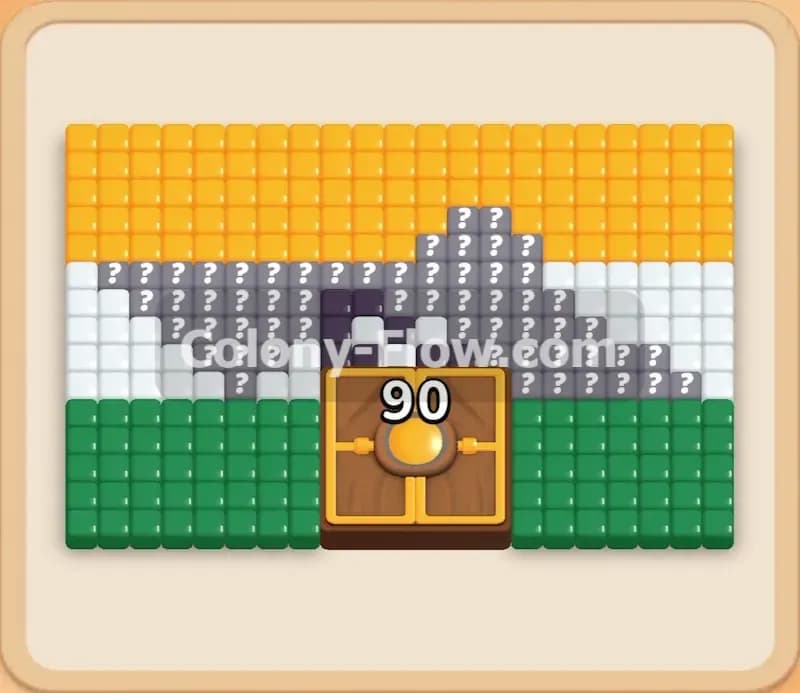
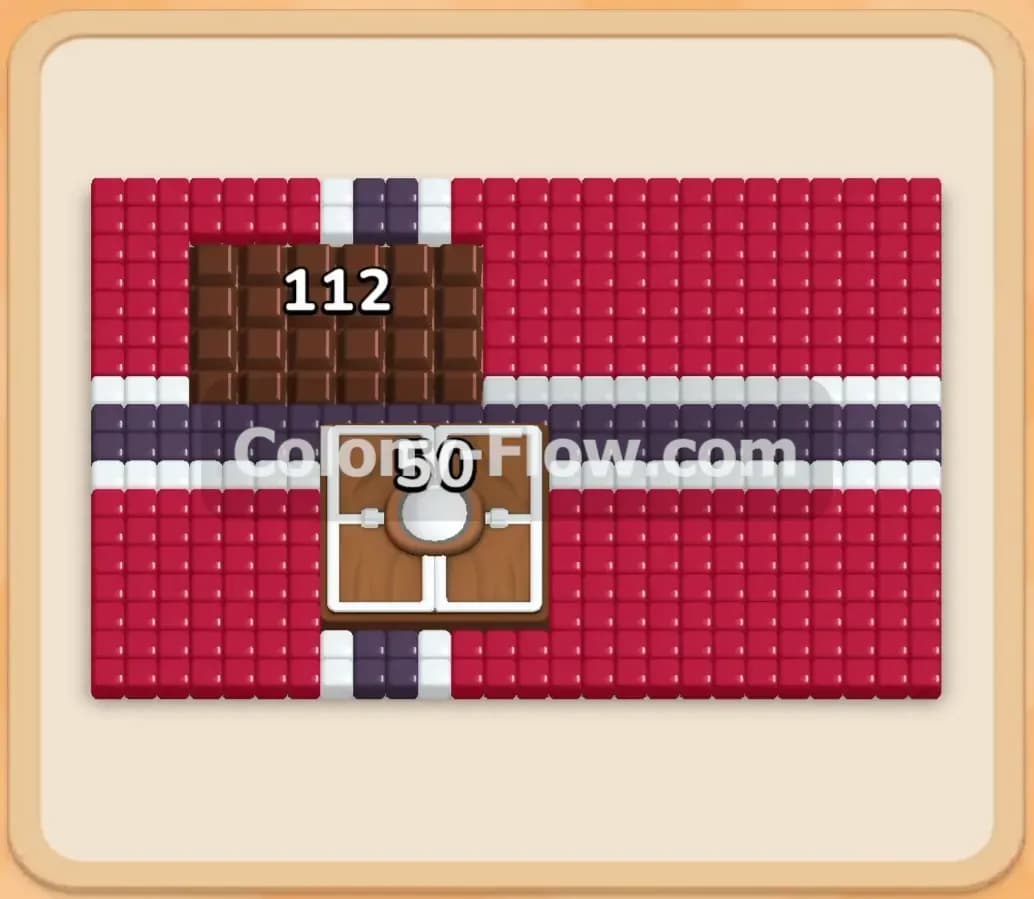
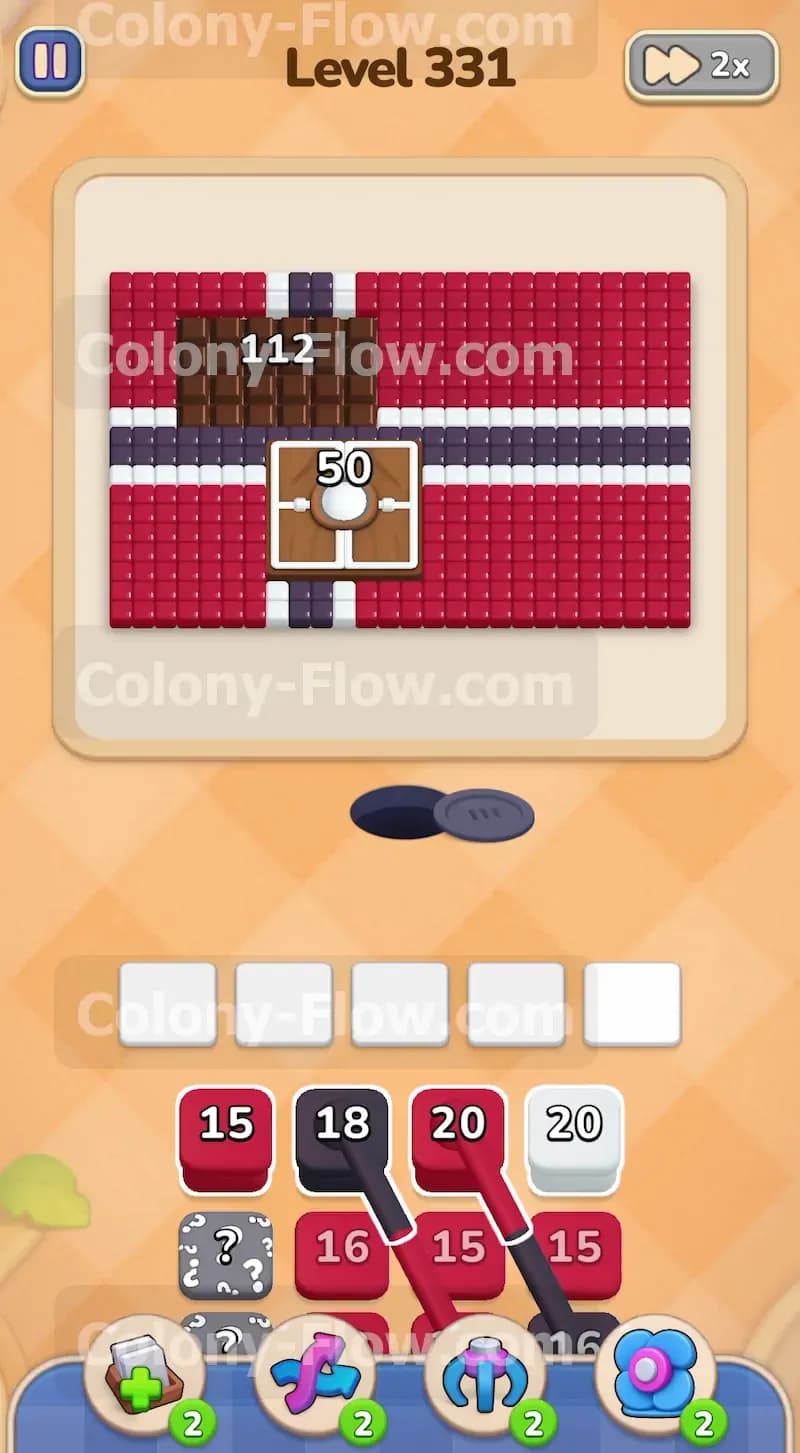
You are facing a large flag design made entirely of red, white, and dark blue food tiles. The ants stream from a black nest hole located at the bottom center of the board. A giant square block of chocolate sits securely in the top left corner of the flag. This chocolate completely covers a huge section of the food tiles underneath it. The chocolate block displays a massive starting number of 112. The tray at the bottom of your screen holds your numbered colored blocks. The visible colors in the first layer include red, white, and dark blue. Underneath this first layer of tray blocks, you will find hidden boxes marked with question marks. You also have a very heavy white section right in the center of the cross pattern. This central white section holds a value of 50 and requires a lot of ants to clear.
What It Takes to Clear Level 331 Board
You win the level when every single food tile is completely eaten and the ants finish their marching. The main danger in this game is pulling too many blocks of a color that the ants cannot reach yet. Your board has exactly five waiting slots for the blocks you pull from the tray. If you fill all five waiting slots with blocks that have no open path to their matching tiles, the ants stop moving entirely. You lose the level immediately when this dead end happens. You must open paths to the chocolate, break the chocolate down slowly, and then clear the remaining cross pattern. You survive by always leaving at least one valid path open so your waiting slots never jam.
Colony Flow Level 331 Step by Step Solution
Step 1: You pull the initial red and dark blue blocks to clear the right side of the board.
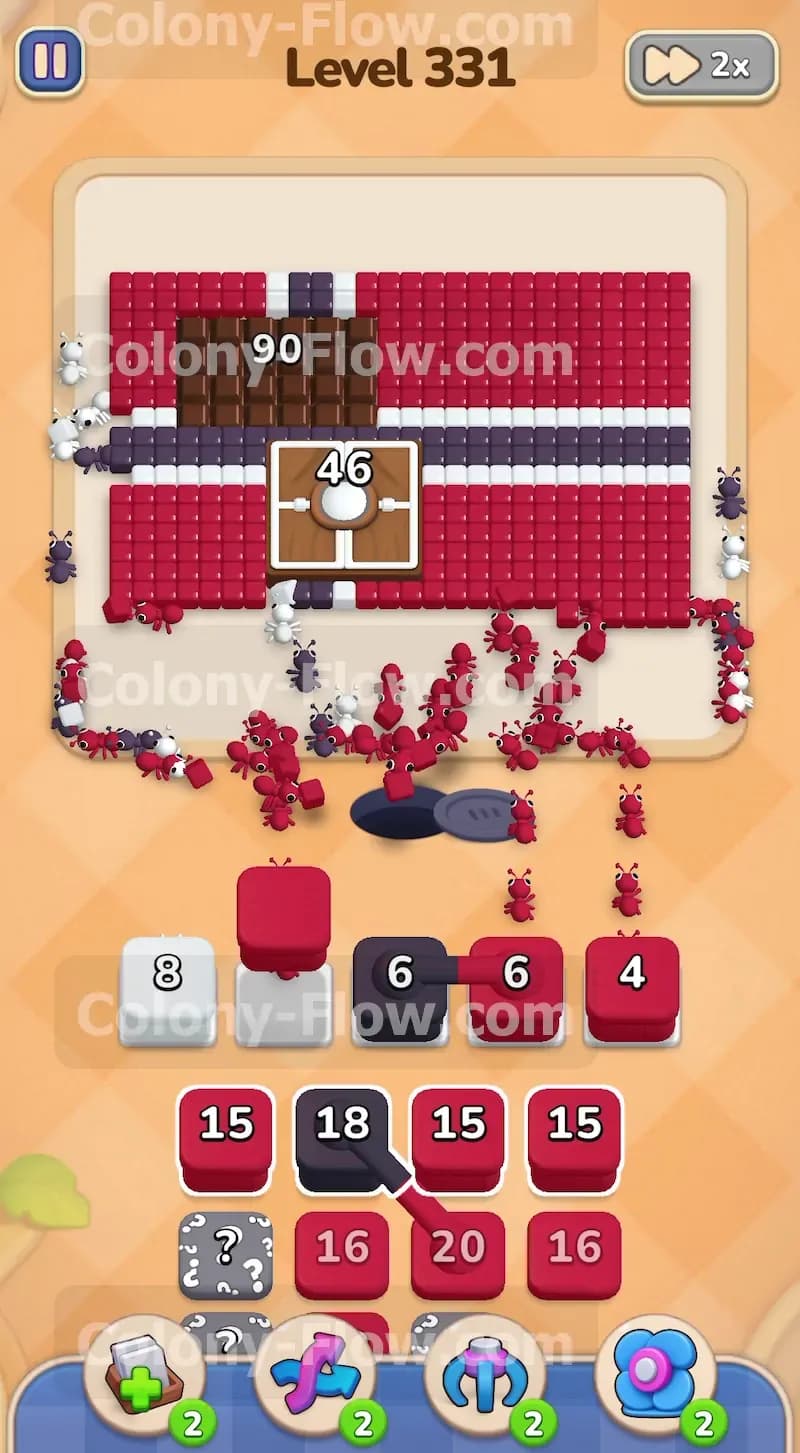
You need to get the ants moving immediately without blocking your five waiting slots. Start by pulling the red 15 block and the dark blue 18 block from the top of the tray. This action sends your first massive wave of ants directly to the right side of the board. The red ants will start chewing the outer red background tiles on the right edge. The dark blue ants will travel up the center to start working on the inner cross. Pulling these specific blocks opens up space in your tray to see what comes next. You want to focus all your early attention on the right side and the bottom edges. The huge chocolate block completely blocks the top left corner right now. Keep pulling red blocks from the tray to clear out the right side of the flag. This early strategy ensures your waiting slots never fill up with useless blocks. You always want at least one color actively moving ants out of the nest hole.
Step 2: You send ants to chip away at the massive chocolate block in the top left corner.
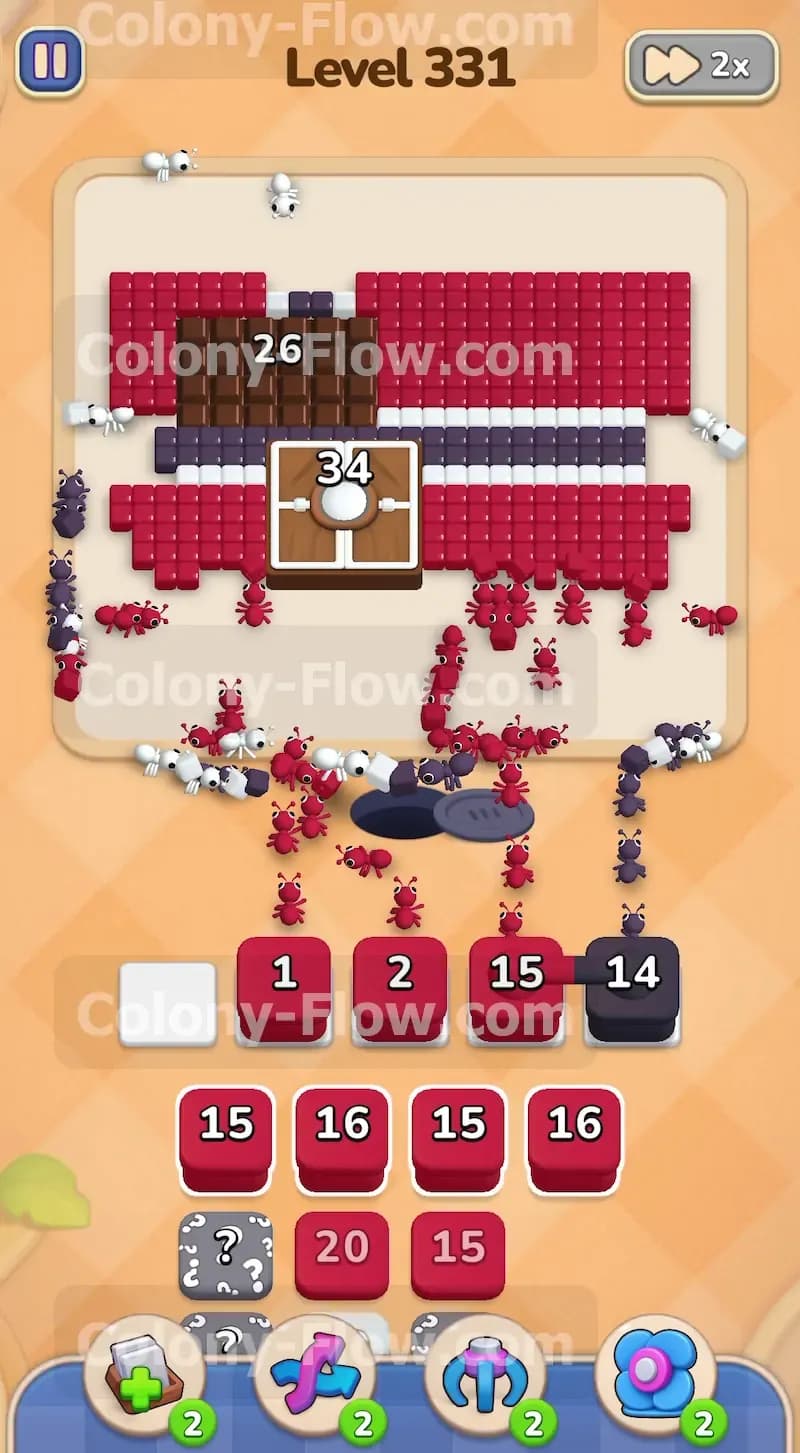
Your next priority is to attack the giant chocolate block in the top left corner of the board. You cannot reach the food tiles under the chocolate until your ants eat through the entire brown shell. The chocolate starts with a massive durability of 112. As your ants clear the red tiles immediately adjacent to the chocolate, they begin to chew on the chocolate itself. You will see the number drop from 112 down to 90 as the ants do their work. Keep pulling red and white blocks from the tray to sustain this attack. You must be extremely careful here. If you pull a hidden box from the tray too early, it might turn out to be a color that has no open path. Leave the hidden boxes alone for now. Focus entirely on feeding the active slots with red blocks and dark blue blocks to keep the pressure on the chocolate. The ants will continue chewing and the number will eventually drop down to 26.
Step 3: You clear the remaining adjacent tiles to completely destroy the chocolate block.
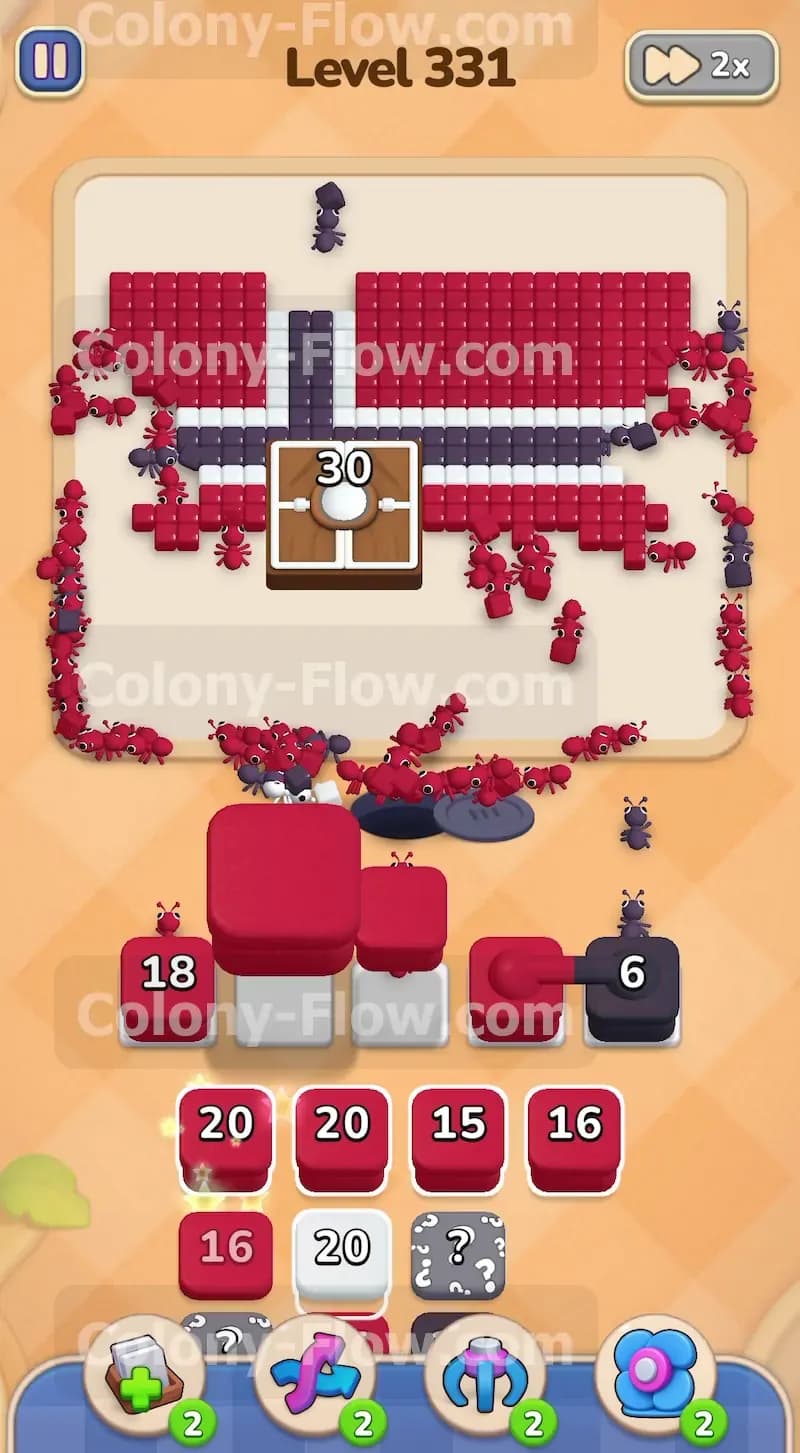
The chocolate block finally shatters and disappears from the board after you feed enough ants into the adjacent tiles. This is a huge moment of relief because it removes the biggest obstacle on the screen. The destruction of the chocolate reveals a whole new section of red, white, and dark blue tiles in the top left corner. Now you have completely new paths open for your colony. This is the perfect time to start pulling the hidden boxes from the bottom tray. Since you opened up the top left corner, nearly every color has a valid path to move. When you pull a hidden box with a question mark, it will fly up to a waiting slot and reveal its true color. Because you cleared the massive blockage, the ants will immediately stream out to eat the newly revealed tiles. You pull a white 20 block to send ants deep into the top left section. Watch your five waiting slots closely because the ants have to travel a long distance from the nest hole to the top left corner. The slots remain full until the ants finish their long walk.
Step 4: You feed white blocks into the active slots to break down the heavy central white section.
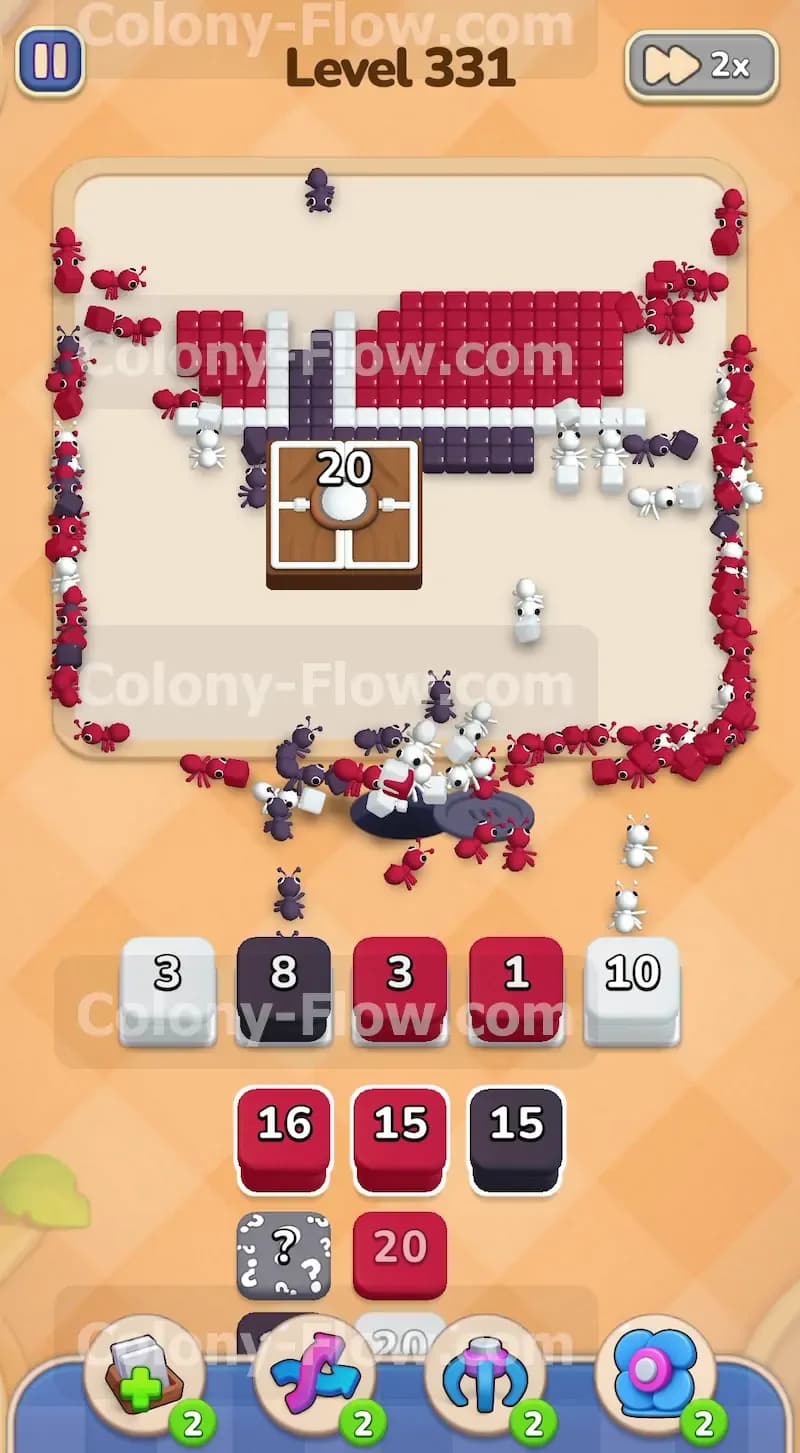
Now you must handle the heavy central white section of the cross pattern. This large white tile group sits right in the middle of the board with a starting value of 50. You need to pull white blocks from the tray to reduce this number manually. You pull a white 20 block into an active slot to drop the total down to 30. The ants will swarm the center and eat away at that massive tile. You still have a lot of dark blue tiles forming the inner cross structure. You pull a dark blue 15 block and a dark blue 14 block to keep the ants moving along the inner pathways. You are balancing the reduction of the central white block with the clearing of the dark blue inner cross. Never pull five blocks at once. You pull two or three blocks and wait for the ants to reach their targets. This patience guarantees you will never dead end the board and lose the level.
Step 5: You pull hidden boxes from the tray to reveal colors for the newly opened corners.
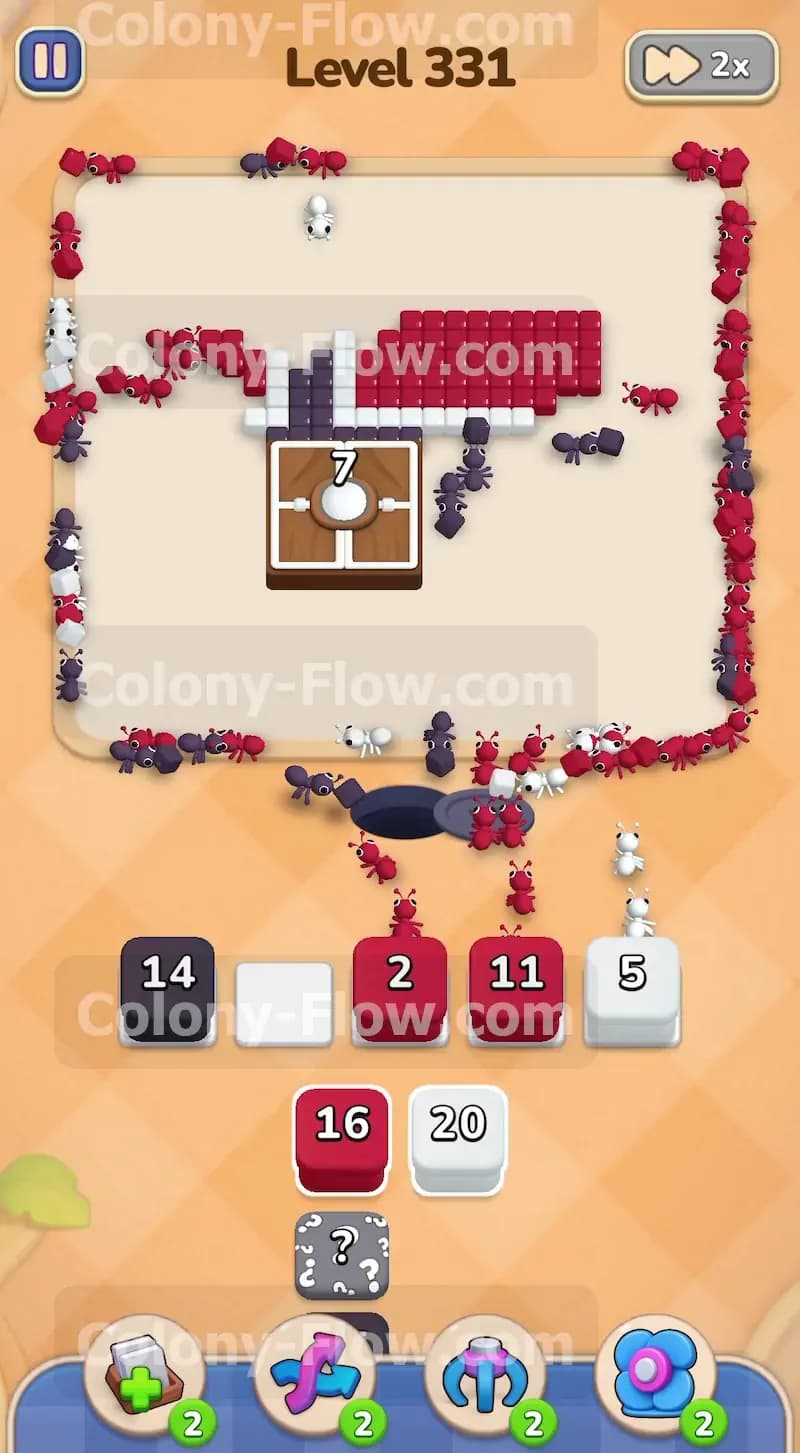
The board is getting very bare and you only have a few scattered clusters of tiles remaining. The massive central white block drops down to 20 and then quickly down to 7. You pull the final white blocks from the tray to completely erase the central section. The outer red background is almost entirely gone at this stage. You will see a few stray red tiles on the far left and right edges. You pull the remaining red blocks from your tray to clean up these stray tiles. You will notice that the travel time for the ants is quite long now. They must walk all the way across the empty board to reach the final tiles on the edges. Do not panic and pull every remaining block in the tray. You wait for the ants to finish eating a tile before you pull the next block. This is the most dangerous part of the game because a simple mistake will fill your waiting slots and end your run.
Step 6: You pull the final dark blue and white blocks to clear the remaining inner cross.
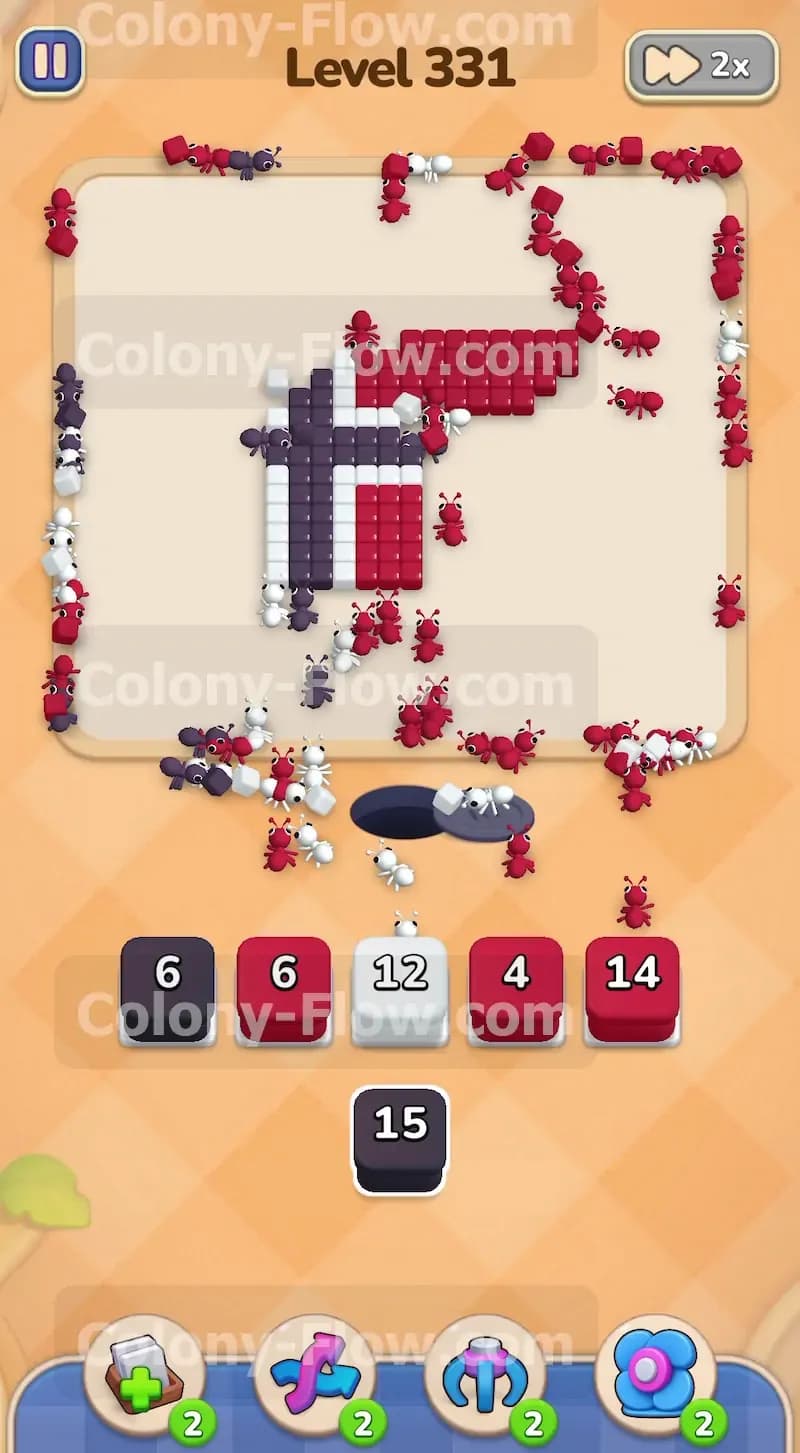
Only a small handful of dark blue and white tiles remain on the board. You look at your tray to find the final dark blue 15 block. You pull this block into your active waiting slot. The ants will march out and swarm the final pieces of the dark blue cross. You might have one or two hidden boxes left at the very bottom of the tray. You pull them now. They will reveal the exact colors you need to finish the board. The ants will clean up the last few white tiles near the center. Once the final tile disappears, the remaining ants will return to the nest hole and the level ends. You successfully navigated the chocolate blockage and managed your tray perfectly to secure the win.
Final Thought
This level tests your patience and your ability to manage the five waiting slots while dealing with a massive obstacle. You must chip away at the chocolate slowly while keeping the rest of the ants moving. I highly encourage you to watch the video above this article if any step is hard to follow in text. Seeing the exact timing of the blocks will help you master the board.