Colony Flow Level 19 Walkthrough Solution & Guides | How to solve Colony Flow 19

Guide By Liam Stone
Updated on July 10, 2026
The video above has the full Level 19 walkthrough, so skip the reading if you just want to watch.
Video doesn't match your screen?
Game updates frequently scramble layouts! Try our AI Screenshot Solver first to find your exact board instantly, or report broken guides to our team.
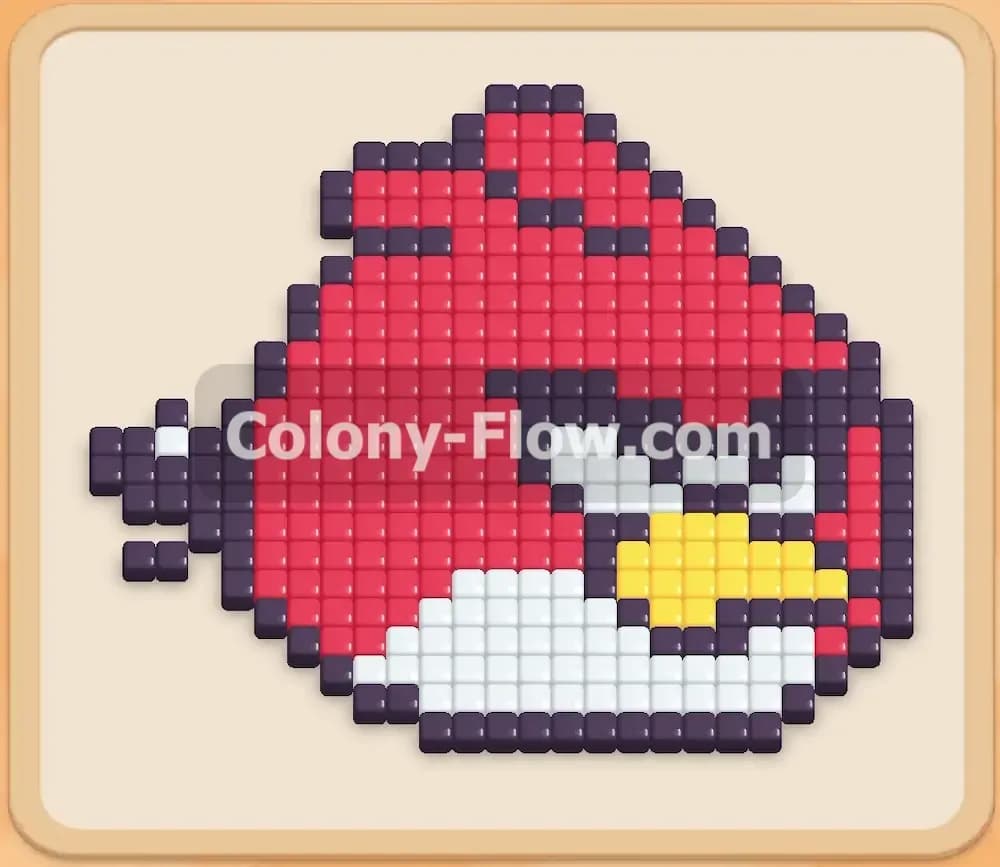
Colony Flow Level 19 introduces a recognizable and fun shape for you to dismantle. You face a large red bird character with a bright yellow beak and a thick black outline. This stage tests your ability to handle a massive central color block while picking off smaller details around the edges. I played this board multiple times to find the safest route through the waiting slots. You will need a solid plan to avoid filling your tray and trapping your ants.
Colony Flow Level 19 Overview
What You Are Working With
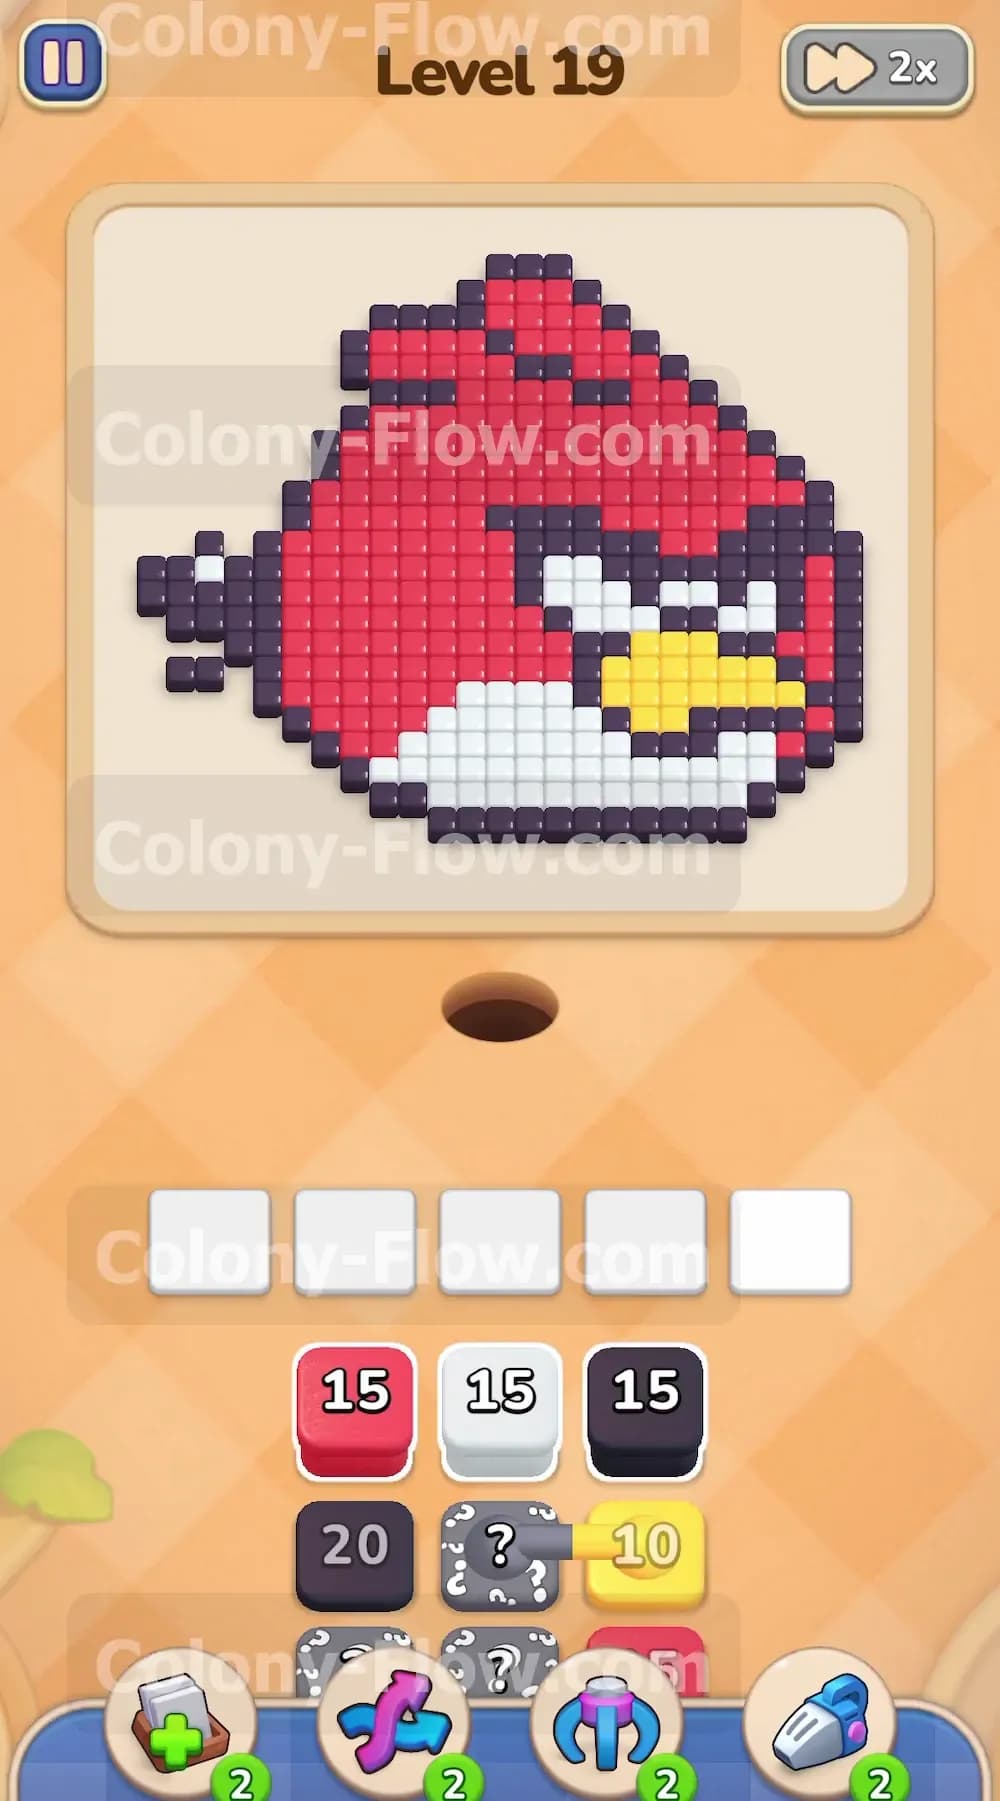
The main picture features a large red body taking up the top two thirds of the board. The bottom third features a white belly section that sits directly above the nest hole. A bold black border wraps entirely around the shape and forms a few tail feathers on the left side. The right side features a striking yellow beak pointing outward. Your tray starts with a red fifteen block along with a white fifteen block and a black fifteen block. Below those starting options you will spot several hidden boxes marked with question marks. These hidden boxes keep their true colors a secret until you clear the blocks above them and they slide up the tray. Further down the tray you will uncover a pair of connected yellow boxes. These connected boxes link a yellow ten and a yellow eight together so they must move as a single unit.
Level 19 Objective
Your primary goal is to clear the entire red bird picture from the screen. You achieve this by matching colored numbered blocks from your tray to the corresponding colored tiles on the board. The ants emerge from their nest and follow open paths to consume the tiles. You win when every pixel is gone and the last ant returns to the nest. You lose the level if you fill all five of your waiting slots with blocks that the ants cannot reach. This happens when the active colors in your slots do not match any exposed tiles on the board. You must always maintain at least one open path for your colony to keep the line moving and prevent the board from jamming.
Colony Flow Level 19 Step by Step Solution
Step 1: Open the bottom of the board by pulling white and black blocks.
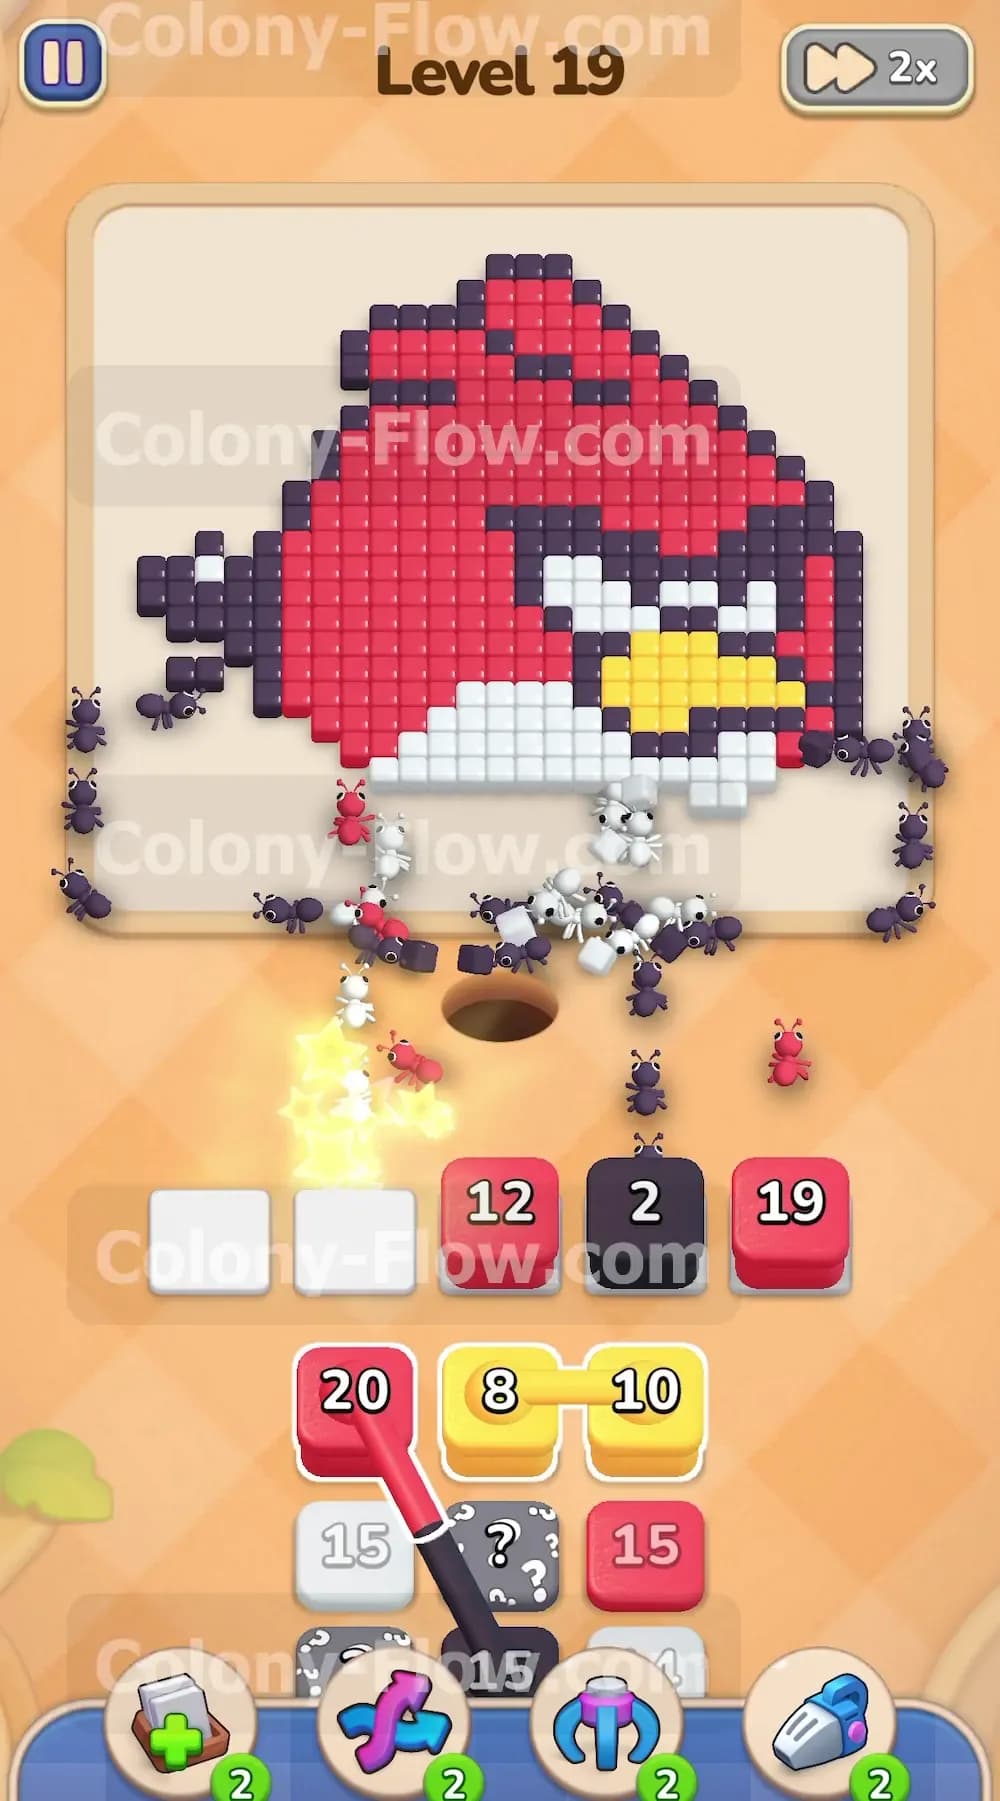
You want to start by attacking the lowest point of the picture where the ants first arrive. Pull the white fifteen block and the black fifteen block from the top row of your tray. The colony will immediately march out of the hole and begin eating the white belly tiles and the lower black border tiles. This action creates a wide opening for your ants to reach the inner sections of the bird. Adding these two blocks fills only two of your five waiting slots. This leaves you plenty of room to introduce a new color while the ants do their initial clearing work.
Step 2: Pull the first red block to expose the hidden boxes.
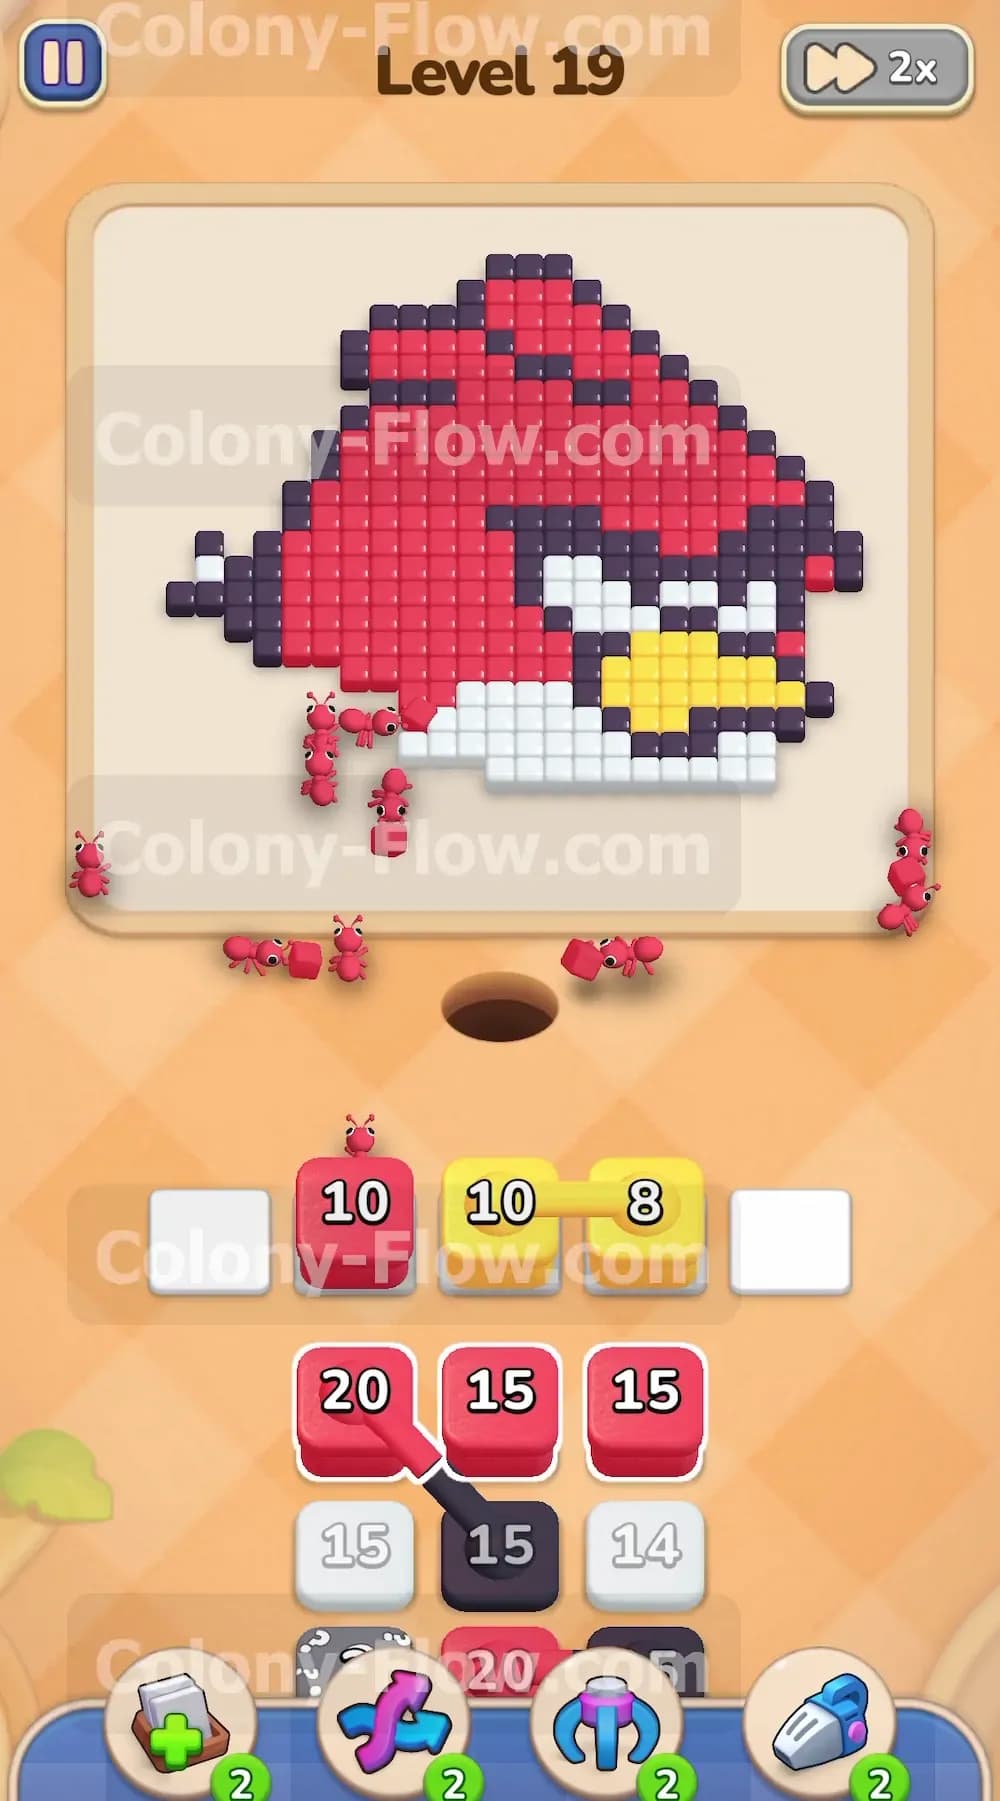
With the white and black tiles vanishing from the bottom edge you now have access to the main red body. Pull the red fifteen block from the tray up into a waiting slot. The ants will swarm up the middle and start chewing away at the massive red section. Moving this red block creates a gap in your tray. This gap allows the hidden boxes below to slide up and reveal their true colors. Revealing these hidden boxes early is a critical move. You need to know what colors you have available so you can plan your next pulls without guessing and risking a board jam.
Step 3: Clear the beak using the connected yellow blocks.
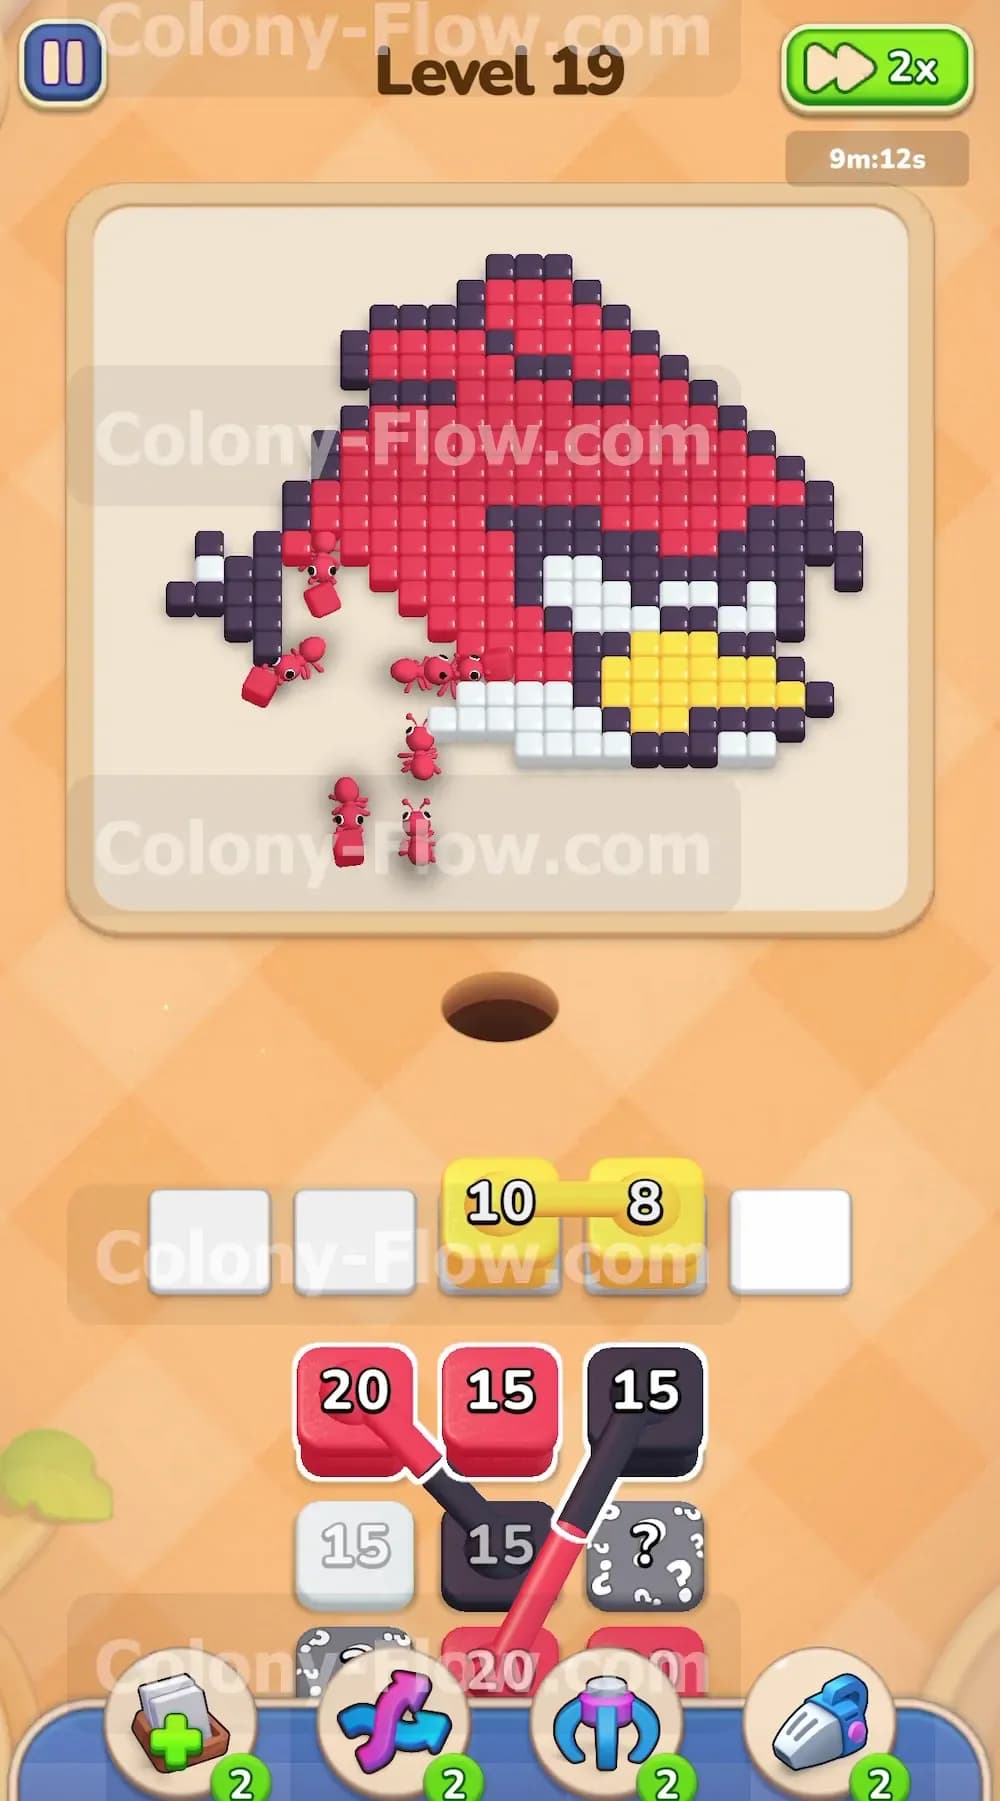
As the hidden boxes reveal themselves you will see a yellow eight block connected to a yellow ten block. The ants have now cleared enough of the black outline to reach the yellow beak on the right side of the face. Pull this connected yellow pair into your waiting slots. Because they are linked together they will take up two of your five slots instantly. You must ensure you have two empty slots available before you tap them. The colony will flow to the right and consume the entire yellow beak. This removes a major obstacle from the right flank of the image and opens up more of the black outline for later.
Step 4: Maintain progress on the massive red area to prevent jams.
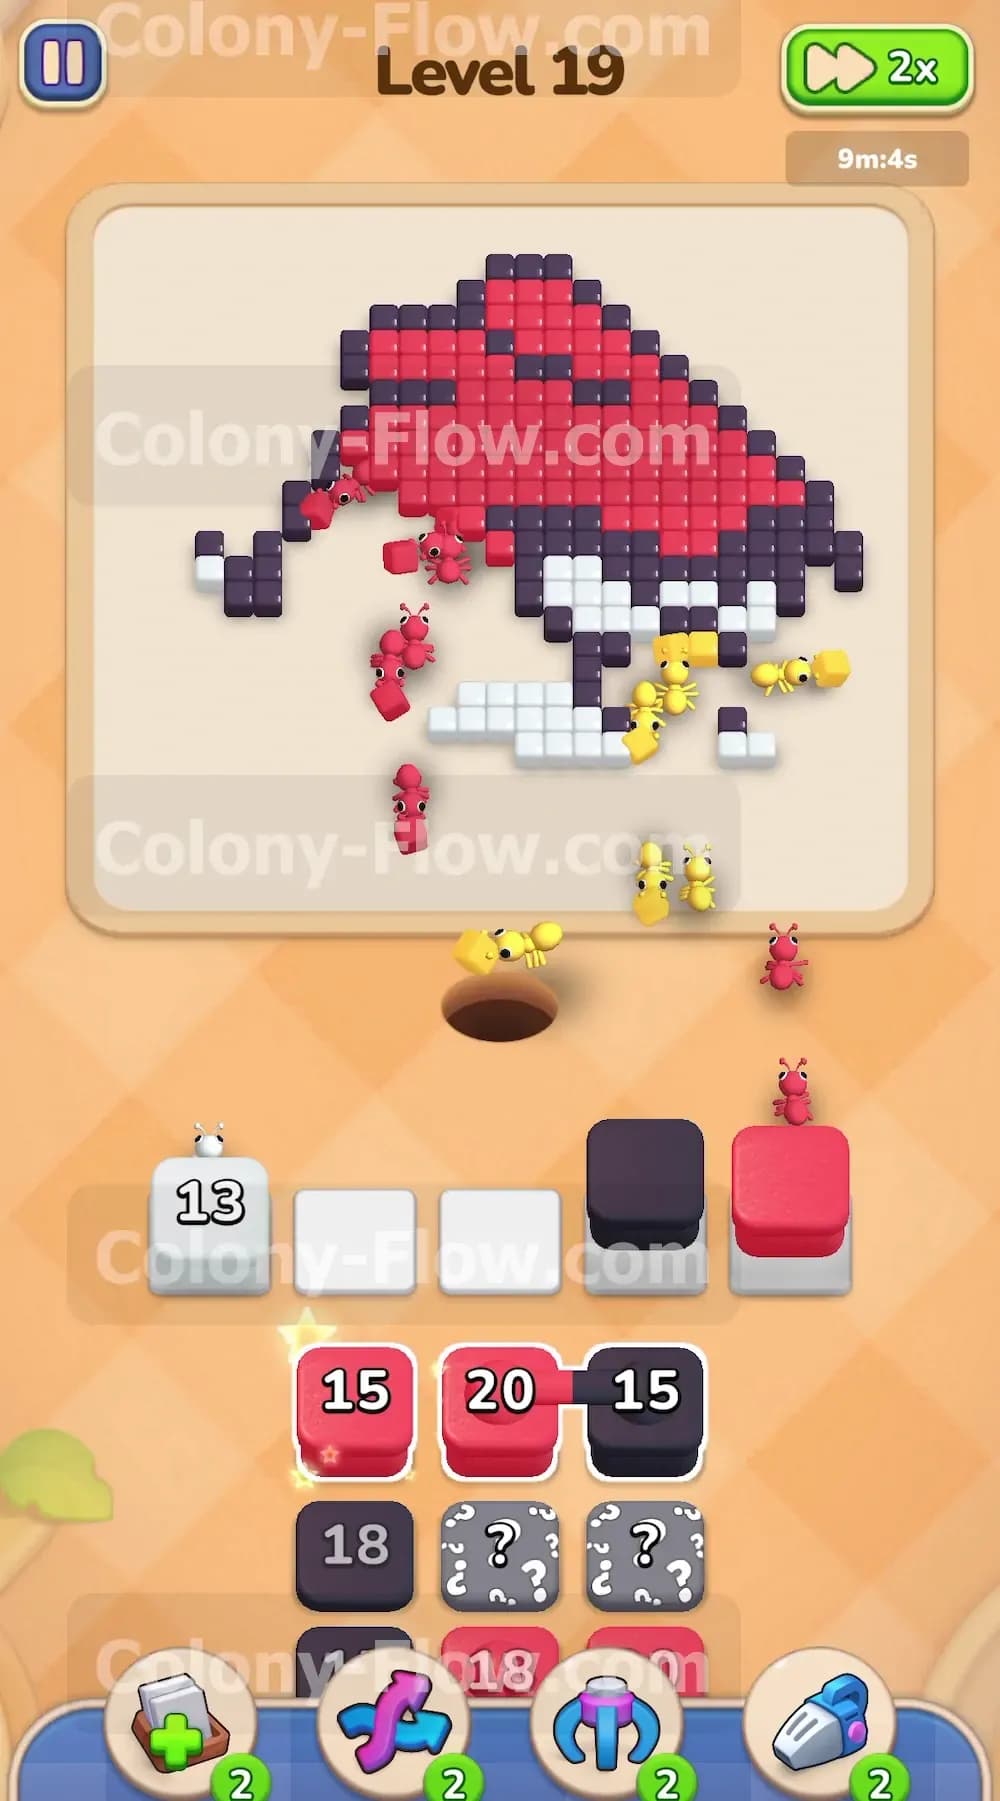
The red section of this bird is huge and requires a constant stream of ants to clear. You will see another red twenty block become available in your tray. Pull this red twenty block into the waiting area as soon as your first red block finishes its countdown. Keeping a red block active at all times is the best way to guarantee your ants always have a valid target. The red tiles stretch across the entire top of the board. Because these red tiles are always exposed after the initial bottom clears you will never dead end the board as long as a red block is in play.
Step 5: Finish the white belly and clear the remaining black borders.
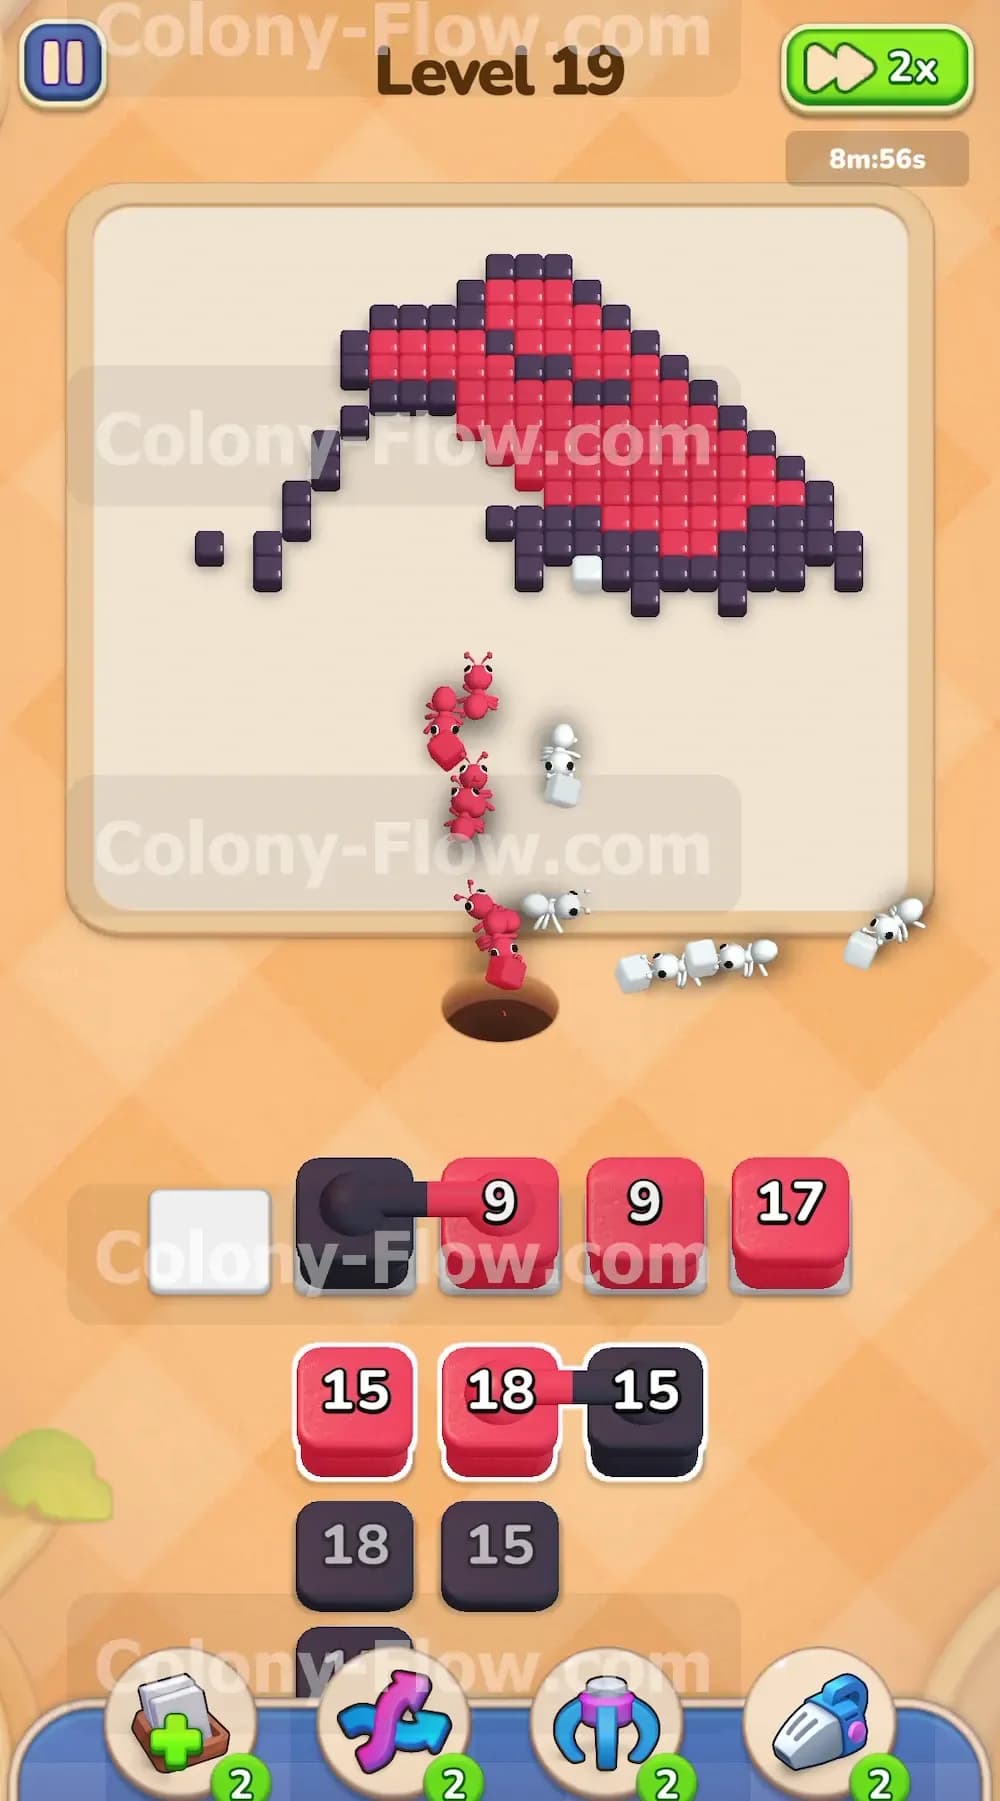
Another white fifteen block and a black fifteen block will appear as you pull more hidden boxes from the bottom of the tray. The ants are currently busy with the red body but you need to finish the lower sections. Pull the white fifteen block to completely eliminate the rest of the white belly. Once the white tiles disappear the colony gains direct access to the black tail feathers on the left side. Pull the black fifteen block to let the ants consume these tail feathers and the right side border. Managing these smaller color sections alongside the large red area keeps your tray free from clutter.
Step 6: Grind down the final top section of the picture.
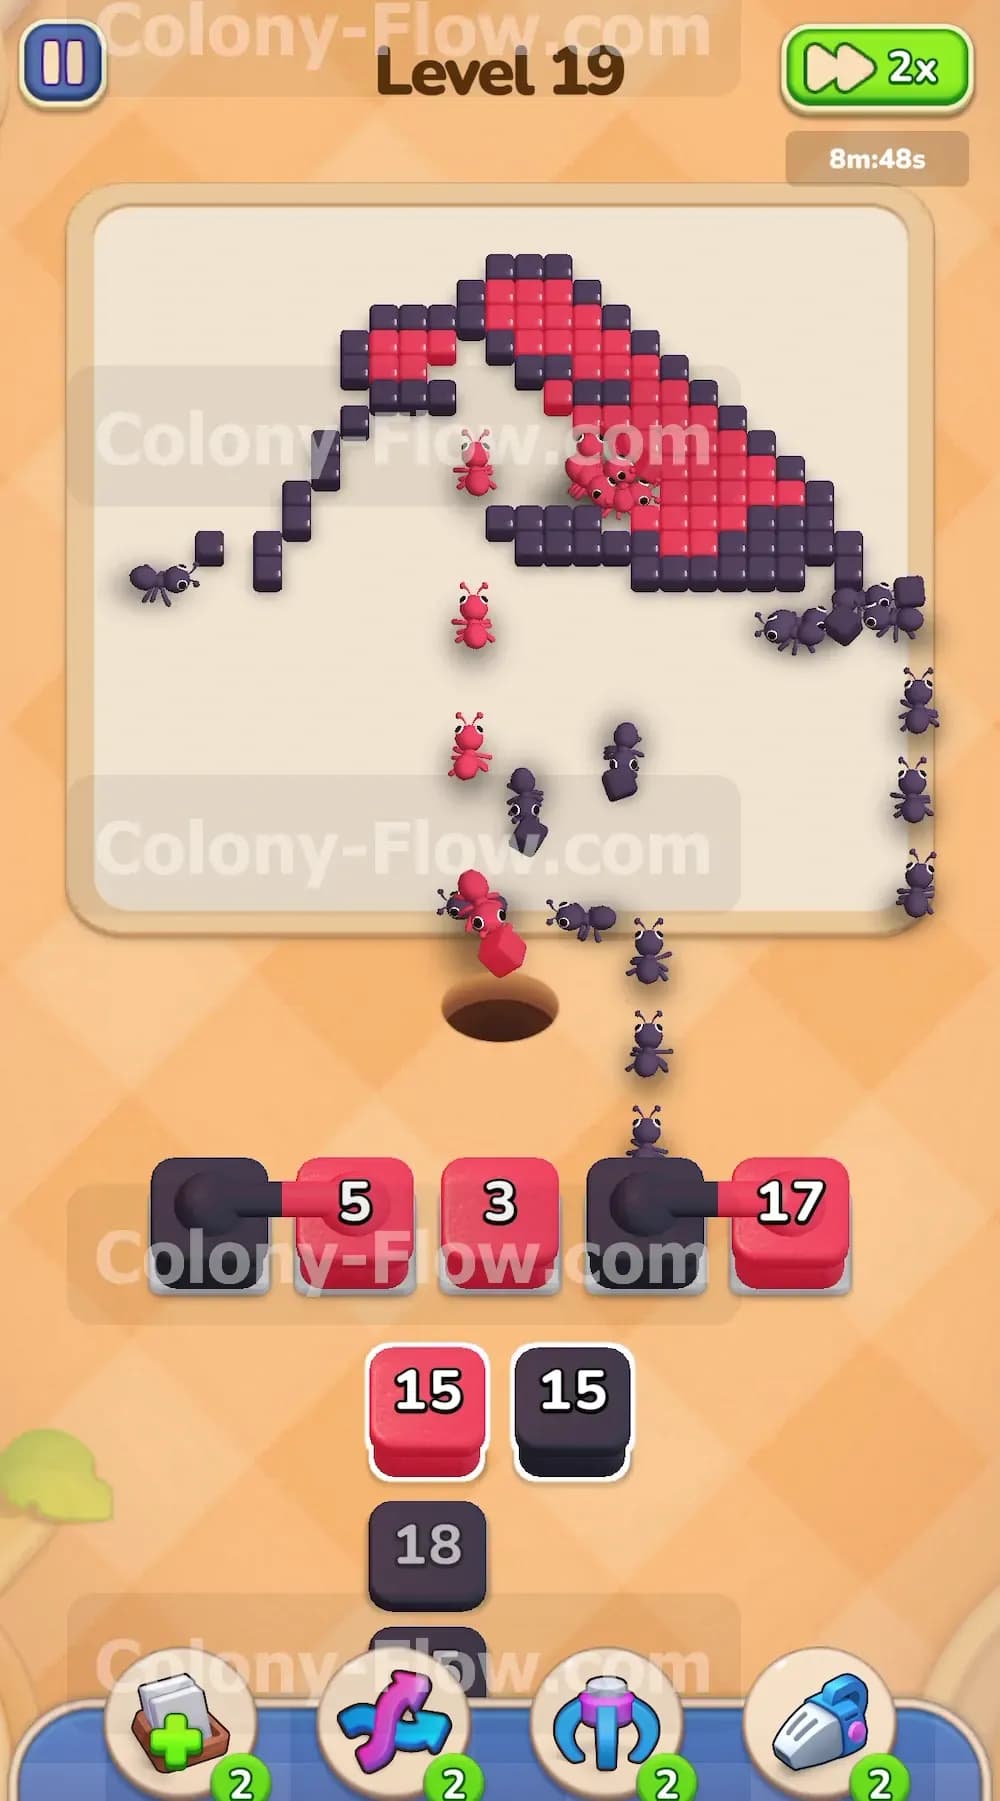
The board is now reduced to the top half of the red head and a few black outline pixels. Your tray will offer high number blocks like a black eighteen and a red eighteen. Pull these blocks into the slots. The ants will travel further up the screen to reach these remaining tiles. The travel time takes slightly longer now because the paths stretch from the nest hole all the way to the top corners. Be patient and do not flood your slots with unnecessary blocks while the ants make their long journey. Let them finish the red eighteen block completely before adding new ones.
Step 7: Clear the last few pixels to win the level.
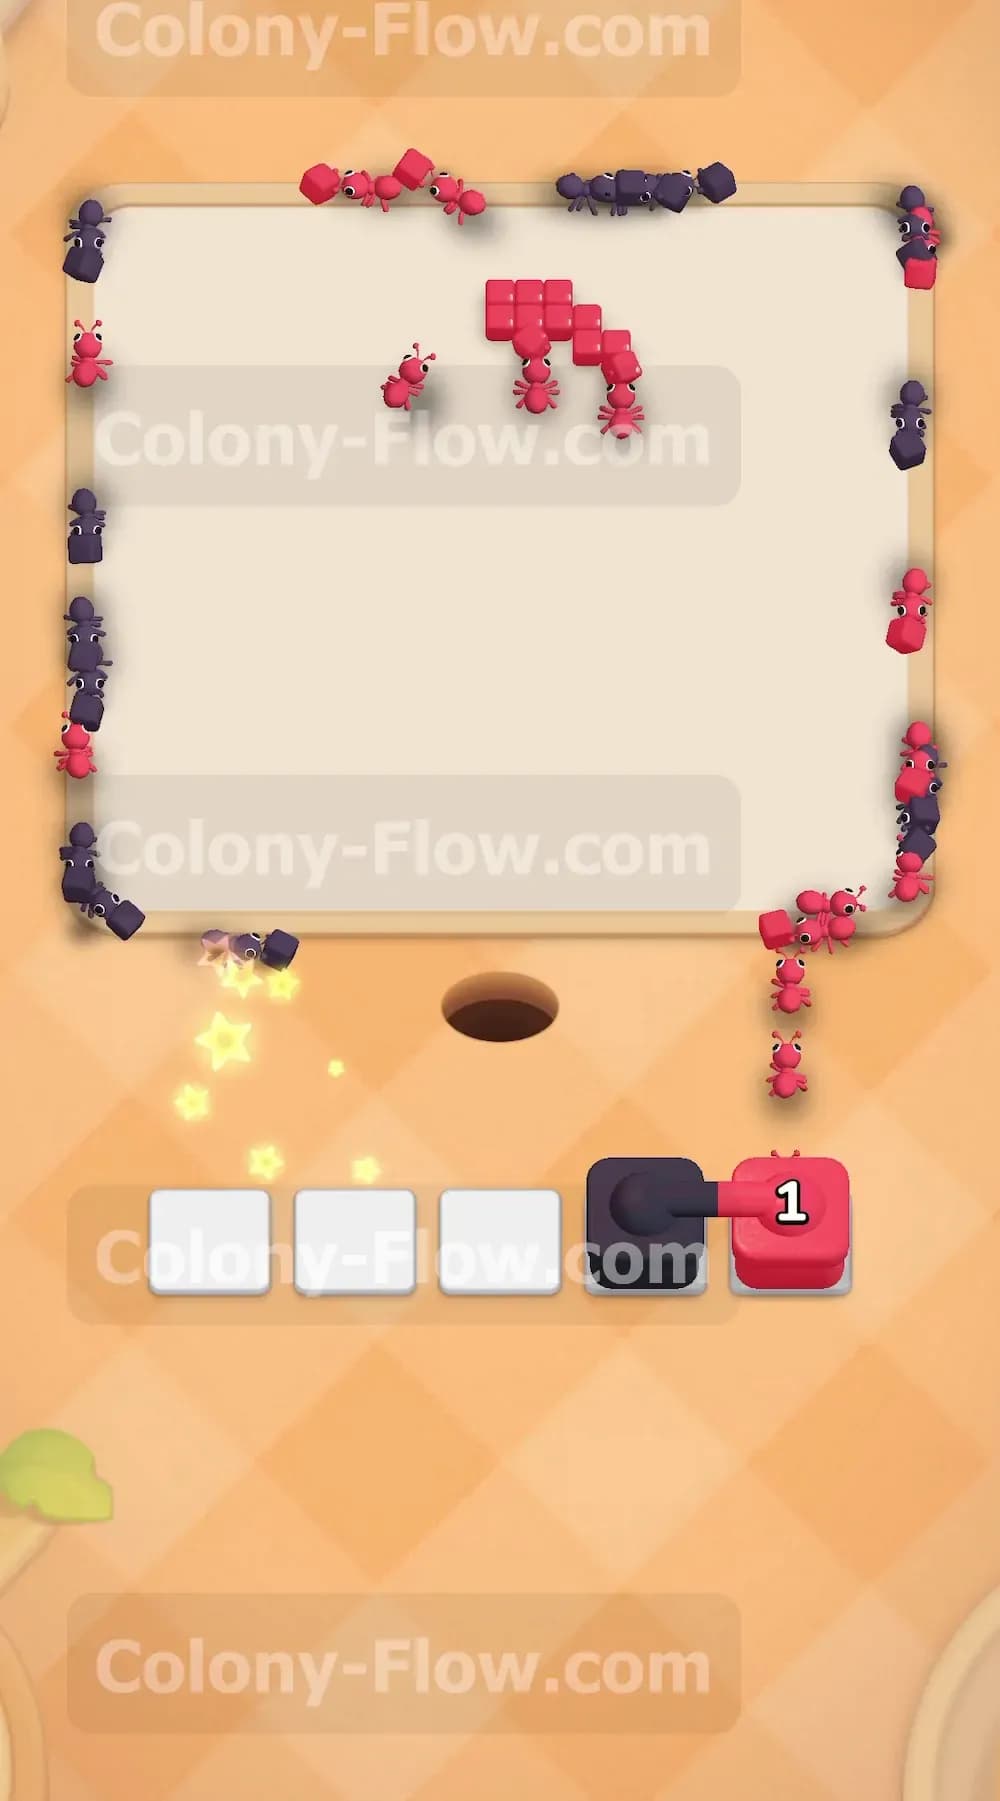
Only a tiny cluster of red and black tiles remains at the very top edge of the screen. Your tray will present a few final blocks with very small numbers like a black one and a red one. Pull these last blocks into your waiting slots. A small group of ants will make the final trek to the top of the board to eat these last few pixels. Once the final tile vanishes the ants will turn around and head back down to the hole. The board is now completely empty and you have successfully cleared the stage.
Overall Strategy to Clear Level 19 Board
Attack the White Belly First The white belly sits directly above the nest hole at the bottom center of the board. You must clear this area immediately to create walking space for your colony. If you ignore the white belly and try to pull side colors early your ants will waste time walking around the central blockage. Clearing the white tiles opens a massive highway right into the core of the red bird.
Keep a Red Block Active at All Times The red body is the largest solid color block in this entire picture. Because it takes up so much space you will always have red tiles exposed and ready to eat. Pulling a red block is the safest move you can make when your tray starts feeling cramped. The ants will always find a path to a red tile which ensures your waiting slots never lock up completely.
Prepare Two Slots for the Connected Yellow Blocks The yellow beak consists of tiles that you must clear using the connected yellow eight and yellow ten blocks. These two blocks are physically stuck together in your tray. You cannot pull one without pulling the other. You must plan ahead and leave two empty waiting slots open before you attempt to move them. If you fill four slots and try to pull the yellow pair the move will fail and you will lose valuable time.
Reveal Hidden Boxes Quickly Your tray starts with a row of standard blocks sitting on top of several hidden boxes. These hidden boxes show grey question marks instead of colors and numbers. You cannot form a long term plan until you know what colors those boxes hold. Pull the active blocks above them as early as possible to force the tray to slide upward. This action flips the hidden boxes and reveals the essential red and black blocks you need for the late game.
Account for Longer Travel Times at the End As you clear the bottom and middle sections the remaining tiles will sit at the very top edge of the screen. The ants must walk a very long distance from the bottom hole to reach these top tiles. The numbers on your blocks will count down much more slowly during this phase. Be patient and wait for the blocks to finish before pulling new ones. Pulling too many blocks while the ants are walking can easily fill your slots and cause a sudden loss.
Final Thought
Beating this red bird shape requires patience and a good eye for tray management. You have to balance the fast clearing bottom tiles with the slow grind of the massive red body. Take your time when the ants have to walk to the top corners of the screen. Please watch the video above this article if any part of the text is hard to follow. Seeing the ants move and watching the tray shift will help you understand exactly when to pull your blocks.