Colony Flow Level 266 Walkthrough Solution & Guides | How to solve Colony Flow 266

Guide By Liam Stone
Updated on July 15, 2026
The full Level 266 solution plays out in the video above, no reading required.
Video doesn't match your screen?
Game updates frequently scramble layouts! Try our AI Screenshot Solver first to find your exact board instantly, or report broken guides to our team.
Welcome to Colony Flow Level 266. This level presents a fun pixel art boba tea cup that requires careful progression from the bottom to the top. You have to break through the bottom of the cup to get your ants inside the drink. You also have to manage two Hungry Doors that block your progress. I will walk you through exactly how to feed your colony and clear every tile without jamming your tray slots.
Colony Flow Level 266 Overview
What You Are Working With
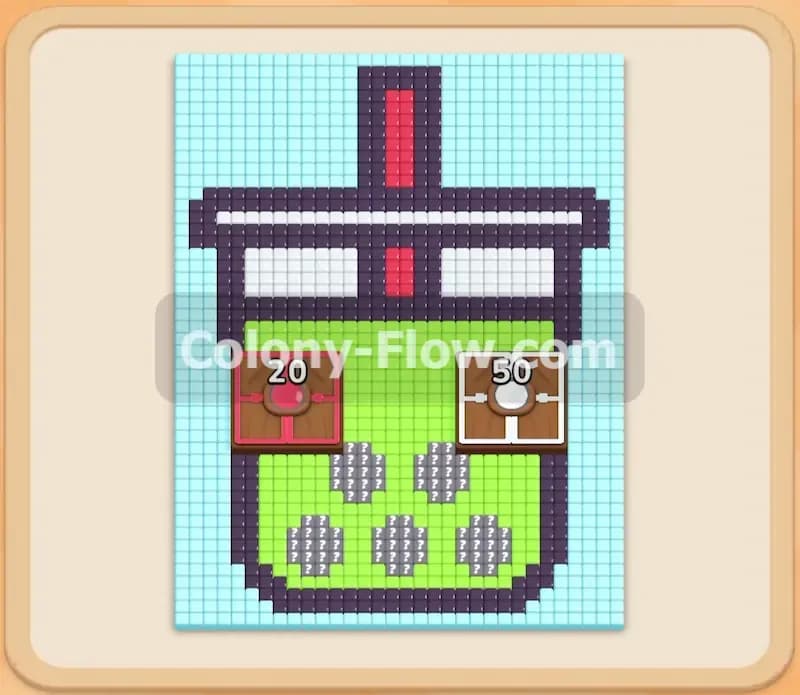
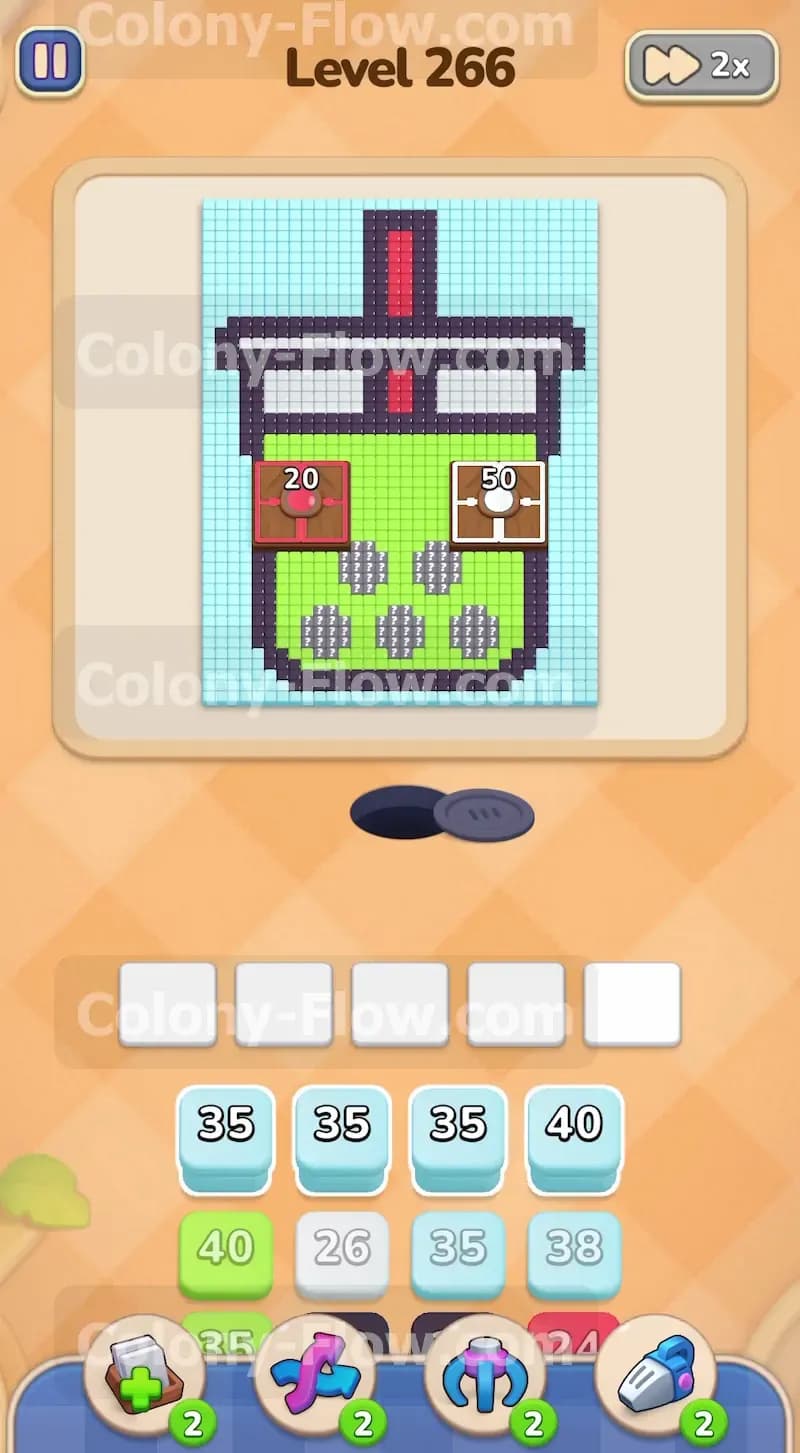
The board features a large boba tea cup with a light blue background. The cup has a dark purple outline. Inside the cup is a green drink filled with round white pearls. The top of the cup has a large white lid and a tall red straw. Two Hungry Doors sit inside the green drink area. The left door is a red Hungry Door that requires twenty red tiles to open. The right door is a white Hungry Door that requires fifty white tiles to open. Your tray holds light blue, dark purple, green, white, and red blocks.
What It Takes to Clear Level 266 Board
Clearing this level means working your way from the outside in and then from the bottom to the top. You start by clearing the bottom outline to open a path into the cup. Then you send ants inside to clear the drink and the pearls. The pearls provide some of the white tiles needed for the right Hungry Door. You must keep clearing the outline to reach the white lid and the red straw at the top. Eating the lid and the straw satisfies the remaining requirements for both Hungry Doors. Once the doors open, you can clear the final green tiles hidden underneath them and finish the level.
Colony Flow Level 266 Step by Step Solution
Step 1: Clear the lower background and the bottom outline
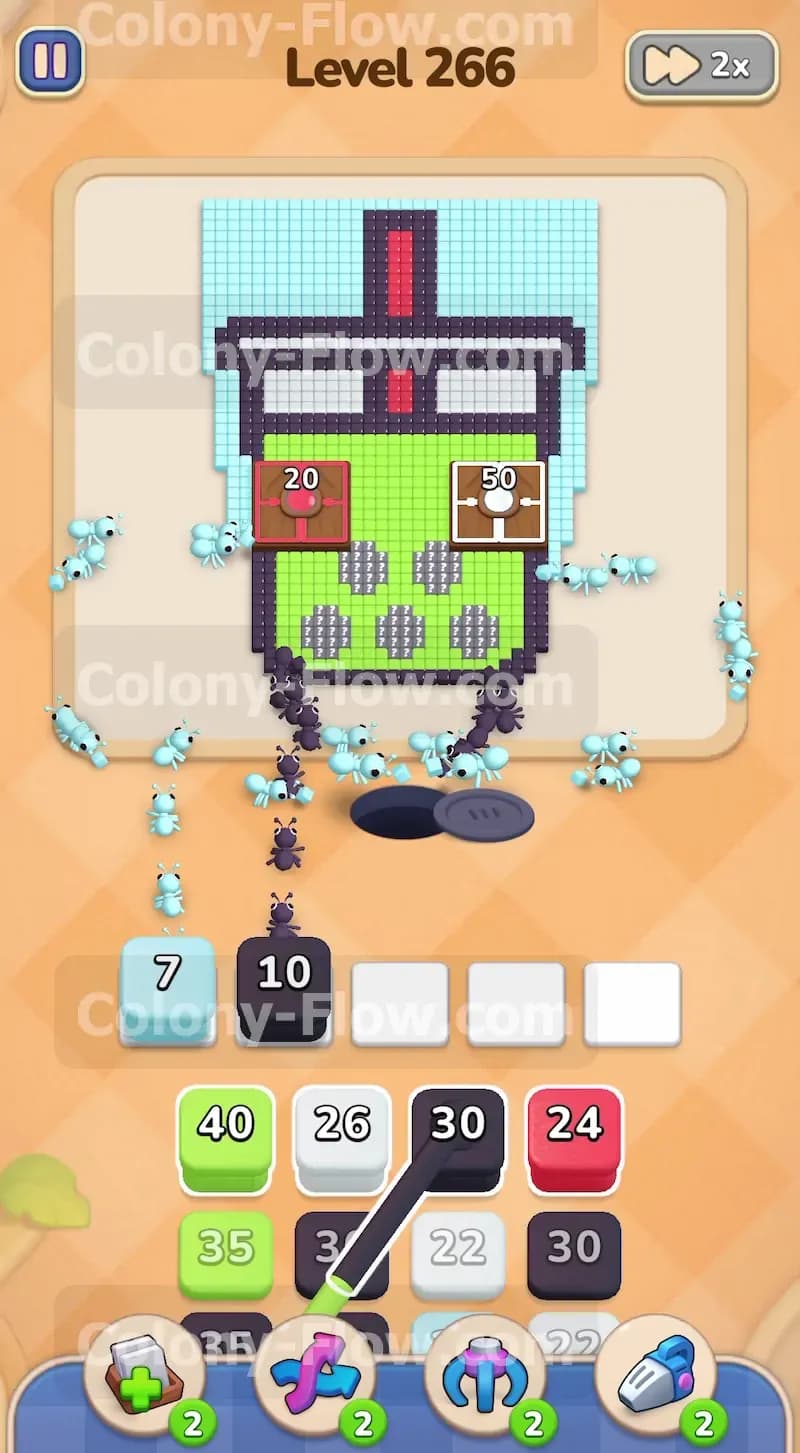
Your only open paths at the start are the light blue background and the dark purple outline at the very bottom of the cup. You have five empty waiting slots at the bottom of the screen. Pull a light blue block and a dark purple block into your slots. The light blue ants will stream out of the nest hole to eat the lower corners of the background. The dark purple ants will attack the flat bottom edge of the cup outline. Keep a close eye on your slots and pull more light blue and dark purple blocks as they empty out. You must completely remove the bottom dark purple tiles to create an opening into the green drink area. Never pull a green or white block yet because they have no open paths. Pulling a blocked color early will dead end your board and waste a valuable slot.
Step 2: Send ants inside the cup to eat the green drink
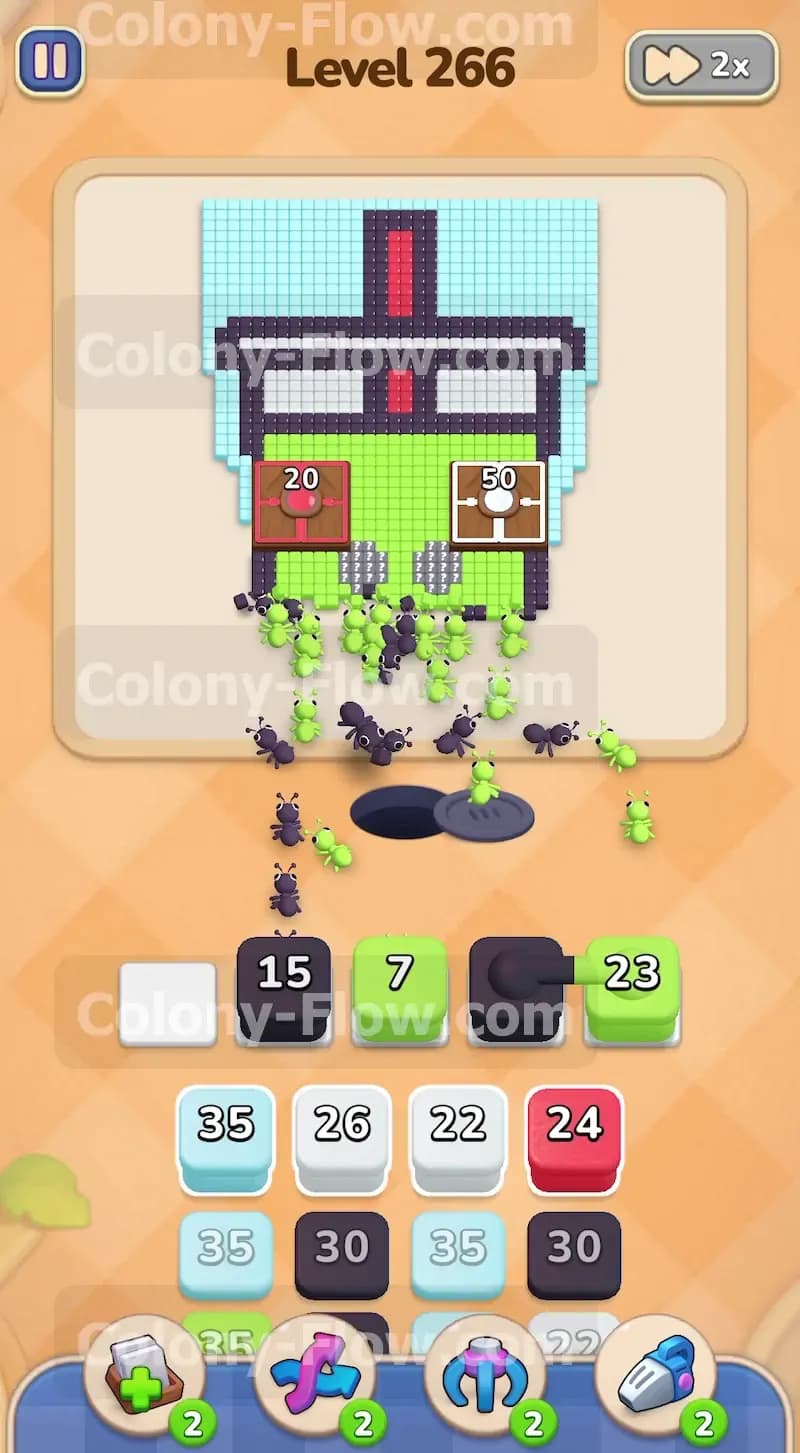
Once the dark purple ants clear the bottom outline, a path opens directly into the green drink. Pull a green block from the tray into a waiting slot. Green ants will march through the gap you just made and start eating the bottom layer of the green drink. As the green ants clear tiles, they move upwards into the cup. This action starts exposing the round white pearls suspended in the drink. You want to keep pulling green blocks to expand the open space inside the cup. The green ants clear the drink layer by layer. This steady upward progress is the only way to reach the pearls and eventually reach the hidden space just below the Hungry Doors. You must pace your green blocks so the ants never run out of food to eat.
Step 3: Clear the white pearls to feed the white door
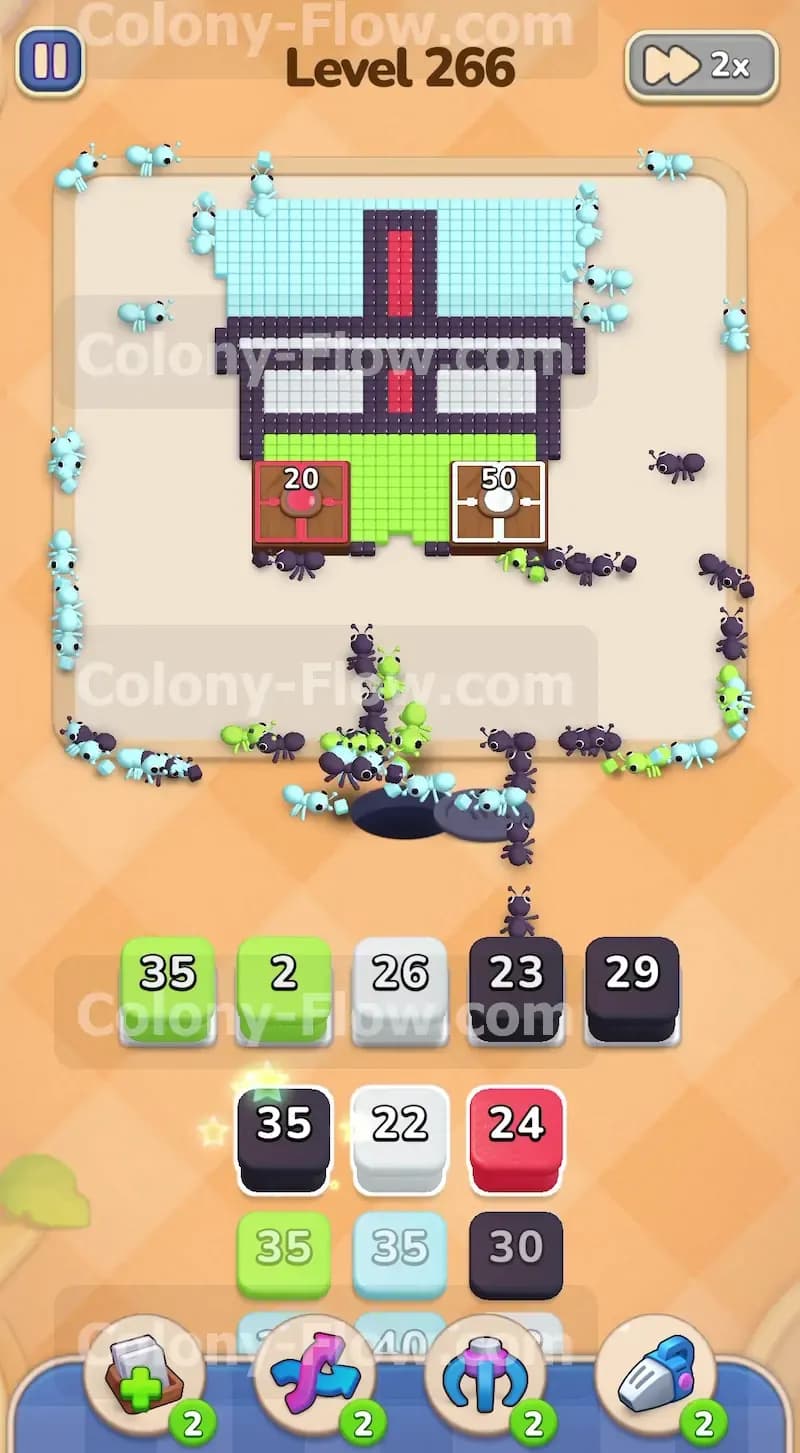
The white Hungry Door on the right needs fifty white tiles to open. The white pearls inside the green drink are your first source of white tiles. When the green ants expose the edges of these pearls, pull a white block into an empty slot. White ants will enter the cup and eat the pearls. Every pearl they clear drops the requirement count shown on the white Hungry Door. You will not find fifty white tiles in the pearls alone. You have to rely on the white lid later to finish opening the door. For now, clear all the exposed pearls to keep your white blocks moving and prevent your slots from filling up with inactive numbers. Managing these smaller pearl clusters prepares you for the larger white sections at the top.
Step 4: Work up the sides of the dark purple outline
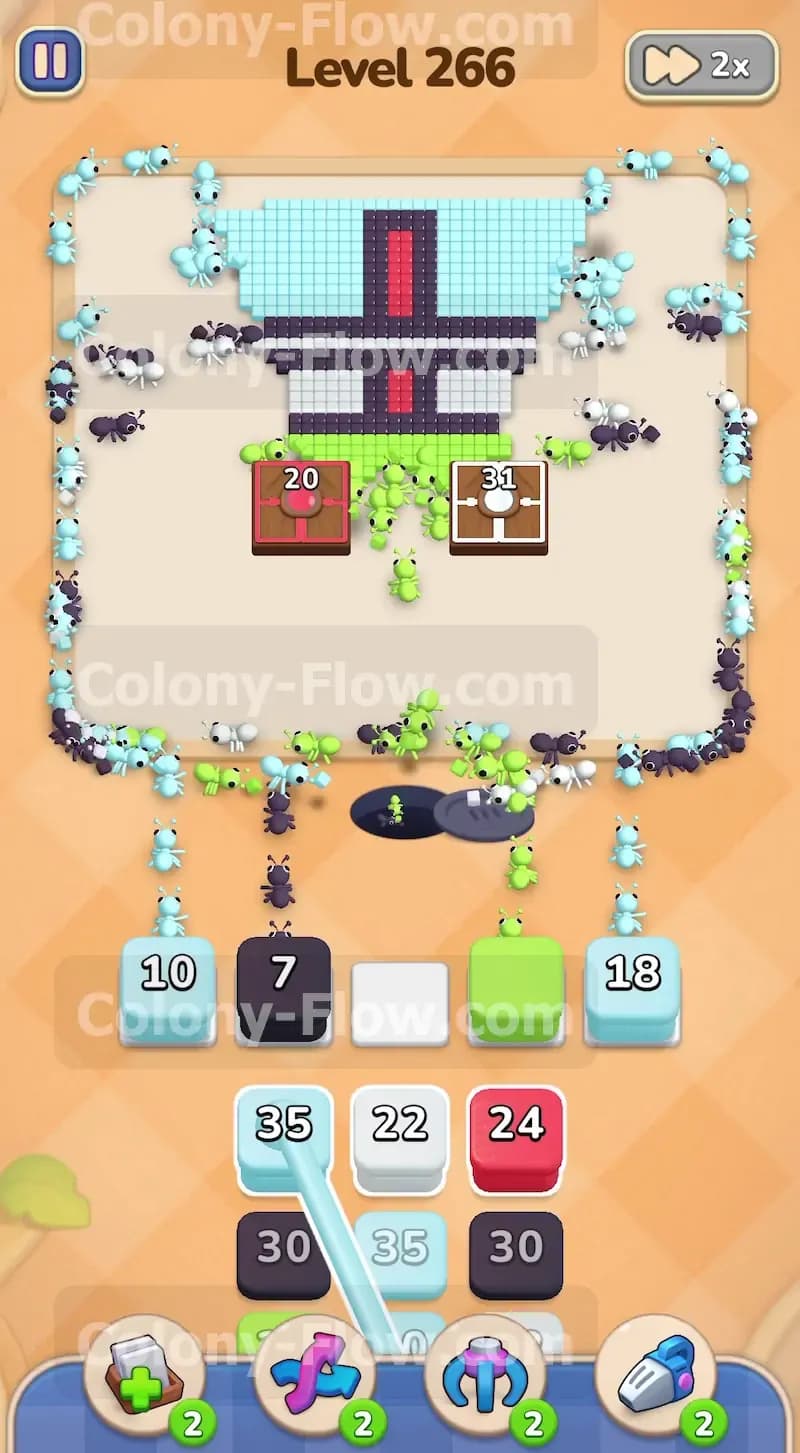
While your green and white ants are busy inside the cup, you need to advance up the outside. Pull more dark purple blocks to send ants up the left and right sides of the cup outline. You also need to pull light blue blocks to clear the middle sections of the background. Keeping the dark purple outline clearing is mandatory because it is the only way to reach the top of the cup. If you ignore the outline, you will not be able to access the lid or the straw. This means you will eventually lose the level when your slots jam with red and white blocks that have nowhere to go. Multitasking between the inside and the outside of the cup keeps the board flowing smoothly and ensures you always have a valid move.
Step 5: Eat the white lid to open the right door
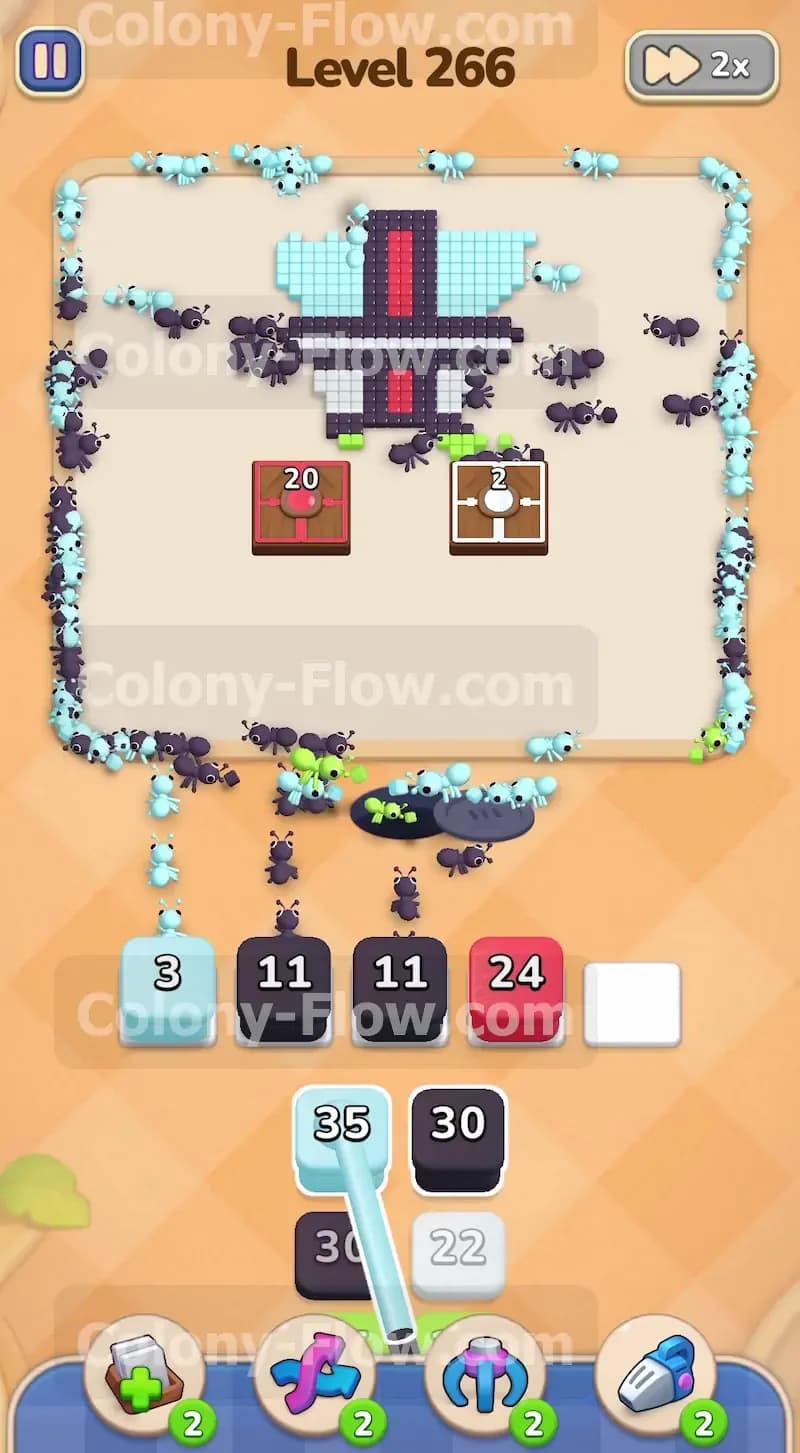
As the dark purple ants clear the upper sides of the cup, they expose the large white lid. The white Hungry Door still needs more white tiles to open. Pull another white block into a waiting slot. White ants will swarm the lid and clear it piece by piece. This large area of white tiles provides the exact number needed to finish the requirement. You will see the counter on the white Hungry Door drop all the way to zero. The white Hungry Door will then vanish from the board completely. When the door disappears, it reveals a solid block of green tiles that were previously hidden underneath it. You are now one step closer to finishing the board.
Step 6: Attack the red straw to open the left door
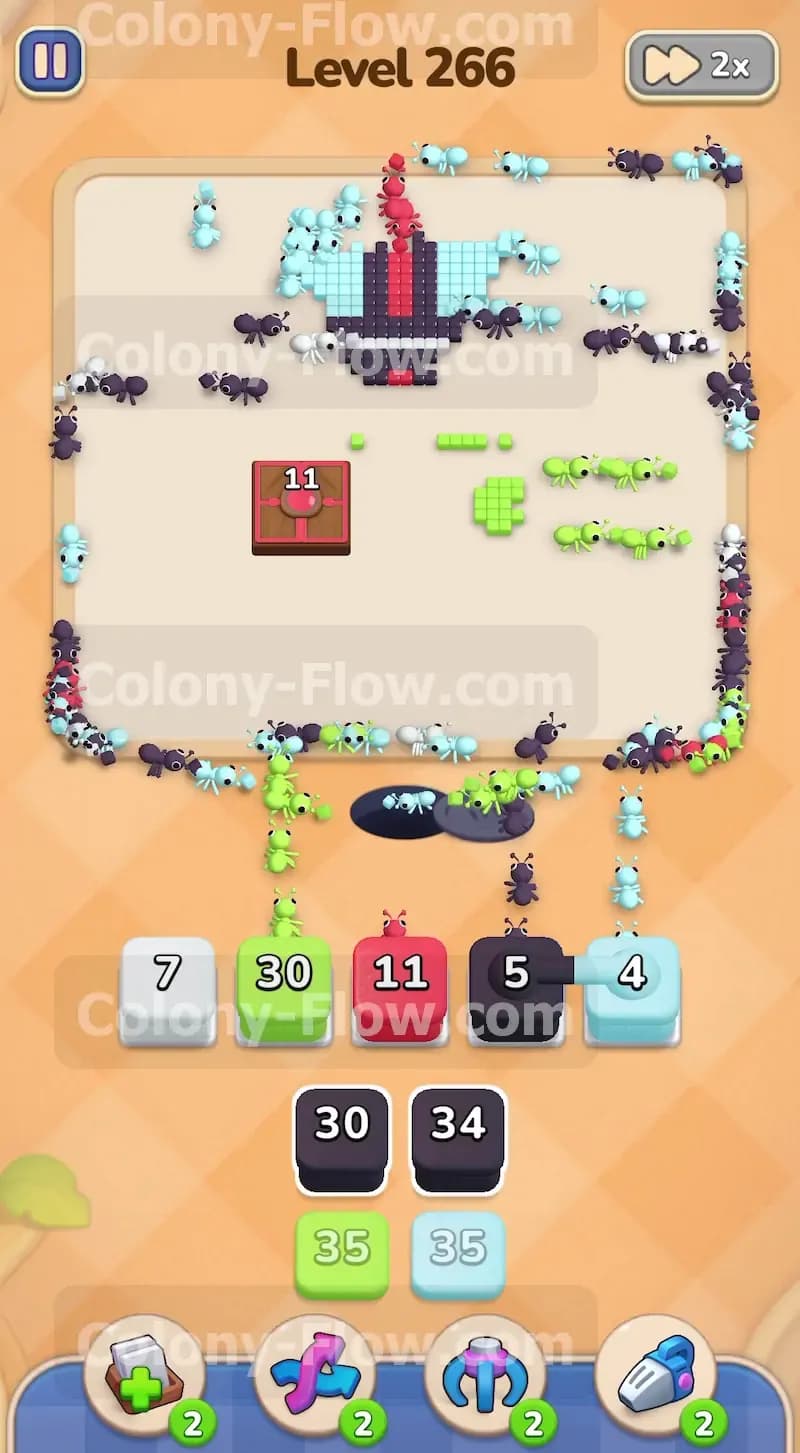
Clearing the top dark purple outline and the white lid also exposes the red straw sticking out of the cup. The left Hungry Door is red and requires twenty red tiles to open. Pull a red block from the tray. Red ants will climb all the way to the top of the board and start eating the straw. The red tiles are located at the very highest point of the picture so the ants have a very long travel time. Pull the red block as soon as the straw is exposed so the ants can start their journey immediately. As the red tiles disappear, the count on the red Hungry Door drops. Once the red ants finish the straw, the requirement is completely met. The red Hungry Door vanishes and uncovers the second section of hidden green tiles.
Step 7: Clear the hidden green tiles behind the doors
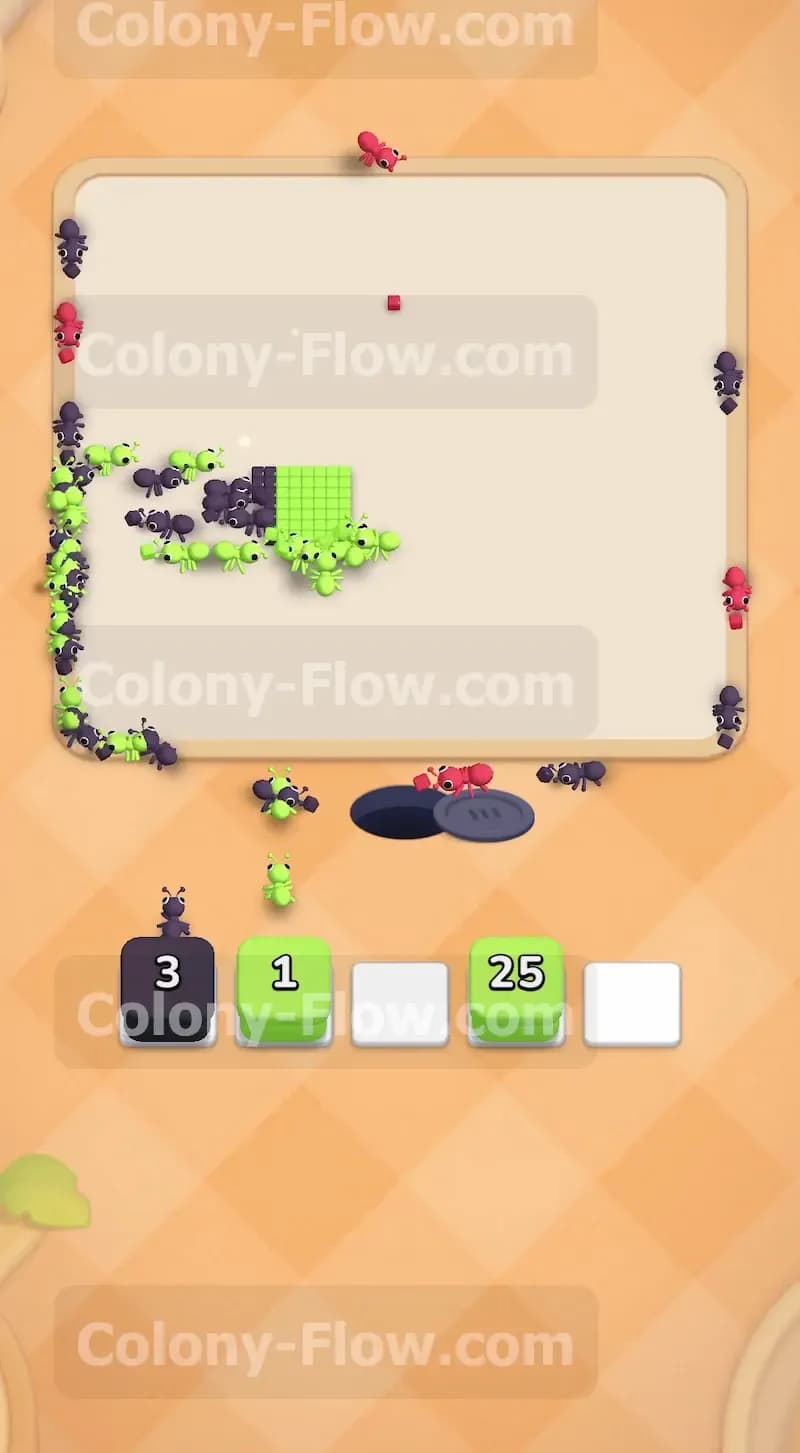
Both Hungry Doors are now gone from the board. The green tiles they were hiding are fully exposed and ready to be eaten. Pull your remaining green blocks into the slots. Green ants will rush back into the upper section of the cup to clear these newly revealed tiles. You must wait for the doors to open before using your last green blocks. If you pull a green block while the doors are still closed, the block will take up a slot and wait because it has no valid targets. Holding off on these green blocks ensures your tray never dead ends. The ants will quickly consume the remaining green drink and clear the center of the board.
Step 8: Finish the remaining background and outline tiles
With the inside of the cup completely cleared, you only have a few scattered tiles left on the board. The top corners of the light blue background and the very top edge of the dark purple straw outline are all that remain. Pull your final light blue and dark purple blocks from the tray. The ants will march straight up to the top and sweep away the last remaining pieces of the picture. Your waiting slots will remain perfectly clear and the level will end in a win. You have successfully navigated the Hungry Doors and mastered the flow of the board.
Final Thought
This level is a great test of timing and slot management. Breaking through the bottom of the cup and working your way up is very satisfying. If you have trouble timing your blocks or opening the Hungry Doors, watch the video above this article. The visual guide will help you master the flow and clear the board.