Colony Flow Level 365 Walkthrough Solution & Guides | How to solve Colony Flow 365

Guide By Liam Stone
Updated on July 18, 2026
If you're short on time, the video above covers the entire Level 365 solution in a few minutes.
Video doesn't match your screen?
Game updates frequently scramble layouts! Try our AI Screenshot Solver first to find your exact board instantly, or report broken guides to our team.
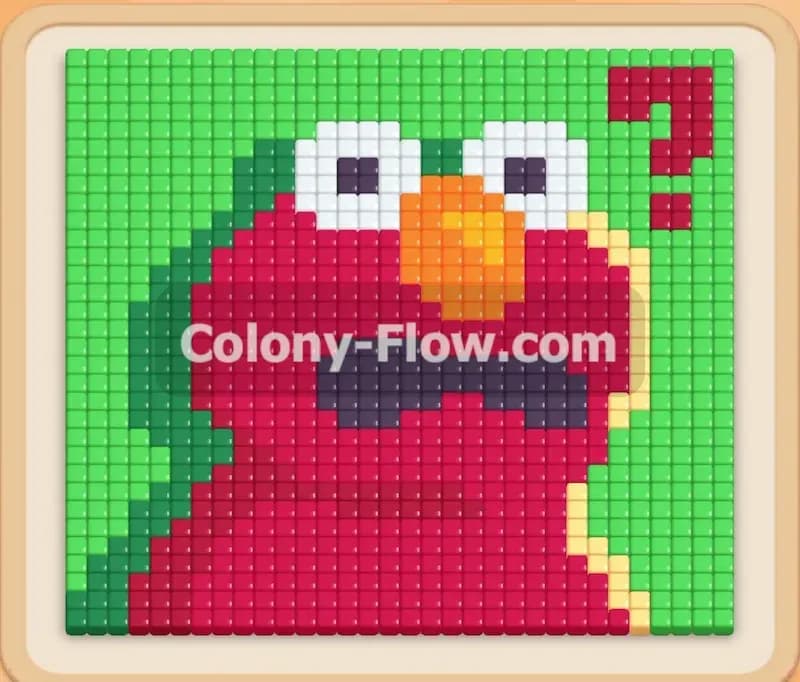
Playing Colony Flow Level 365 requires patience and careful path management to avoid a frustrating dead end. You face a large red monster picture with a green background and several internal colors locked away from your ants. I will walk you through exactly how I clear this board without letting the five waiting slots fill up. Follow my moves and you will clear the tiles smoothly and claim your victory.
Colony Flow Level 365 Overview
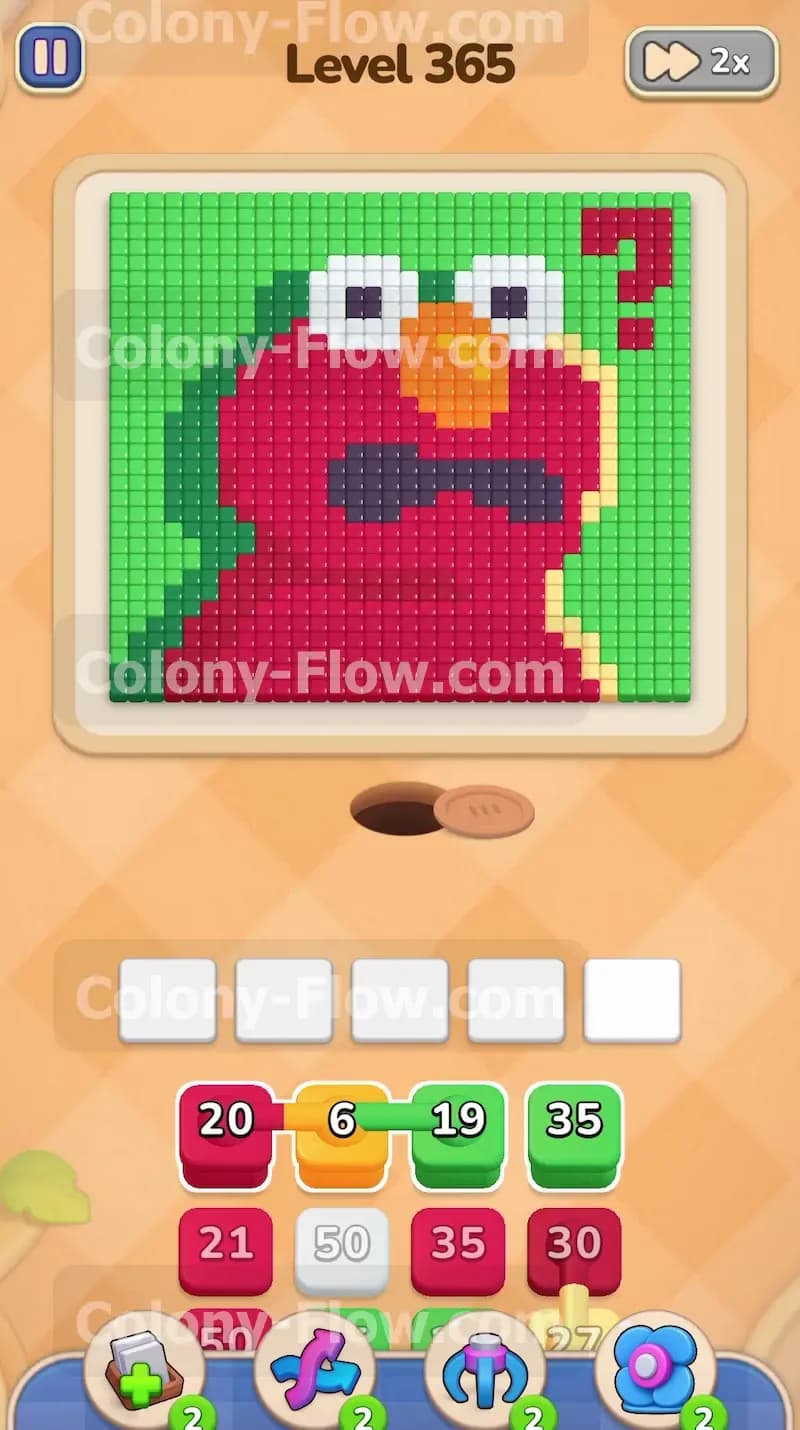
What You Are Working With
The board displays a large pixel art face resembling a red monster. The face features a large orange nose right in the middle. Two white eyes with black pupils sit above the nose. A wide black mouth stretches across the bottom half of the face. A red question mark floats on the upper right side of the picture. A solid green background completely surrounds the red face and the question mark. Your tray at the bottom holds a mix of green, red, white, black, and orange numbered blocks. You also have connected boxes where two different colored blocks are linked together by a visible line. You must pull these linked blocks at the same time. The nest hole sits at the bottom center of the screen where all your ants will spawn and begin their march.
What It Takes to Clear Level 365 Board
You win the level when your ants consume every single colored tile on the board and the picture entirely disappears. You lose the level if you fill all five waiting slots with blocks that have no open paths to their matching colors. The core strategy for this level is peeling the picture from the outside in. You must clear the outer green shell to unlock the red face. Then you clear the red tiles to create open paths to the white eyes, the black mouth, and the orange nose. You must always verify that a specific color has an open path touching the empty space before you pull its matching block from the tray. Keeping at least one path open at all times ensures your waiting slots never jam and your ants never stop moving.
Colony Flow Level 365 Step by Step Solution
Step 1: Start by clearing the outer green background border.
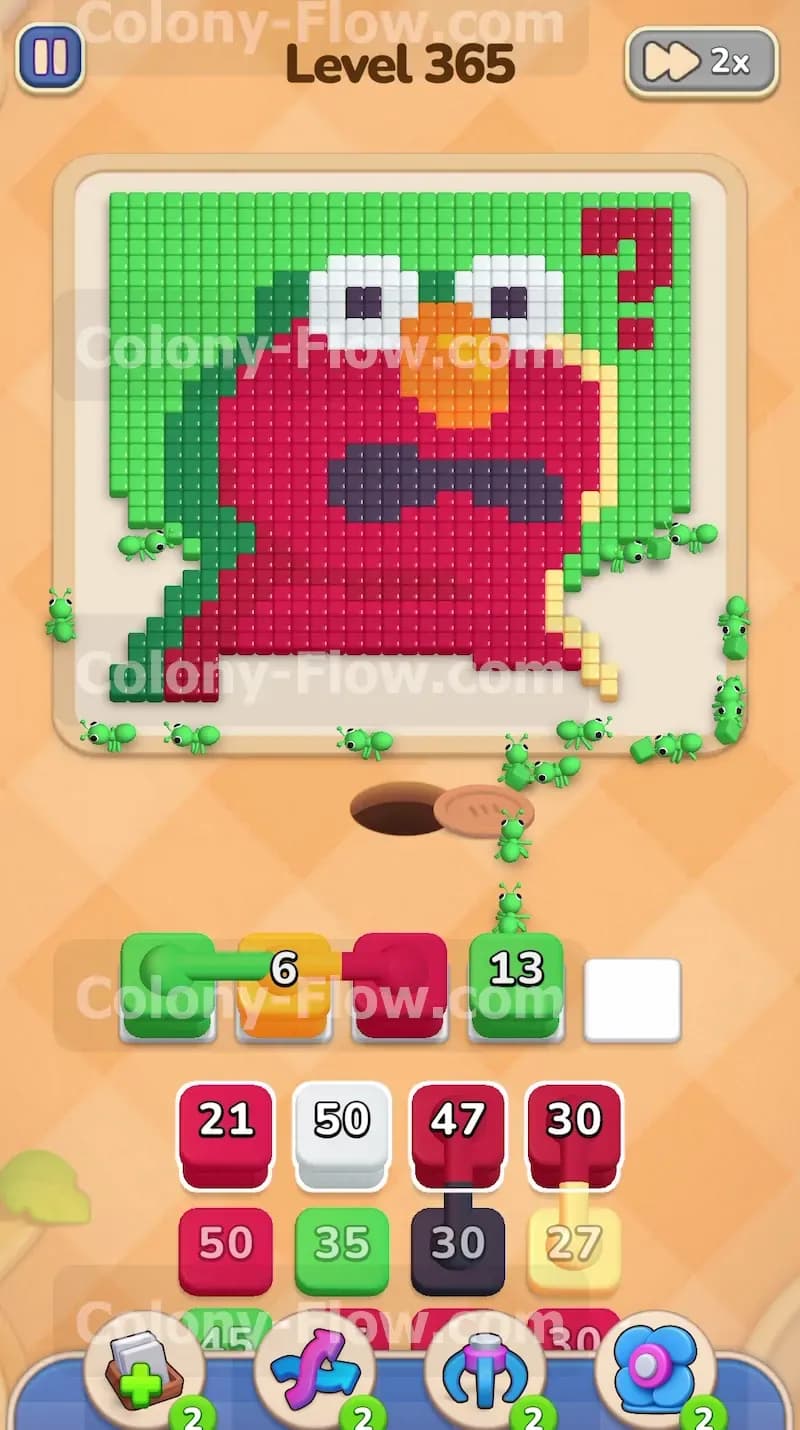
You must start with the green background because it blocks everything else on the board. The green tiles form a solid wall around the entire picture. Pull the green block with the number 35 from your tray. The green ants will immediately stream out of the nest hole and march toward the bottom edge of the green border. You will see the green block number quickly count down from 35 to 29 and lower as the ants eat the tiles. Keeping this green path active is absolutely mandatory for your early game progress. If you pull a different color right now the ants will have nowhere to go and your waiting slots will start to jam. Let the green ants carve out a wide path along the bottom and left sides of the board. This opening gives your future ants the walking room they need to reach the inner picture. Always keep your eyes on the remaining green tiles to ensure the path stays open.
Step 2: Send red ants to the isolated red question mark.
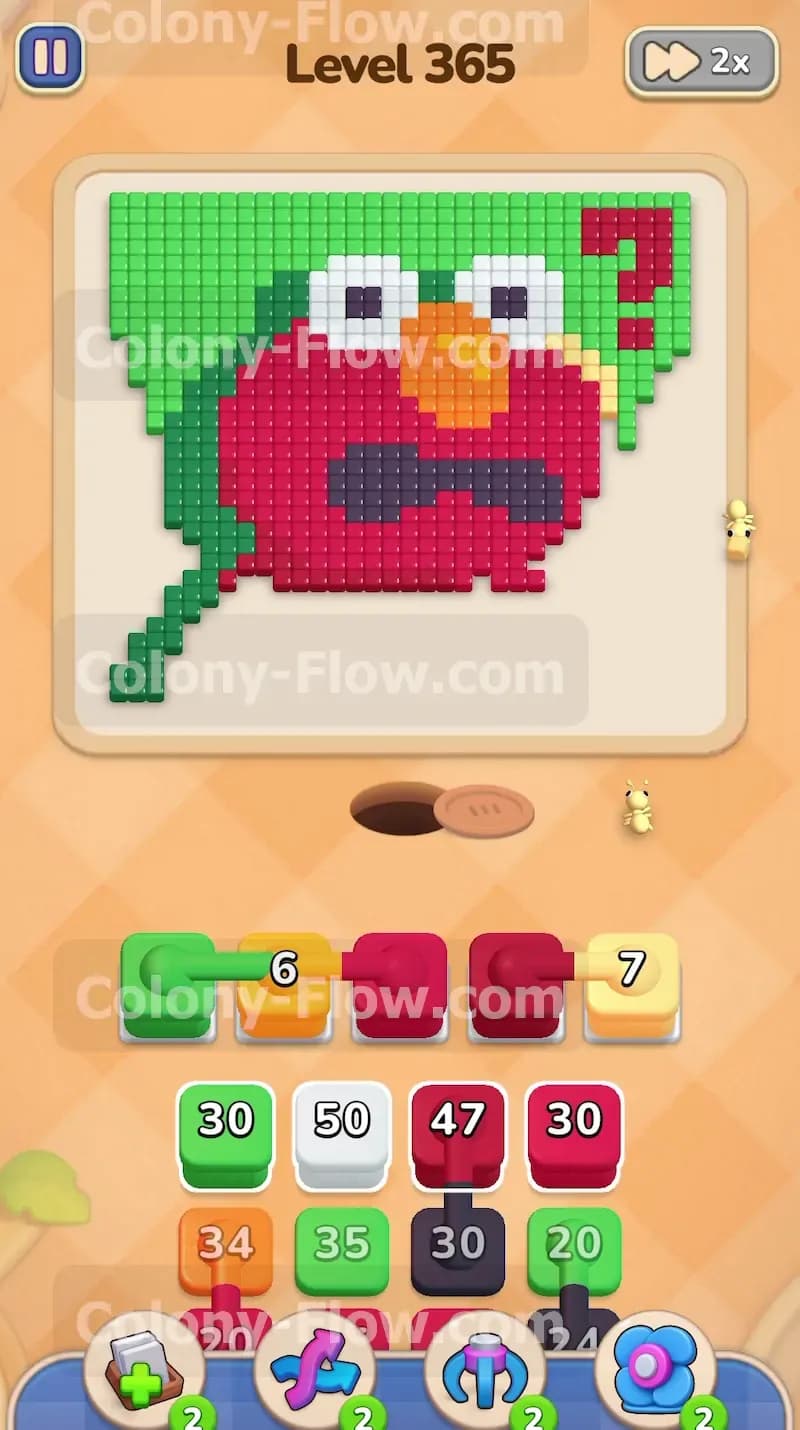
Once the green ants chew away the bottom right corner of the background you unlock a clear path to the red question mark. Tap the red block with the number 20 to take advantage of this new opening. The red ants will exit the nest and travel straight up the right side of the board to attack the question mark tiles. The red number will drop from 20 down to 13 and eventually to 7 as the tiles vanish. Managing two active paths at the same time keeps the ants flowing efficiently out of the nest hole. The green ants continue working on the left while the red ants clear the right. This dual approach prevents your tray from backing up and keeps your overall board progress moving at a very fast pace. Clearing this isolated section early frees up valuable tray space for the rest of the puzzle.
Step 3: Hold the connected boxes until both colors are completely free.
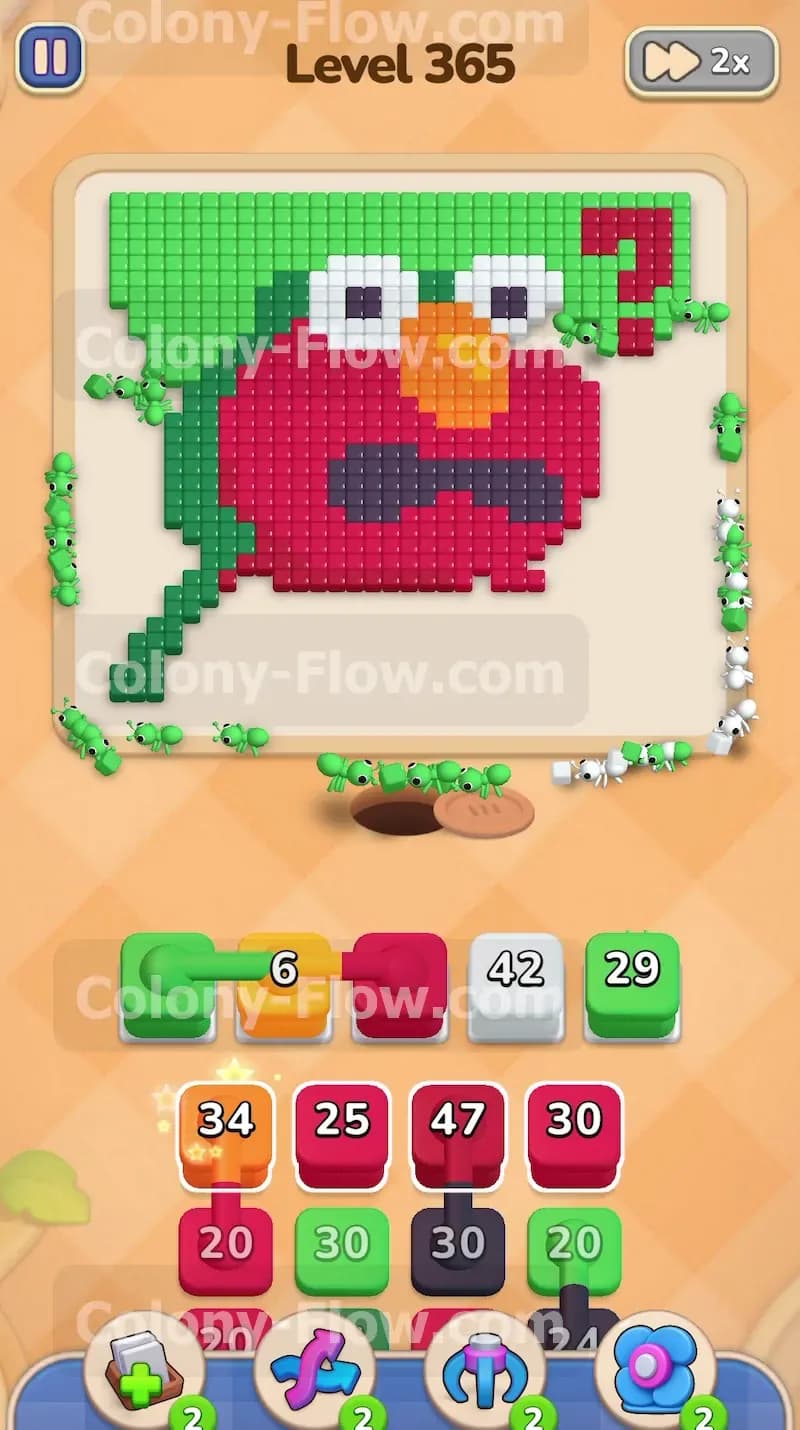
Your tray contains connected boxes that link a green block and an orange block together with a visible line. You must exercise extreme caution with these linked blocks. Pulling this specific set forces both colored blocks into your waiting slots at the exact same time. The green ants have an open path on the background but the orange nose is completely trapped inside the red face. If you pull this connected set too early the orange block will sit idle in your slot and permanently take up valuable space. You must wait until the red tiles around the nose are completely gone before you touch that specific connected box. Managing your connected boxes properly is the absolute key to surviving this level without a slot jam. Patience is your best tool when dealing with complex connected blocks on a crowded board.
Step 4: Strip away the outer edges of the red face.
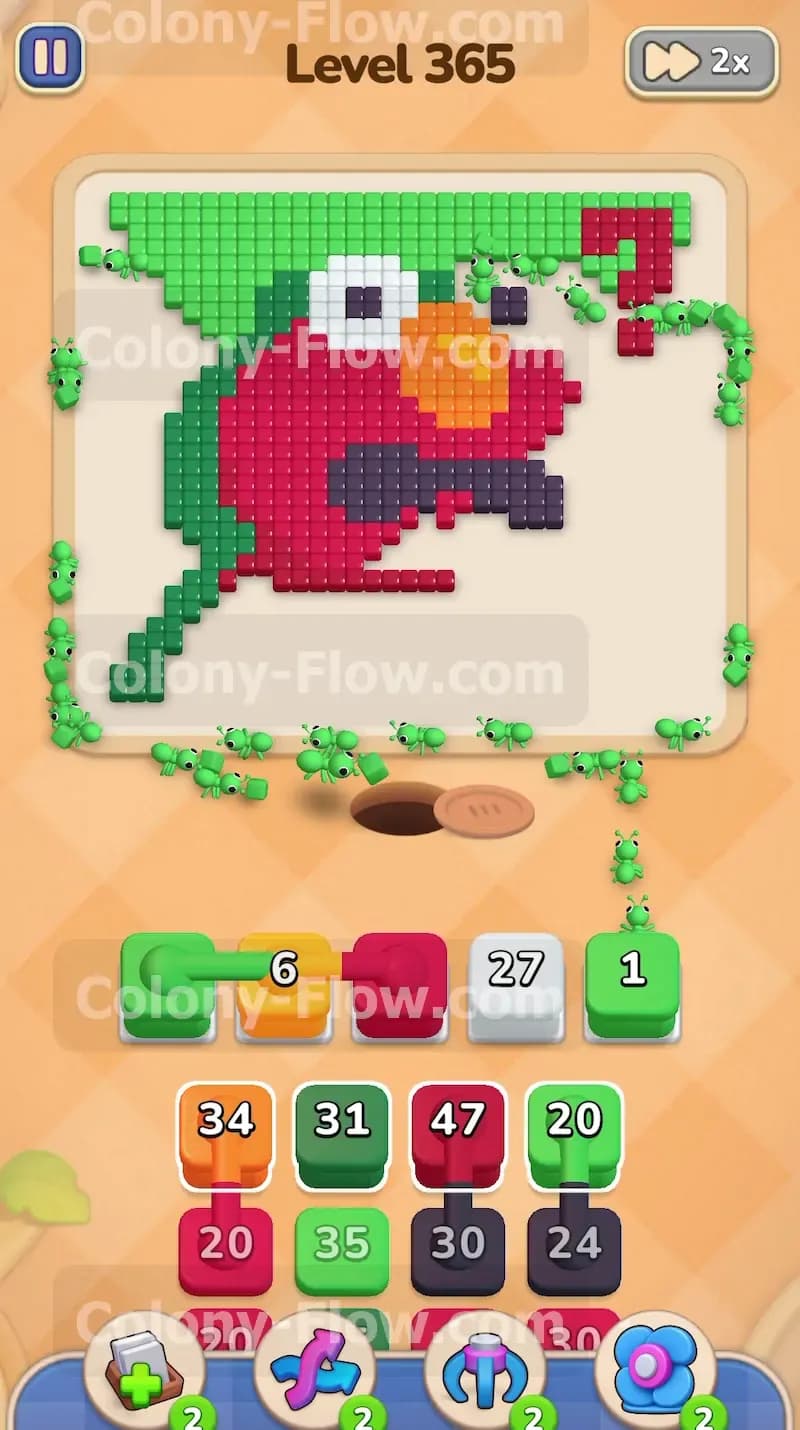
The green background will eventually thin out enough to expose the main red body of the monster face. Now you can safely pull the red blocks with larger numbers like 47 and 30 from your tray. A massive swarm of red ants will flood the board and begin eating the cheeks and forehead of the pixel art face. You will watch the red numbers drop rapidly from 47 down to 42 and then 25 as the face dissolves. This step requires you to monitor the available red tiles closely. You want the ants to hollow out the face so the inner features become completely accessible to the outer board space. Keep feeding the red ants as long as the red tiles touch the empty background space. You will notice the board becoming much easier to manage as the massive red face disappears.
Step 5: Send white ants to clear the large white eyes.
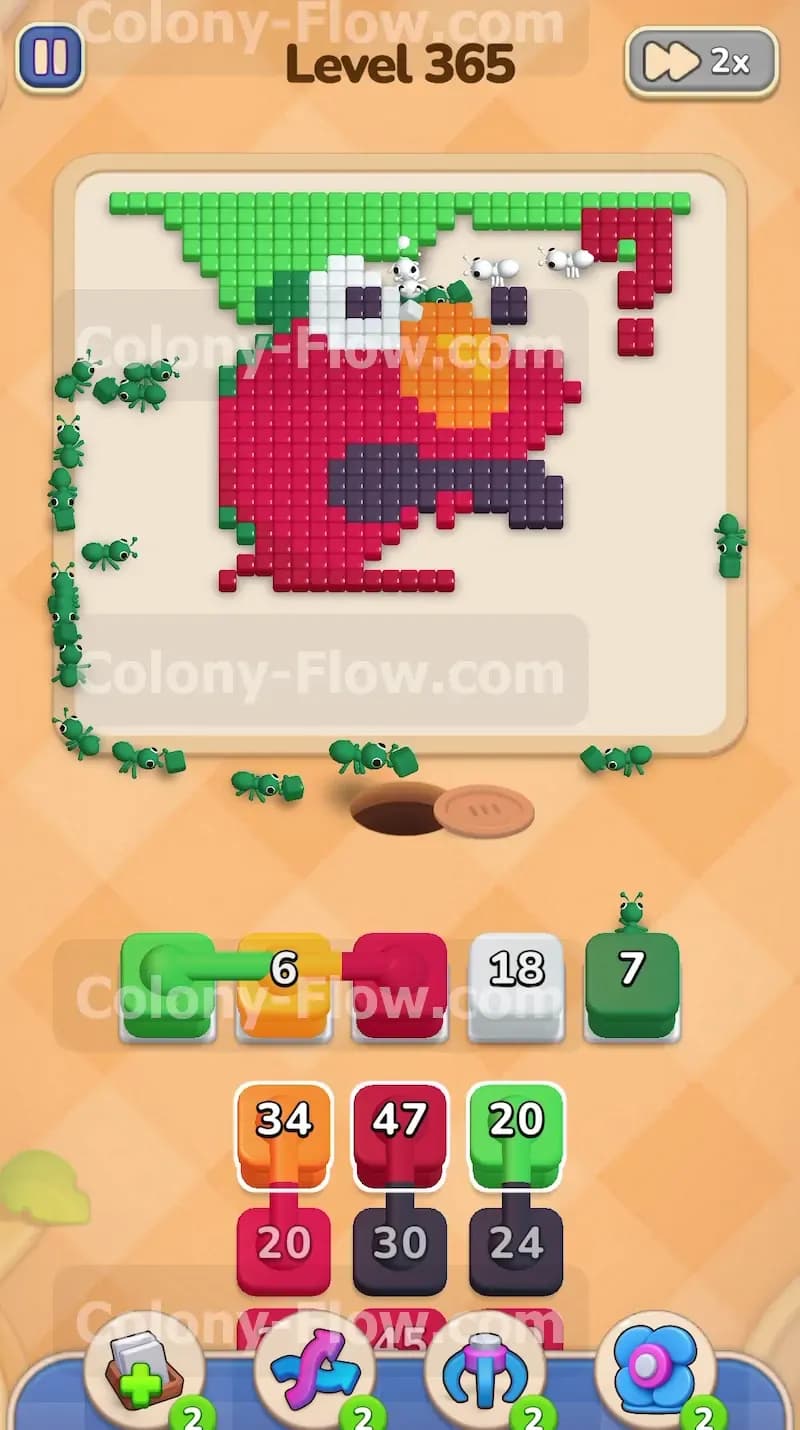
As the red ants clear the top half of the face they will expose the white eye tiles to the empty board space. You can now safely pull the white block with the number 50. The white ants will travel up the middle of the board and consume the white sclera tiles. The white block number will count down from 50 to 27 and then to 18. Clearing the white eyes is a critical strategic move because it isolates the black pupils and gives you a much wider opening to reach the center of the face. Your waiting slots remain completely safe because the white ants have a massive surface area to work with. Let them finish their meal before moving on. This specific order of operations guarantees that your white blocks never stall in the waiting slots.
Step 6: Deploy black blocks to clear the mouth and pupils.
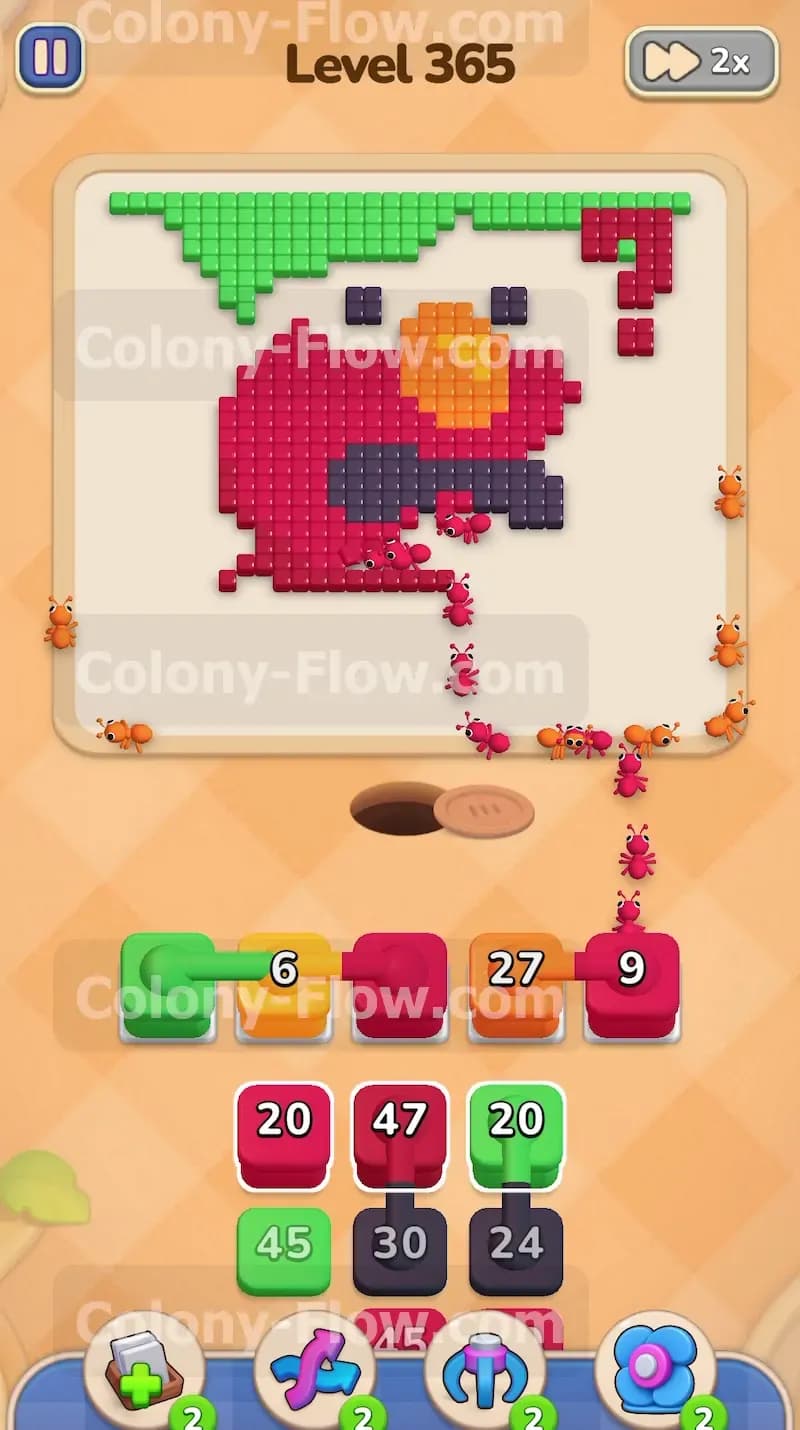
The red and white ants have now done the heavy lifting and cleared the way. The black tiles forming the wide mouth and the eye pupils are fully exposed to the empty space on the board. Tap your black block with the number 30 to release the swarm. The black ants will divide their attention between the upper pupils and the lower mouth. The black block number will drop steadily until all black tiles vanish from the screen. You must ensure no stray red tiles are blocking the black ants before you pull this block otherwise your ants will pile up at the edge and stall your progress. Wait for a perfectly clear path before you commit the black block to your precious waiting slots. The black ants move quickly once their path is secure so watch their progress closely.
Step 7: Clear the orange nose using the connected block.
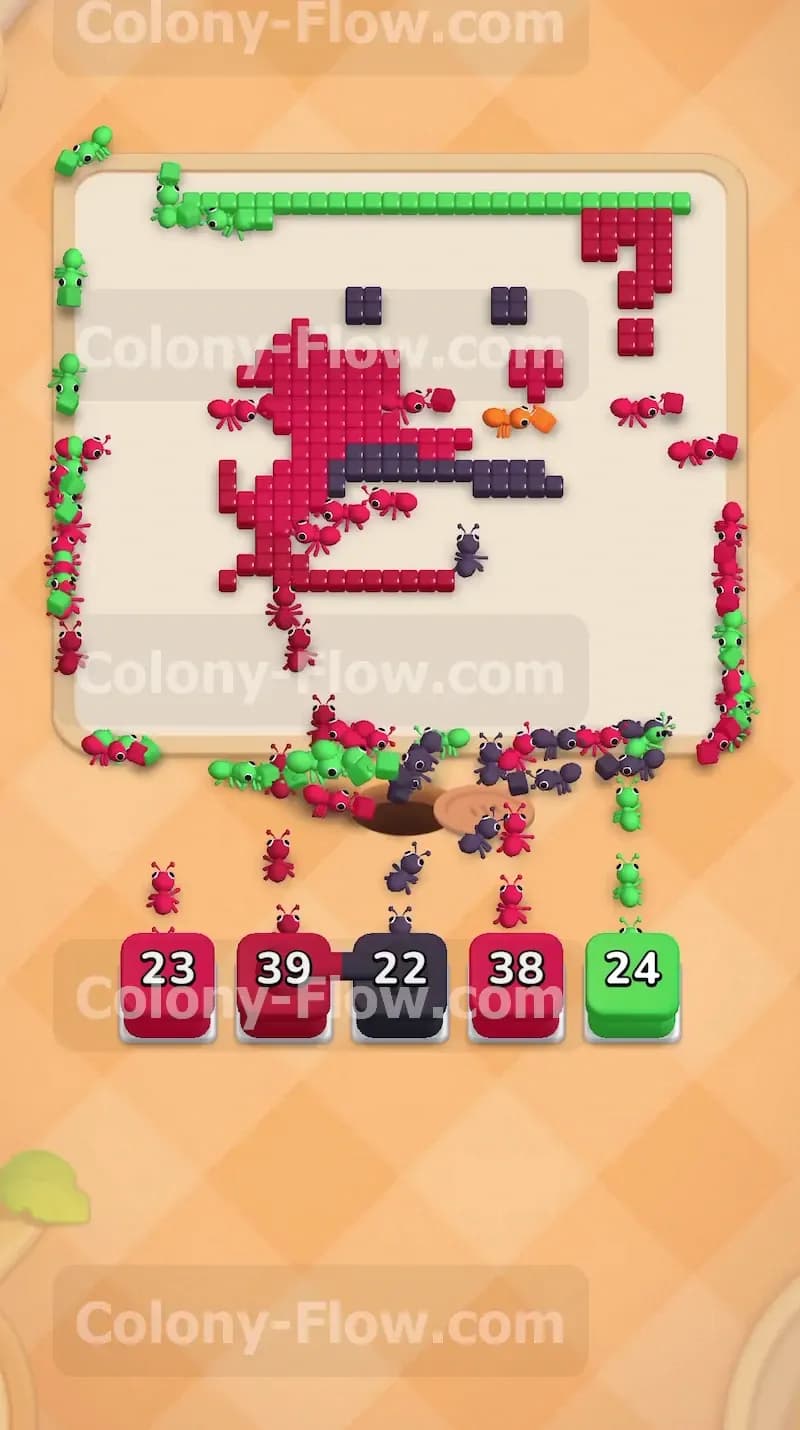
The center orange nose is finally touching empty space and has no red tiles blocking it. Now is the perfect time to pull that connected box containing the orange block and the green block. The orange ants will rush to the center and eat the nose tiles. The green ants will clean up the very last green background tiles left on the upper left corner of the board. Both block numbers will count down to zero simultaneously. This clears two of your waiting slots at the exact same time and keeps your board moving perfectly. Planning this move carefully ensures you never block yourself out of a win and maximizes your slot efficiency. This dual clearing action is incredibly satisfying to watch and proves your path management was perfect.
Step 8: Mop up the final straggling red tiles to finish the level.
You will likely have a few scattered red tiles remaining around the edges of where the monster face used to be. Pull your final red blocks to send out the last wave of red ants. Watch the numbers drop from 23 to 9 and finally to zero as the remaining ants finish their job. The ants will polish off the last pieces of the board and return to the nest hole. Your waiting slots will empty out completely and the level victory screen will immediately appear. You have successfully managed your paths and cleared the entire picture without a single slot jam. Every single tile must vanish before the game grants you the victory.
Final Thought
Clearing this board requires you to stay patient and always verify your paths before pulling a block. If you manage the green background and the connected boxes properly the rest of the board falls into place naturally. If any step is hard to follow in text I highly encourage you to watch the video above this article to see exactly how the ants move.