Colony Flow Level 243 Walkthrough Solution & Guides | How to solve Colony Flow 243

Guide By Liam Stone
Updated on July 13, 2026
Not in the mood to read? The video above solves Level 243 for you from beginning to end.
Video doesn't match your screen?
Game updates frequently scramble layouts! Try our AI Screenshot Solver first to find your exact board instantly, or report broken guides to our team.
Welcome to Colony Flow Level 243. You face a dense four leaf clover picture right from the start. This board is packed with green shades and surrounded by a bright background frame. I played this stage multiple times to figure out the safest opening route because the starting layout gives you very few exposed edges. You need to keep your ants moving smoothly without ever blocking your five available slots. Overcrowding your waiting area is the fastest way to fail.
Colony Flow Level 243 Overview
What You Are Working With
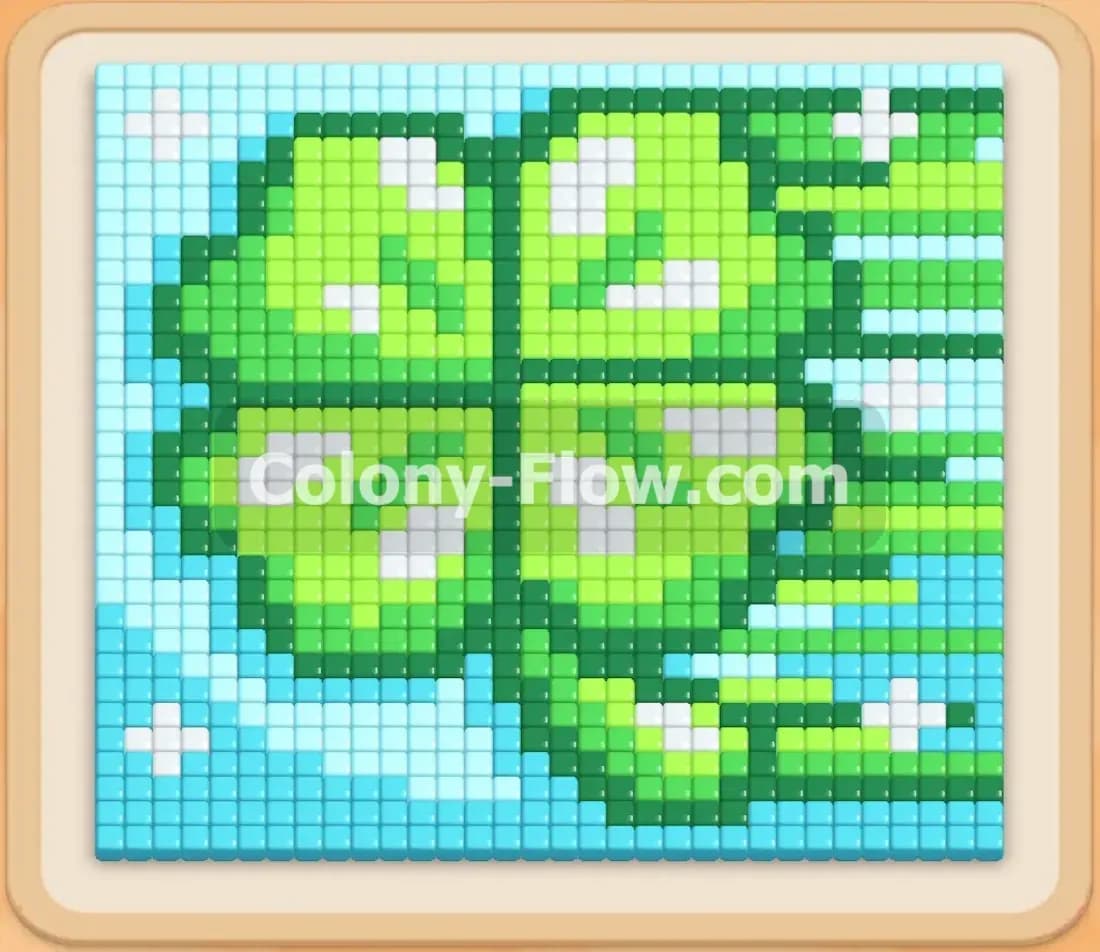
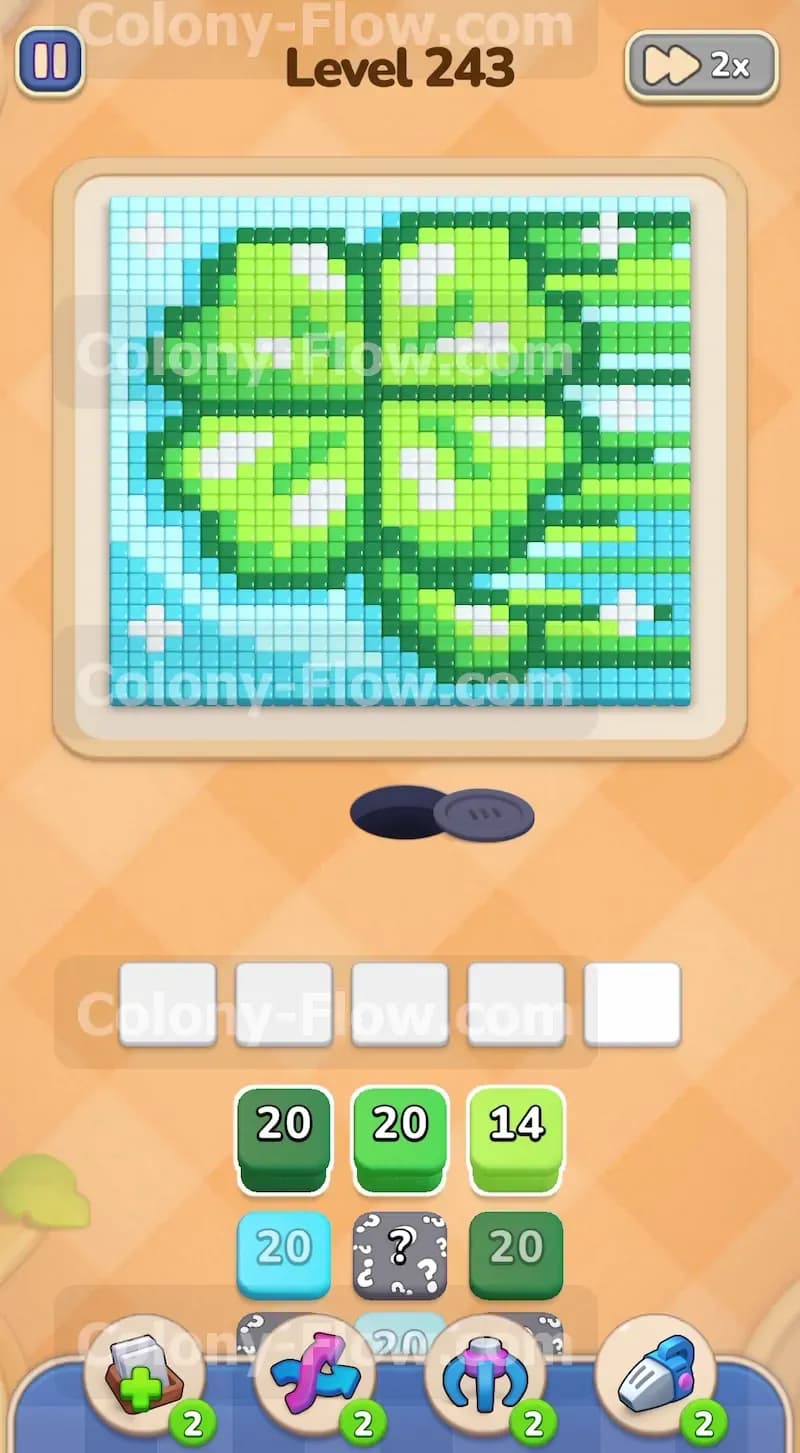
The main picture is a large four leaf clover design. The thick outline uses dark green tiles and the inner areas use lighter green tiles. There are a few very pale yellowish green tiles acting as highlights on the leaves. A light blue background surrounds the clover completely and a layer of white tiles creates an outer sky frame along the absolute edges of the board. Your tray at the bottom holds blocks matching all these colors. The numbers on these blocks vary greatly. You will also see a Hidden Box special tile in the tray. This gray block features a question mark and it will hide its true color until a valid path opens up for it to move.
What It Takes to Clear Level 243 Board
Winning this level requires strict tray management and patience. The ants emerge from a single nest hole near the bottom center of the screen. They can only access the lowest edge of the picture to start. You must clear a path starting from the bottom right area and slowly carve your way upward. The core rule to remember is that you only have five waiting slots. If you pull five blocks into these slots and none of them match the currently exposed tiles on the board, the ants have nothing to eat. Your board will jam and you will lose immediately. You prevent dead ends by always making sure at least one slot holds a color the ants can reach right now.
Colony Flow Level 243 Step by Step Solution
Step 1: Open the bottom right edge of the clover stem.
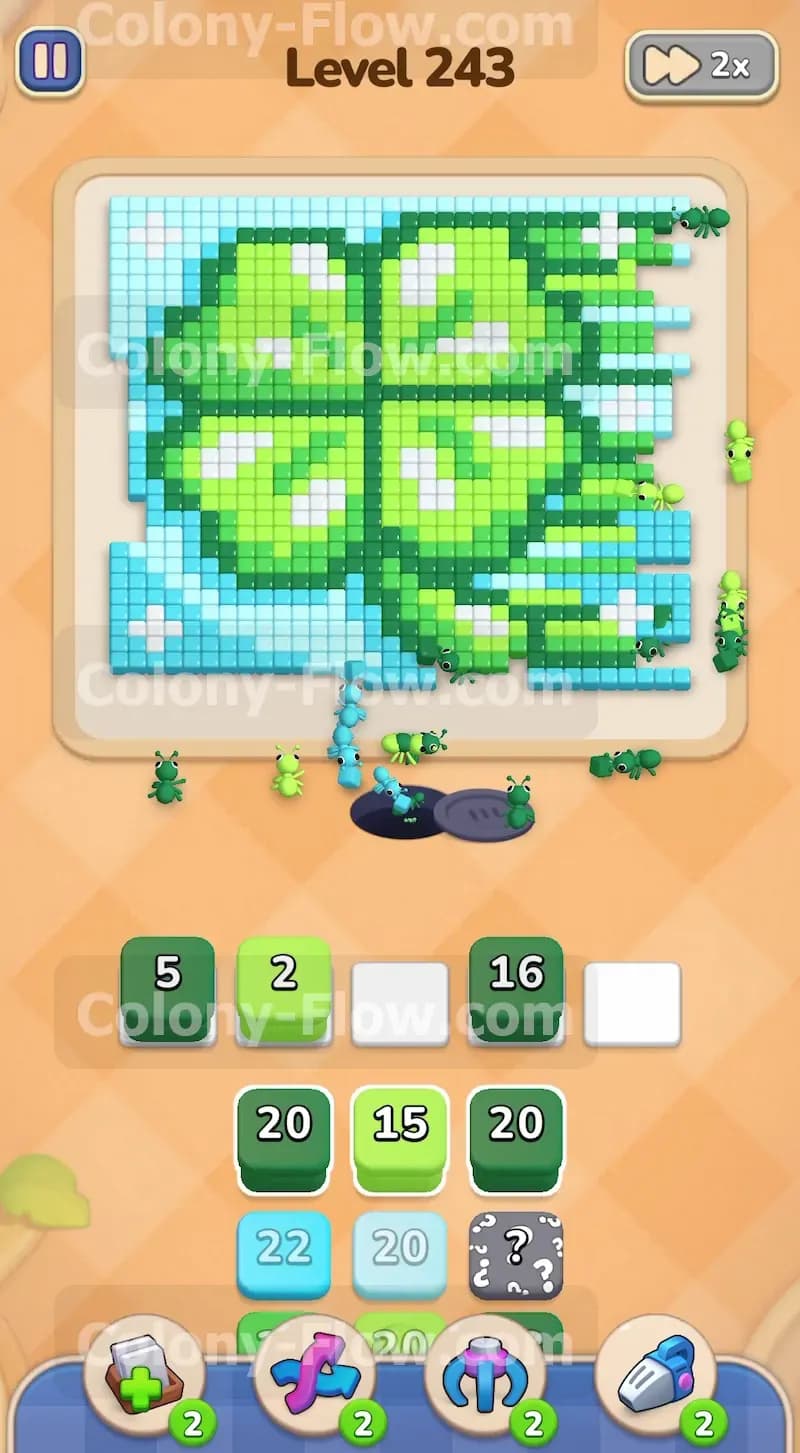
The ants stream out of the nest hole and touch the absolute bottom edge of the board first. You want to focus your initial pulls on the dark green and light green blocks to eat away the bottom right leaf and the short stem. Pull one dark green block and one light green block into your slots. Watch the ants swarm the lower edge. The numbers on these blocks will tick down as the ants consume the matching tiles. Keep a close eye on your available slots. Do not pull high number blocks if only two or three tiles of that color are currently exposed on the board. You need the ants to finish blocks completely so those slots empty out and become available again.
Step 2: Expose the light blue background near the bottom.
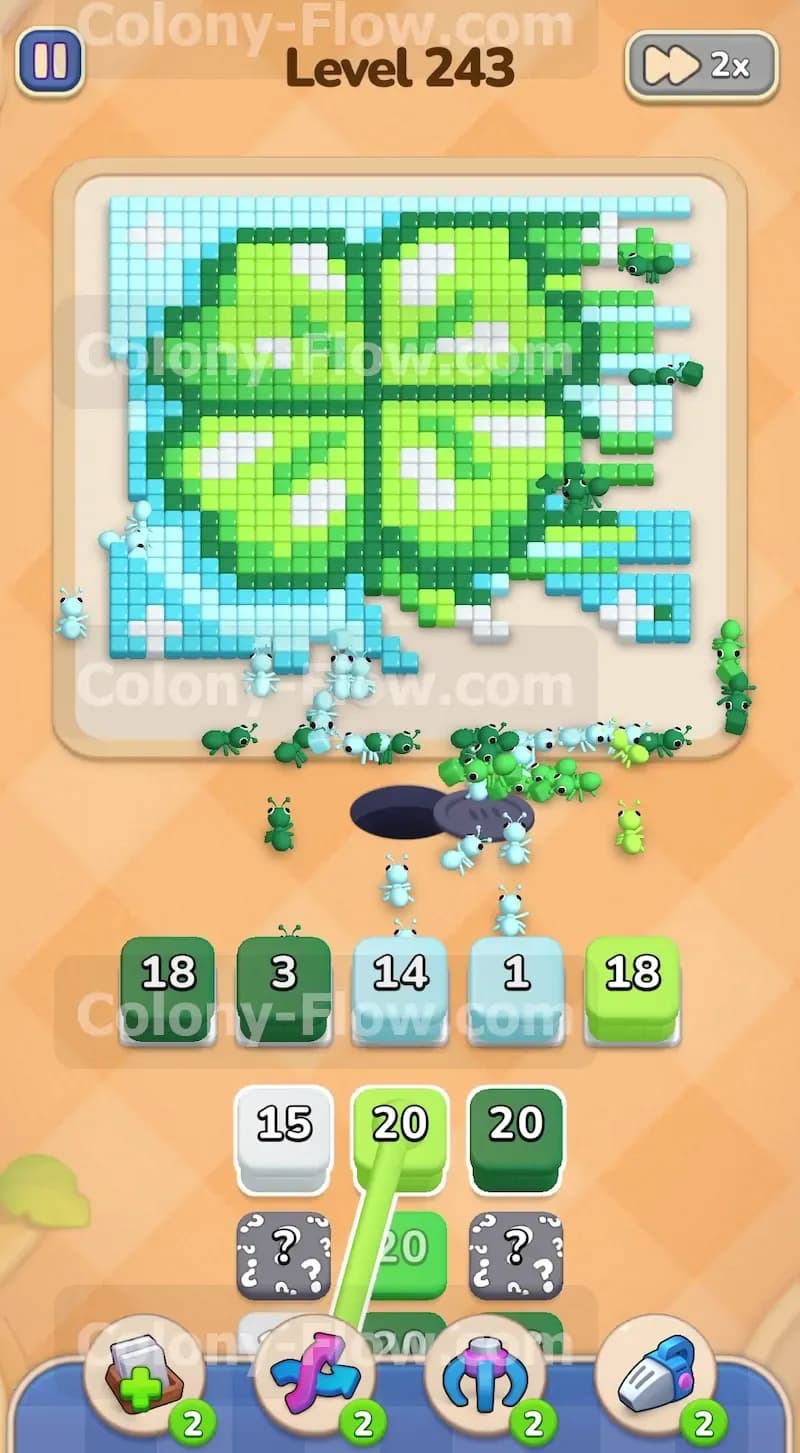
Once the ants chew through the bottom right corner of the green clover, they reach the light blue tiles in the lower right area. You should now pull a light blue block from your tray. This action creates a wider path along the right side of the board and gives your colony more room to maneuver. You will notice the gray Hidden Box in your tray right around this time. This mystery tile hides its true color until it has a valid path to move. Leave it alone in the tray for now. You must work around it by pulling the visible blocks next to it or below it. Do not let the Hidden Box panic you into pulling random colors. Just stick to the colors you know the ants can reach.
Step 3: Work your way up the right side of the board.
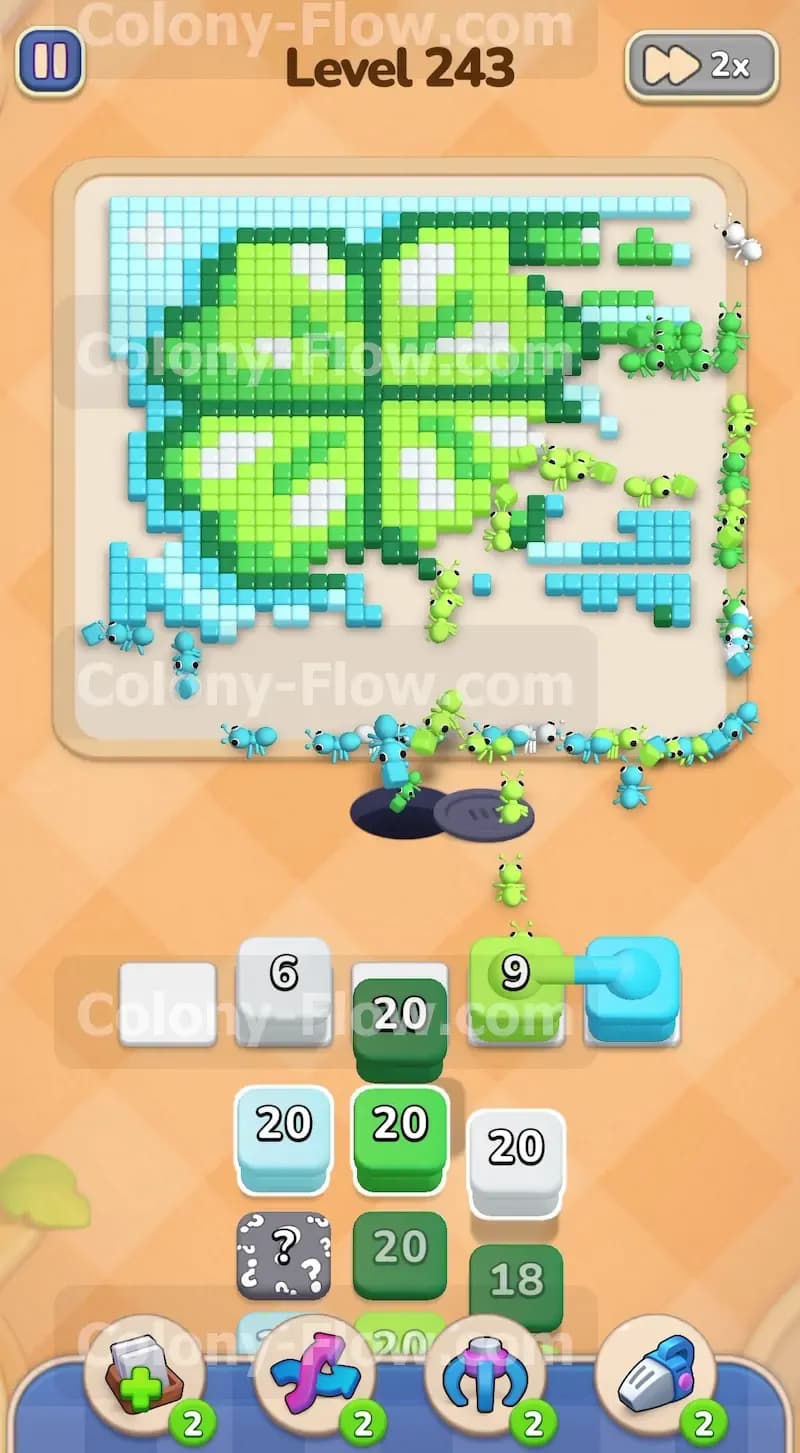
The ants now have a clear path to travel up the right hand side of the picture. They will start exposing the white tiles that form the very outer border of the frame. Bring a white block into your active slots so the ants can start eating that outer edge. You must balance the white outer border and the green inner clover to keep your colony busy. Continue pulling dark green and light green blocks to chip away at the right leaf of the clover. Keeping two completely different colors active at the same time is a great strategy. It ensures you always have multiple active paths. This constant flow prevents your five slots from filling up with unusable blocks and causing a sudden dead end.
Step 4: Breach the center intersection of the four leaves.
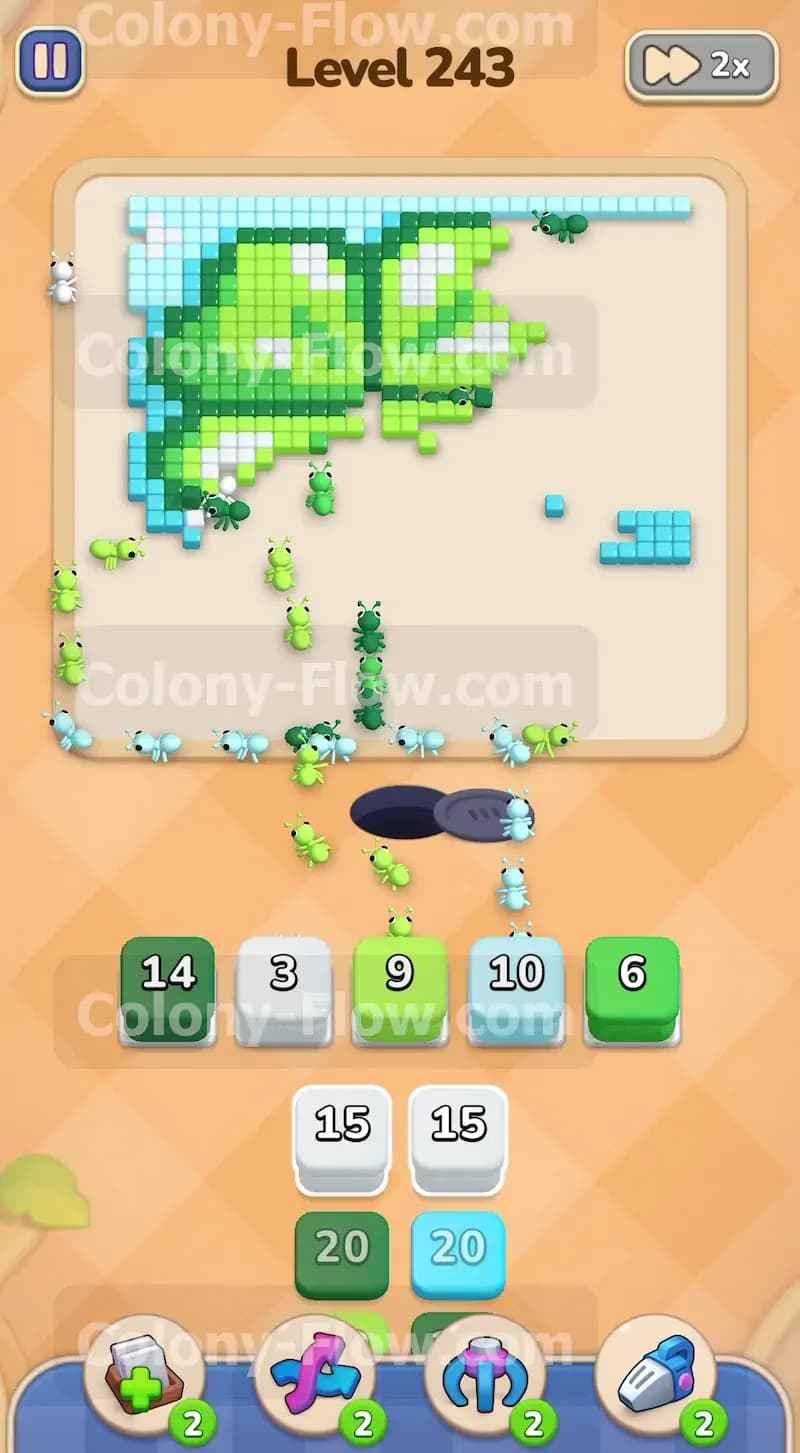
The right leaf is almost entirely gone by this point and the ants push deep into the middle of the clover. The dark green outlines act as solid barriers protecting the light green interior filling. You must clear the dark green outline tiles first before the ants can reach the soft inside. Pull a large dark green block into the waiting area to break down these thick borders. As soon as the outline breaks the ants will swarm the center and divide the solid green mass into smaller isolated pieces. This opens up massive surface area for your ants to work on. You can now pull light green blocks much faster because the ants have many different angles to attack the exposed filling.
Step 5: Sweep the massive outer boundary.
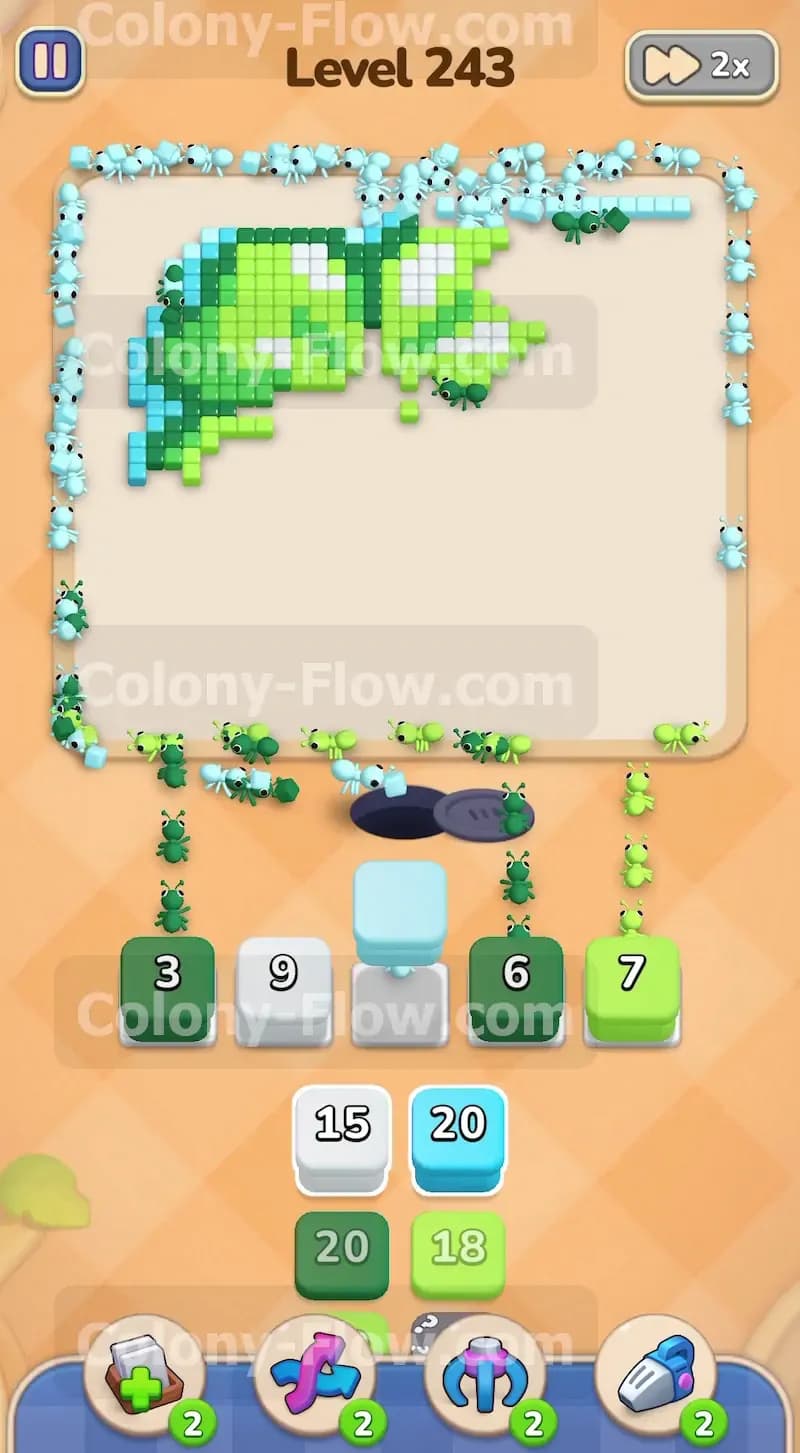
Your ants will naturally wrap around the entire left and top edges of the board once the right side is clean. They form a massive long line eating away the remaining light blue background and the white frame border. You need to pull the required light blue and white blocks from your tray to feed this massive swarm. The numbers on these blocks will drop rapidly because so many ants are working at the exact same time. Watch the travel distance carefully. The ants have to walk all the way from the bottom nest hole up to the top left corner. This travel time means your blocks will sit in the slots a little bit longer. Be patient and do not pull extra blocks while you wait for the ants to make the trip.
Step 6: Finish dismantling the top left leaf.
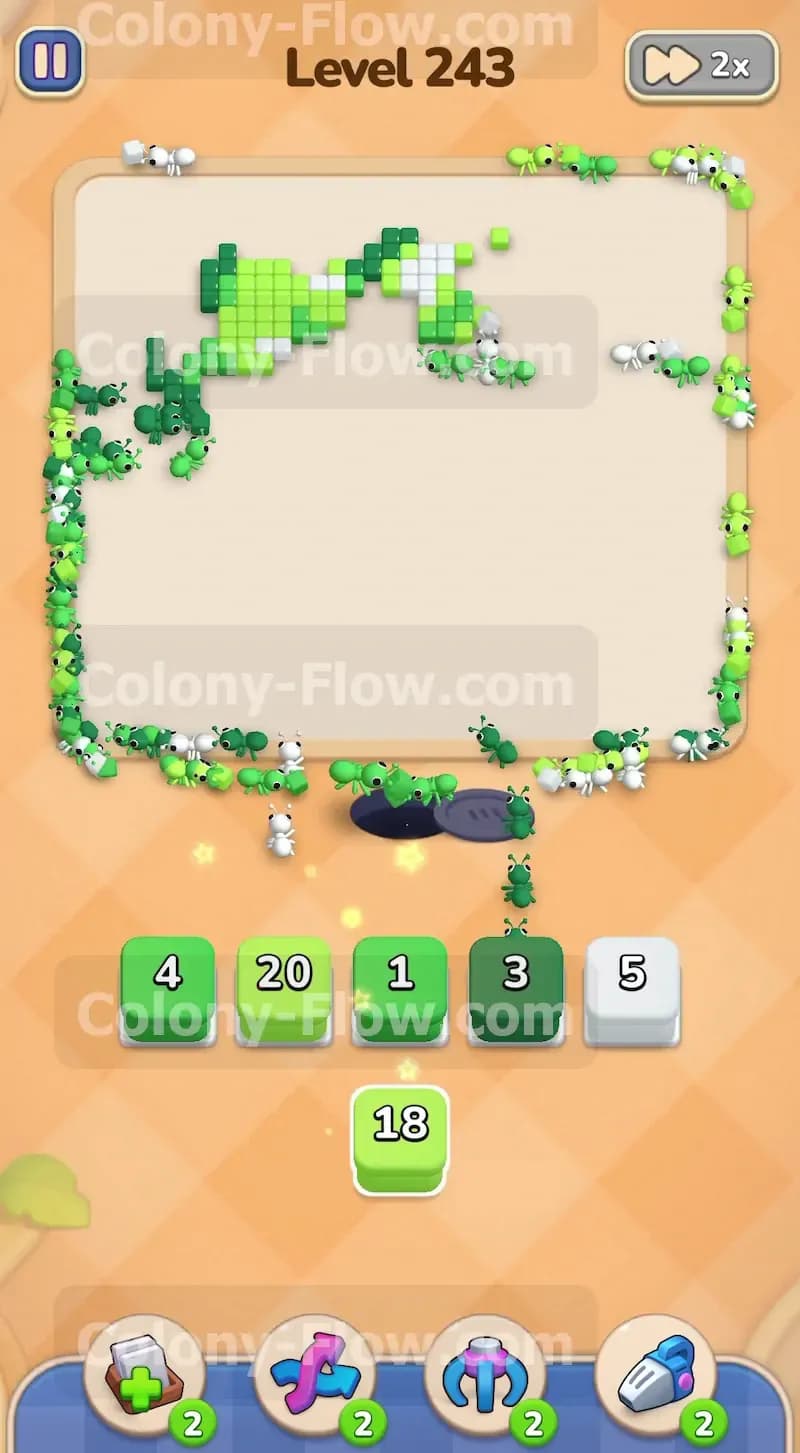
Only a small jagged chunk of the upper left clover remains on the board at this final stage. The ants surround this final piece from all available sides. Look at the exact colors left on the board. You will likely see a mix of dark green outline and light green interior tiles. Pull your final dark green and light green blocks into the waiting slots. Ensure the numbers on the blocks match the remaining tile count so you do not leave a block stranded with one point left. The ants will quickly dismantle the remaining pieces of the leaf. The board will completely clear out and the level ends.
Final Thought
This board looks very intimidating when you first load it up but the solution relies on steady and patient progress. You just need to respect the five slot limit and always prioritize the tiles the ants can touch right now. Managing the Hidden Box without clogging your tray is the only tricky part. If you have trouble visualizing the exact clearing sequence or how to safely open the right side of the clover, check out the video gameplay above. Watching the ants flow through the actual paths makes the timing much easier to understand.