Colony Flow Level 185 Walkthrough Solution & Guides | How to solve Colony Flow 185

Guide By Liam Stone
Updated on August 1, 2026
The full Level 185 solution plays out in the video above, no reading required.
Video doesn't match your screen?
Game updates frequently scramble layouts! Try our AI Screenshot Solver first to find your exact board instantly, or report broken guides to our team.
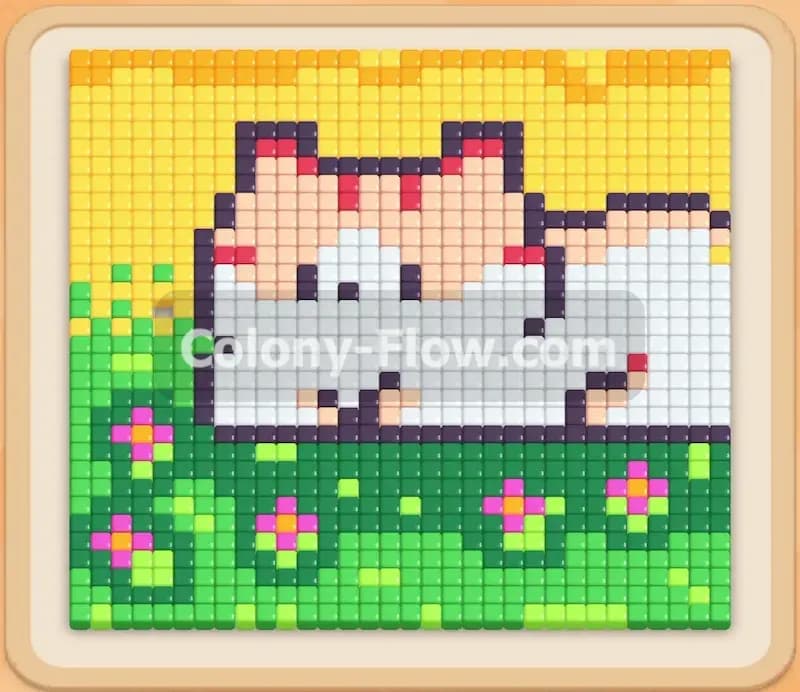
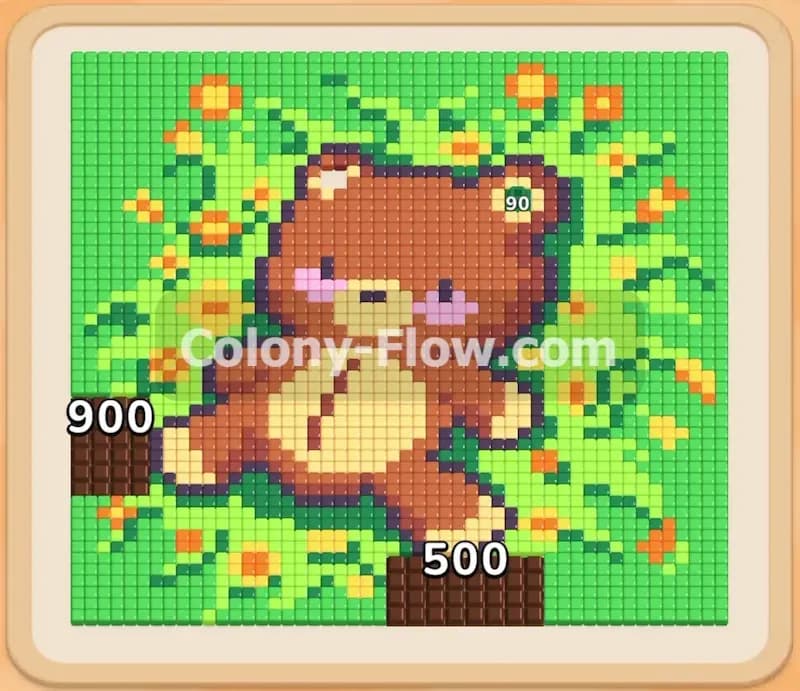
Welcome to Colony Flow Level 185. I play every stage myself to find the exact moves that work. This board presents a giant brown bear resting in a grassy field dotted with yellow flowers. I will guide you through the exact sequence to feed your ants and clear the picture without clogging your waiting slots.
Colony Flow Level 185 Overview
What You Are Working With
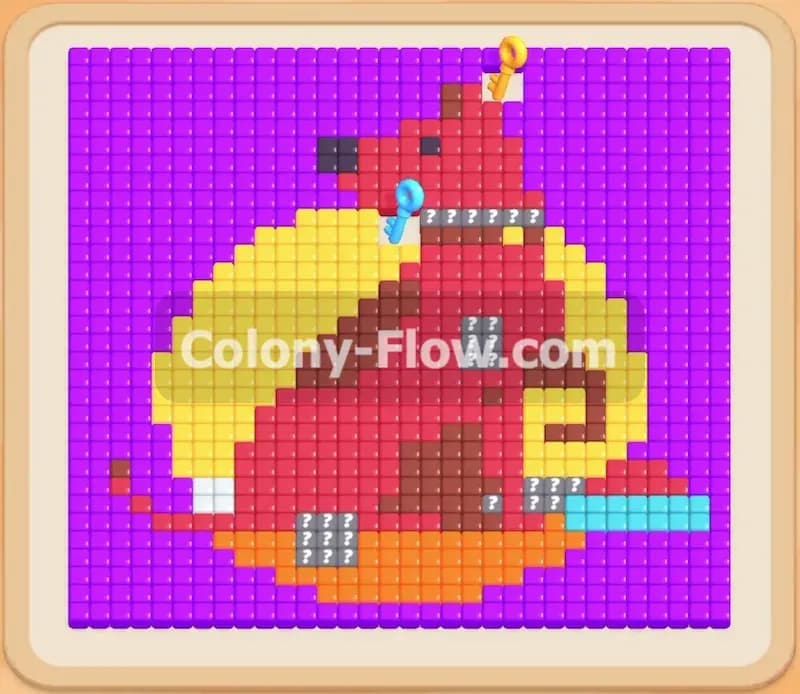
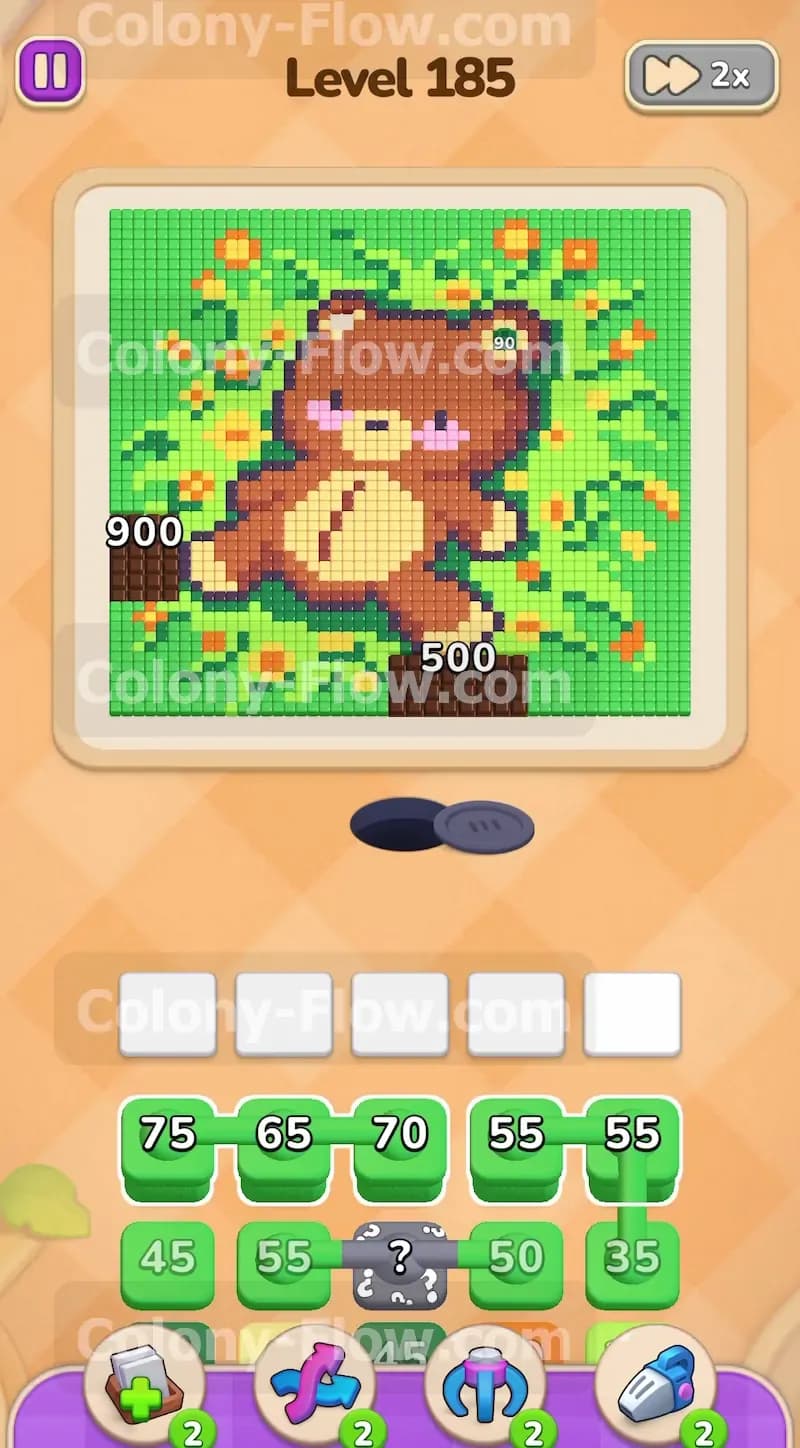
The picture shows a large bear taking a nap in a vibrant green meadow. Your tray at the bottom is packed with blocks in various shades including light green, dark green, yellow, light brown, dark brown, dark blue, and pink. You will also encounter Connected Boxes which link two blocks together so they pull as a single unit. Hidden Boxes hide in the tray with question marks on them until a valid path opens up. Finally, there are two exceptionally large dark brown tiles on the left and bottom edges of the picture bearing massive numbers. These require a huge volume of ants to fully consume.
What It Takes to Clear Level 185 Board
You win the level when every single pixel tile is eaten and the ants retreat into their nest. Your main enemy is the waiting slot area. You have exactly five empty slots to hold blocks. If you pull blocks that the ants cannot reach, those blocks sit there and rot. When all five slots fill up with unreachable blocks, the entire board locks up and you lose. Every move you make must guarantee that the ants have an open path to the matching colored tiles. Keeping the traffic flowing is your top priority.
Colony Flow Level 185 Step by Step Solution
Step 1: Clear the outer light green grass background to open inner pathways.
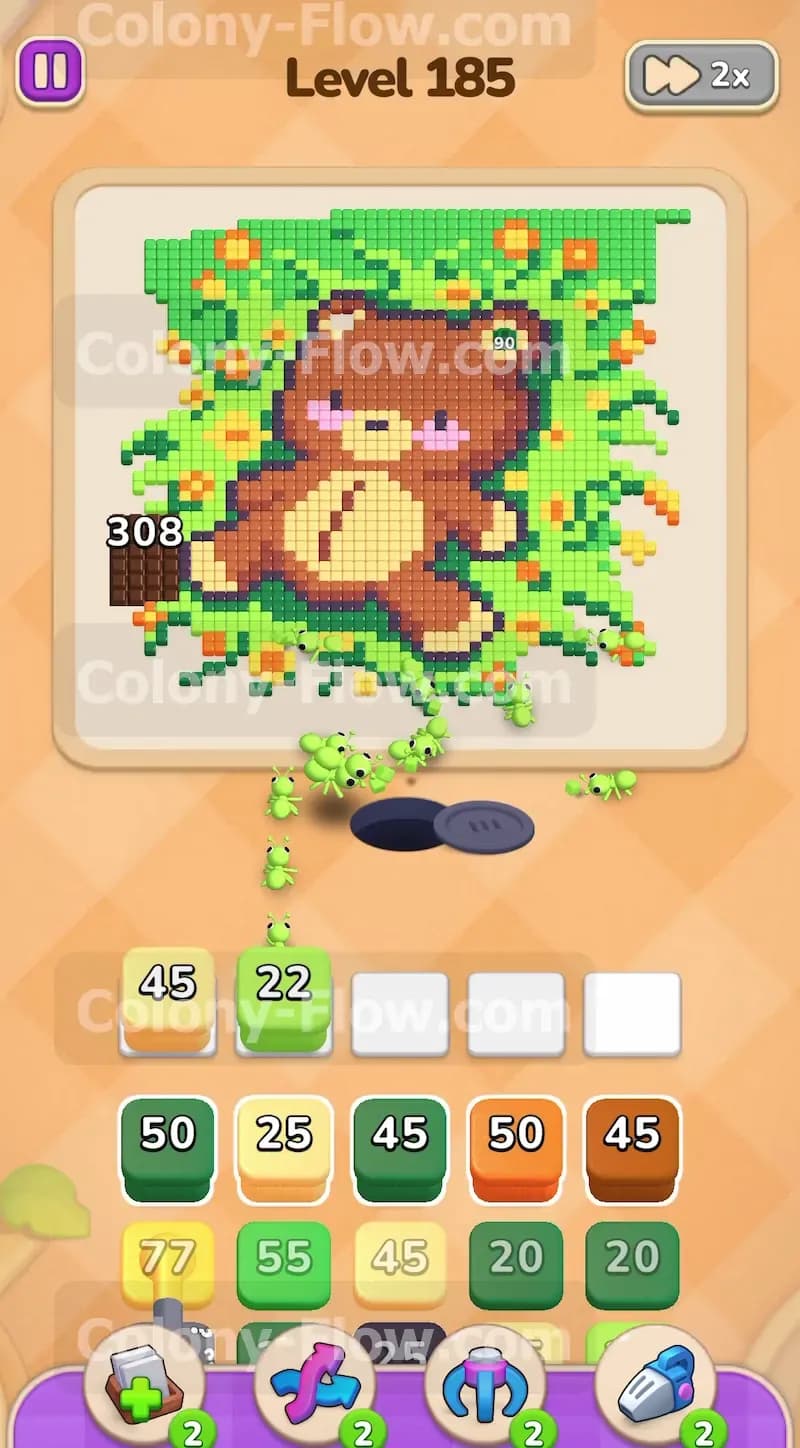
Start by dealing with the enormous light green grass background that surrounds the entire picture. You have several light green blocks in your tray right at the beginning. You will notice a pair of Connected Boxes holding light green numbers. Tap these to pull them into your waiting slots as a single unit. This floods the board with ants that immediately fan out to chew away the outer edges of the grass. Clearing this outer layer is strictly required because it opens the physical pathways to the interior of the picture. If you try to pull colors for the inner bear right now, those blocks will sit in your waiting slots and block you. The ants have no open route to reach the center yet. Always clear the perimeter first so your colony has room to operate. You want the ants to spread out evenly across the entire top half of the screen. Watching the massive swarm devour the green pixels is incredibly satisfying.
Step 2: Chip away at the massive dark brown edge sections to prevent roadblocks.
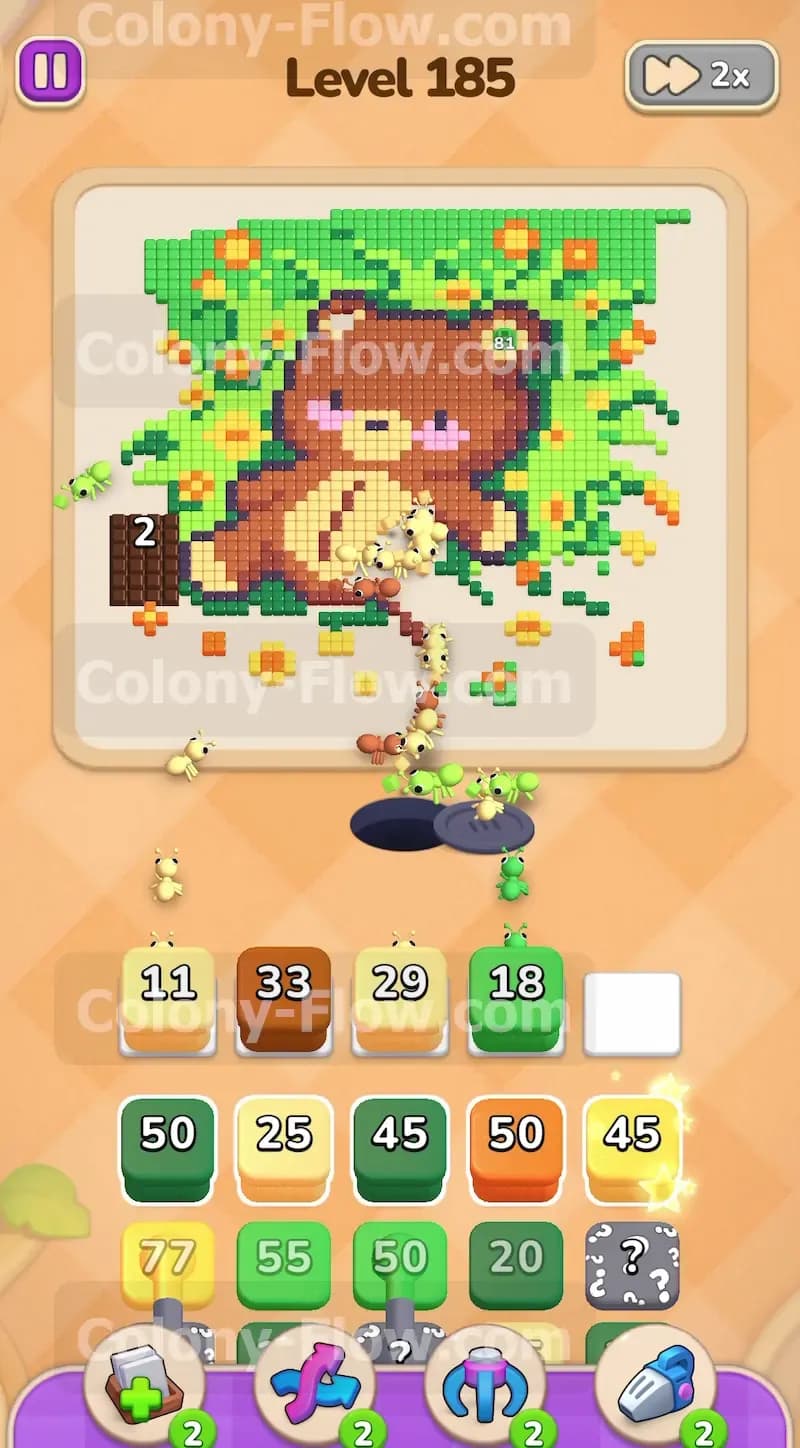
Now you need to tackle the massive dark brown edge tiles located on the left and bottom of the picture. These are huge sinks that require hundreds of ants to fully clear. As dark brown blocks become available in your tray, pull them up immediately. The ants will march over to these massive tiles and start chewing down those high numbers. You do not need to clear them entirely in one go. Just keep chipping away at them whenever a dark brown block surfaces and you have an empty slot available. This consistent pressure prevents these large sections from becoming a permanent roadblock later in the level. Managing these large numbers early gives your colony a steady task while you figure out the smaller picture details. Leaving these large tiles for the very end is a guaranteed way to lose because they will clog your tray when you desperately need space. Give your ants time to chew them down gradually.
Step 3: Feed the ants the yellow flowers and dark green leaves to maintain momentum.
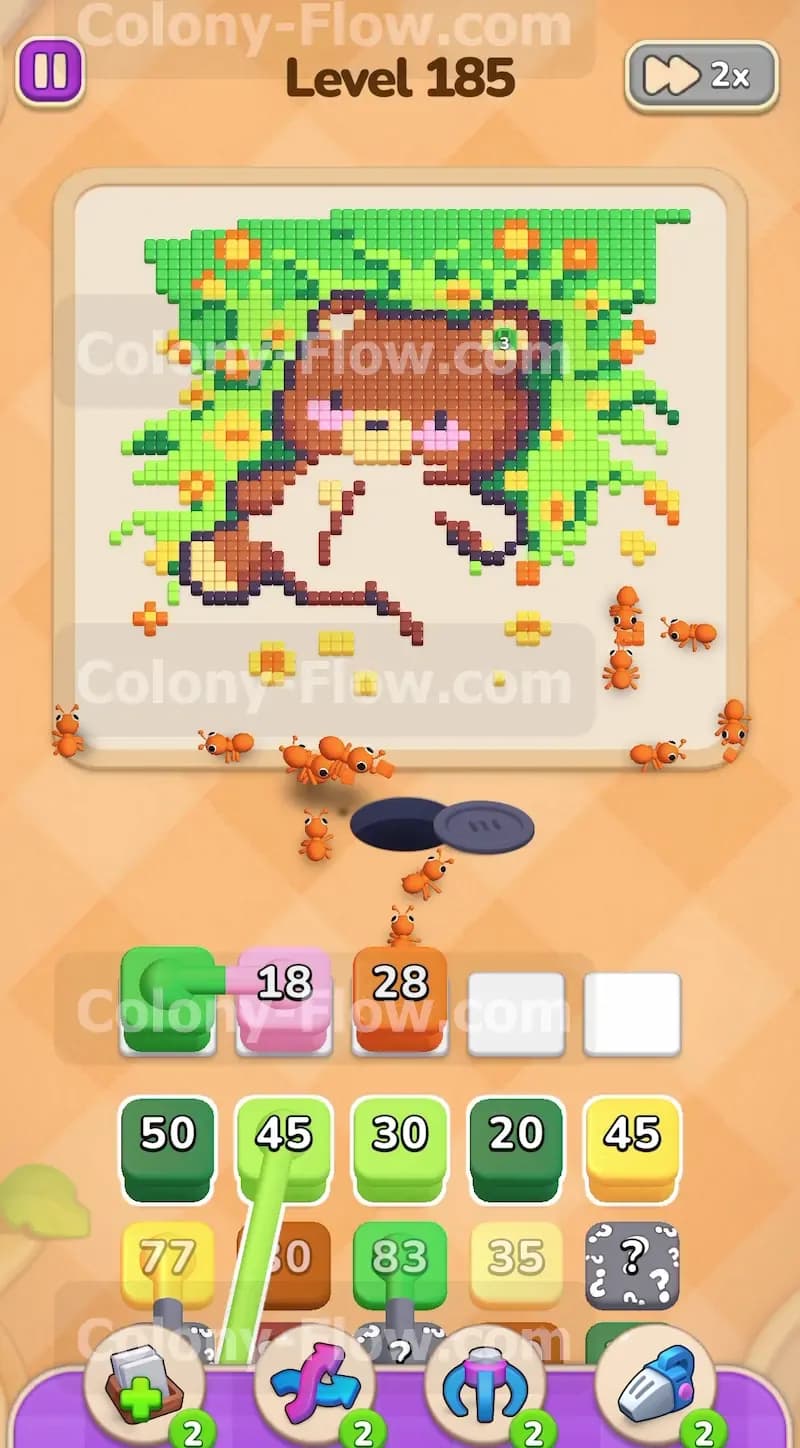
With a good chunk of the light green grass gone, the yellow flowers scattered across the field are completely exposed. Tap the yellow blocks in your tray to send your colony after the bright flower petals. At the exact same time, pull the dark green blocks to clear the deeper shadows and leaves framing the bear. Mixing these two colors keeps the ants moving efficiently across different sections of the board. This dual approach prevents your waiting slots from backing up. You always want at least one active color flowing at all times so your colony never stops working. Spreading the ants across the top and bottom of the board also prevents traffic jams near the nest hole. This creates a beautiful chaotic flow of ants rushing in multiple directions. Managing multiple colors at once is the true test of your puzzle solving skills.
Step 4: Clear the pale yellow bear belly to open up the center of the board.
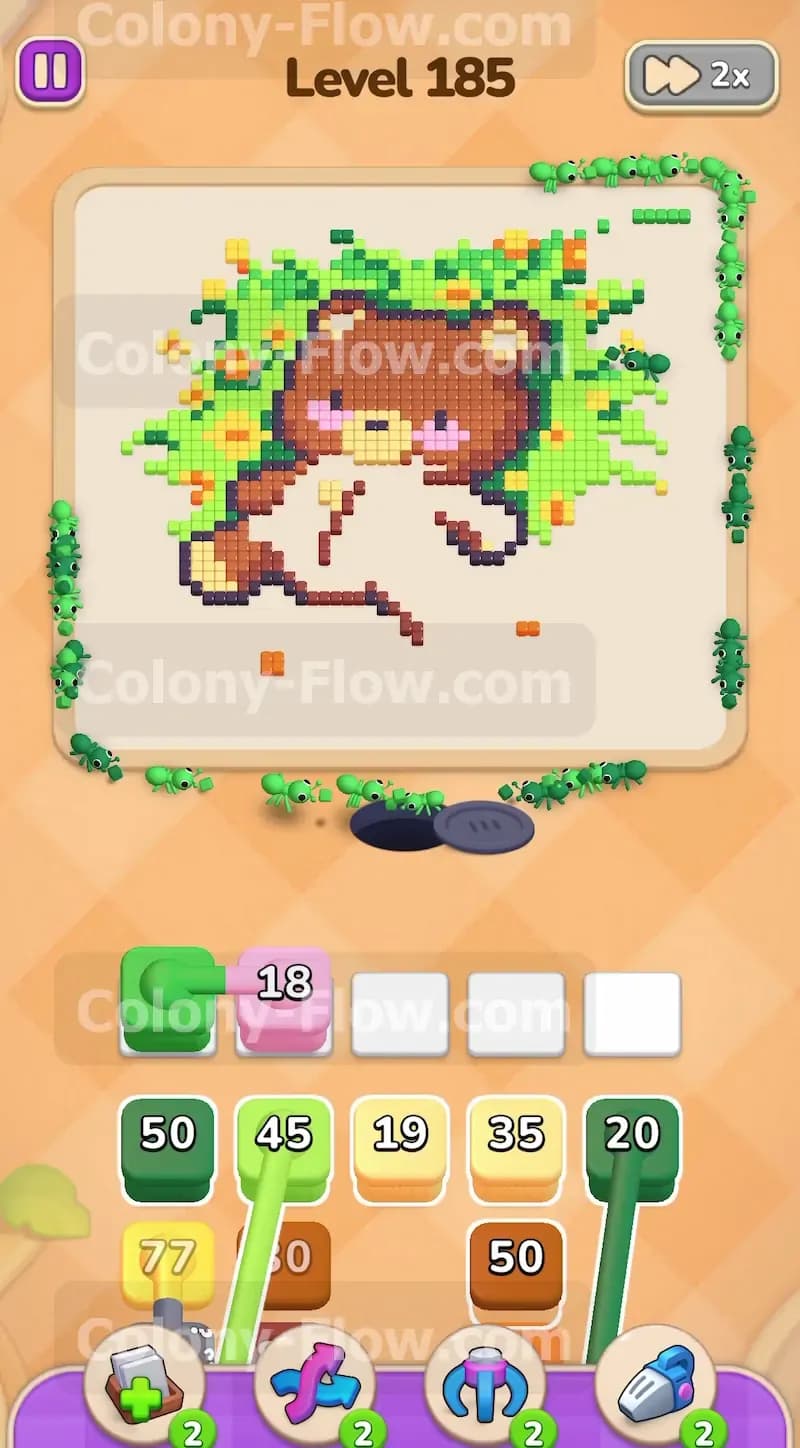
The inner pathways are now completely wide open. Your tray will start offering pale yellow blocks which correspond directly to the belly and the snout of the bear. Pull these pale yellow blocks into your active slots. The ants will march straight through the cleared grass sections directly to the center of the board to consume these tiles. This creates a massive empty hole right in the middle of the bear. Creating this hole opens up maximum surface area for the surrounding light brown body tiles. More surface area means faster clearing for your future moves because more ants can attack the tiles from multiple angles at once. Keep pushing pale yellow until the belly is completely gone. The more open space you create in the middle, the easier the final cleanup becomes. You will notice the puzzle feels much less restrictive once the belly is totally gone.
Step 5: Tap the pink block to clear the bear cheeks and free up a waiting slot.
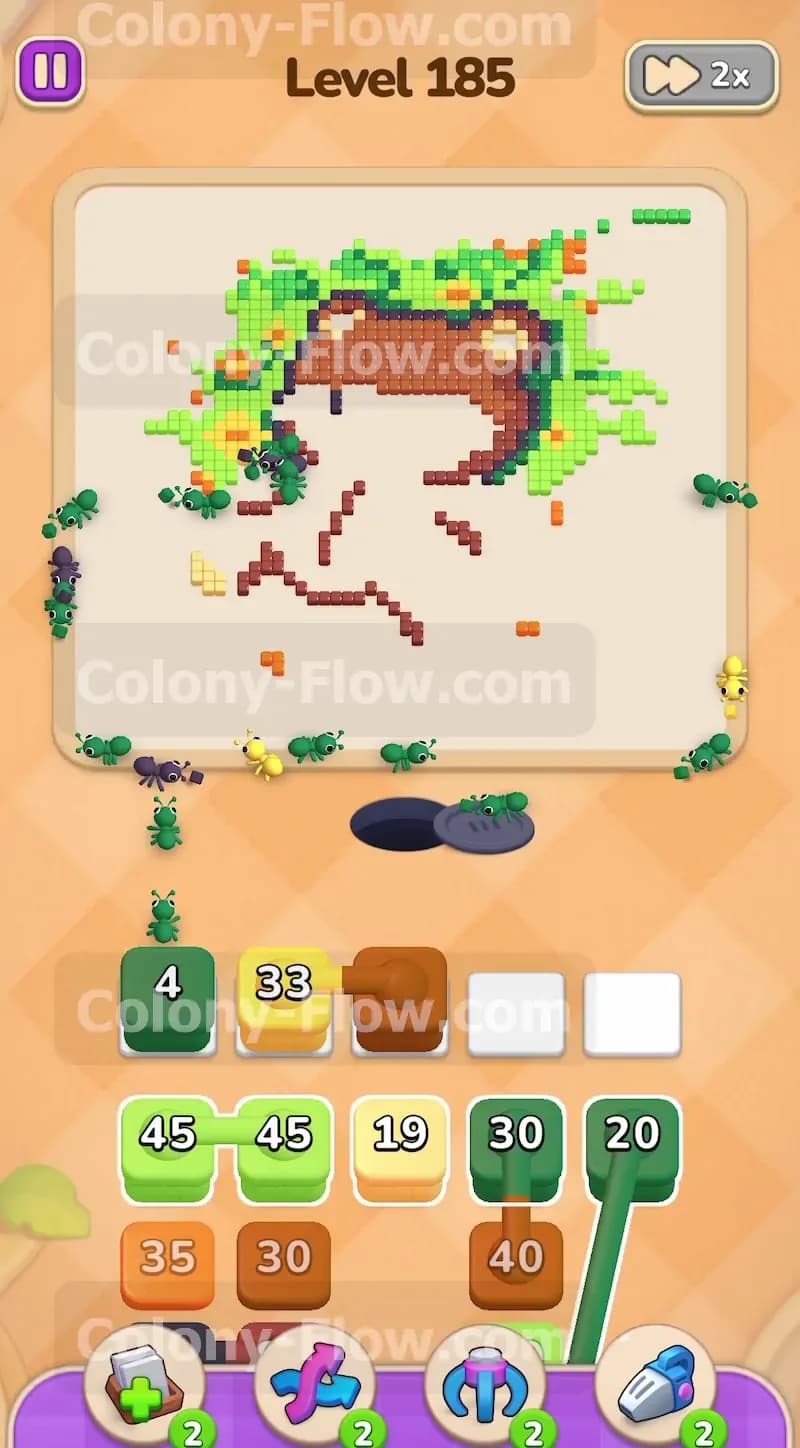
The bear features two bright pink blush marks on its cheeks. You will eventually spot a pink block sitting in your tray. Tap it to send a small specialized squad of ants to clear those specific pink tiles. This is a very quick detail to clear but it frees up a waiting slot almost instantly. Quick clears like this are fantastic for your overall tray management. You get the block out of your tray quickly and the ants finish the job in mere seconds. This immediately opens up room for the heavier colors that require substantially more time to process. Never ignore the small detail blocks when their paths are clear. You always want to jump on these easy clears the second they become available. It is a simple tactic that saves you massive headaches later.
Step 6: Reduce the light brown main body while managing tray space.
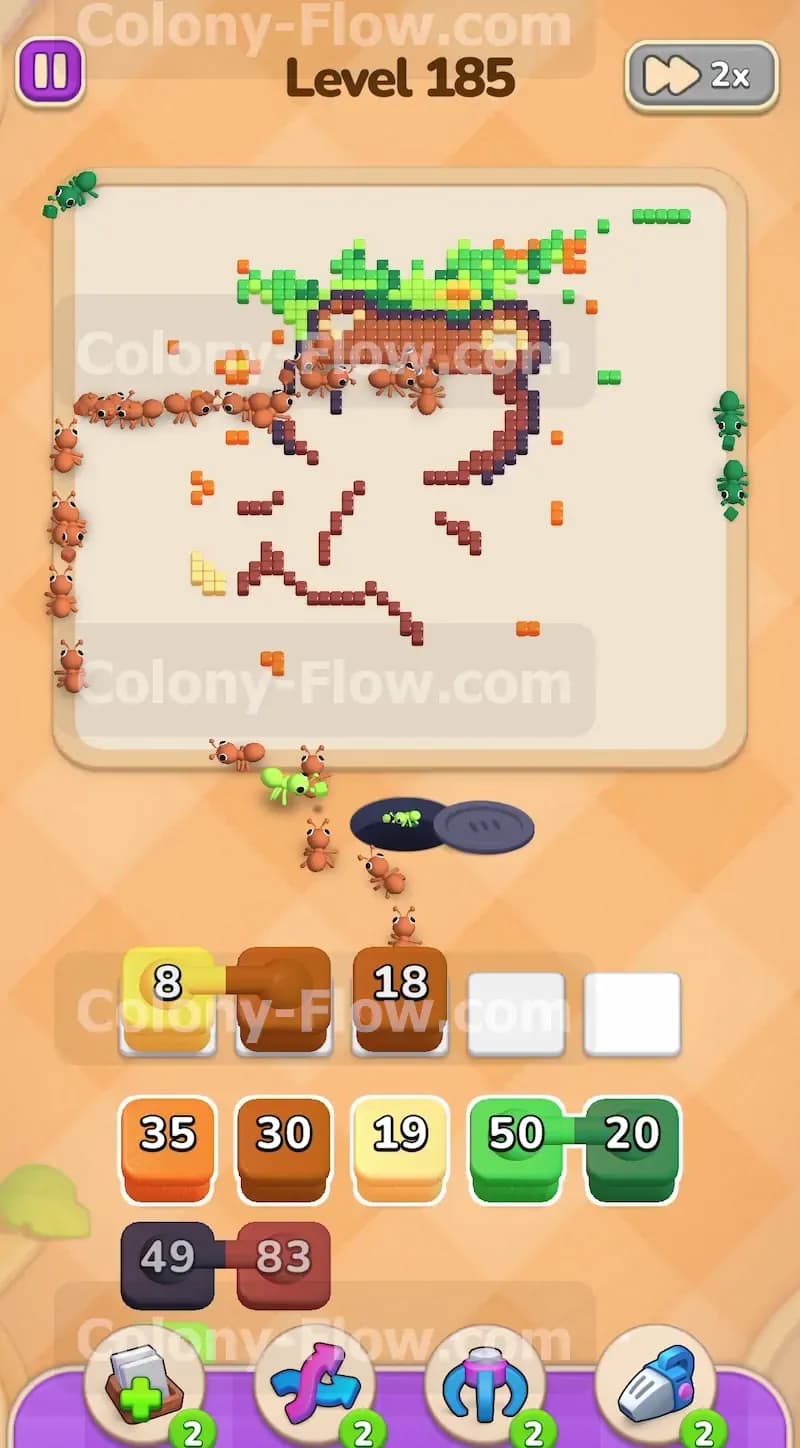
The bulk of the bear consists of light brown tiles. Your tray will now start serving up large light brown blocks in heavy numbers. Pull them up and watch your colony swarm the main body of the bear. The picture will start dissolving rapidly as the ants tear into the core shape. Keep an eye on your remaining dark green blocks while this happens. A few dark green leaves still hug the top of the bear head. Pulling a dark green block alongside the light brown blocks ensures that both the top and bottom of the picture are being worked on simultaneously. This strategy keeps the flow of ants balanced and prevents a massive backlog of unworked tiles at the very top edge of the board. You will notice the board shrinking rapidly at this stage. Stay focused and keep pulling those large blocks as quickly as your waiting slots allow.
Step 7: Activate the Hidden Boxes as they reveal their true colors.
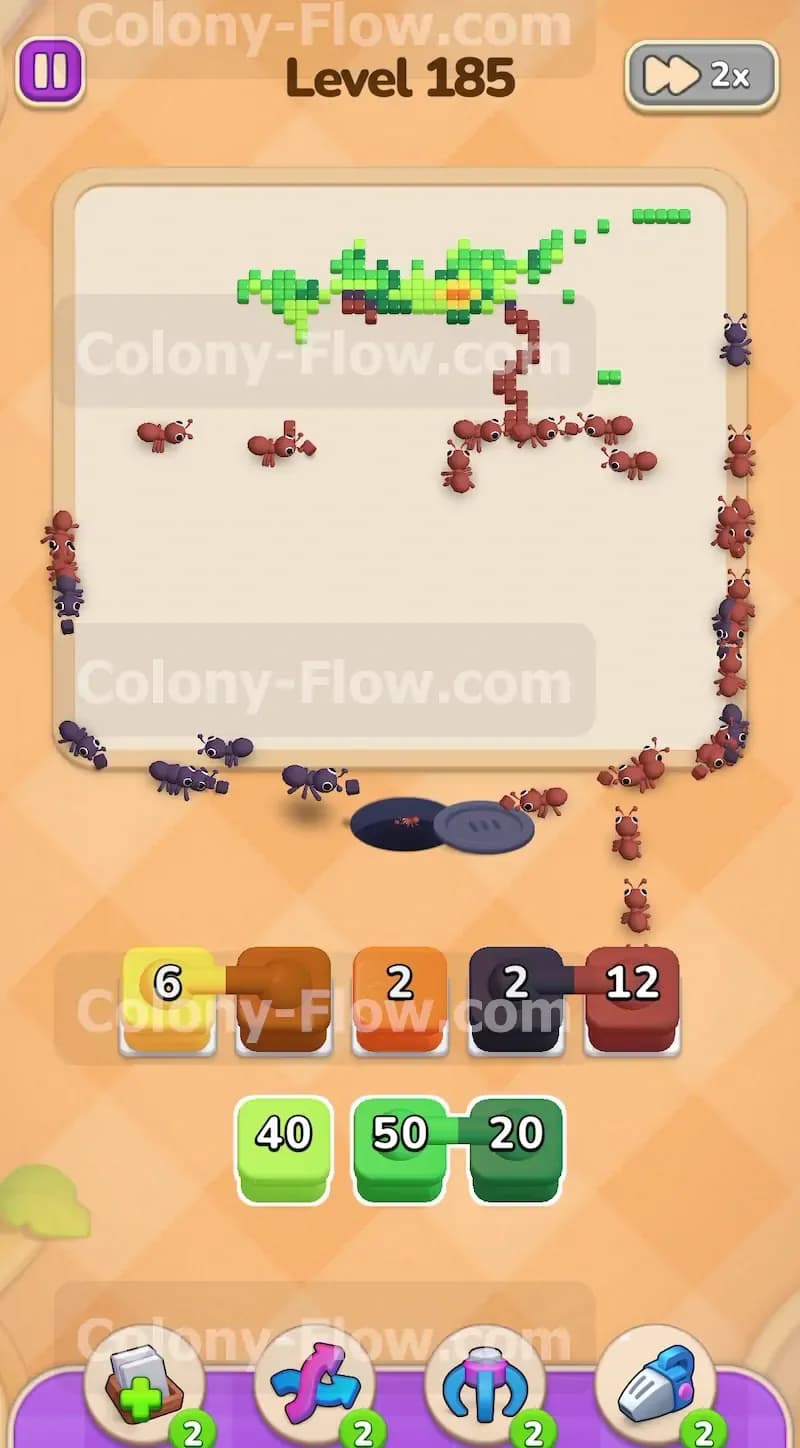
Throughout this entire level you will see boxes with question marks sitting patiently in your tray. These Hidden Boxes conceal their true color until a valid path to their matching tiles opens up on the board. As you clear away the grass and the bear body, these boxes will suddenly reveal their true colors. Watch them very closely. As soon as a Hidden Box drops its question mark and shows a color that matches an open tile on the board, tap it. This activates the block and gets it out of your tray. Clearing these formerly hidden blocks is required to keep fresh blocks cycling into your tray. If you ignore them, they will choke your block supply and leave you stranded. Timing is everything with these hidden elements. The faster you clear them out, the smoother your final moves will be.
Step 8: Finish the dark brown outline and the face details to win the level.
The final phase of the board involves clearing the remaining dark brown outline around the bear and the dark blue tiles making up the eyes and nose. Pull the remaining dark brown blocks to dissolve the jagged outline. Then tap the dark blue block to clear the face completely. The final few ants will scurry across the entirely empty board to consume these last scattered tiles. You must wait for every single ant to finish eating and return to the nest hole. Once the final tile disappears and the screen is clear, the level is officially complete. Take your time and make sure you do not pull a color out of order. Celebrate your victory once the screen transitions to the success menu.
Final Thought
This puzzle requires a steady pace and smart path management to keep the colony moving without pause. Always clear the borders before you attempt the center details. If any specific move feels hard to follow in text, I encourage you to watch the video above this article. Seeing the ants clear the paths in real time makes the strategy perfectly clear.