Colony Flow Level 233 Walkthrough Solution & Guides | How to solve Colony Flow 233

Guide By Liam Stone
Updated on July 13, 2026
You'll find the complete Level 233 walkthrough in the video above if reading isn't what you're after.
Video doesn't match your screen?
Game updates frequently scramble layouts! Try our AI Screenshot Solver first to find your exact board instantly, or report broken guides to our team.
Colony Flow Level 233 is a fantastic puzzle that challenges your tray management skills with a fun pixel art theme. You need to carefully clear a spooky tree and moon picture without overwhelming your waiting slots. I play every level myself to find the most reliable paths and I am ready to teach you the safest route. I will show you exactly how to beat this board without getting stuck.
Colony Flow Level 233 Overview
What You Are Working With
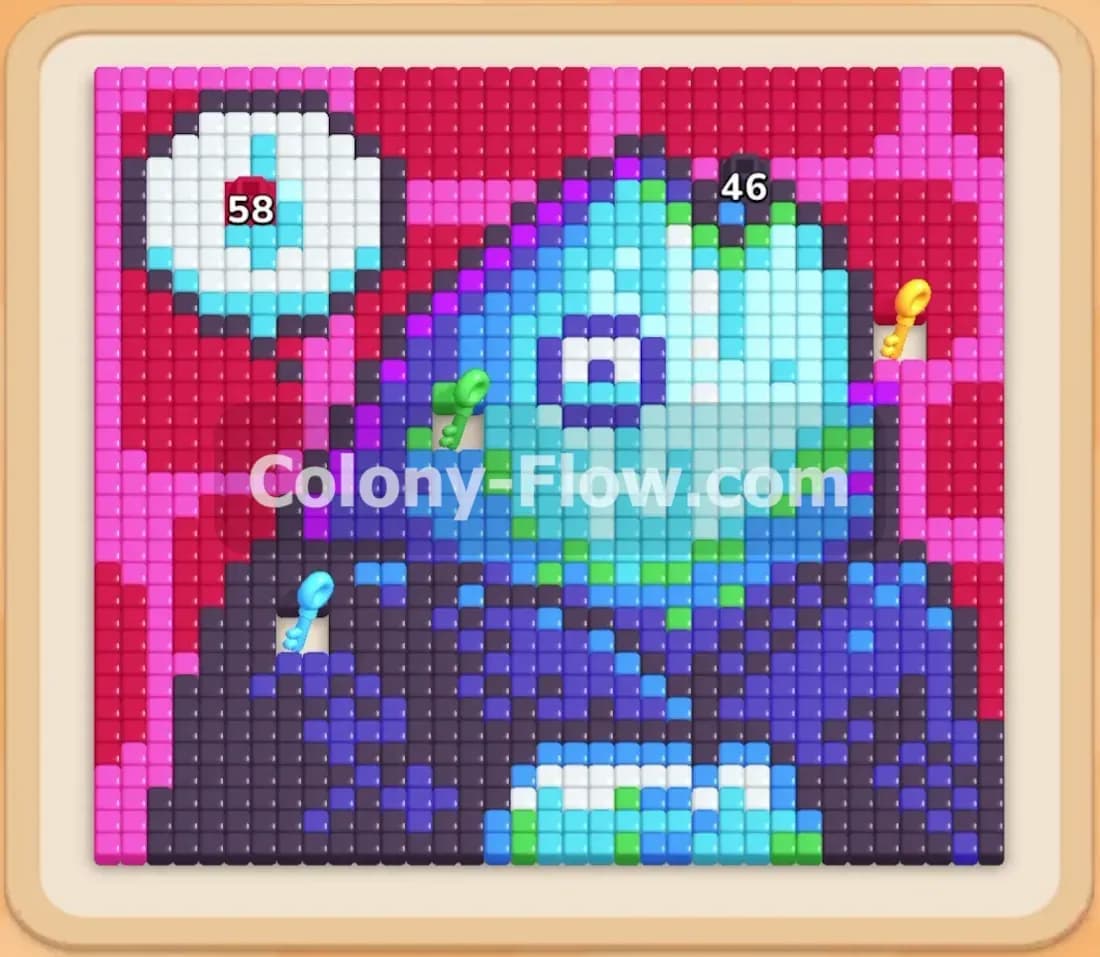
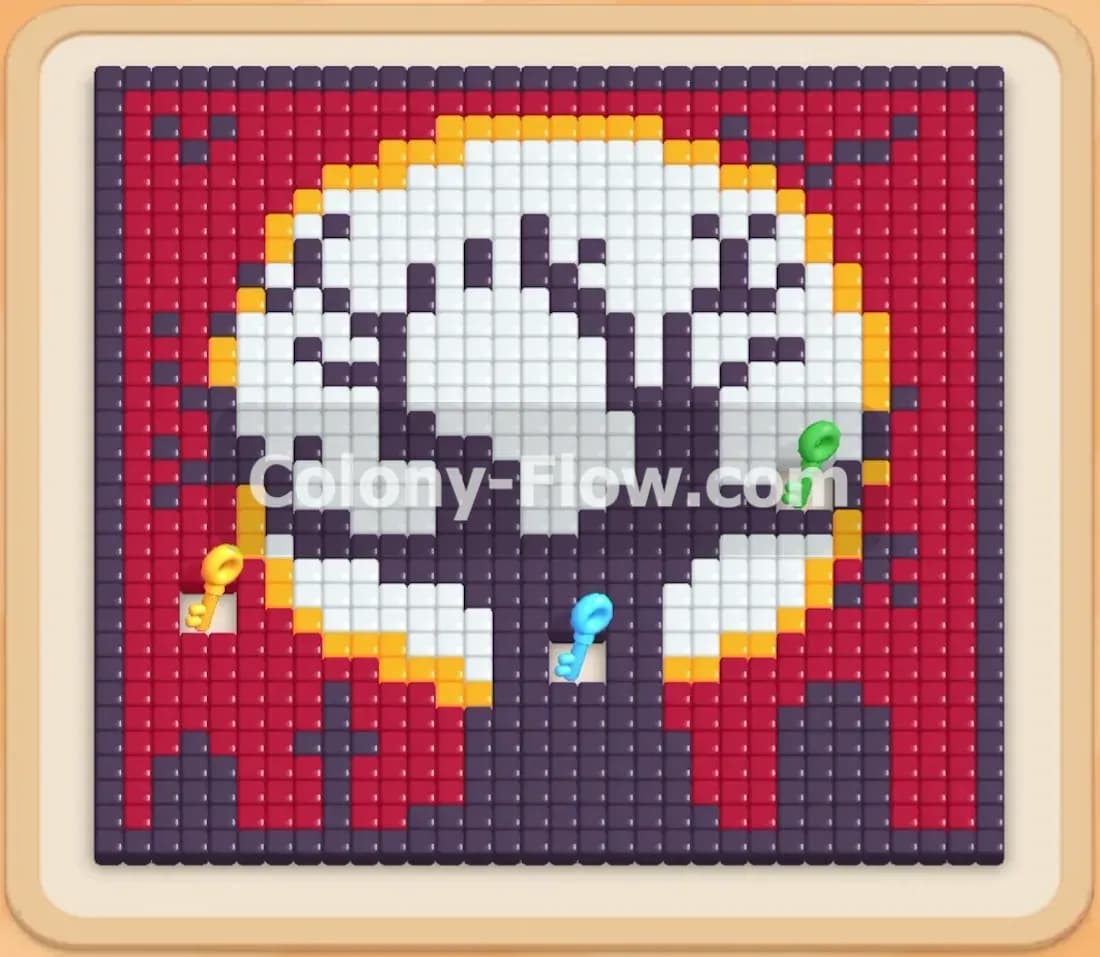
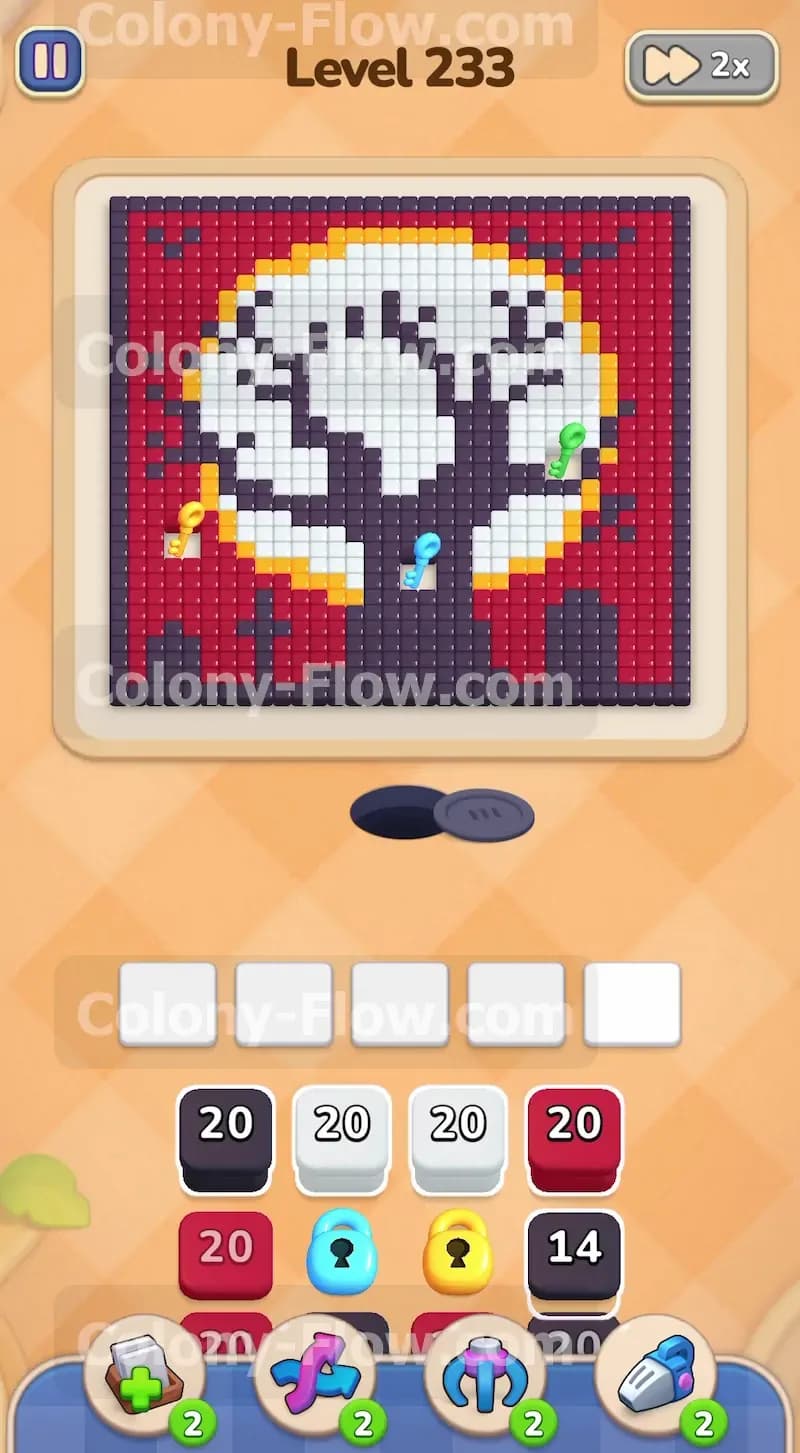
The pixel art board displays a great Halloween style scene. You face a large dark grey tree right in the middle. A bright white moon glows behind the dark branches. A deep red sky fills the entire background. Dark grey ground tiles and small tombstones line the bottom edge. The level also features the lock and key mechanic. You will find three keys resting on the board. An orange key sits on the left side of the tree branches. A blue key rests near the bottom middle of the main trunk. A green key waits on the right side branches. Down at the bottom of the screen your tray holds numbered blocks in Red, Black, White, and Orange colors. The tray also contains locked blocks showing keyhole symbols. You cannot pull these locked blocks into your waiting slots until you collect the matching keys from the board.
What It Takes to Clear Level 233 Board
You must start at the very bottom and slowly carve a path upward to win. The ants spawn from a hole at the bottom center of the screen. You must remove the ground tiles first because they block access to the tree and the moon. Your main risk is filling your five waiting slots completely. If you pull five blocks and none of those ants can reach their matching colors you lose the level instantly. You have to keep a path open at all times. Collecting the keys early is a huge priority. Getting the keys unlocks the frozen blocks in your tray and prevents you from running out of playable numbers. Your final objective is to wipe out every single tile including the top corners of the red sky.
Colony Flow Level 233 Step by Step Solution
Step 1: Pull Black and Red blocks to clear the bottom row of ground tiles
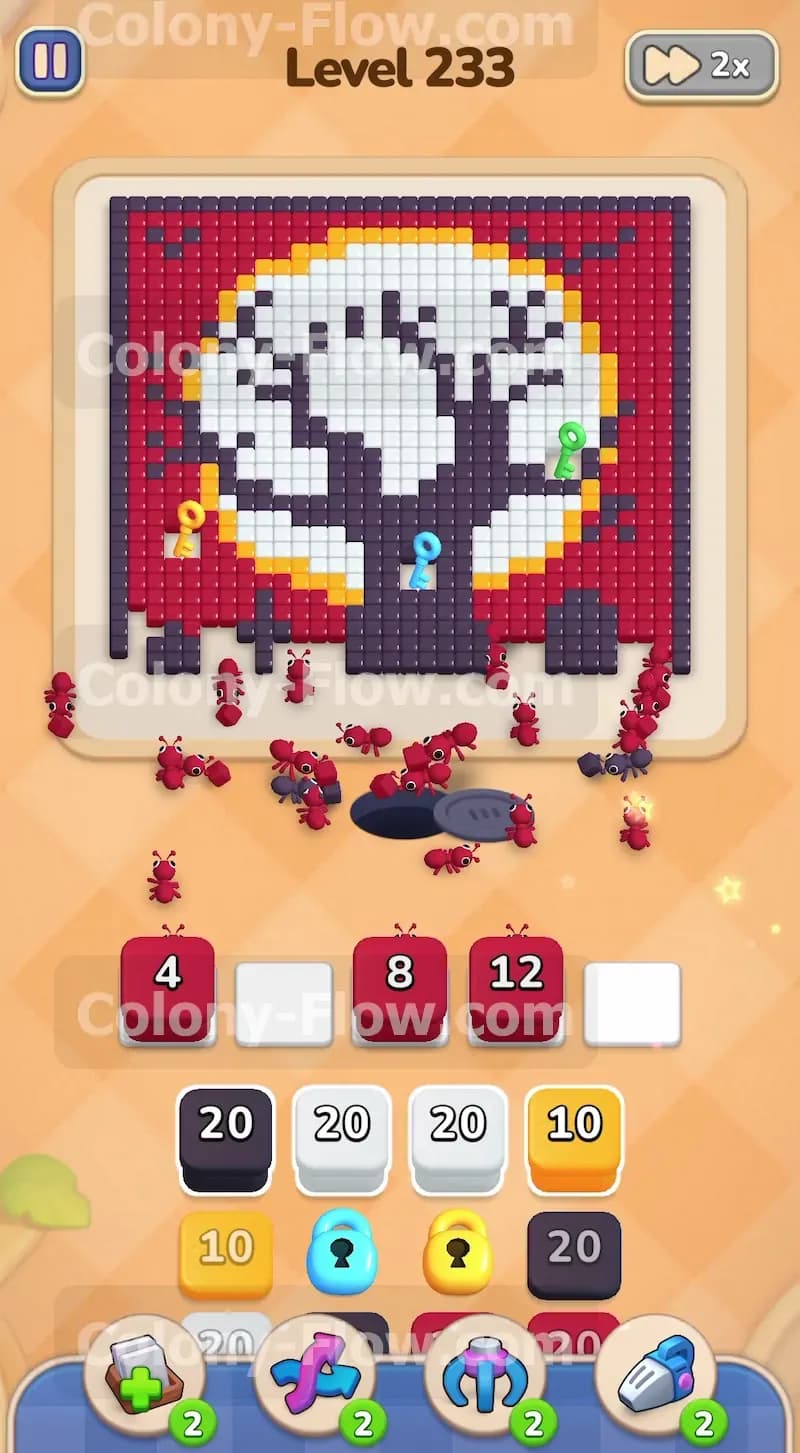
You start with your ants pouring out of the bottom central hole. The very first obstacles blocking your progress are the dark grey ground tiles and the lower red sky tiles. Pull a Red block from the tray into your waiting slots. The red ants will march out and eat the red tiles near the bottom left and bottom right corners. Next pull a Black block. The black ants will target the dark grey ground tiles and the small tombstones. You want to alternate between Red and Black blocks during this opening phase. Do not pull any White blocks yet. The white moon tiles are trapped behind the tree trunk and the ground layer. If you pull a White block right now it will just sit in your waiting slot and consume valuable space. Watch the numbers on your tray blocks count down to zero. Wait until a slot empties out completely before pulling the next block. This steady pace keeps your board moving smoothly and prevents an early game over.
Step 2: Focus Black blocks on the lower tree trunk to collect the blue key
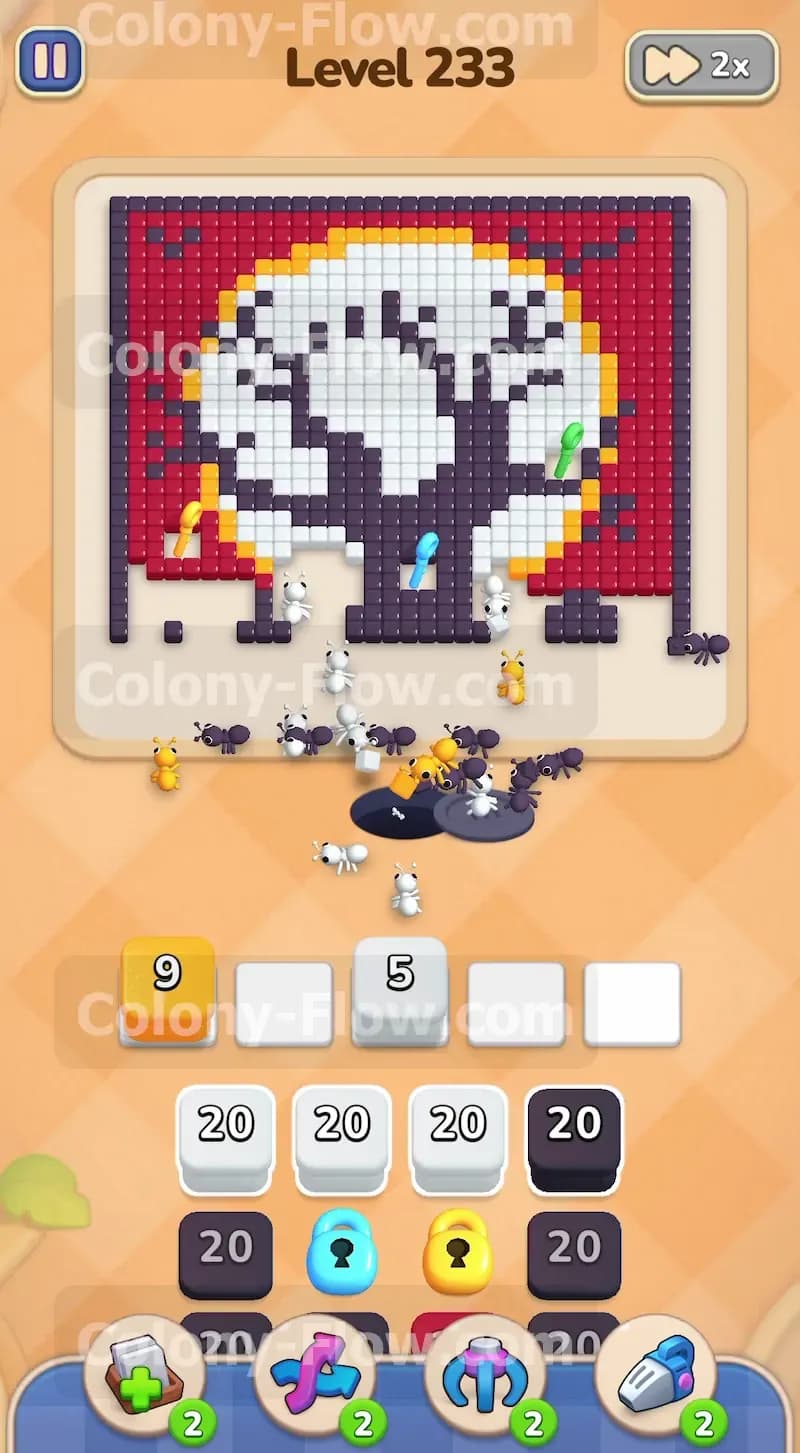
With the bottom ground partially cleared you now have a direct path to the base of the dark grey tree. The blue key is resting right on the lower section of this main trunk. Pull another Black block into your open slots. A stream of black ants will swarm up the middle and start eating away the base of the tree. As they clear the dark grey tiles underneath the blue key the key will drop and collect itself automatically. This action immediately unlocks the light blue lock block sitting down in your tray. Opening that tray lock is a massive advantage because it reveals fresh blocks hiding underneath it. You always want to prioritize reaching keys early in any level to prevent your tray from stalling out. Keep a close eye on your five slots. Make sure at least one slot is actively processing ants at all times.
Step 3: Send Red and Black ants to the left side to secure the orange key
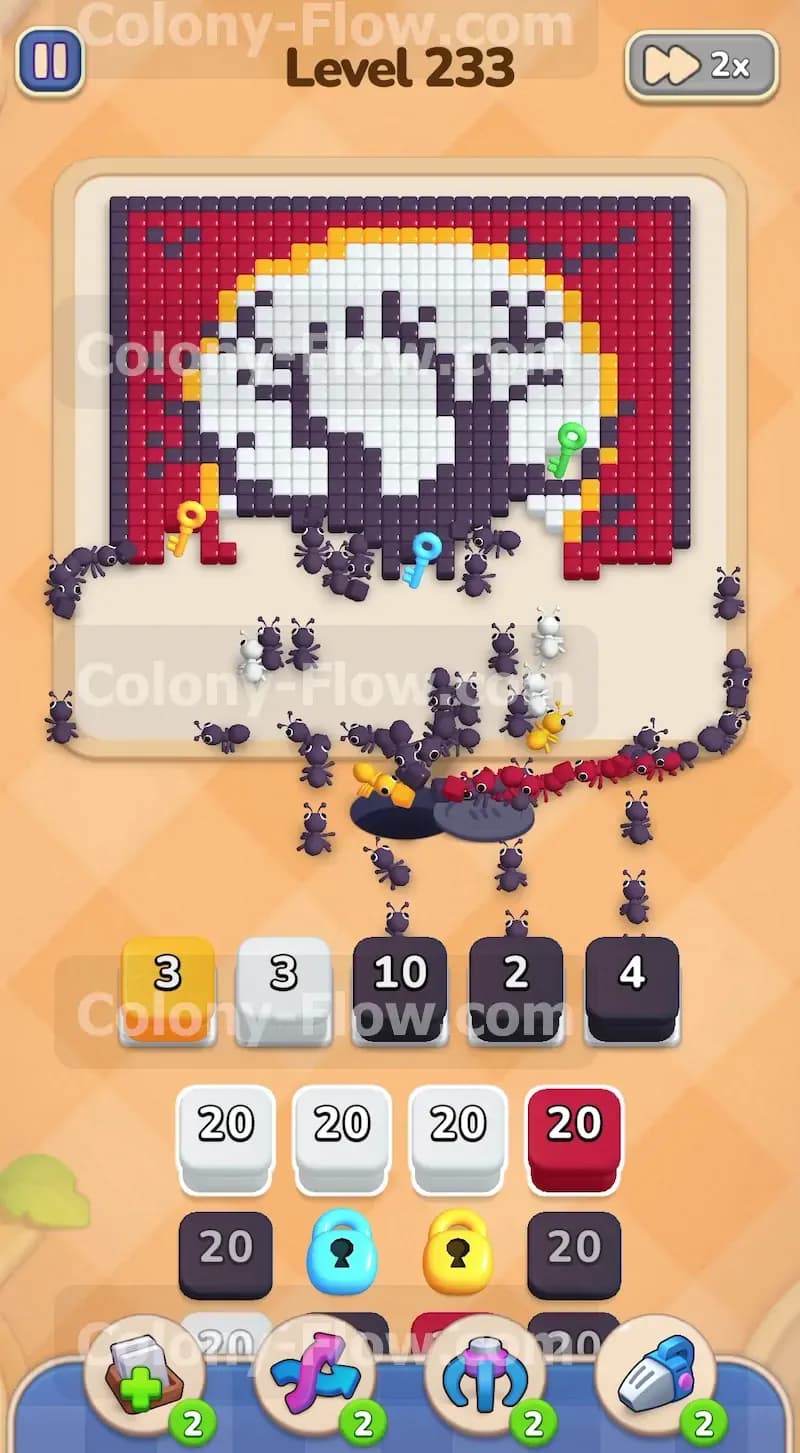
Turn your attention to the left side of the board. The orange key is trapped halfway up the picture caught in the middle of the left tree branches. You need to carve a clear path through the red sky and the dark grey branches to reach it. Pull a Red block to clear more of the left side background. Once the red ants finish their meal pull a Black block. The black ants will eat the branches on the left side of the tree. This combined effort clears the surrounding tiles and drops the orange key. Gathering this second key unlocks the yellow orange lock block down in your tray. This gives you immediate access to a fresh stack of colored numbers. Always remember to wait for your ants to finish eating before you stack too many new commands.
Step 4: Pull White blocks to send ants into the large central moon area
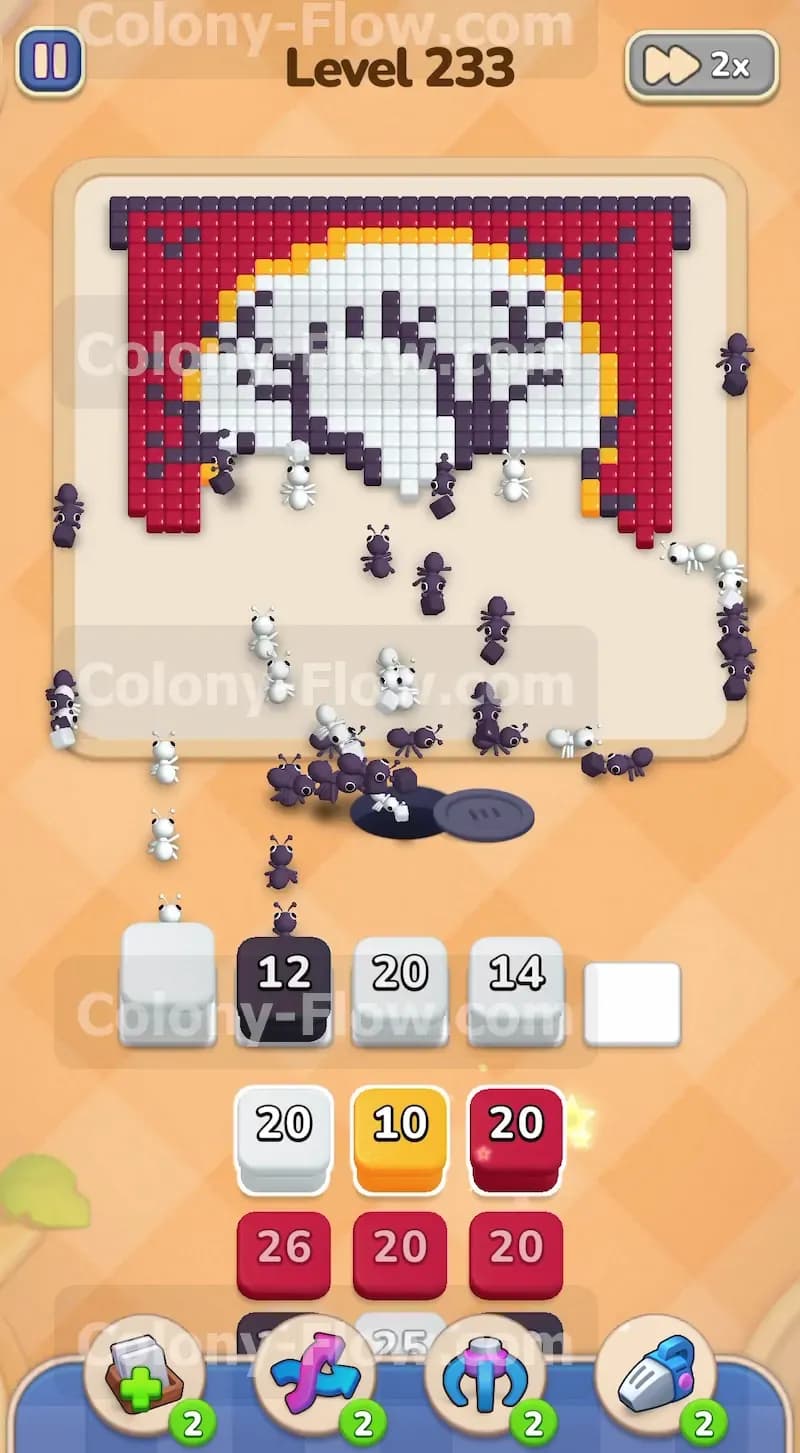
You finally have a wide open path to the white moon tiles. The center of the board is clear enough for the white ants to pass through without hitting obstacles. Pull a large numbered White block from the tray. The white ants will stream out of the nest and start devouring the large circular moon behind the tree. This white area has a massive number of tiles so you will need to pull several White blocks over the next few moves. The white ants will spread out and clear large chunks of the moon very quickly. You will see the board open up dramatically. Do not ignore the other colors entirely during this phase. If you notice the white ants getting stuck behind a stray dark grey branch you need to pull a Black block to clear the way. Keeping the paths wide open is the true secret to maintaining your flow.
Step 5: Clear the right side tree branches to drop the final green key
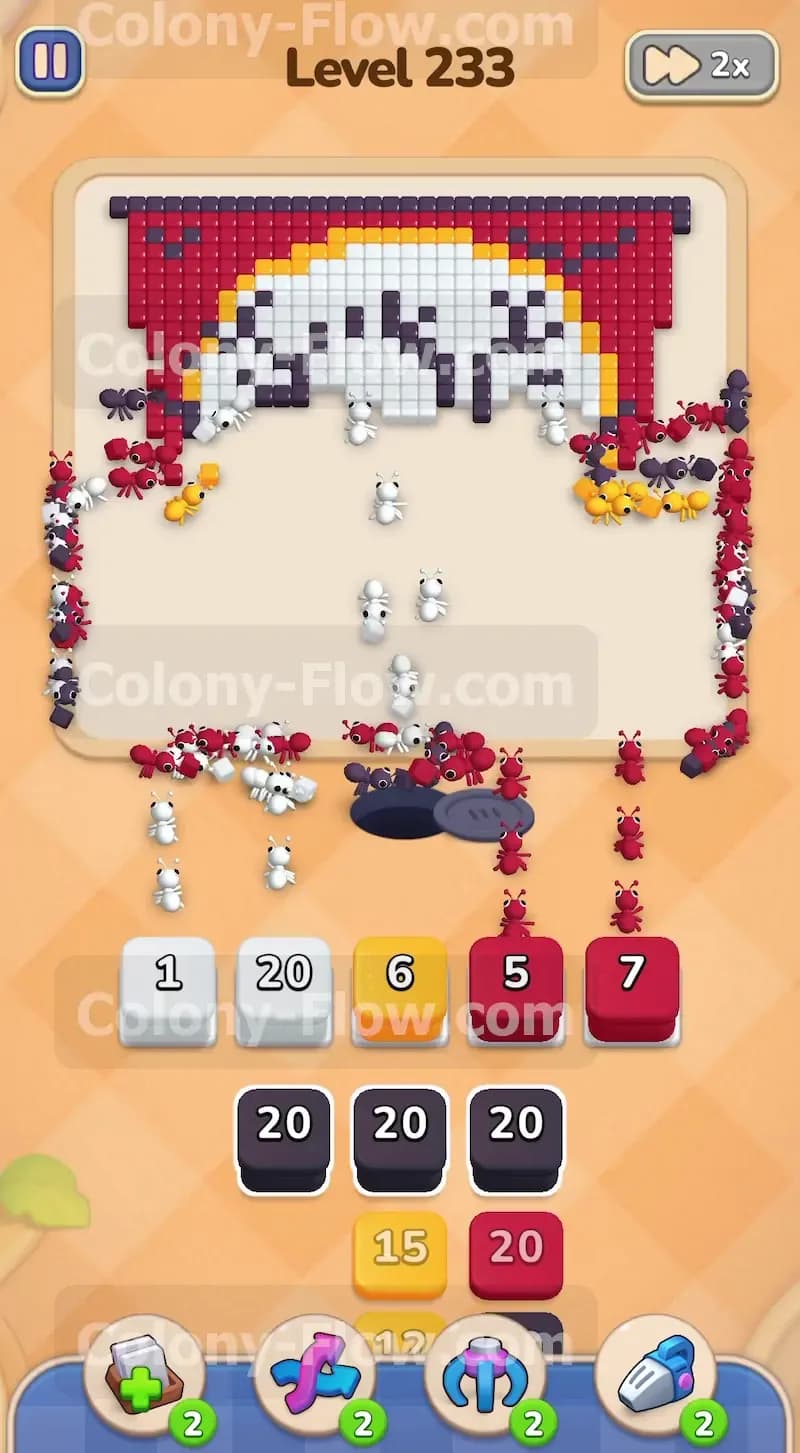
The last key on the board is the green key. It sits on the right side caught high up in the branches of the dark grey tree. Pull a Black block into your slots to send black ants up the right side. They will chew through the branches and release the green key. At the exact same time you should pull a Red block to clear out the right side red sky tiles. The red ants and black ants will work together to strip the right side of the picture completely bare. Collecting this final key ensures you have full access to every single block remaining in your tray. Your waiting slots should be flowing perfectly now. The ants have multiple clear paths to their targets and the remaining picture is shrinking fast.
Step 6: Alternate Black and White blocks to remove the intertwined top branches and moon tiles
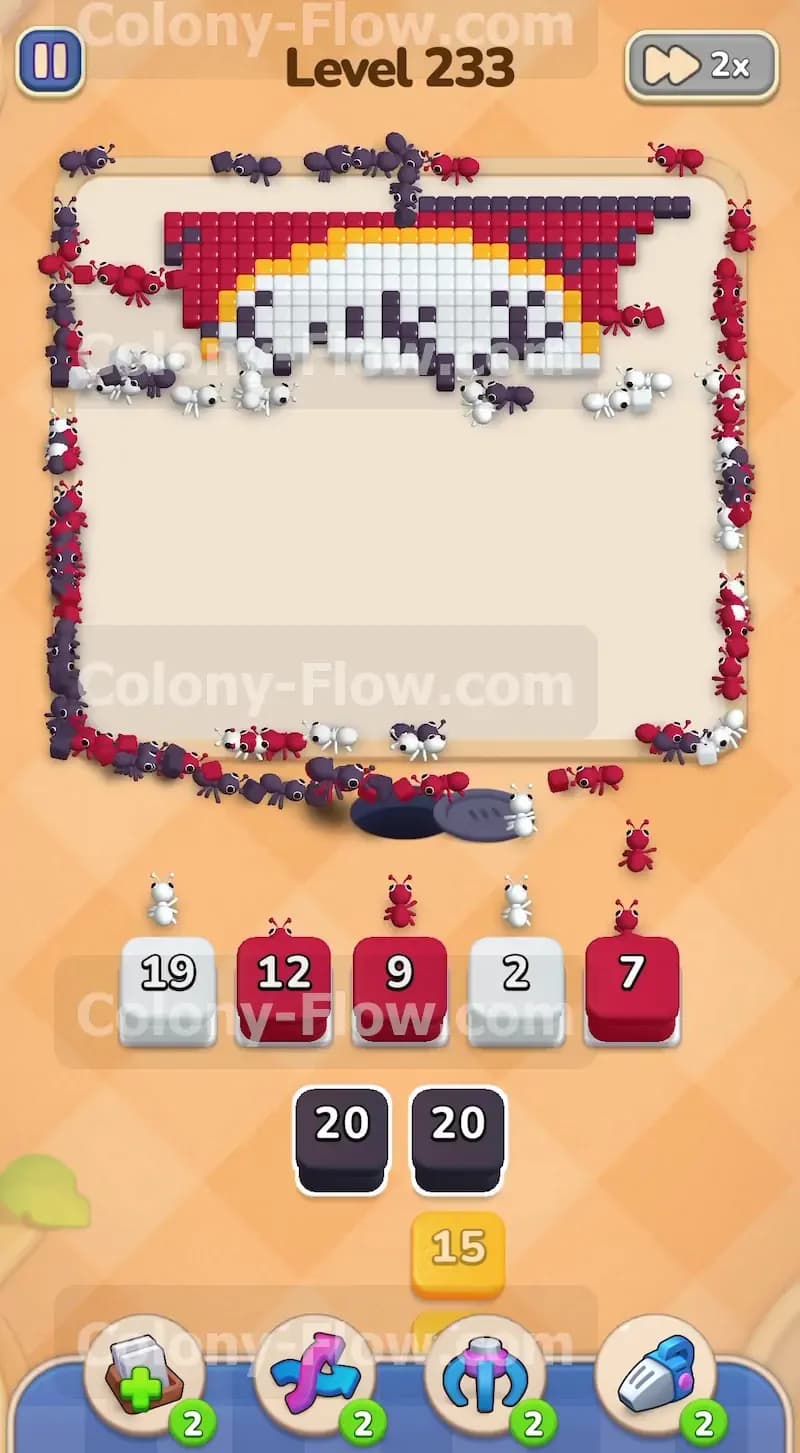
The upper half of the picture gets a bit tricky to clear. The dark grey branches cross over the white moon tiles. This layout creates small pockets of trapped white tiles. You must alternate your block pulls here to avoid dead ends. Pull a Black block to remove an overlapping branch. Wait for the black ants to finish their job. Then pull a White block to clear the moon tiles that were trapped behind that specific branch. Repeating this alternating pattern keeps the ants from getting stuck in a traffic jam. If you pull three White blocks in a row the ants will bump into a dark grey branch and stall your entire queue. Take your time and watch the paths closely. When a branch disappears a brand new path opens up for the white ants. Clear out the rest of the dark grey tree entirely.
Step 7: Use Red blocks to clear the large top corners and the top edge
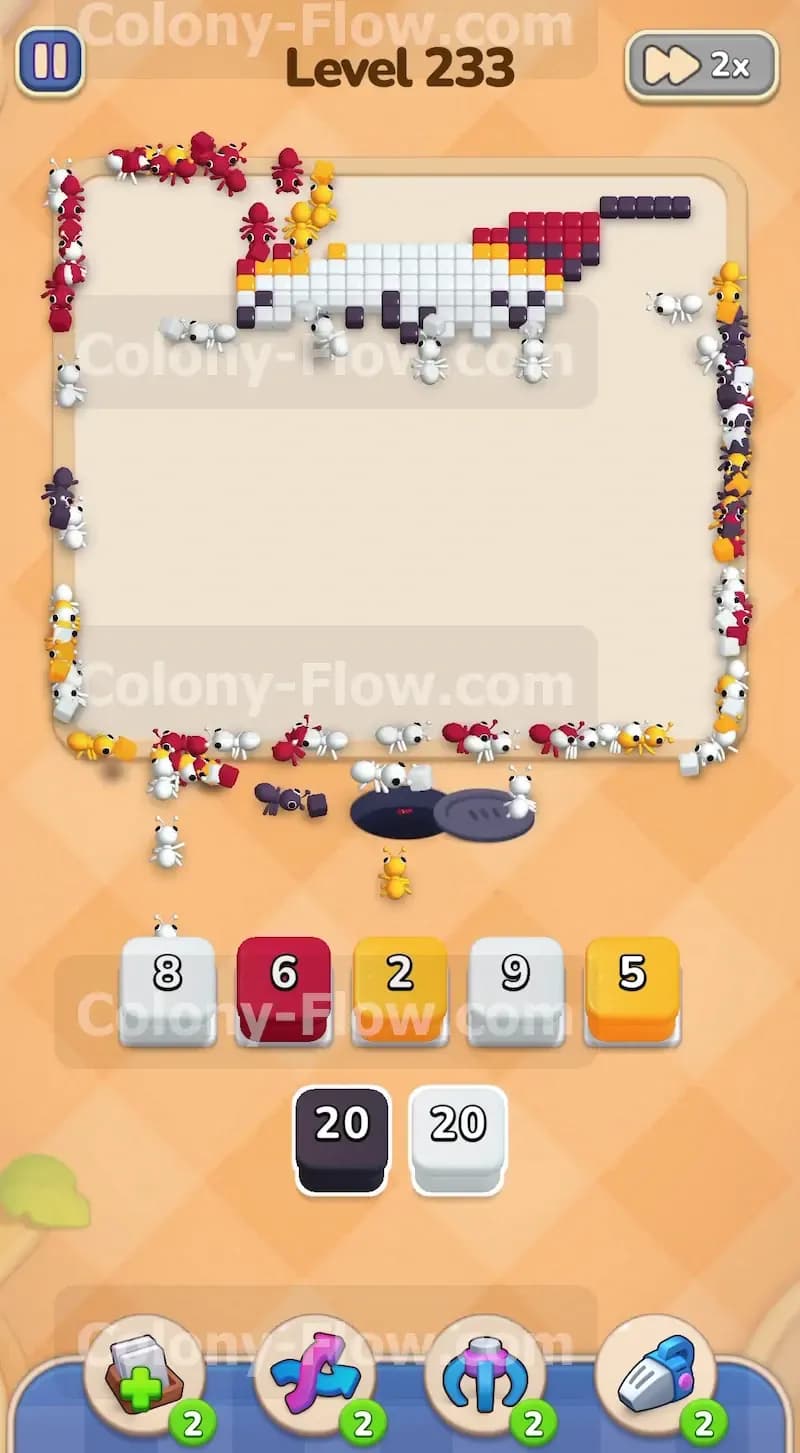
With the tree gone and the moon mostly eaten the only major sections left are the red sky tiles at the very top of the board. The red ants have a very long walk from the bottom hole all the way up to the top corners. Because the travel time is long you need to be extra careful with your waiting slots. Pull one or two Red blocks and wait. Watch the red ants march all the way up the empty board. They will fan out and eat the top left and top right corners of the sky. The tray will provide you with large numbered Red blocks for this specific phase. Let the ants do their work at their own pace. Do not panic and pull random blocks to fill your slots. Patience is required when the remaining tiles sit so far away from the nest.
Step 8: Pull the last remaining blocks to clear the very top edge of the board
The board is almost completely empty right now. You will see just a few stray white moon tiles or a thin line of red sky directly at the top border. Look at the remaining tiles and pull the exact colors you need from your tray. You might need one last White block and one final Red block. You will also see a few orange numbered blocks pop up from the tray at the very end to match the small orange details in the moon. Pull those Orange blocks as well. The ants will make their final run up the empty screen. They will eat the last remaining pixels. Once the board is entirely clear the level ends in a satisfying victory. You managed your waiting slots perfectly and never allowed the board to hit a dead end.
Final Thought
Beating this board takes a solid rhythm and good tray management. If you struggle with the timing of the locked blocks you can always watch the video above this article. Seeing the ants clear the paths in real time makes the strategy much easier to understand. Good luck with your puzzle solving.