Colony Flow Level 486 Walkthrough Solution & Guides | How to solve Colony Flow 486

Guide By Liam Stone
Updated on July 30, 2026
If you want the fast route, watch the video above. It covers Level 486 from the first move to the last.
Video doesn't match your screen?
Game updates frequently scramble layouts! Try our AI Screenshot Solver first to find your exact board instantly, or report broken guides to our team.
Welcome to Colony Flow Level 486 where you get to clear a giant pixel art frog. This board looks very straightforward but requires careful tray management because of a locked block down in your tray. You feed and steer your colony by pulling colored numbered blocks from the bottom tray into your five waiting slots. You need to carve a clear path to the yellow key on the upper right side of the frog face before your active slots fill up and ruin your run. If your five waiting slots jam up and no ants can reach the puzzle board you instantly lose the level. I played through this specific level a few times and found the absolute safest route to keep your ants moving without causing a fatal traffic jam.
Colony Flow Level 486 Overview
What You Are Working With
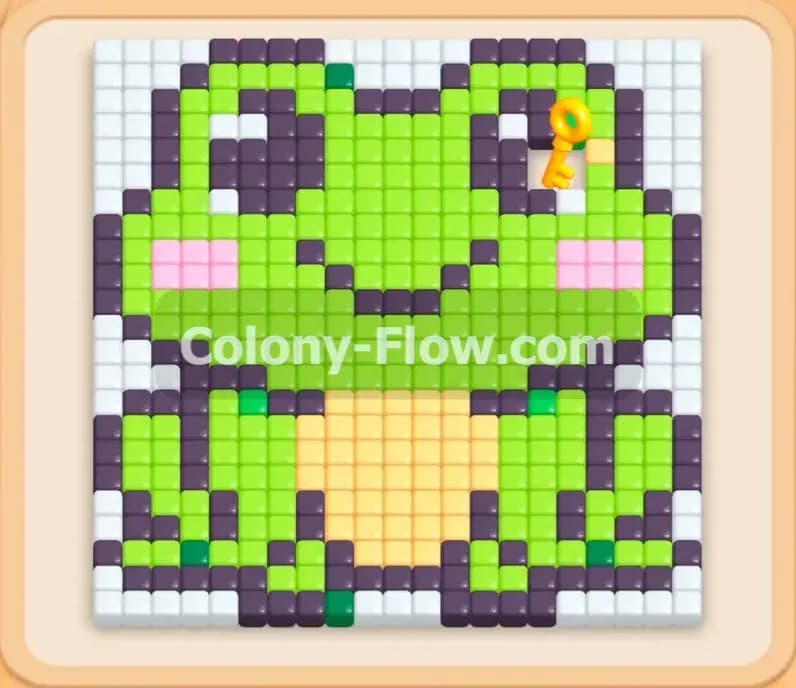
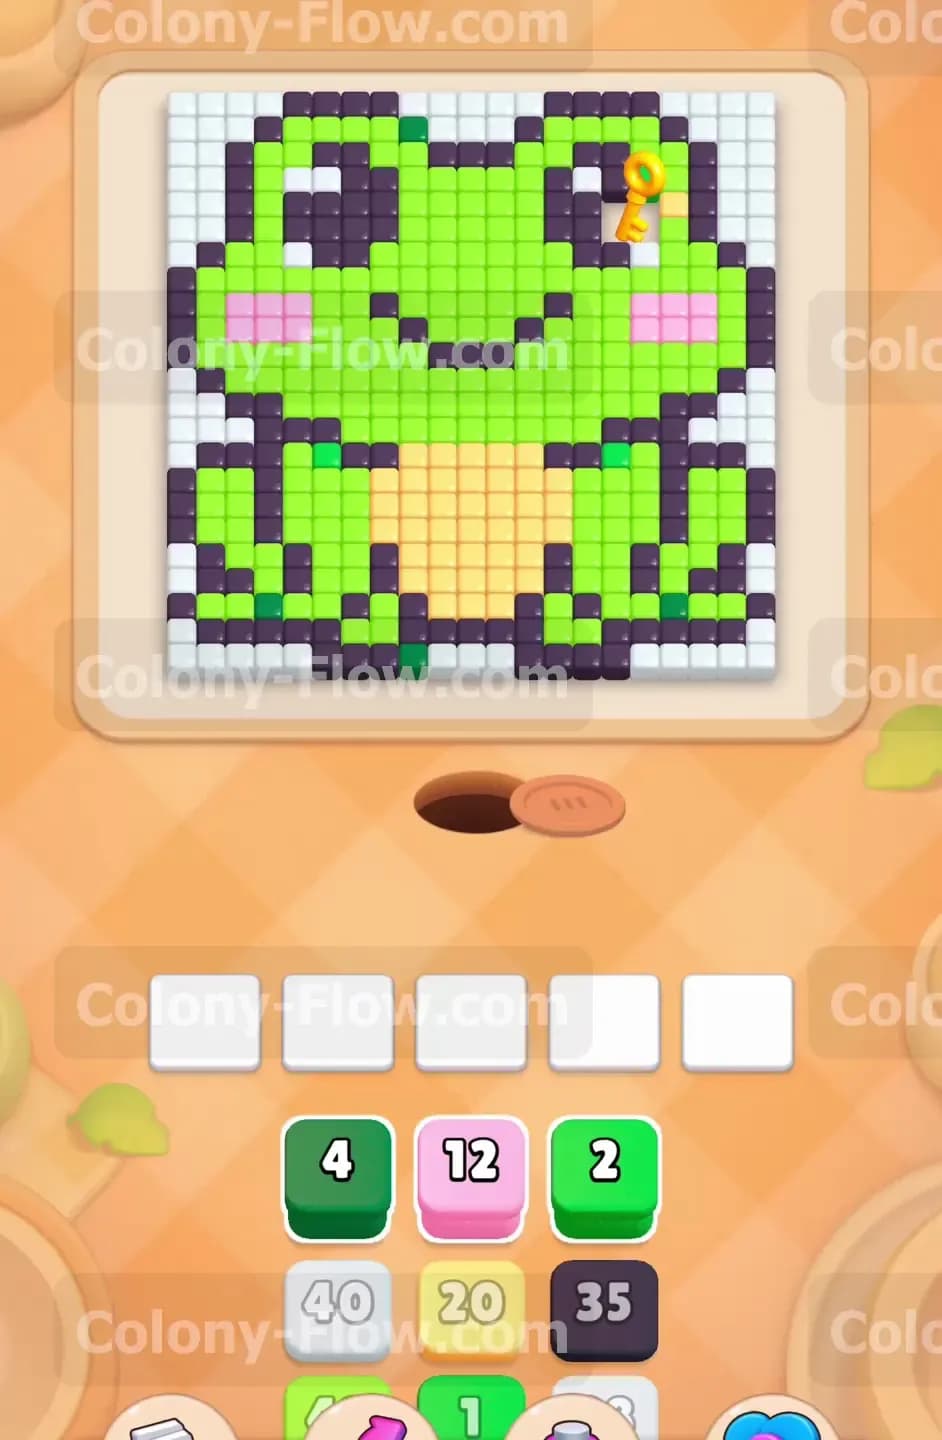
You face a large green frog sitting centered on a white background. The frog features a big yellow belly, bright pink cheeks, and huge dark purple eyes. A thick dark purple outline borders the entire body shape perfectly. You will also spot a few dark green tiles sitting at the very bottom edge near the frog feet. A yellow key rests firmly near the top right eye of the frog. Down in your tray you start with dark green, bright green, pink, white, yellow, and dark purple numbered blocks. One specific dark purple block with the number thirty four on it carries a yellow padlock. This block stays completely frozen until you collect the yellow key from the board above.
What It Takes to Clear Level 486 Board
Winning this level means eating every single tile that makes up the frog and the solid white background. You must match the colored blocks from your tray to the exact matching colors on the puzzle board. A tiny number on each block tells you exactly how many ants it will send out. Your five waiting slots will fill up extremely fast if you pull the wrong colors at the wrong time. You win by pacing your block pulls to maintain a steady and continuous flow of ants out of the nest hole. You need to systematically strip away the bottom of the frog, hollow out the bright green body, reach the key to unlock your final dark purple block, and finally consume the upper head area.
Colony Flow Level 486 Step by Step Solution
Step 1: Clear the lowest edge tiles to open the board entry point
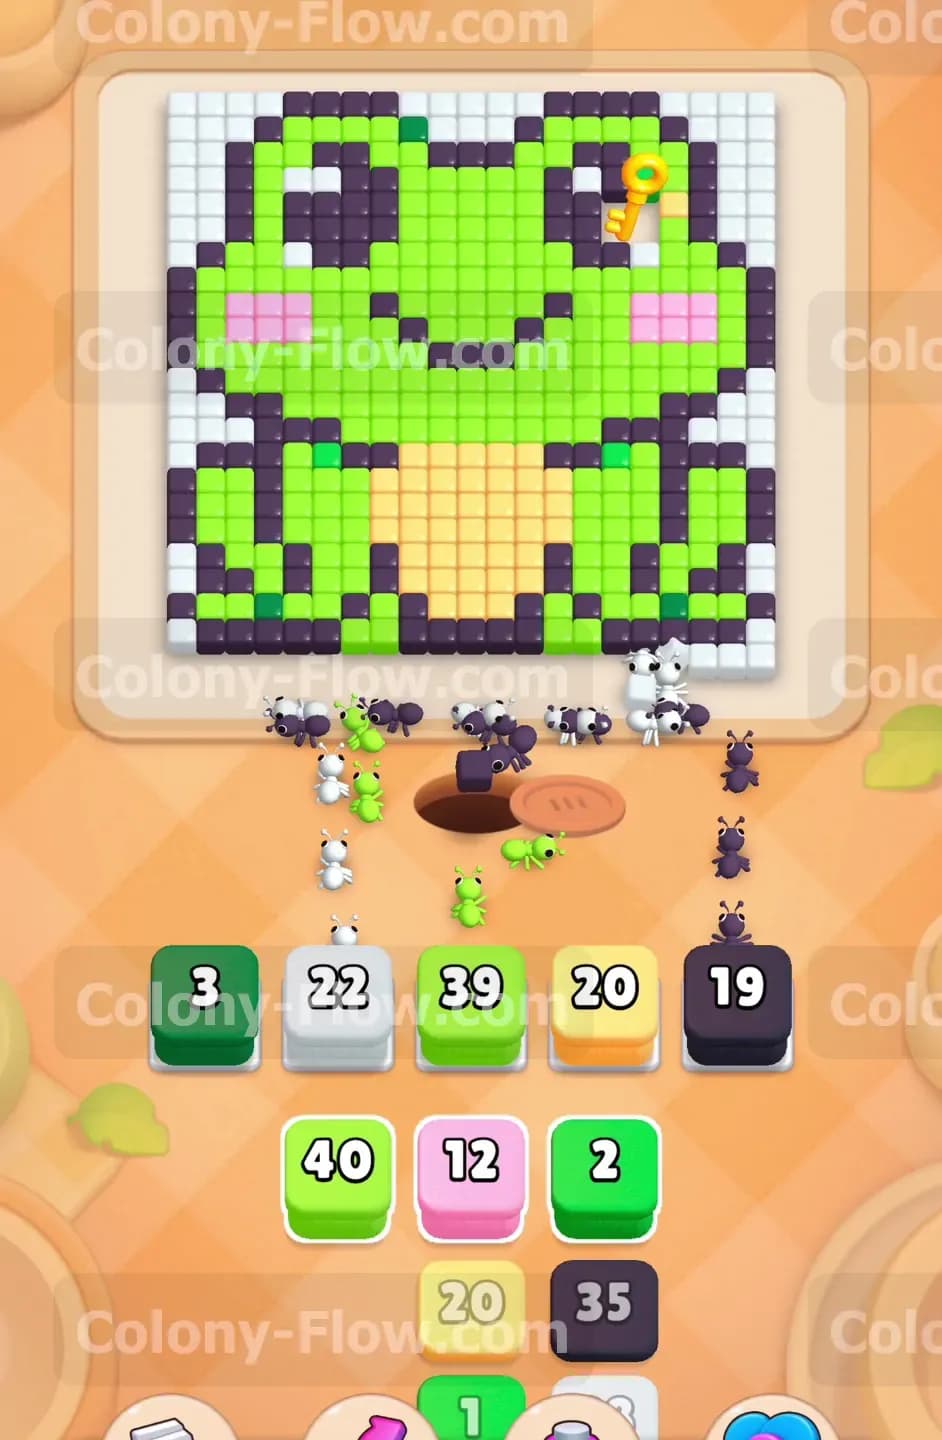
You need to start by pulling the dark green block along with a white block and a dark purple block into your five active slots. The ants will swarm out of the nest hole and immediately eat the small cluster of dark green tiles right at the very bottom edge. The dark green block only requires four ants so it will finish quickly and free up a slot in your tray. The remaining ants will also start chewing heavily on the white background tiles and the dark purple outline near the frog feet. This initial move creates a wide open entry point for your entire colony to reach the inner body of the frog. Keep a close eye on the numbers on your active blocks as they count down toward zero. Do not pull too many blocks at once or you will fill all five waiting slots and instantly lose the level.
Step 2: Hollow out the yellow belly and the lower frog legs
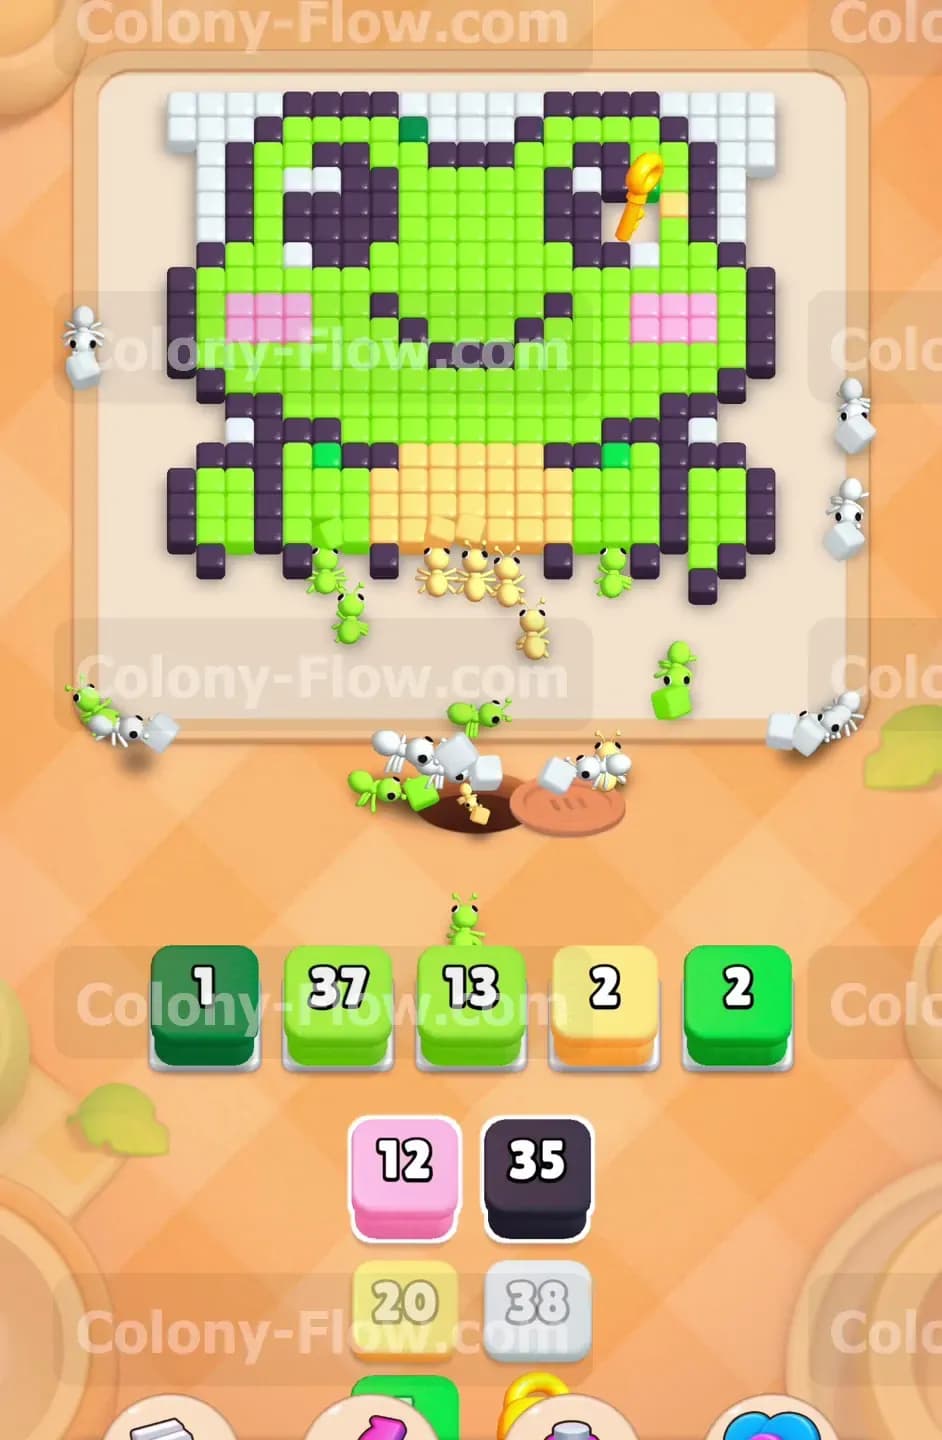
Once the very bottom edge clears out completely you gain direct access to the yellow tiles and the lower bright green tiles. Pull a yellow block and a large bright green block into your tray. The yellow block will send a massive stream of ants to clear the entire belly section. The bright green block will start dissolving the thick frog legs. The yellow belly sits exactly in the middle of the lower half of the character. Clearing it creates a massive open gap right in the very center of the puzzle board. This large open space gives your ants a straight shot into the upper chest and the face area. Make sure your white and dark purple blocks are still active to continue clearing the outer background and the borders so your paths stay wide open.
Step 3: Strip away the sides and the bright pink cheeks
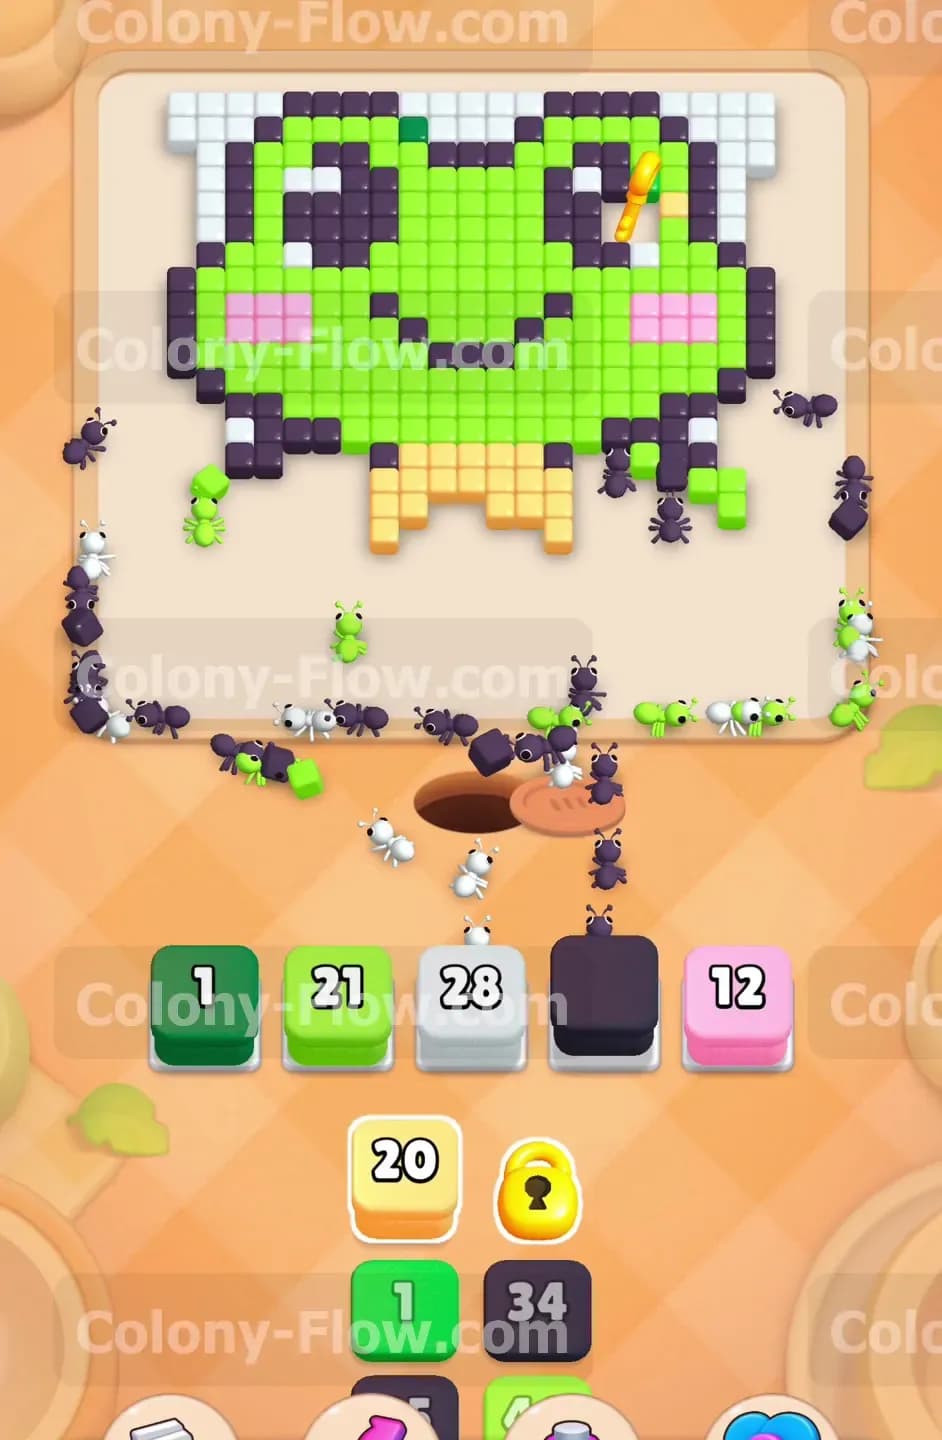
As the ants finish the yellow belly and the lower legs you will fully expose the bright pink tiles on both sides of the frog face. Pull a pink block into your waiting slots to handle these specific pieces. You also need to keep your white and bright green blocks fully refreshed from the tray below. The ants will split off to the left and right sides of the board to eat the pink cheeks. At the exact same time your colony will continue munching on the white background framing the outer edges of the frog. You want the white background to clear at roughly the exact same pace as the green body tiles. This strategy ensures you always have multiple open paths for the ants and completely avoids dead ending the board.
Step 4: Push through the green face directly toward the yellow key
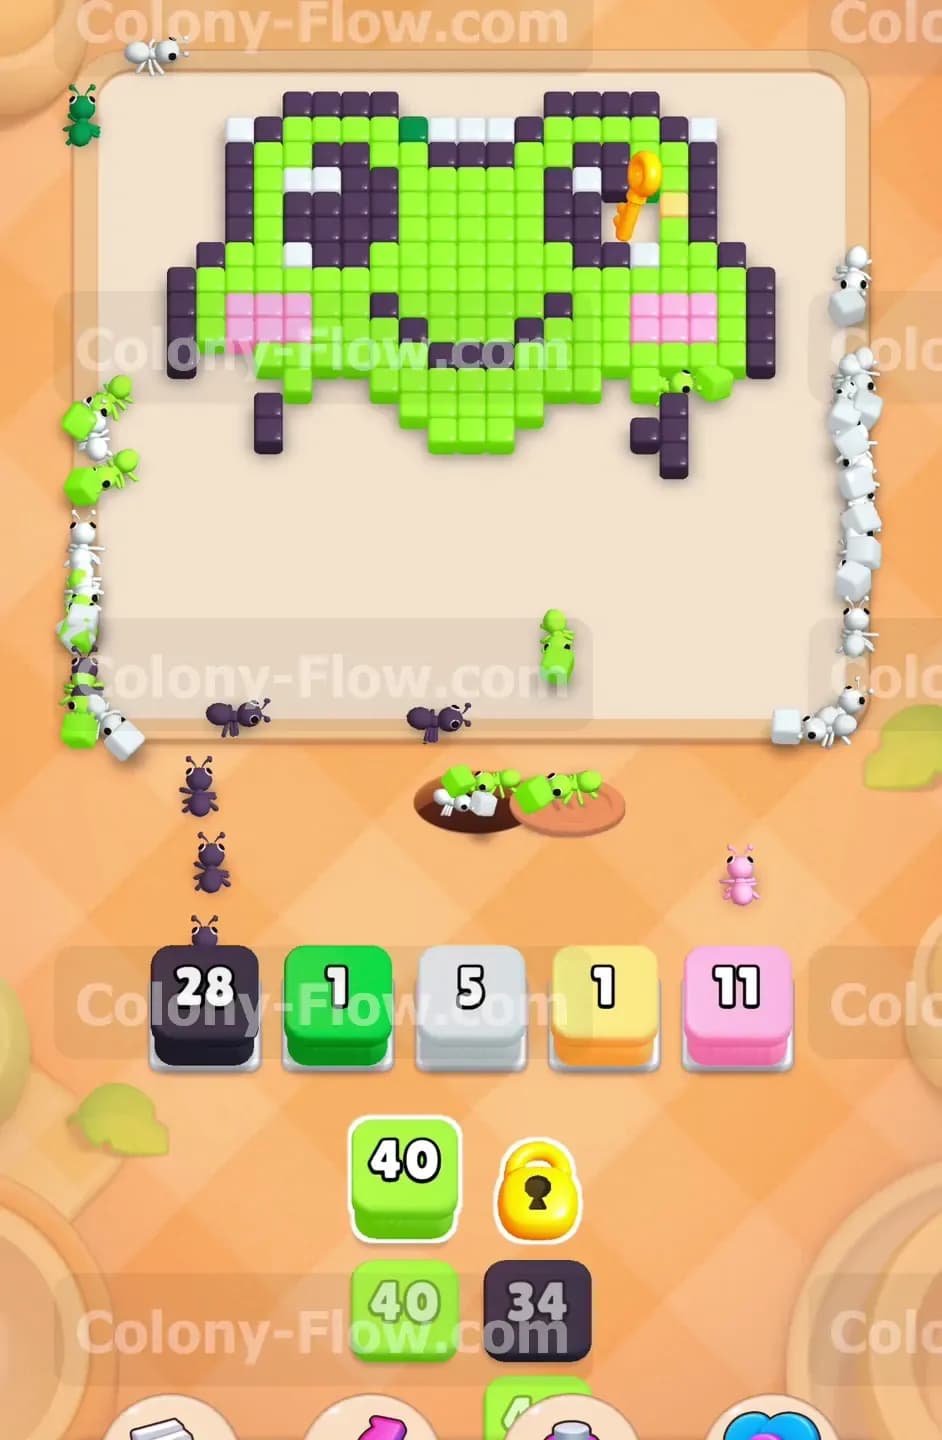
With the entire lower half of the frog completely gone your main goal shifts entirely to the upper right side. The yellow key sits just beside the top right eye. You need to pull heavy numbers of bright green blocks to chew through the massive green face blocking your way. Bring up a large bright green block and let the ants go to work on the tiles. They will stream up the middle path and spread out widely across the top of the head. You will see the green tiles disappearing rapidly as the numbers on your blocks drop. You must also keep a dark purple block active because the thick dark purple outline still heavily surrounds the upper head and you cannot let those outer paths get blocked.
Step 5: Collect the yellow key to unlock your frozen tray block
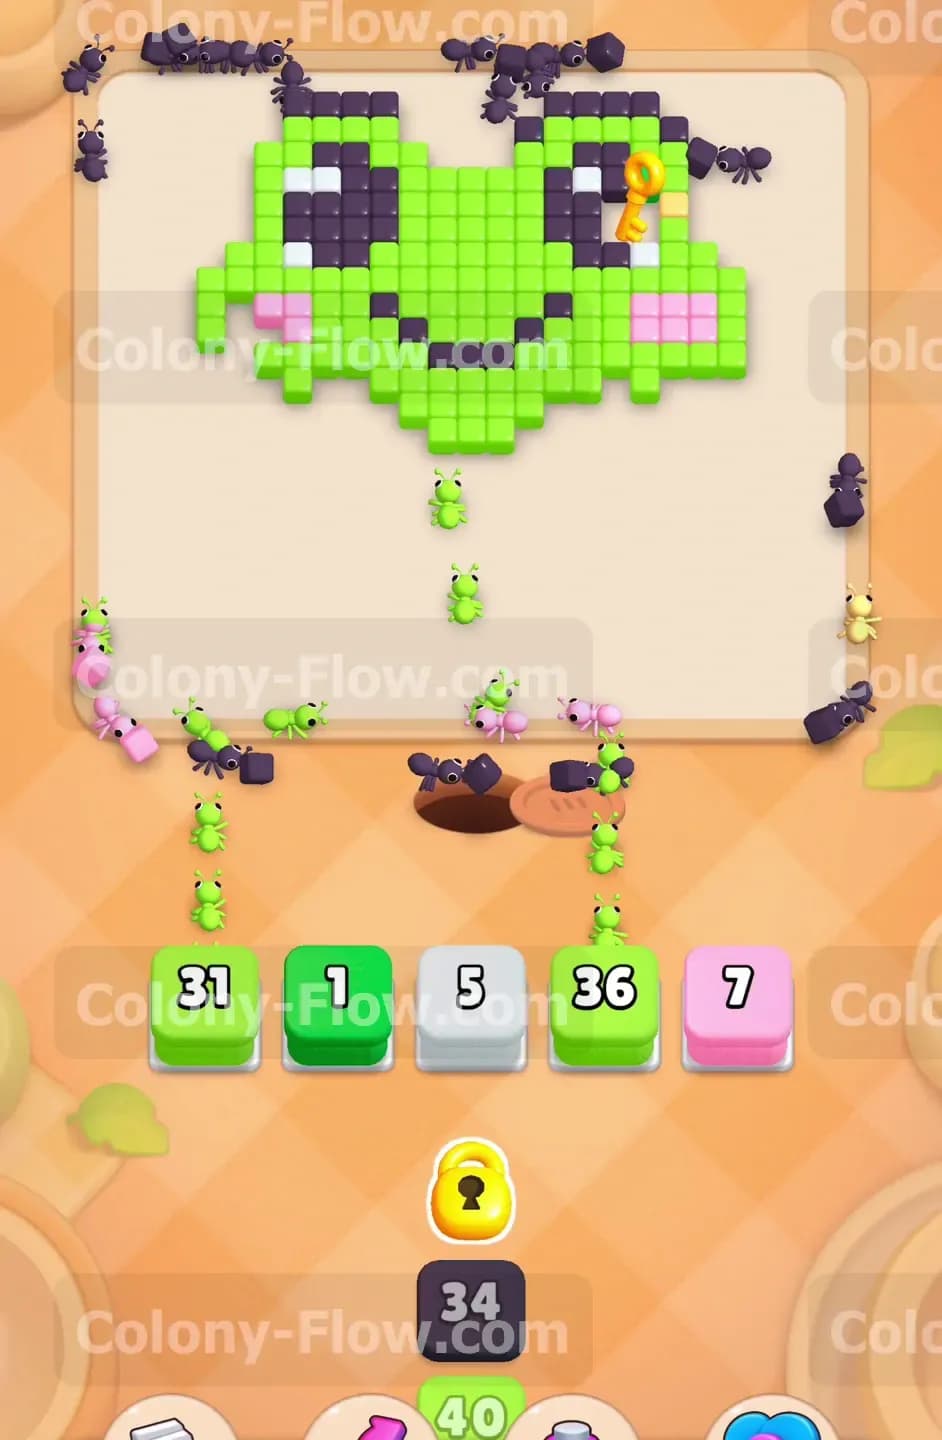
The ants will eventually reach the top right area of the puzzle board and eat the specific tiles directly underneath the yellow key. Collecting the key immediately opens the yellow padlock sitting down in your tray. You will actually see the lock disappear. This unlocks a massive dark purple block that you desperately need for the final stages of this puzzle. You should wait for your current dark purple block to run out completely before pulling the newly unlocked one. Do not rush this pull under any circumstances because you still have a limited number of tray slots. Wait patiently until a slot naturally opens up in your tray. Your ants are still heavily busy eating the remaining white background and the top green sections so you have plenty of time.
Step 6: Clear the massive dark purple eyes from the frog face
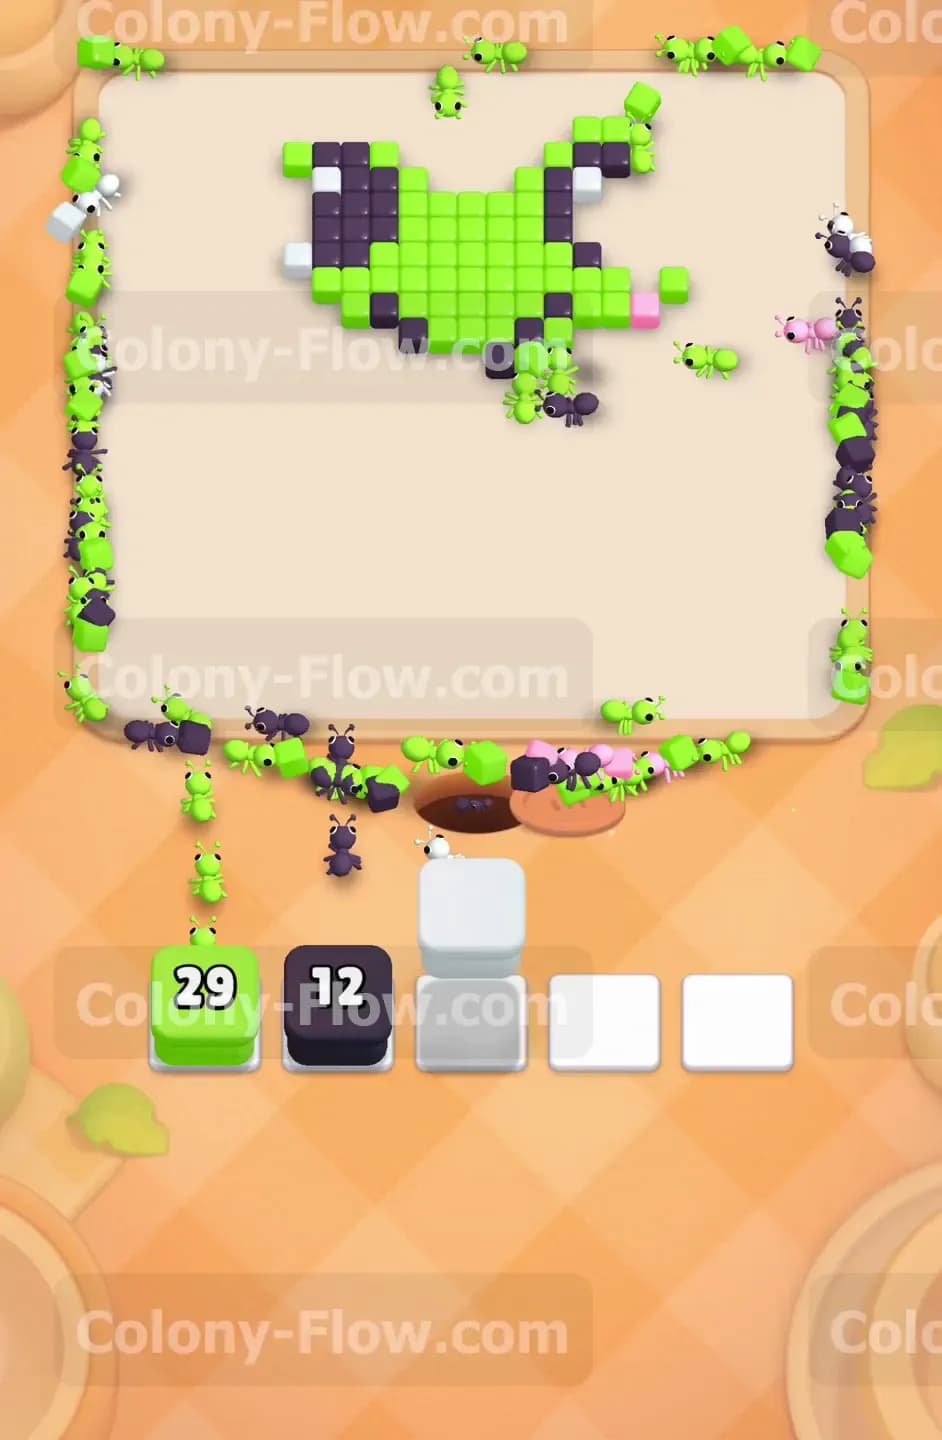
Now that you have full unrestricted access to the large dark purple block you can safely pull it into an empty slot. The frog has two extremely large dark purple eyes sitting right in the middle of its face. The ants will rush up the middle path and completely clear both eyes simultaneously. They will also finish off the heavy dark purple outline wrapping around the top of the head. This specific move breaks the remaining picture into a few completely isolated islands of bright green and white tiles. Your board is now very open and the risk of filling all five waiting slots drops entirely to zero.
Step 7: Consume the final white background tiles in the top corners
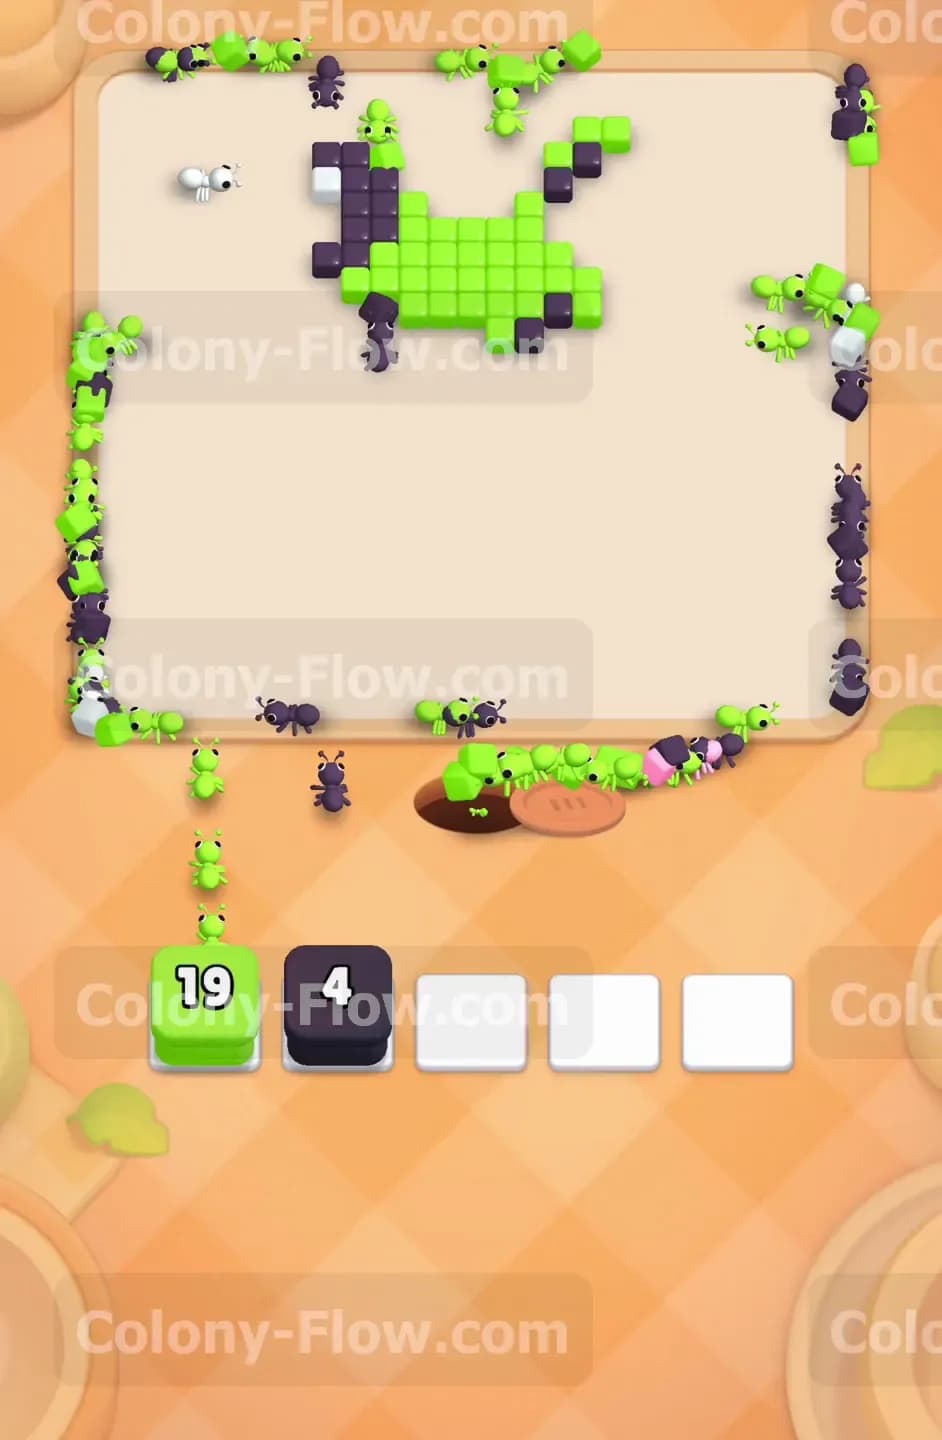
You will notice a few scattered white tiles left resting in the upper left and upper right corners of the board. Bring up your final white block to take care of these annoying extra pieces. The ants will split up into two distinct groups and clean out both top corners perfectly. Keeping the white background clearing continuously alongside the main frog body has been the entire secret to maintaining a perfectly smooth flow. If you had ignored the white tiles until now you would severely struggle to find enough active paths for your ants and you would likely lose the level right at the end. Your board is almost entirely empty at this late stage.
Step 8: Finish off the remaining top of the frog head
The only tiles left on the board are a tiny isolated cluster of bright green tiles on the top left side of the frog head. Pull your very last bright green block into the tray to finish the job. The remaining ants will march straight up from the nest hole to the top left and completely consume the last bits of green. Once the absolute final tile disappears from the screen the board is completely clear and you officially win the level. Your extremely careful tray management paid off perfectly and you successfully avoided jamming your five waiting slots from start to finish.
Final Thought
Colony Flow Level 486 demands serious patience and highly accurate block timing to reach that key safely. I hope this walkthrough helped you completely clear the frog without getting stuck or filling your tray. Watch the video directly above this article if any step is hard to follow in text.