Colony Flow Level 924 Walkthrough Solution & Guides | How to solve Colony Flow 924

Guide By Liam Stone
Updated on August 8, 2026
If you want to skip straight to the solution, watch the video above covering Level 924.
Video doesn't match your screen?
Game updates frequently scramble layouts! Try our AI Screenshot Solver first to find your exact board instantly, or report broken guides to our team.
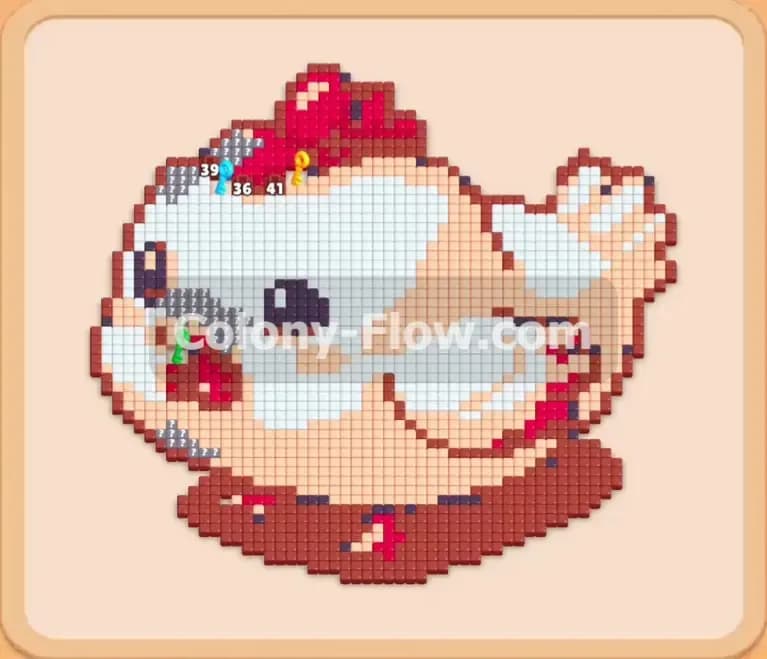
Welcome to Colony Flow Level 924. This level presents a charming pixel art picture of a plump bird resting on a dark base. You must carefully manage your tray to clear large sections of color without clogging your limited waiting slots. I play every level myself and verify each answer against the game screen to bring you the best strategies. I will walk you through the exact sequence of moves I use to keep the ants moving and the board clearing smoothly from start to finish.
Colony Flow Level 924 Overview
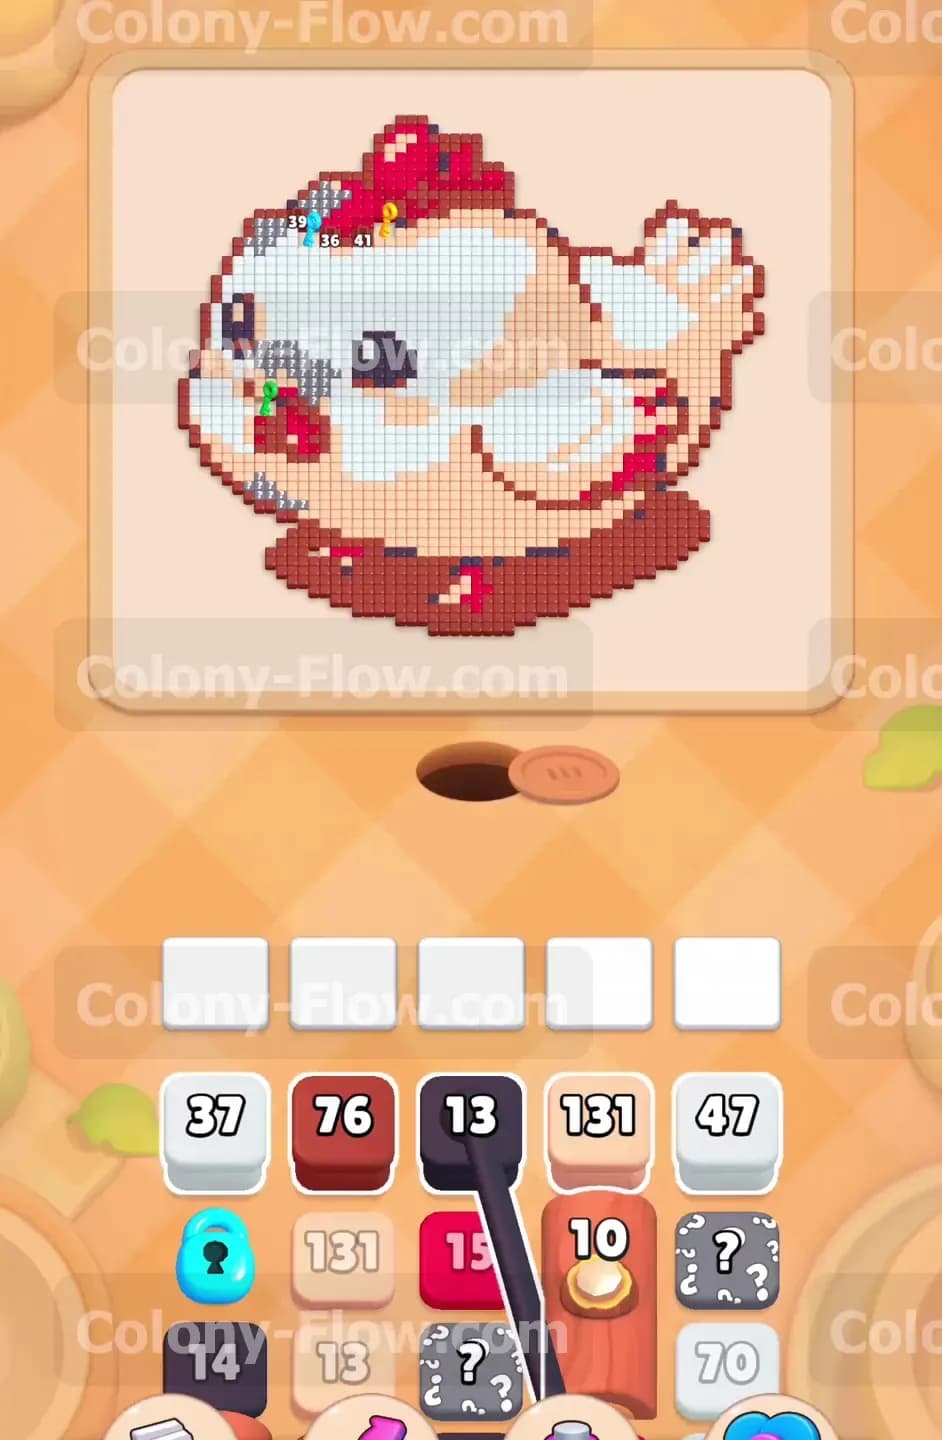
What You Are Working With
The board presents a delightful bird picture constructed mostly of light peach, white, and dark brown tiles. You will also notice smaller accents of red and dark grey making up the beak, comb, eyes, and other tiny details. Down in your tray you start with a top row containing white, dark brown, dark grey, and a massive light peach block. The bottom row hides a blue locked block on the far left and a mystery hidden box on the far right. As you progress you will also encounter connected dark grey boxes that move as a single unit. The pathing for the ants is relatively straightforward at the beginning but gets complicated rapidly if you pull colors in the wrong order. You must respect the order of the layers.
What It Takes to Clear Level 924 Board
Clearing this board means steadily chipping away at the massive light peach body and the bright white sections before you tackle the dark brown base and the smaller facial features. You must prioritize the large blocks first so the colony has continuous work to do. Keeping your five waiting slots clear is your primary objective because pulling an inaccessible color too early will leave you completely deadlocked with no way to progress. You will need to clear tiles to collect the key to open the locked block and reveal the hidden box at the exact right moment. You win the level when the entire bird is eaten and the tray is completely empty.
Colony Flow Level 924 Step by Step Solution
Step 1: Start by pulling the largest light peach block to clear the outer edges.
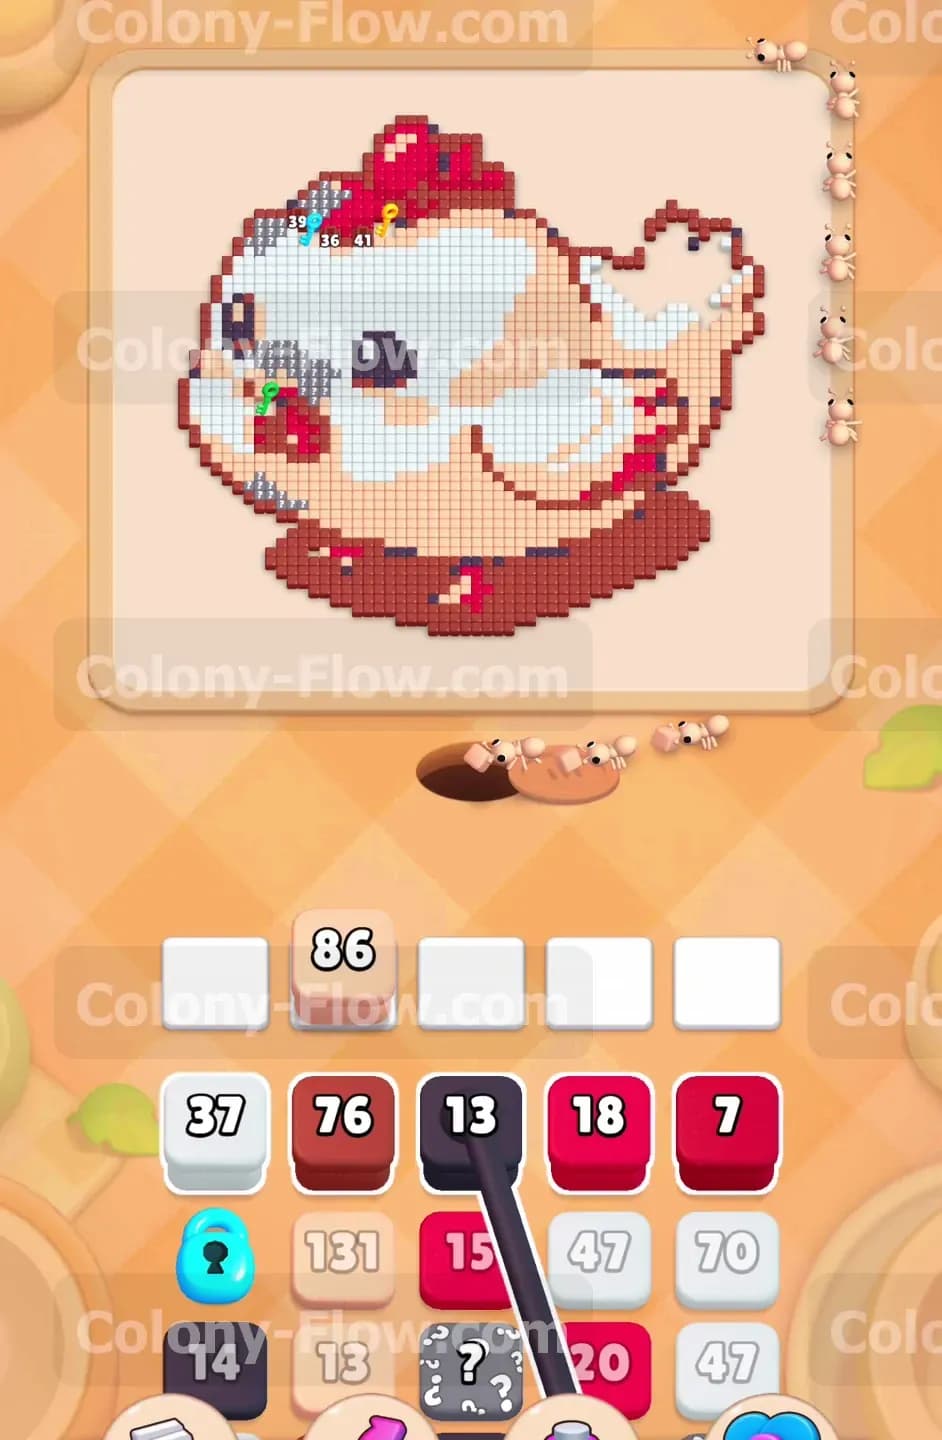
The first move is absolutely critical for setting up the rest of the board. You need to pull the very large light peach block from the top row of your tray. This block holds a massive number and will take quite some time for the colony to process. The ants will stream out of the nest and begin eating the light peach tiles that make up the outer border and the main body of the bird. Because this block is so large it will sit in your first waiting slot for a while as the number counts down from the eighties all the way to single digits. You must wait patiently and let the ants do their job. Do not pull any other colors right now. If you get impatient and pull a dark brown or dark grey block you will risk filling your slots with blocks that have no open paths. Let the light peach block do the heavy lifting first. Watching the ants march up the left and right sides of the bird is very satisfying. They will eat away the outline and start exposing the white sections underneath. Keeping your hands off the other tray blocks during this initial phase is the secret to winning.
Step 2: Bring in the next light peach block to finish the bird body.
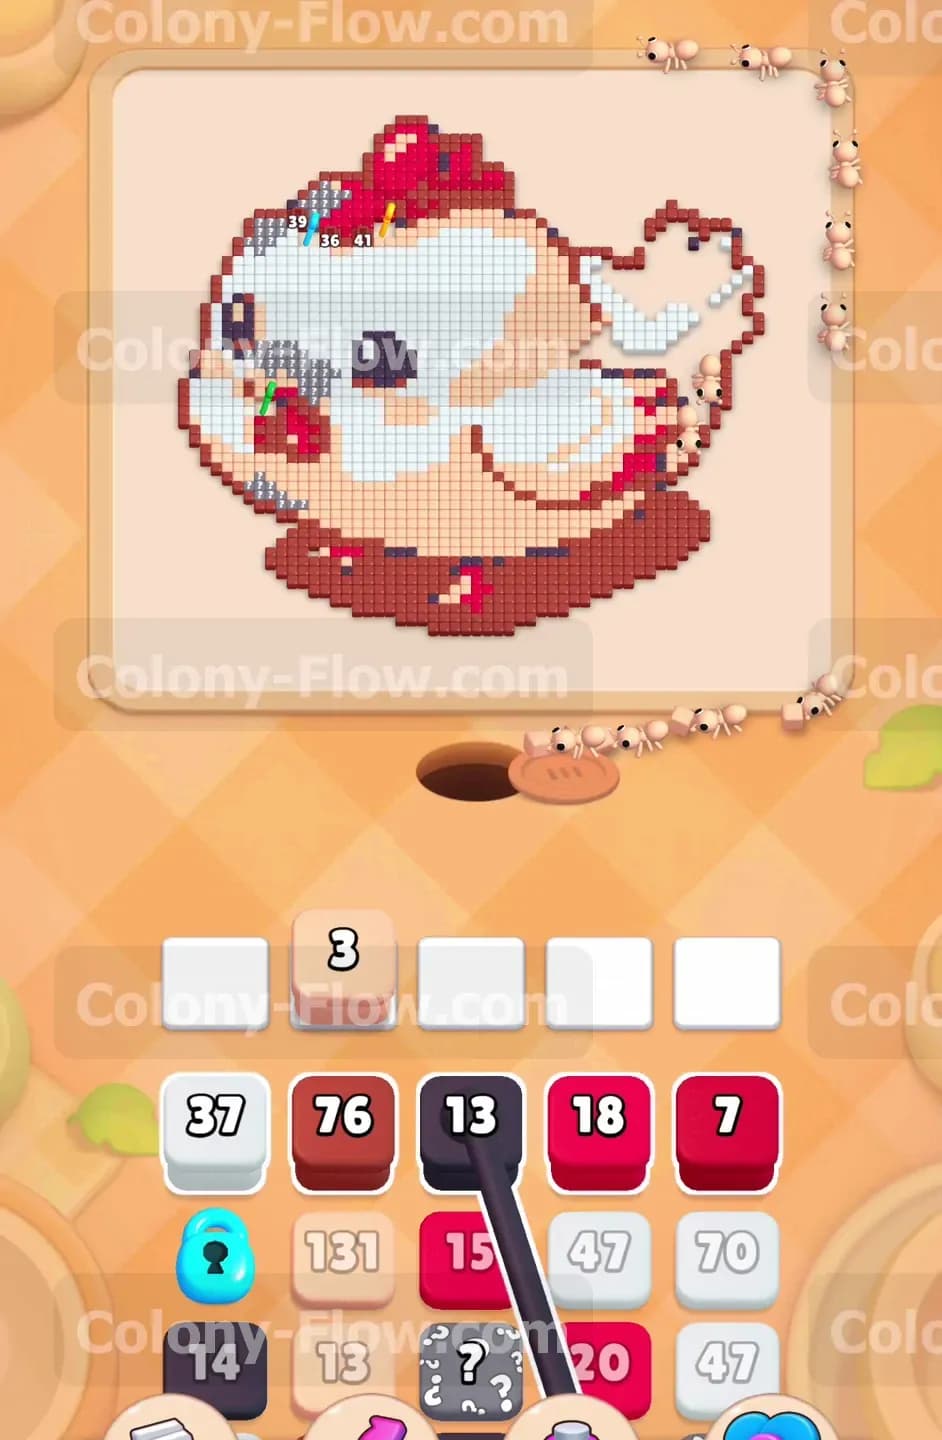
As the first light peach block dwindles down to just a few remaining uses you will notice more light peach tiles deeper inside the bird picture. Now is the perfect time to pull the next light peach block from the tray to keep the momentum going. This new block will drop into your waiting slots and the ants will seamlessly transition to clearing the inner sections of the bird without missing a beat. Watch the number on this second block drop into the forties and then down to a single tile. Clearing these large areas first is the best way to open up access to the other colors without risking a jam in your slots. By focusing entirely on the light peach tiles right now you ensure that the complex inner pathways open up completely. The bird will start to lose its shape and this reveals the critical target zones for your next moves. The transition from the outer border to the inner core requires a steady supply of ants so keeping that light peach color active is mandatory. Building this solid foundation makes the rest of the level very easy to manage.
Step 3: Deploy multiple white blocks to clear the belly and wings.
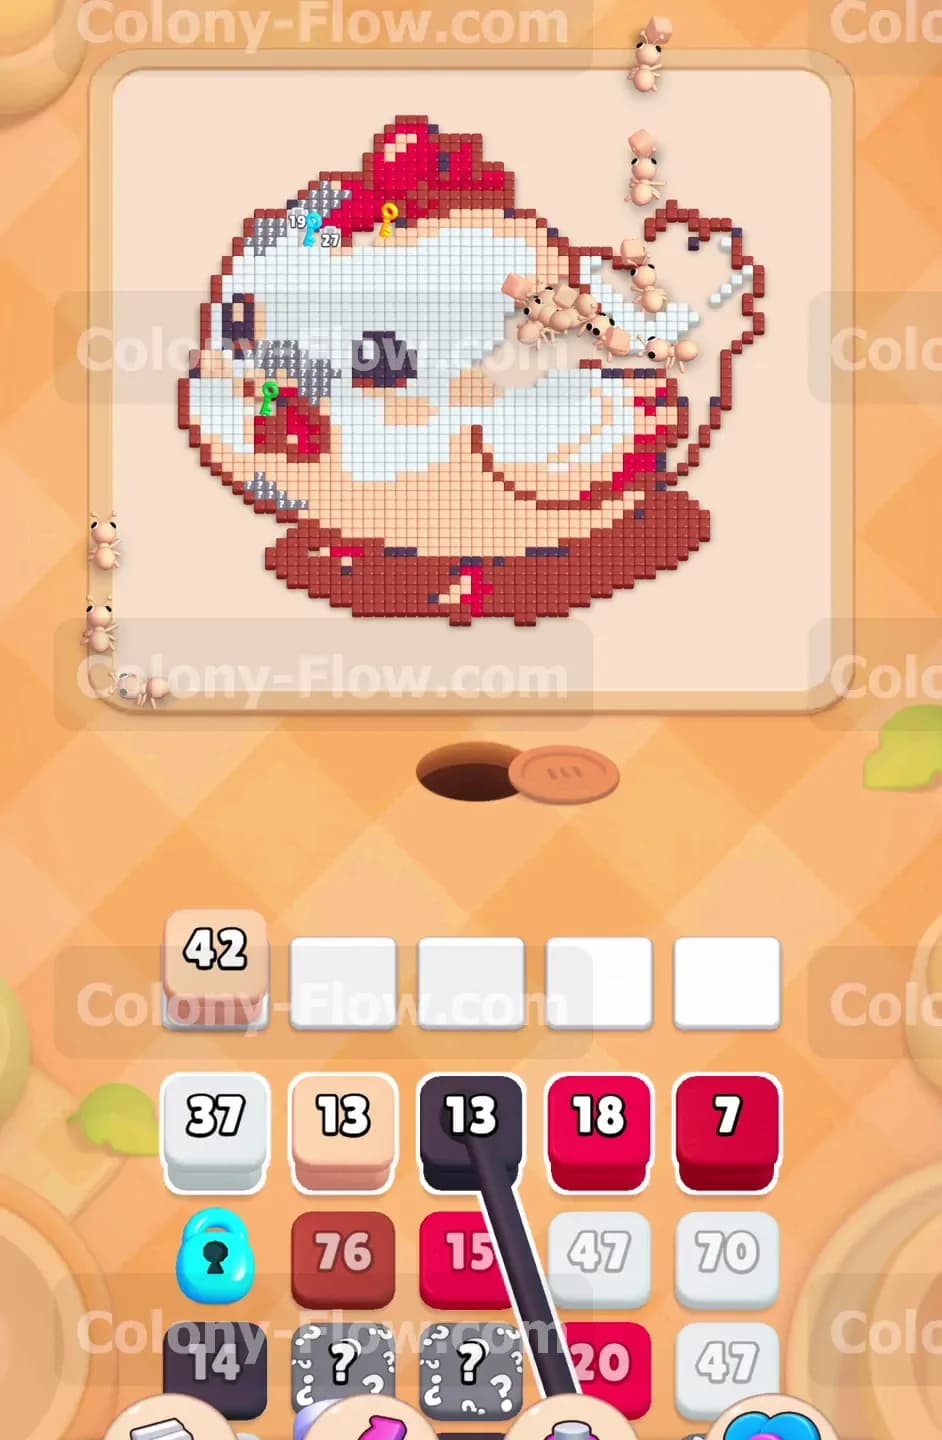
With the light peach sections mostly gone the bright white tiles on the bird become fully accessible to the colony. You can now confidently pull the white blocks from your tray. There are several white blocks available and you can bring them up into your waiting slots simultaneously. The ants will immediately target the white sections that make up the belly and the edges of the wings. You will see big numbers like fifty two, thirty five, and sixty six in your slots as the colony works relentlessly through these bright sections. Managing multiple white blocks at once is perfectly safe here because the paths are wide open and the ants can easily reach multiple targets at the same time. The white sections form the core of the picture so clearing them out completely exposes the final details and the dark base. You will notice the ants swarming the center of the board creating a massive active zone that clears tiles very quickly. Letting the ants clear the white sections naturally separates the top features from the bottom base.
Step 4: Pull the connected dark grey blocks for the eyes and details.
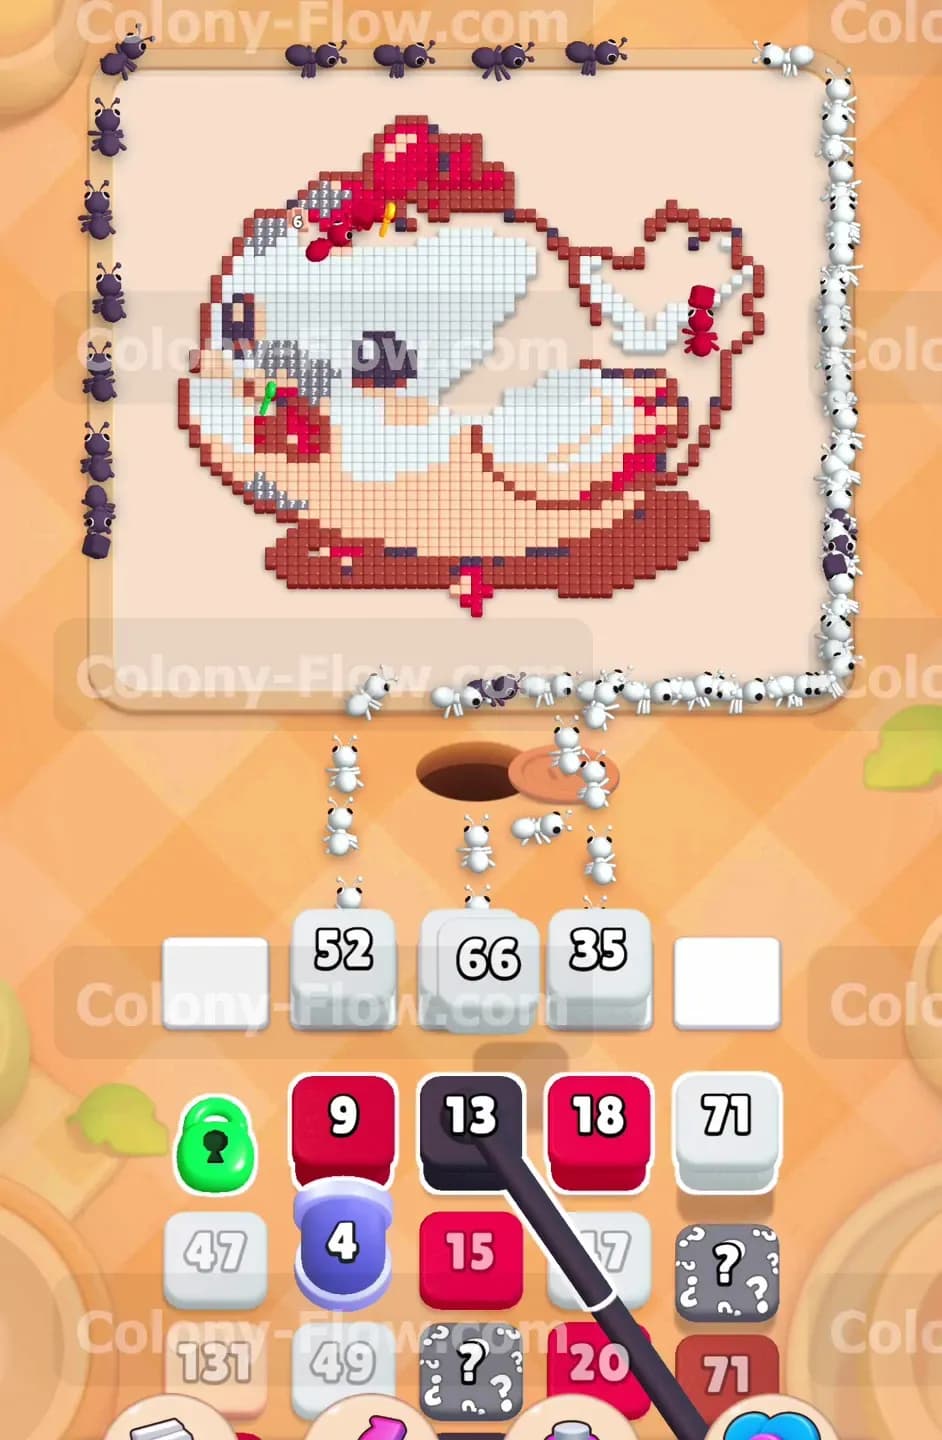
Now that the main body is cleared you will uncover the connected dark grey blocks in your tray. These blocks are linked together by a thick line and must be pulled as a group into your waiting slots. Bring them up along with the red blocks. The ants will split their attention between the dark grey tiles forming the eyes and tiny facial details of the bird and the red tiles that make up the comb and wattles. You will see the connected dark grey blocks sitting side by side in your slots as the ants quickly consume the small clusters of color on the board. This step requires precise timing so you do not block the slots before the red tiles are fully exposed. Let the ants handle the connected dark grey blocks first before you pull any more heavy blocks from the tray. The facial details act as a barrier to the final remaining tiles so they must go right away. Clearing the tiny spots quickly opens the final path to the base.
Step 5: Unlock the hidden elements and finish the bright red tiles.
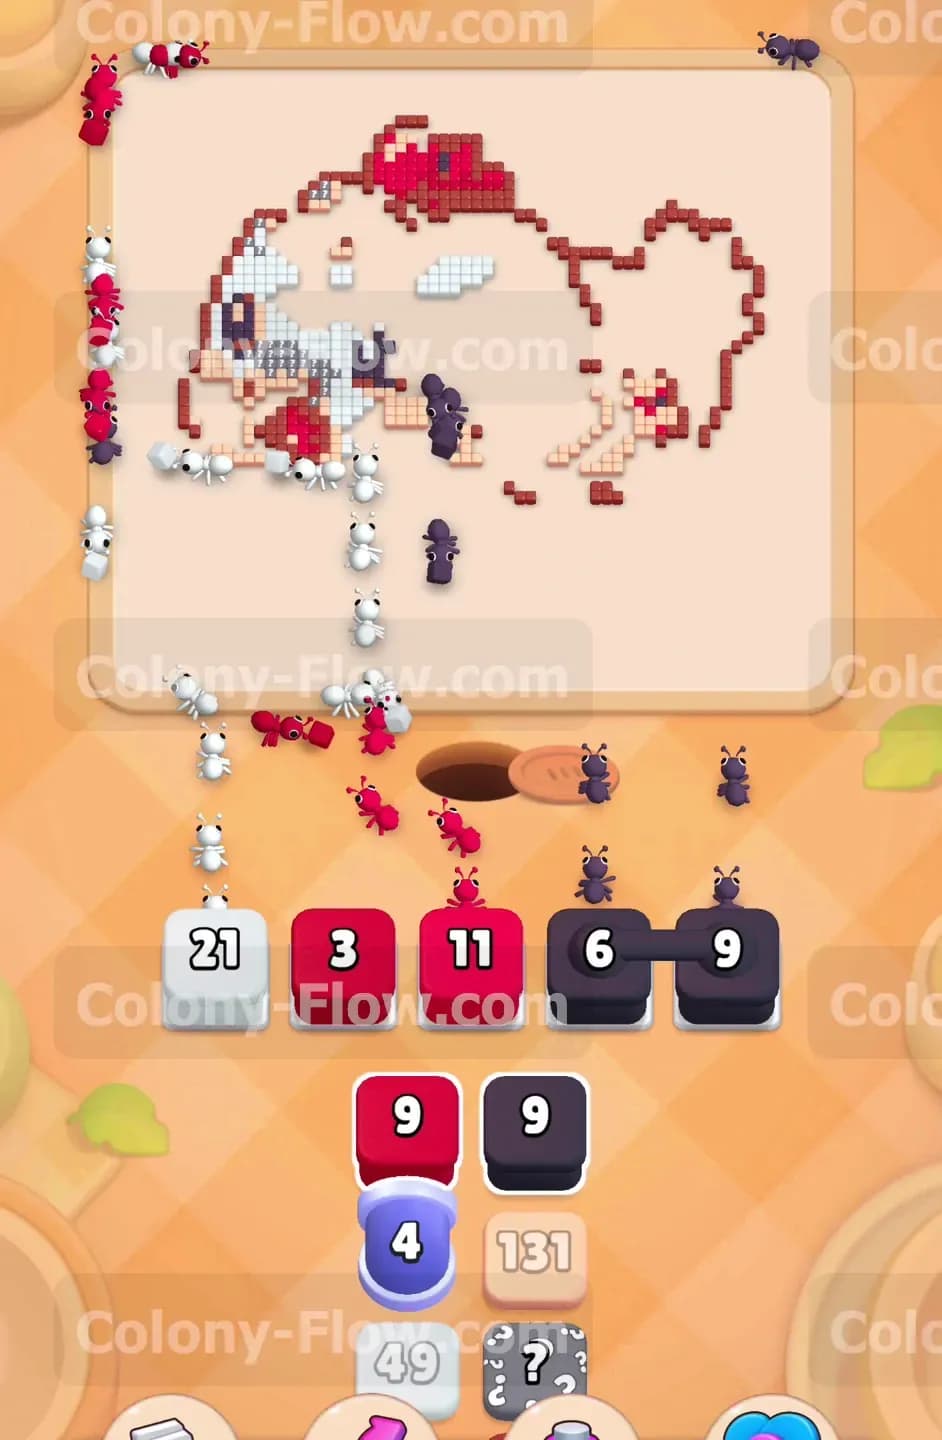
As you clear the facial details and the wings you will eventually collect the key needed to open the blue locked block in your tray. Grabbing this key removes the lock and gives you access to the color trapped behind it. At the same time you will reveal the true color of the hidden box on the right side of the tray. Pull the remaining red blocks into the slots to finish off the bright accents on the head of the bird. The numbers on these blocks are small so they will clear out very quickly. Keeping a close eye on the hidden box ensures you do not miss any stray colors that will suddenly appear and block your progress. The board should look very sparse at this point with only the dark bottom section remaining untouched. Managing these final small details properly sets up your board for the finishing sequence. Every single tile matters here so double check the remaining colors before pulling your final blocks.
Step 6: Send in the dark brown blocks to consume the base.
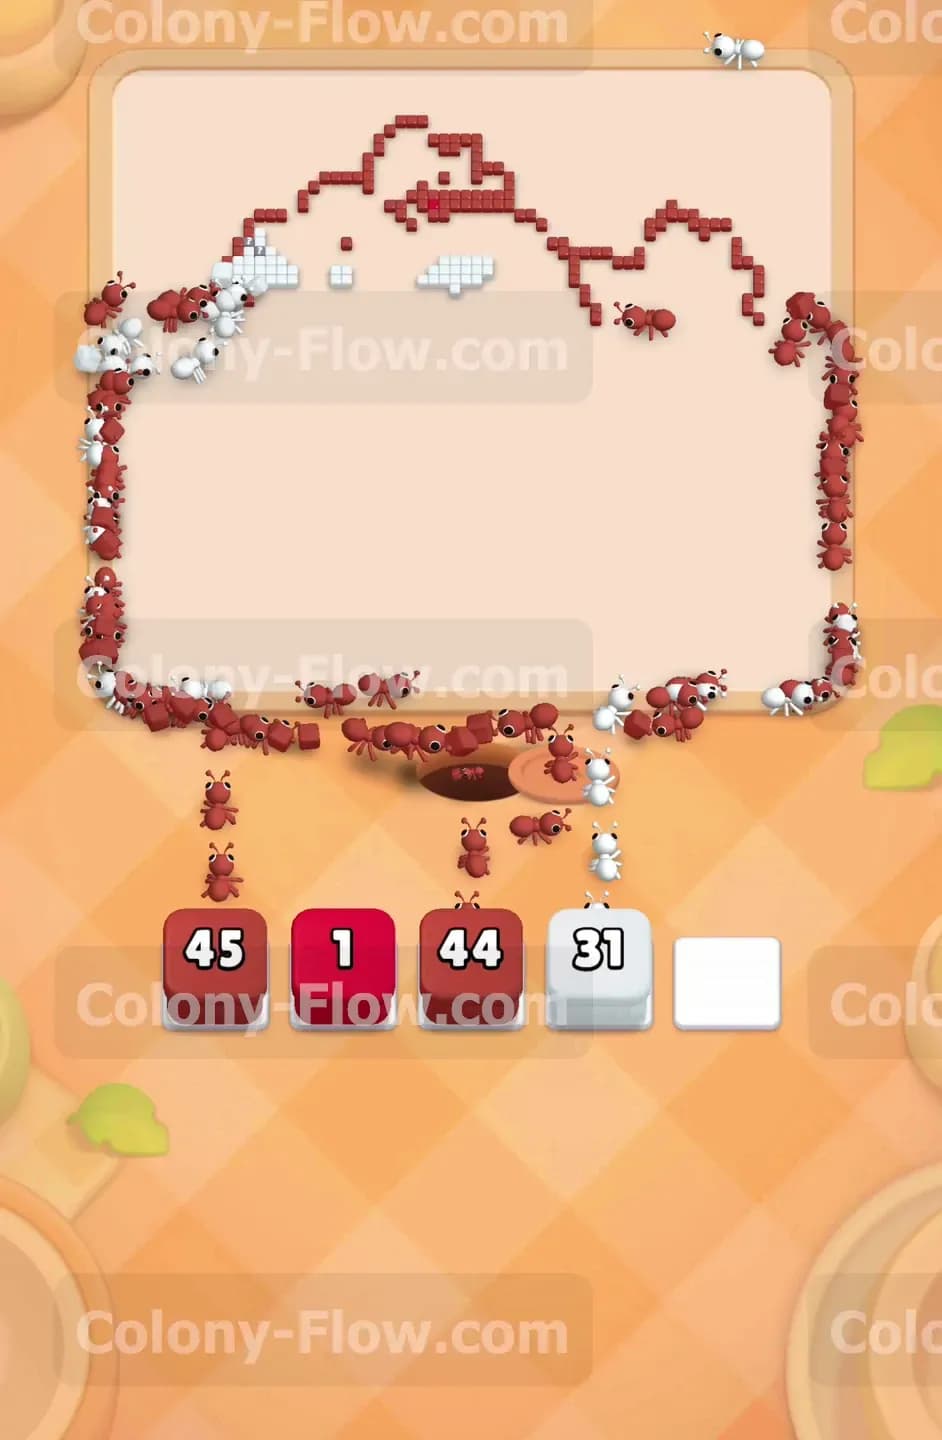
The final major section of the board is the thick dark brown base that the bird is resting on. You will have two large dark brown blocks in your tray ready to go. Pull them into your waiting slots along with any remaining white or red blocks that you just unlocked. The colony will rush the bottom of the picture and dismantle the dark base tile by tile. Watch the numbers on the dark brown blocks drop rapidly from the forties down to zero. The ants have a massive open path to this bottom section so there is absolutely no risk of a jam here. You will see numbers like forty five and forty four in your slots as the base is eaten. Once the last dark brown tile is consumed the ants will retreat back into the nest. The picture will vanish completely and you will secure your victory for this level. Finishing with the base feels natural because it is the foundation of the image. The entire screen clears and you are ready for the next challenge.
Final Thought
This level tests your patience in the early stages but rewards you with a highly satisfying finish. Remember to manage those large blocks carefully so your waiting slots stay open and active. Watch the video above this article if any step is hard to follow in text.