Colony Flow Level 539 Walkthrough Solution & Guides | How to solve Colony Flow 539

Guide By Liam Stone
Updated on July 30, 2026
Watch first, read later. The video above shows the complete Level 539 walkthrough.
Video doesn't match your screen?
Game updates frequently scramble layouts! Try our AI Screenshot Solver first to find your exact board instantly, or report broken guides to our team.
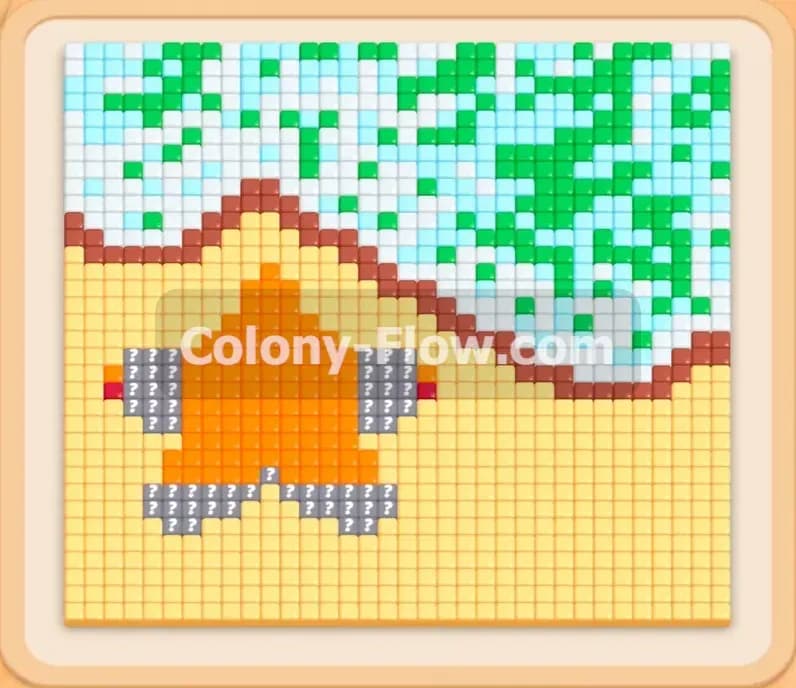
Welcome to Colony Flow Level 539. This board features a beautiful pixel art picture of a house sitting on the sand with a bright sky above it. I play every level myself and this one requires careful tray management to keep your ants moving. Let me walk you through the exact method I use to beat it without ever getting stuck.
Colony Flow Level 539 Overview
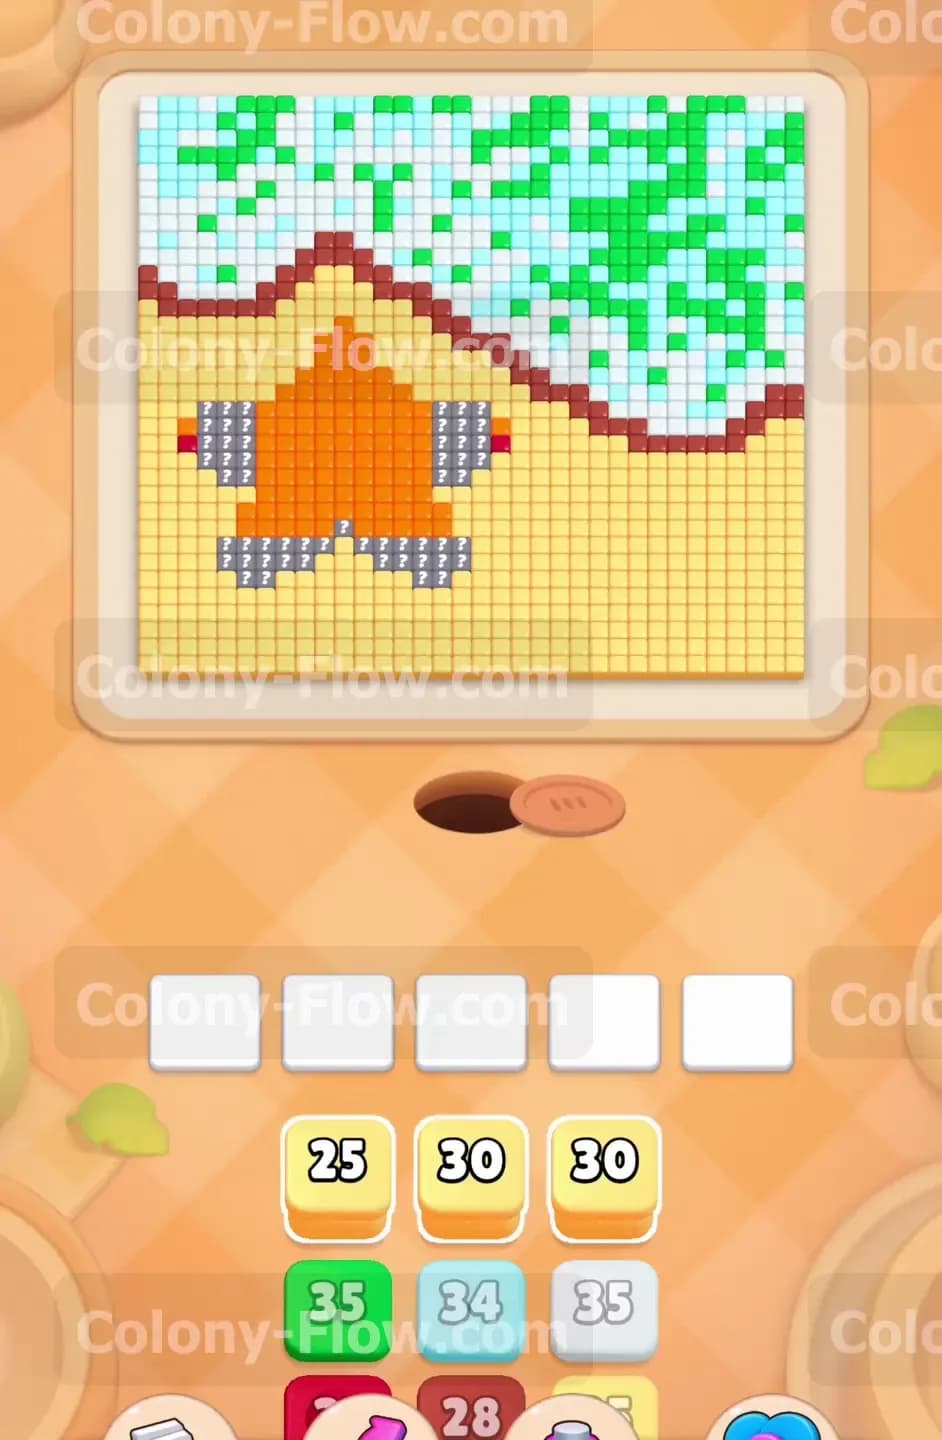
What You Are Working With
The top half of your screen displays a large picture made of hundreds of colored tiles. The bottom section shows a layer of yellow tiles that look like sand or ground. Sitting on this yellow ground is a large house. The house has a massive orange interior and is wrapped in a dark red border. A few gray tiles sit inside the orange area to look like windows. Above the house is a thick canopy made of green, white, and light blue tiles.
Your tray at the bottom of the screen starts with blocks holding very high numbers. You will see blocks with values like 25, 30, and 35 in yellow, green, white, and light blue. You have five empty waiting slots right above your tray. Later in the level a hidden box appears in the tray. This block shows a question mark and hides its color until you pull it up into a waiting slot.
What It Takes to Clear Level 539 Board
You clear this level by feeding every single tile on the board to your ants. You must match the colored blocks from your tray to the exposed colored tiles on the picture. The catch is that you only have five waiting slots. If you fill all five slots with colors that the ants cannot currently reach the ants stop moving and you lose the level. You win by carefully peeling away the outer layers of the picture so that the inner tiles become exposed. You must always leave at least one open path for your ants to reach a tile that matches a block in your waiting slots.
Colony Flow Level 539 Step by Step Solution
Step 1: You must open the bottom ground layer and the top outer edges first
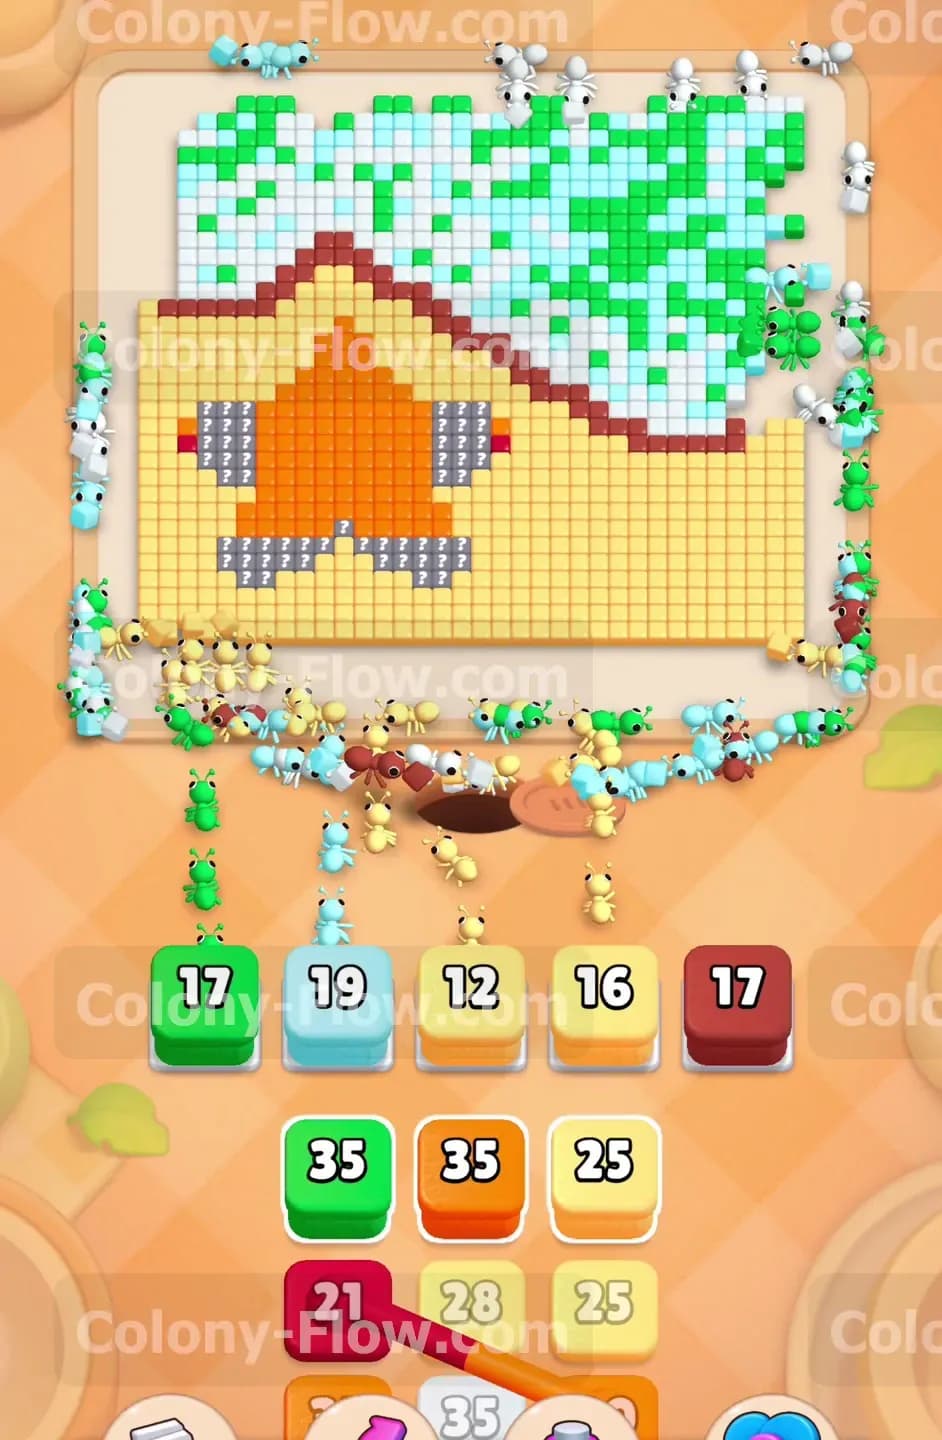
You need to create space around the main house structure right away. Start by pulling a yellow block from your tray into an empty waiting slot. The yellow tiles sit right at the bottom edge of the picture and are completely exposed to the nest hole. Your ants will immediately stream out and start eating the yellow ground. The ants move in a continuous line from the nest hole at the bottom and march straight up to break down these yellow tiles. This creates a wide open space at the bottom of your screen. You also need to pull the green and white blocks at this exact time. The ants assigned to those colors will bypass the yellow tiles completely. They will walk up the extreme left and right borders of the picture to reach the top canopy. Watching these two separate lines of ants work at the same time is crucial for keeping your waiting slots from jamming. If you only focus on the yellow ground your top canopy will block you later. The blocks you pull first have high numbers like 35 and 30 so they will occupy your slots for a long duration. Do not pull a fourth or fifth block yet. Let the ants chew through these initial large numbers so you maintain open slots for emergencies.
Step 2: You need to attack the dark red border of the house next
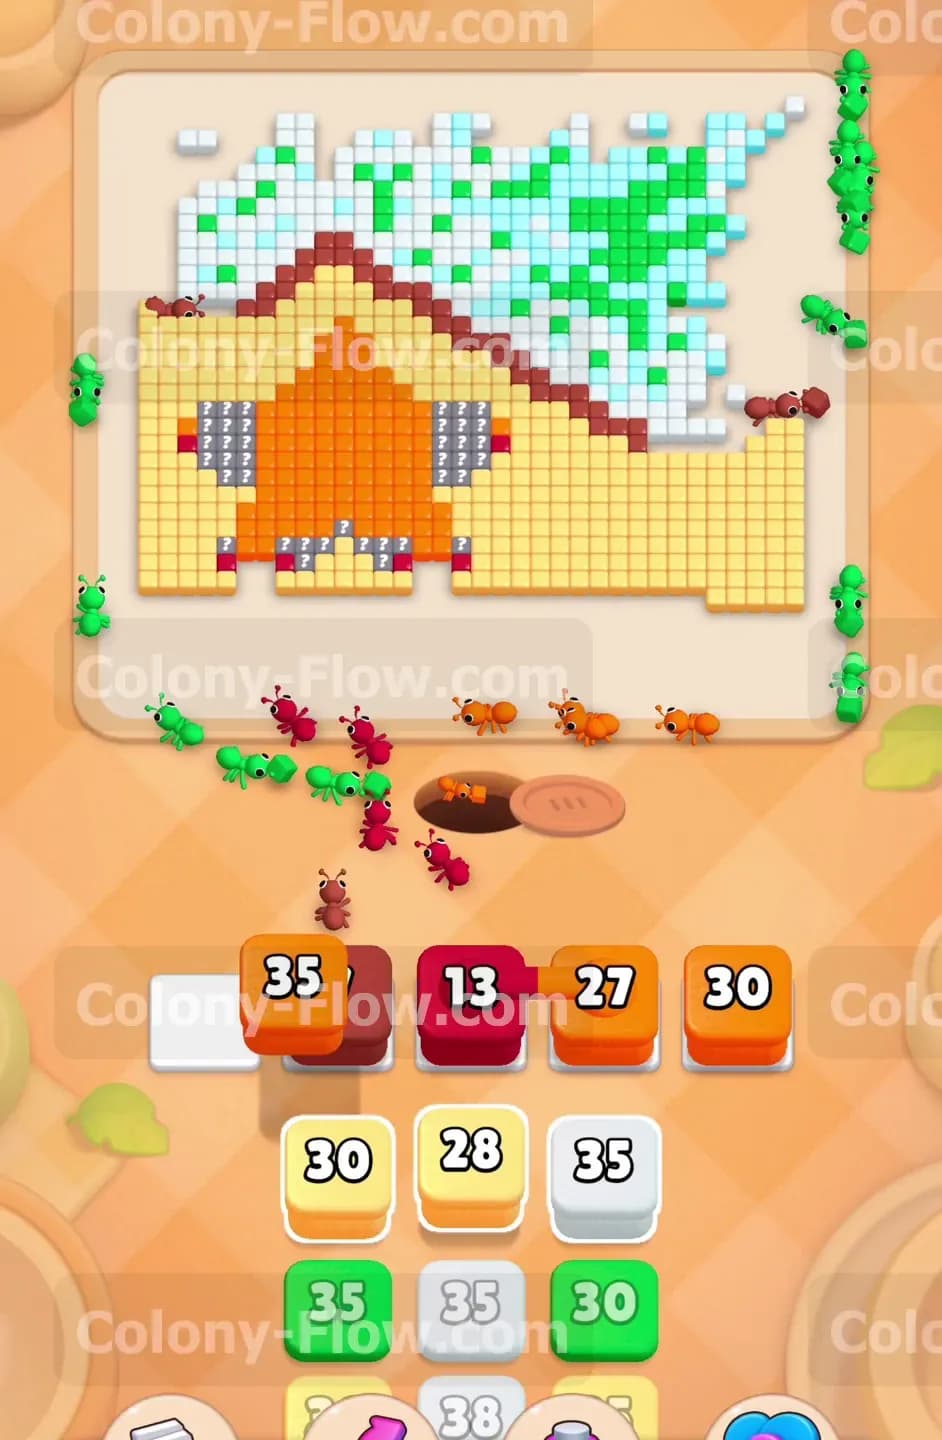
Once the ants eat enough of the yellow ground they will expose the bottom edge of the dark red border. You will see dark red blocks appear in your tray. Pull one dark red block into a waiting slot immediately. The dark red tiles form a protective shell around the orange interior of the house. Your ants cannot touch the orange tiles until you break through this dark red shell. The dark red blocks in your tray have numbers in the twenties and teens. The ants will march straight up the middle where the yellow ground used to be and begin dismantling the dark red outline. Keep a light blue or white block active in another slot so that the top canopy continues to shrink while you work on the house. Breaking the bottom edge of the dark red border is your primary goal right now because it opens the path into the massive center.
Step 3: You can now flood the large orange interior with ants
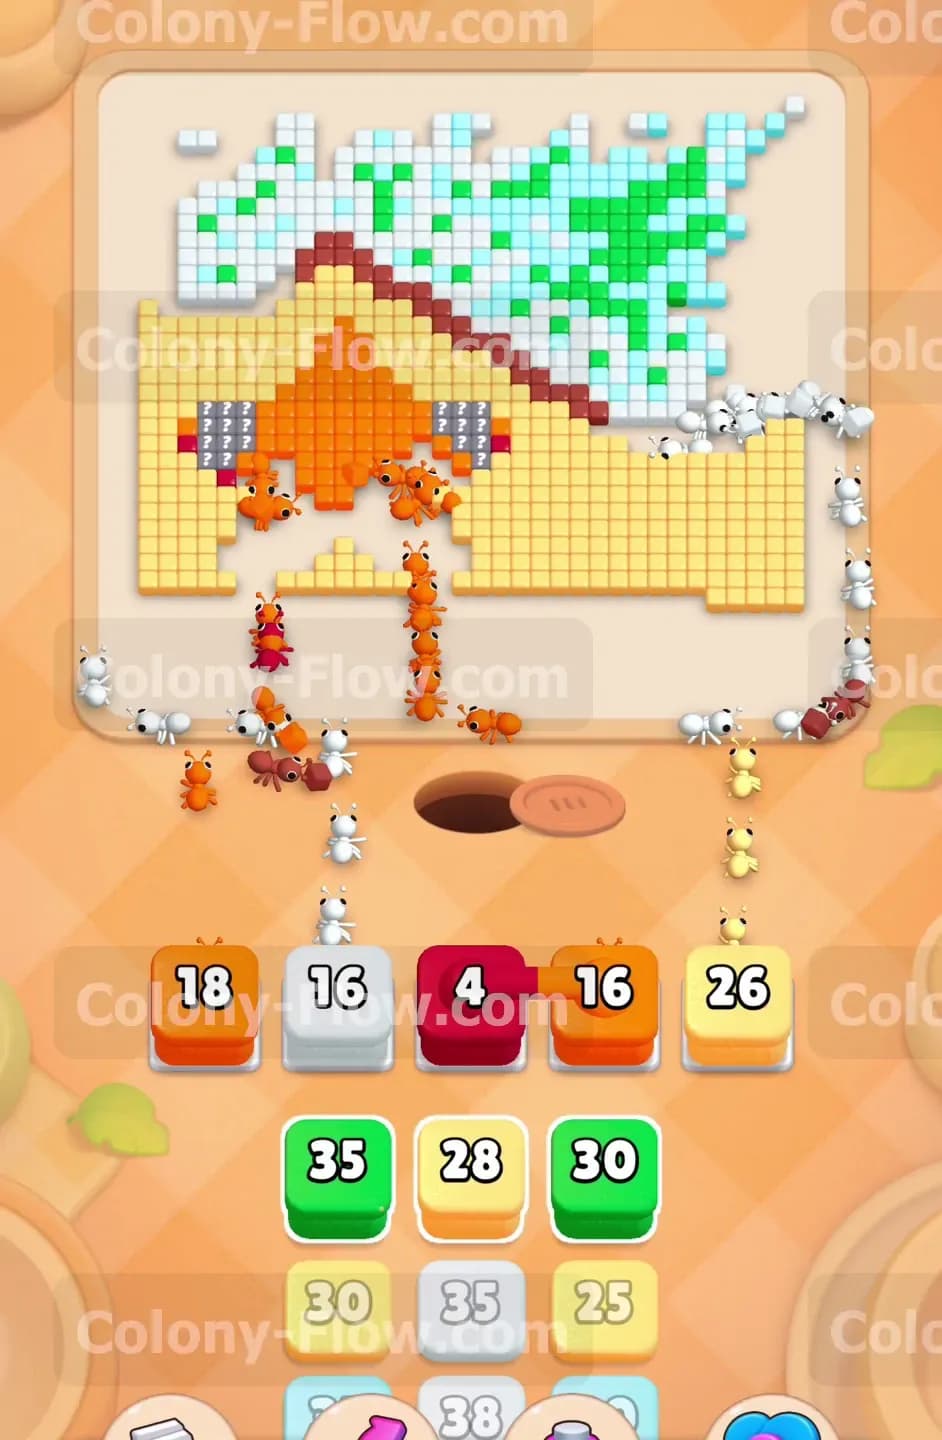
Breaking the dark red border opens the floodgates to the orange tiles inside the house. The orange section represents the core of the house structure and is the largest single color mass on the board. You will see several massive orange blocks in your tray with values of 35 and 30 and 27. The game provides these high numbers because there is a vast amount of orange food to collect. Pull two of these large orange blocks into your waiting slots the moment the dark red border breaks open. Your ants will rush through the gap in the dark red outline and flood the center of the screen. Because the orange area is so huge the ants can attack from the bottom and the sides all at once. This multi directional attack clears the orange tiles incredibly fast. You will watch the giant orange center vanish while you continue to manage the remaining green and white blocks for the top canopy. Just ensure you still have at least one yellow or green block active to keep the edges of the board from stalling.
Step 4: You must clear the remaining structural walls and windows
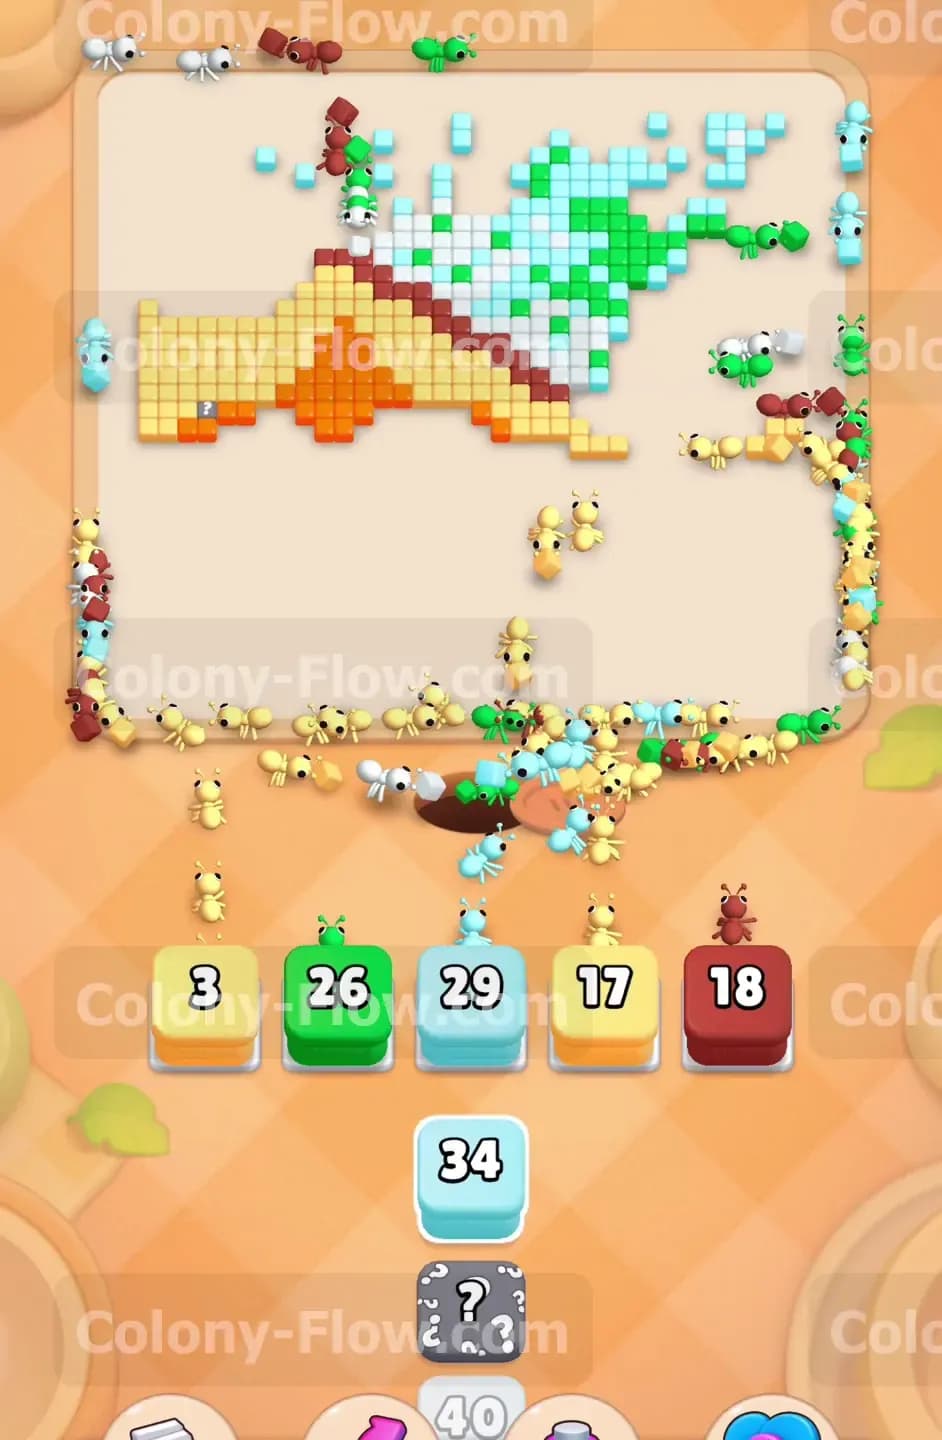
As the orange interior vanishes you will expose the gray window tiles and the remaining dark red roof tiles. Pull the gray blocks as soon as they appear in your tray. These hold small numbers and will clear out of your waiting slots in just a few seconds. With the center of the house gone the ants now have very direct short paths to the upper sections of the board. You should now focus on the thick layers of white and green tiles still blocking the top corners. Pull a 35 green block and a 30 white block. The ants will split up and march straight up through the empty center space to eat the top canopy. Your board will start looking very sparse at this stage. Keep cycling your blocks carefully so you always have a color matched to an exposed tile on the picture.
Step 5: You must handle the hidden box block carefully
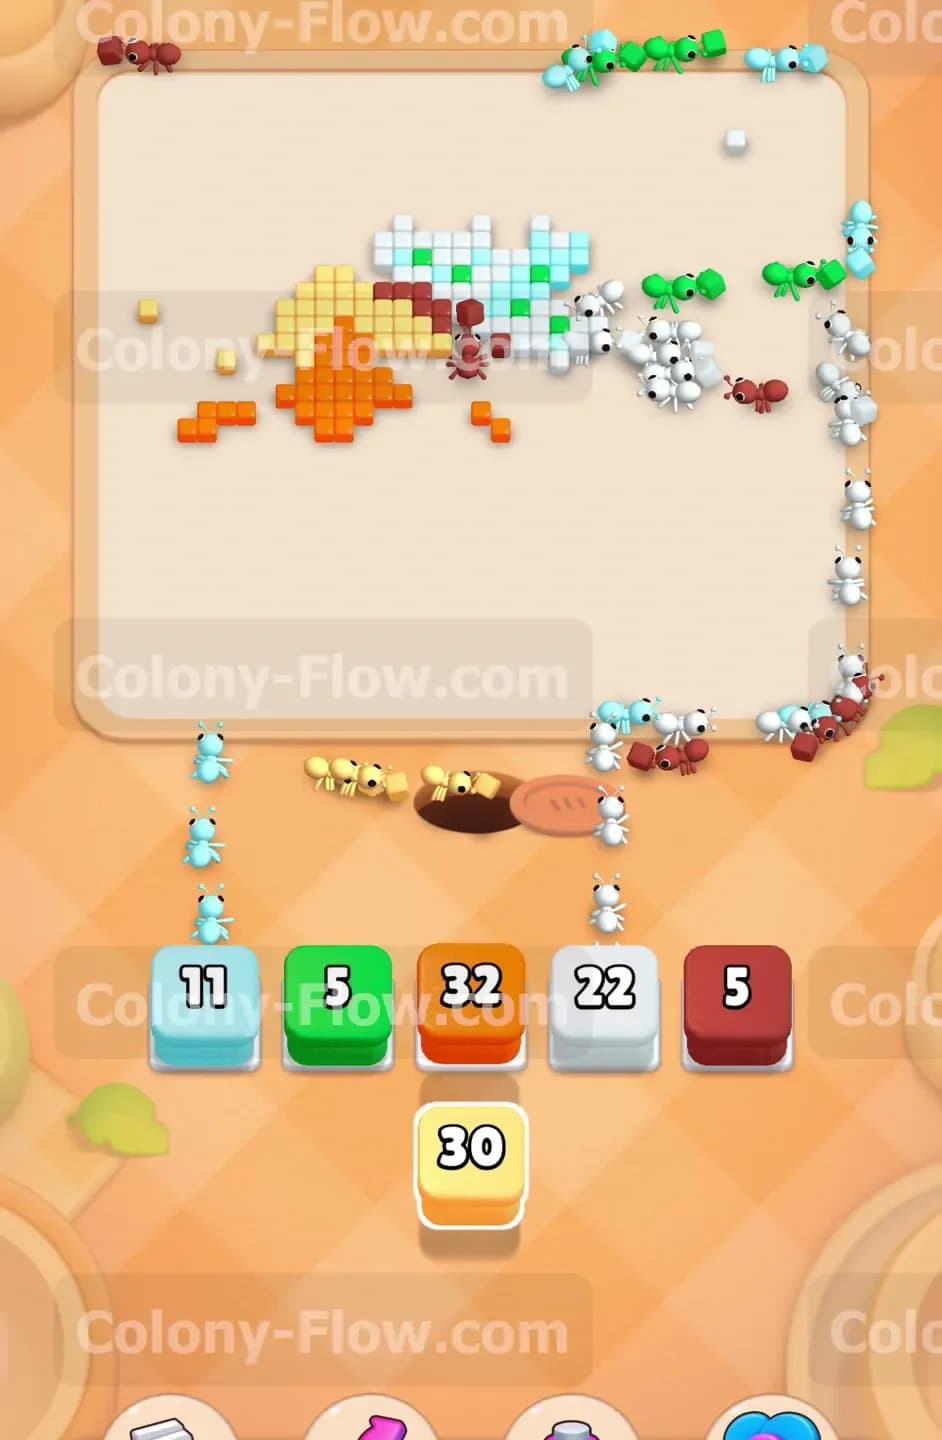
The hidden box mechanic adds a layer of risk to your tray management. Deep into the level a block featuring a large question mark appears in your tray. This block hides its true color until you pull it up into one of your five waiting slots. You must plan ahead before you touch this hidden box. Look at your current waiting slots. If you have four slots filled with high number blocks you are in a dangerous spot. You must wait for the ants to clear at least two slots completely before pulling the hidden box. When you pull the hidden box it reveals its color instantly. You need that extra empty slot just in case the revealed color is blocked by other tiles. You use your open slots to pull the exact colors needed to dig a path to the hidden box color. In my experience the hidden box usually reveals a color you need for the top canopy like light blue or white.
Step 6: You finish the board by mopping up the scattered outer fragments
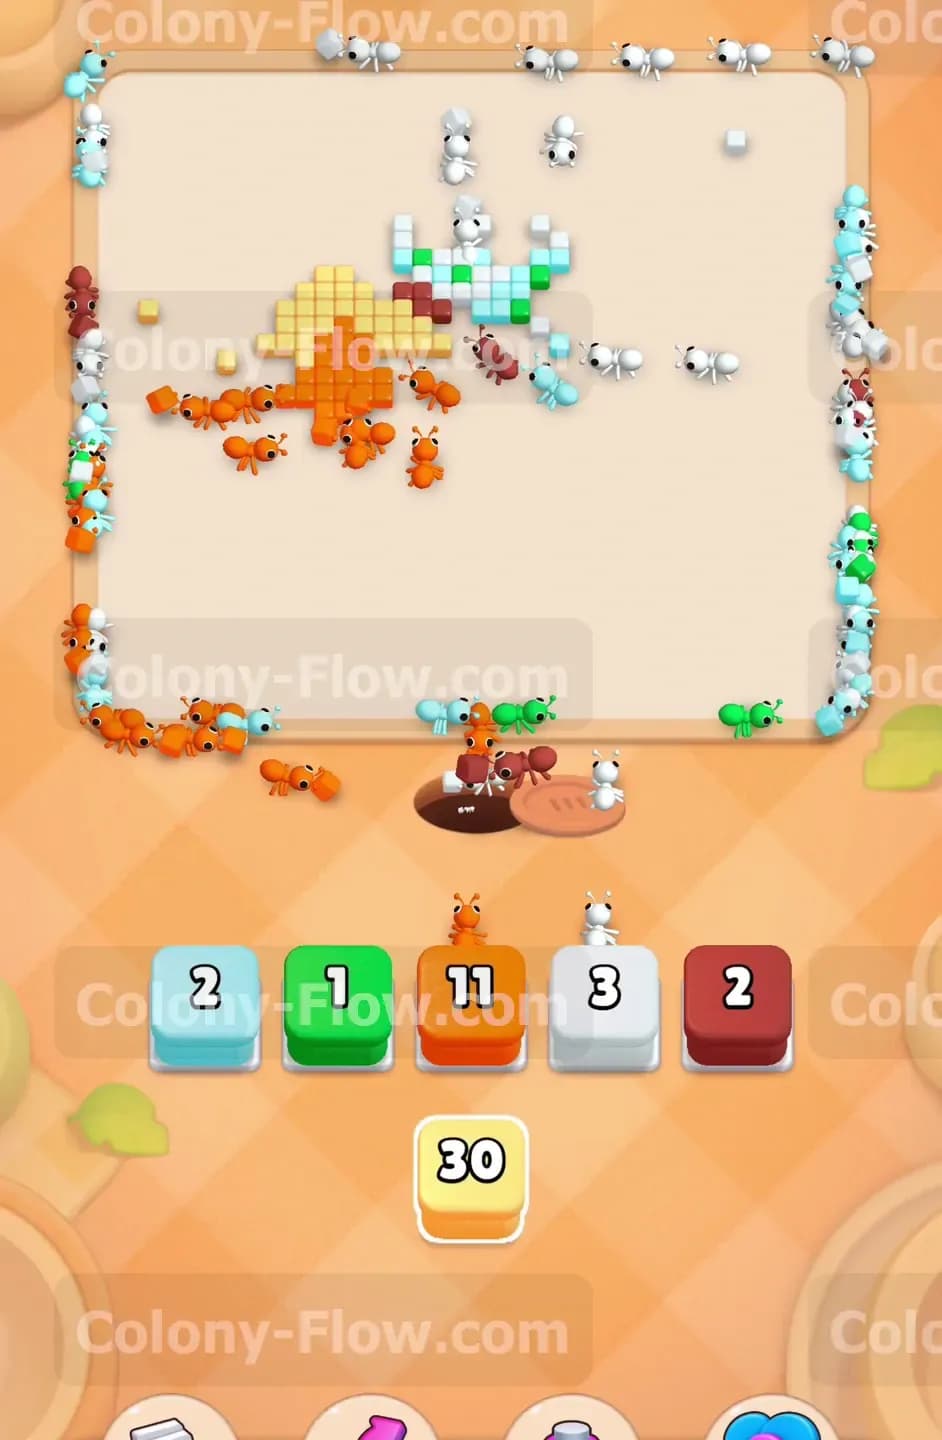
The main house is completely gone and only small clusters of tiles remain scattered around the edges. You will no longer see massive walls of color. Instead you will find a few orange tiles here and a small cluster of light blue tiles there. The blocks in your tray will match these small numbers perfectly. You will see blocks holding single digits like 5 green or 2 dark red. The ants have to walk across a completely empty board to reach these final isolated tiles in the upper corners. This long travel distance means your waiting slots will stay occupied for a longer duration even though the numbers are small. Do not panic and pull every block in your tray at once. Pull exactly what matches the remaining colors on the board. Let the ants make their long journey to grab the final pieces. The level ends automatically when the final ant grabs the last tile and heads back to the nest hole.
Final Thought
This board tests your ability to manage high value blocks early on and navigate scattered fragments at the end. Always keep your ants flowing on the outside edges while you hollow out the large interior shapes. Please watch the video above this article if you find any step hard to visualize in text.