Colony Flow Level 566 Walkthrough Solution & Guides | How to solve Colony Flow 566

Guide By Liam Stone
Updated on August 1, 2026
Watching beats reading for some players. The video above has the entire Level 566 walkthrough ready to go.
Video doesn't match your screen?
Game updates frequently scramble layouts! Try our AI Screenshot Solver first to find your exact board instantly, or report broken guides to our team.
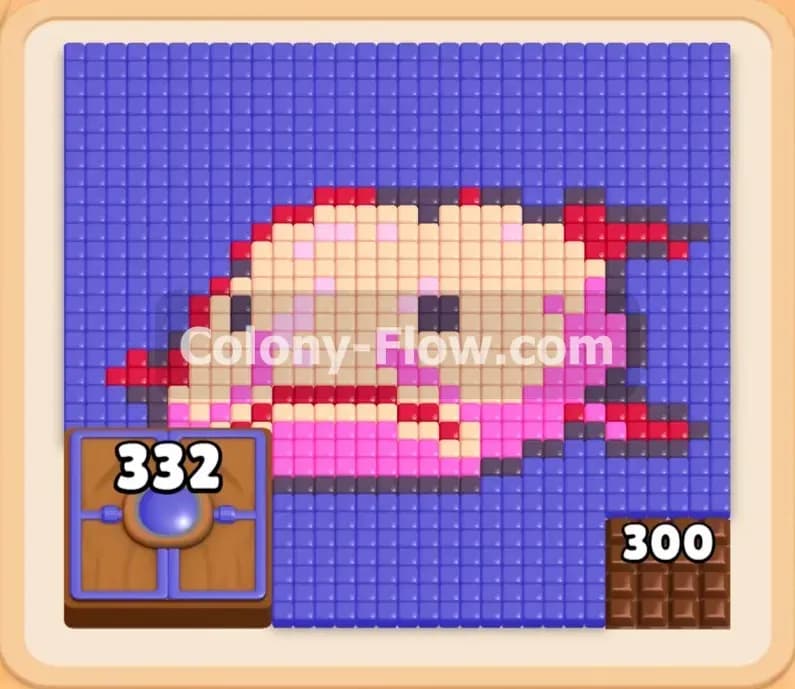
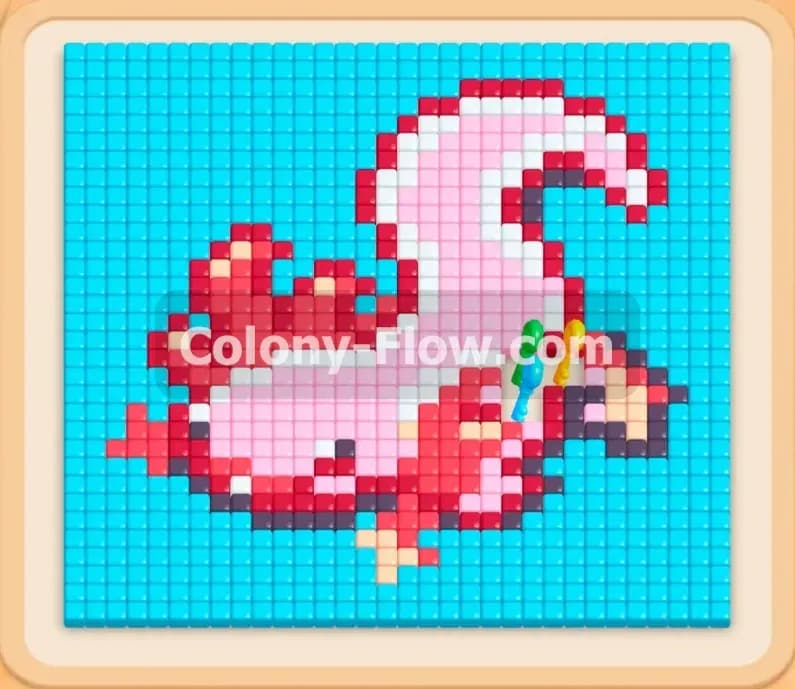
Welcome to Colony Flow Level 566. This puzzle presents a large pink and red axolotl pixel art picture surrounded by a massive ocean of cyan background tiles. You must feed your ant colony by pulling numbered colored blocks from the tray at the bottom of the screen. This board brings a specific challenge because several of your most important blocks are locked away at the start. You have to play strategically to reach the keys and free those blocks before you run out of moves. I play every single level to test these solutions and I am here to help you get through this one without any frustration.
Colony Flow Level 566 Overview
What You Are Working With
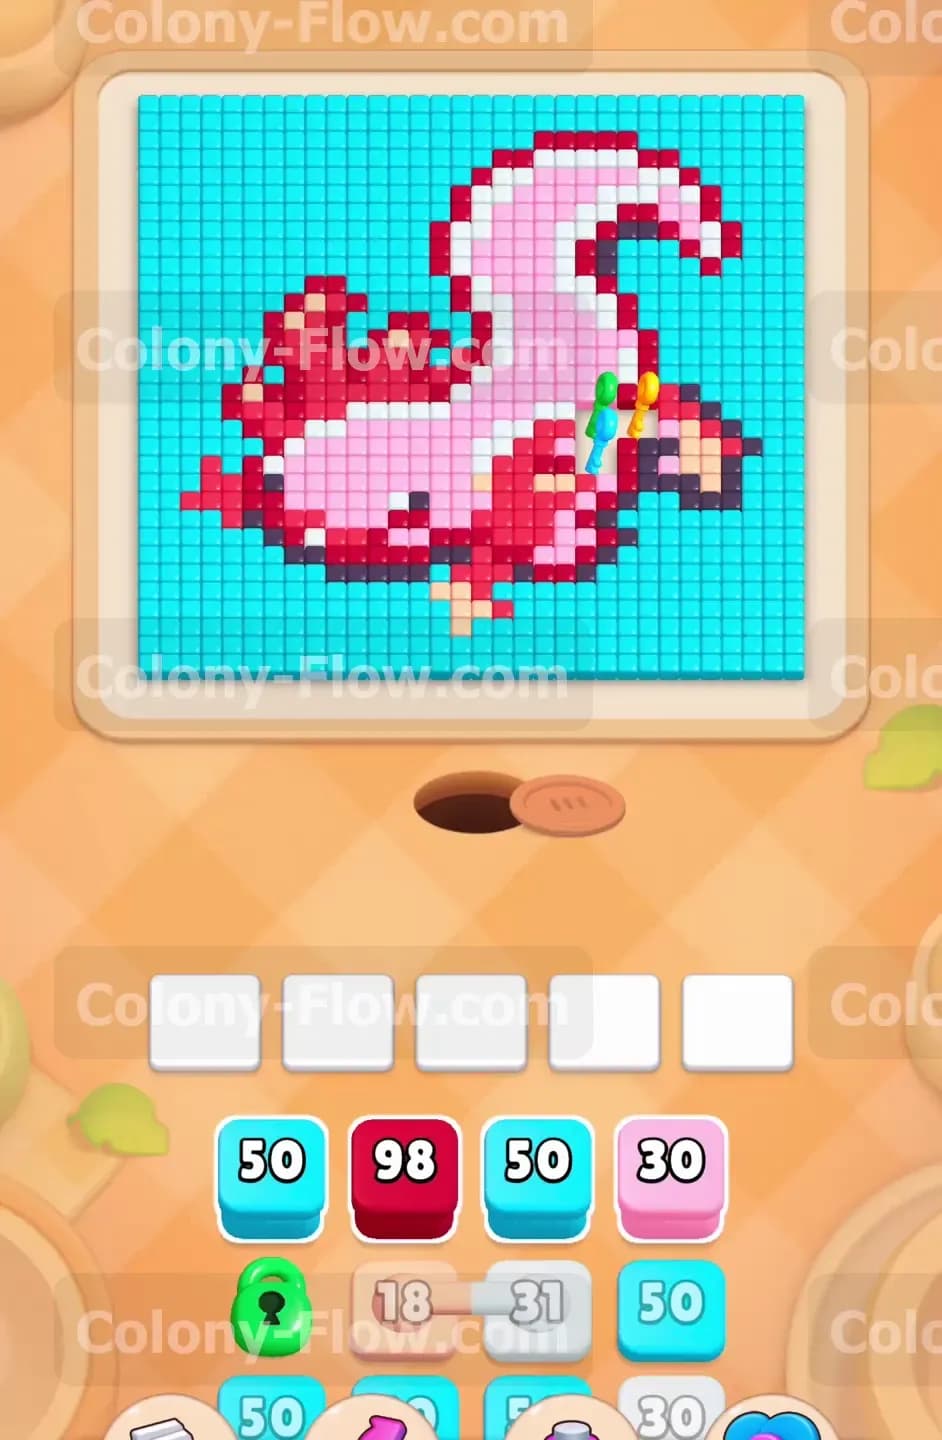
The board features a large central creature made of pink, dark red, white, and flesh colored tiles. A few black tiles make up the eyes and minor details. A massive field of cyan tiles surrounds the creature. The most important feature on the board is the Lock and Key mechanic. You will see a green key, a yellow key, and a light blue key embedded in the right side of the picture. Looking down at your tray, you will see three blocks blocked by padlocks matching those key colors. You cannot use those hidden blocks until you collect the keys. You also have Connected Boxes in your tray. These blocks are physically chained together. When you pull one, you pull its partner as well. This forces two blocks into your five waiting slots at the same time.
What It Takes to Clear Level 566 Board
You win when every single tile is cleared from the screen and the ants finish their routes. The core rule of the game is that you lose if your five waiting slots fill up completely and no ants can move to the board. Every single move you make must keep an open path for at least one active color. Your early game goal is entirely focused on reaching the right side of the board to collect the three keys. Once the keys are collected, your tray unlocks and provides the high number cyan blocks required to clear the massive background.
Colony Flow Level 566 Step by Step Solution
Step 1: Start the bottom edge and drop the first connected boxes
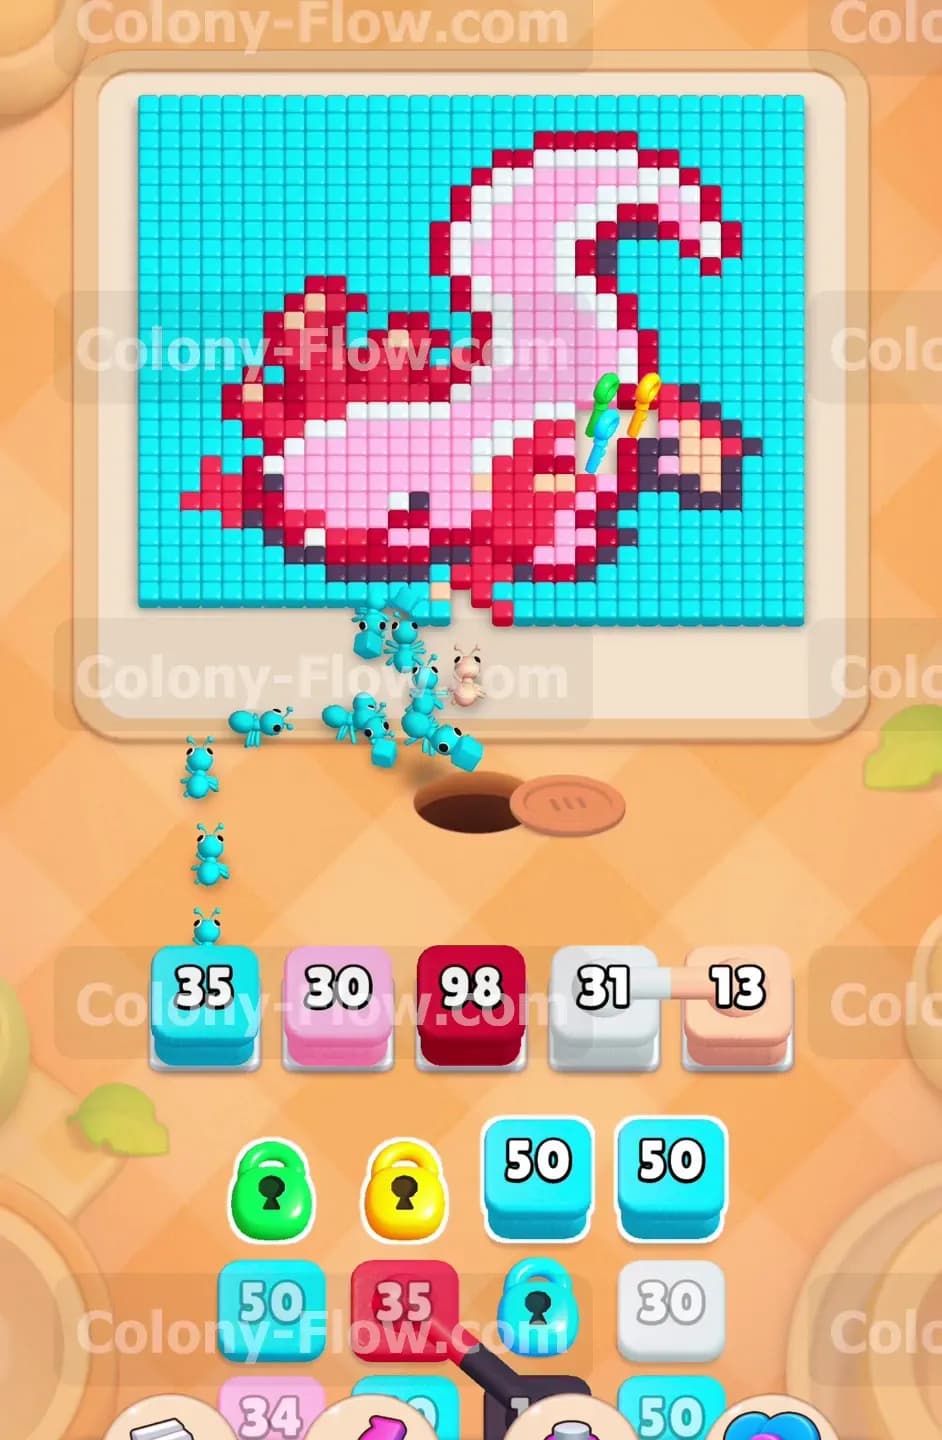
Your first moves must establish a strong foothold on the board while keeping your waiting slots moving. Pull the cyan block showing thirty five to send a stream of ants to the bottom left corner of the background. Next, pull the dark red block showing ninety eight and the pink block showing thirty. These two colors have immediate access to the bottom edge of the creature. You will see the dark red block holds a very high number. This is exactly what you want because it will keep a steady stream of ants leaving your waiting slots for a long time. Finally, pull the connected white block showing thirty one and the flesh colored block showing thirteen. This action fills your available slots, but it is entirely safe. The cyan and dark red ants have massive open surface areas to consume. They will rapidly eat away at the bottom left section and free up your slots long before any jams can occur.
Step 2: Carve a path through the right side to reach the keys
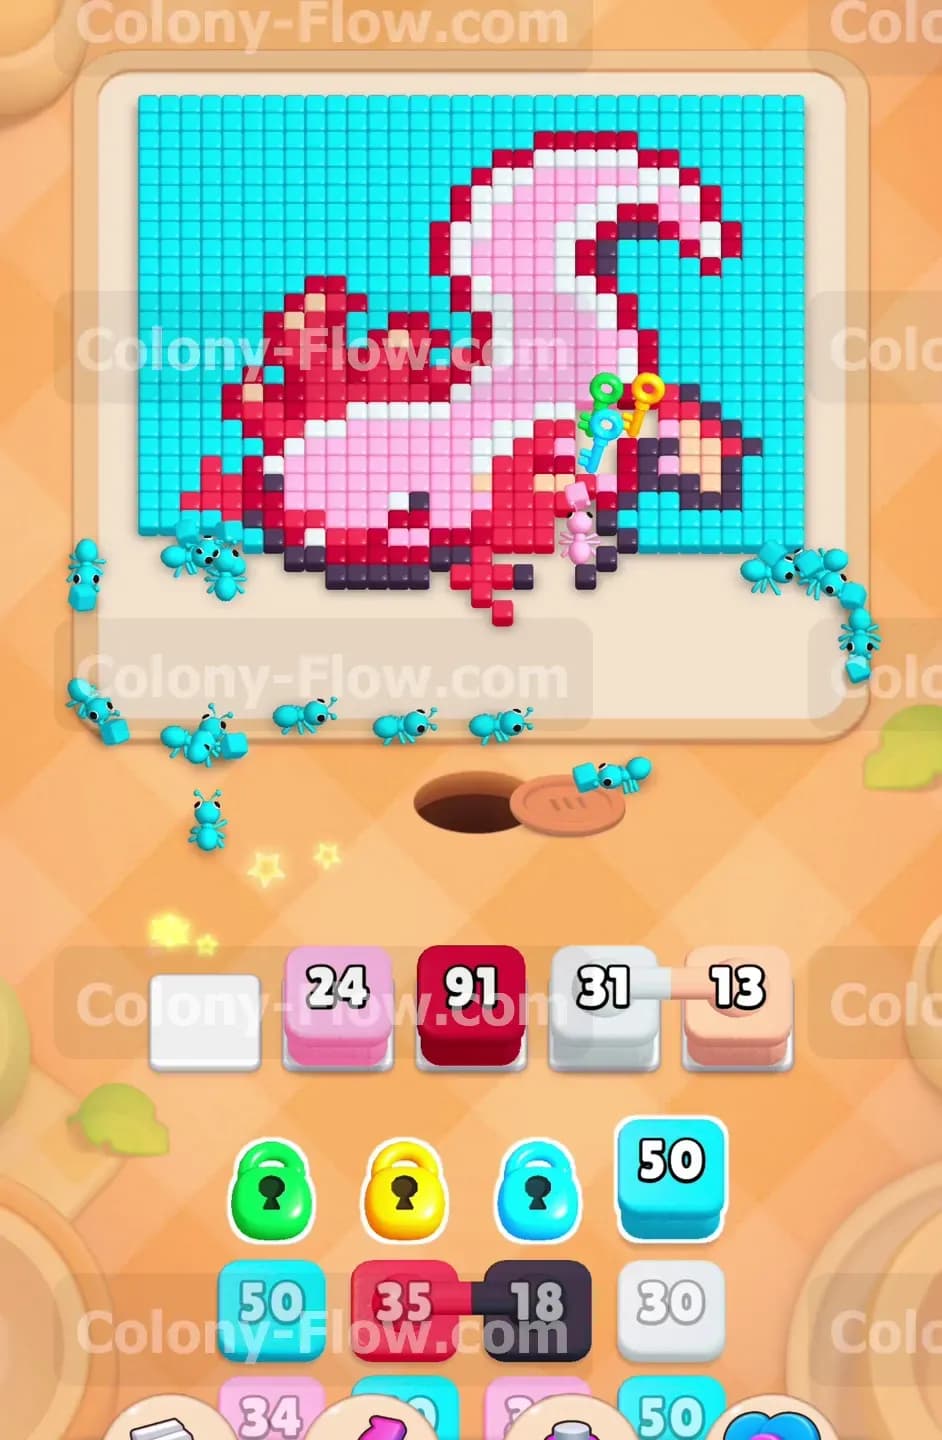
Your main objective is the right side of the creature where the three keys are located. Do not get distracted by the left side yet. As your initial pink and white blocks finish and leave the slots, bring up new pink and dark red blocks from the tray. Specifically, you want to use the pink twenty four block and the dark red ninety one block. Direct your attention to the right side gills and the body section leading toward the keys. The ants will naturally follow the exposed edges. You want to prioritize any color that eats toward the right edge. The dark red ants will chew through a large cluster of tiles, slowly exposing the inner white and pink tiles underneath. Keep feeding the board with colors that push right. Always make sure the color you select has a direct path to an exposed tile on the board.
Step 3: Collect the keys to unlock the hidden tray blocks
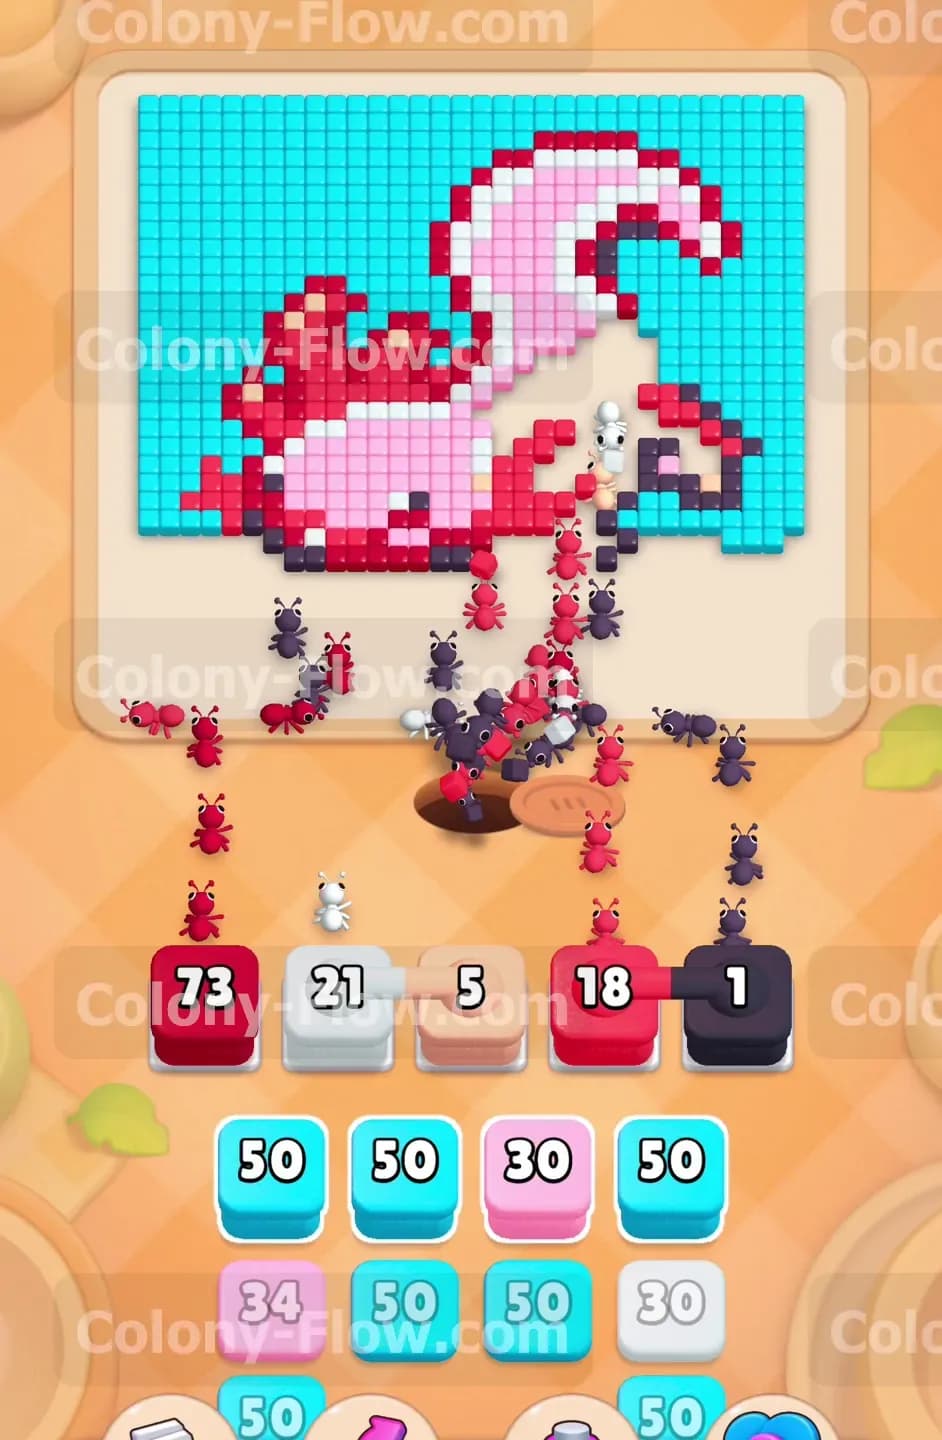
This phase requires a bit of patience as the ants do their work. The white and dark red ants will eventually reach the specific tiles holding the green, yellow, and blue keys. Once an ant consumes a tile with a key on it, that key flies down to your tray. When the green key is collected, the green padlock shatters. The yellow and blue padlocks follow right after. Unlocking the tray changes the entire momentum of the level. The padlocks reveal two massive cyan blocks showing fifty and another heavy dark red block showing thirty five. You absolutely need these cyan blocks to handle the enormous amount of background tiles remaining on the top half of the screen. Collecting all three keys early prevents a scenario where your tray gets clogged with unplayable locked blocks.
Step 4: Deploy the heavy cyan blocks to sweep the background
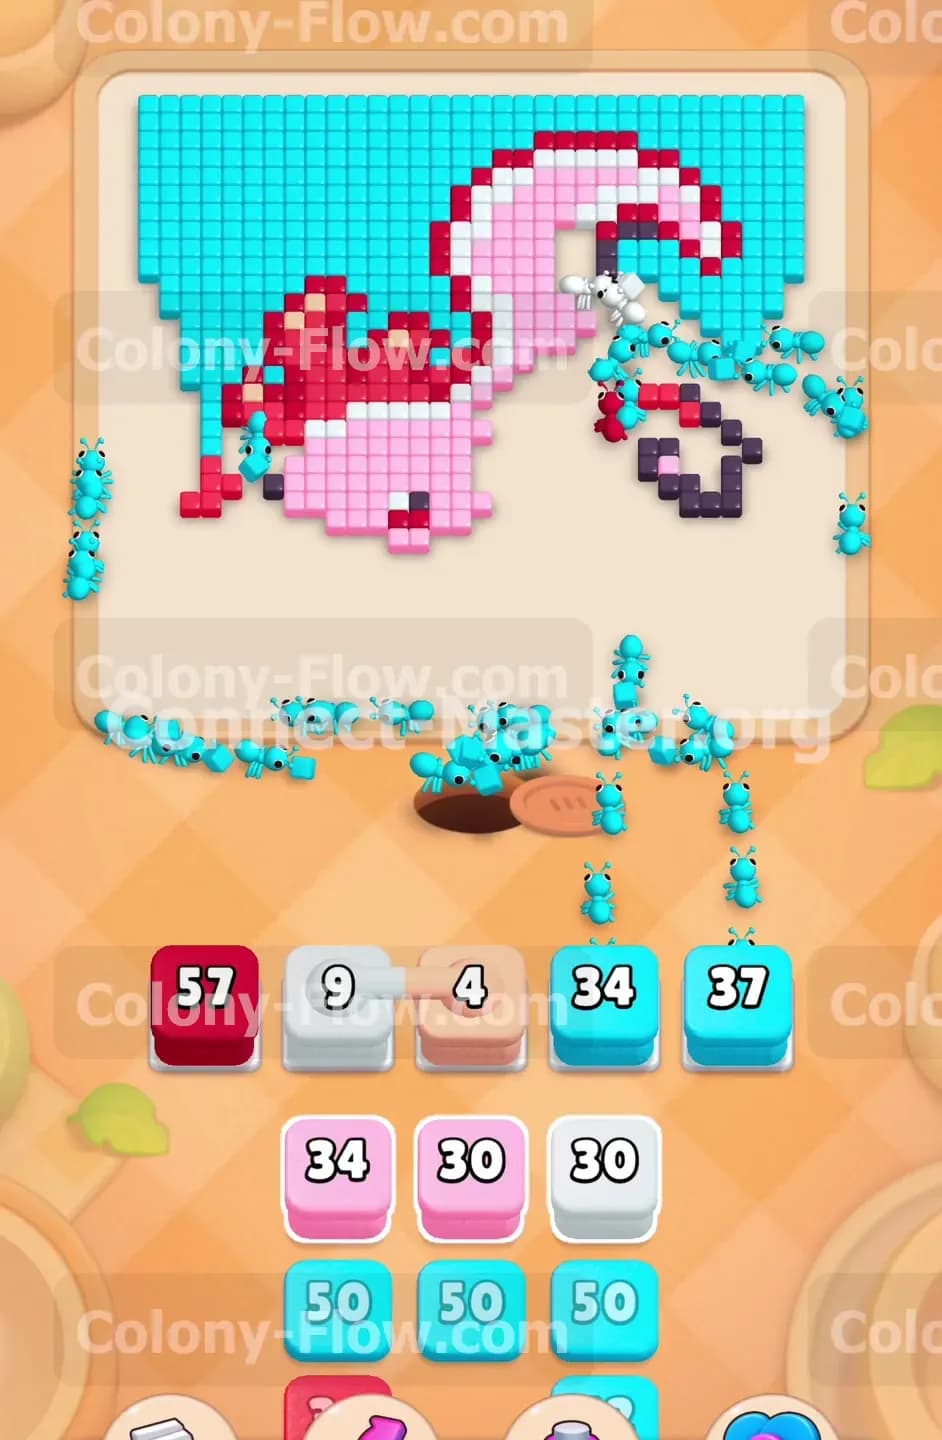
Now that your tray is unlocked, it is time to unleash the cyan ants. Pull the newly revealed cyan fifty blocks into your waiting slots. Because you cleared the bottom edge earlier, the cyan ants will split into two massive paths. One group will wrap completely around the left side of the creature and march toward the top left corner. The second group will flank the right side and begin eating the background behind the tail. This splitting action is very effective and drains the large block numbers very fast. You can safely have multiple cyan fifty blocks in your slots right now because the background offers so much exposed surface area. The ants will never stop moving, which protects you from losing the level.
Step 5: Manage the remaining connected boxes on the left side
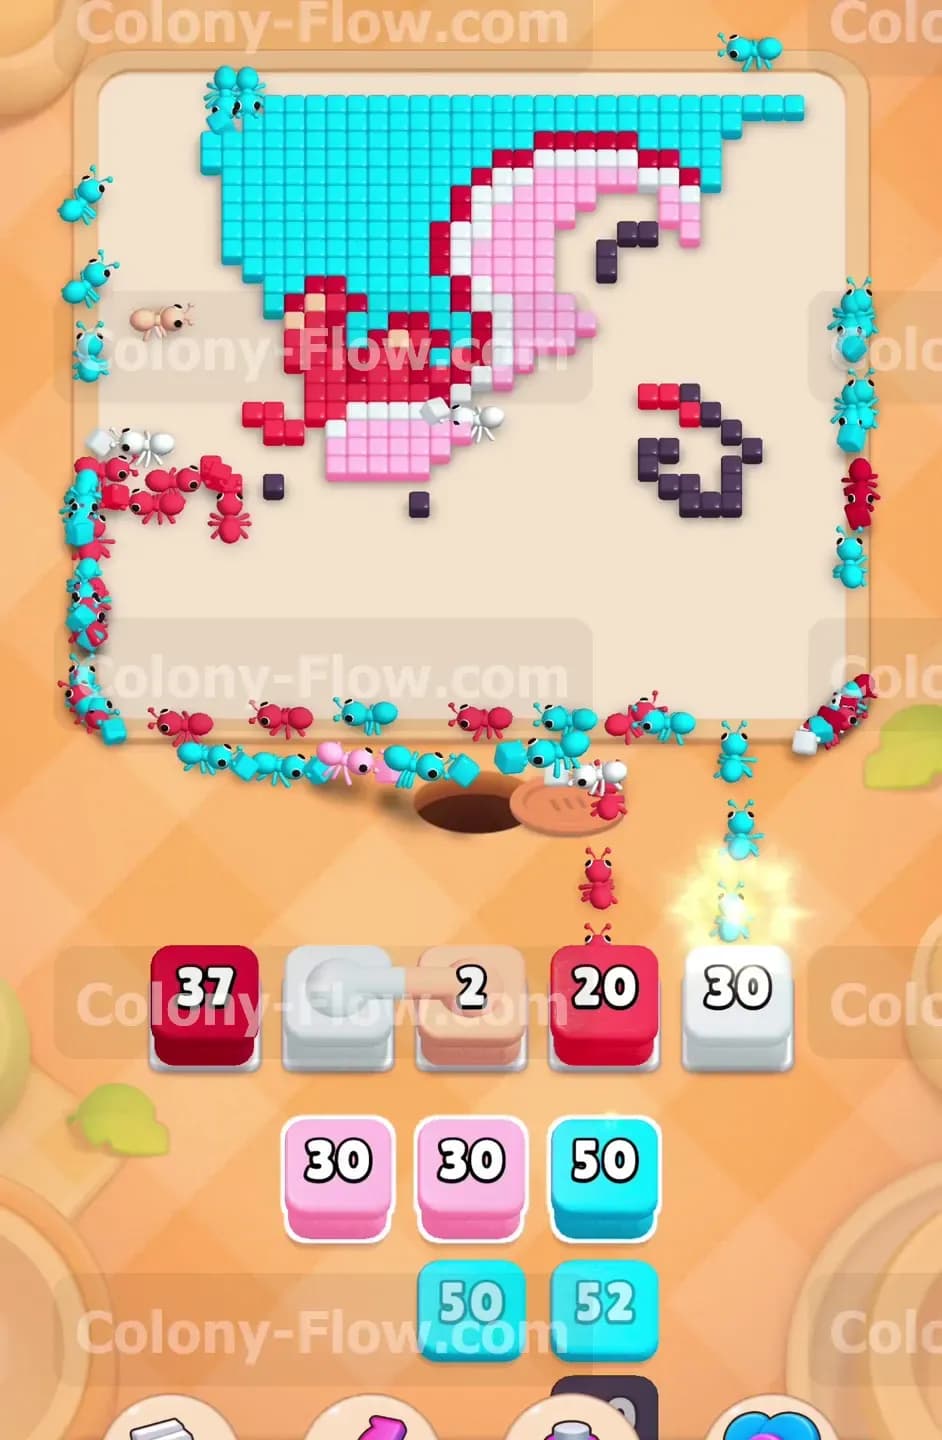
While the cyan ants clear the outer edges, you must return your focus to the center creature. The left side of the face and the left gills still need a lot of work. You will find more connected boxes in your tray during this phase. One pair links a pink eighteen block to a black block, while another links a white nine block to a flesh colored four block. You must be very careful with the black blocks. The black tiles are only used for the small eyes and a few tiny outline details. If you pull a connected block and the black tiles are deeply buried under pink tiles, the black block will sit dead in your waiting slot. Wait until the pink ants expose the black eye tiles completely before you pull that connected pair. Drop the dark red fifty seven block to keep the left side moving while you wait for the black tiles to open up. This guarantees the black ants can immediately leave the tray and eat.
Step 6: Clear the top left corner and finalize the face
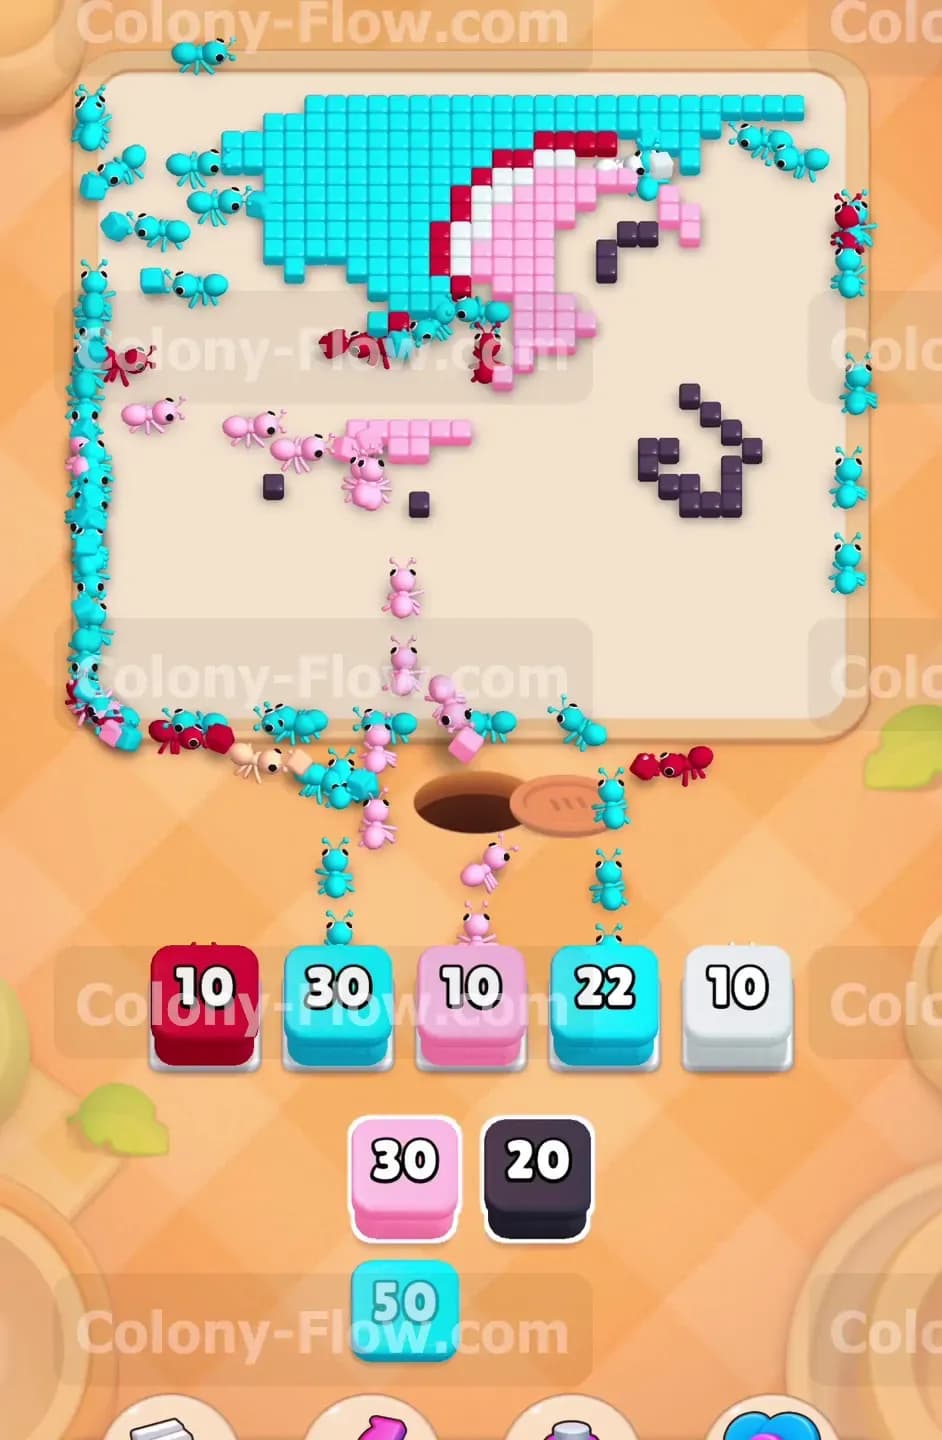
The board is getting much smaller now. The background is mostly gone, leaving only the top left corner and the top edge. Pull your remaining cyan thirty and cyan thirty seven blocks to send the ants up to finish the top left section. At the same time, drop your dark red thirty seven block and your pink twenty block to clear the top of the creature head. The heavy dark red section on the left will finally vanish. As the board shrinks, the risk of a slot jam goes up. You have fewer exposed tiles available. This means you should stop pulling blocks in large batches. Play one or two blocks at a time. Watch the ants finish their routes before you commit to the next pull. Ensure the pink ants finish the bulky parts of the head before you bring out the final detail colors.
Step 7: Clean up the isolated pixels and finish the board
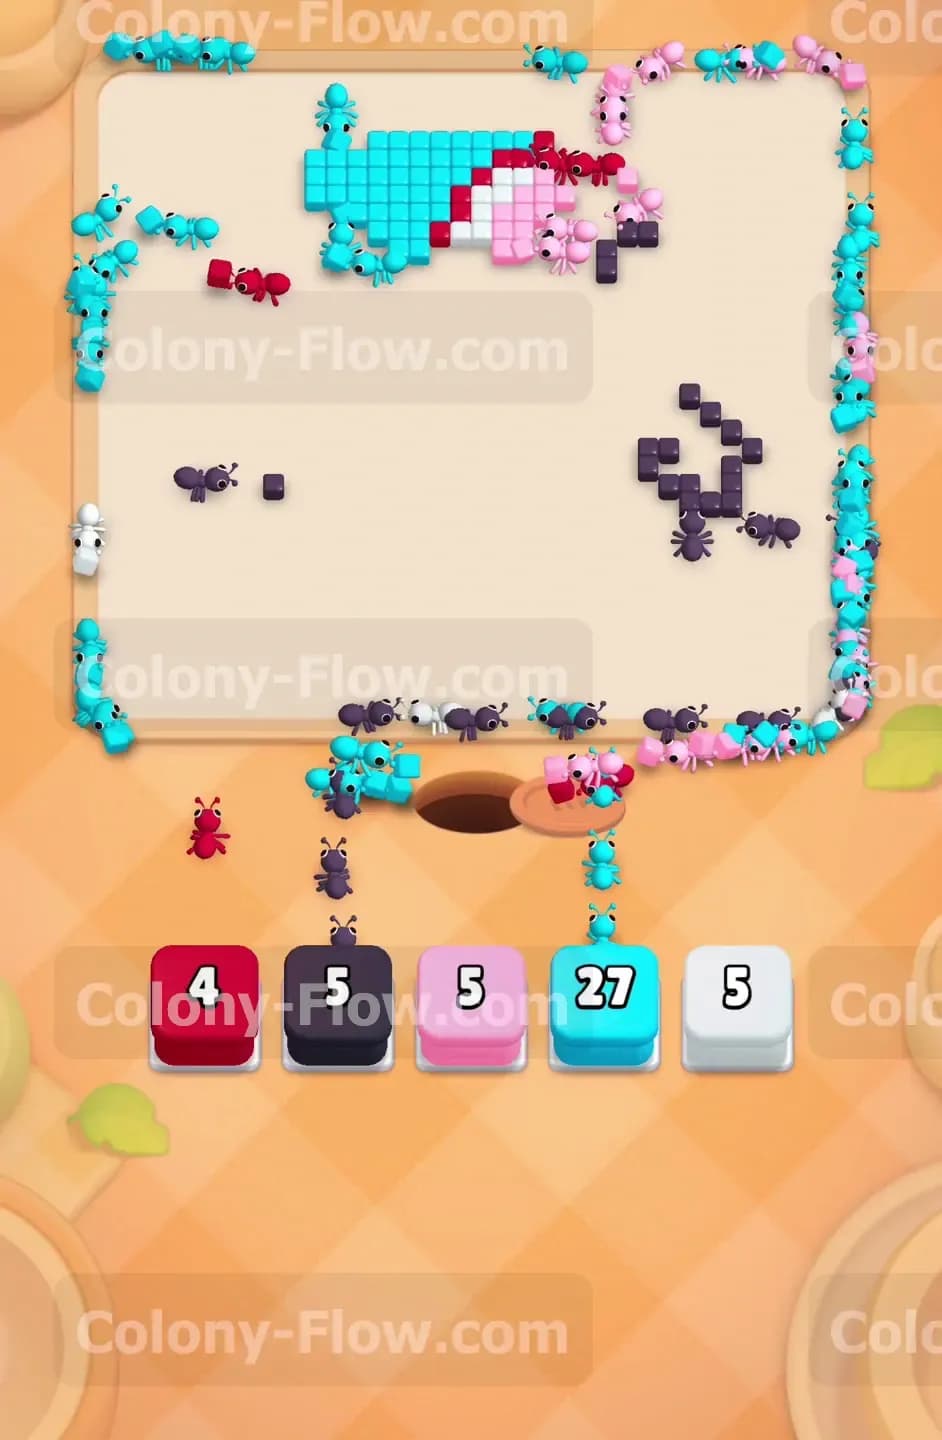
You are now looking at a very scattered board. Only a few stray tiles remain on the screen. You will see a small patch of top right cyan, an isolated black eye, and a few pink tiles near the tail. Your final tray pulls will all be small numbers. You will use a pink ten block, a white ten block, and a cyan twenty two block. Drop the black blocks to finish the right eye and the scattered floating pixels. Pull the final cyan blocks to let the ants do one last sweep across the top edge. Drop the final pink five block so the ants can consume the very last piece of the tail. Because you kept your waiting slots clear and only pulled blocks when their corresponding colors were exposed, you avoid the late game trap. The final ants will run back to the nest hole and clear the board.
Final Thought
Beating this board comes down to respecting the Lock and Key mechanic and managing your connected blocks with care. Rushing to pull blocks before their paths are open is the easiest way to jam your slots and lose. Take your time and let the ants clear the way. If you find any specific sequence hard to visualize from the text, I highly encourage you to watch the video above this article to see the exact ant routes in action.