Colony Flow Level 74 Walkthrough Solution & Guides | How to solve Colony Flow 74

Guide By Liam Stone
Updated on July 11, 2026
Rather watch than read? The video above walks through Level 74 step by step.
Video doesn't match your screen?
Game updates frequently scramble layouts! Try our AI Screenshot Solver first to find your exact board instantly, or report broken guides to our team.
Colony Flow Level 74 gives us a fun animal stack picture surrounded by a massive solid pink background to solve today. I play every single level myself to find the safest route to victory so I can teach you exactly how to beat it. Let me walk you through how I cleared this board by carefully managing the tray blocks without jamming up the waiting slots.
Colony Flow Level 74 Overview
What You Are Working With
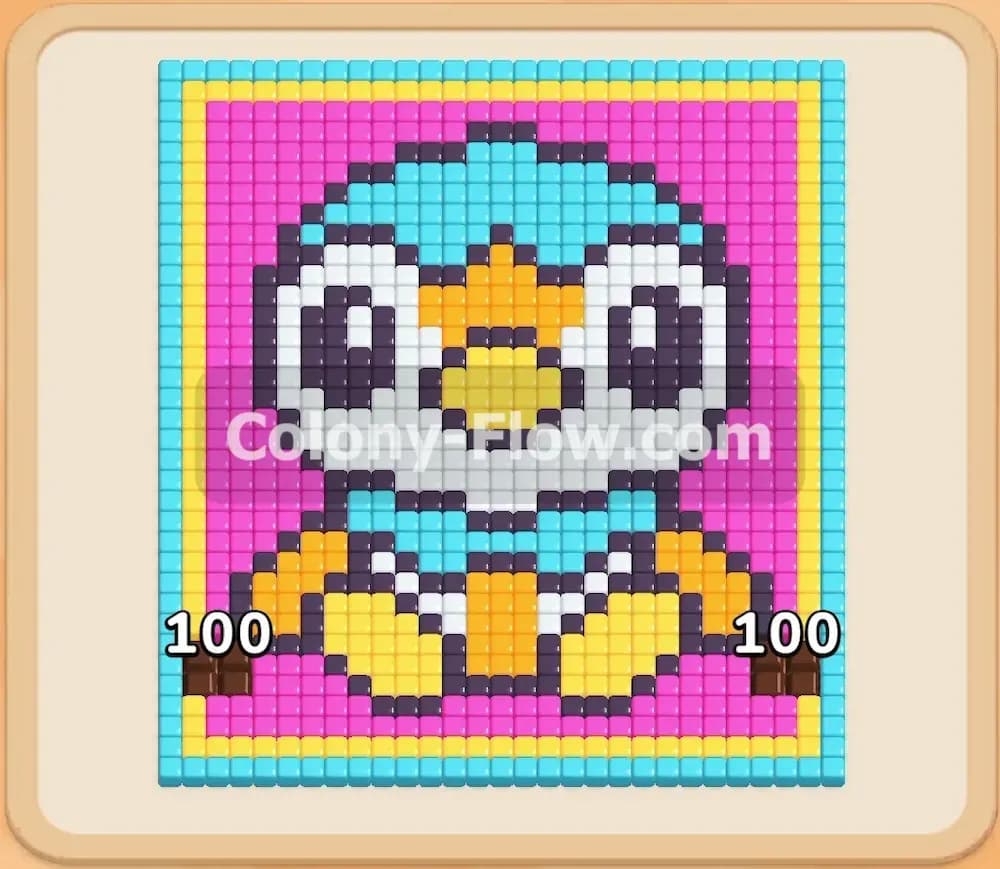
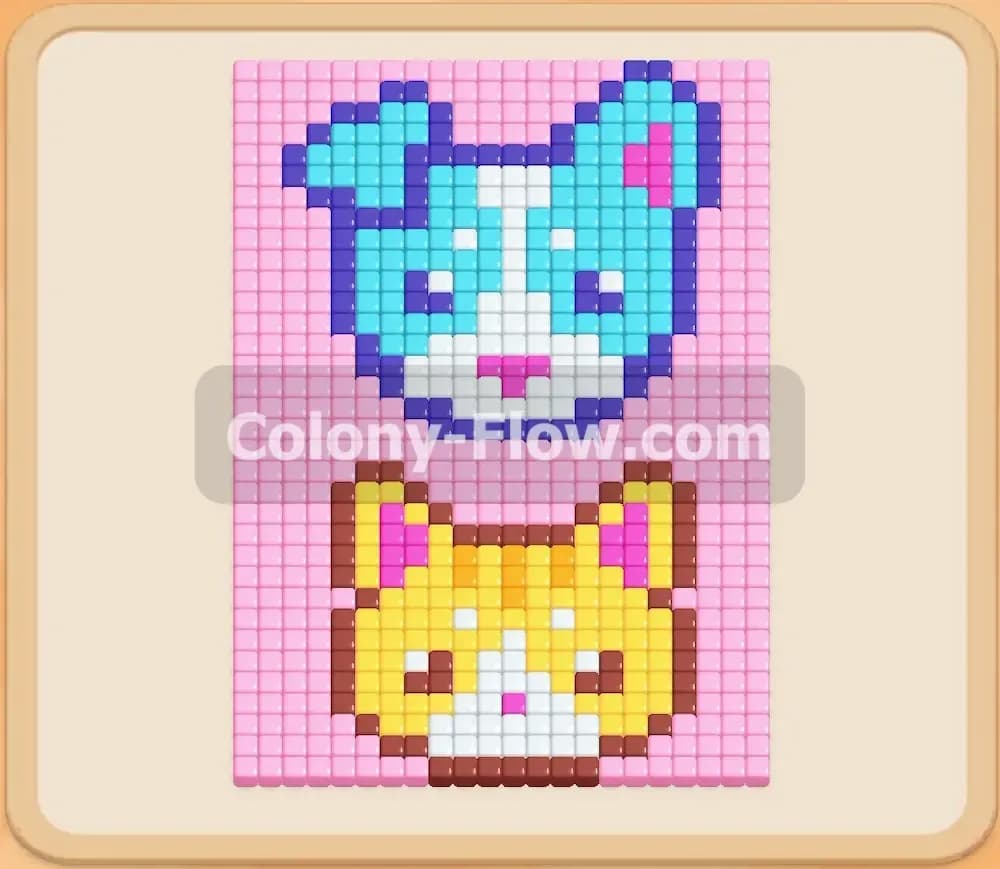
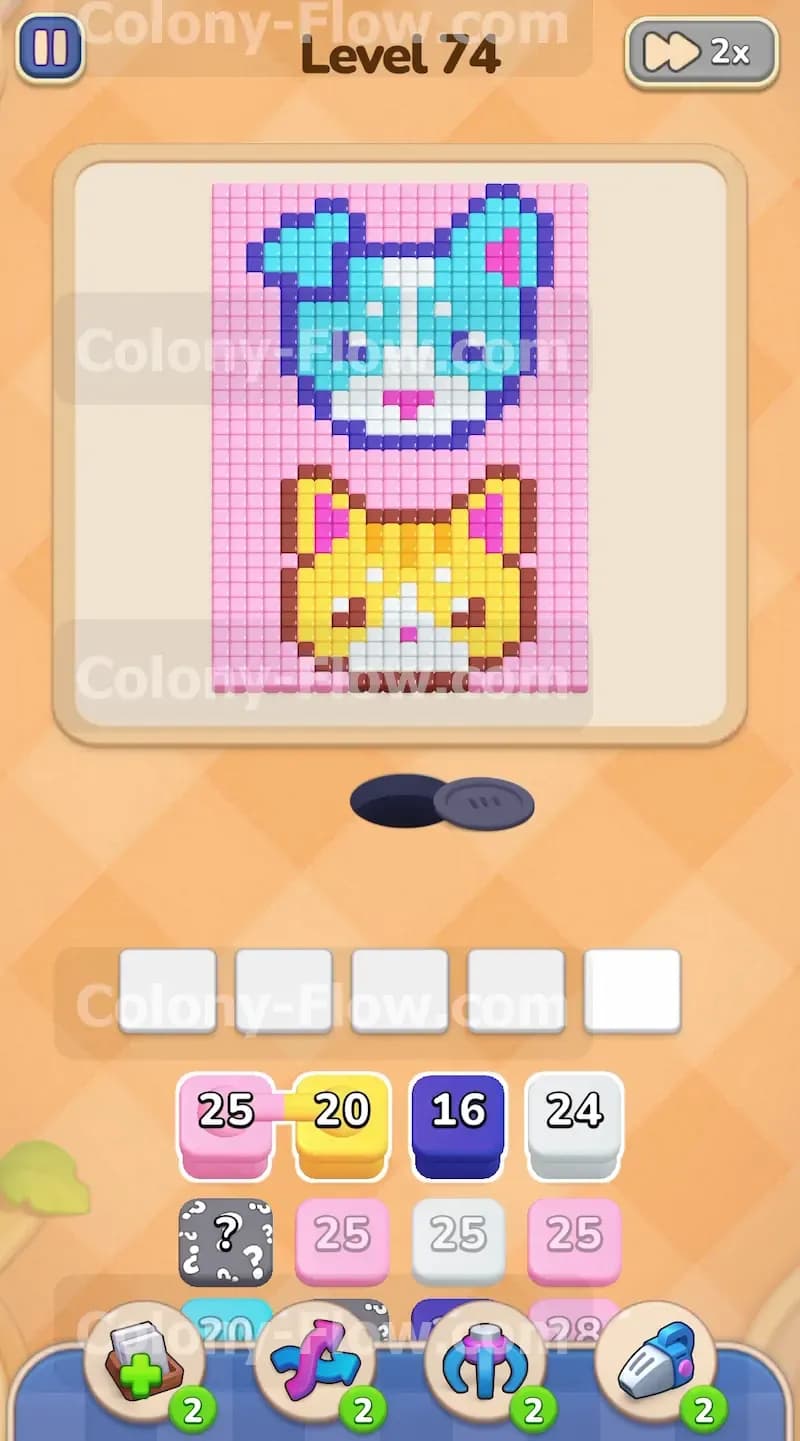
The picture is split into three main sections on a flat grid. The top section shows a light blue dog with white details and a dark blue outline. The bottom section has a yellow cat with white face details and a brown outline. A huge solid pink square completely surrounds both animals and fills the entire outer edge of the grid. Down in your tray you will see a wide mix of colors including pink yellow white light blue dark blue and brown numbered blocks.
This level also introduces some special obstacles down in the tray itself. You will spot connected boxes where two blocks are securely linked together by a thick line. When you pull one into the play area you pull both at the exact same time. You will also see a hidden box marked with a large question mark. You cannot tell what color this block holds until you open a valid path for it to move up into the slots. You must plan around these tricky tray elements to survive.
What It Takes to Clear Level 74 Board
Winning this stage means pacing your moves from the very first tap. The pink background covers so much space that you will naturally want to dump every pink block you see right into the waiting slots. If you do that you will fill all five slots instantly and ruin your run. When the slots jam up and the ants have no way to reach the matching tiles you lose the game immediately. You only have five slots to work with. If a block enters a slot and the ants cannot reach the matching color that block sits there forever.
You must clear the pink border slowly while sneaking in blocks for the yellow cat and blue dog to keep the paths flowing. The ants move along a set path and they need an open route to the inner colors before you pull those matching blocks. Puzzle games reward patience over pure speed. You win the stage when every single colored tile is gone and your colony marches happily off the screen.
Colony Flow Level 74 Step by Step Solution
Step 1: Start removing the outer pink border.
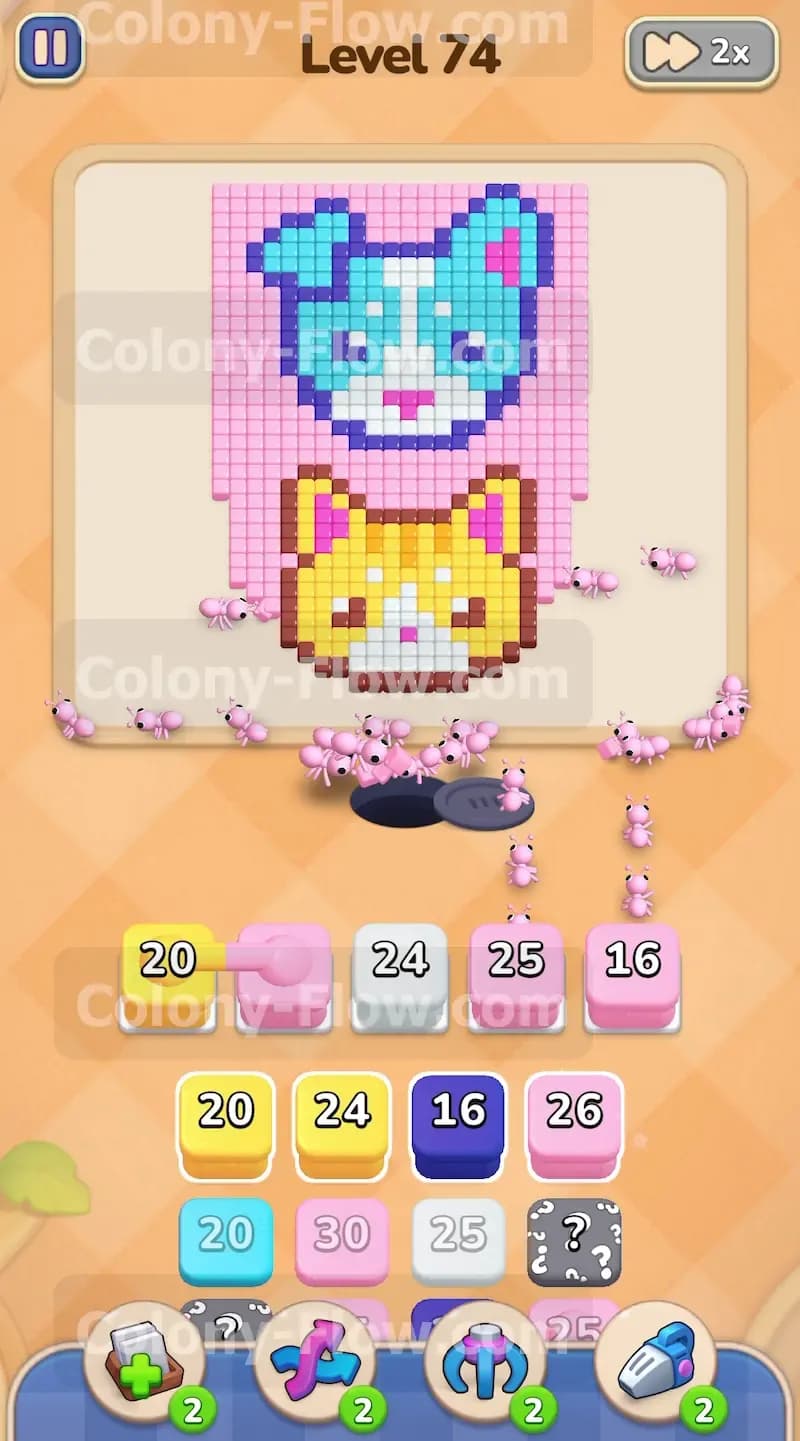
Your first move targets the massive pink background wrapping the animals. Look at your tray to find the starting blocks. You will see a pink block and a yellow block connected together. Tap the pink block to send both blocks up into your waiting slots. The ants will stream out of the nest hole and begin eating away the bottom edge of the pink border. Since the yellow block is connected it just sits in a waiting slot taking up precious room. The ants cannot reach the yellow cat head yet because the pink tiles completely block the way. This leaves you with only three open slots to work with. Keep your eyes on those remaining open slots so you do not crowd them too early. I always try to leave at least one slot completely empty just in case I make a mistake.
Step 2: Add more pink blocks to peel back the background.
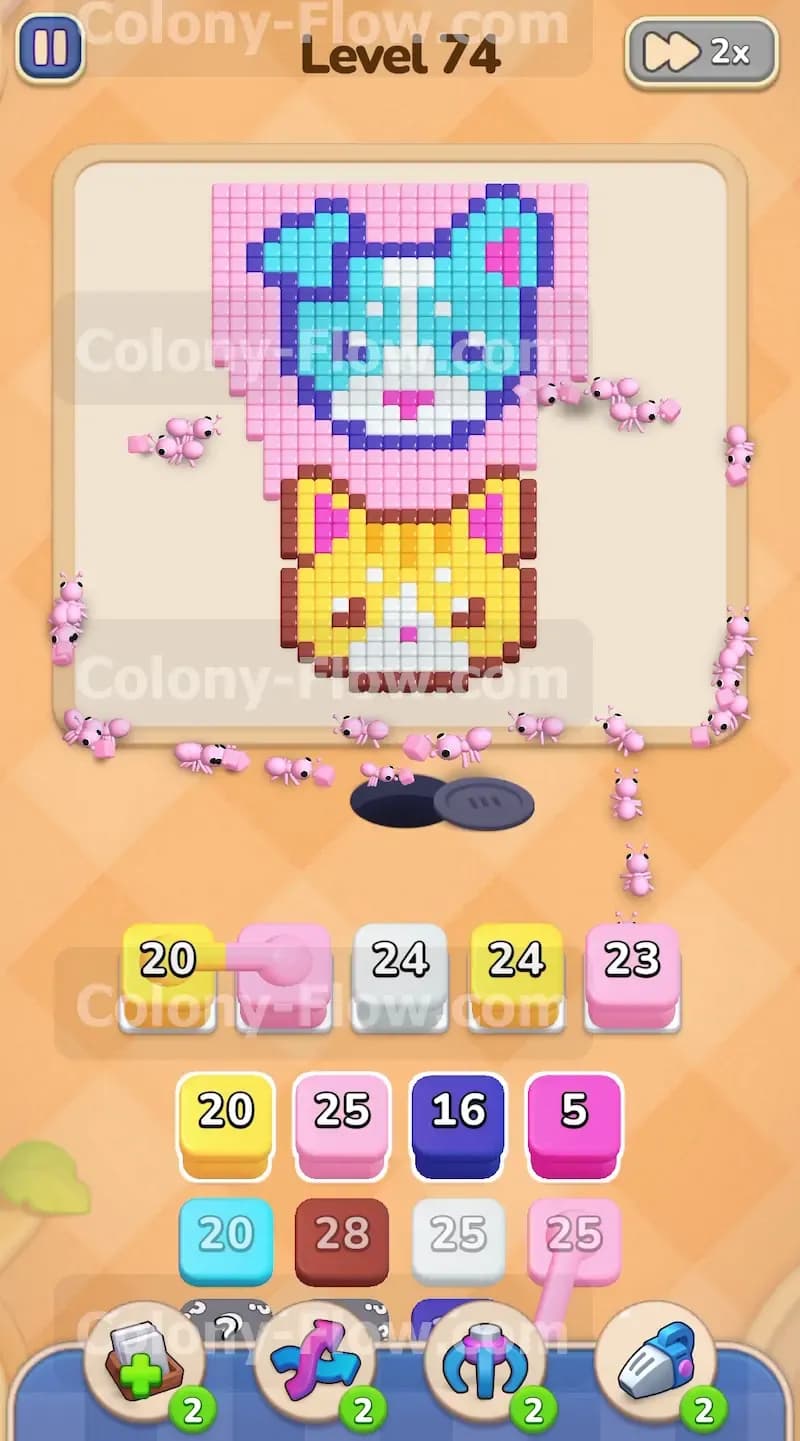
Once the first pink block counts down to zero you need to keep the momentum going. Tap the next available pink block in your tray to bring it up. The ants will march up the sides of the board. They slowly eat a path up the left and right edges. Do not touch the white or blue blocks at all right now. The white and blue sections of the dog and cat are completely shielded by the pink tiles. If you pull those colors now they will just sit in the waiting slots and do absolutely nothing. You must wait patiently for the ants to expose the inner picture. Keep feeding pink blocks exactly one at a time until the top corners of the pink square start disappearing. Taking it slow here guarantees your survival.
Step 3: Begin clearing the yellow cat head.
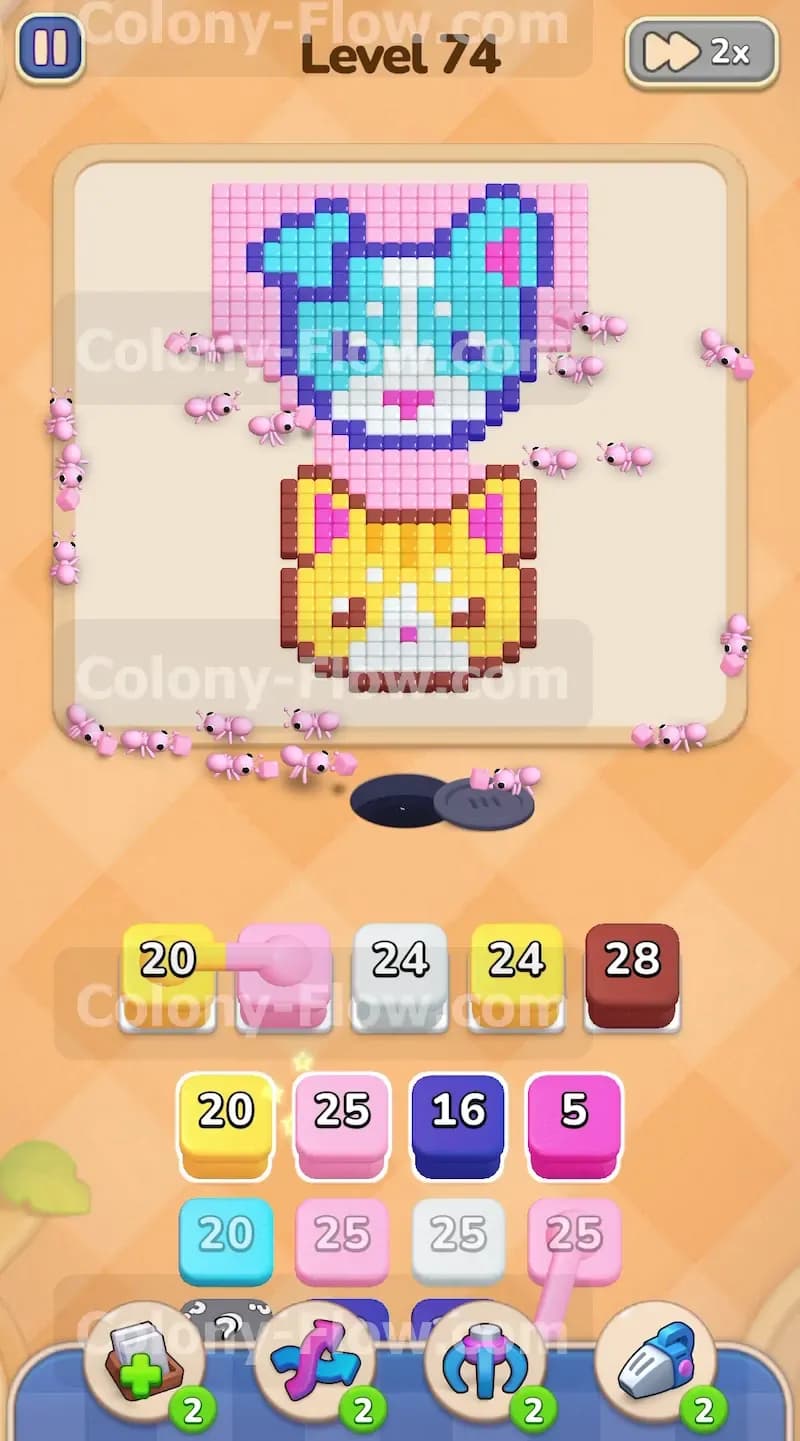
The ants have now removed enough pink tiles to finally expose the bottom of the yellow cat. That yellow block you pulled earlier finally activates and gets to work. The ants rush over to the yellow tiles and start eating the bottom edge of the cat head. You can now tap another yellow block from the tray to keep them working on that specific area. The cat face requires a lot of yellow blocks to completely clear away. Make sure you only have one or two yellow blocks in the slots at any given moment. You still need room to process the rest of the pink border that wraps around the dog. Balancing the yellow and pink blocks keeps your board flowing without any unexpected jams. I found that swapping between colors keeps the ants spread out and working efficiently.
Step 4: Clear the white details on the cat face.
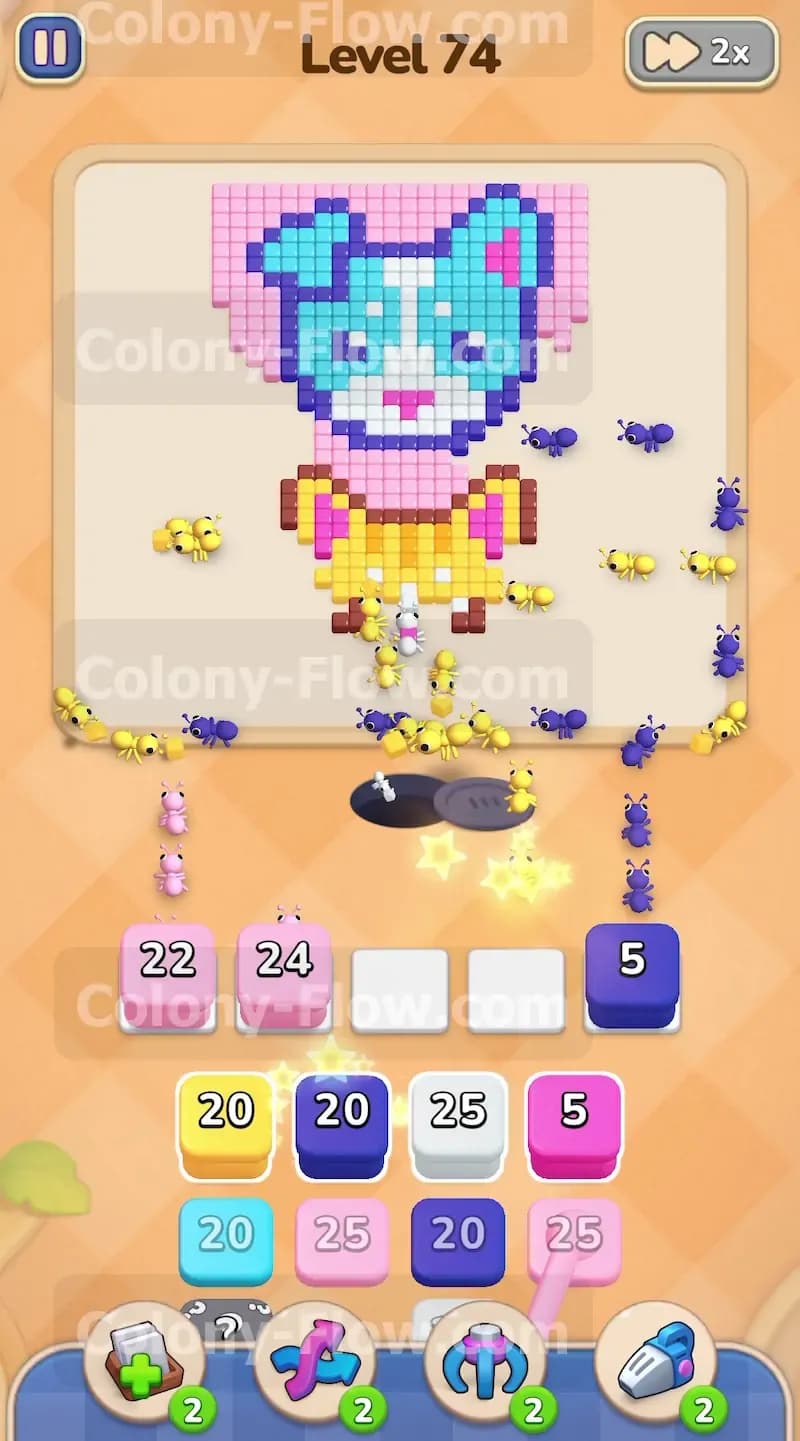
As the yellow tiles vanish the white muzzle of the cat opens up to your ants. Find a white block in your tray and tap it. The ants will travel through the cleared space at the bottom of the board and eat the white tiles. This creates a large empty cavity in the lower half of the picture. By doing this you give the ants a much shorter travel distance to reach the center of the board. Shorter paths mean your numbered blocks count down much faster. Faster countdowns mean your waiting slots empty out much quicker. This strategy completely protects you from failing the level. The ants will swarm the white section and clear out the cat cheeks in just a few seconds.
Step 5: Activate the hidden box to reveal its true color.
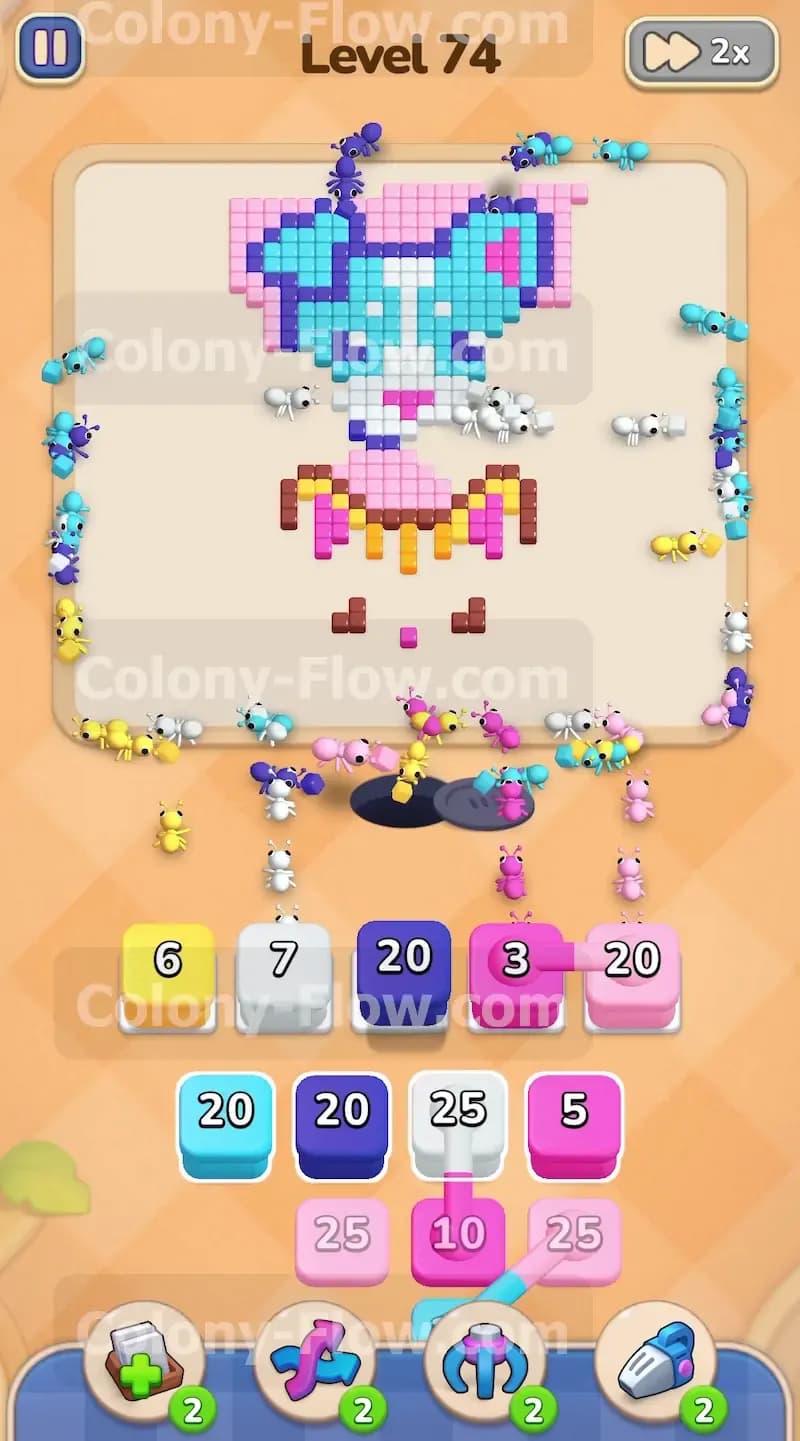
Now that the bottom half is clearing out nicely you have room to manage the hidden box. The hidden box sits in your tray with a giant question mark on it. Since you cleared the surrounding blocks in the tray you finally give this box a valid path to move. Tap the hidden box to pull it into an open waiting slot. The box flips over and reveals itself as a pink block. This is a perfect reveal because there are still a few stray pink tiles left at the very top of the board. The ants will take this newly revealed pink block and march all the way to the top corners to finish off the background. Handling the hidden box this way prevents it from clogging up your tray later in the level.
Step 6: Attack the dark blue dog outline.
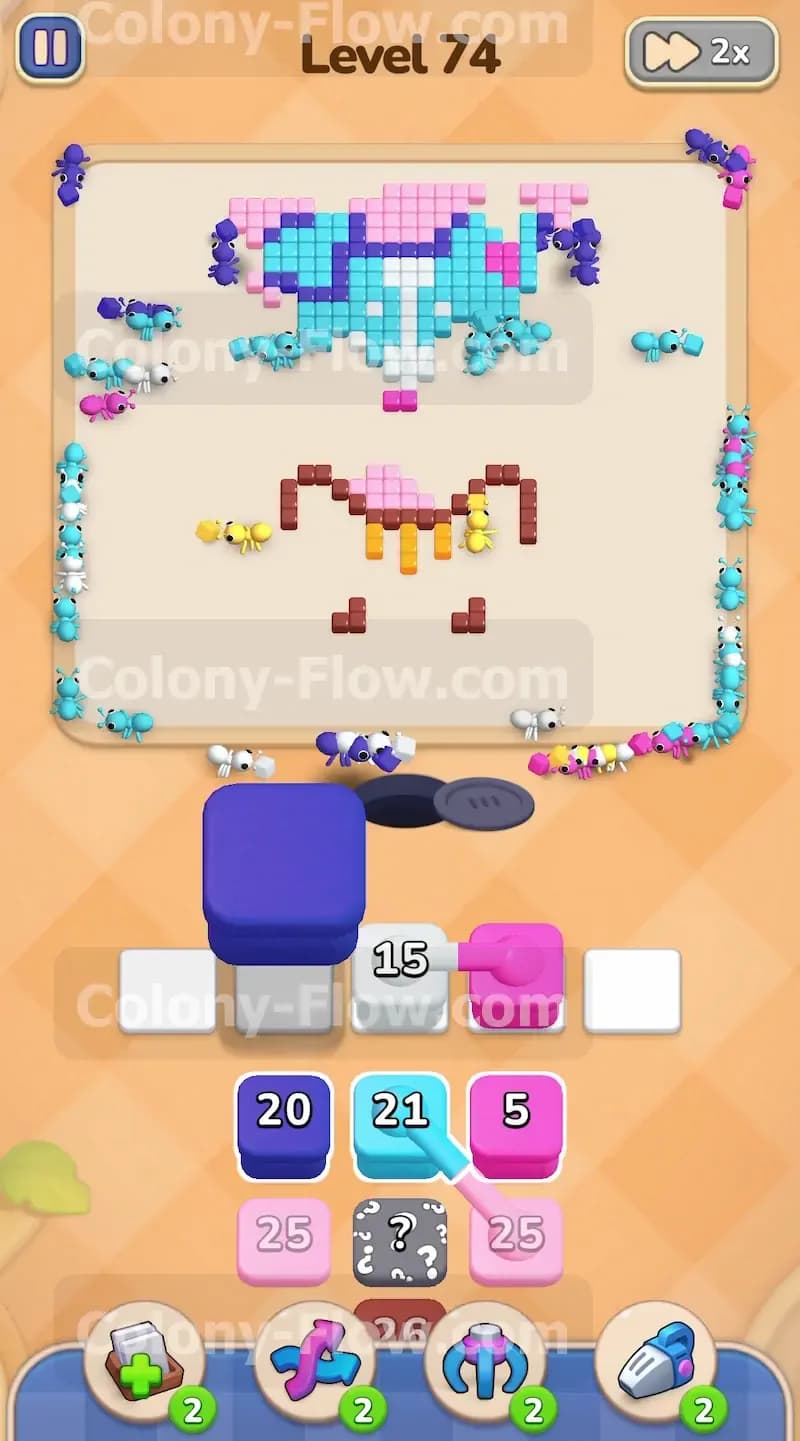
With the pink border completely gone the blue dog at the top is fully exposed and ready to clear. The outer edge of the dog uses dark blue tiles. Tap a dark blue block from your tray to send it up. The ants will wrap around the top of the board and eat the dog ears. They will also eat the dark blue tiles separating the dog head from the cat head. Clearing this outline separates the remaining colors into smaller isolated chunks. Isolated chunks are much easier to clear because the ants do not have to travel as far to reach them. Keep a close eye on your remaining slots and only pull one dark blue block at a time. The numbers on these blocks drop fast when the ants have a direct path.
Step 7: Clear the brown cat outline.
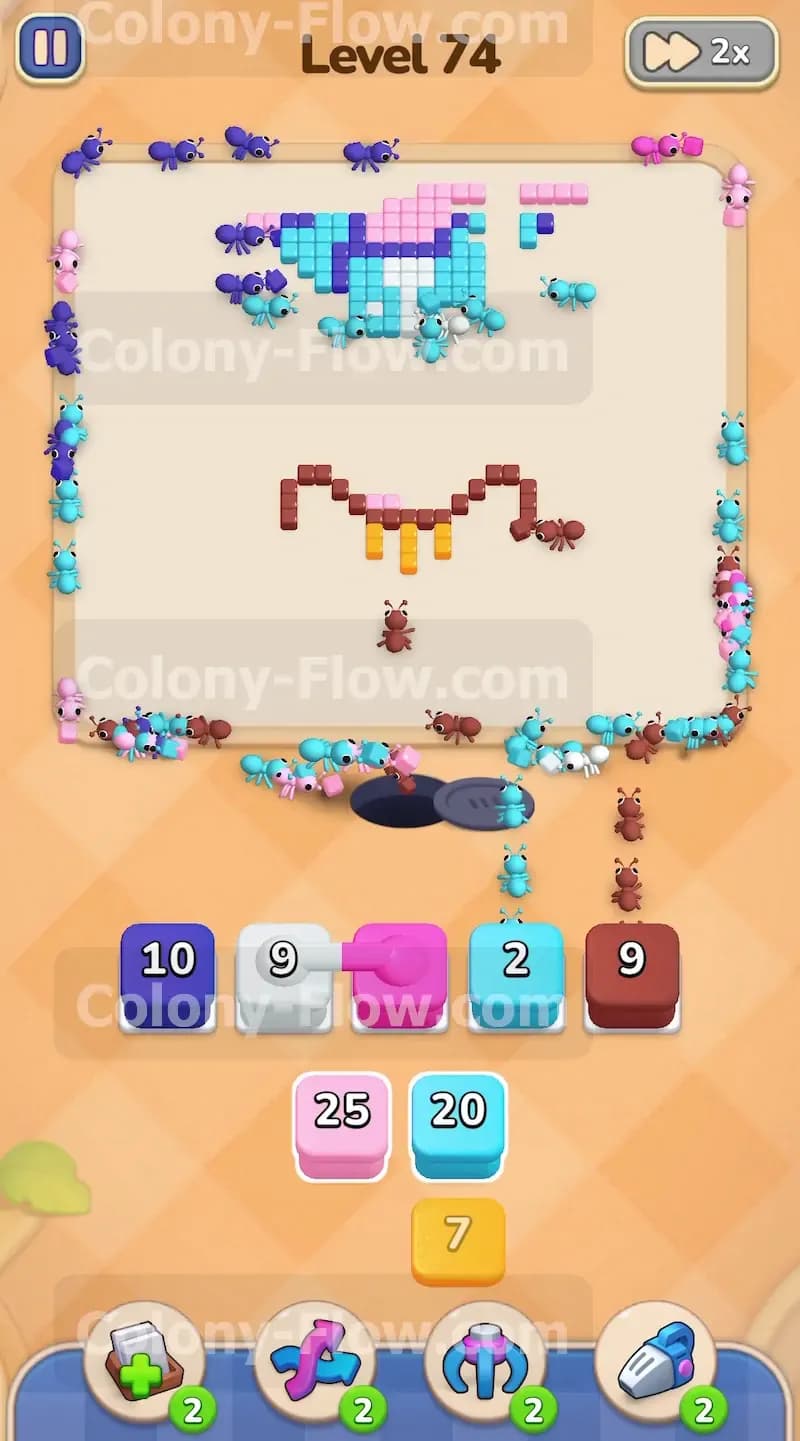
Look back down at the cat section for a moment. The yellow fur and white muzzle are completely gone but the brown ears and outline remain untouched. Tap a brown block from your tray. The ants will swarm the brown tiles immediately. These tiles look exactly like a small floating crown now that the rest of the cat is missing. Removing the brown tiles completely finishes the bottom half of the picture. You now have an incredibly wide open board. Your waiting slots should be mostly empty giving you total freedom to focus completely on finishing the dog head. Clearing the lower half first is a great way to relieve board pressure.
Step 8: Remove the light blue dog fur.
The main color left on the board is the light blue making up the dog face. Tap a light blue block from your tray to get the ants moving. The ants will flood the top center of the board. They chew through the dog cheeks and forehead with ease. You have plenty of open waiting slots right now so you can confidently pull a second light blue block if the first one runs out of numbers. Just watch the numbers on the blocks closely. The numbers tell you exactly how many tiles the ants will eat before the block vanishes. Keep feeding light blue blocks until only the white muzzle and dark blue eyes remain. You are incredibly close to the finish line now.
Step 9: Finish the final white and dark blue details.
You are at the very end of the level now and victory is certain. The only tiles left are a few white tiles for the dog muzzle and a couple of dark blue tiles for the eyes and nose. Tap your last white block to clear the muzzle. Once the white block disappears tap the final dark blue block. The ants will rush up and eat the last few pieces of the picture. The board becomes completely blank as the last tile vanishes. The remaining ants will scurry off the edges of the screen and you officially win the level.
Final Thought
Colony Flow Level 74 requires very careful slot management right from the beginning. The massive pink background will easily trap you if you pull too many connected blocks at once. By pacing your moves and waiting for the inner colors to open up you keep the board moving smoothly. Please watch the video above this article if any step gives you trouble. Seeing the blocks move in real time makes the whole process much easier to understand. Good luck and keep those ants fed.