Colony Flow Level 424 Walkthrough Solution & Guides | How to solve Colony Flow 424

Guide By Liam Stone
Updated on July 29, 2026
Reading not your style? The video above shows exactly how to beat Level 424.
Video doesn't match your screen?
Game updates frequently scramble layouts! Try our AI Screenshot Solver first to find your exact board instantly, or report broken guides to our team.
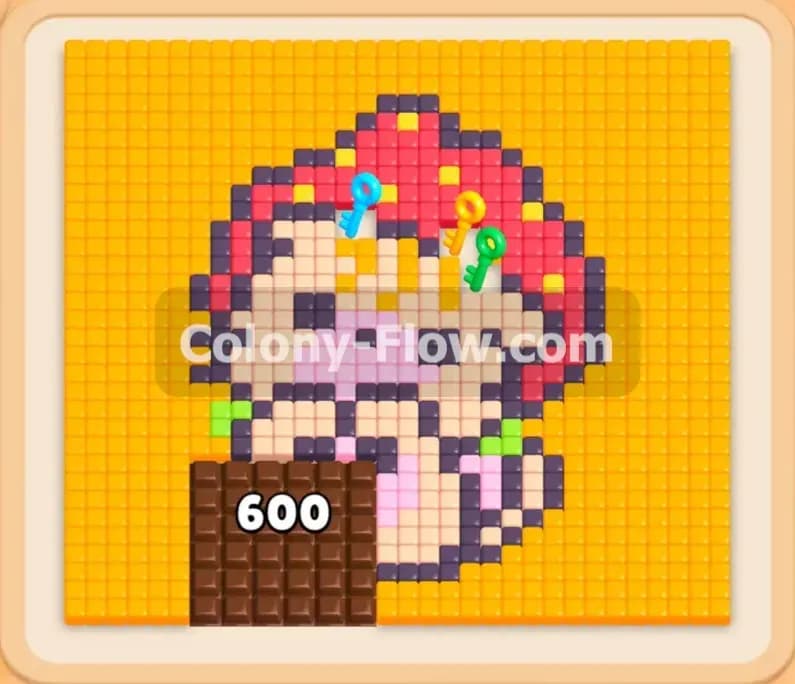
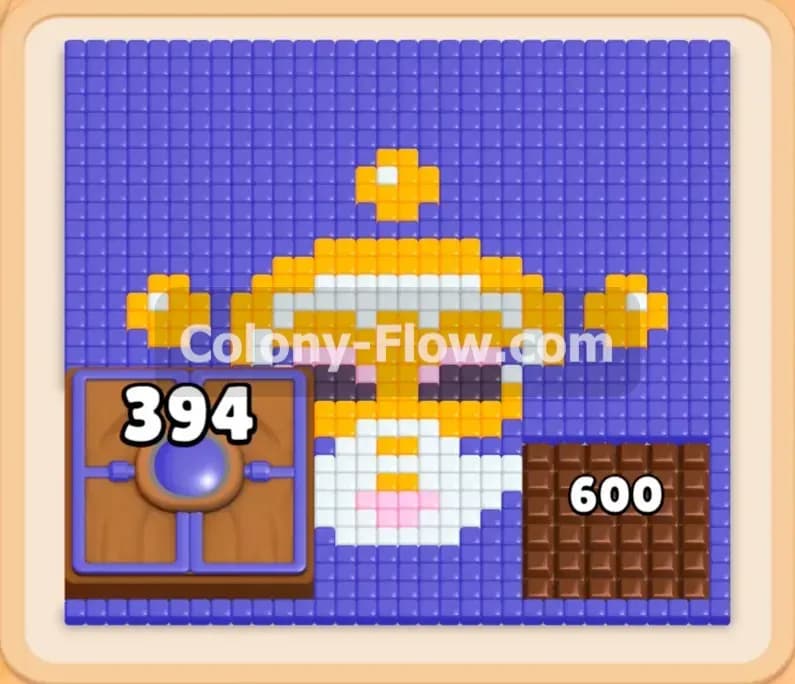
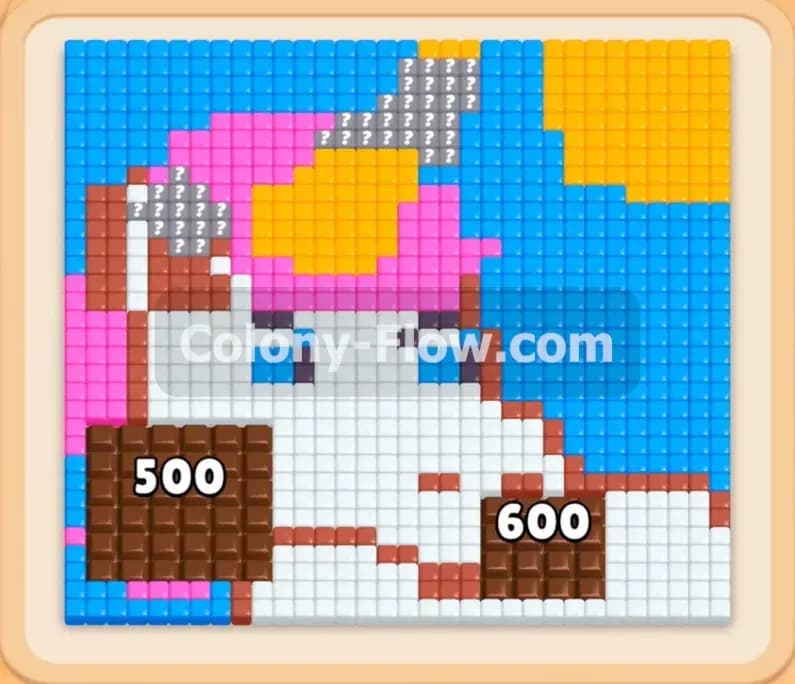
Welcome to Colony Flow Level 424. This puzzle presents a colorful pixel art unicorn head covered partly by massive chocolate blocks. You need to manage your tray space carefully to break down the barriers and clear the entire picture. I played this level several times to find the safest path through the tricky chocolate sections. I will walk you through exactly how to feed your colony and keep the board moving without jamming your slots.
Colony Flow Level 424 Overview
What You Are Working With
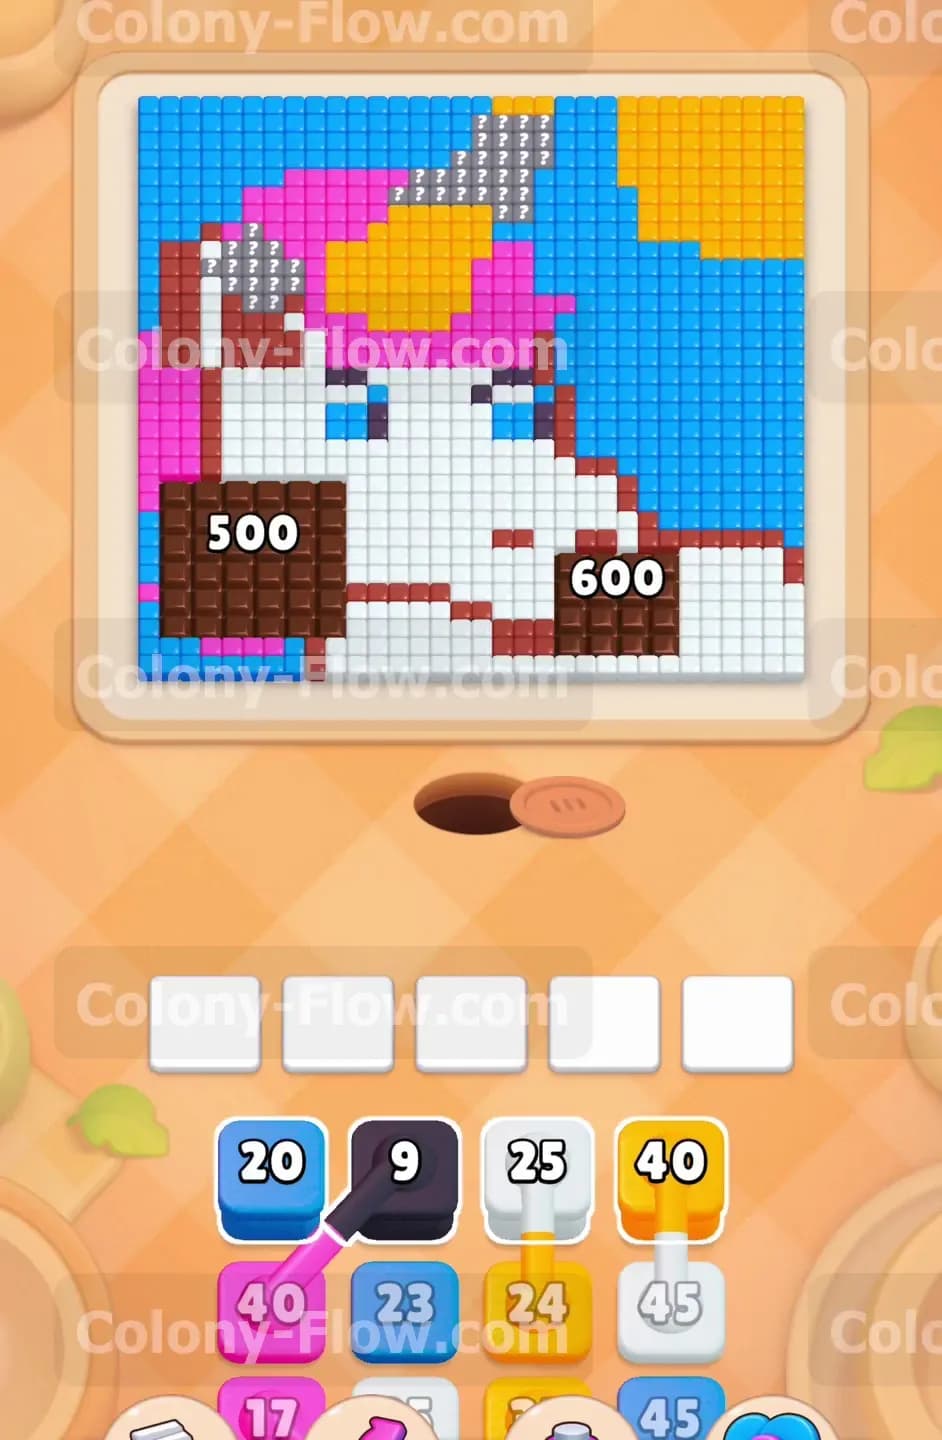
The picture is a beautiful unicorn design. It features a bright white face, a vivid pink mane, a yellow horn, and a large blue background. Two massive chocolate blocks cover the bottom left and bottom right corners of the picture. These chocolate blocks hide the food tiles underneath and they act as huge physical barriers. Your tray holds single blocks, connected boxes, and hidden boxes. Connected boxes link two colors together and you must pull them at the same time. Hidden boxes remain grey and locked until you clear the blocks sitting above them in the tray.
What It Takes to Clear Level 424 Board
To win this level you must clear all colored food tiles and completely melt away both chocolate blocks. You have exactly five waiting slots at the bottom of the screen. You must pull colored blocks from the tray into these slots to spawn your ants. The absolute core rule is to never fill all five slots without an open path on the board. If your slots jam and no ants can reach their food, you lose the level immediately. You will succeed by rotating between the outer blue background and the inner unicorn details to keep the paths flowing.
Colony Flow Level 424 Step by Step Solution
Step 1: Start with the outer blue edges to create open paths for your ants
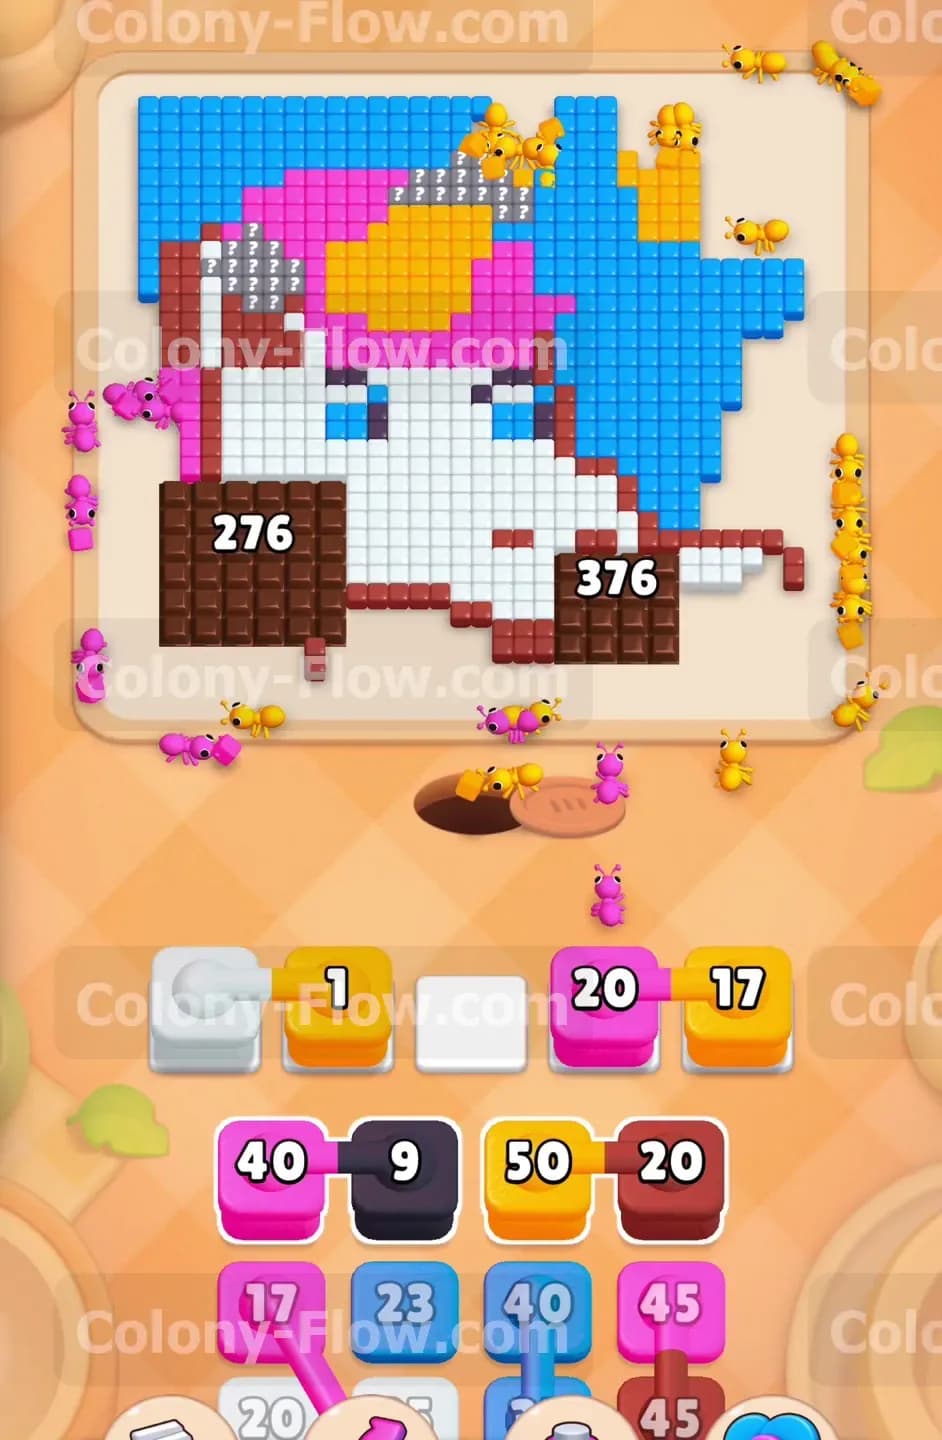
In the beginning you have a blue block, a black block, a white block, and a yellow block sitting in your active tray. The blue background covers a massive area around the top and right sides of the unicorn. Pull the blue block first into your waiting slot. This sends a large swarm of blue ants up the right side of the board to start chewing through the sky. This creates a wide open highway for future moves. Next pull the yellow block. Yellow ants will head straight up the middle to attack the unicorn horn. This uses two slots but leaves three completely empty. Your blue and yellow paths are wide open so the ants flow perfectly.
Step 2: Begin uncovering the white unicorn face to keep the top half moving
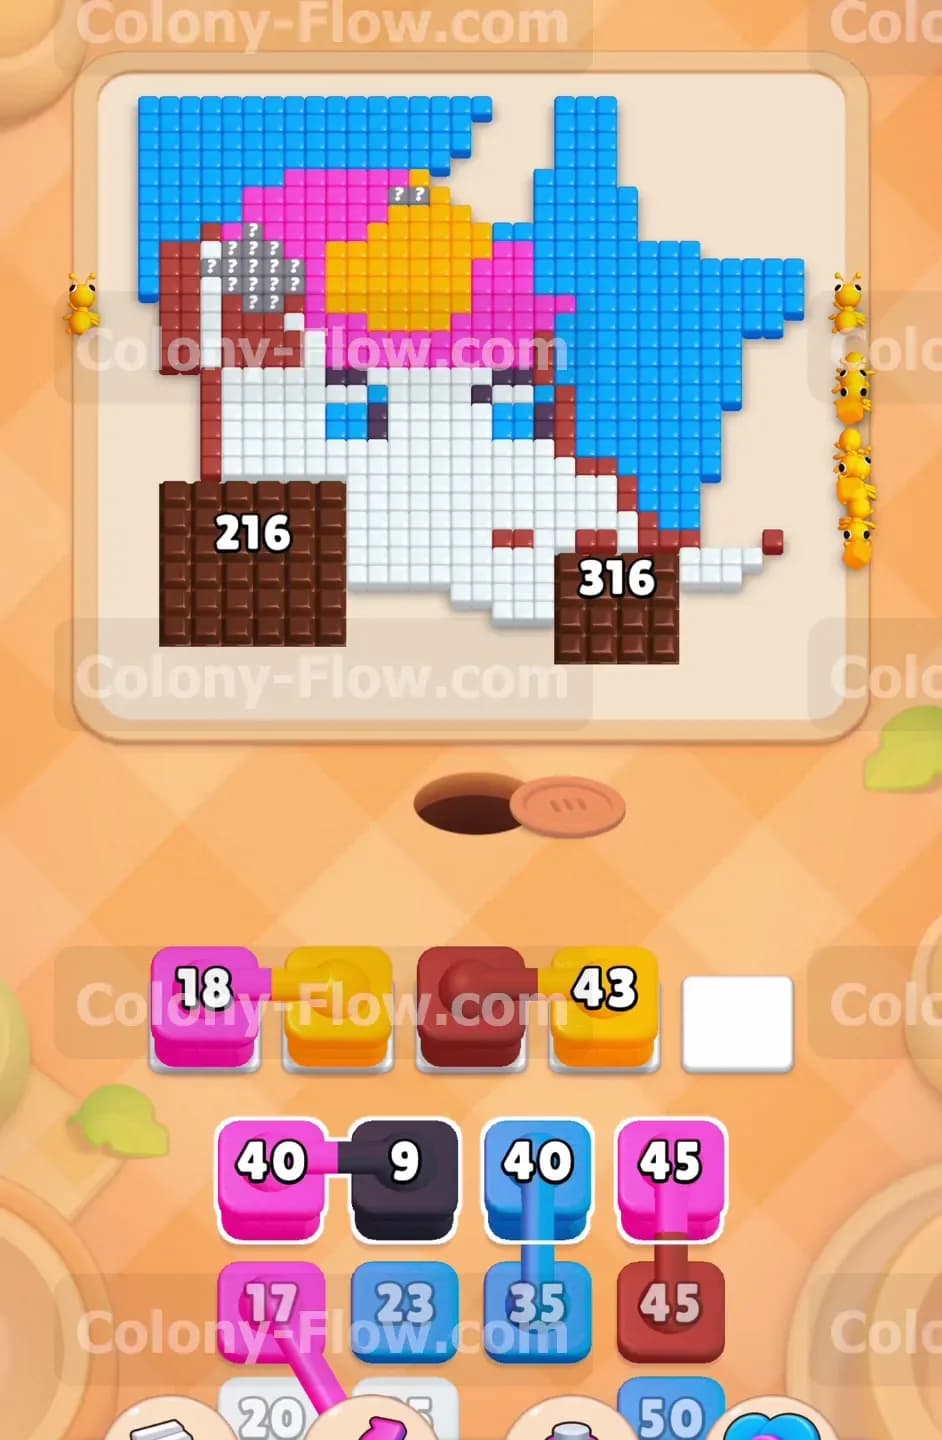
With the yellow horn shrinking and the blue background opening up you can safely pull the white block. Pull the white block into a waiting slot to send ants toward the center snout of the unicorn. The board starts shrinking from the top down and creates a beautiful visual effect. You also have a black block available in your tray during this phase. Pulling this black block sends a small group of ants to eat the dark outline of the unicorn ear. By playing these blocks one right after the other you keep the ants moving without ever filling your five waiting slots. The huge chocolate blocks sit quietly at the bottom while you work the top half of the board. You must be patient and wait for the right moment to strike the chocolate.
Step 3: Bring in the first pink block to start clearing the unicorn mane
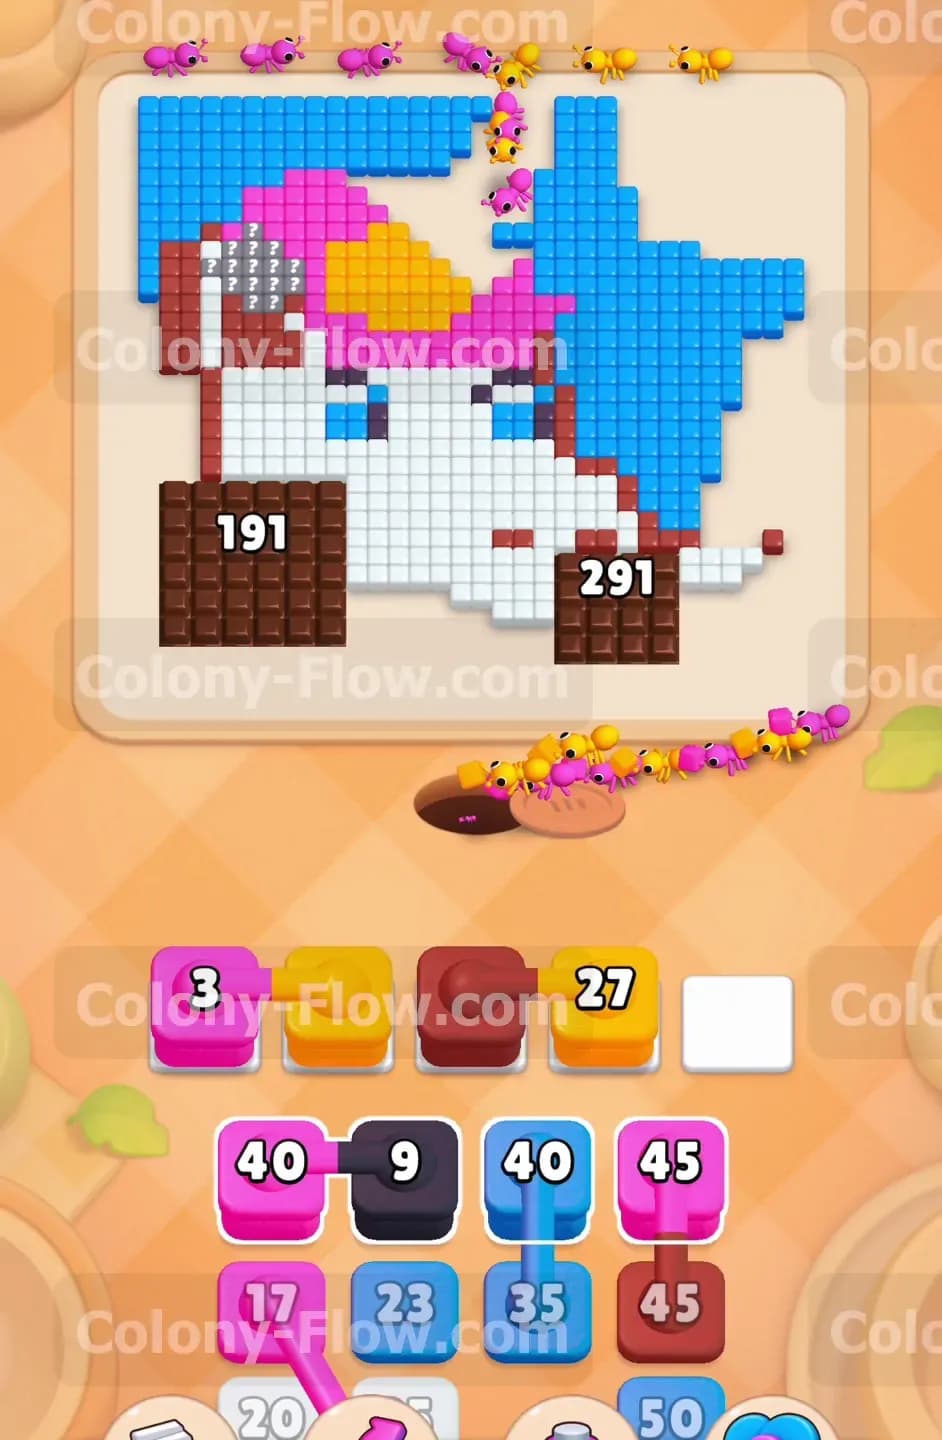
As you clear the top row of your tray the hidden boxes begin to reveal their colors. You will see a pink block become active and available. Pull this pink block into your waiting area. Pink ants will quickly swarm the upper left corner to eat the mane of the unicorn. This clears a huge section of the top left board. Notice that the chocolate blocks take passive damage as you clear the adjacent colored tiles around them. The massive numbers on the chocolate drop significantly as the board opens up. Your tray now shows a fresh mix of pink and yellow blocks ready for action.
Step 4: Feed the next wave of yellow and pink ants to continue clearing the top
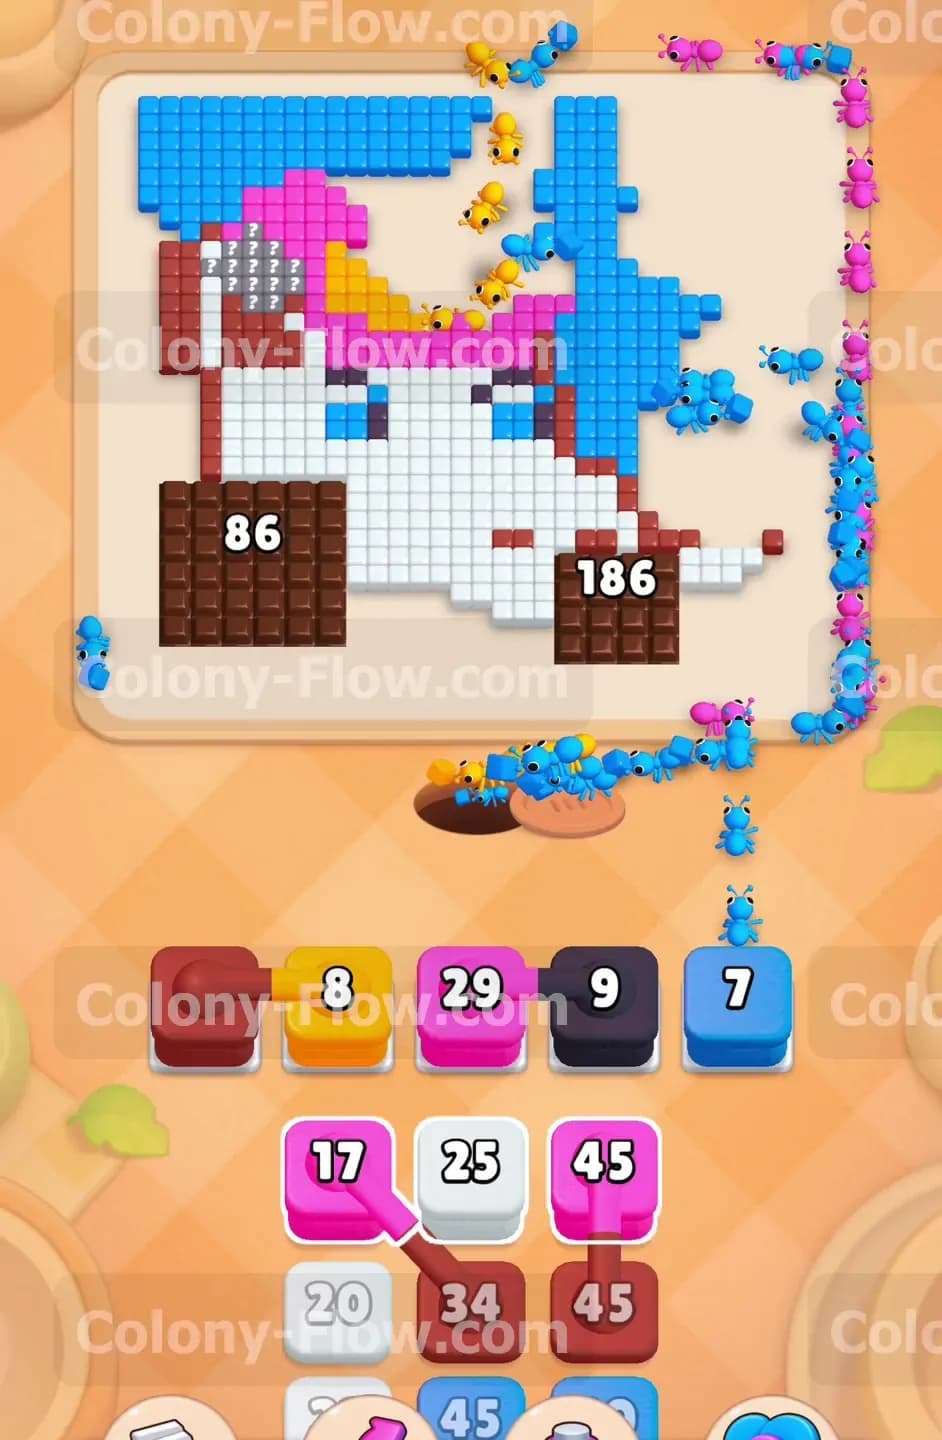
You must manage the newly revealed blocks carefully to maintain a steady flow. Pull the next yellow block to finish off the remaining pieces of the horn. Then immediately pull the new pink block from the tray. This action sends a fresh wave of pink ants directly to the left side of the mane. Your waiting slots remain completely safe because the paths to the horn and the mane are totally unobstructed. The ants move extremely fast from the nest hole and chew through their targets. The chocolate numbers continue to decrease as the ants work on the nearby pink tiles.
Step 5: Attack the massive chocolate blocks with brown ants to melt the barriers
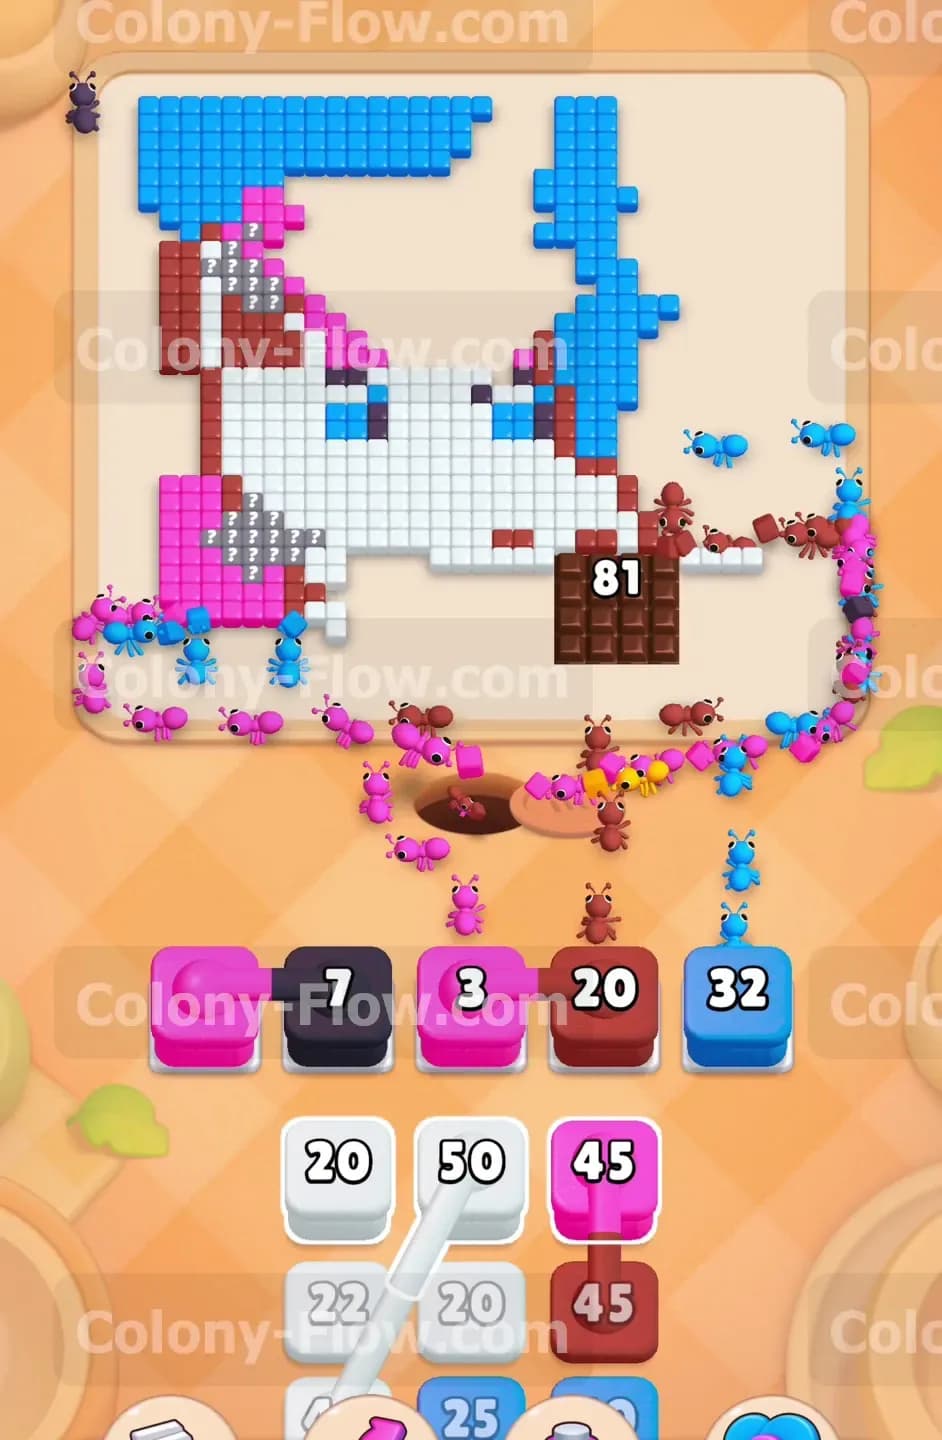
A brown block finally appears in your active tray area. This is your first real chance to directly attack the chocolate barriers. Pull the brown block into an empty waiting slot. A massive swarm of brown ants pours out of the nest and splits toward the bottom left and bottom right corners. They dive straight into the chocolate. The thick brown layers begin to melt away rapidly under the pressure of the brown ants. This action is absolutely critical because the chocolate hides the bottom portion of the unicorn face and neck. You must destroy this chocolate to finish the bottom half of the puzzle. If you ignore the chocolate early on you will run out of space later.
Step 6: Handle the connected boxes in your tray by waiting for two empty slots
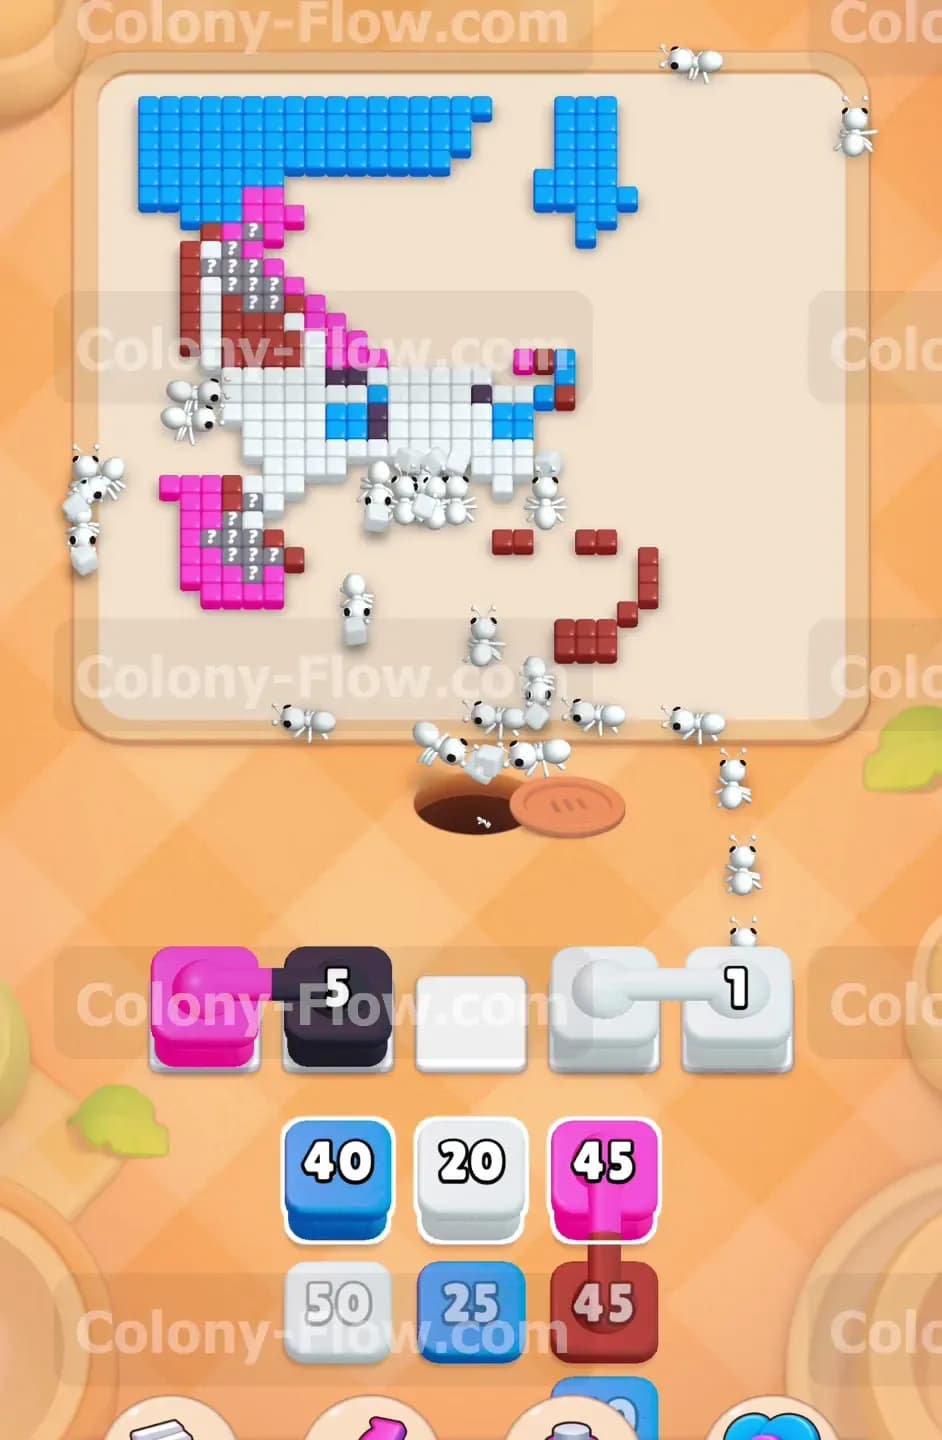
As the brown ants do their heavy lifting you will uncover connected boxes in your tray. You will see a pink and blue pair of connected boxes. Remember that connected boxes take up two slots at the exact same time when you pull them. Wait until you have two completely empty slots available in your waiting area. Once you have the space go ahead and pull the connected pair. The blue ants will travel to the right side sky while the pink ants continue devouring the mane. The flow of ants remains steady and you avoid a game over from jammed slots.
Step 7: Clear the remaining blue background tiles to open the right side completely
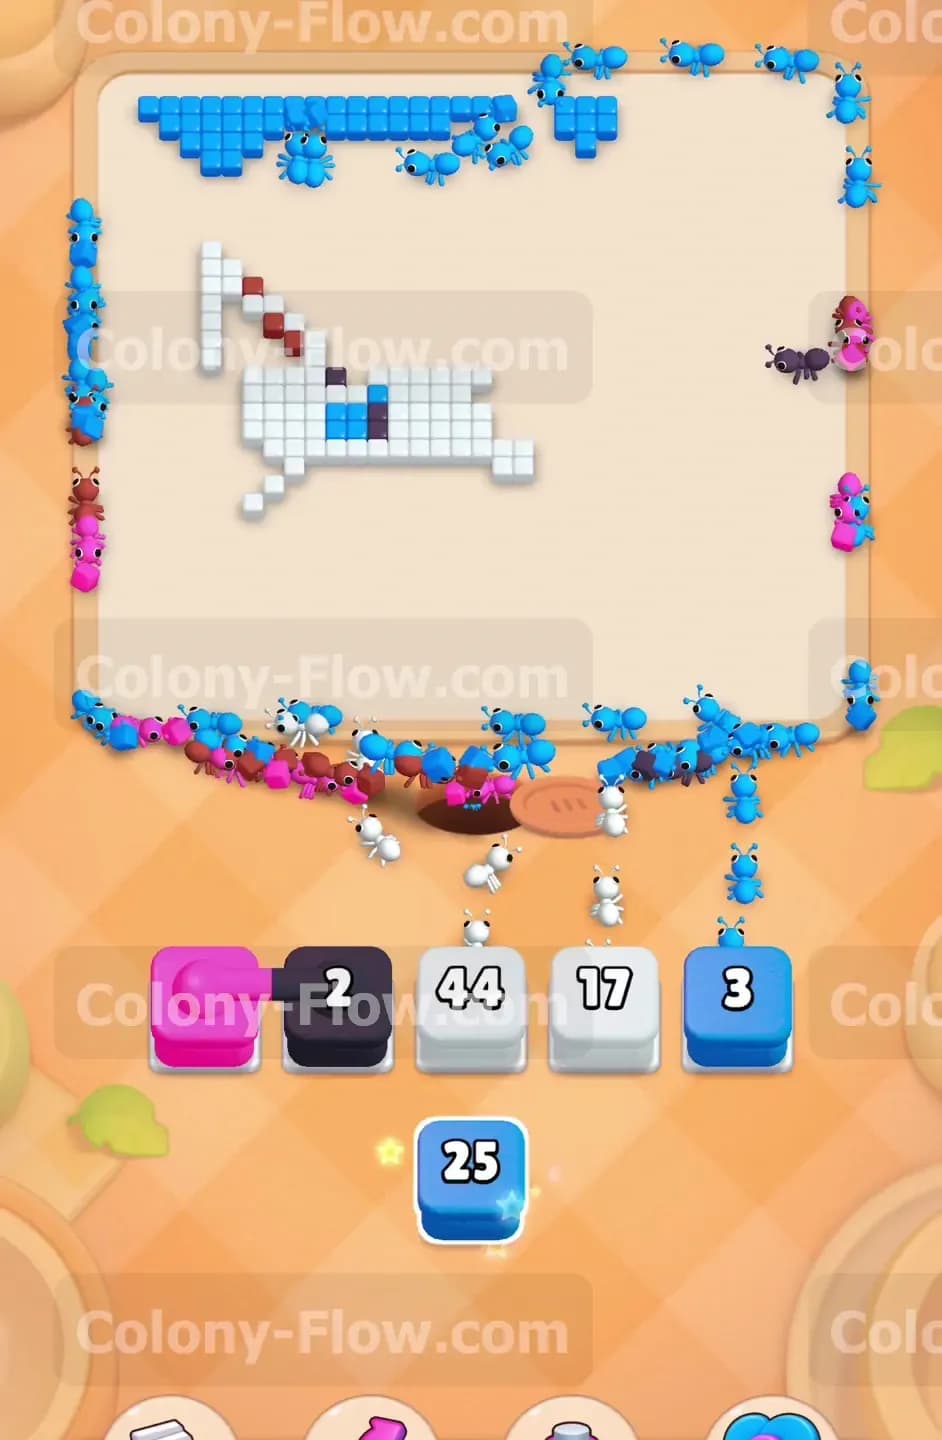
The right side of the board still holds a large section of blue sky. Look at your tray and locate the next massive blue block. Pull it down into your waiting area. A huge line of blue ants will march up the right side and clear out the bulk of the remaining sky tiles. This specific move is crucial for your success. Clearing the blue tiles creates massive open physical space on the right side of the picture. This open space allows future ants to reach the bottom right corner without any delays or traffic jams.
Step 8: Break the final chocolate barriers to expose the hidden white face tiles
You will see another brown block appear in the tray. Pull it down to send a second wave of brown ants. They will target the remnants of the chocolate blocks on the lower left and lower right corners. The numbers on the chocolate drop very fast now. Once the chocolate is completely destroyed the final hidden layer of the board is fully exposed. You now have unrestricted access to the bottom edges of the picture. You will find a large white block and a pink block in your tray waiting to be used.
Step 9: Clean up the final white face tiles to empty the board completely
You are approaching the very end of the puzzle. The chocolate is completely gone and the bottom half of the unicorn face is fully exposed to your colony. Pull the pink block first to clear the very last strands of the mane on the bottom left side. Then pull the white blocks from your tray into your waiting area. The white ants rush to the newly exposed face tiles. Since the chocolate is out of the way the white ants have a direct and incredibly fast path to their targets. Your waiting slots remain completely clear during this final push. The white ants consume the final pieces of the unicorn neck. The entire board is now empty and you have successfully completed the level.
Final Thought
Level 424 requires careful timing with the connected boxes and the massive chocolate blocks. If you manage your tray space wisely and keep the ants moving you will beat it easily. The trick is to always clear a path before you pull a new color. Please watch the video above this article if any step is hard to follow in text. I know the chocolate mechanics can feel overwhelming at first but you can definitely conquer this board. Good luck with your colony.