Colony Flow Level 170 Walkthrough Solution & Guides | How to solve Colony Flow 170

Guide By Liam Stone
Updated on August 1, 2026
The Level 170 solution is right there in the video above, so read on only if you want the extra detail.
Video doesn't match your screen?
Game updates frequently scramble layouts! Try our AI Screenshot Solver first to find your exact board instantly, or report broken guides to our team.
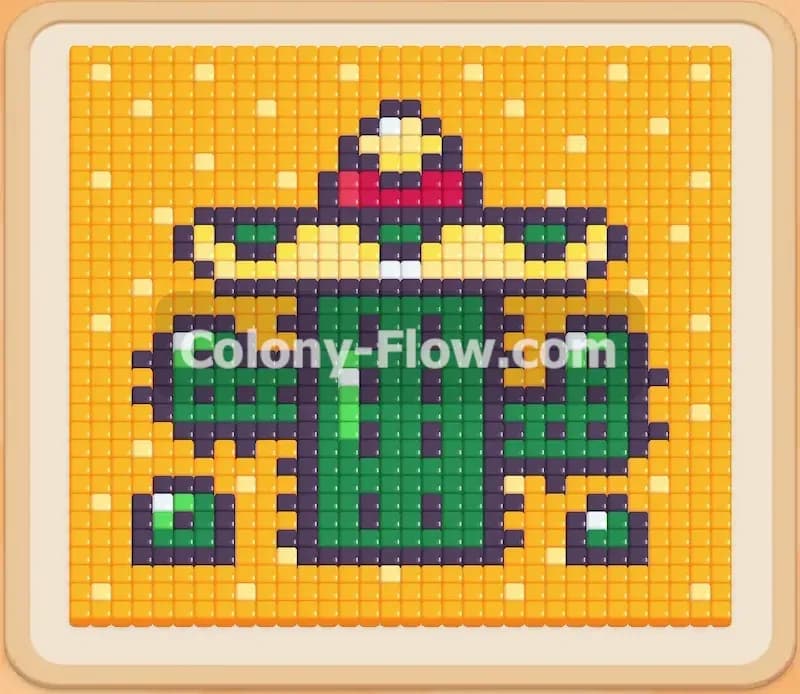
Colony Flow Level 170 drops you into a massive desert scene that requires careful tray management from your very first move. You face a giant pixel art picture of a green cactus wearing a detailed sombrero. The board is packed with solid blocks of background color that can easily trap your ants if you pull the wrong tiles too early. You must clear the bottom edges systematically to carve a safe path upward. I played this board multiple times to find the perfect sequence to keep the colony moving without clogging the tray.
Colony Flow Level 170 Overview
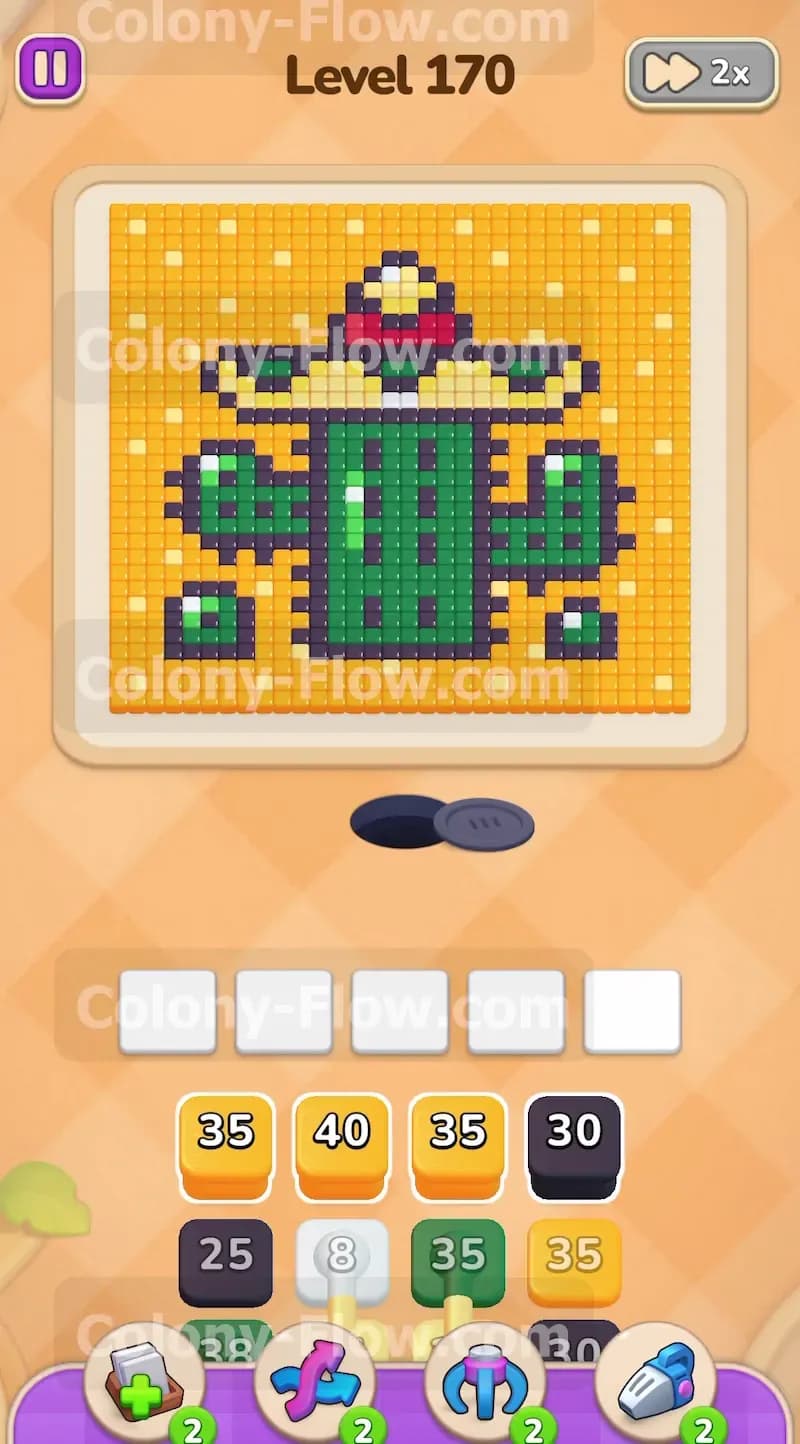
What You Are Working With
The pixel art picture dominates the upper portion of your screen. The image features a bright yellow background that frames the central figure. The main subject is a thick green cactus outlined in black pixels. Perched on top of the cactus is a wide sombrero. The hat includes a yellow brim with a black bottom edge along with a red dome and a white stripe. The nest hole sits at the very bottom center of the board. The ants must travel upward from this hole to reach the food tiles. Your tray at the bottom holds a large stack of numbered color blocks. You start by looking at massive yellow and white blocks right on top of the pile. Below those you will spot green and black blocks waiting their turn. There are no special tiles like hidden boxes or locked doors on this specific board. You are dealing with pure pathing and color matching.
What It Takes to Clear Level 170 Board
Winning this board comes down to strict discipline with your five waiting slots. You pull blocks from the tray into these five empty spaces. The ants look at the colors in your slots and march out to eat the matching tiles on the board. The numbers on the blocks count down as the ants consume the pixel art. You lose the game entirely if you fill all five slots with colors the ants cannot reach. For example the white and red tiles are located at the very top of the sombrero. If you pull the white block on your first turn it will drop into a slot and sit there forever. The ants have no physical path to the top of the hat yet. This effectively permanently reduces your tray capacity. You must peel the picture away layer by layer starting from the bottom nearest the nest hole. Keep your slots dedicated only to the colors currently exposed on the outer edges of the picture.
Colony Flow Level 170 Step by Step Solution
Step 1: Open the bottom board edges to create multiple working paths
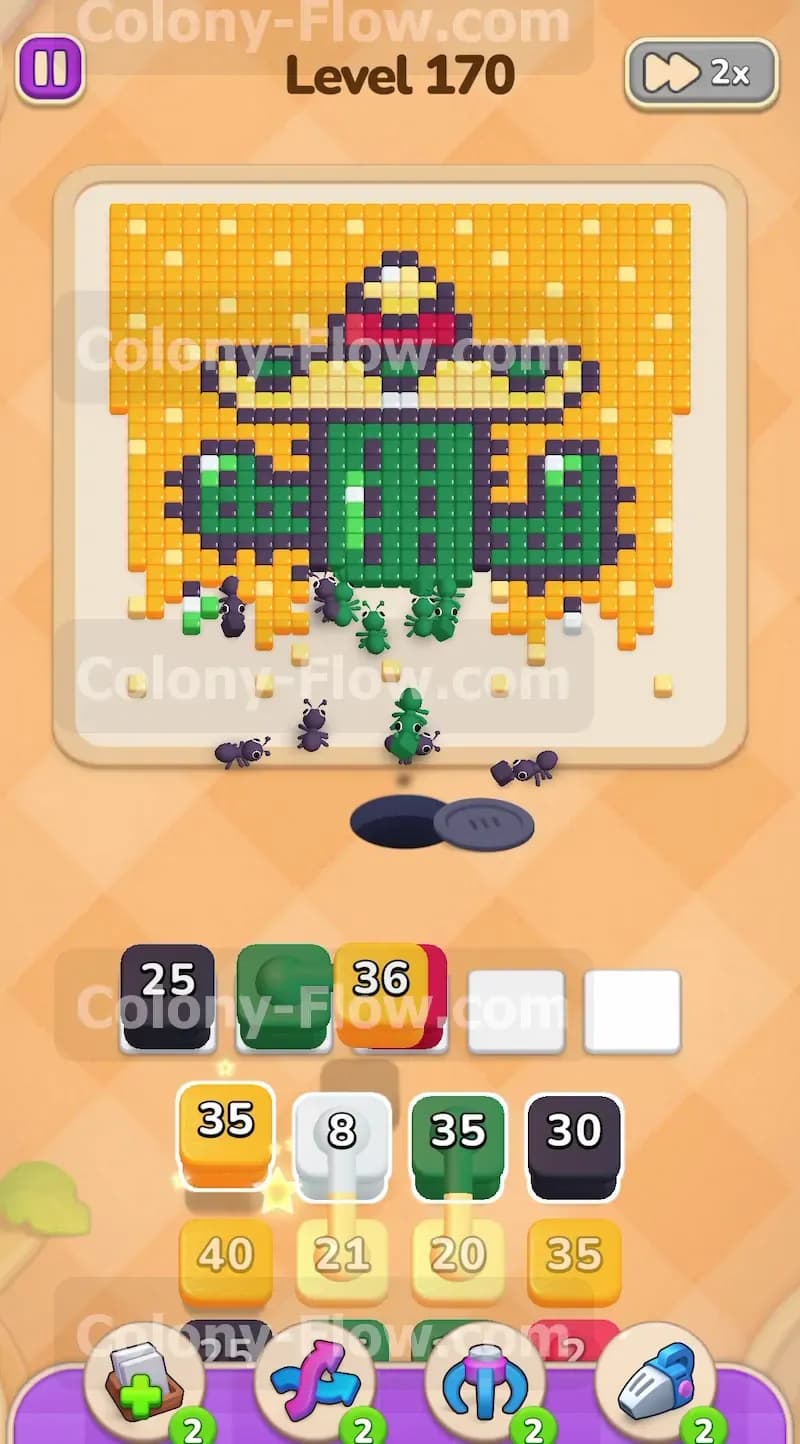
You begin with a solid wall of tiles near the nest hole. The ants need immediate targets to avoid a traffic jam right at the exit. Look at the bottom row of the pixel art. You have yellow background tiles on the far left and right corners. You have green cactus trunk tiles right in the middle. Pull a Yellow 35 block and a Green block into your waiting slots. The ants will flood out of the nest and immediately split up into three groups. A massive central group will head straight up to devour the green trunk. Two smaller groups will branch out to the left and right sides to start clearing the yellow background corners. This early split is essential. It opens up the board and gives you physical space to maneuver. Do not touch any white or red blocks during this phase.
Step 2: Clear the lower yellow background to expose the cactus arms
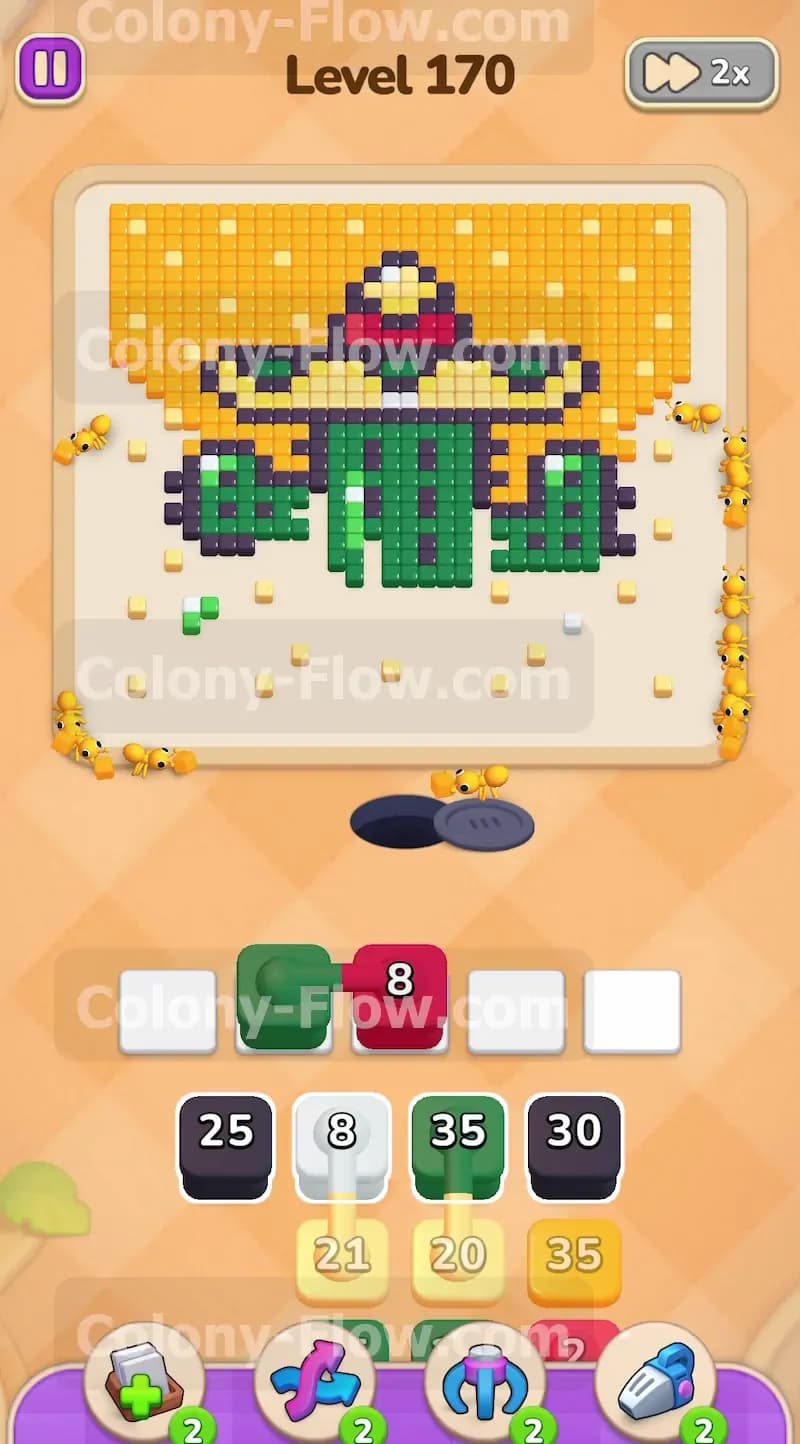
The side paths are now slightly open and the center trunk is shrinking. You need to push the ants higher up the left and right edges. The yellow background is exceptionally thick on the margins. Pull another Yellow 35 block from the tray to keep the momentum going. Your ants will continue marching up the sides. They will eat away the yellow border all the way up to the bottom of the sombrero brim. Clearing this yellow space serves a specific purpose. It exposes the outer edges of the black outline surrounding the cactus arms. Without this side access your ants would be forced into a single narrow tunnel straight up the middle of the board. We want wide open lanes everywhere. Keep your waiting slots clear of anything except yellow and green right now.
Step 3: Break through the black outline to access the green arms
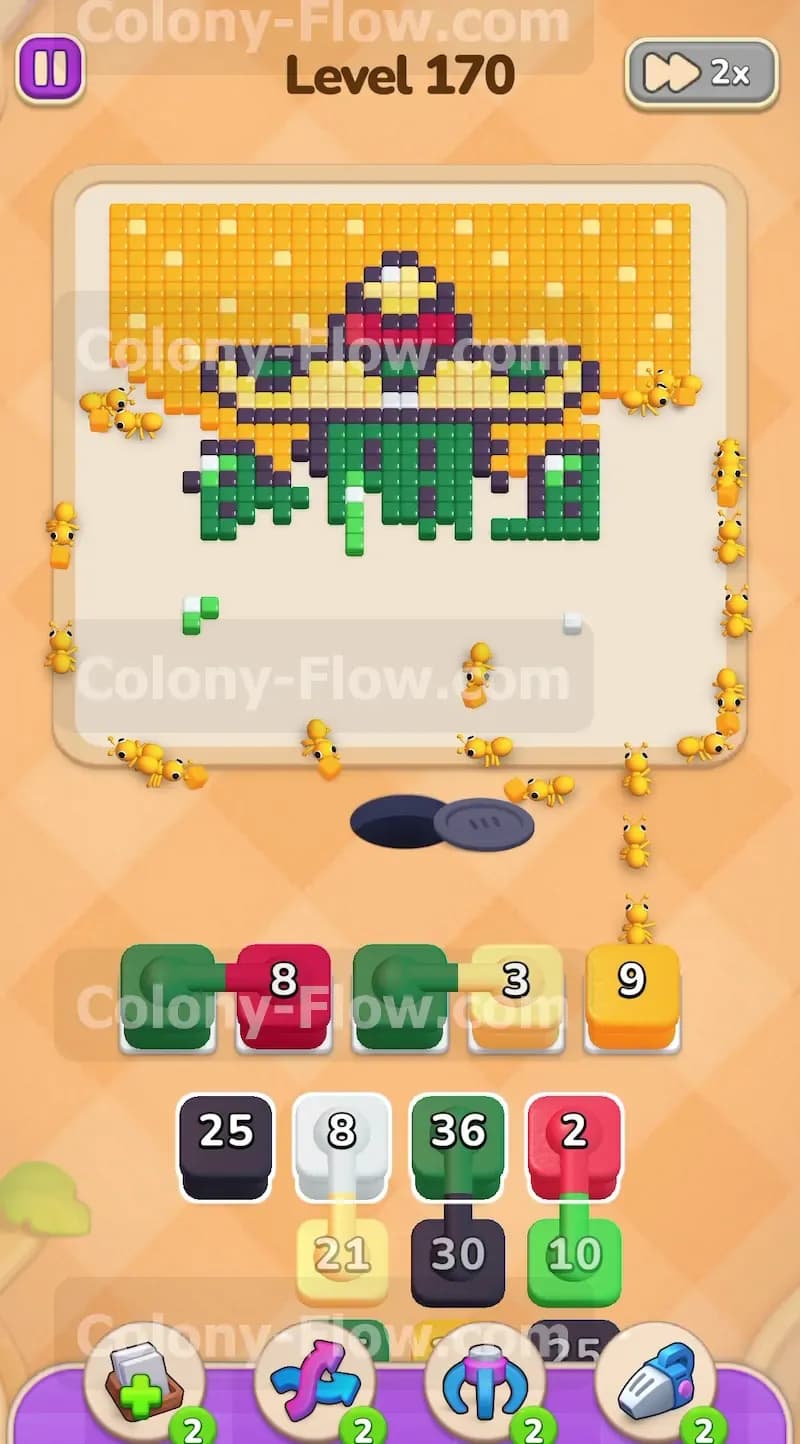
Your ants have eaten enough of the side background and the center trunk to reveal a new problem. The entire cactus is wrapped in a thick black outline. You cannot reach the rich green tiles inside the arms until you break this protective shell. Pull a Black 25 block into your waiting slots. The ants will swarm the black border from the bottom and from the newly opened side lanes. They will quickly chew through the black pixels outlining the lower half of the plant. Watch the black number count down in your tray. Once the black outline completely dissolves the interior of the left and right cactus arms becomes fully exposed. Your available paths are now multiplying and the board is opening up beautifully.
Step 4: Devour the thick green cactus arms to clear the midsection
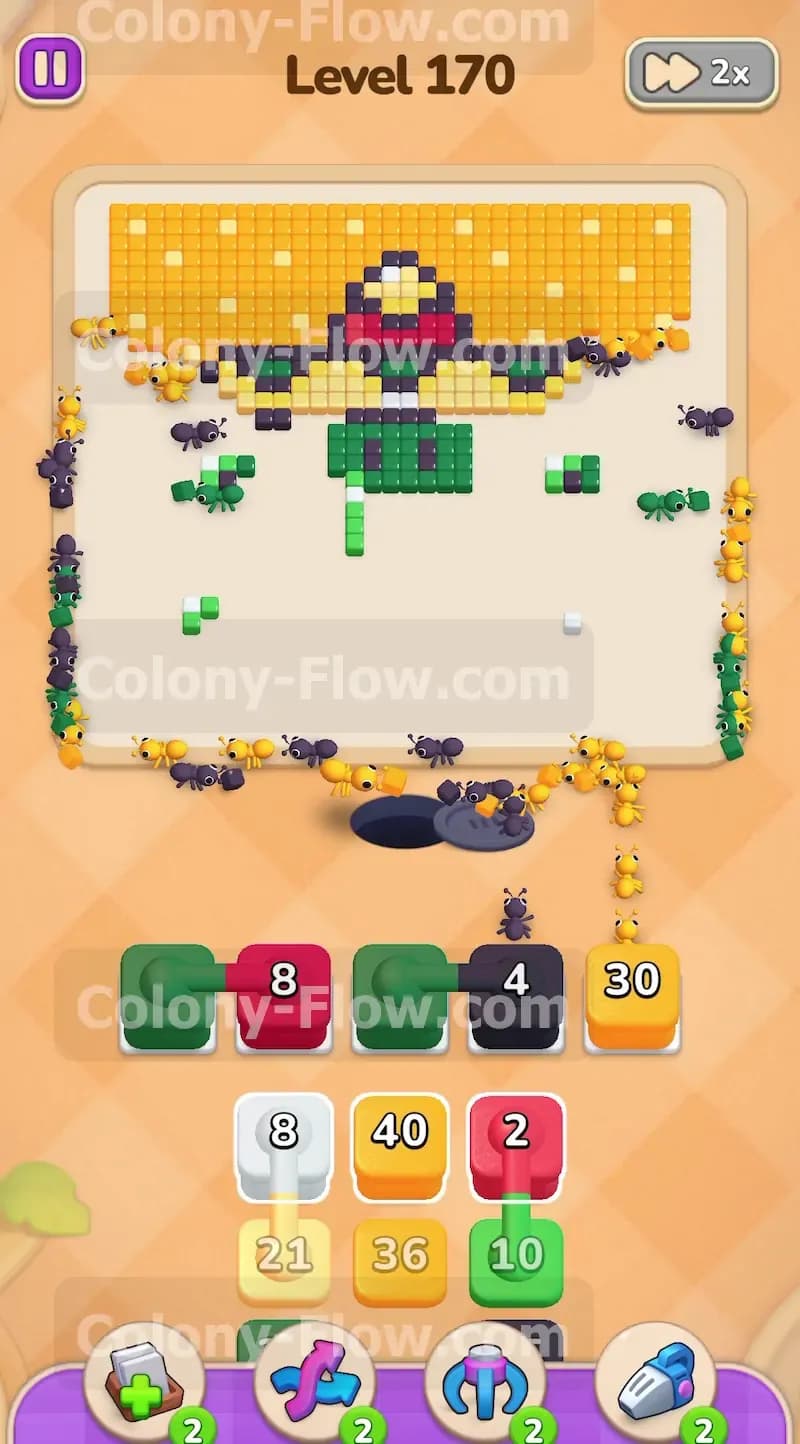
The black shell is entirely gone. You are staring at two big chunks of solid green tiles making up the left and right arms of the plant. You must clear these out before you tackle the sombrero. Pull a large Green 36 block into your active slots. You will also pull a smaller Green block later to finish the remaining stray pixels. The ants will happily flood into the newly opened arm sections from all angles. They will clear out the entire middle section of the board. This creates a massive empty void in the center of your screen. A wide open board means your ants can travel instantly to any new target without navigating tight corners. Your waiting slots are completely safe because the green paths are incredibly wide and accessible.
Step 5: Peel away the lower sombrero brim and its dark border
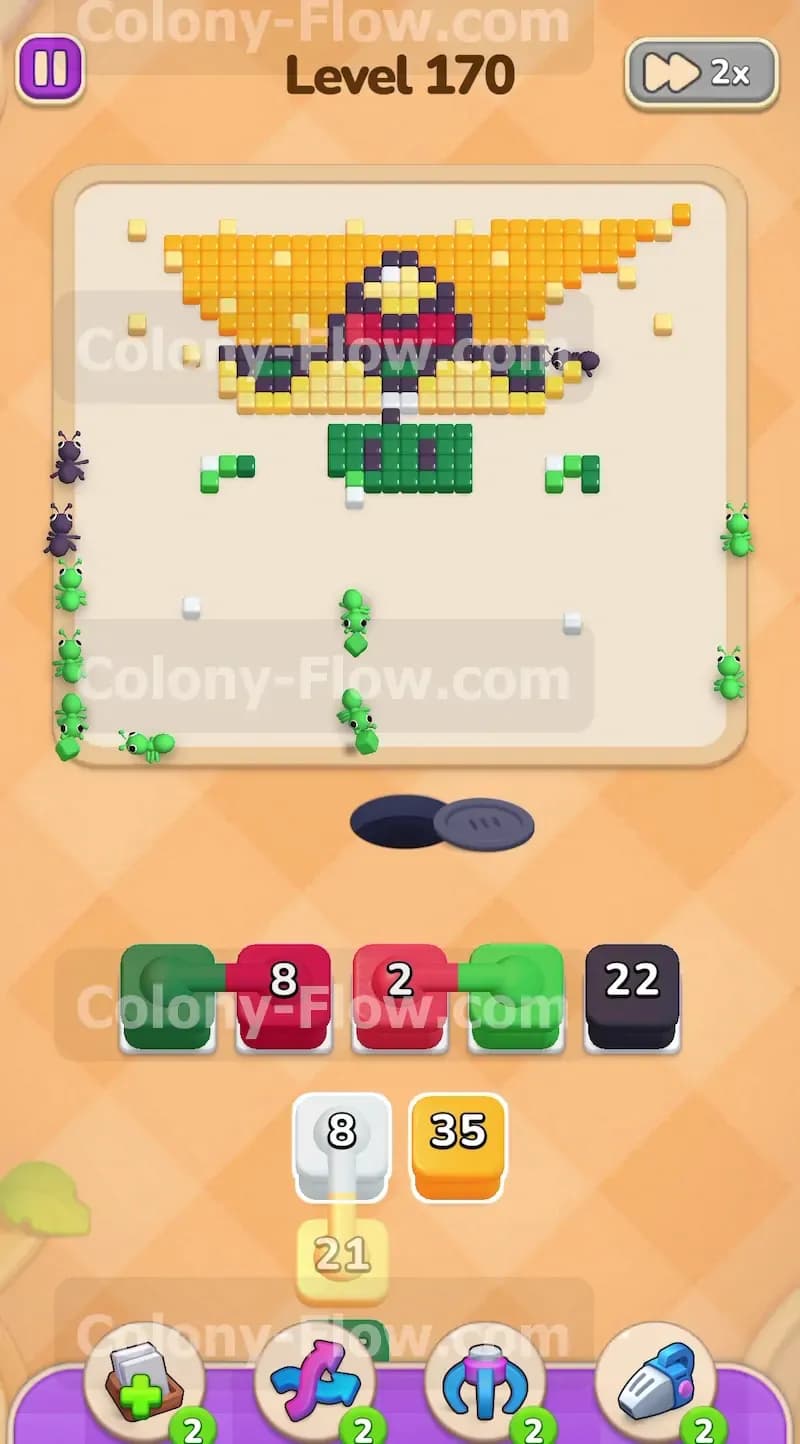
You have successfully reached the bottom edge of the hat. The sombrero brim is wide and features a repeating pattern of yellow tiles bordered by a thick black bottom edge. You need to manage two colors at once during this phase. Pull a Black 30 block to attack the hat outline. At the same time pull a Yellow 21 block to start eating the yellow pattern inside the brim. The ants will form a long horizontal line across the screen. They will systematically break down the bottom edge of the hat from left to right. Be absolutely sure you leave at least one slot open in your tray. You never want to fill all five slots while waiting for a long horizontal clear like this because the travel time takes slightly longer.
Step 6: Tackle the red and white dome decorations on the hat
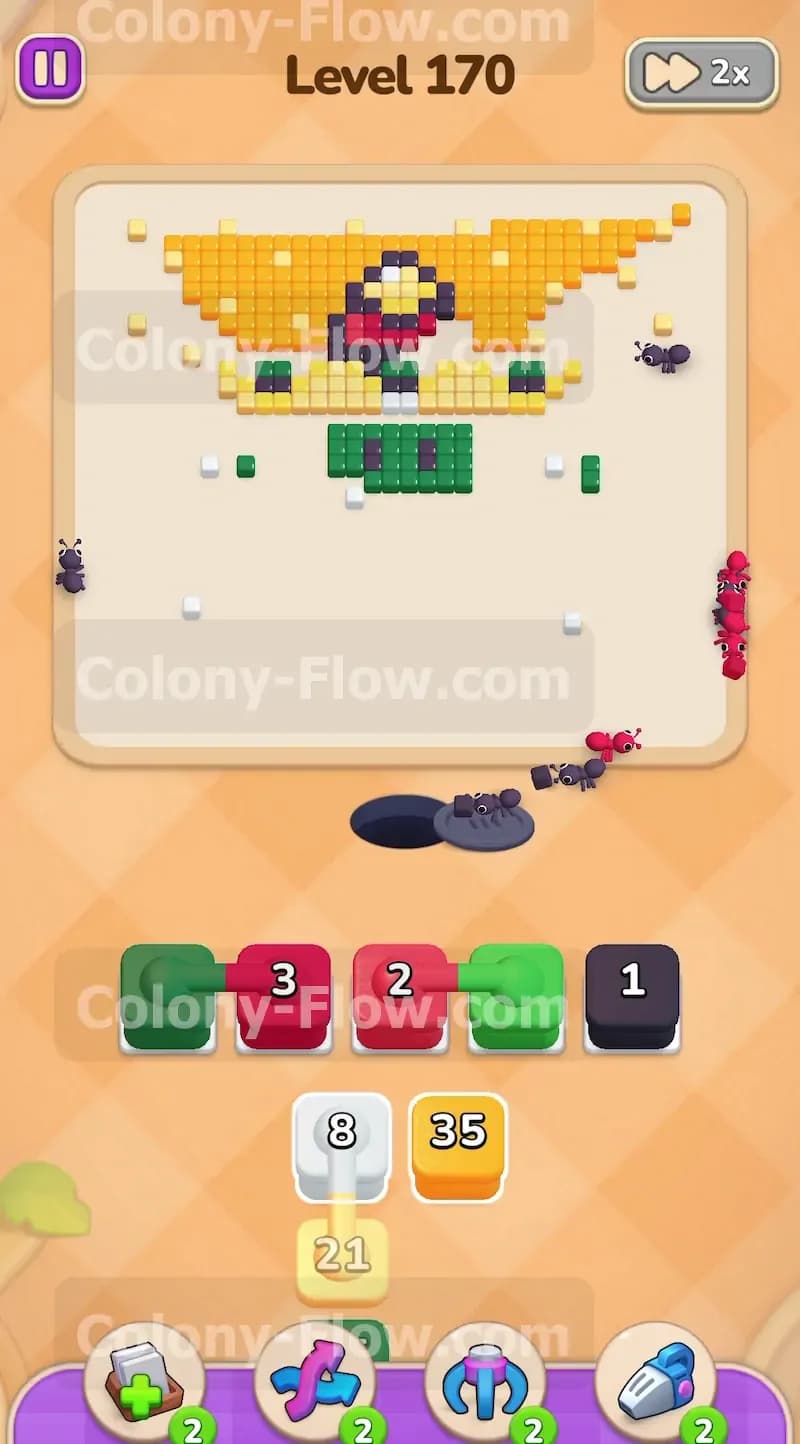
The entire bottom half of the board is completely empty now. Your ants are gathered right below the center dome of the sombrero waiting for orders. This is the exact moment you have been saving those red and white blocks for all game. The dome features a distinct white horizontal stripe and a bright red top. First pull the White 8 block that has been sitting untouched in your tray since the beginning of the level. The ants will rush up the middle empty space and clear the white stripe in seconds. Once the white stripe is completely gone pull a Red 2 block. Two quick ants will dart straight up and grab the red tiles. The top of the hat is now completely gone. The only thing standing between you and victory is the massive block of yellow background at the very top.
Step 7: Sweep the final top yellow background to win the board
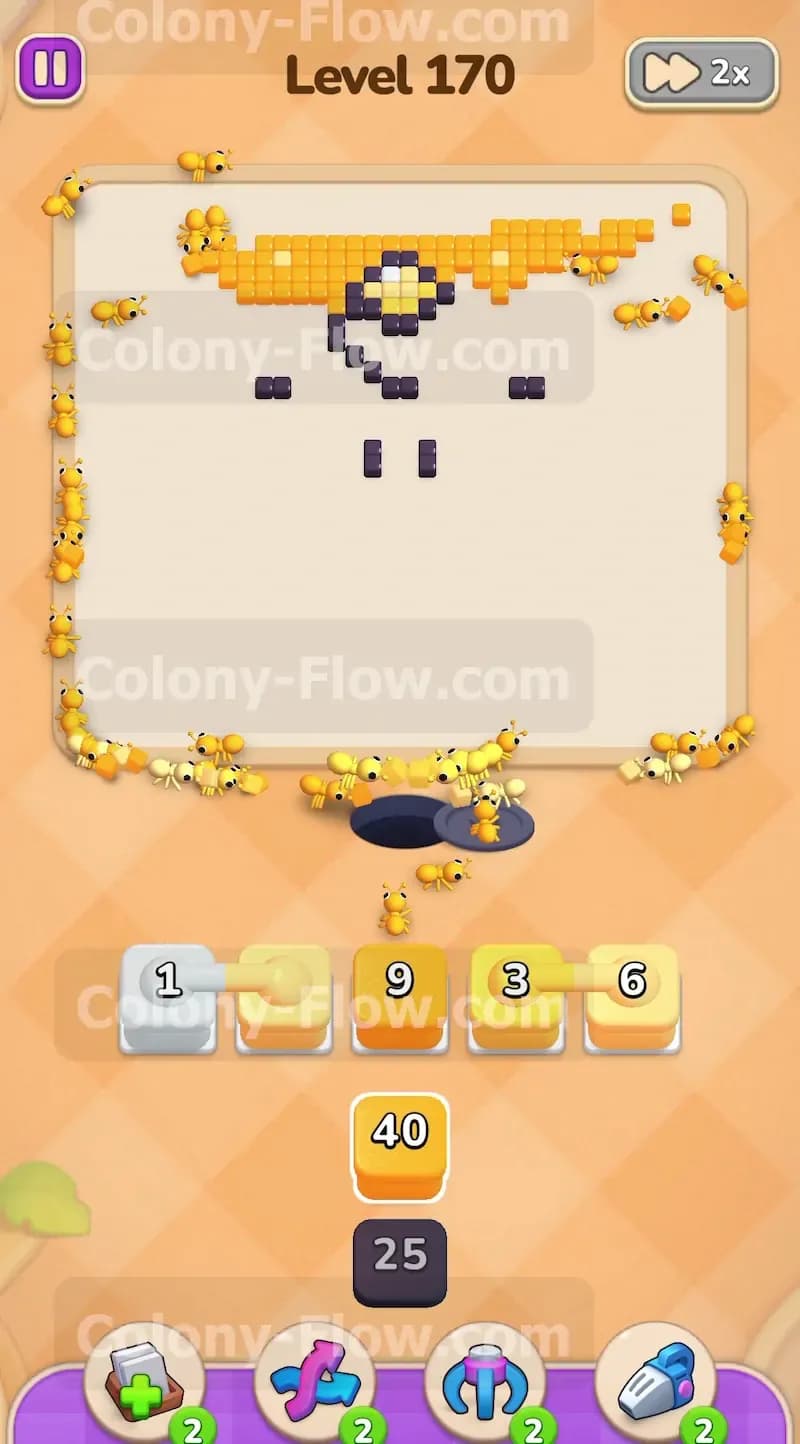
You are looking at a huge solid block of yellow covering the upper third of the screen. You have saved your highest capacity yellow blocks for this exact final push. Pull your massive Yellow 40 block. Follow it up with any remaining smaller yellow blocks in the tray. The entire ant colony will charge upwards in a massive unified wave. They will spread out across the top border and devour the remaining yellow pixels. Because the entire bottom of the board is empty there are zero obstacles slowing them down. The ants will stream in a straight unbroken line from the nest hole directly to the top corners. Keep pulling your final yellow blocks into the empty slots until the board is completely clean and the level ends.
Final Thought
This board tests your patience and your ability to manage limited tray space. If you ever feel stuck on a specific section I highly encourage you to watch the video above this article. Seeing the ants move in real time makes the slot management strategy perfectly clear. Keep your paths wide open and those five slots will never jam.