Colony Flow Level 339 Walkthrough Solution & Guides | How to solve Colony Flow 339

Guide By Liam Stone
Updated on July 18, 2026
The video above solves Level 339 in real time, so skip the article if watching works better for you.
Video doesn't match your screen?
Game updates frequently scramble layouts! Try our AI Screenshot Solver first to find your exact board instantly, or report broken guides to our team.
Welcome to Colony Flow Level 339. This stage presents a vibrant flag pattern with a massive obstacle placed right in the middle of the board. You need to manage your numbered blocks carefully to keep your ants moving while you chip away at a large central counter. I play every level directly and I will guide you through this exact board so you never get stuck. We will focus heavily on maintaining open paths so your five waiting slots remain empty from start to finish.
Colony Flow Level 339 Overview
What You Are Working With
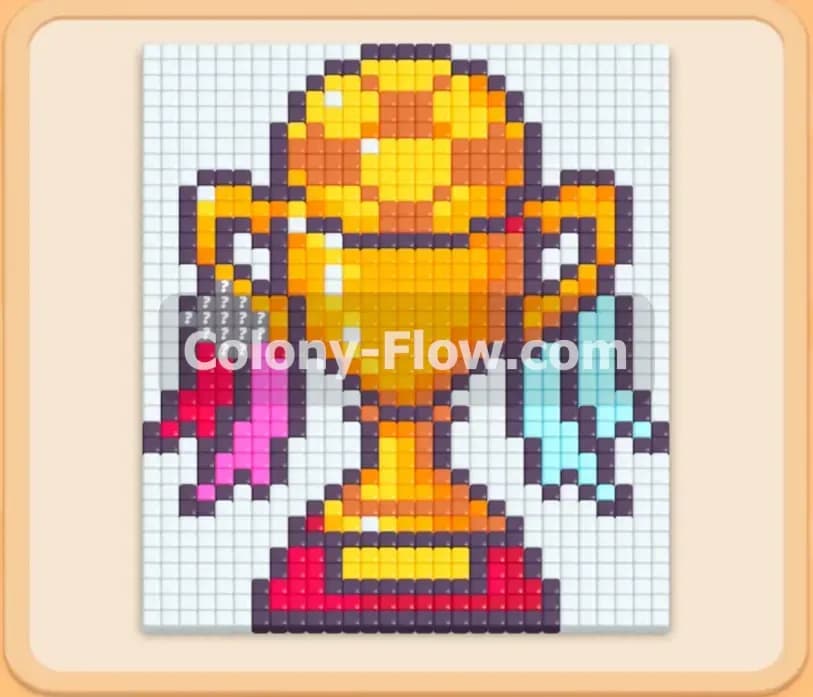
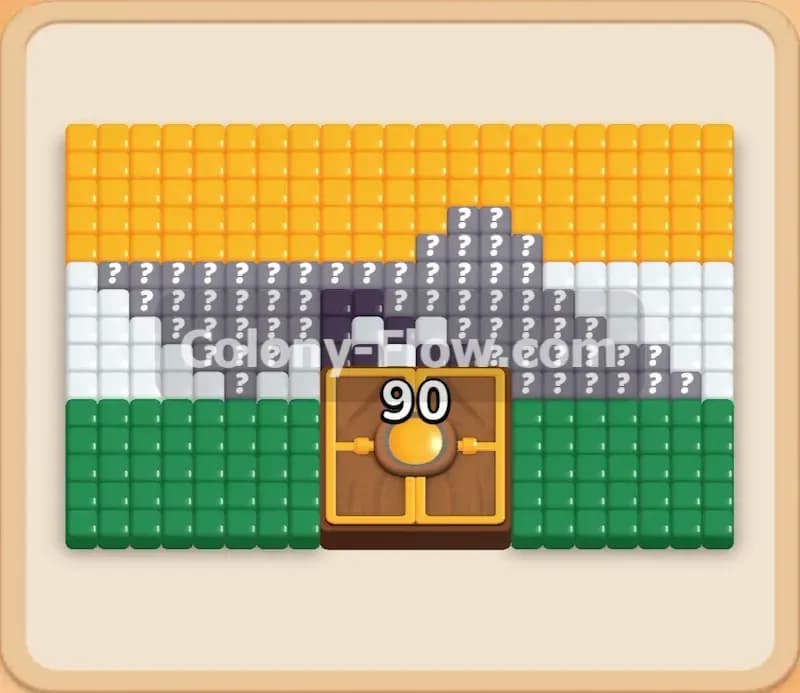
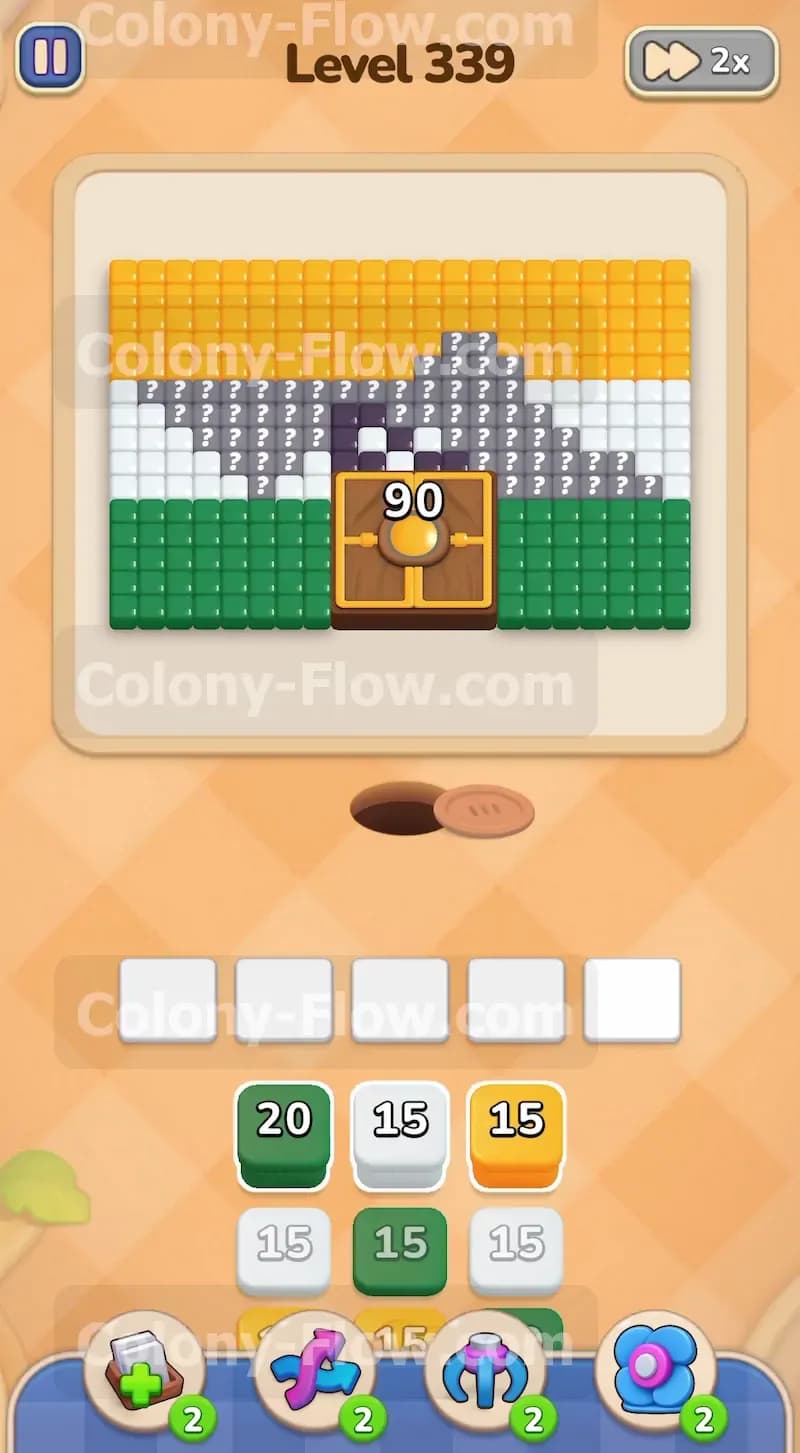
The board features a wide picture composed of orange tiles spanning across the top, white tiles running through the middle, and green tiles forming the bottom section. Right in the center sits a large wooden chest with the number ninety printed clearly on the front. This chest functions as a Hungry Door. You have to clear ninety regular tiles from the rest of the board before this chest will open. Surrounding this Hungry Door chest are gray tiles marked with question marks. These are Hidden Boxes. They hide their true color until you open a valid path to them and clear the adjacent tiles. Your tray begins with green, white, and orange numbered blocks. Later in the level, dark blue blocks enter the tray to help you handle the Hidden Boxes.
What It Takes to Clear Level 339 Board
To beat this level, you must feed the entire flag picture to your ant colony. You start the level by pulling the green, white, and orange blocks to clear the solid outer sections of the flag. Every tile your ants eat reduces the large number on the central Hungry Door chest. As your ants clear the white and orange tiles around the center, the Hidden Boxes reveal themselves to be dark blue tiles. You then pull dark blue blocks from the tray to clear out the center wheel. Once the chest counter reaches zero, the Hungry Door vanishes to reveal a hidden patch of green tiles underneath. You win when you pull enough green blocks to clear that final patch and completely empty the board. You must do all of this without filling your five waiting slots with blocks that have nowhere to go.
Colony Flow Level 339 Step by Step Solution
Step 1: Open the outer sections of the flag to start the Hungry Door countdown
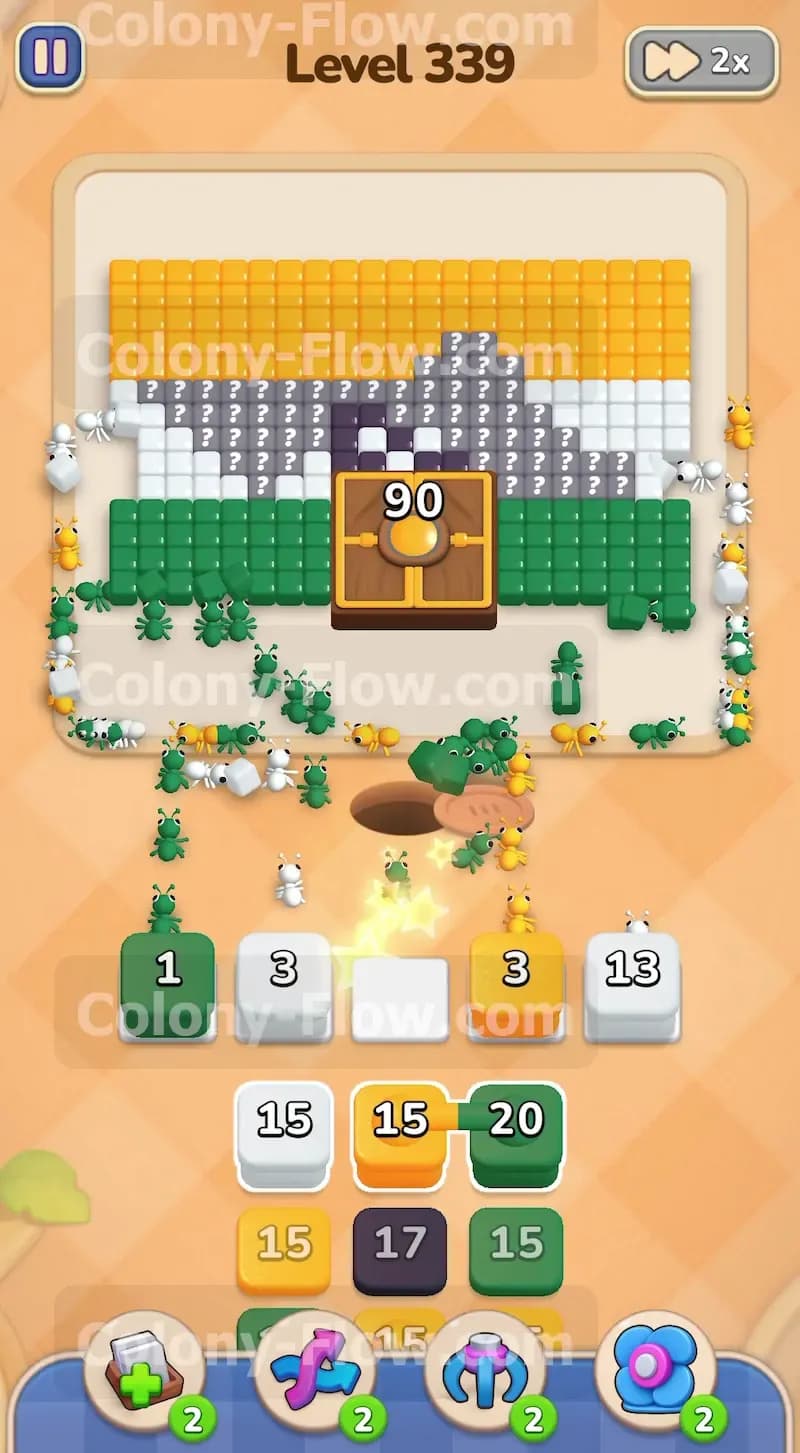
You begin the level by pulling the green block with the number twenty from your tray into your waiting slots. A large swarm of twenty green ants immediately pours out of the nest hole at the bottom of the screen and marches directly toward the bottom green section of the flag. Next you pull the white block with the number fifteen and the orange block with the number fifteen. White and orange ants stream out to attack the top and middle sections of the picture. Giving all three colors an open path at the exact same time keeps your waiting slots moving smoothly. You never want to pull a block if its path is completely blocked. As the ants consume the solid green, white, and orange tiles, you will notice the large number on the central Hungry Door chest begins to drop from ninety. This confirms that eating the outer board is the main key to opening the center.
Step 2: Feed the remaining solid colors to keep your tray completely clear
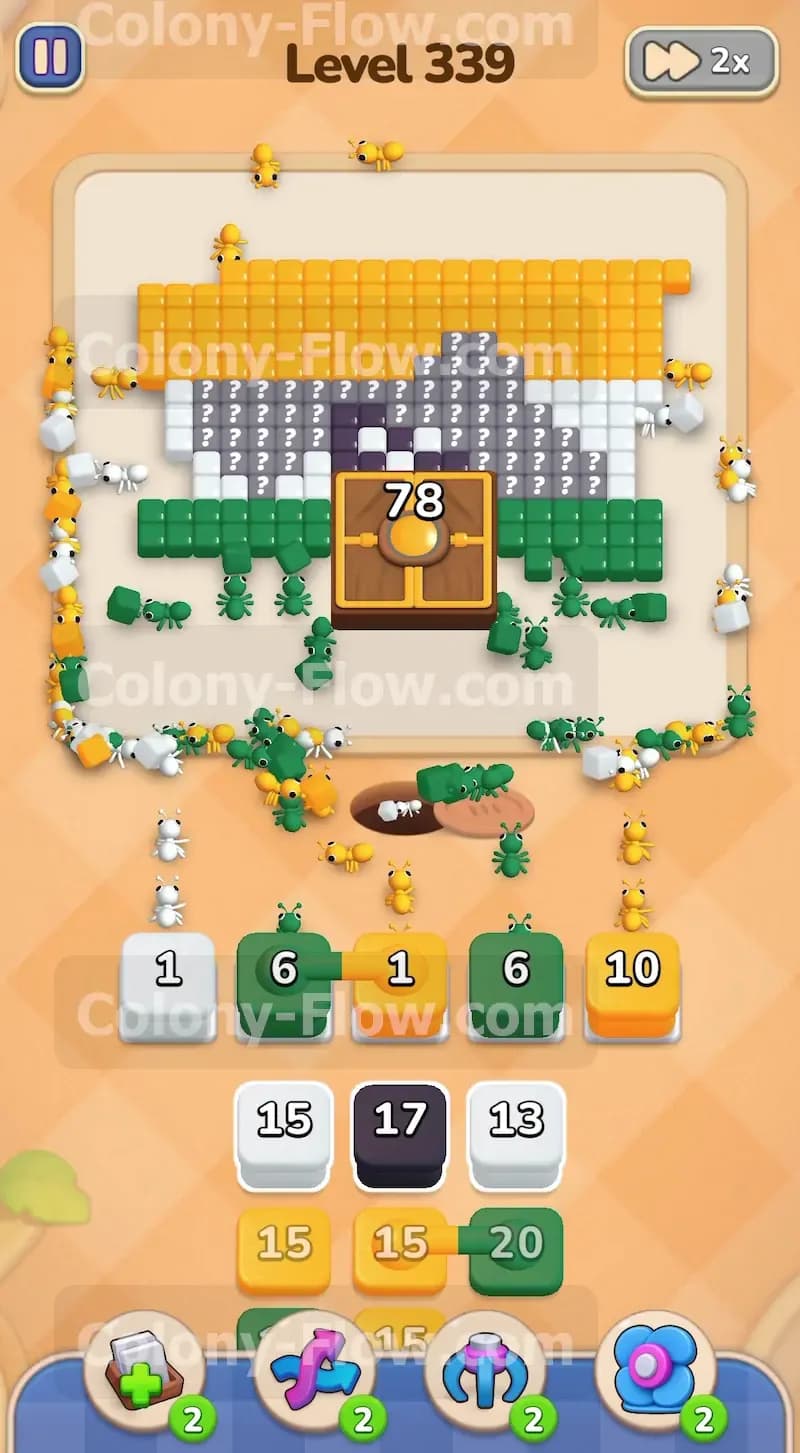
With the initial swarm doing its heavy lifting, your tray reveals a new set of blocks. The chest counter drops down into the seventies. You pull another green block, a white block, and an orange block into the waiting area. The green ants continue chewing through the bottom right and bottom left corners of the flag. The white and orange ants clear the top edges. The gray Hidden Boxes in the center still have question marks on them. You cannot do anything with those yet. Ignore the center completely and focus entirely on the outer perimeter. By pulling blocks that match the fully exposed outer tiles, you guarantee that your ants have an immediate path to their food. Your five waiting slots stay completely empty because the ants use the numbers as fast as you pull them up from the tray.
Step 3: Bring up the dark blue block as the Hidden Boxes reveal their true color
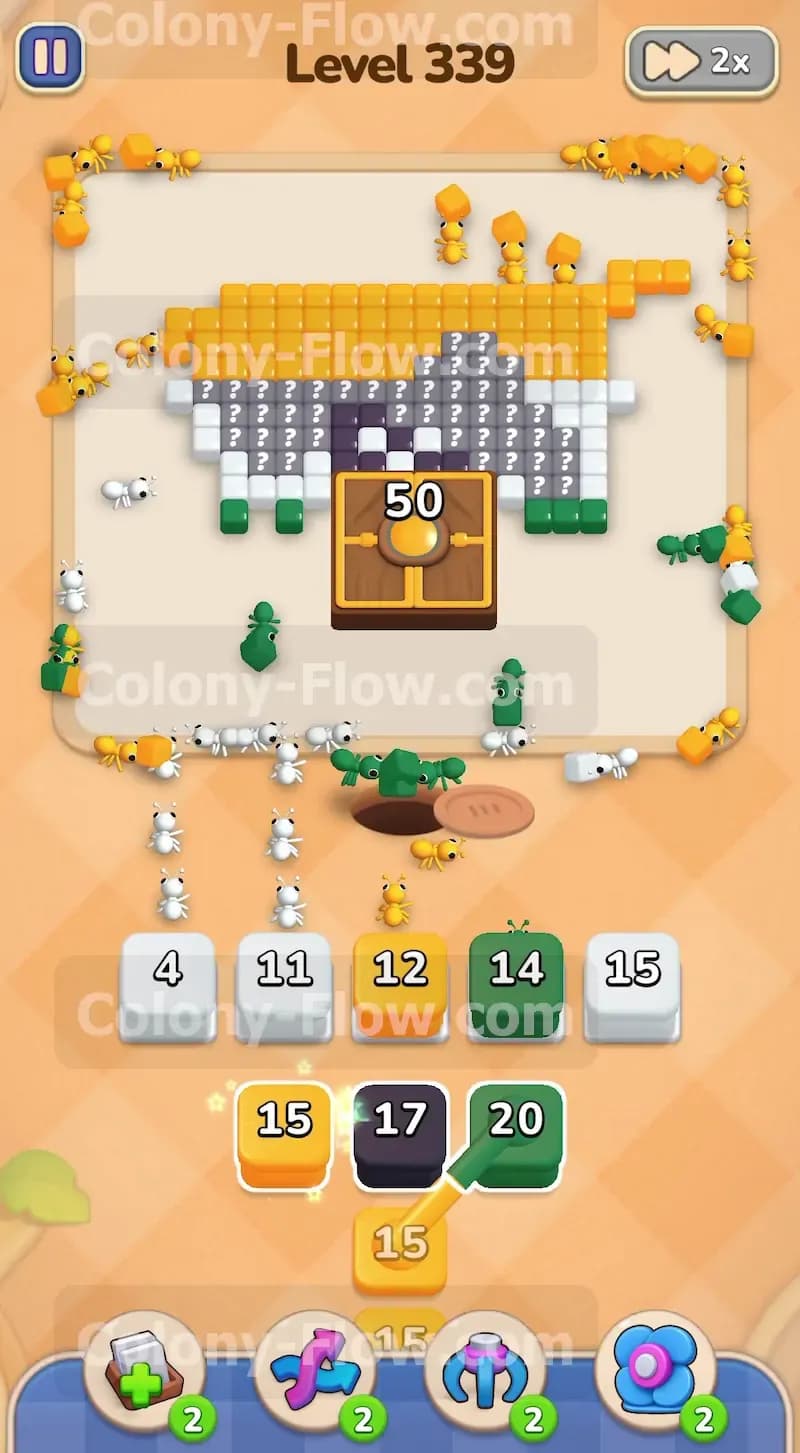
As your ants finish eating the outer edges of the orange and white sections, they expose the outside edges of the gray question mark tiles. The chest counter drops past fifty. The game now reveals that the Hidden Boxes are actually dark blue tiles forming a central wheel. A dark blue block with the number seventeen appears in your tray. Pull this dark blue block into your waiting slots. Seventeen dark blue ants will now stream out of the nest and march straight into the newly opened center section. At the exact same time, you pull another white block and another green block to keep the rest of the board shrinking. You must maintain this exact balance. If you only pull the dark blue block, the dark blue ants will get bottlenecked trying to enter the narrow center path. Keeping the white and green ants moving on the outside ensures your board remains wide open and your waiting slots never jam.
Step 4: Focus on the center wheel to drive the Hungry Door counter toward zero
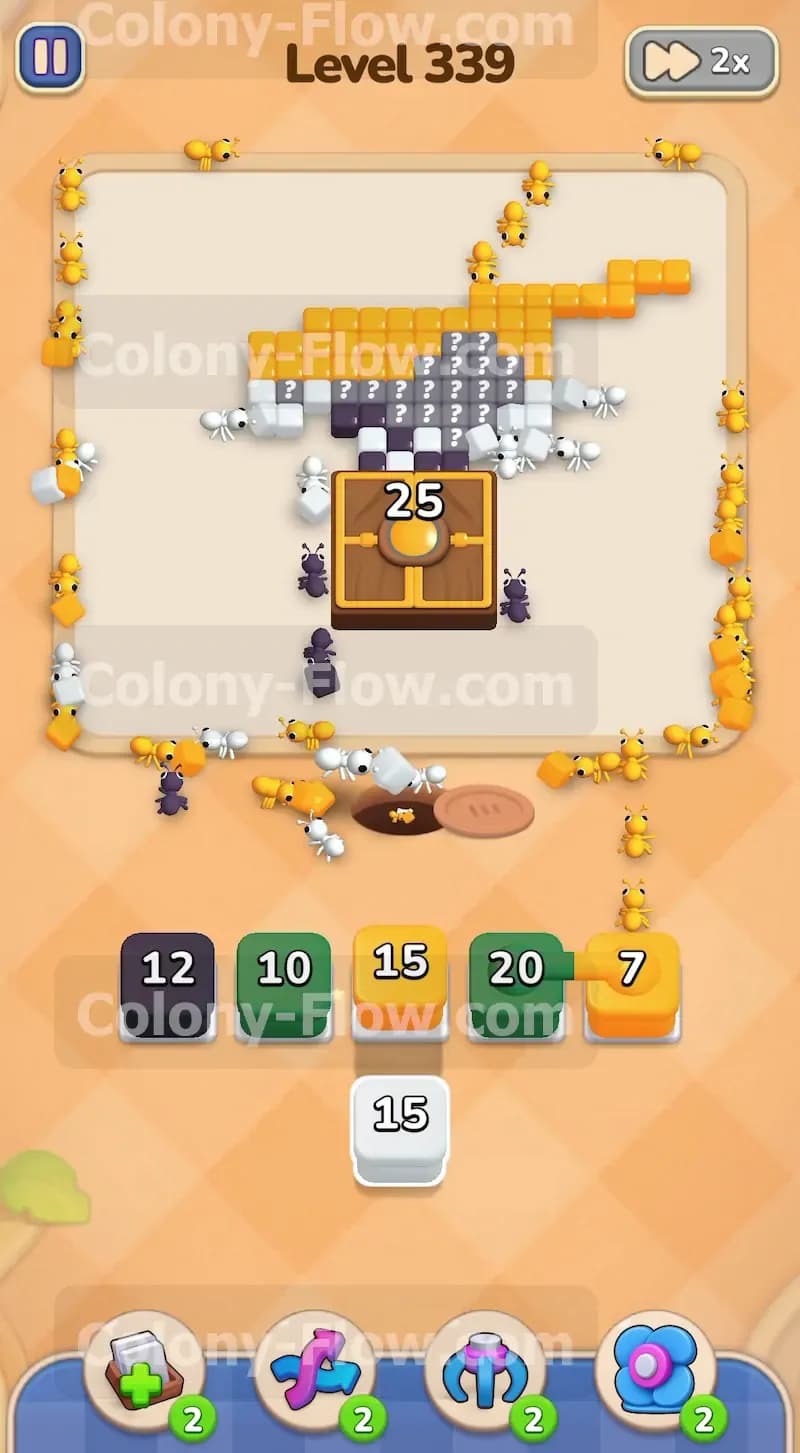
Your ants have eaten away almost all of the orange and white tiles. The chest counter is now at twenty five and falling rapidly. You pull another dark blue block with the number twelve to keep attacking the center wheel. You also pull a green block with the number ten and an orange block with the number seven. The dark blue ants push deeper into the Hidden Box tiles, clearing out the last of the question marks and revealing the bare board underneath. The remaining orange ants finish off the very top right corner of the flag. You are very close to opening the Hungry Door. You have to watch your waiting slots closely right here. Only pull the exact colors that still have tiles visible on the board. If you pull a color that has no open path, it will sit in your tray permanently and waste a highly valuable slot.
Step 5: Finish off the final dark blue tiles just before the chest vanishes
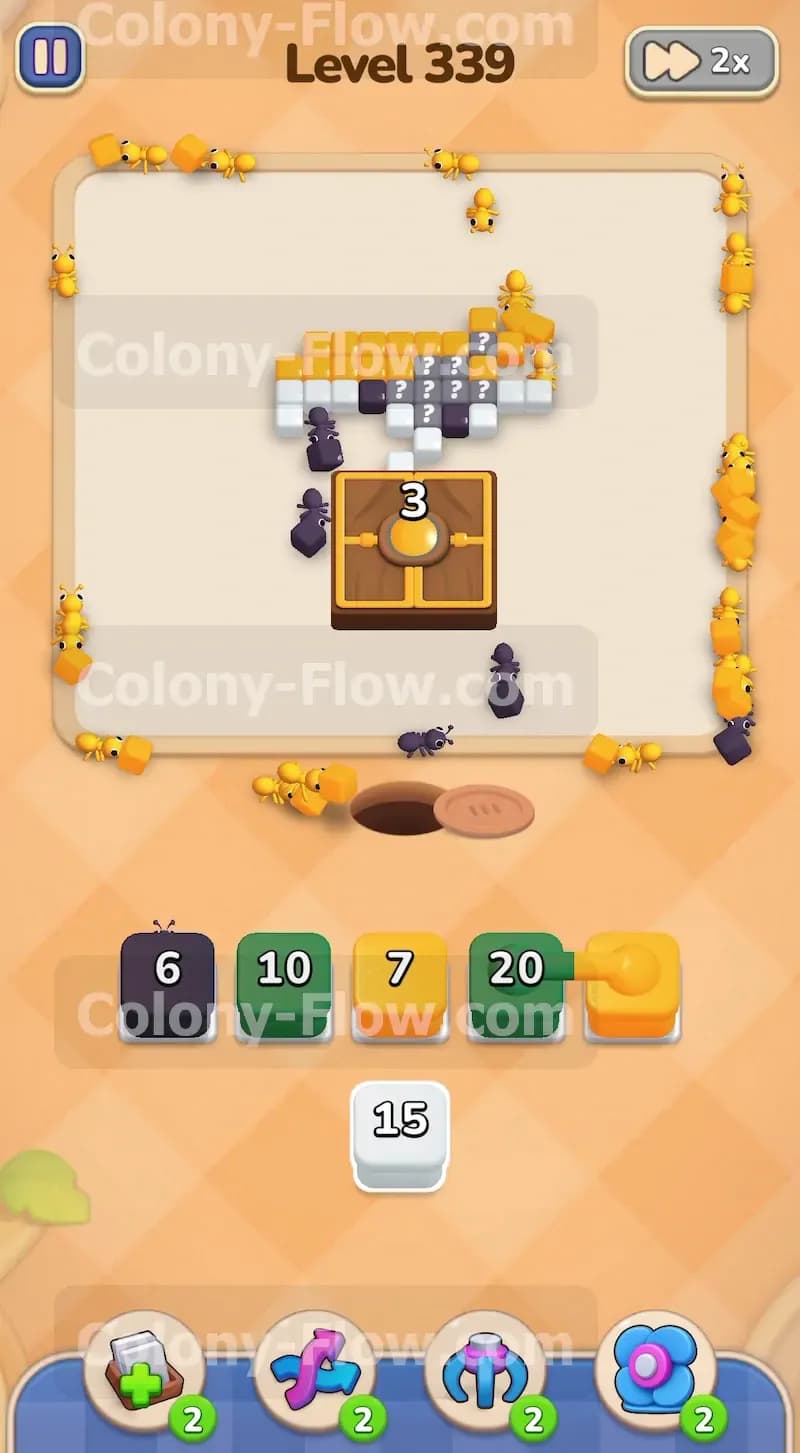
The board is nearly empty and the chest counter drops down to three. There are only a few dark blue tiles left from the original group of Hidden Boxes. You pull a dark blue block with the number six to finish them off. You also pull a green block with the number twenty into your waiting area. You want those green ants ready and waiting for what comes next. The dark blue ants swarm the final center tiles. The chest counter ticks down to two, then one, and finally hits zero. The massive wooden chest instantly pops open and disappears from the board completely. This opens up the final trapped section of the puzzle. You must always anticipate this moment so your tray is prepared for the big reveal.
Step 6: Clear the hidden green tiles to finish the entire puzzle completely
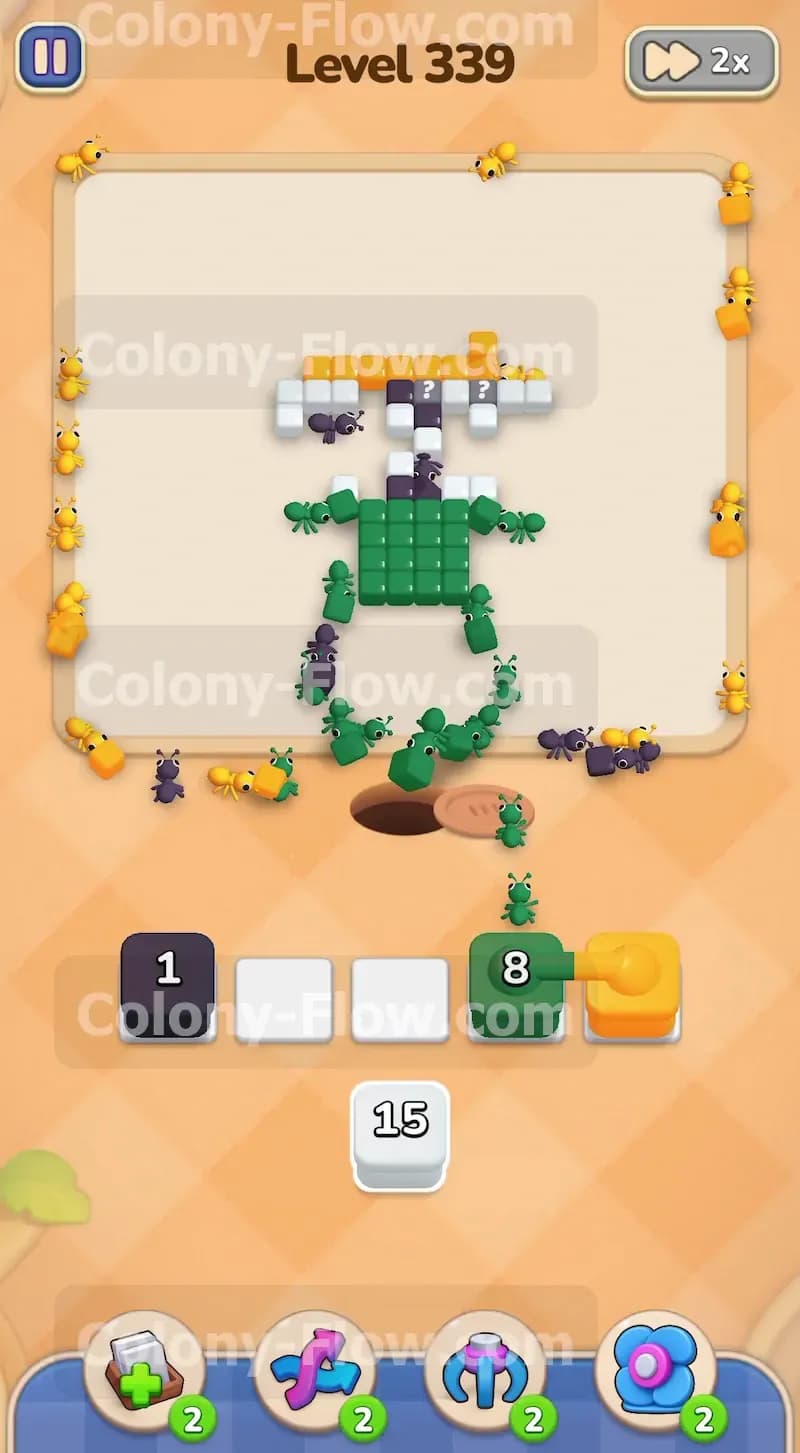
When the Hungry Door chest vanishes, it leaves behind a square block of nine solid green tiles right in the exact middle of the board. Because you already pulled a large green block into your waiting slots in the previous move, your green ants immediately rush into the center to eat this newly revealed food. You pull one final green block with the number eight from the tray to ensure you have enough ants to finish the job entirely. The green ants completely consume the nine center tiles. The dark blue ants finish off the very last piece of the central wheel. Your waiting slots remain perfectly clear the entire time because you always provided a direct path for the ants to follow. The board is now completely empty and you win the level.
Final Thought
This level requires careful attention to the central Hungry Door and the gray tiles surrounding it. You succeed by keeping your ants completely busy on the outer edges until the middle naturally opens up. Never pull a block from the tray unless you see a clear path for those ants to travel on the board. If you found any of these specific tray pulls or board clearings hard to picture, I highly encourage you to watch the video above this article.