Colony Flow Level 525 Walkthrough Solution & Guides | How to solve Colony Flow 525

Guide By Liam Stone
Updated on July 30, 2026
You can watch the video above to see Level 525 solved from the very first move.
Video doesn't match your screen?
Game updates frequently scramble layouts! Try our AI Screenshot Solver first to find your exact board instantly, or report broken guides to our team.
Welcome back to another puzzle guide. Today we are looking at Colony Flow Level 525. This level presents a beautiful tropical landscape that quickly turns into a logistical nightmare if you pull the wrong blocks. I played through this one several times to find the safest path to the end. The key here is managing massive block numbers without trapping your ants.
Colony Flow Level 525 Overview
What You Are Working With
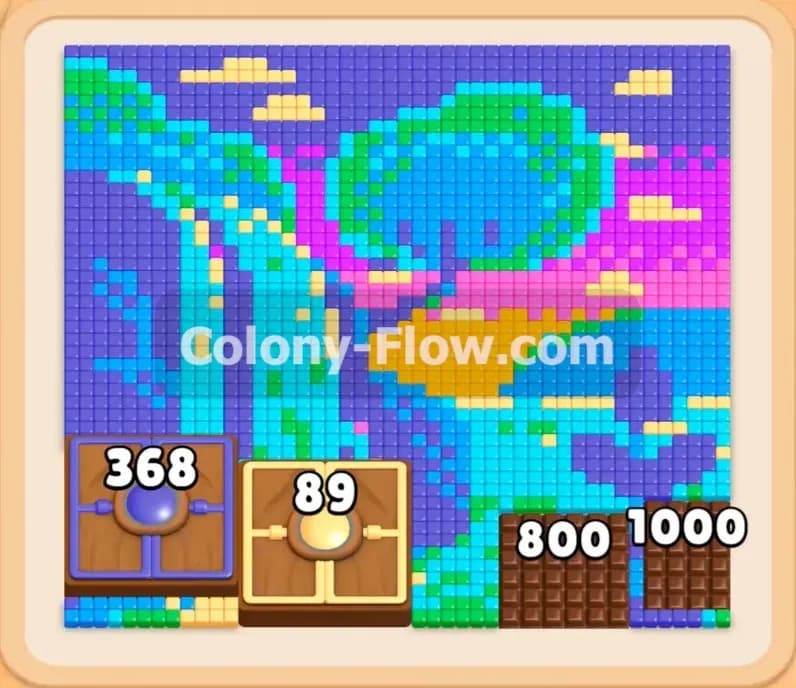
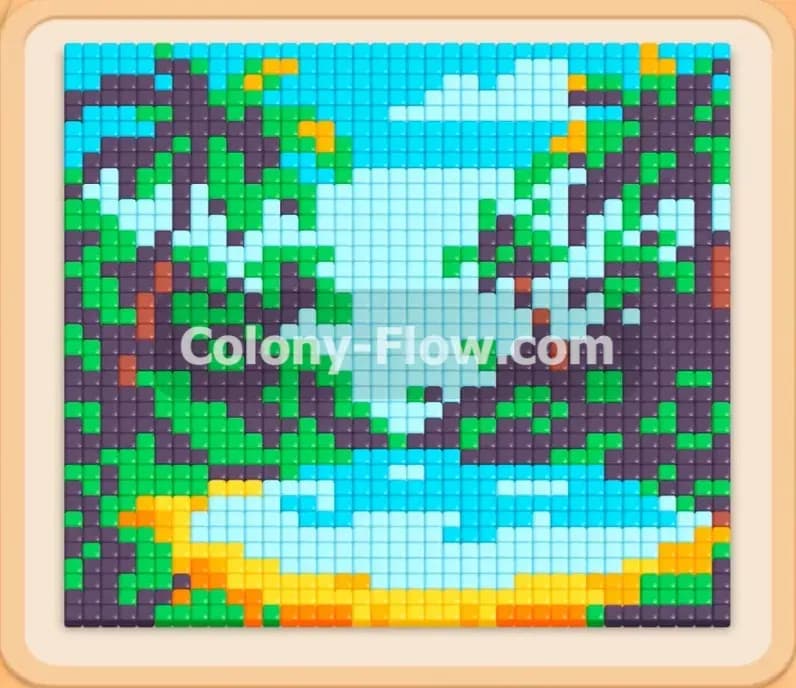
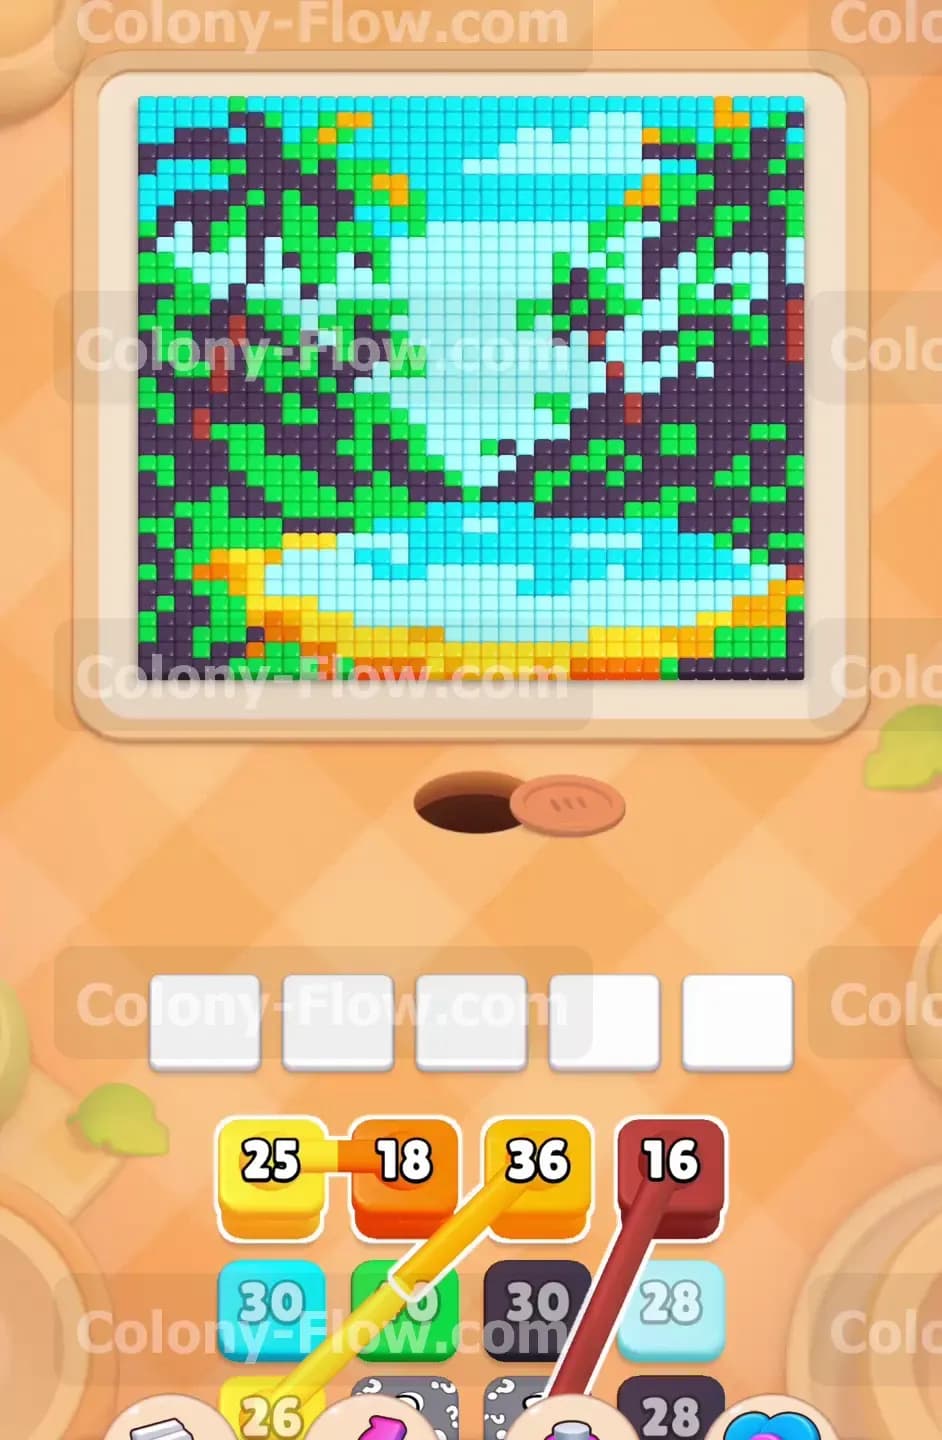
The picture at the top of your screen is a dense tropical scene. You have a sandy beach area at the bottom made of orange and yellow tiles. Just above that sits a pool of light blue water surrounded by light green vegetation. The main obstacles are the massive dark purple tree trunks on the left and right sides. These trunks reach all the way to the top and are covered in thick green leaves. The background is filled with light blue sky tiles. Down in your tray you face a stack of heavily loaded blocks. You will see single blocks with numbers in the thirties alongside connected boxes that force you to pull two colors at once. Buried deeper in the tray is a hidden box that will not reveal its color until you clear the blocks resting on top of it.
What It Takes to Clear Level 525 Board
Winning this level requires a strict bottom up clearing strategy. You must open the bottom center first so your ants can reach the side trunks and the upper sky. The biggest threat is the sheer size of the numbers on the green and dark purple blocks. If you pull too many of these heavy blocks into your five waiting slots at the same time, the ants will take too long to clear them. This creates a traffic jam. If all five slots are full and the ants have no open path to match those specific colors, you lose immediately. You have to balance slow clearing blocks with fast clearing blocks. You will always want a light blue block active to keep the ants moving while other ants slowly chew through the tough tree trunks.
Colony Flow Level 525 Step by Step Solution
Step 1: Clear the bottom edge of sand and water to open initial paths.
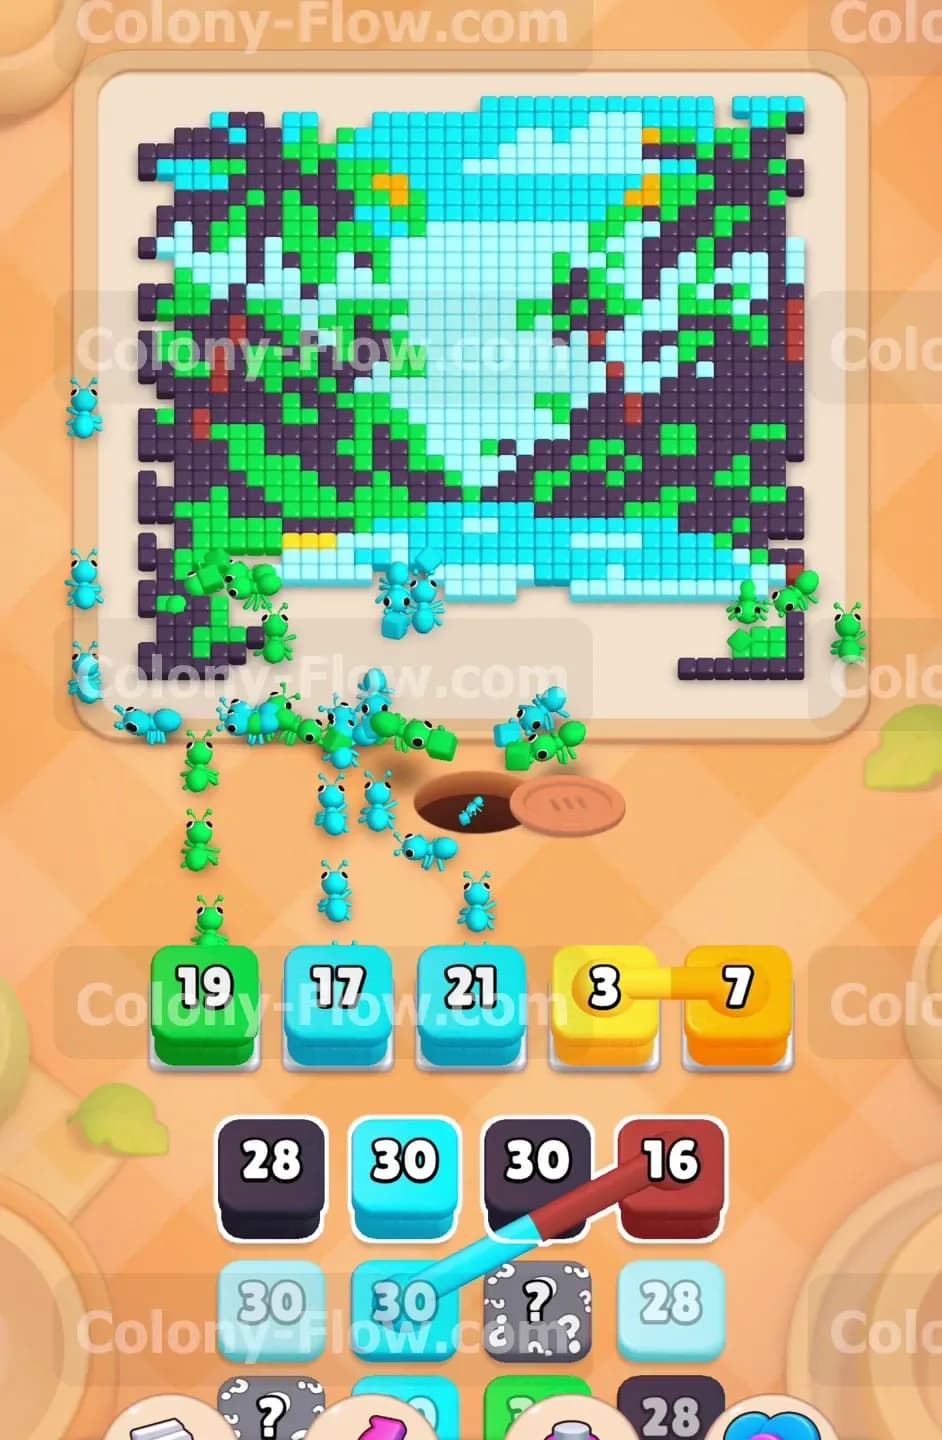
Start the level by focusing entirely on the bottom section of the picture. The ants need room to maneuver before they can tackle the massive trees. Look at the top layer of your tray and pull the yellow and orange blocks into your waiting slots. The ants will stream out of the nest hole and immediately start devouring the sandy bottom edge. Watch the numbers on those blocks drop rapidly because the tiles are right next to the spawn point. Once the sand starts clearing out, you will expose the light green vegetation and the light blue water tiles. Pull a light blue block and a light green block into the slots to keep the momentum going. Do not pull any dark purple blocks yet. You want the ants to completely hollow out the bottom center first. This creates a wide open central highway that gives the ants direct access to the inner edges of both tree trunks and the sky above.
Step 2: Target the lower tree trunks and manage the connected boxes.
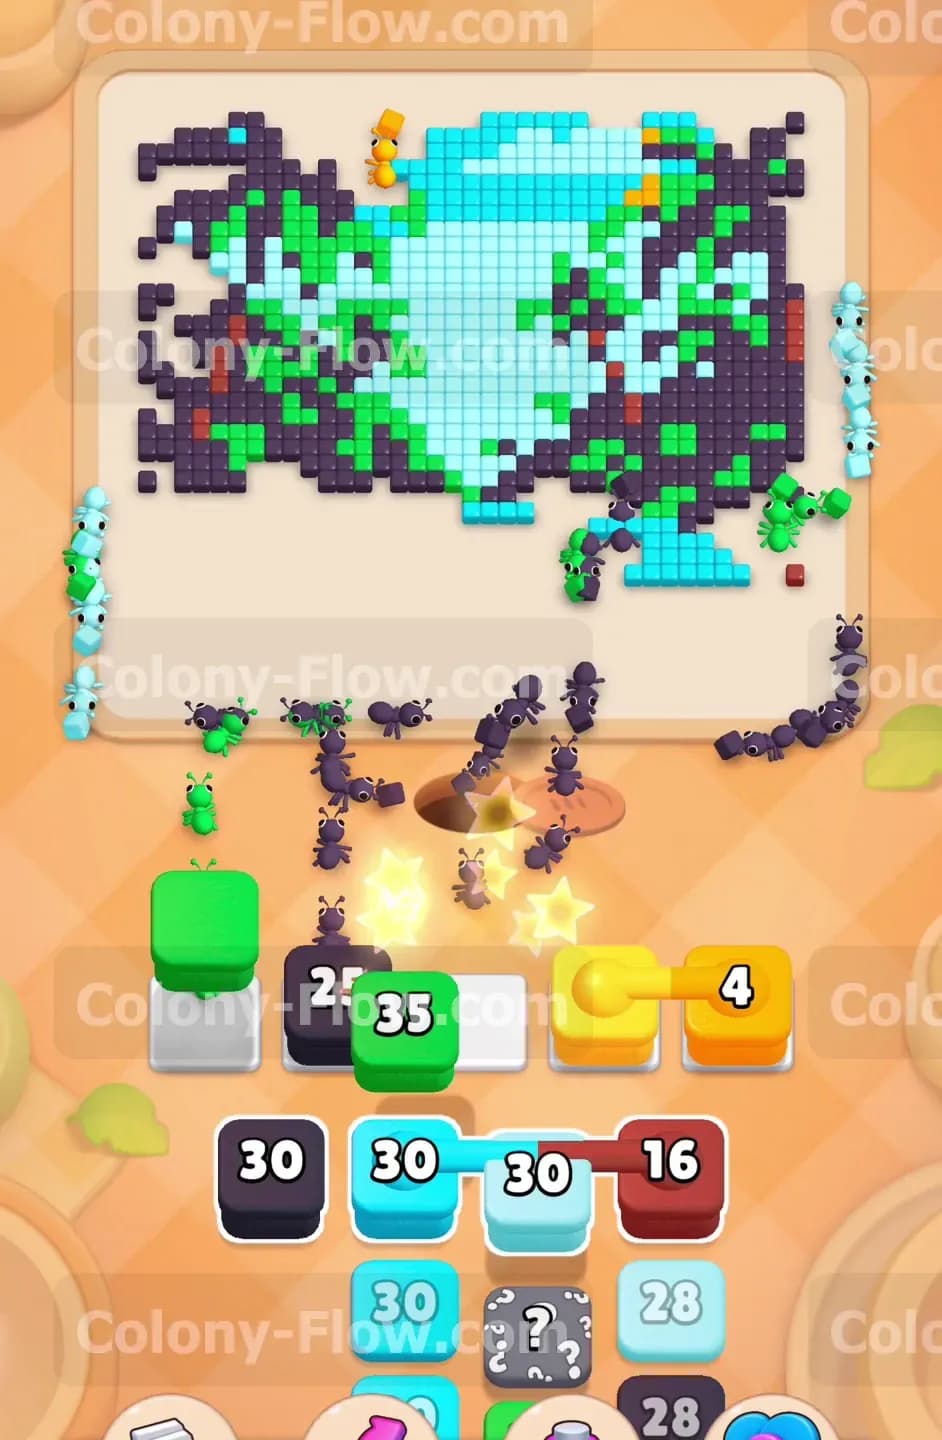
With the bottom center clear, the ants now have direct paths to the dark purple tree trunks on both the left and right sides. It is time to start pulling dark purple blocks from the tray. You will also encounter connected boxes during this phase. Connected boxes are linked together and move into the waiting slots as a single unit taking up multiple spaces. Pull the connected yellow and orange boxes when you see clear paths to those specific remaining colors near the bottom. The ants will divide their forces to tackle both colors at the same time. This action is incredibly efficient for clearing out scattered remaining tiles, but it consumes valuable real estate in your waiting slots. You must ensure you have enough empty slots before pulling connected boxes. Always verify that both colors in the connected pair have reachable tiles on the board. If one color is blocked behind a different color, the connected blocks will sit in your slots and waste space.
Step 3: Clear the midsection foliage and continue up the tree trunks.
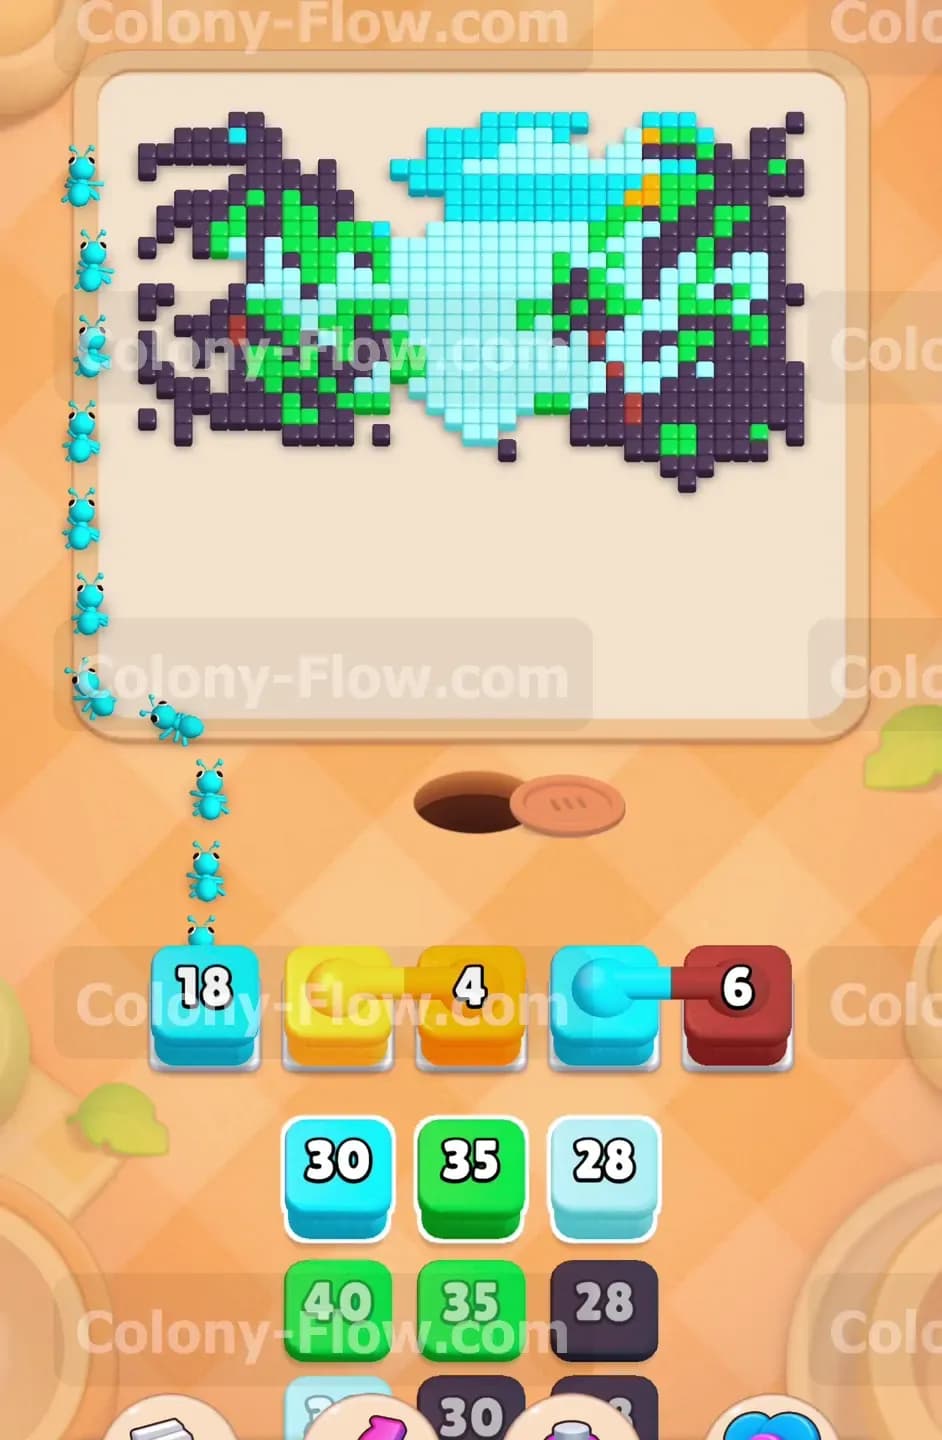
The ants are now making steady progress up both sides of the picture. The central pool of water is mostly gone and the ants are beginning to reach the lower green leaves. The tray now exposes large numbered blocks specifically for the green leaves and dark purple branches. Pull one large green block and one large dark purple block into the waiting slots. These blocks carry numbers in the thirties and will take a significant amount of time to deplete. This is the exact moment where the risk of losing becomes very real. Do not give in to the temptation to fill your remaining empty slots with more large blocks. You must leave at least two slots completely open for fast clearing colors. Pull a smaller light blue block to keep a dedicated stream of ants clearing the sky area. This dedicated stream acts as an exhaust valve and ensures your waiting slots never completely lock up while the main force slowly chips away at the dense green foliage.
Step 4: Reveal the hidden box and prioritize the large sky area.
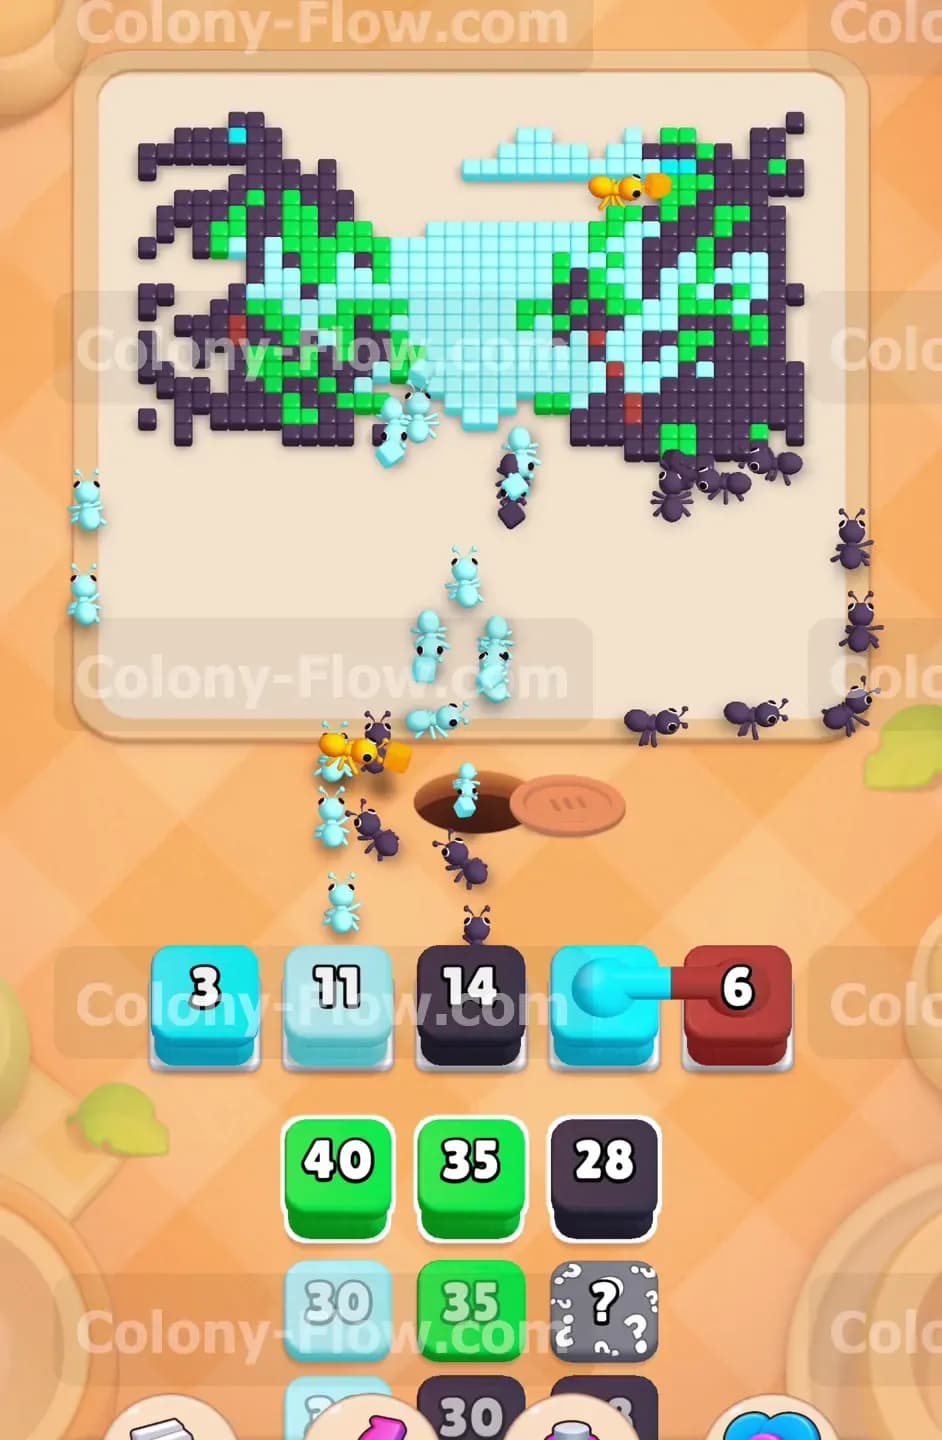
As you continuously pull blocks from the top layers of the tray you will eventually uncover a hidden box. A hidden box is tricky because it keeps its color a secret until you clear every block resting on top of it. Keep matching the known colors in your tray to the board to dig your way down to this hidden box. Throughout this digging process you should focus heavily on the light blue sky tiles. The sky covers a massive portion of the upper half of the board and provides a safe target for your ants. Pulling light blue blocks is generally a smart move because the ants will almost always have a direct path to a sky tile. Once the hidden box finally reveals its true color you need to assess the board immediately. Pull the revealed block into a waiting slot only if the ants can reach that specific color right now. If they cannot reach it, just leave it in the tray and focus on opening a new path.
Step 5: Tackle the dense upper canopy and thin out the branches.
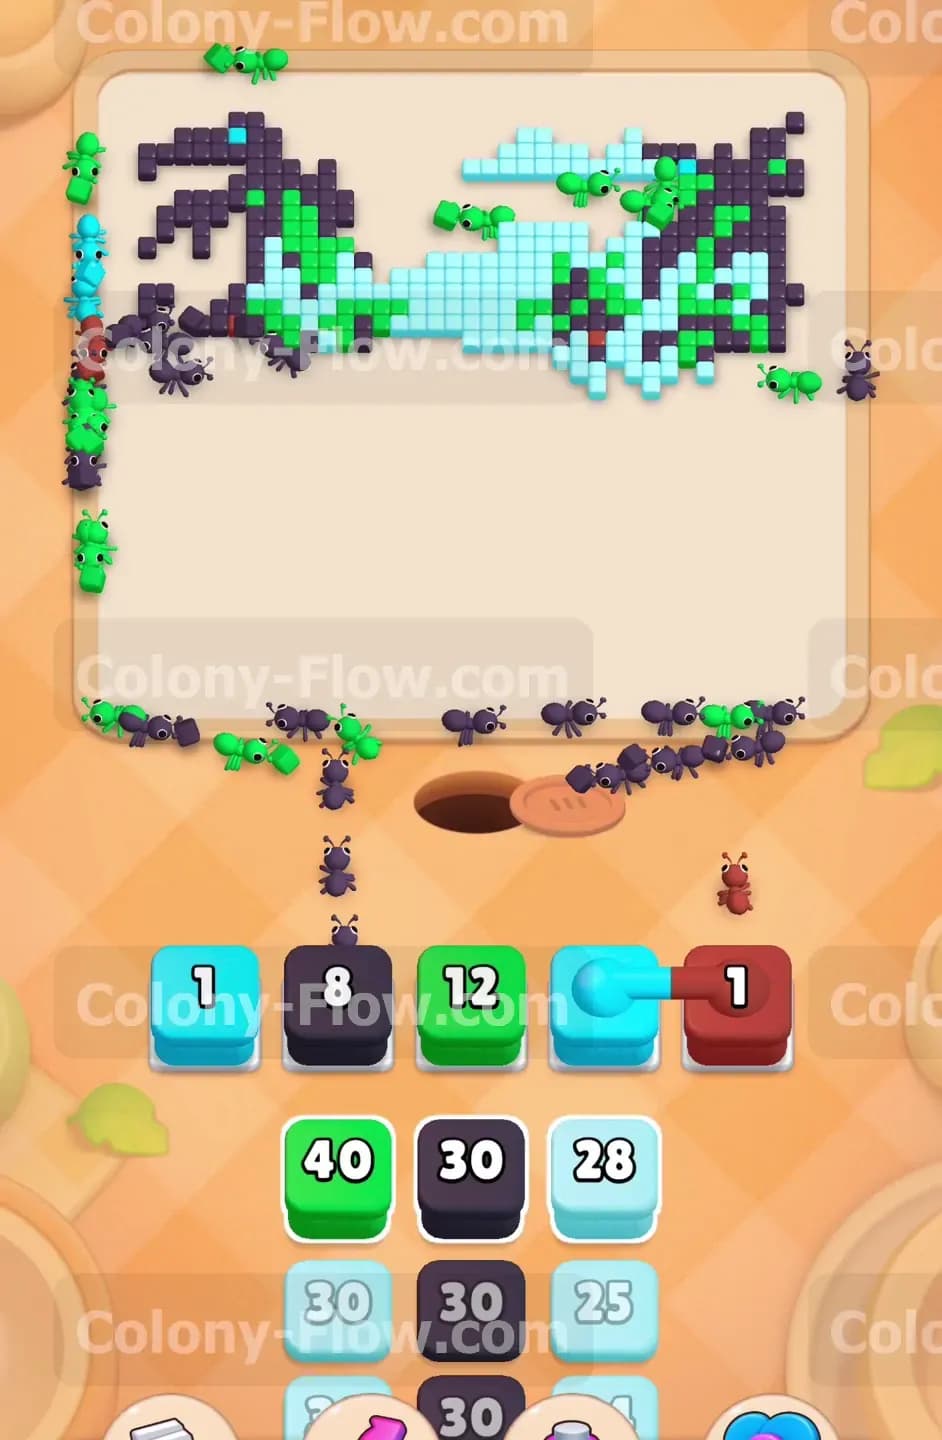
The remaining sections of the picture consist mostly of the thick upper green canopy and the thinner dark purple branches spreading across the very top. The travel paths for the ants are now exceptionally long. They must march all the way from the bottom nest hole up and around the cleared center to reach the top edge. Because this travel time is so long, the numbers on your waiting slot blocks will decrease at a much slower rate. You have to exercise extreme patience during this phase. Pull the remaining large green and dark purple blocks from the tray one by one. Watch the ants form long single file lines up the extreme left and right sides of the board. Do not panic and pull extra blocks just because your current ones seem stuck. If you fill all five slots now you will absolutely lose the level. Wait for one block to completely hit zero and vanish from the waiting slot before you even think about pulling the next one.
Step 6: Clean up the final scattered tiles around the outer edges.
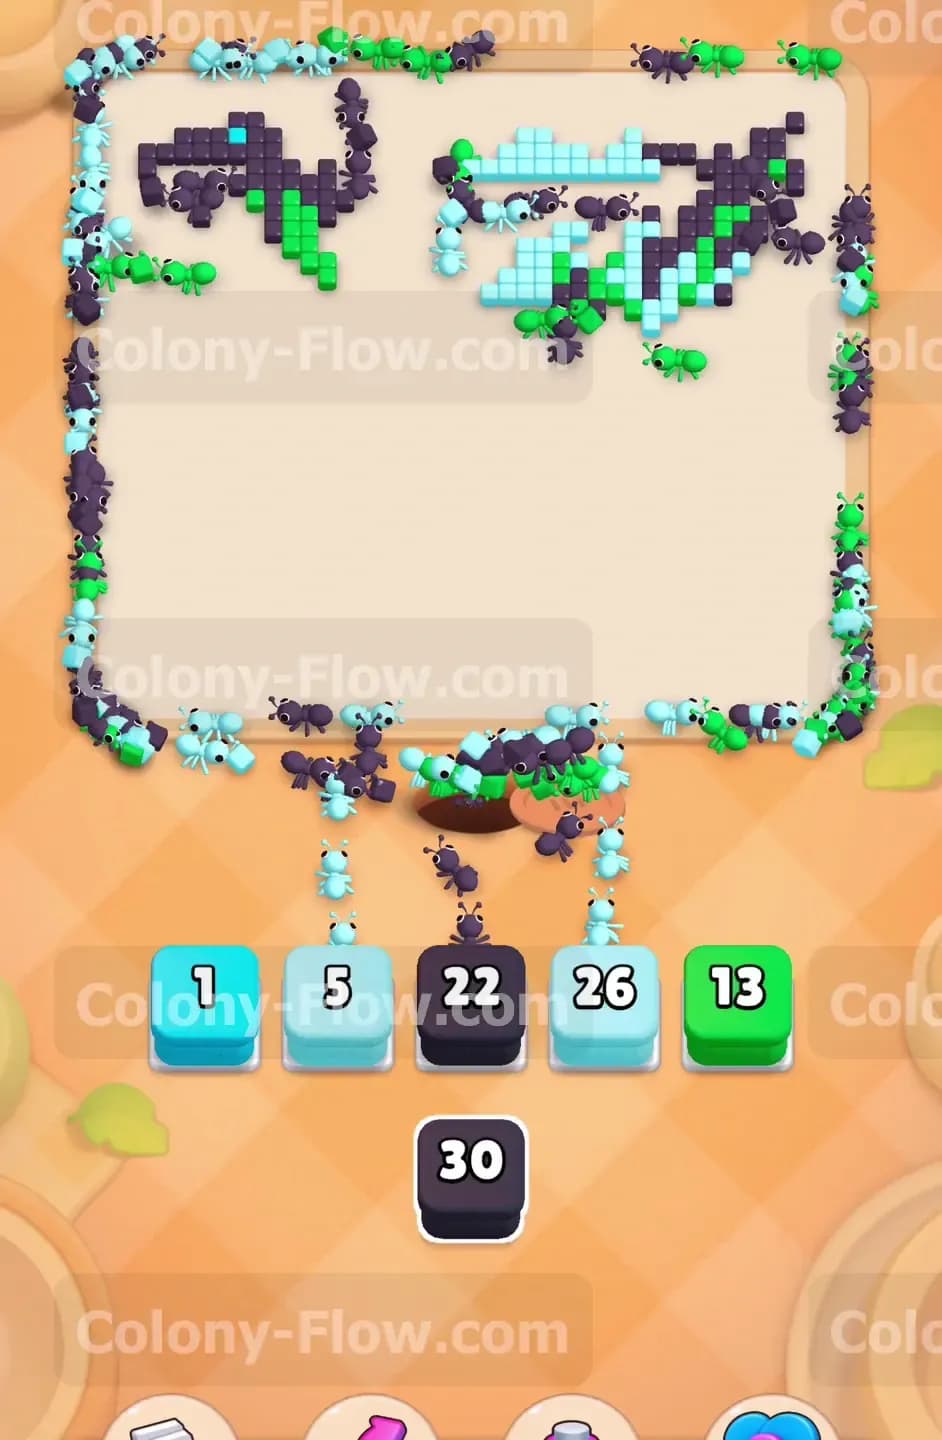
You are now in the final stretch of the level. The main body of the landscape is completely gone and only scattered tiles remain along the very top and extreme side edges. These leftover tiles are mostly a mix of isolated light blue sky pieces, tiny green leaf clusters, and the very tips of the dark purple branches. Look closely at the board and pull exactly the colors you need to match these final stragglers. Pull a light blue block to finish the last bits of the sky. Pull a green block to wipe out the final leaves. Pull the last dark purple block to consume the remaining branch tips. The ants will form a massive outer perimeter around the completely empty center to reach these final distant spots. Keep a close eye on the block numbers and ensure every color sitting in your waiting slots has a corresponding tile left somewhere on the board. Once the ants consume the very last tile, the board will be clean and you will win the level.
Final Thought
Completing this level requires serious patience and strict slot management. The massive numbered blocks in the tray are designed to trap you if you move too fast. Always keep that fast clearing light blue path open and let the ants do the heavy lifting on the trees. If you find any of these steps hard to follow in text format I highly encourage you to watch the video above this article. Seeing the timing of the block pulls in action will help you master the flow and clear the board on your next attempt.